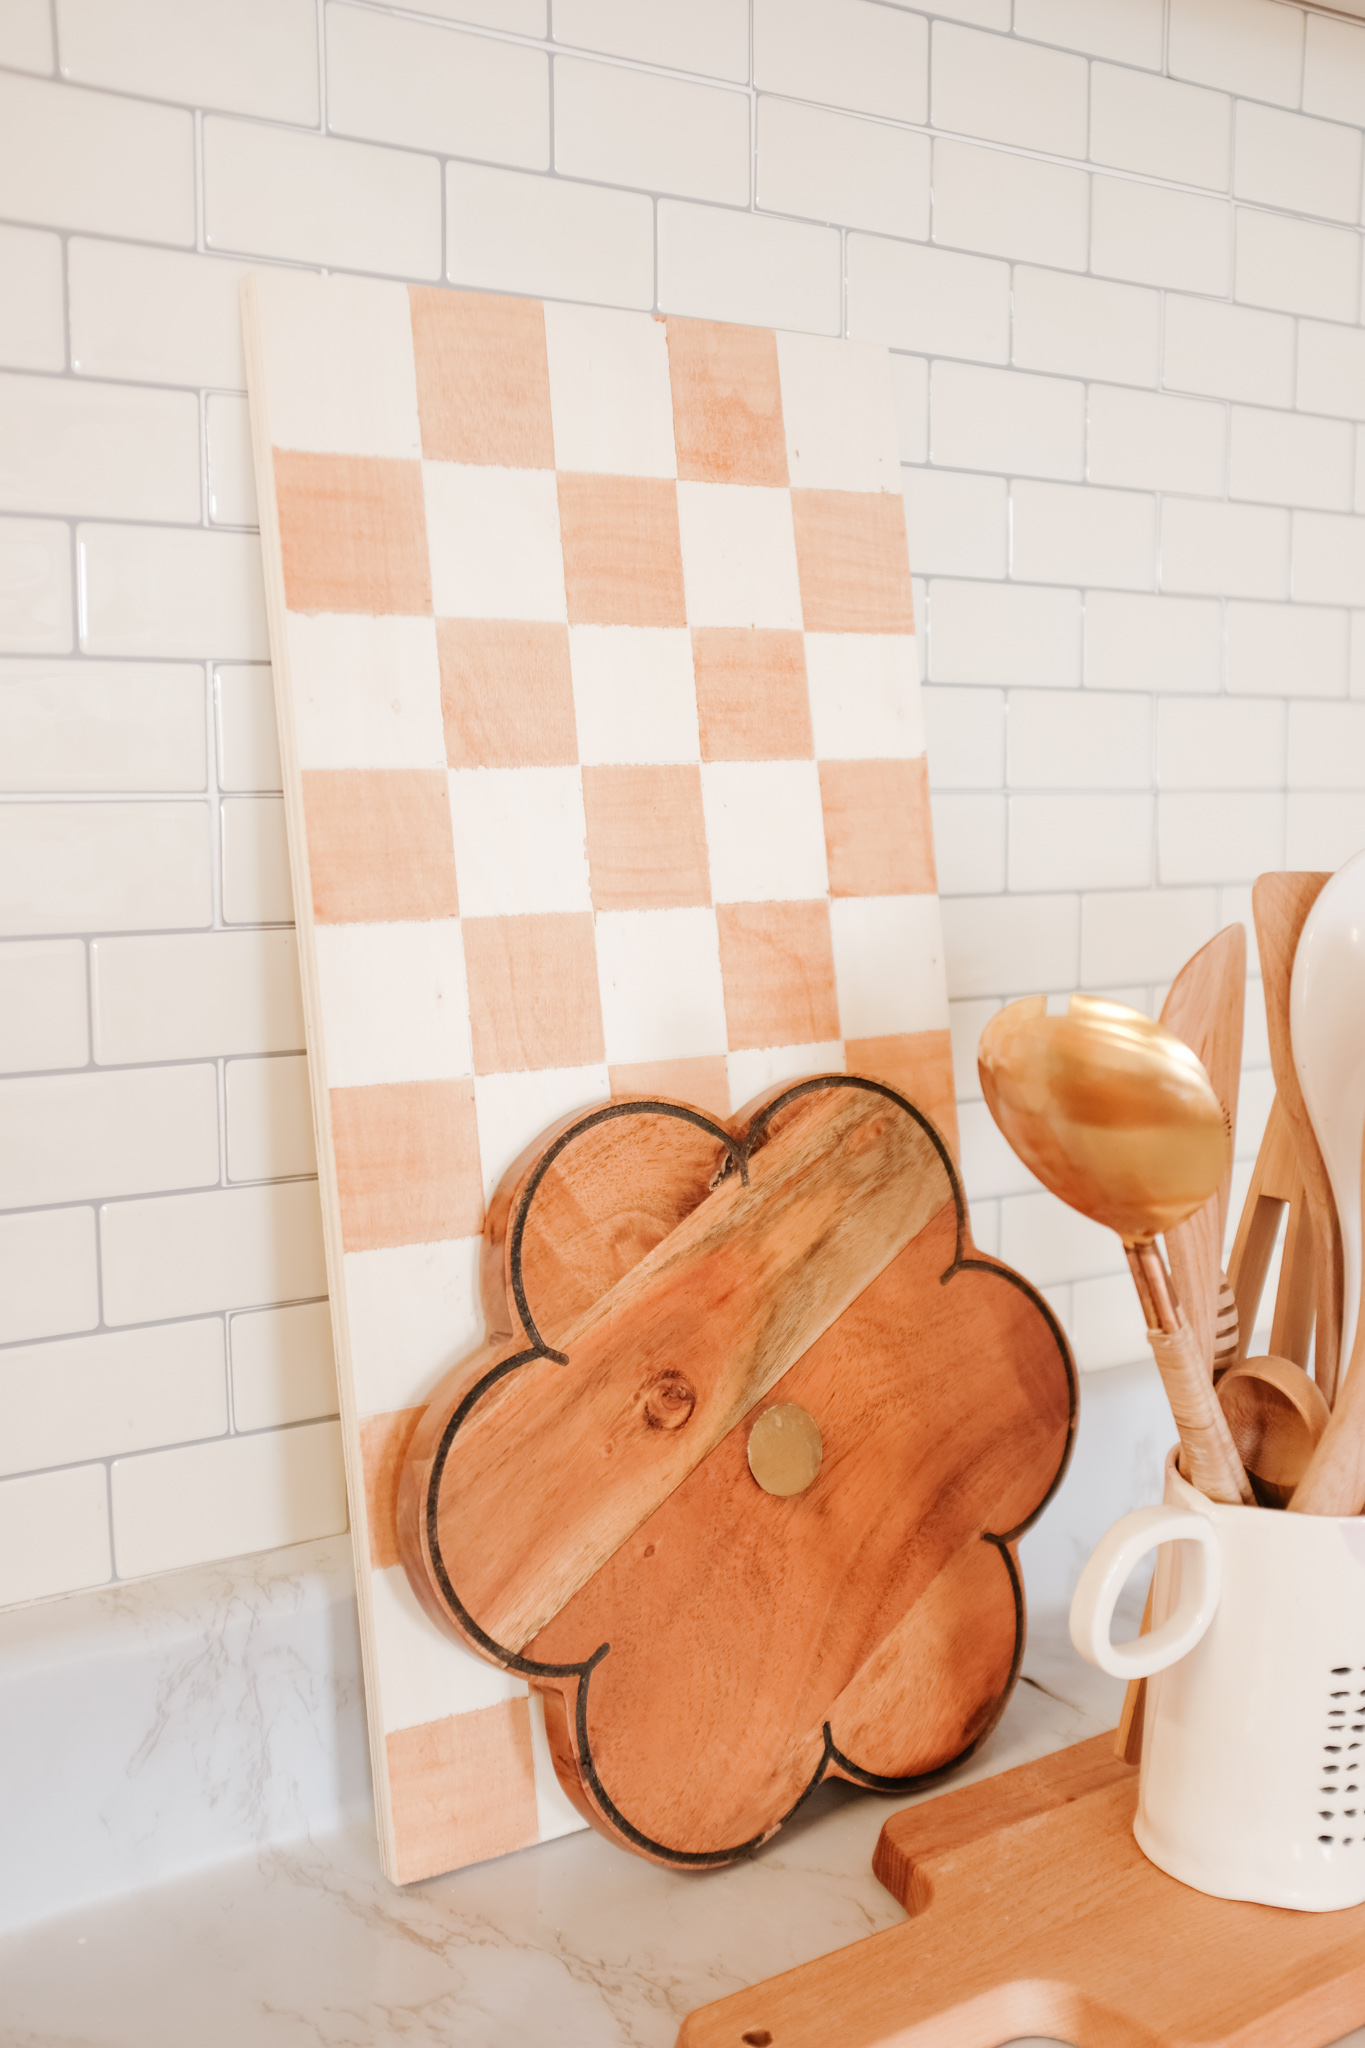
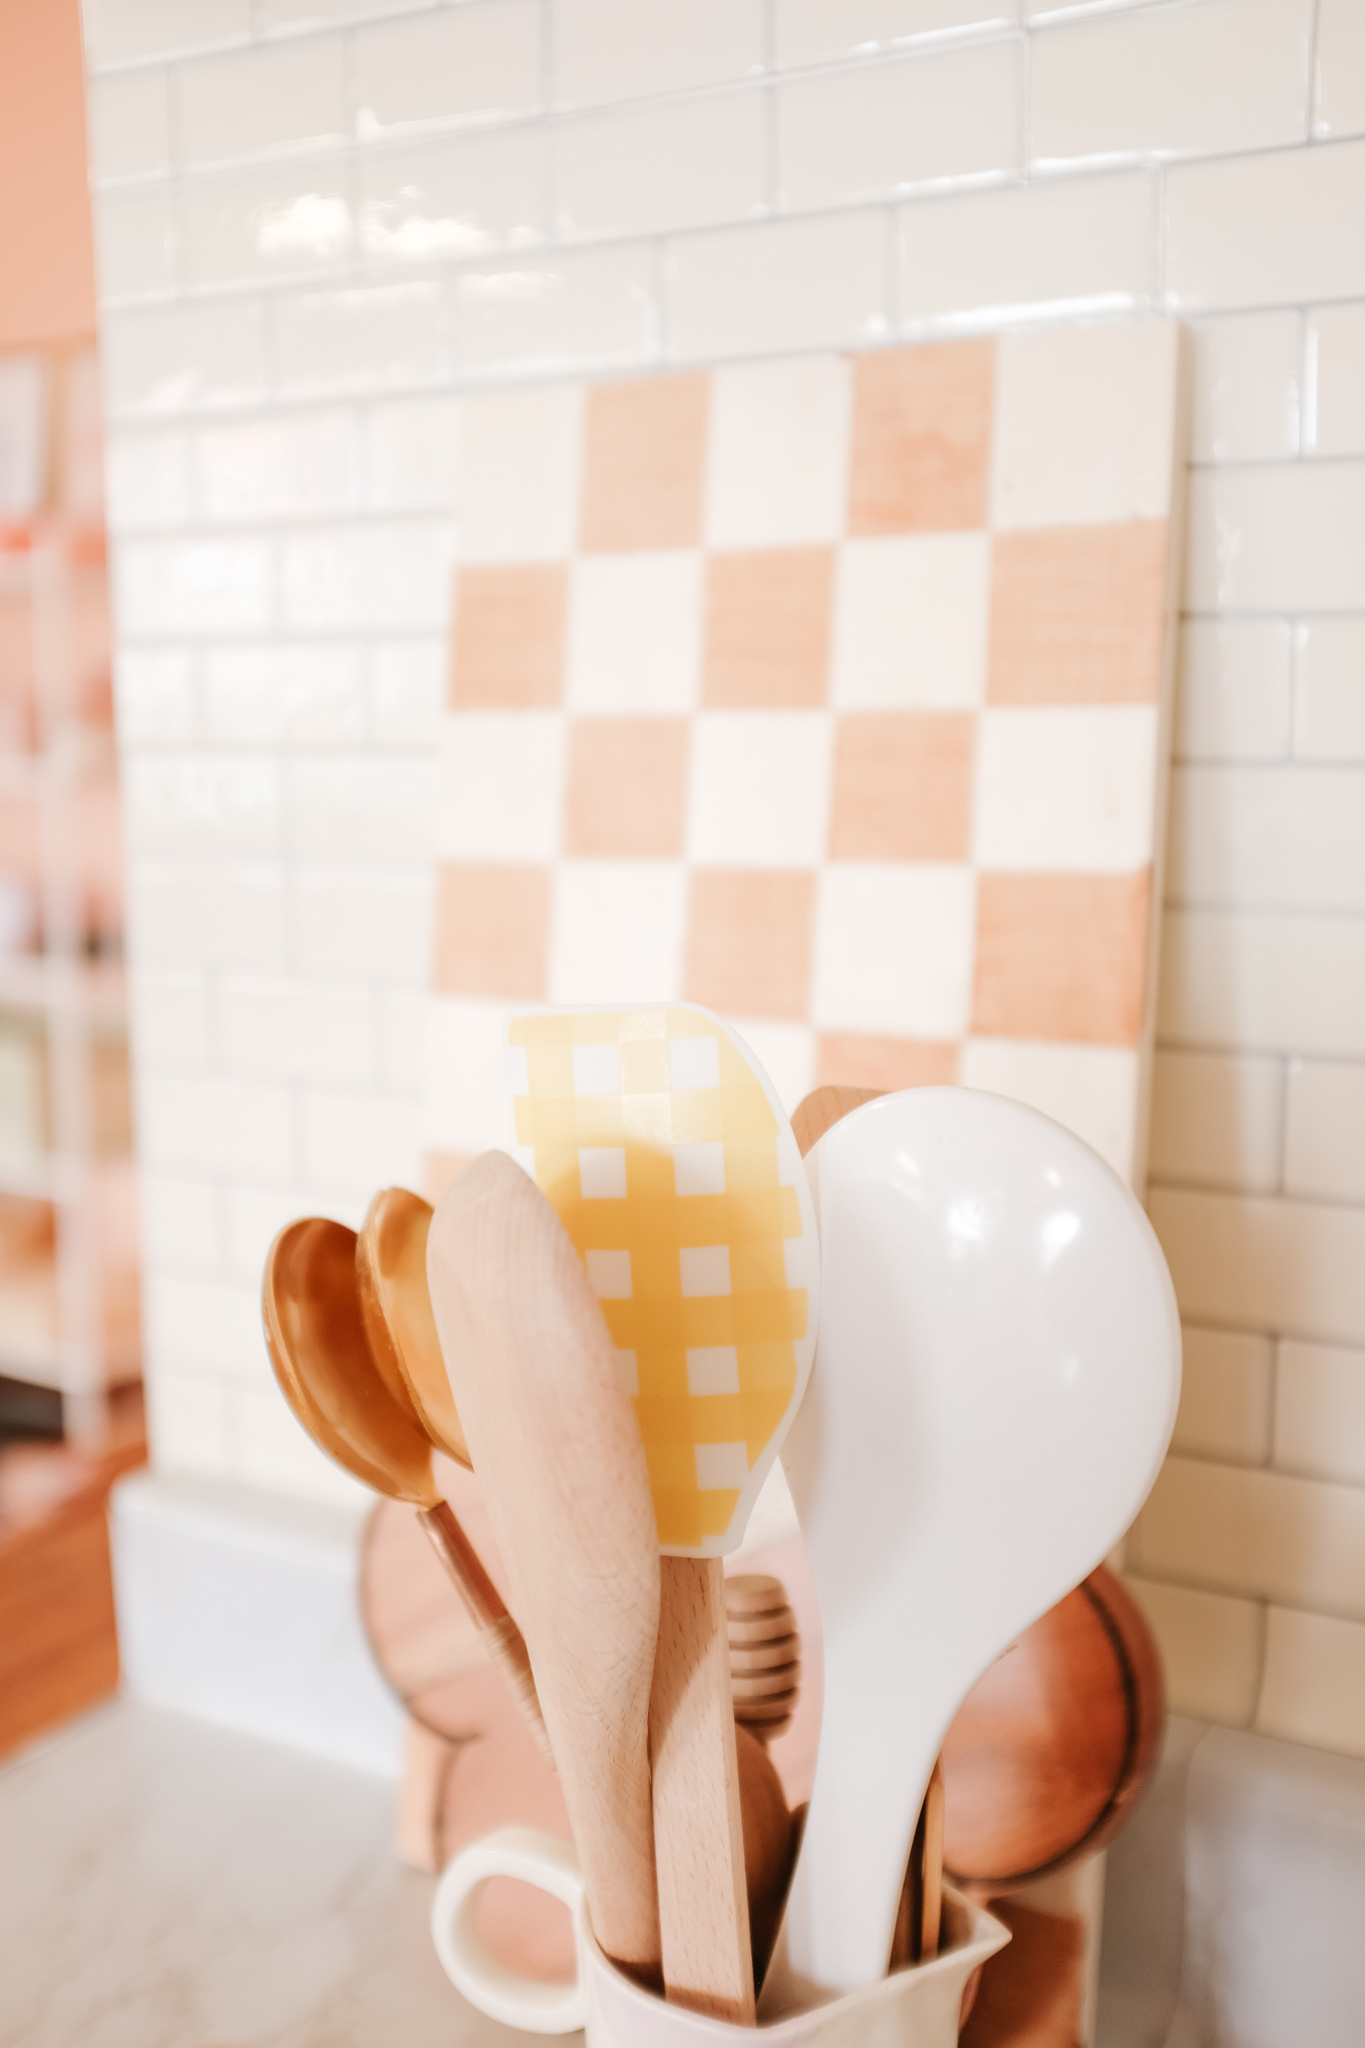
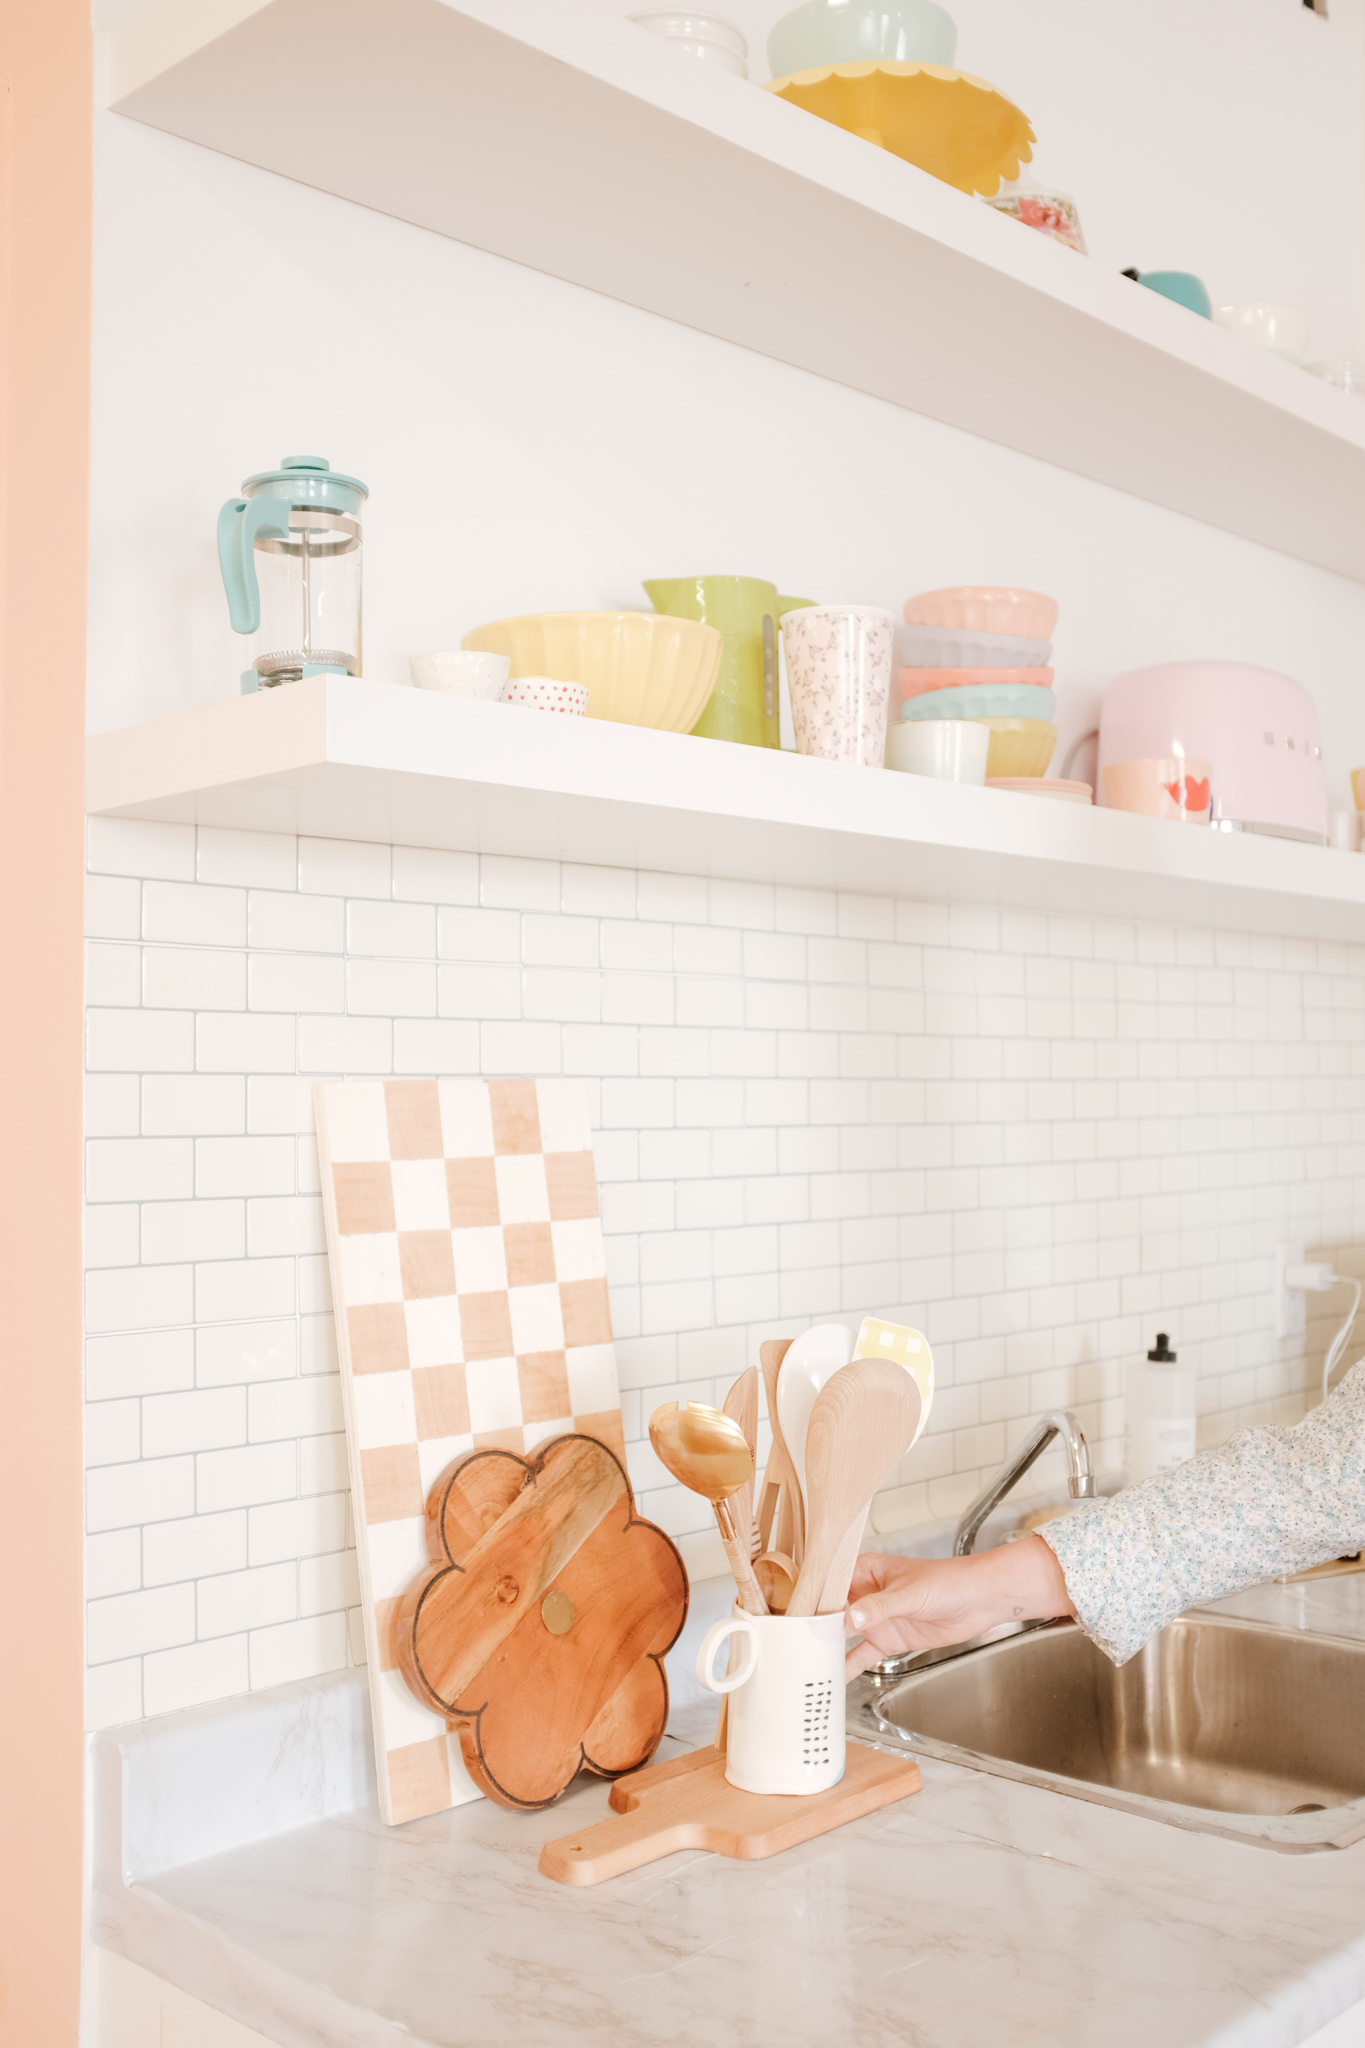
Upcycle This Trendy Checkerboard Tray In a Few Steps!
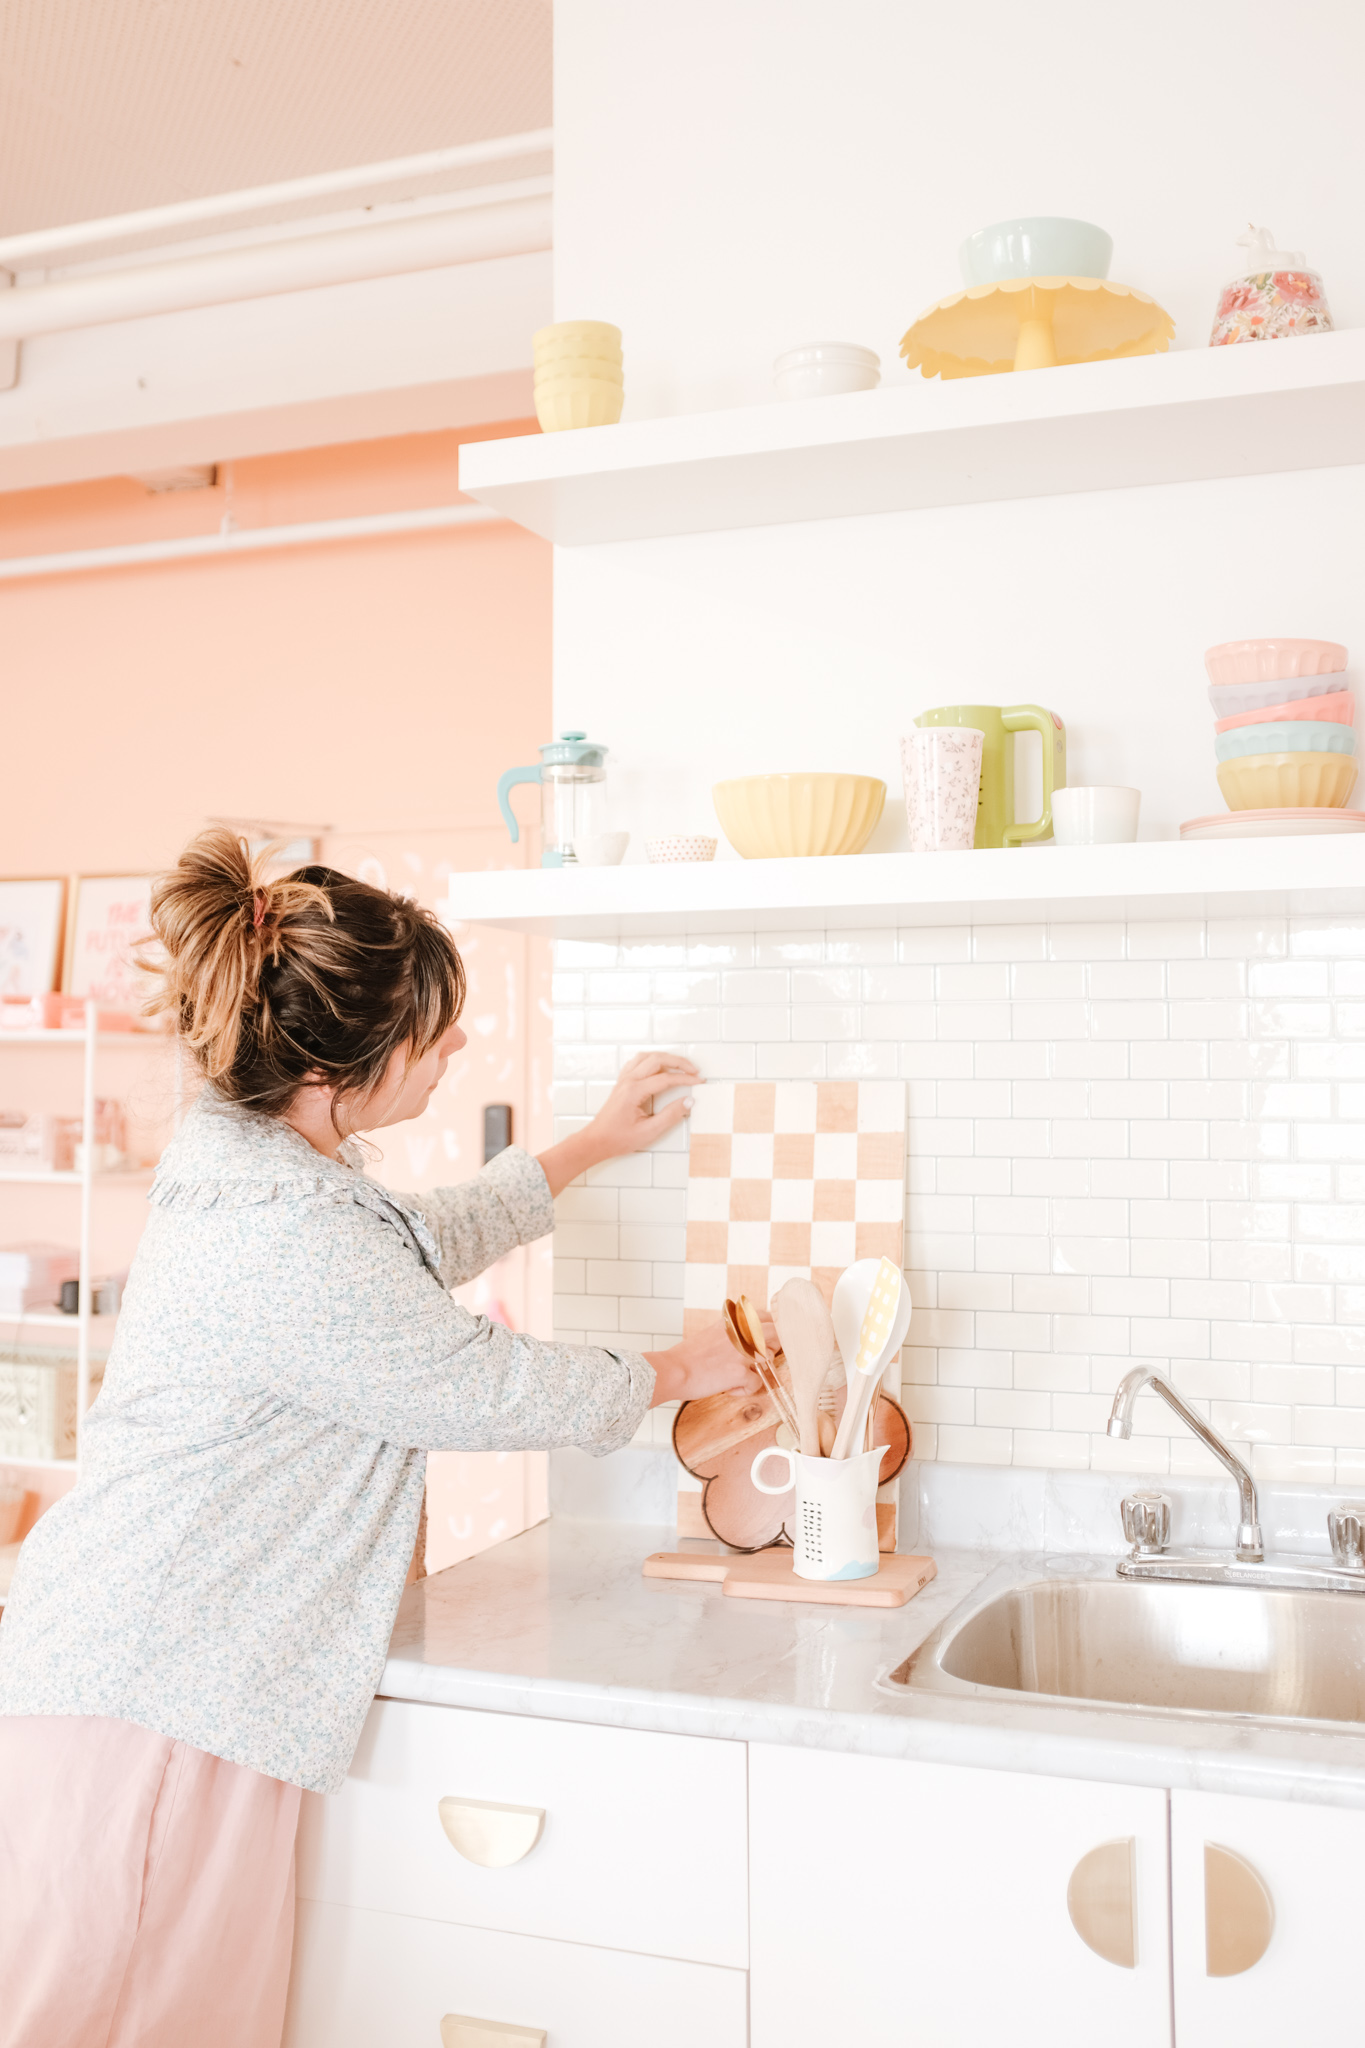
Anyone else over here obsessed with bold checks, lately? Since many brands I love started designing and using more and more checkerboard patterns I knew I had to DIY a piece with this trend.
I feel checkerboards are so nostalgic, bringing me back to many memories when I was little. In home decor, they don’t need to be in black and white and I’ve been loving the colourful and neutral shades lately in many pieces as rugs, trays, pillows and much more.
Today, we’ll DIY a lovely tray using just wood stain and a brush, super simple and fun!
Materials Required:
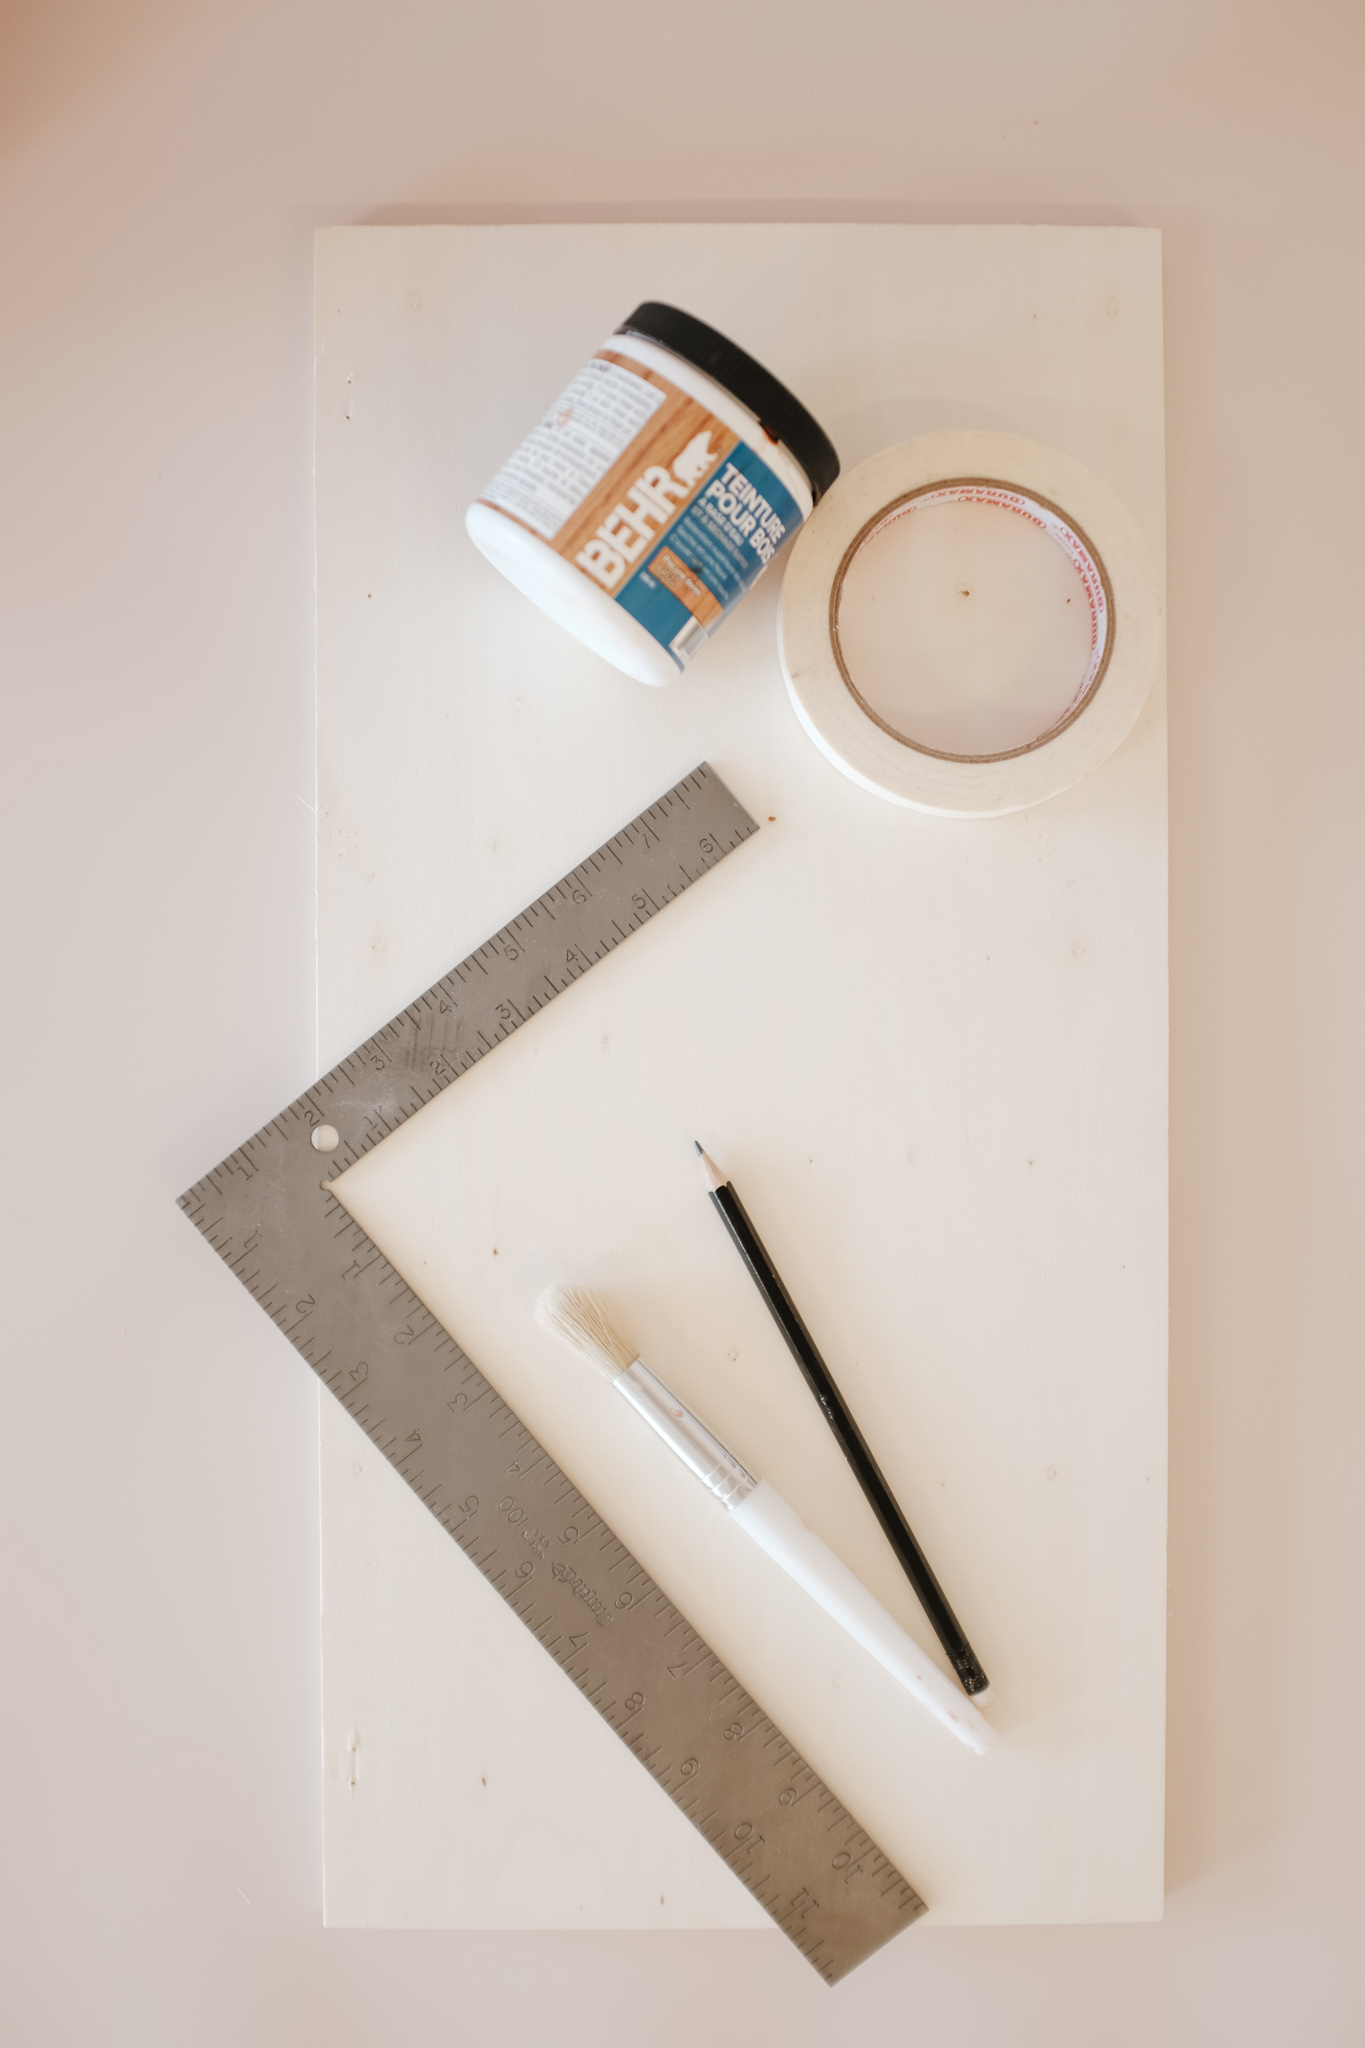
- Any old wood tray you have at home
- Wood stain (I used BEHR’s Pecan in matte)
- Artist brush
- Painter’s tape
- Pencil
- Square
- Cloth
Step ONE: Measure and create your grid
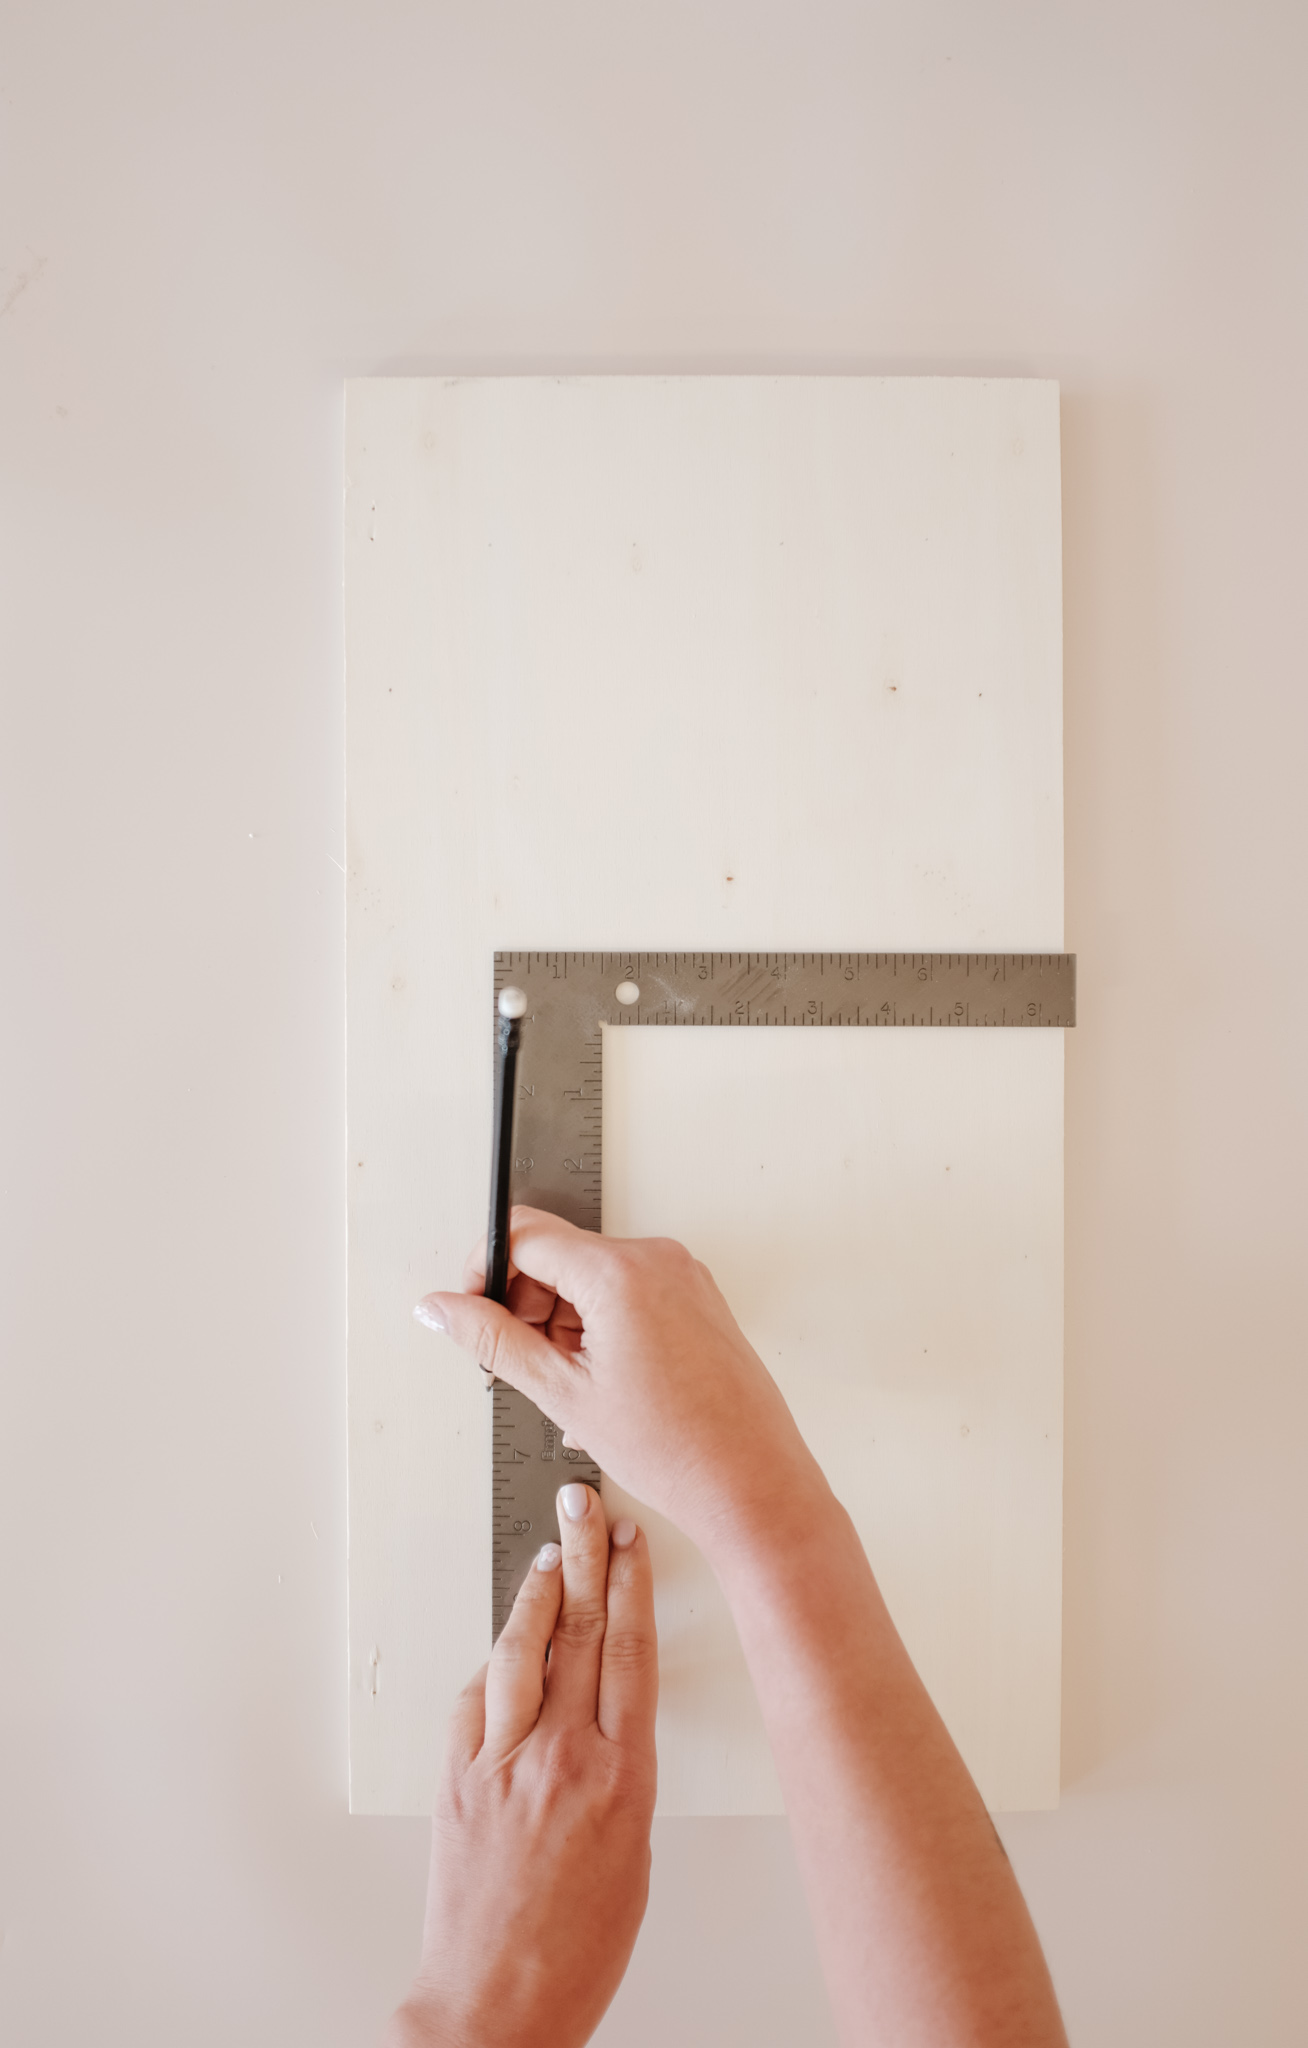
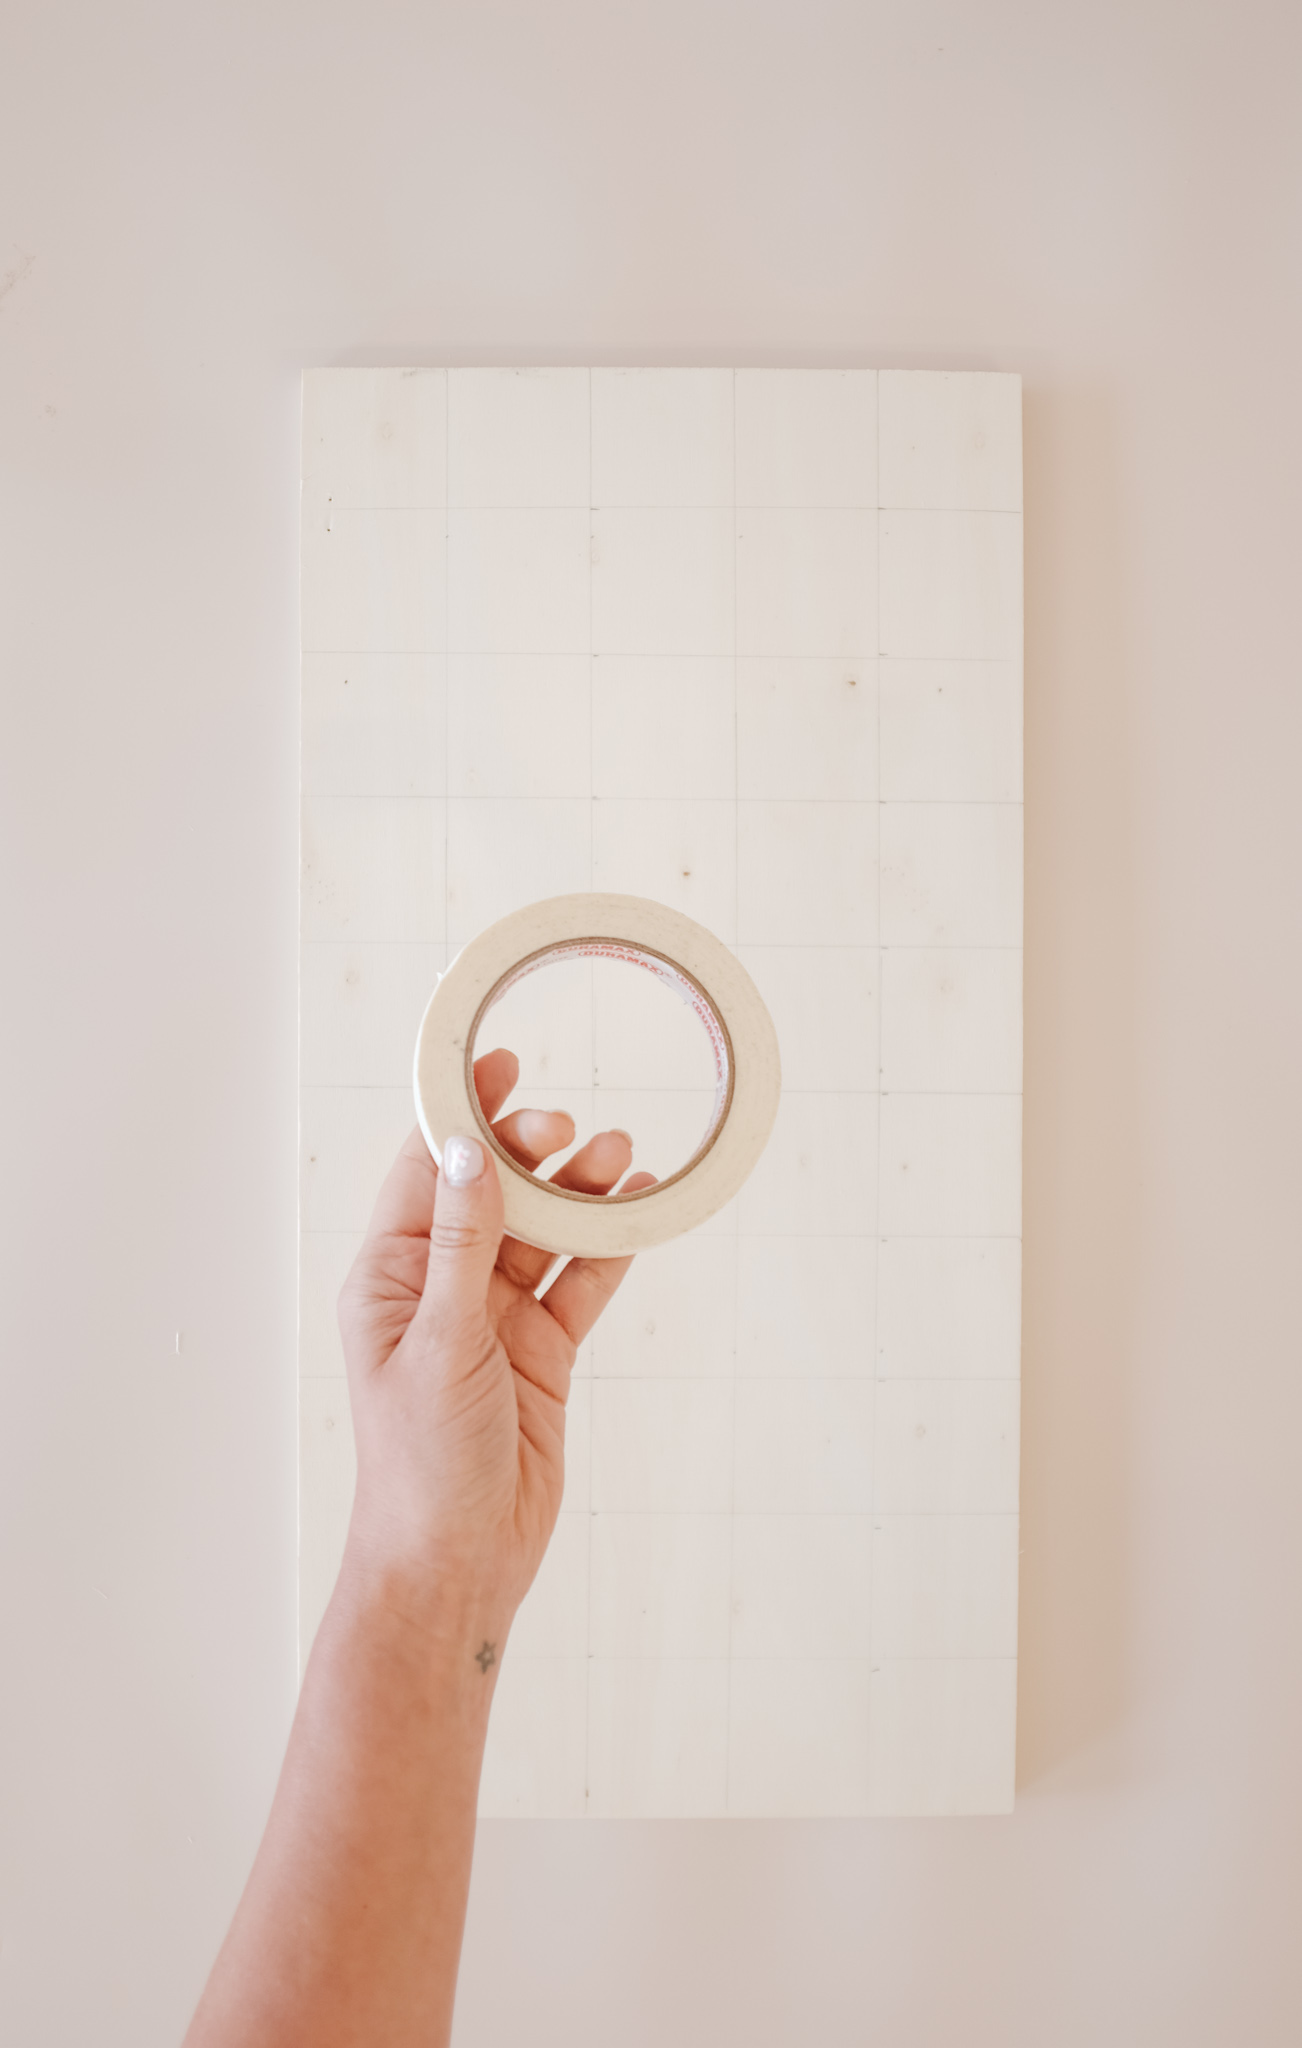
Grab a ruler and square and measure your tray to create the checks. I did them a big bigger of 1 inch x 1 inch. Trace them with a pencil and grab your painters tape for the next step.
step two: tape the checks grid
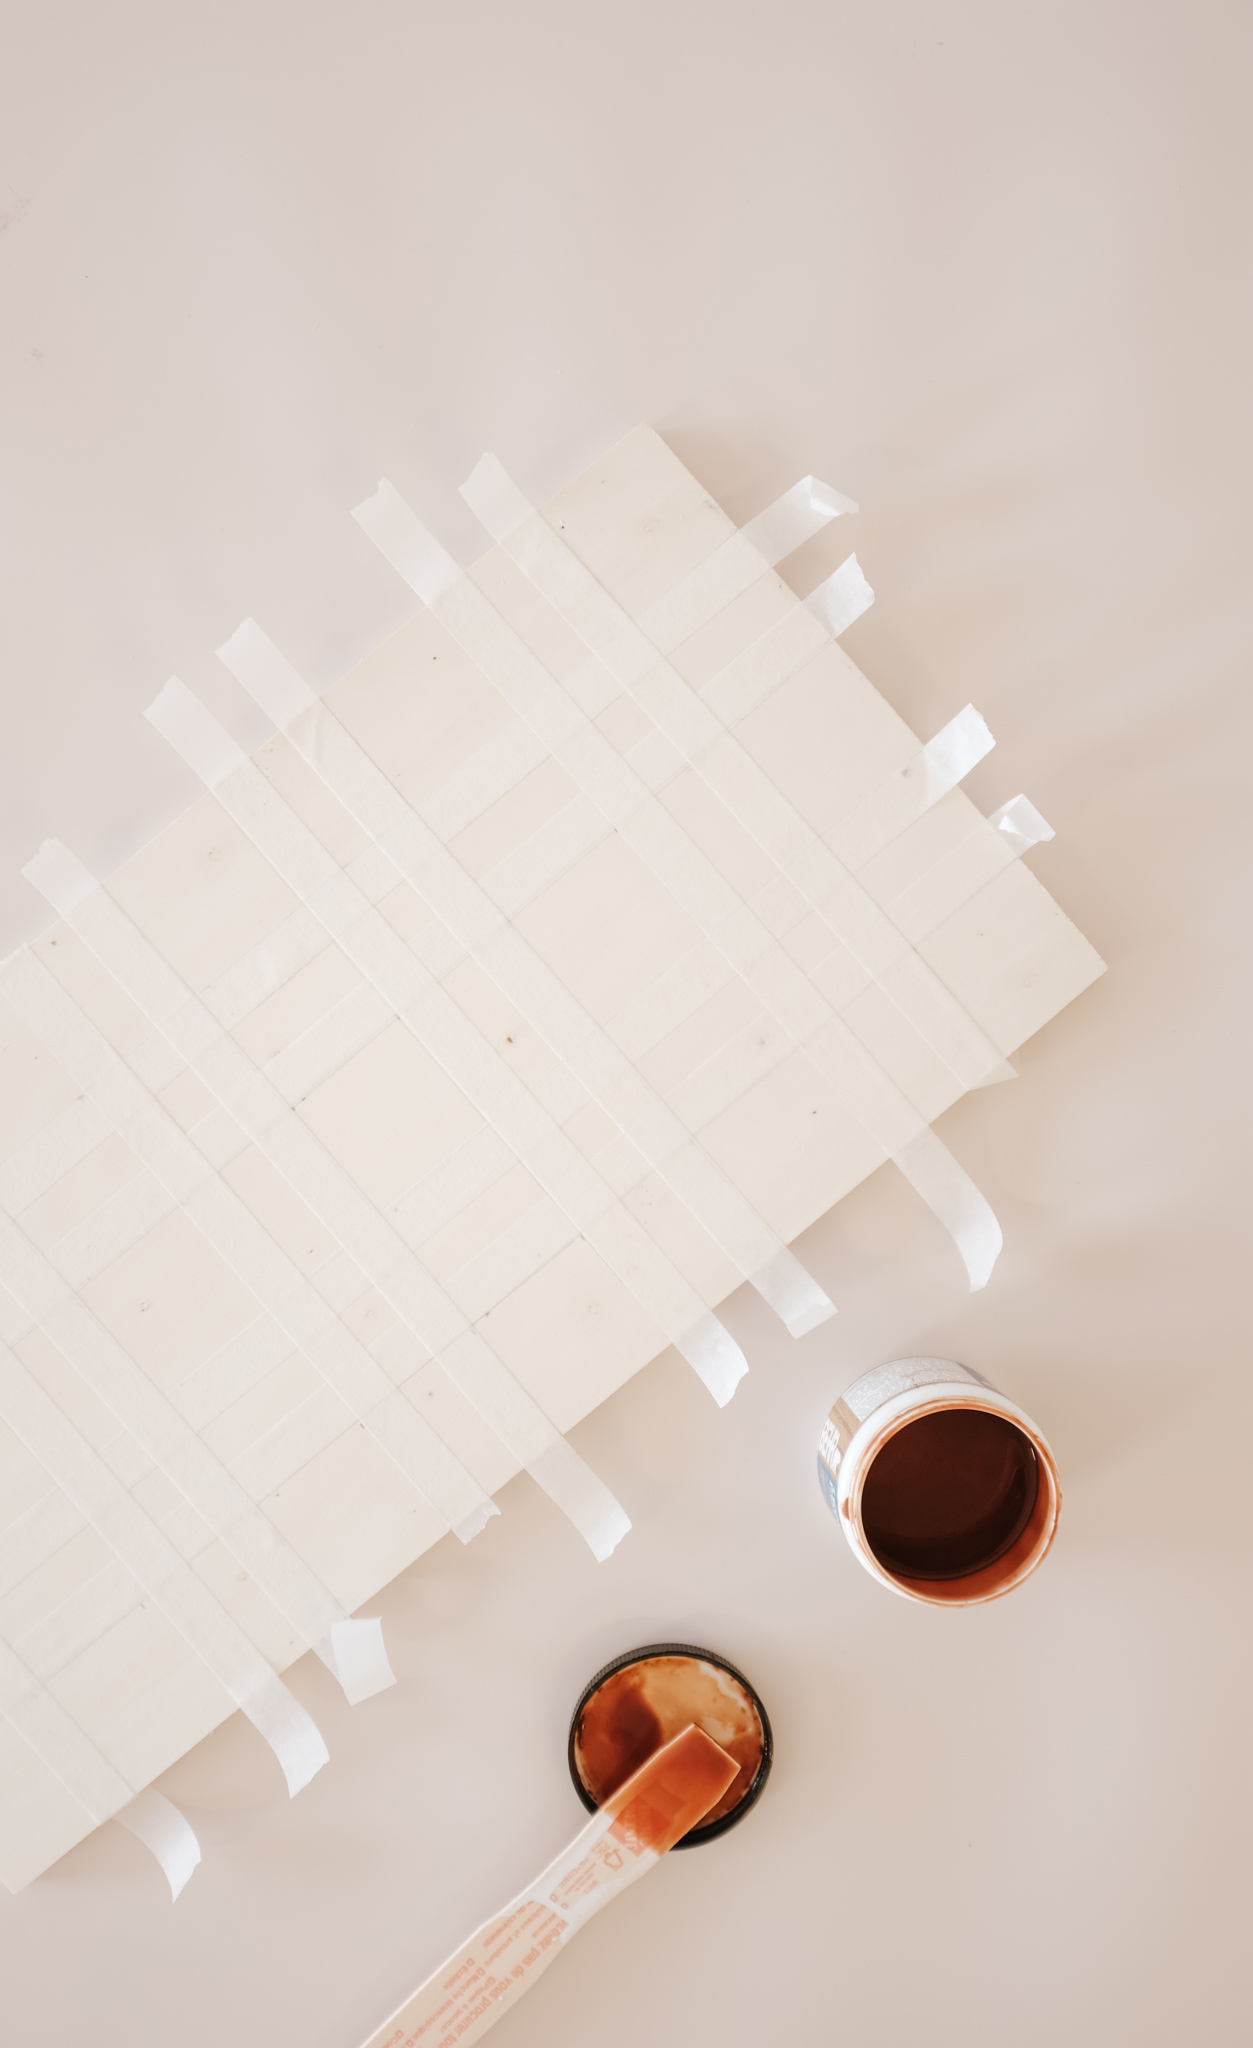
With your painters tape let’s tape off the tray. We’ll do the staining in two parts, starting with every two rows of checks, letting it dry and taping the remaining.
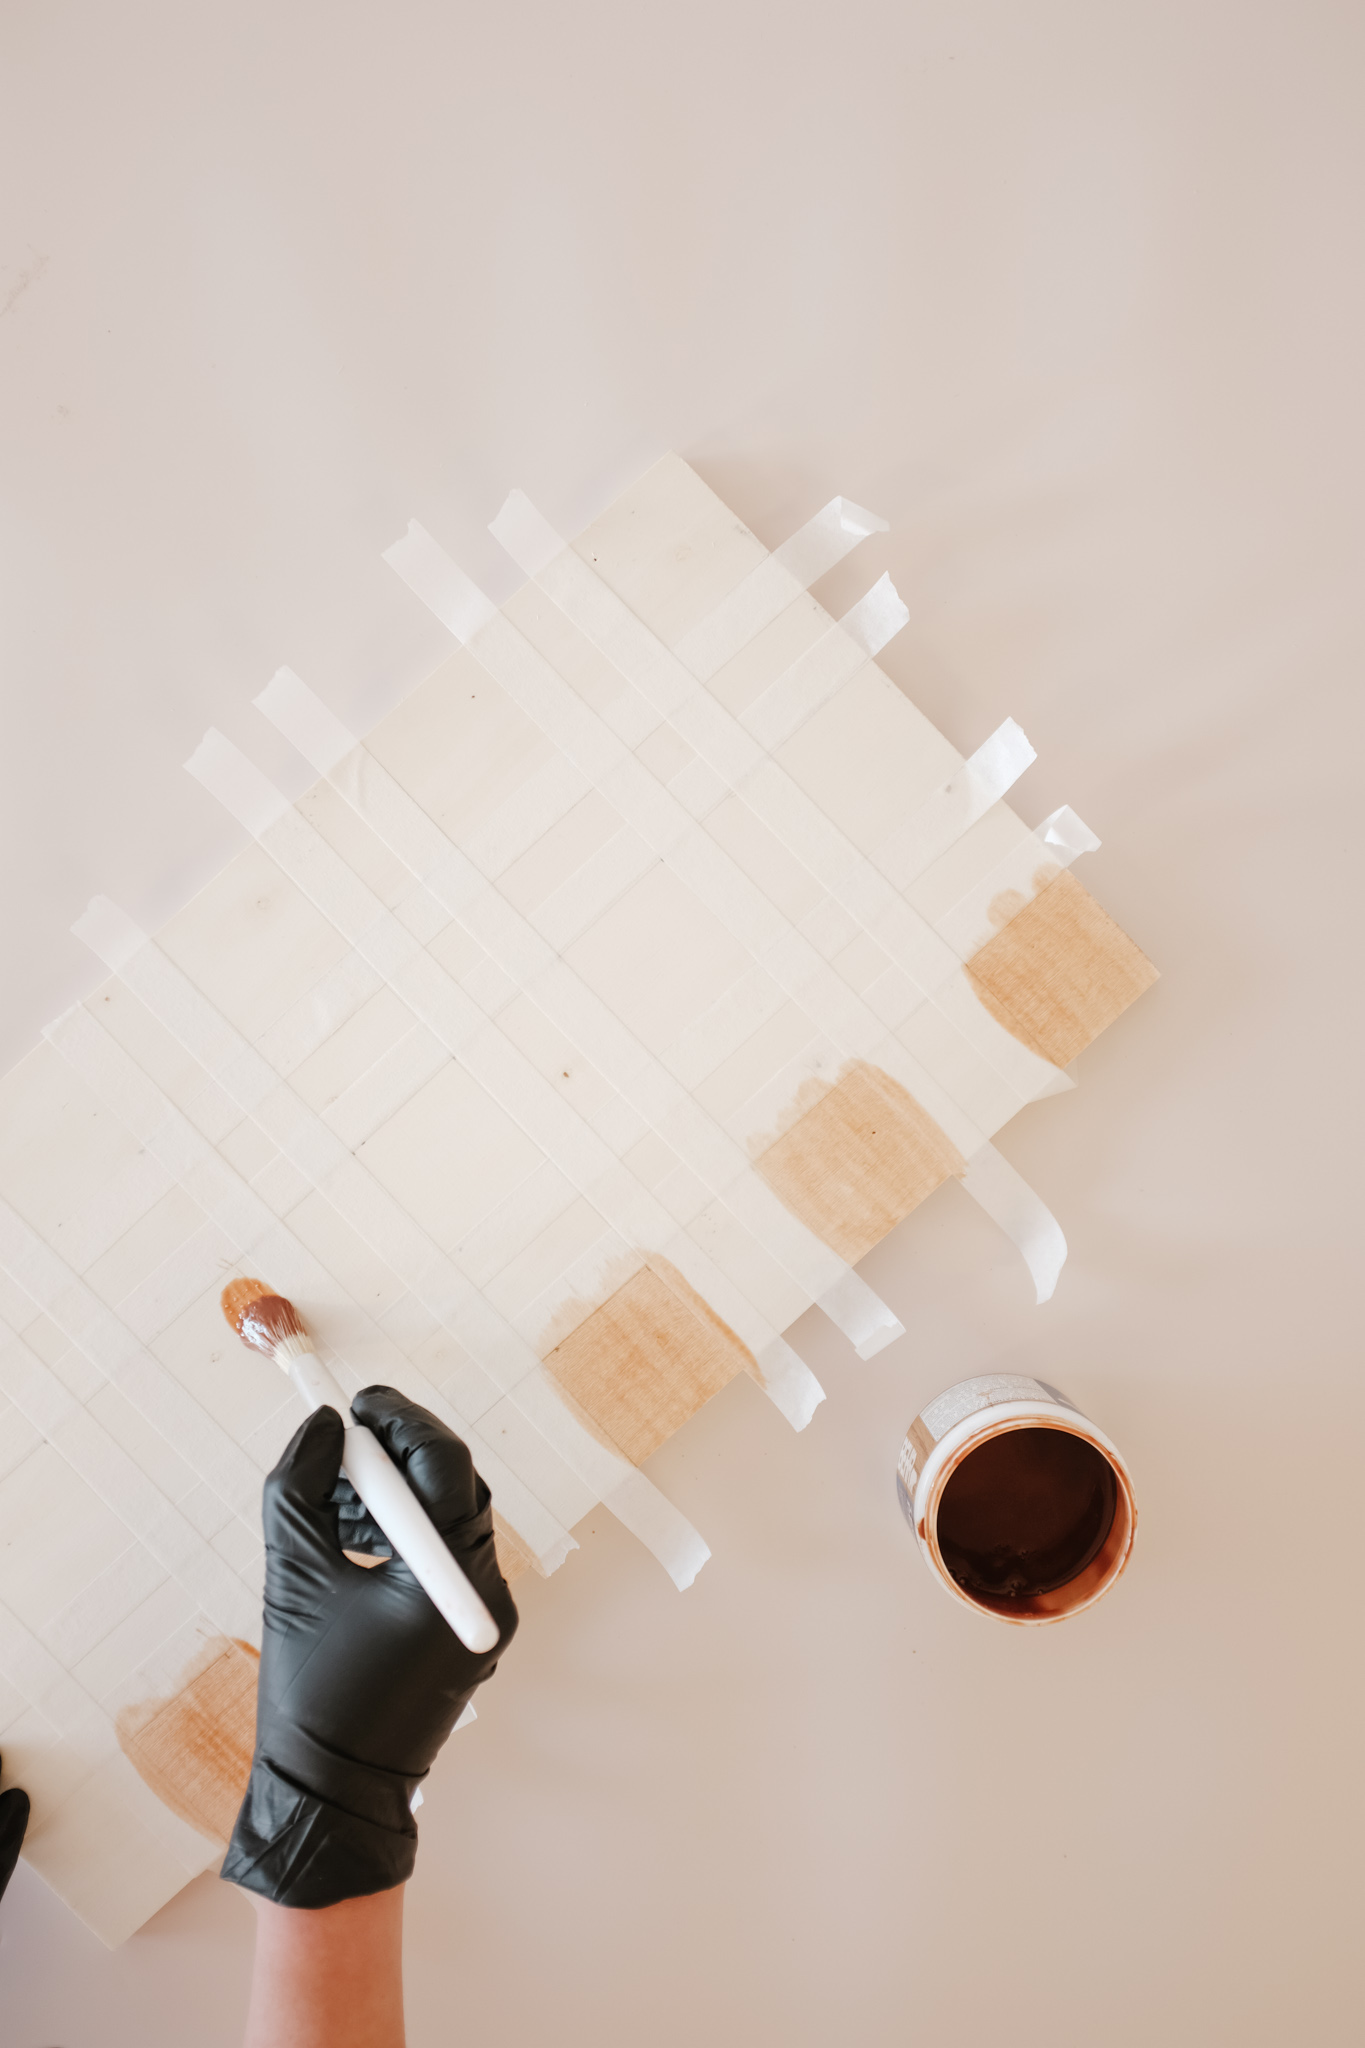
Step three: Stain the wood!
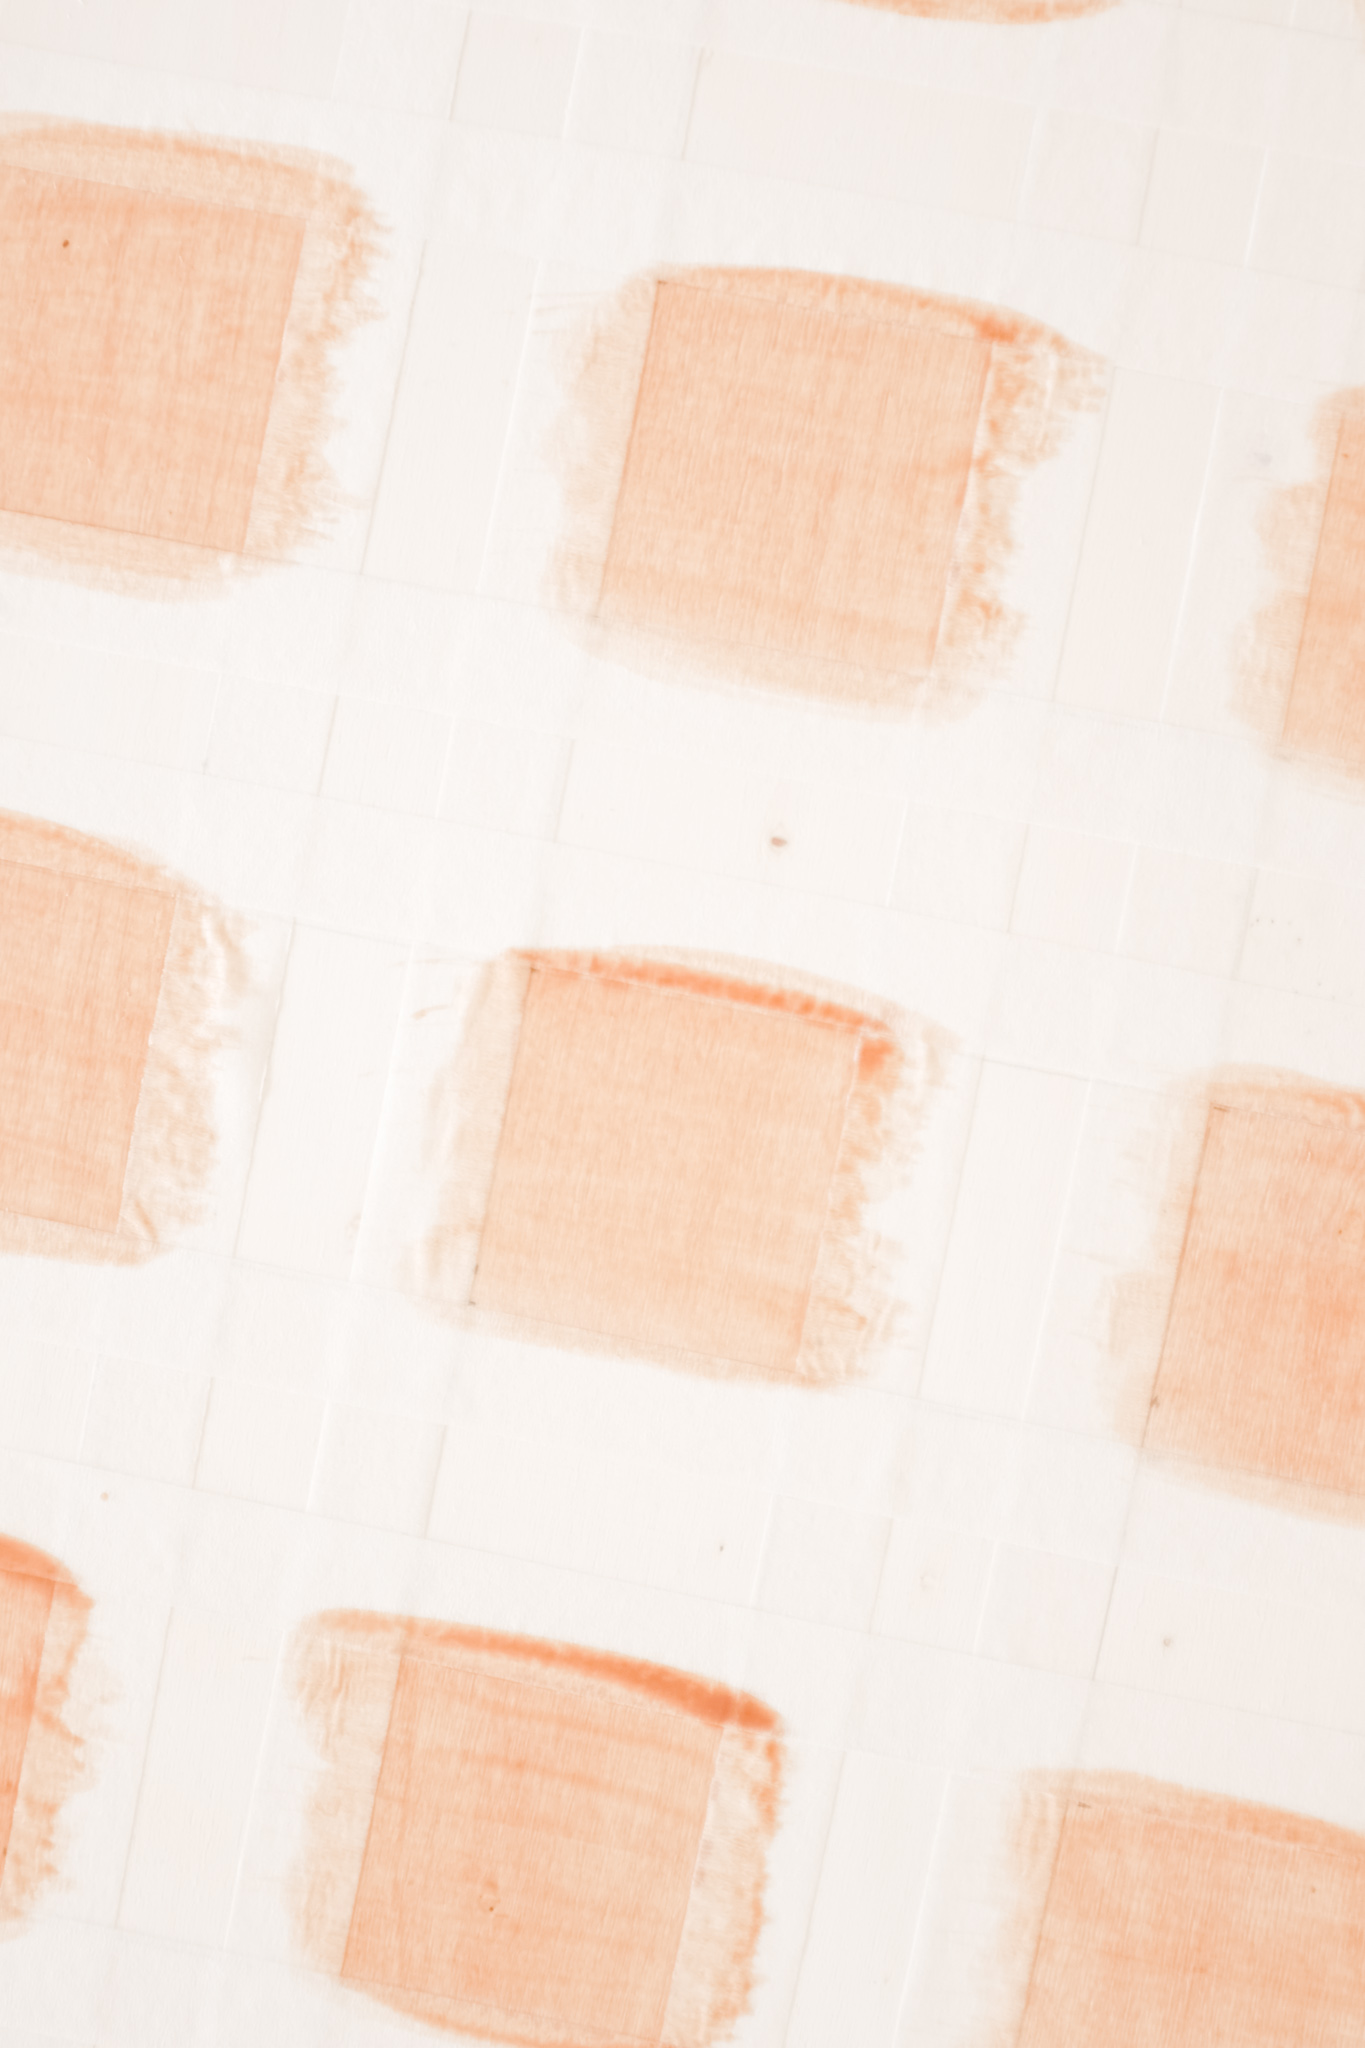
Following the stain instructions, you need to stir (and not shake) the stain to start. Using an artist brush apply a first coat of stain into the checks and let them dry for 10 minutes. Apply a second coat and wait 20 minutes. You can use a clean cloth to remove any stain excess.
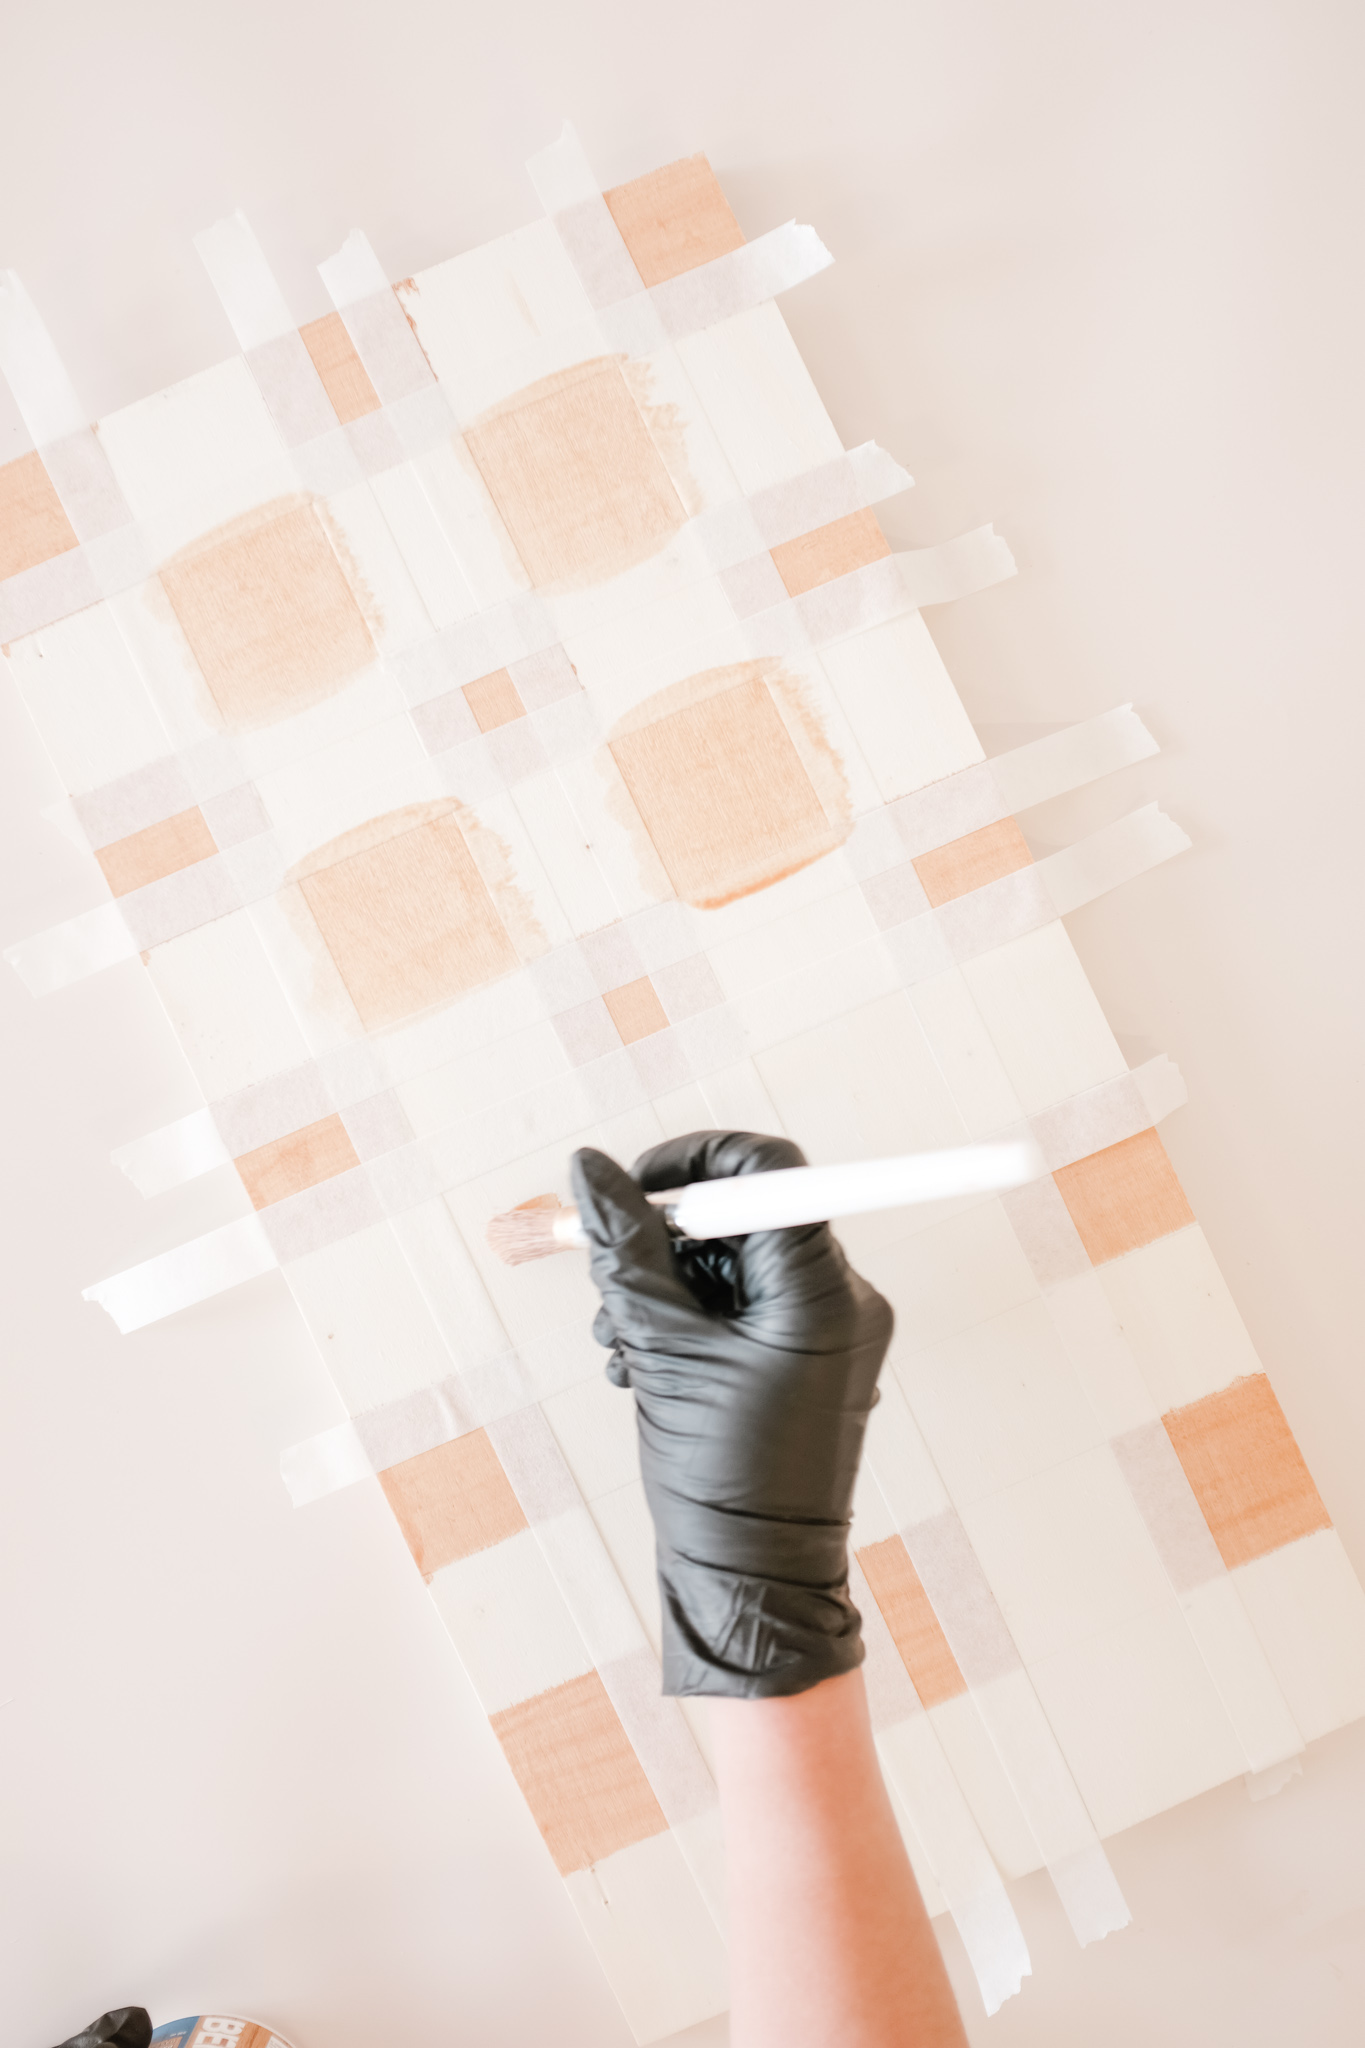
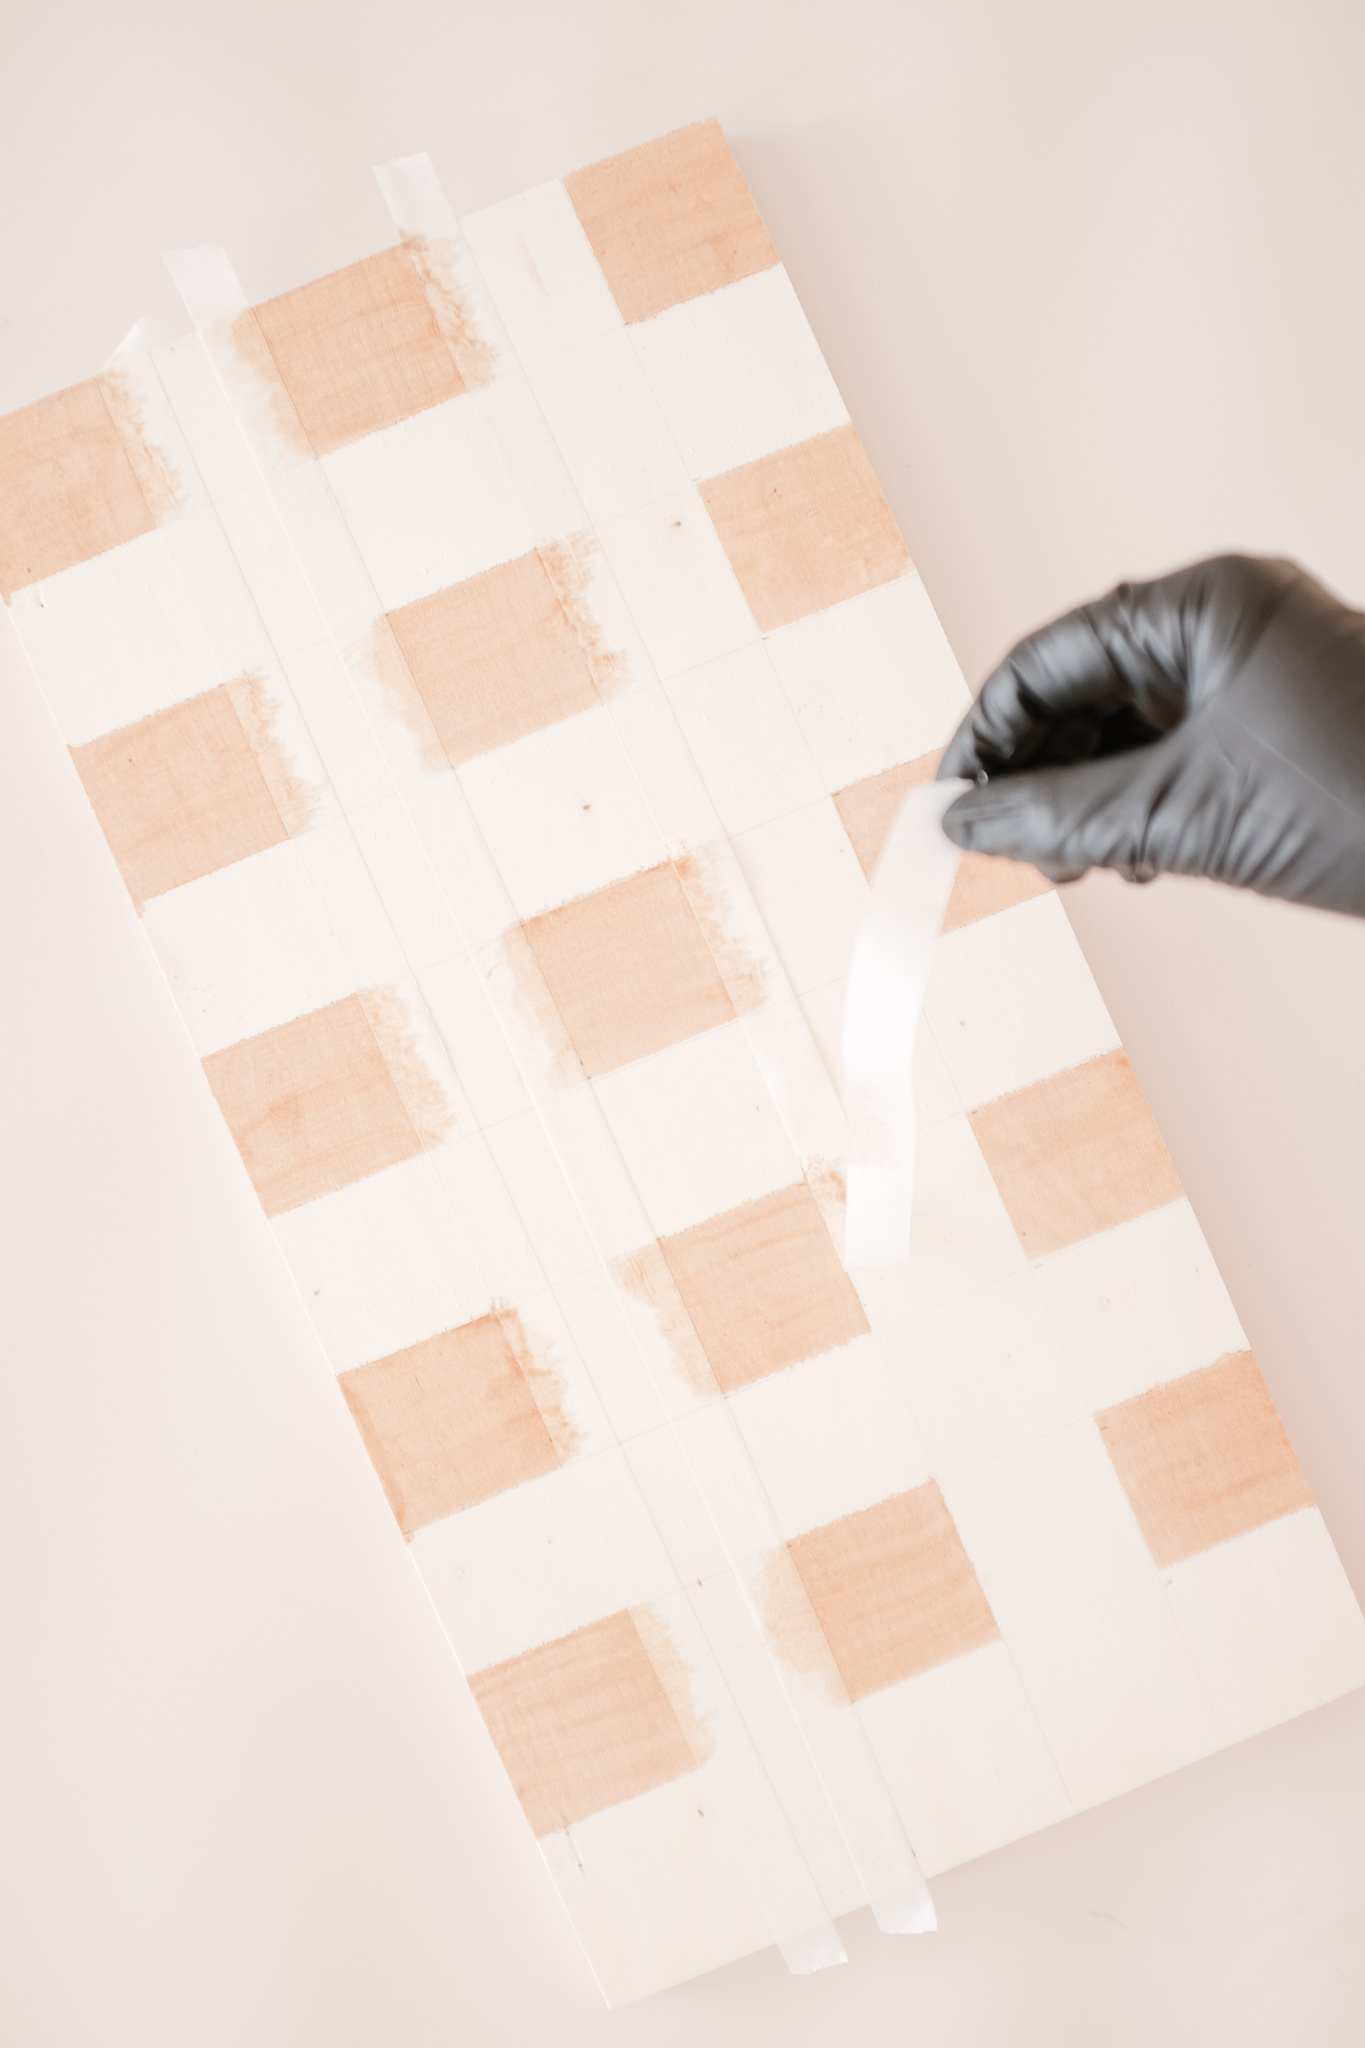
Step four: Remove the tape and stain the remaining
As soon as the first checks are dry, remove the tape and add painters tape to the remaining checks that need to be stained. Repeat step three. After the stain is completely dry, remove the remaining tape and voila!
You can apply a coat of polyurethane if you’ll use the tray outdoors, this step is optional.
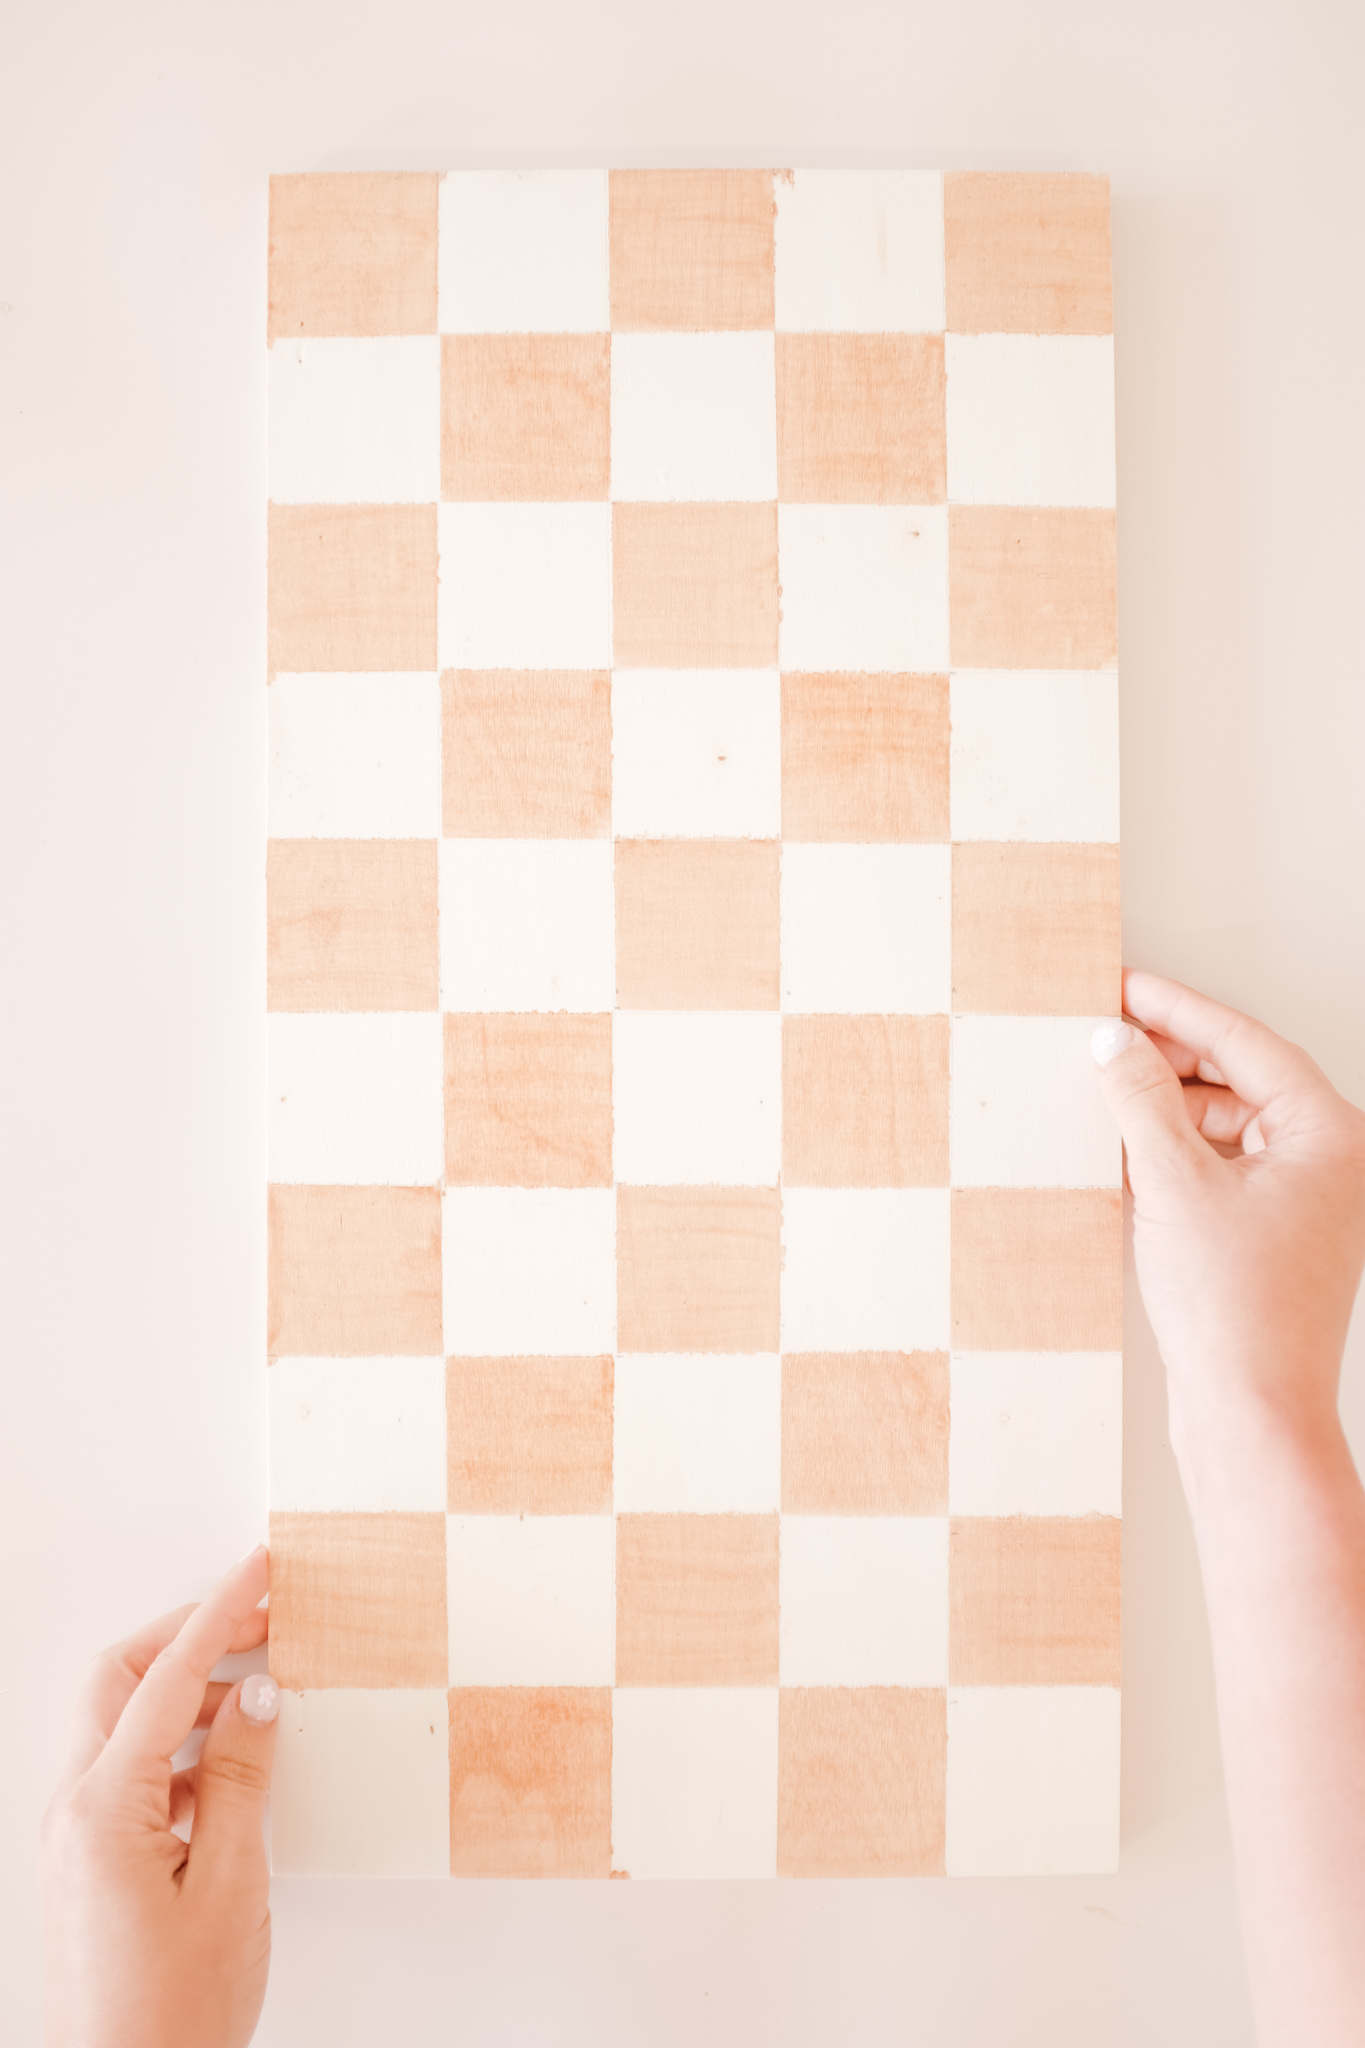
Seriously, how cute is this tray?
