You Need to DIY These Trendy Trees Using Cane Webbing (The Cutest & Easiest To Make)


Cane webbing is a timeless and chic material I want to use everywhere at home and at the studio (no joke!). I’m sure you are seeing cane in many pieces at home: chairs, kitchen cabinets, headboards, accessories and much more.
I’m still on everything Christmas mode over here and today’s DIY is just the cutest and easiest trees using cane webbing that will be your next favourite accessory at home.
You’ll only need your hot glue gun, scissors and cane, so fun and so easy!
– Cane webbing sheet
– Hot glue gun and glue sticks
– Cone template
– Marker
– Scissors
– Mini heat gun
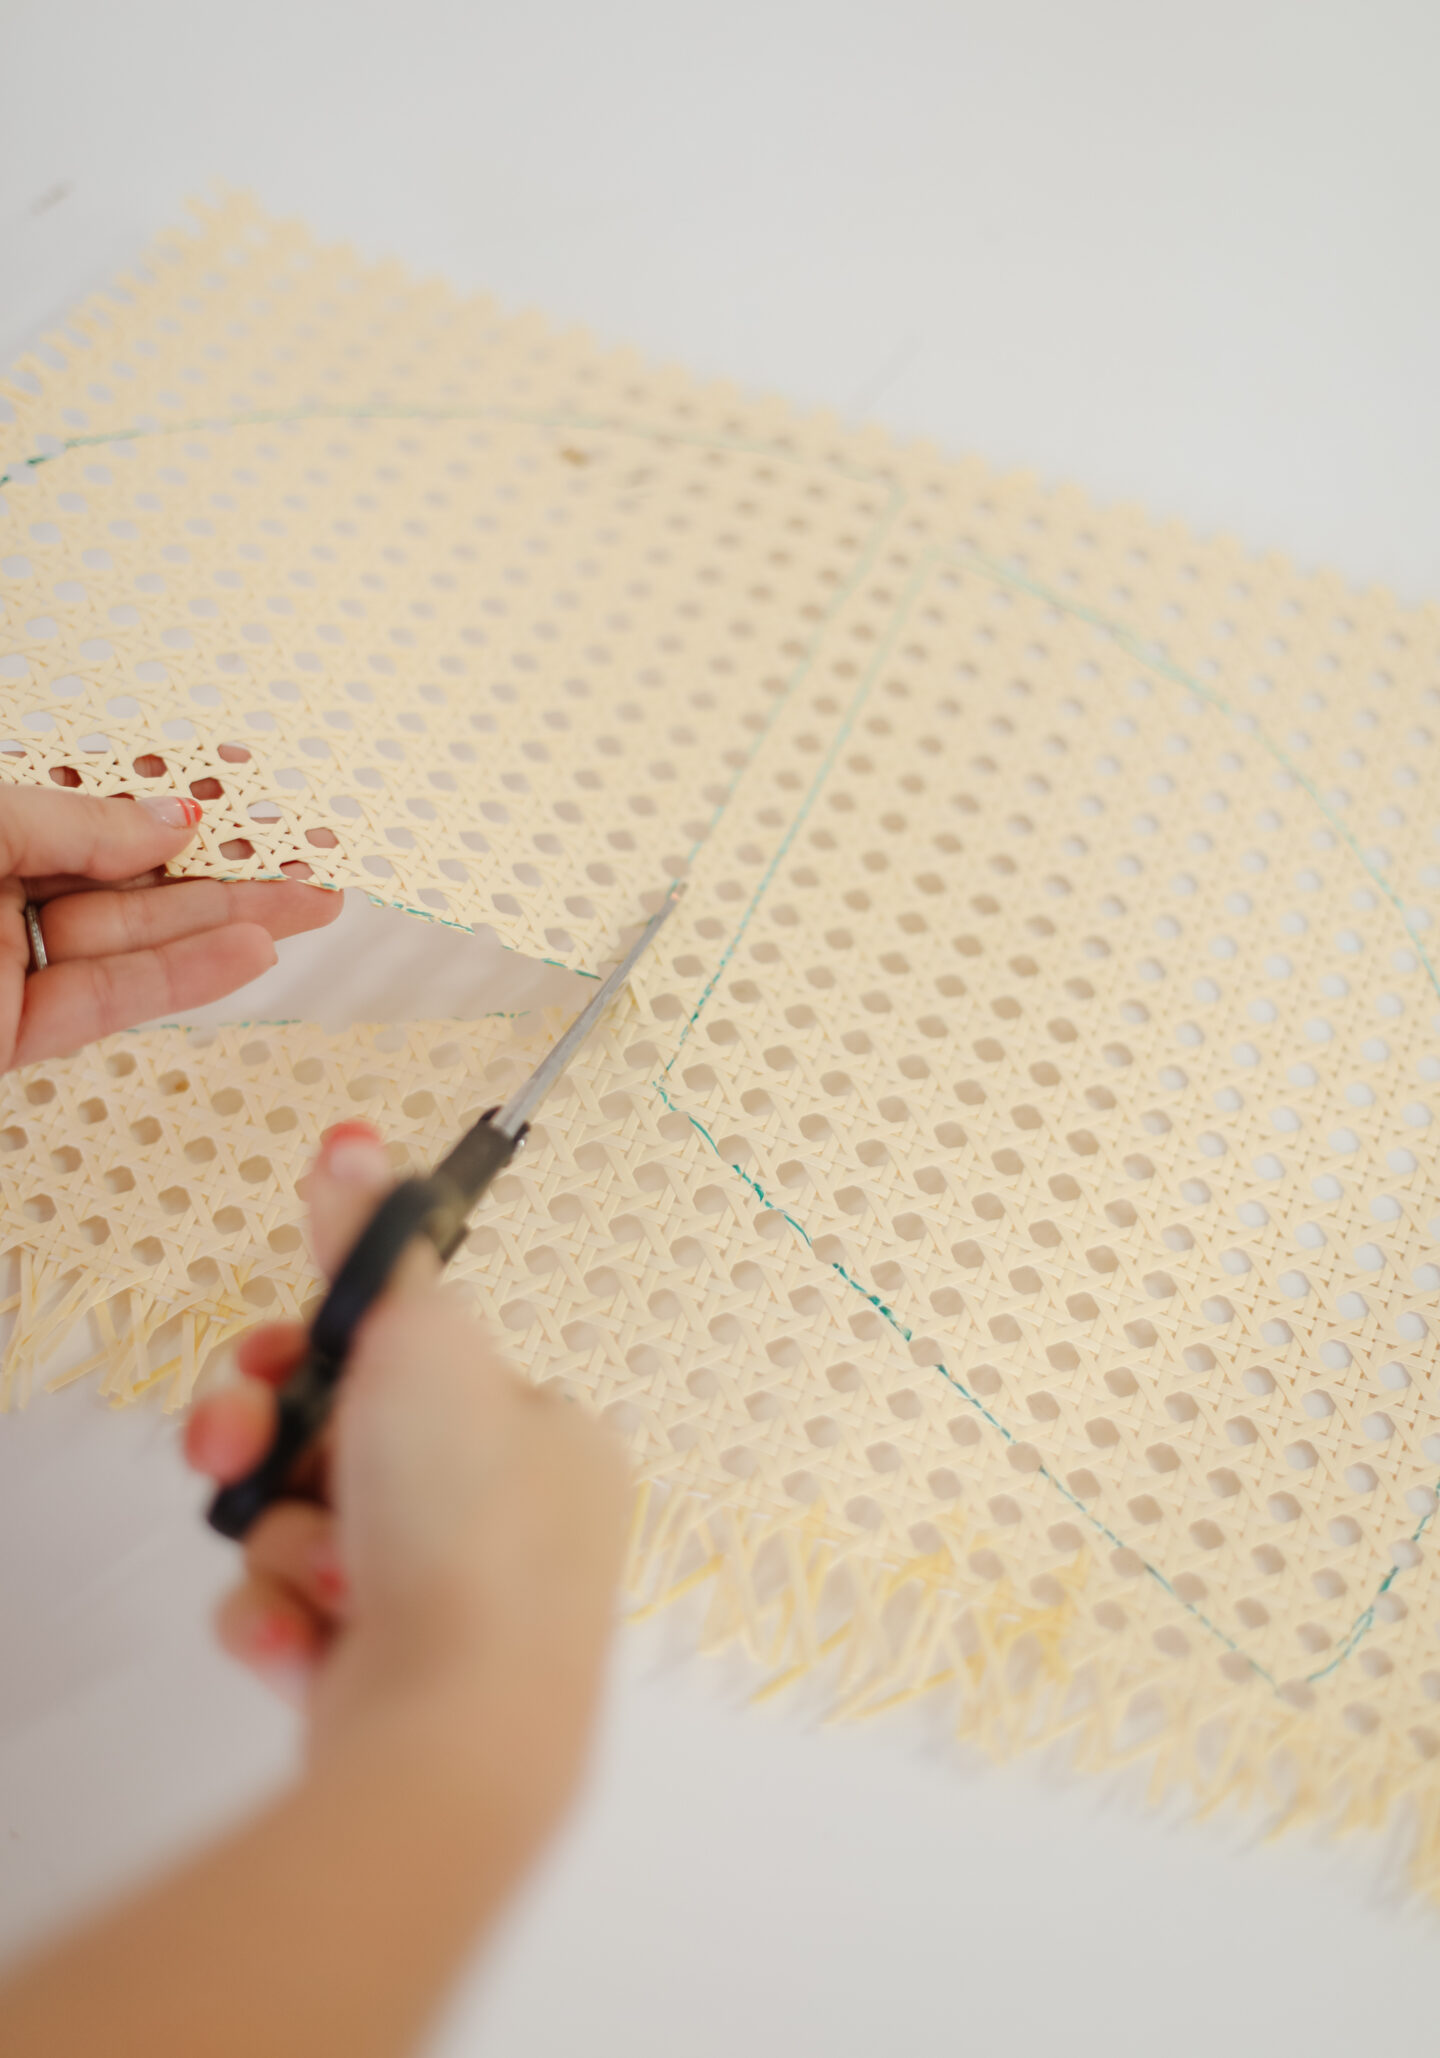
Start by printing a cone template that you will use to make the trees using cane webbing.
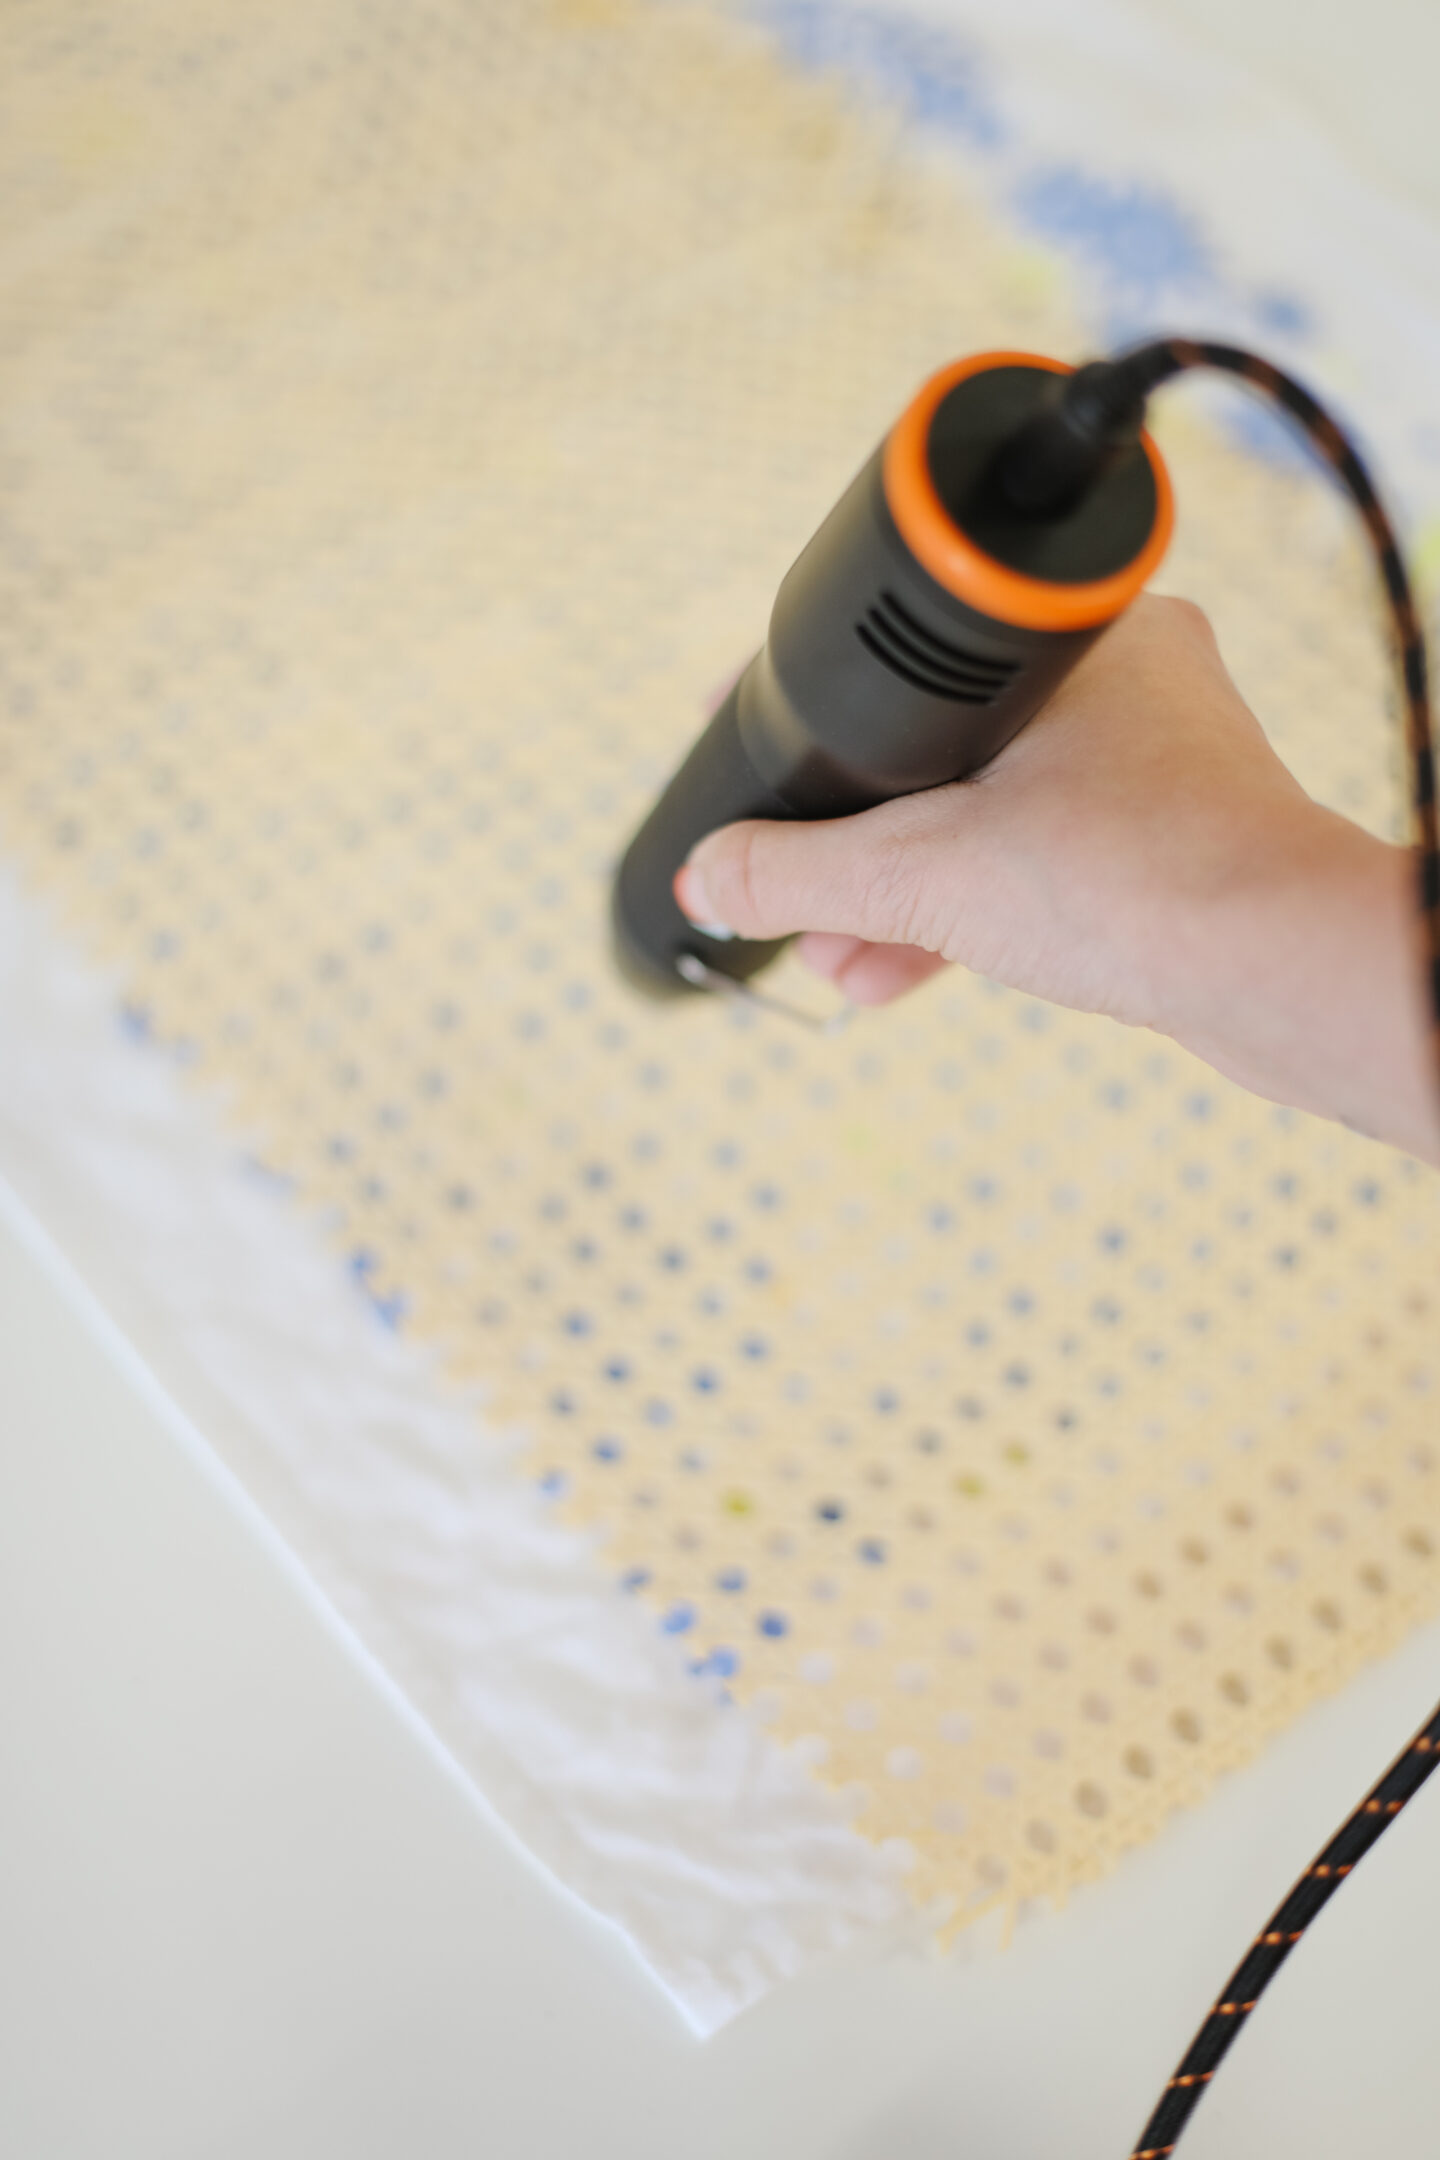
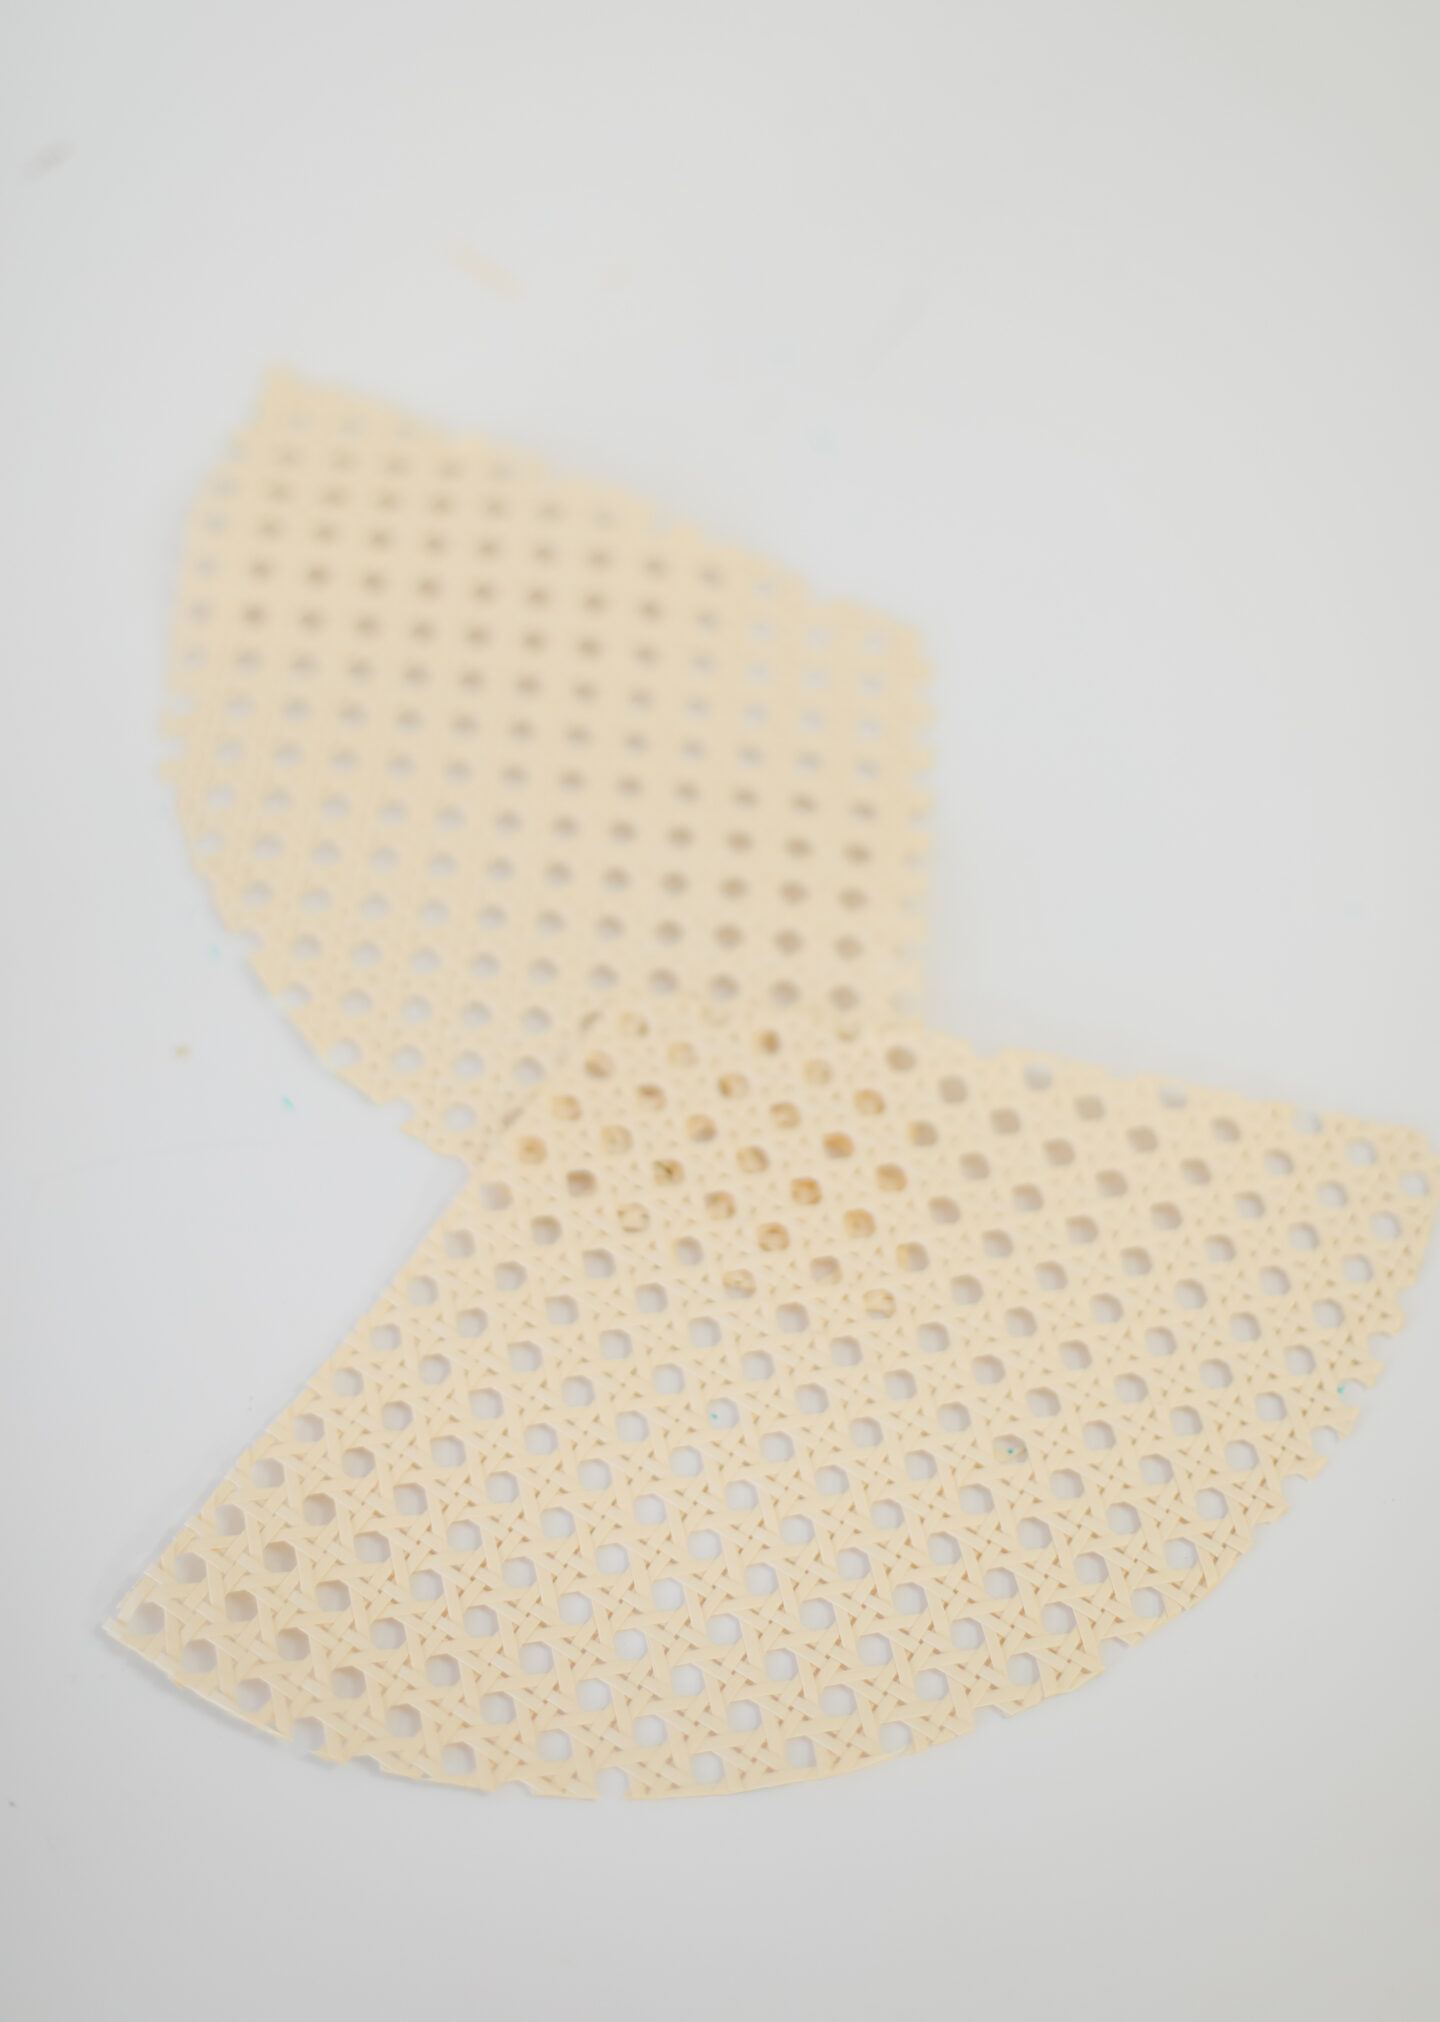
This is the secret to work with cane: soak it for 10 to 15 minutes in warm water before you cut the trees. Remove the water excess and to accelerate the process, dry with a heat gun.
As soon as the webbing is dry and malleable, trace the cone template and cut using your scissors.
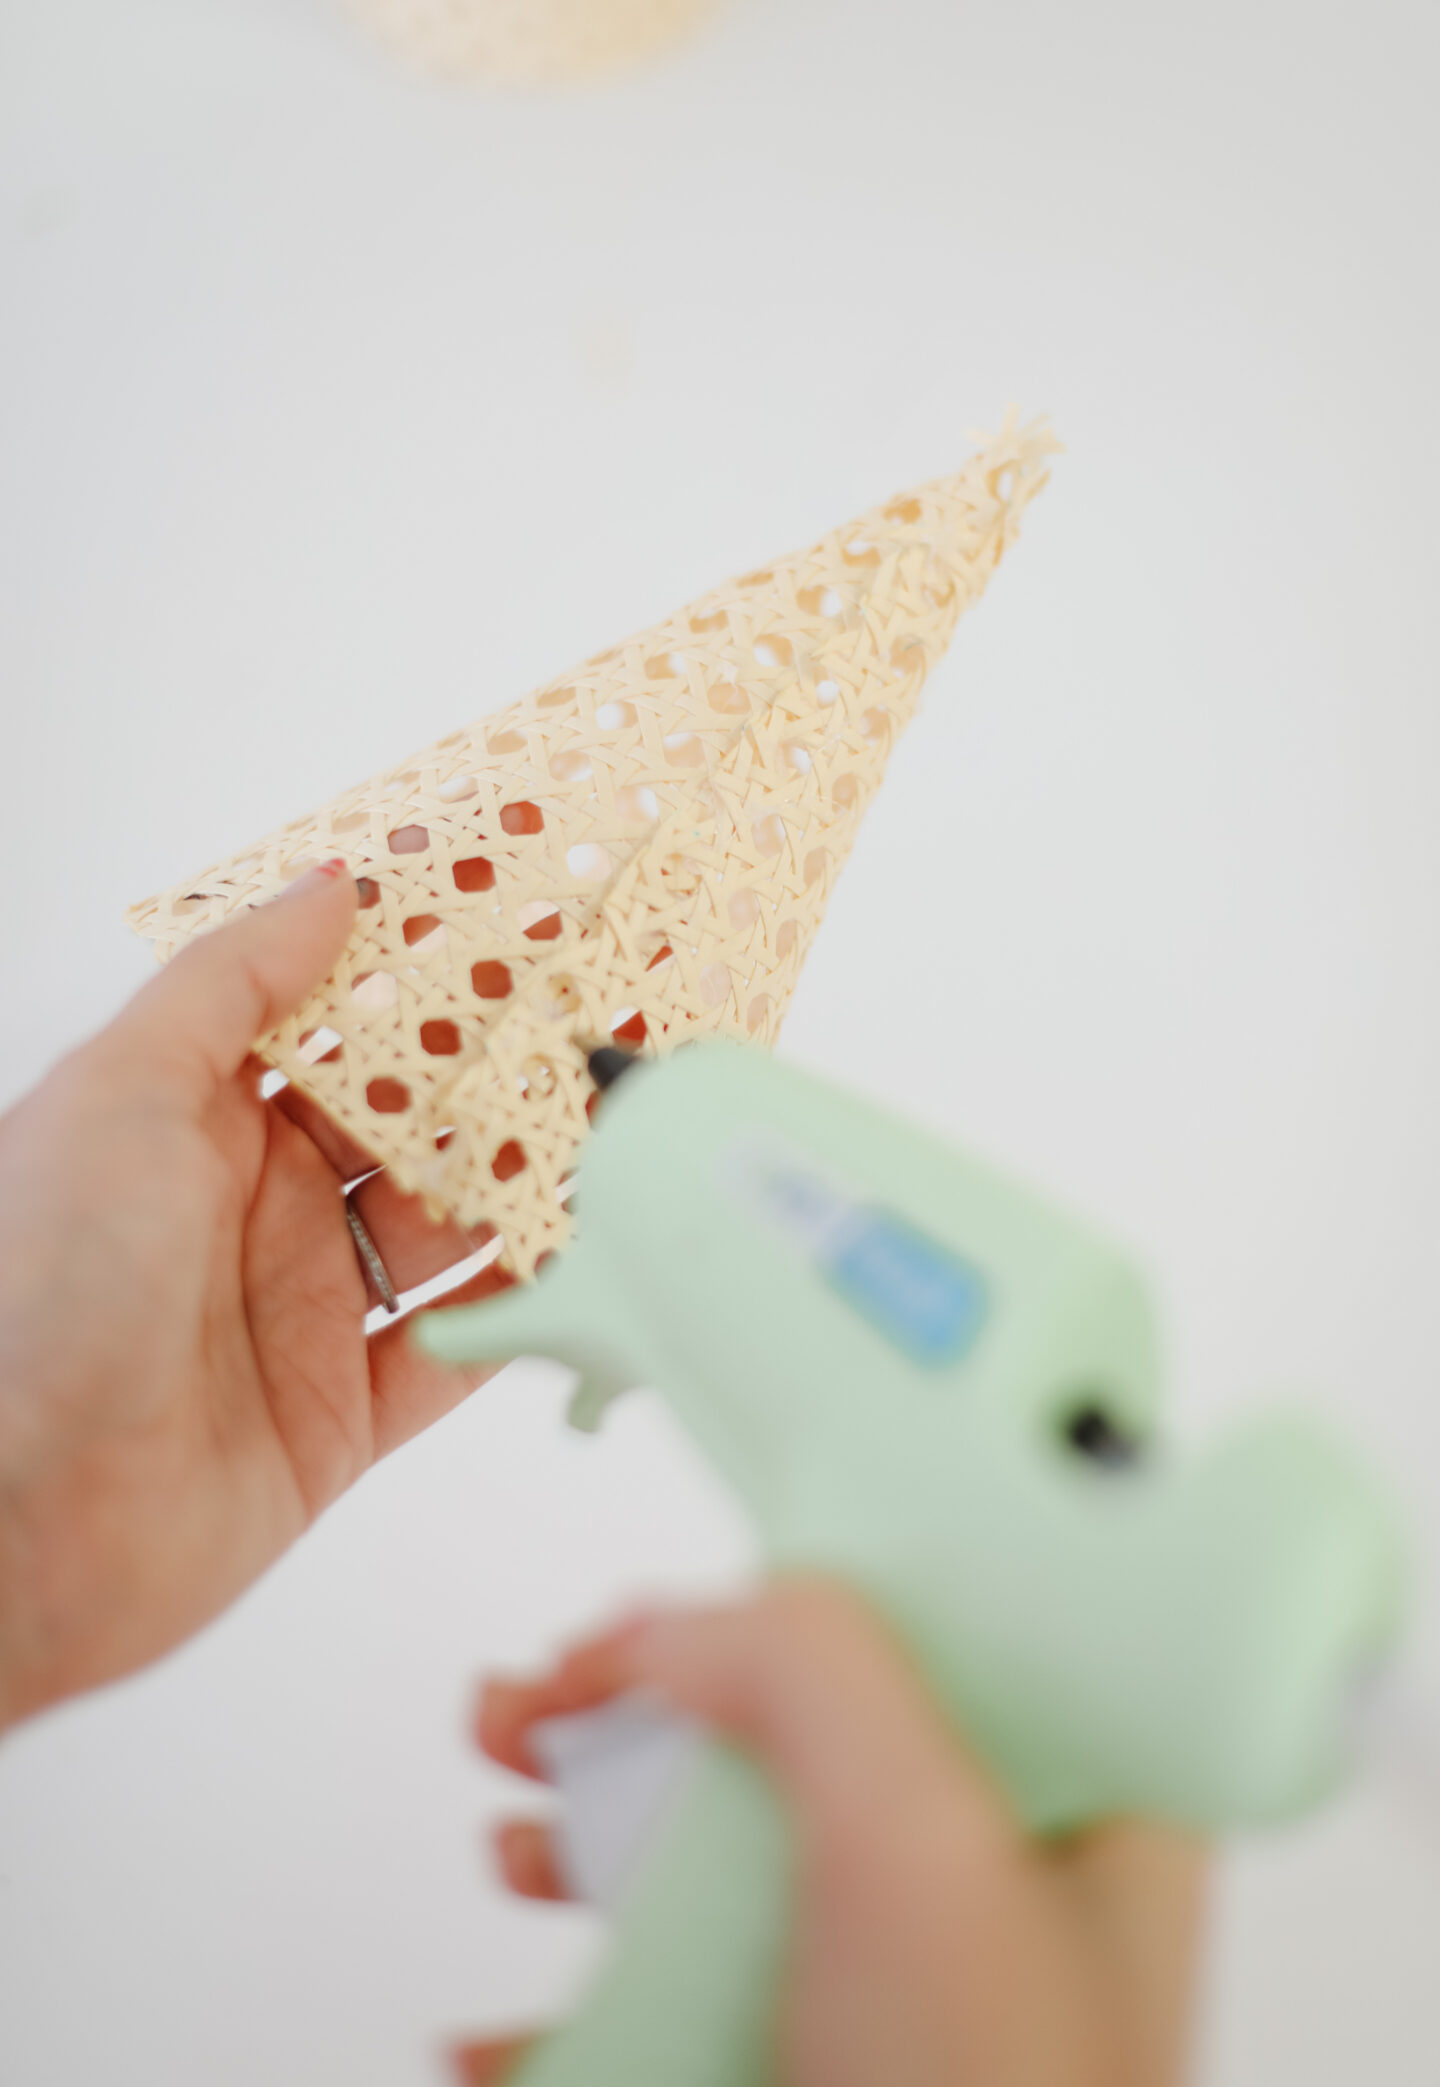
Grab your cane cone and apply hot glue on the straight line and glue it to the opposite side carefully shaping your cone. Let it air dry for 5 minutes and voila!