Upgrade Your Pilates Space: Let’s DIY This Arch Organizer in 6 Simple Steps!


Picture this: a cluttered corner with pilates accessories scattered everywhere.
Resistance bands tangled, yoga mat buried under piles of equipment – a chaotic scene that made it nearly impossible to find anything, let alone muster the motivation to begin exercising.
Is this the story of your Pilates life a well? I had to come up with a fun pilates arch organizer, colourful idea to craft a solution that would not only organize my space but also inspire me to dive into my workouts at my studio.
In this step-by-step guide, I’ll walk you through the process of creating a vibrant and modern arch pilates organizer. With just a few simple materials and some creativity, you can transform your pilates space from chaotic to chic in no time.
Let’s get started!
Using a pencil, sketch the desired shape of your arch on the MDF board. Then, carefully cut along the outline using a cordless jigsaw. Take your time to ensure smooth and precise cuts.
Step 2: Create Pegboard Holes
With your drill and round bit, drill holes evenly spaced along the arch, approximately every 3 inches. These holes will serve as the pegboard-style system where you can insert wooden dowels to hang your pilates accessories.
Once you have successfully cut your arch, use sandpaper to smooth out any rough edges or surfaces on the arch. Pay close attention to the corners and edges to ensure a polished finish.
Get creative with your color scheme by painting the arch in two FUN tones. Apply a base coat of paint and allow it to dry completely before adding a second coat. I used the second colour on the dowel ends and shelves for the pegboard, this two-tone effect will add visual interest to your organizer.
Cut the dowels into pieces of your preferred length using the jigsaw. Insert these dowel pieces into the drilled holes on the arch as soon as the paint coats are dry and ready to use. These dowels will act as pegs for hanging your pilates equipment securely.
Using screws and your drill, securely mount the painted arch pegboard organizer onto the wall of your pilates space. Make sure it is level and stable before hanging your accessories.
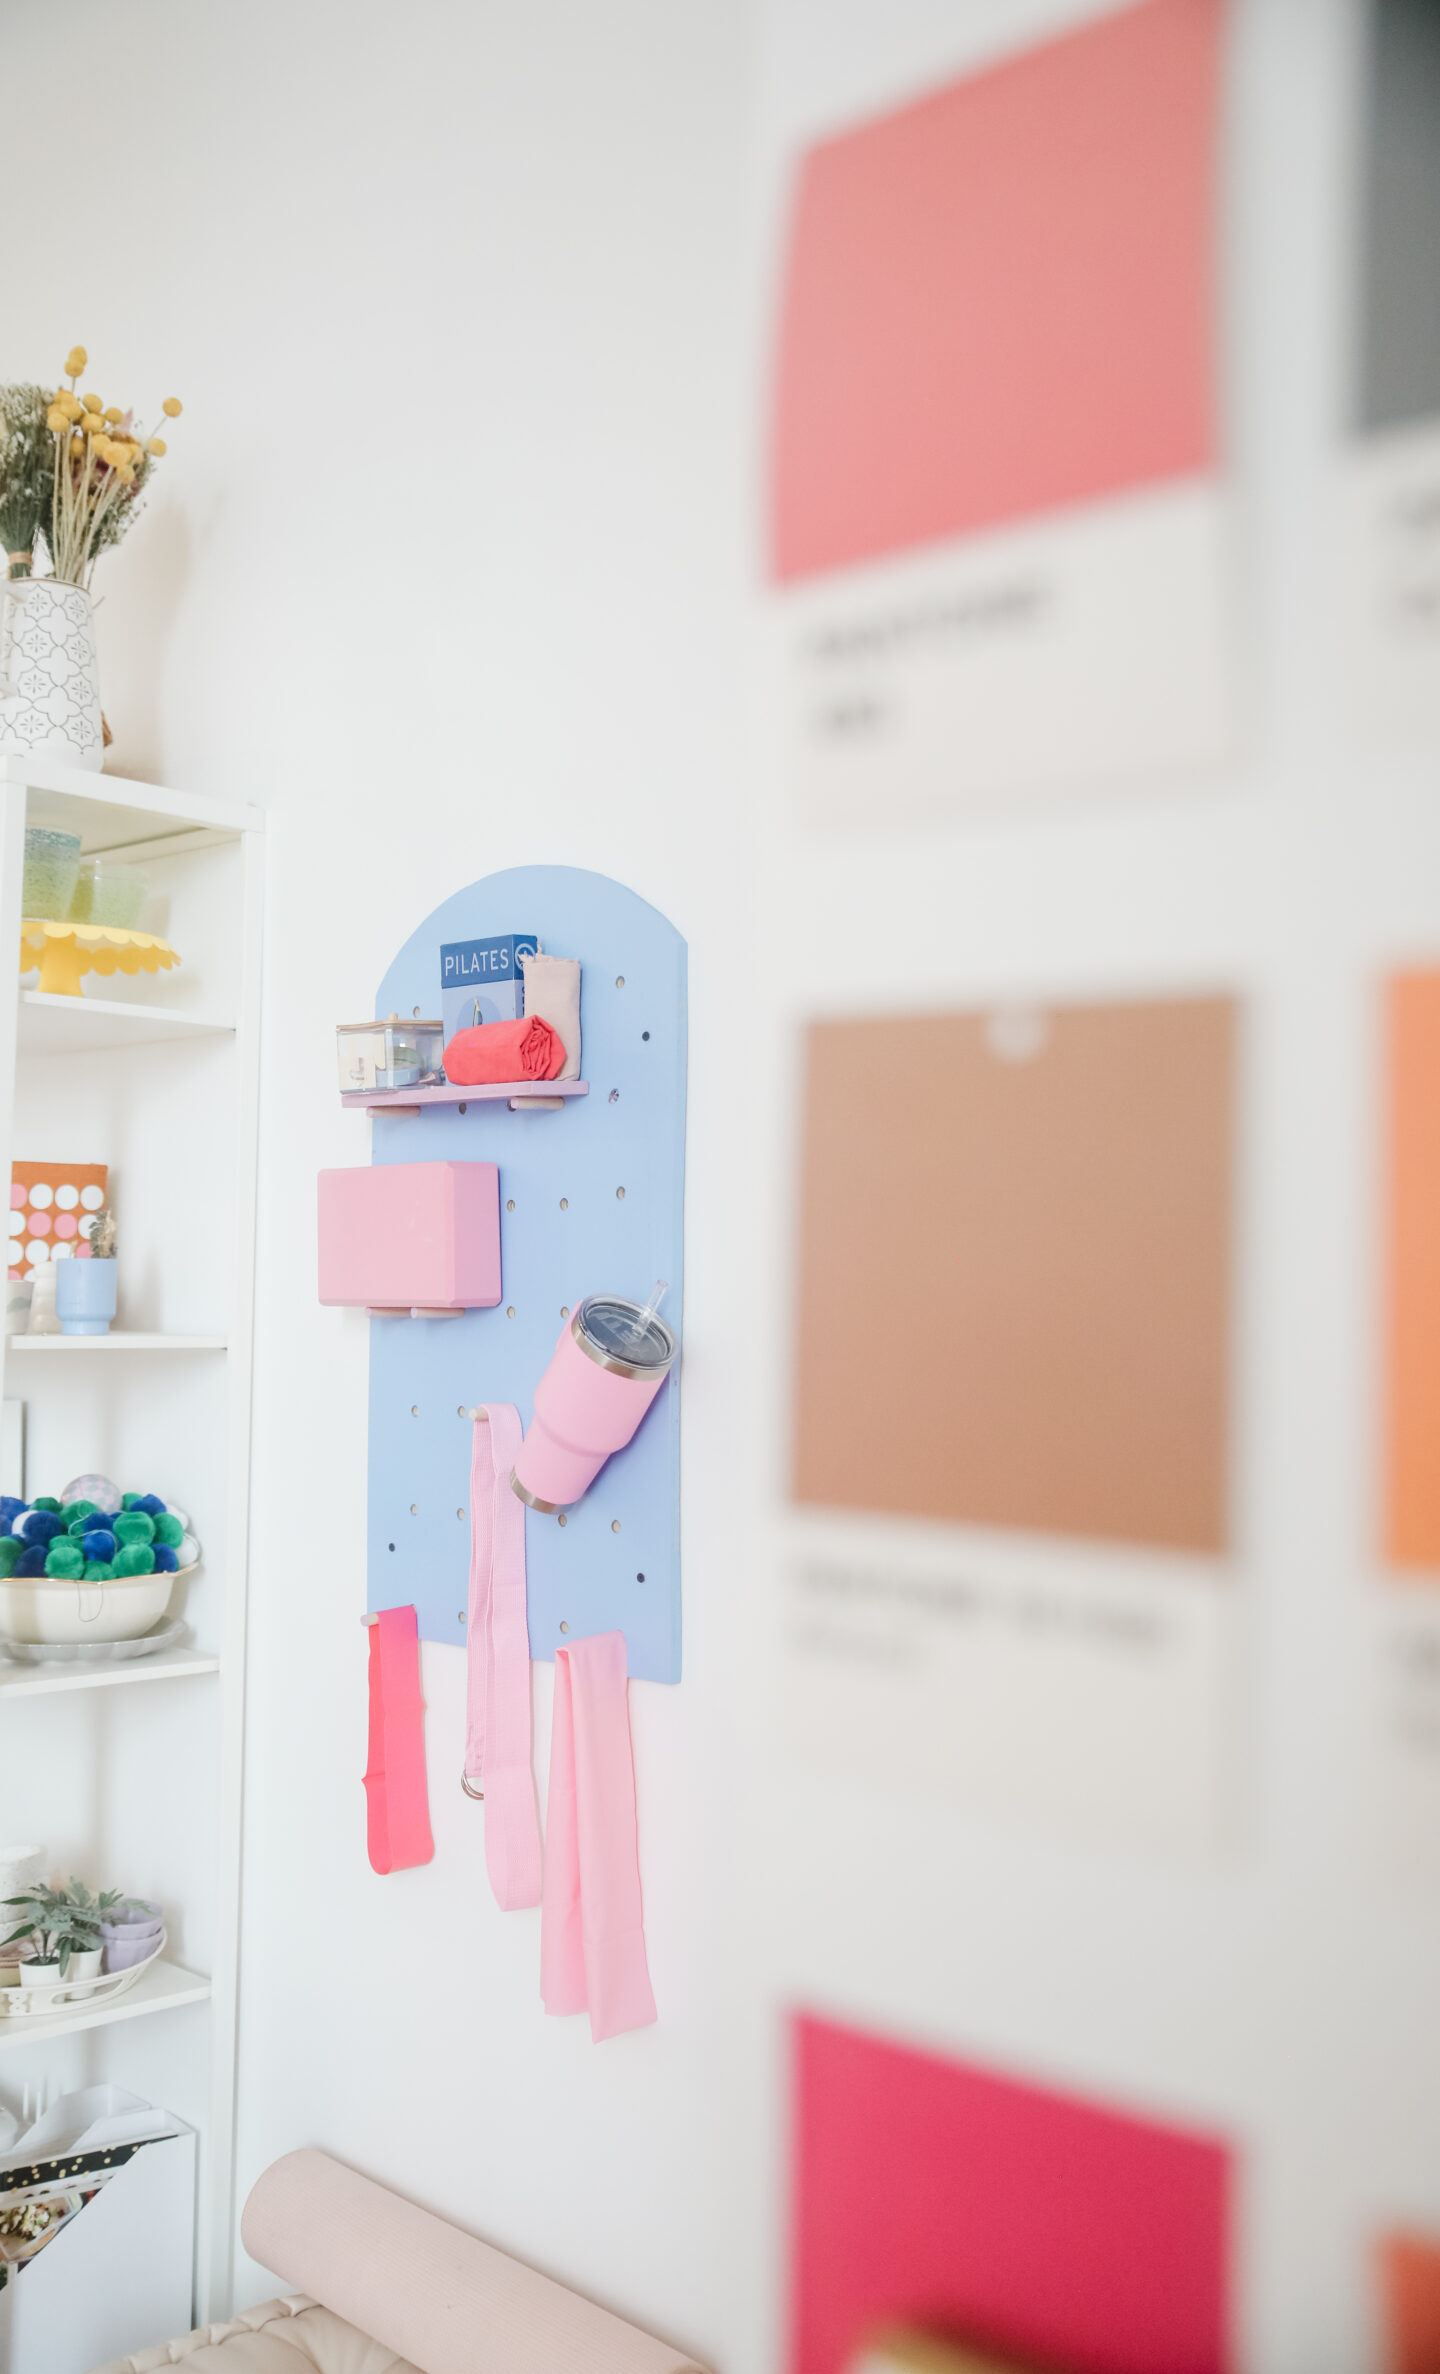
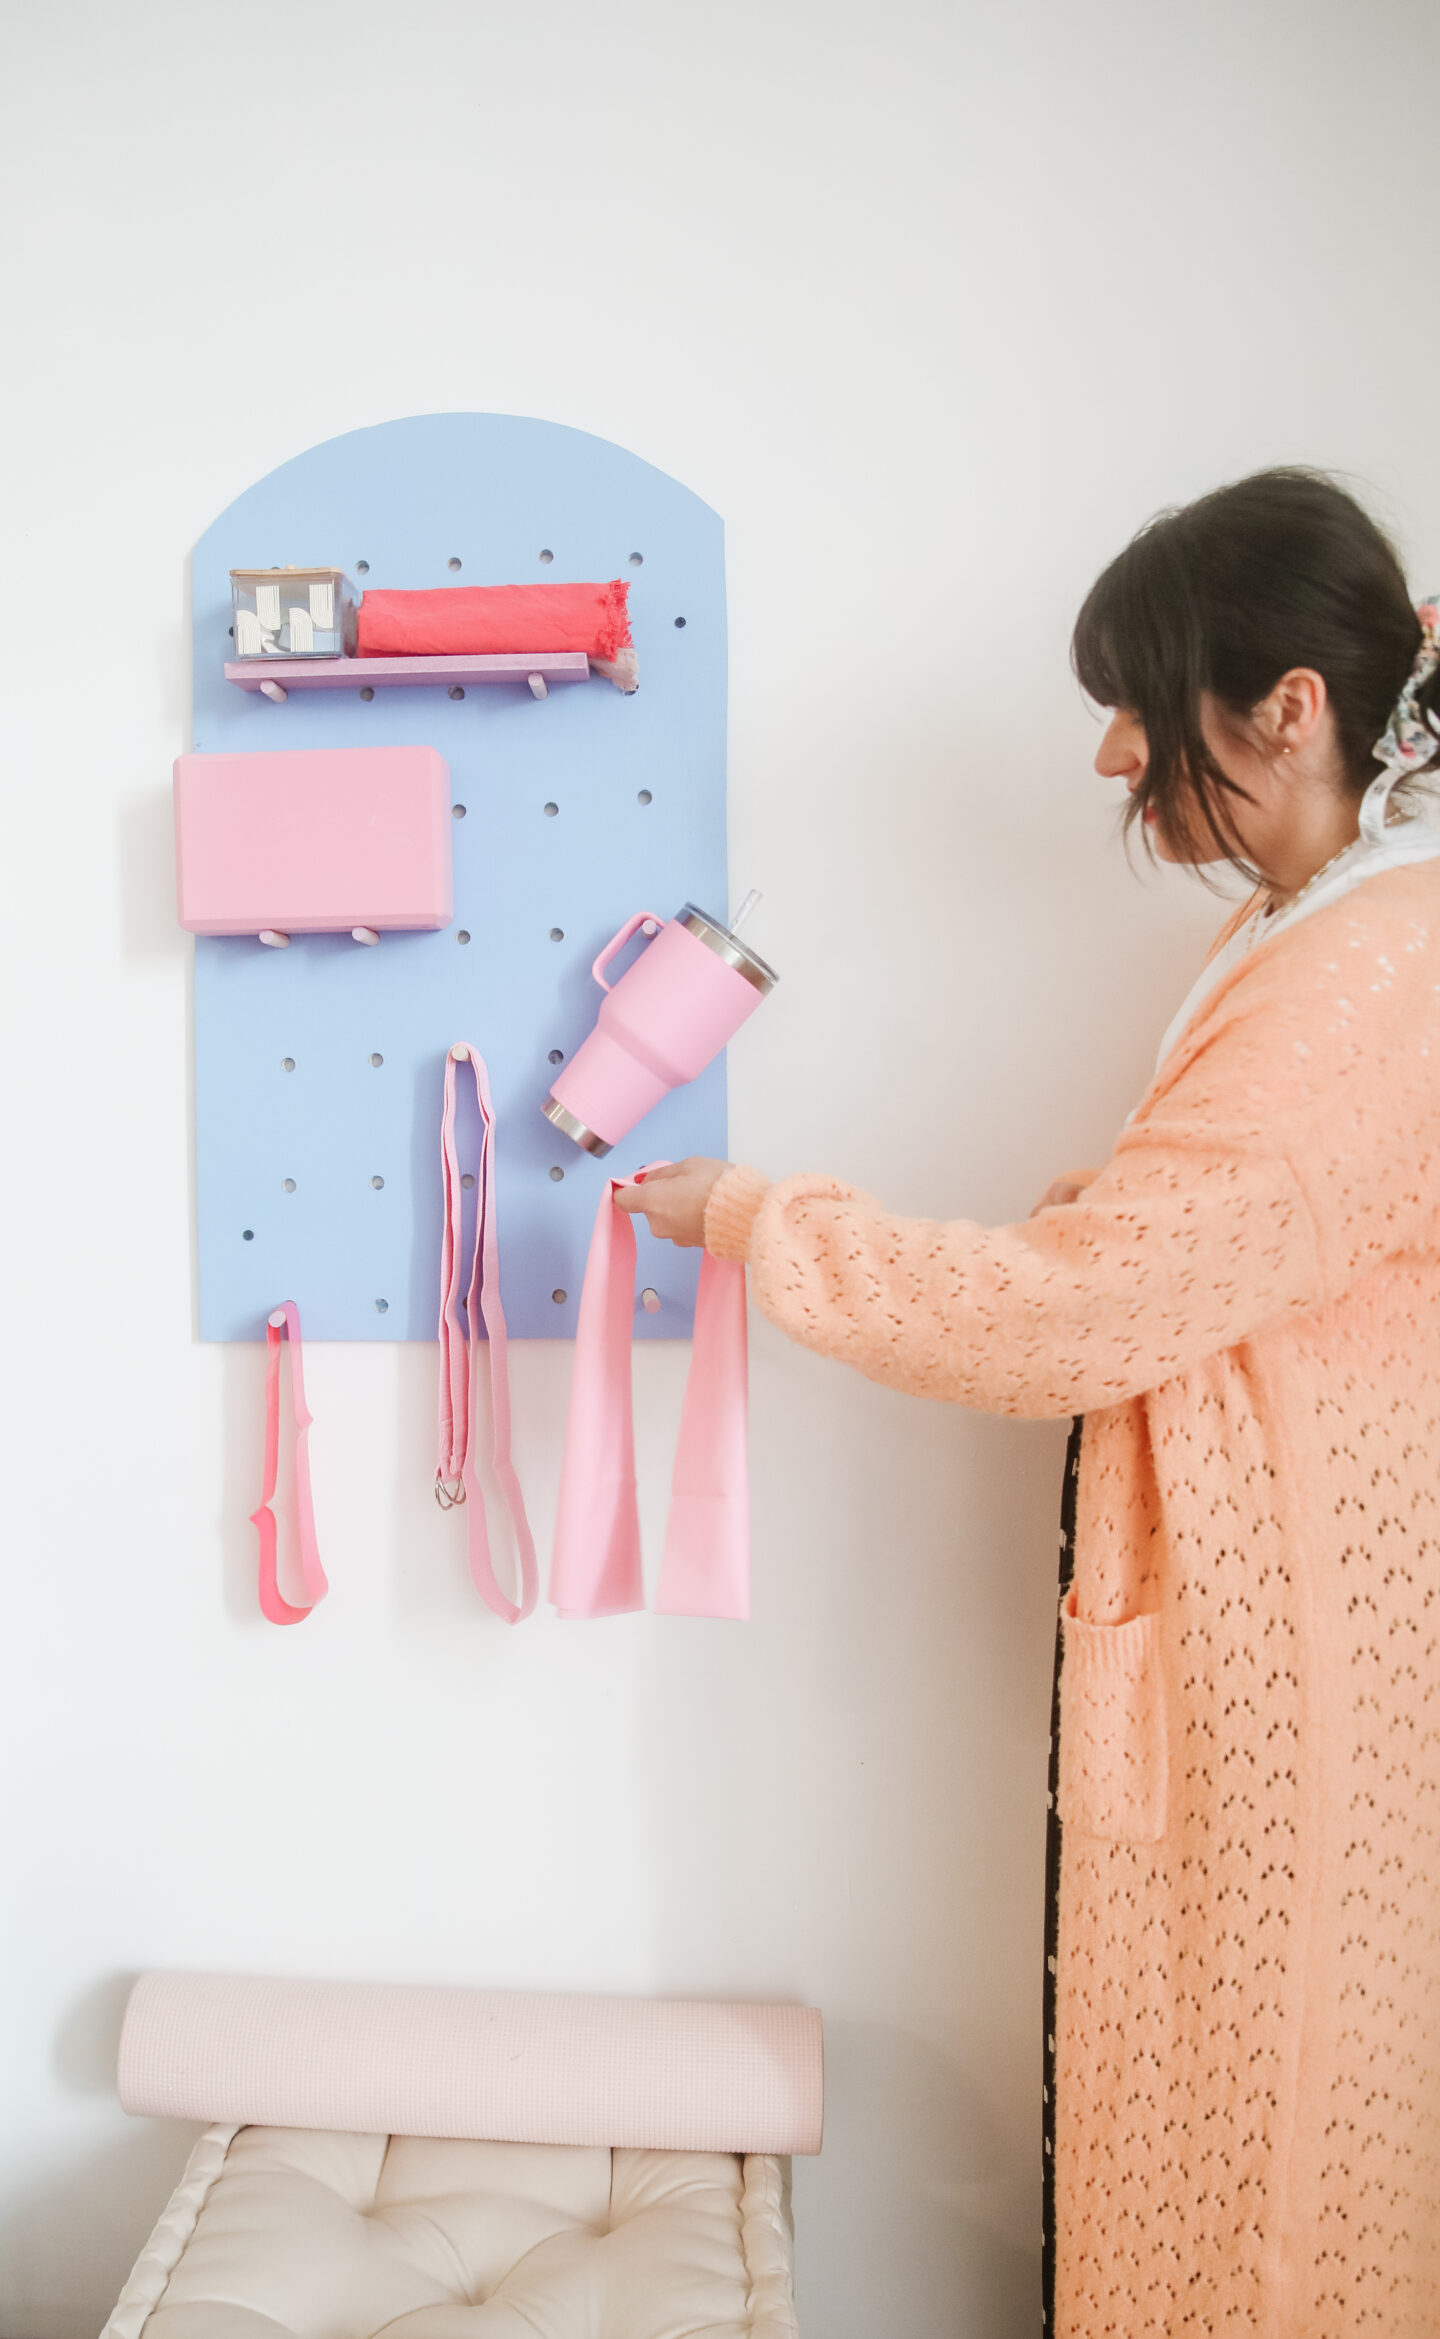
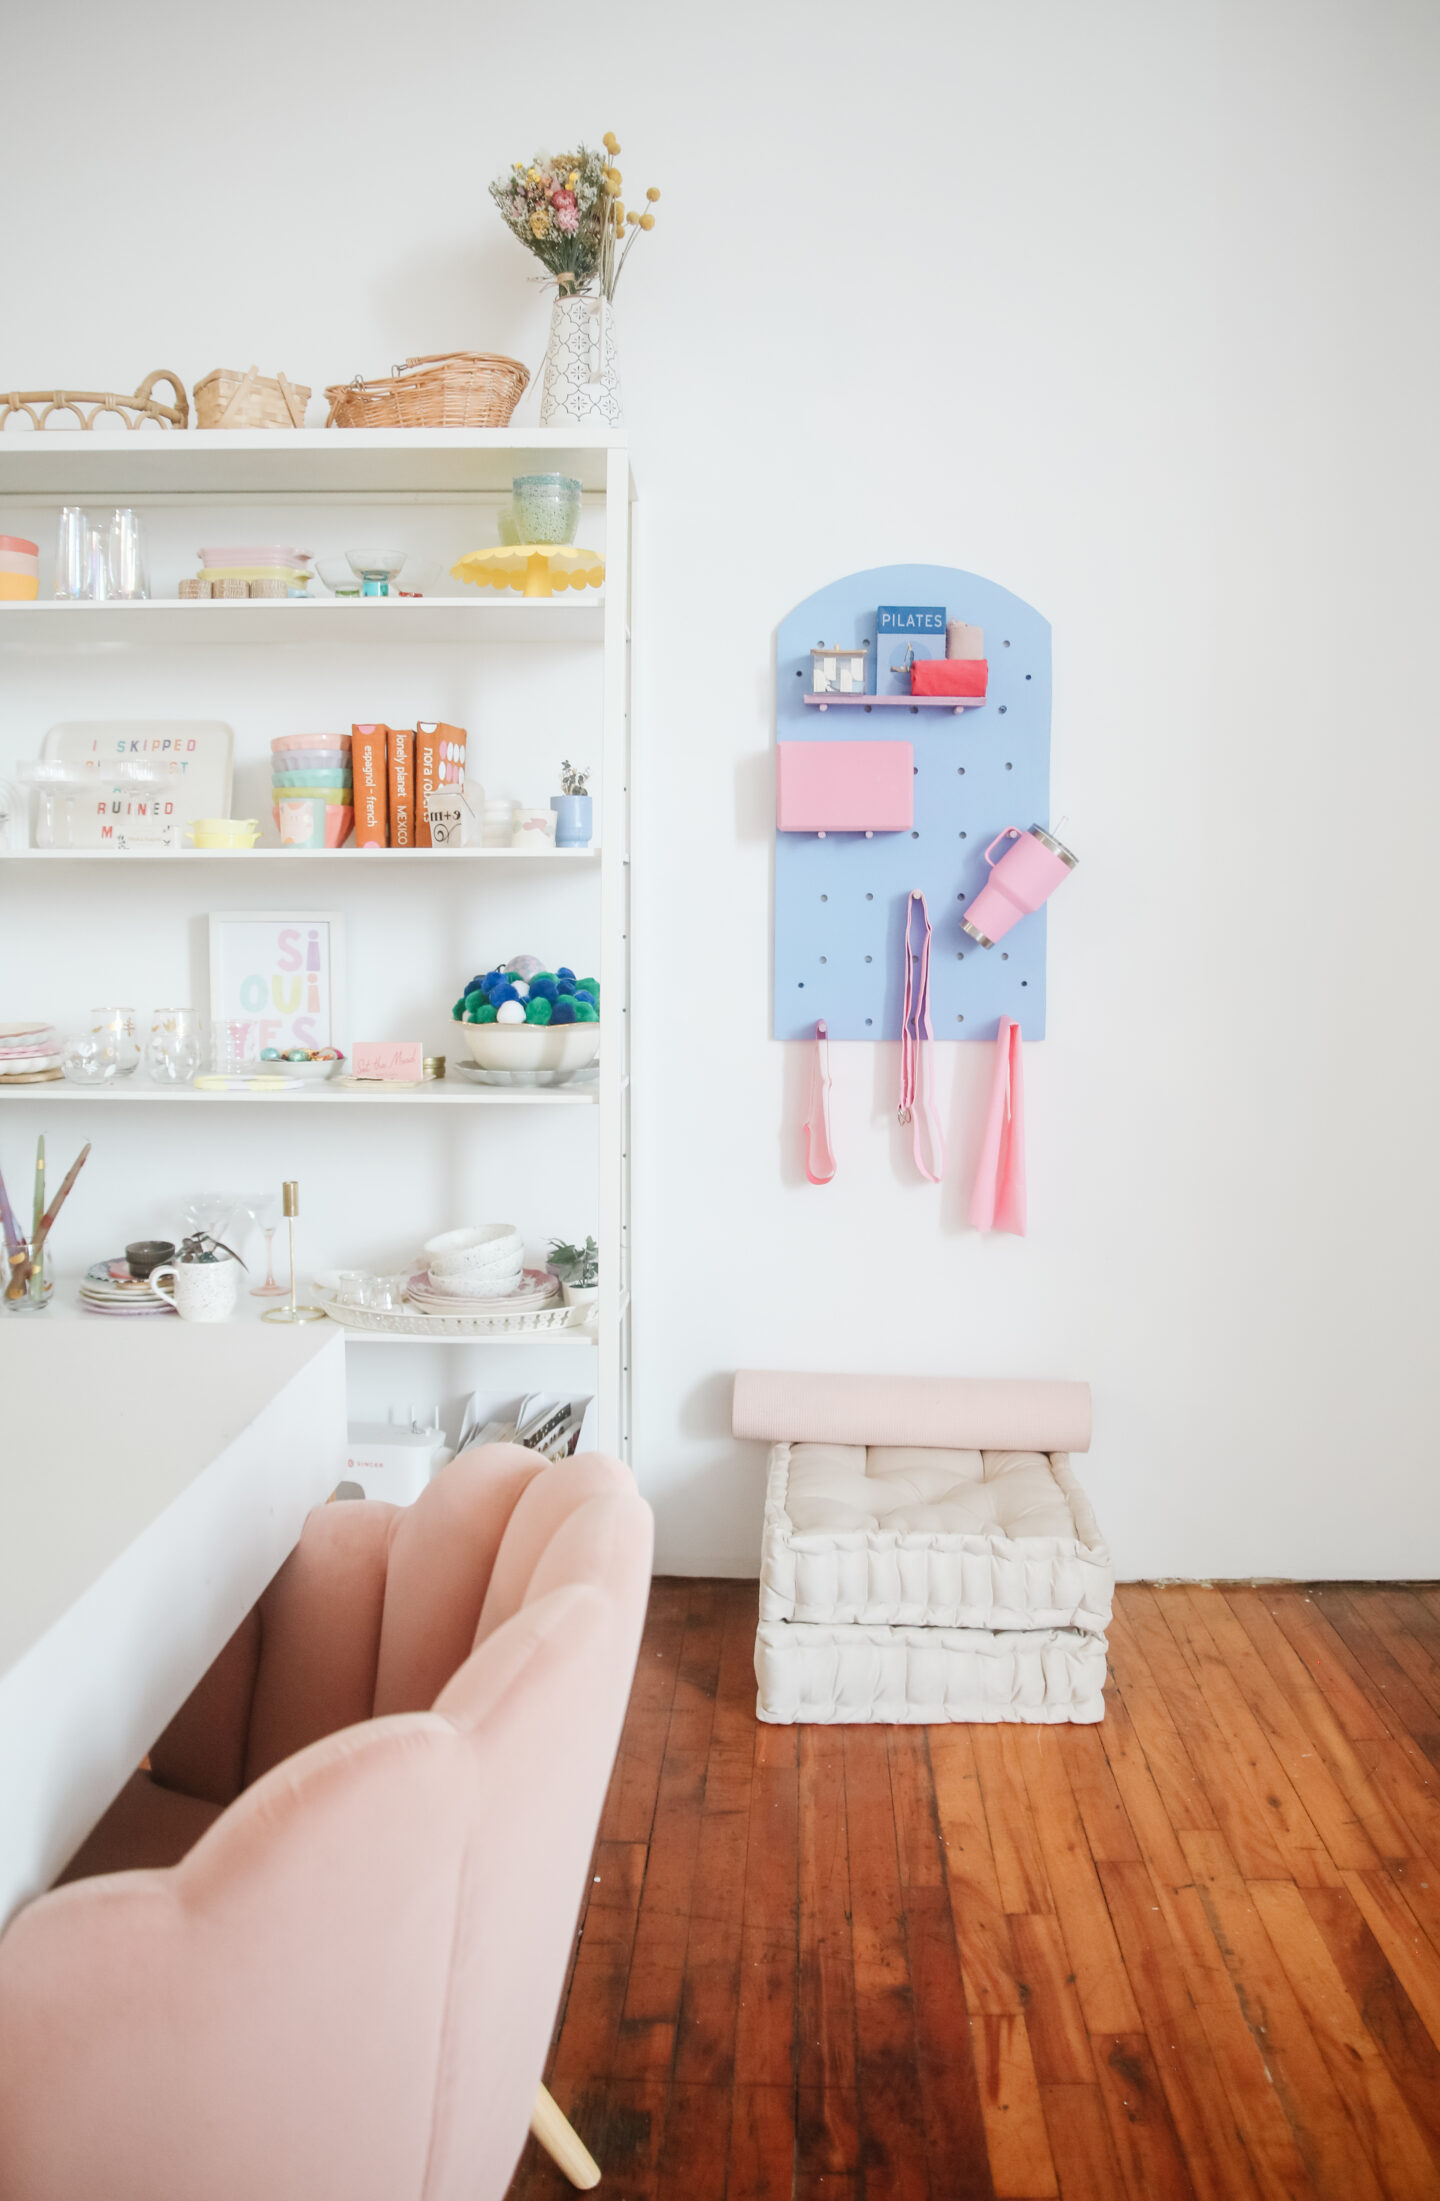
With your arch pegboard organizer installed, it’s time to arrange your pilates accessories on the dowels. Hang your resistance bands, yoga mat, and other equipment with ease, knowing they’re neatly organized and within reach for your next workout session – YAY!
There you have it – a super fun, easy DIY arch pegboard pilates organizer we just did, yes we did it!
I love that you can combine style and functionality to elevate your pilates space anywhere at home or your office just like I did.
High-five! Enjoy the benefits of a clutter-free environment as you focus on strengthening and stretching your body with ease – See you in the next DIY friends!