The Easiest Wall Hanging DIY Project!

No Weave Wall Hanging DIY

During a normal non-COVID life, I’m sure I wouldn’t have had time to do the easiest Wall Hanging DIY and I’m SO happy it finally happened.  Crafting these days, is one of the best therapies to relieve stress. 

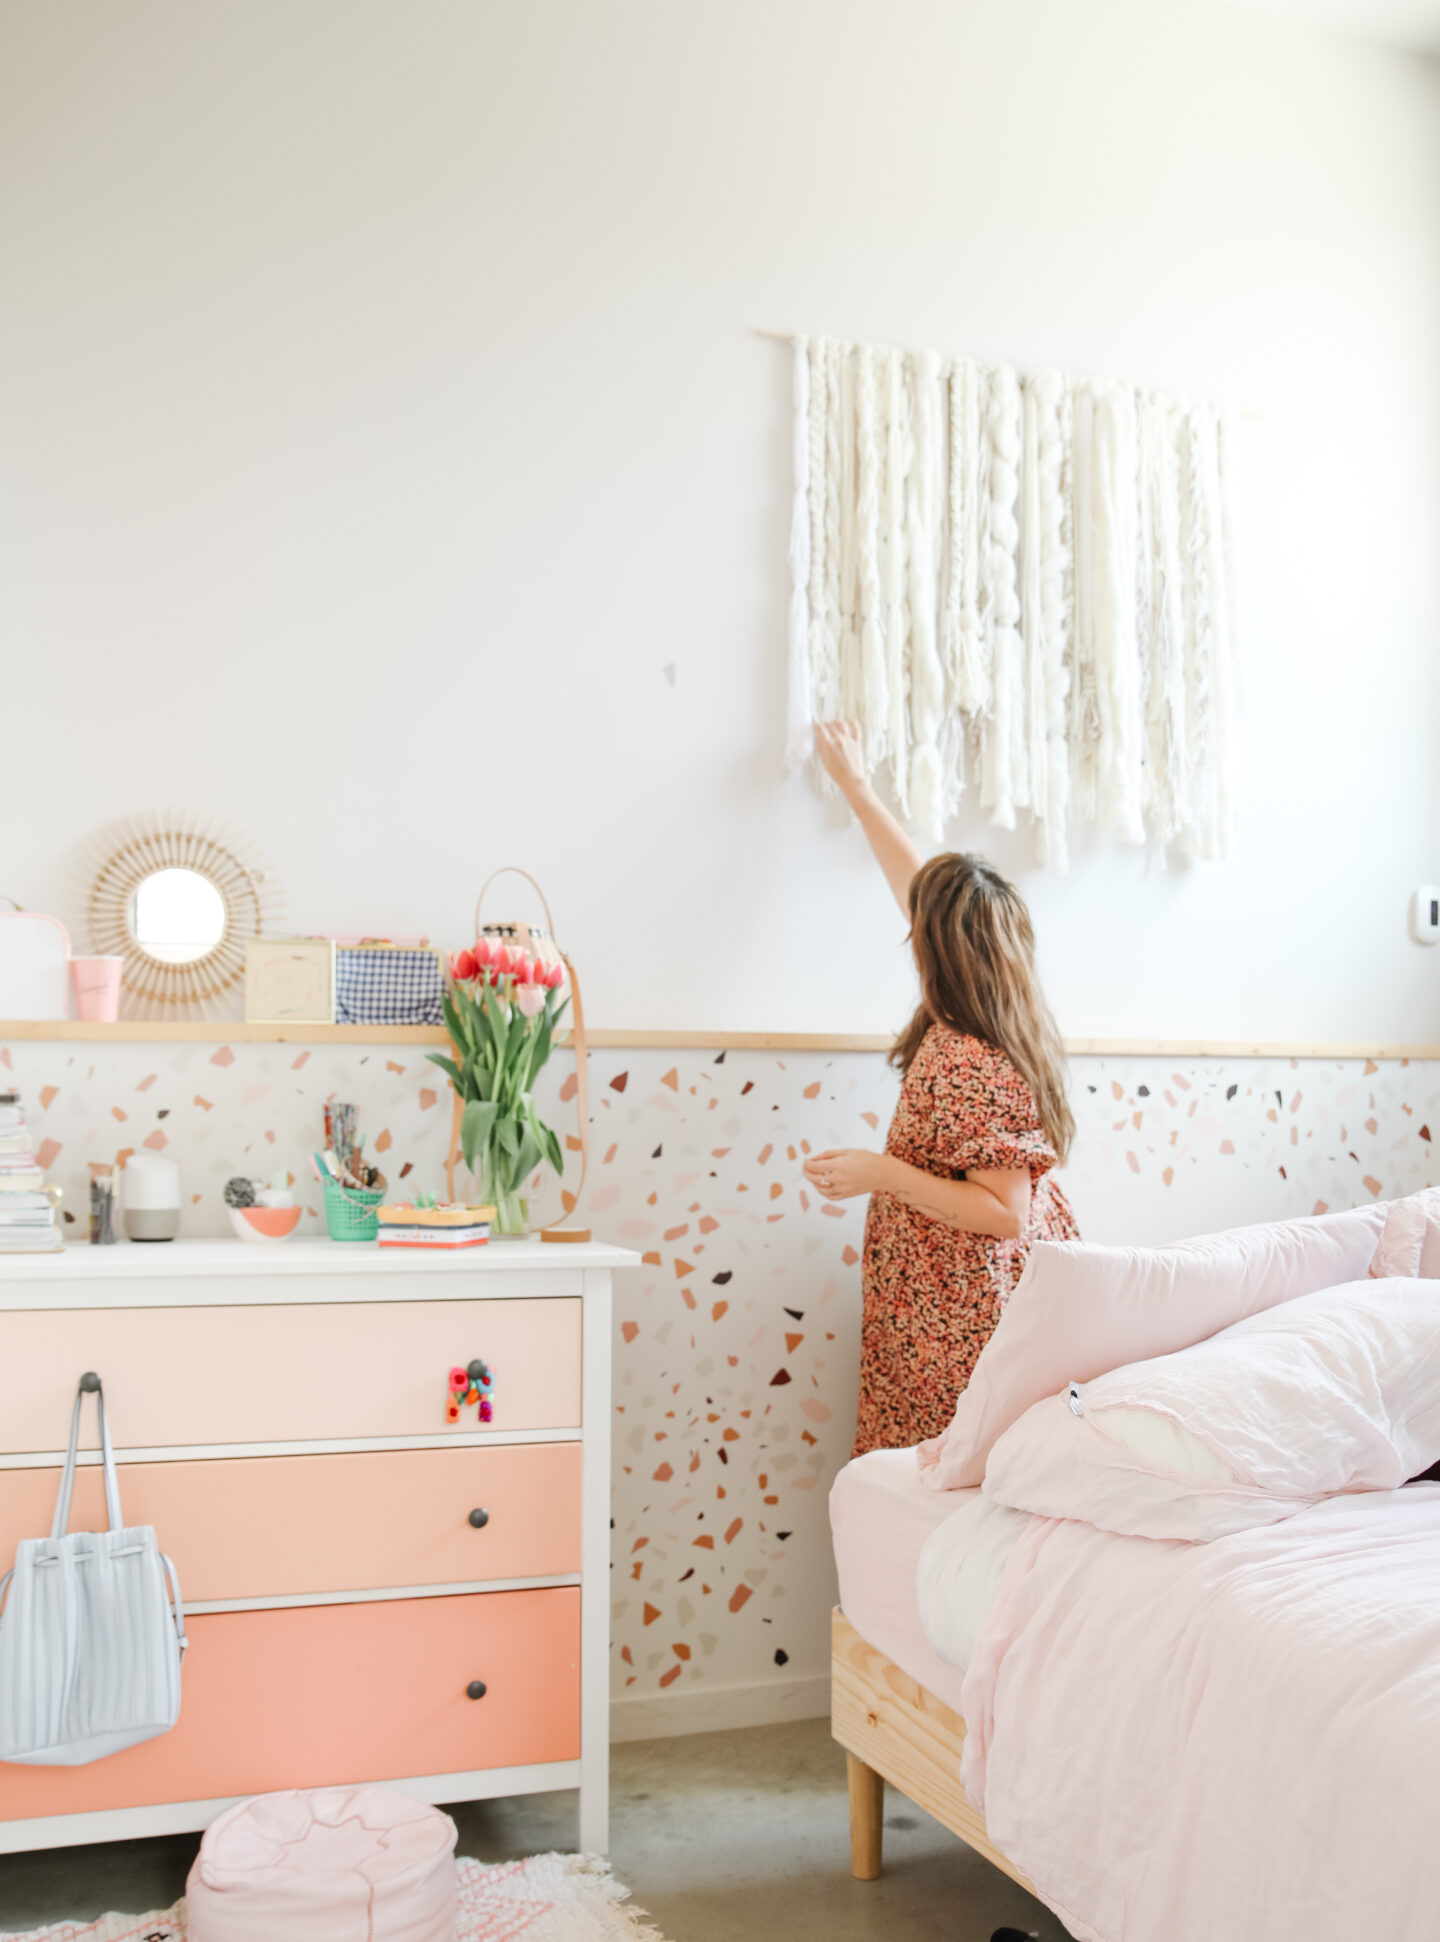
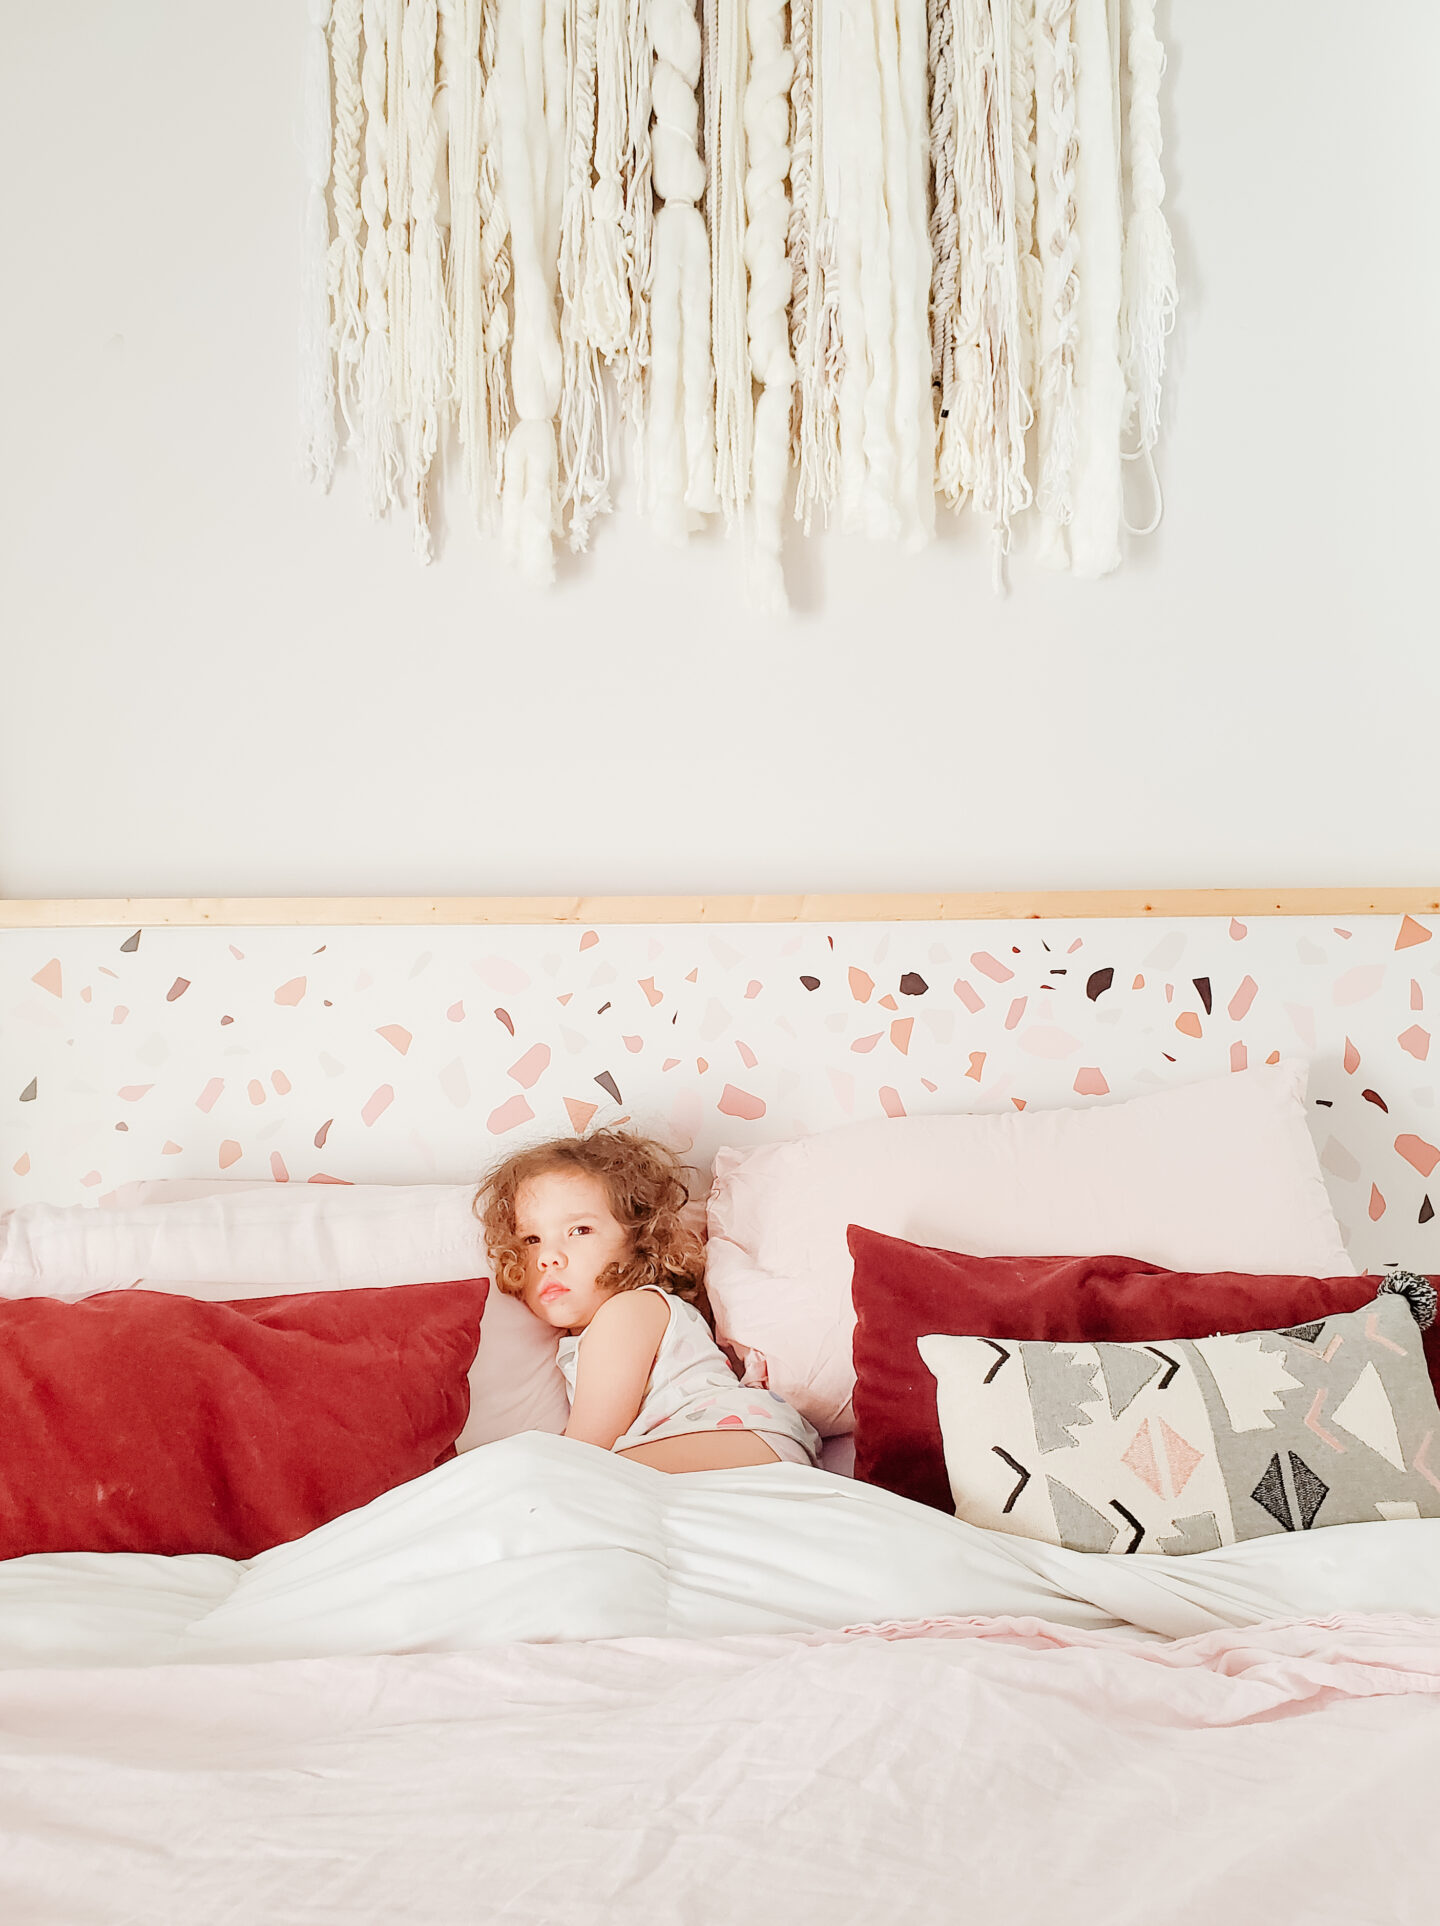
Inspired by my super friend Cyn who created the most beautiful no-weave wall hanging last year, I knew I had to do one at home, and especially now, after a few *adorable* updates to our master bedroom that we will reveal soon. 

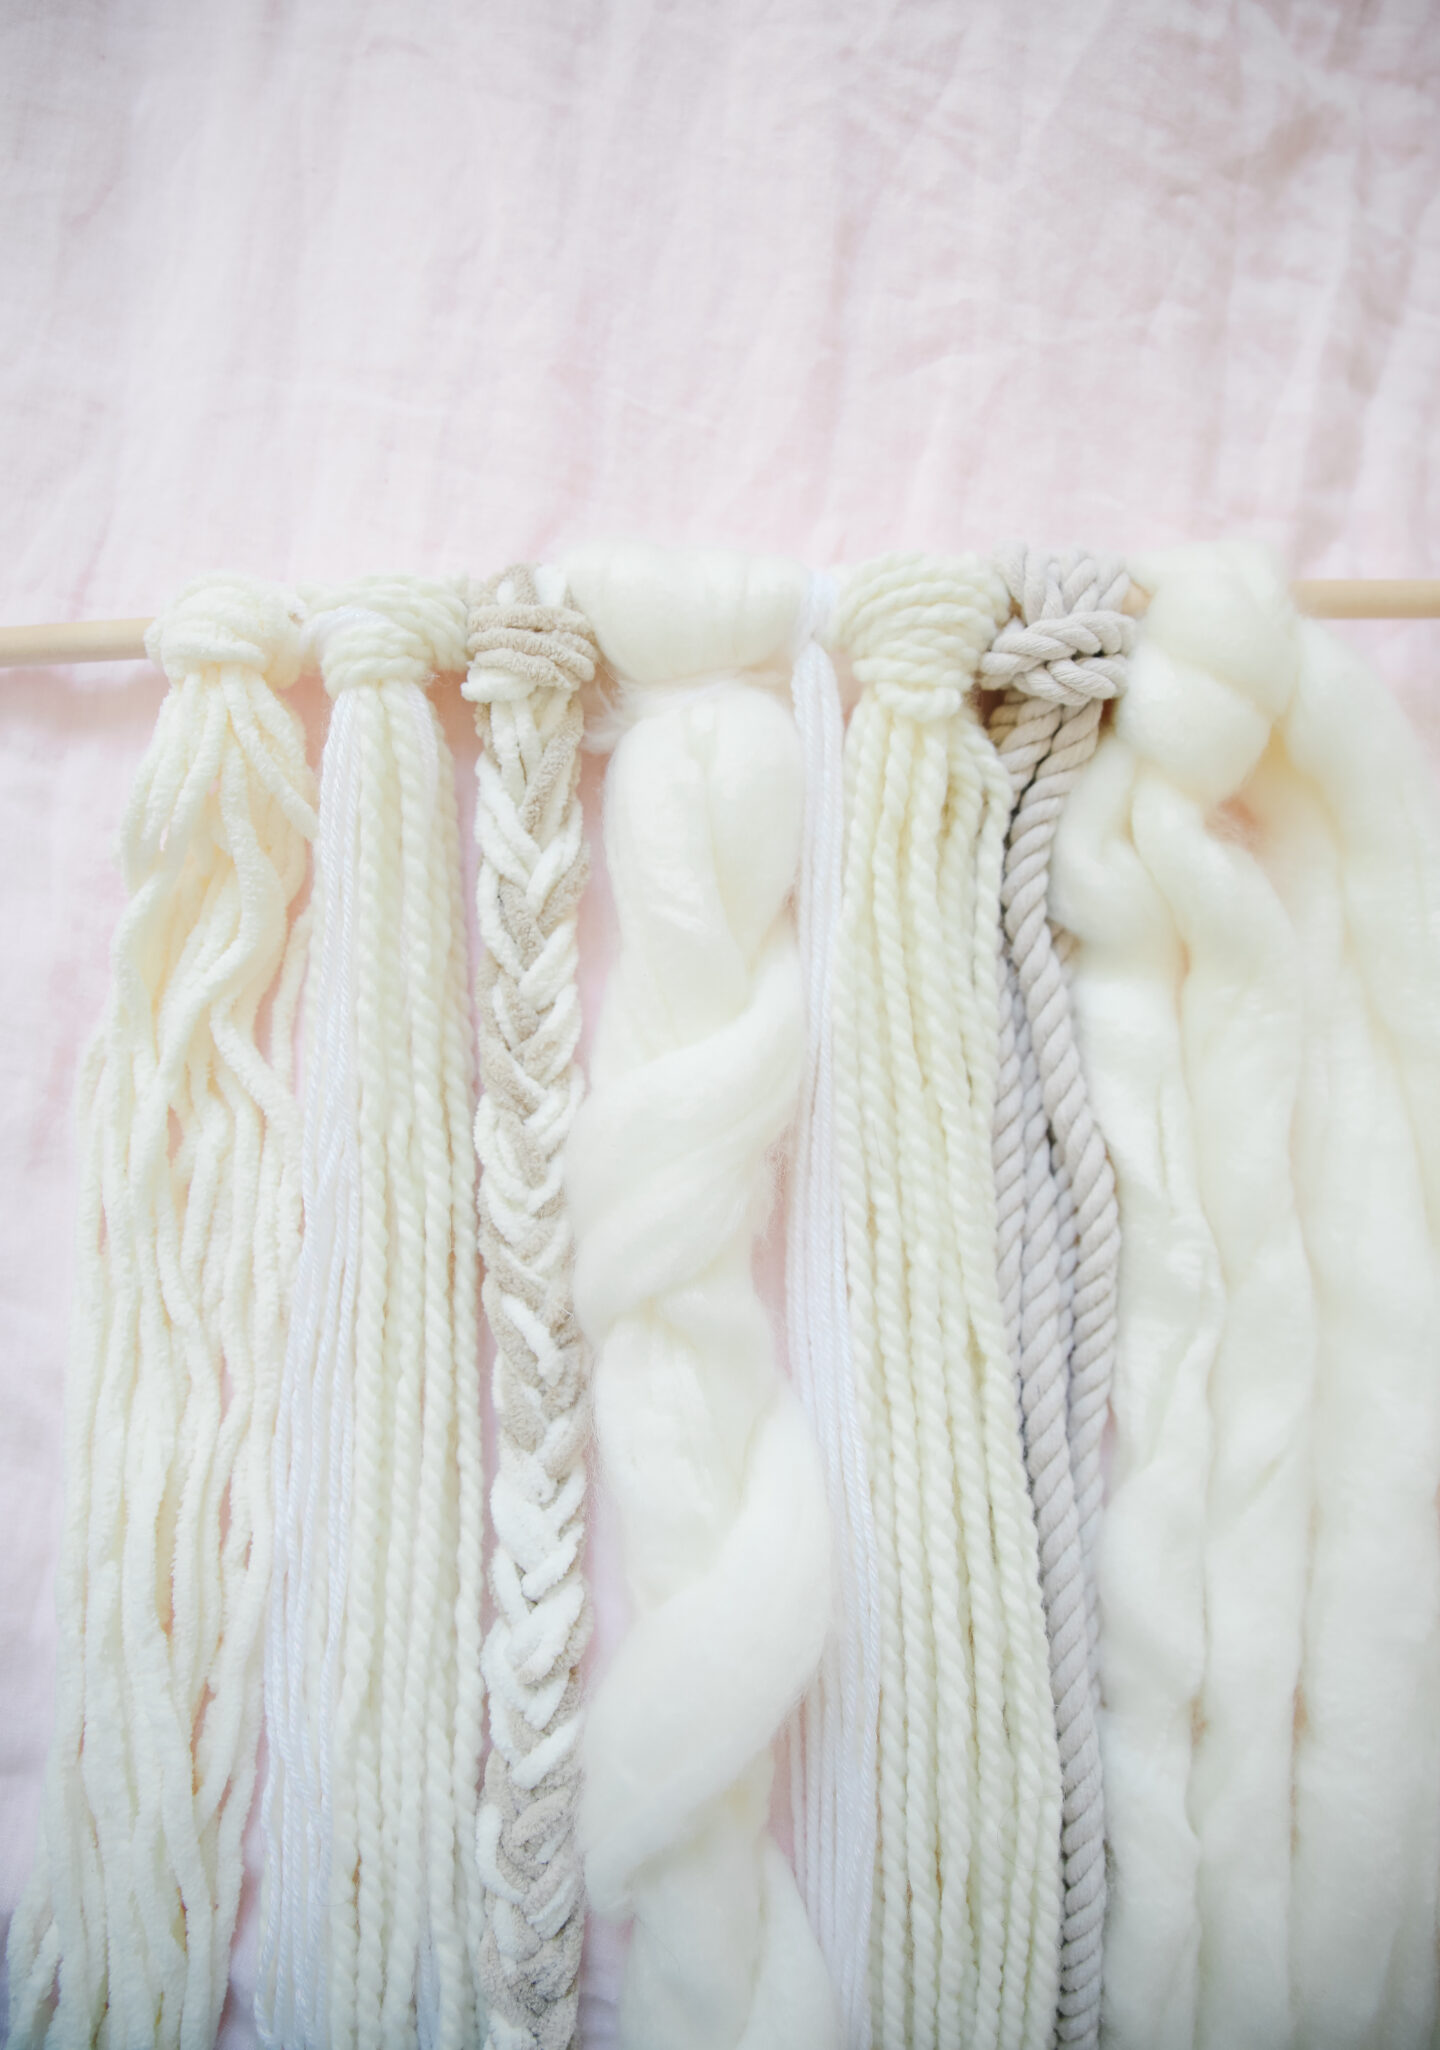
If you have plenty of yarn at home, this is THE easiest wall hanging DIY project proving that no-weaving is the best quarantine activity (kids friendly if you need to!)

Let’s DIY!

No Weave Macrame Wall Hanging Project
Wall Hanging DIY Project

How to start the Easiest Wall Hanging DIY

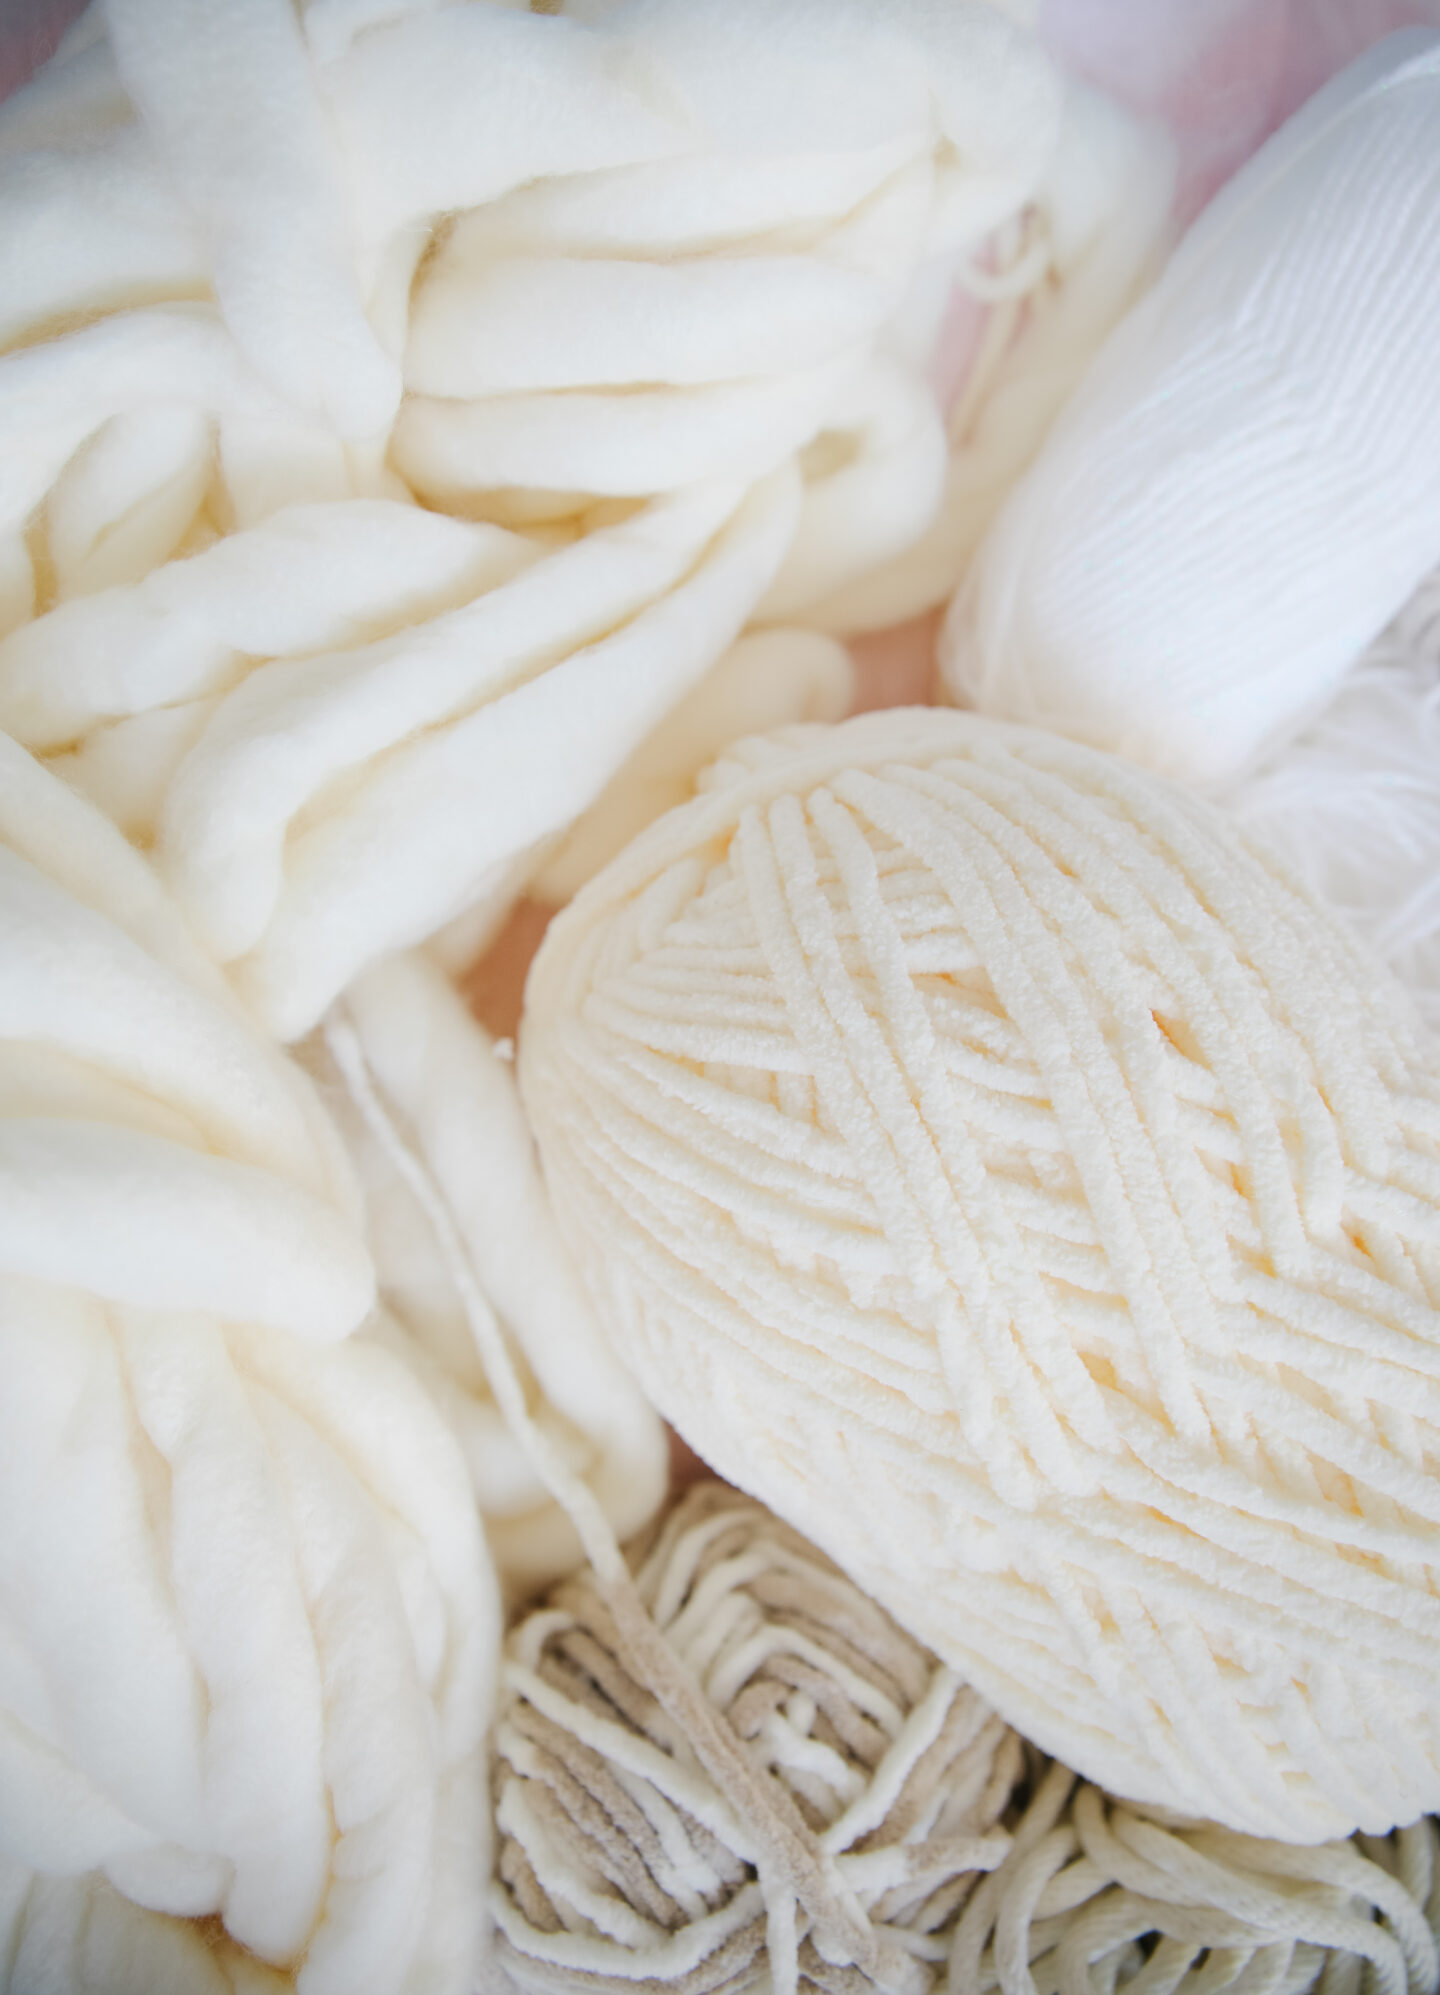
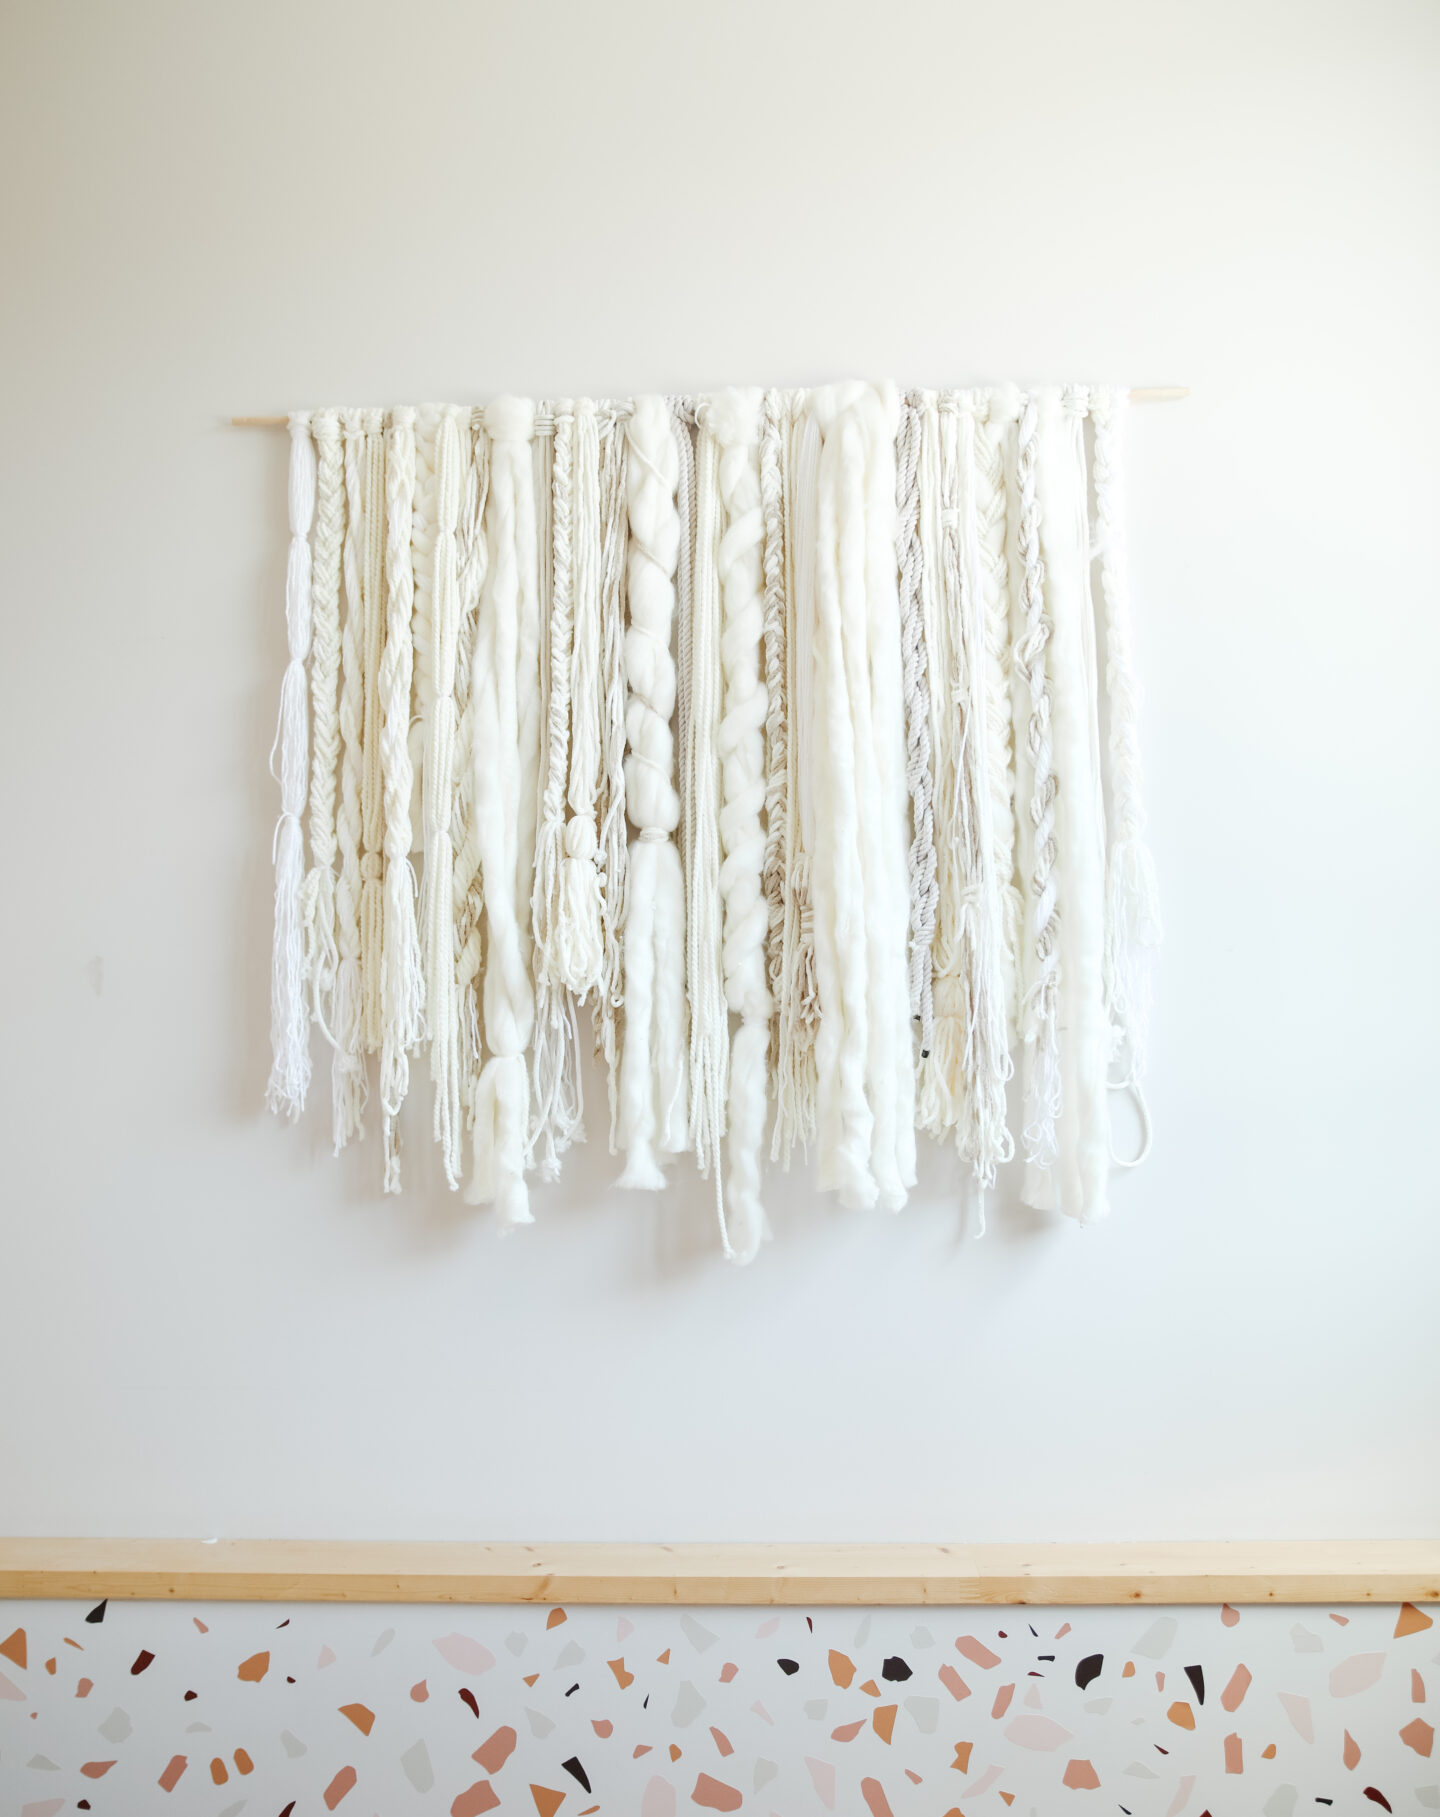
1. Decide your wall hanging colour: I opted to make an all-white (can you believe it?), because we just finished a new pink terrazzo half wall and I wanted to be sure it wasn’t “too much” (you’ll get this soon).

2. Length: Measure the available space – width and height – and leave a few extra inches of yarn that you can cut when you place it in the wall the moment you install it.

3. Supplies: If you don’t have plenty of yarn at home, wait for the craft stores specials (you will need A LOT). 


White Wall Hanging DIY

Supplies

You’ll only need 4 materials, can you believe this?
 
  • Ropes (different thickness)
  • Yarn in different textures/shades (the more, the merrier yay yay)
  • Thick chunky wool yarn 
  • Wooden dowel
Easy Wall Hanging DIY Ideas
Wall Hanging DIY: No Weave Necessary

How to

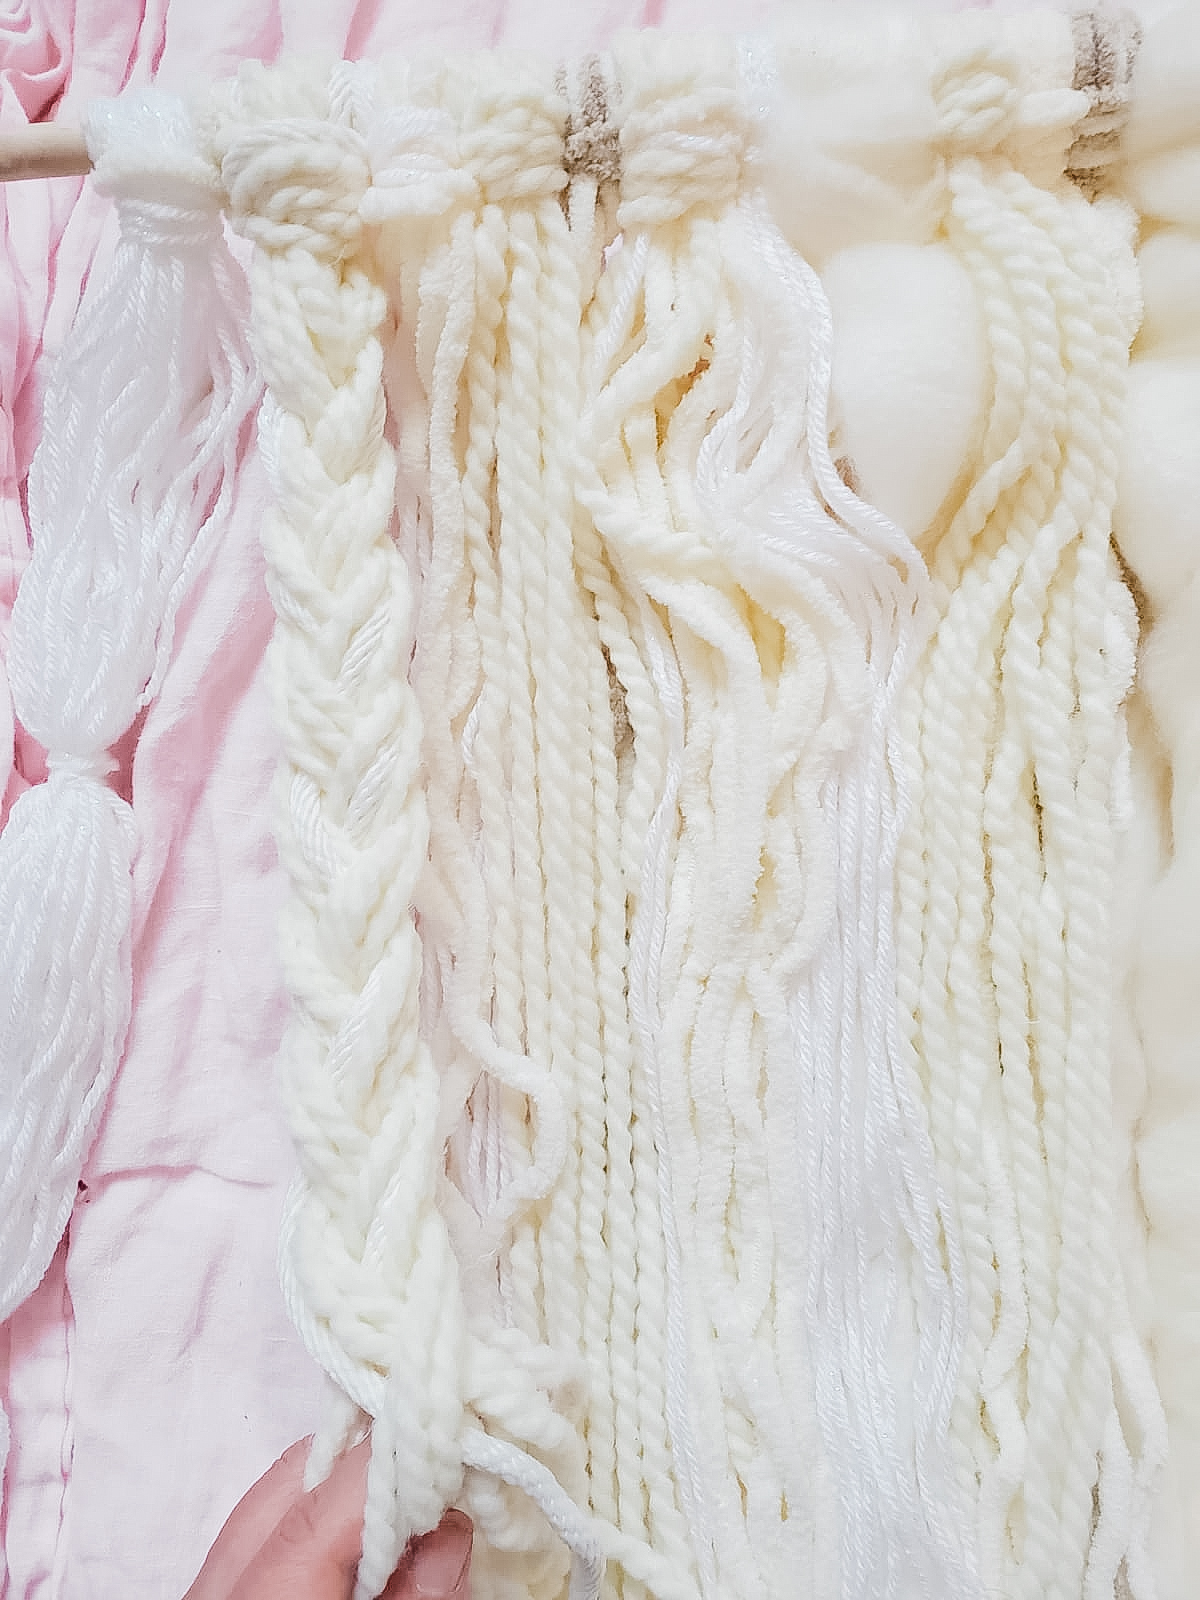
Tip: you’ll spend at least 10 to 12 hours, so you have to be comfy! I did it in my bed (taking breaks from time to time).

  • Cut at least 4 long strands of different yarn (remember that each strand needs to be double the length the final hanging will be, so you can weave individually).
  • The process is real simple: you need to pull the strand over to the front of the dowel, and then pull the ends (real hard) through the loop, see? no sweat and super simple!.
  • Next step is to start different techniques, mixing them, have fun here!: braids, knots, plain wool, chunky tassels, thick twists, thin twists, and any design you want to incorporate. This project doesn’t have a strict step-by-step to follow, you can personalize it as much as you want (adding different yarn colours as well!).
  • The more you combine and mix, the better it’ll look! I spent a lot of time adding and adding.
  • My husband hung ours using four nails in the wall and voila!.
No weave wall hanging

Want to follow our DIY adventures? Run here 

 Follow me also on Instagram | Facebook | Pinterest

Shop our products here | Visit our studio here

Follow:
Share: