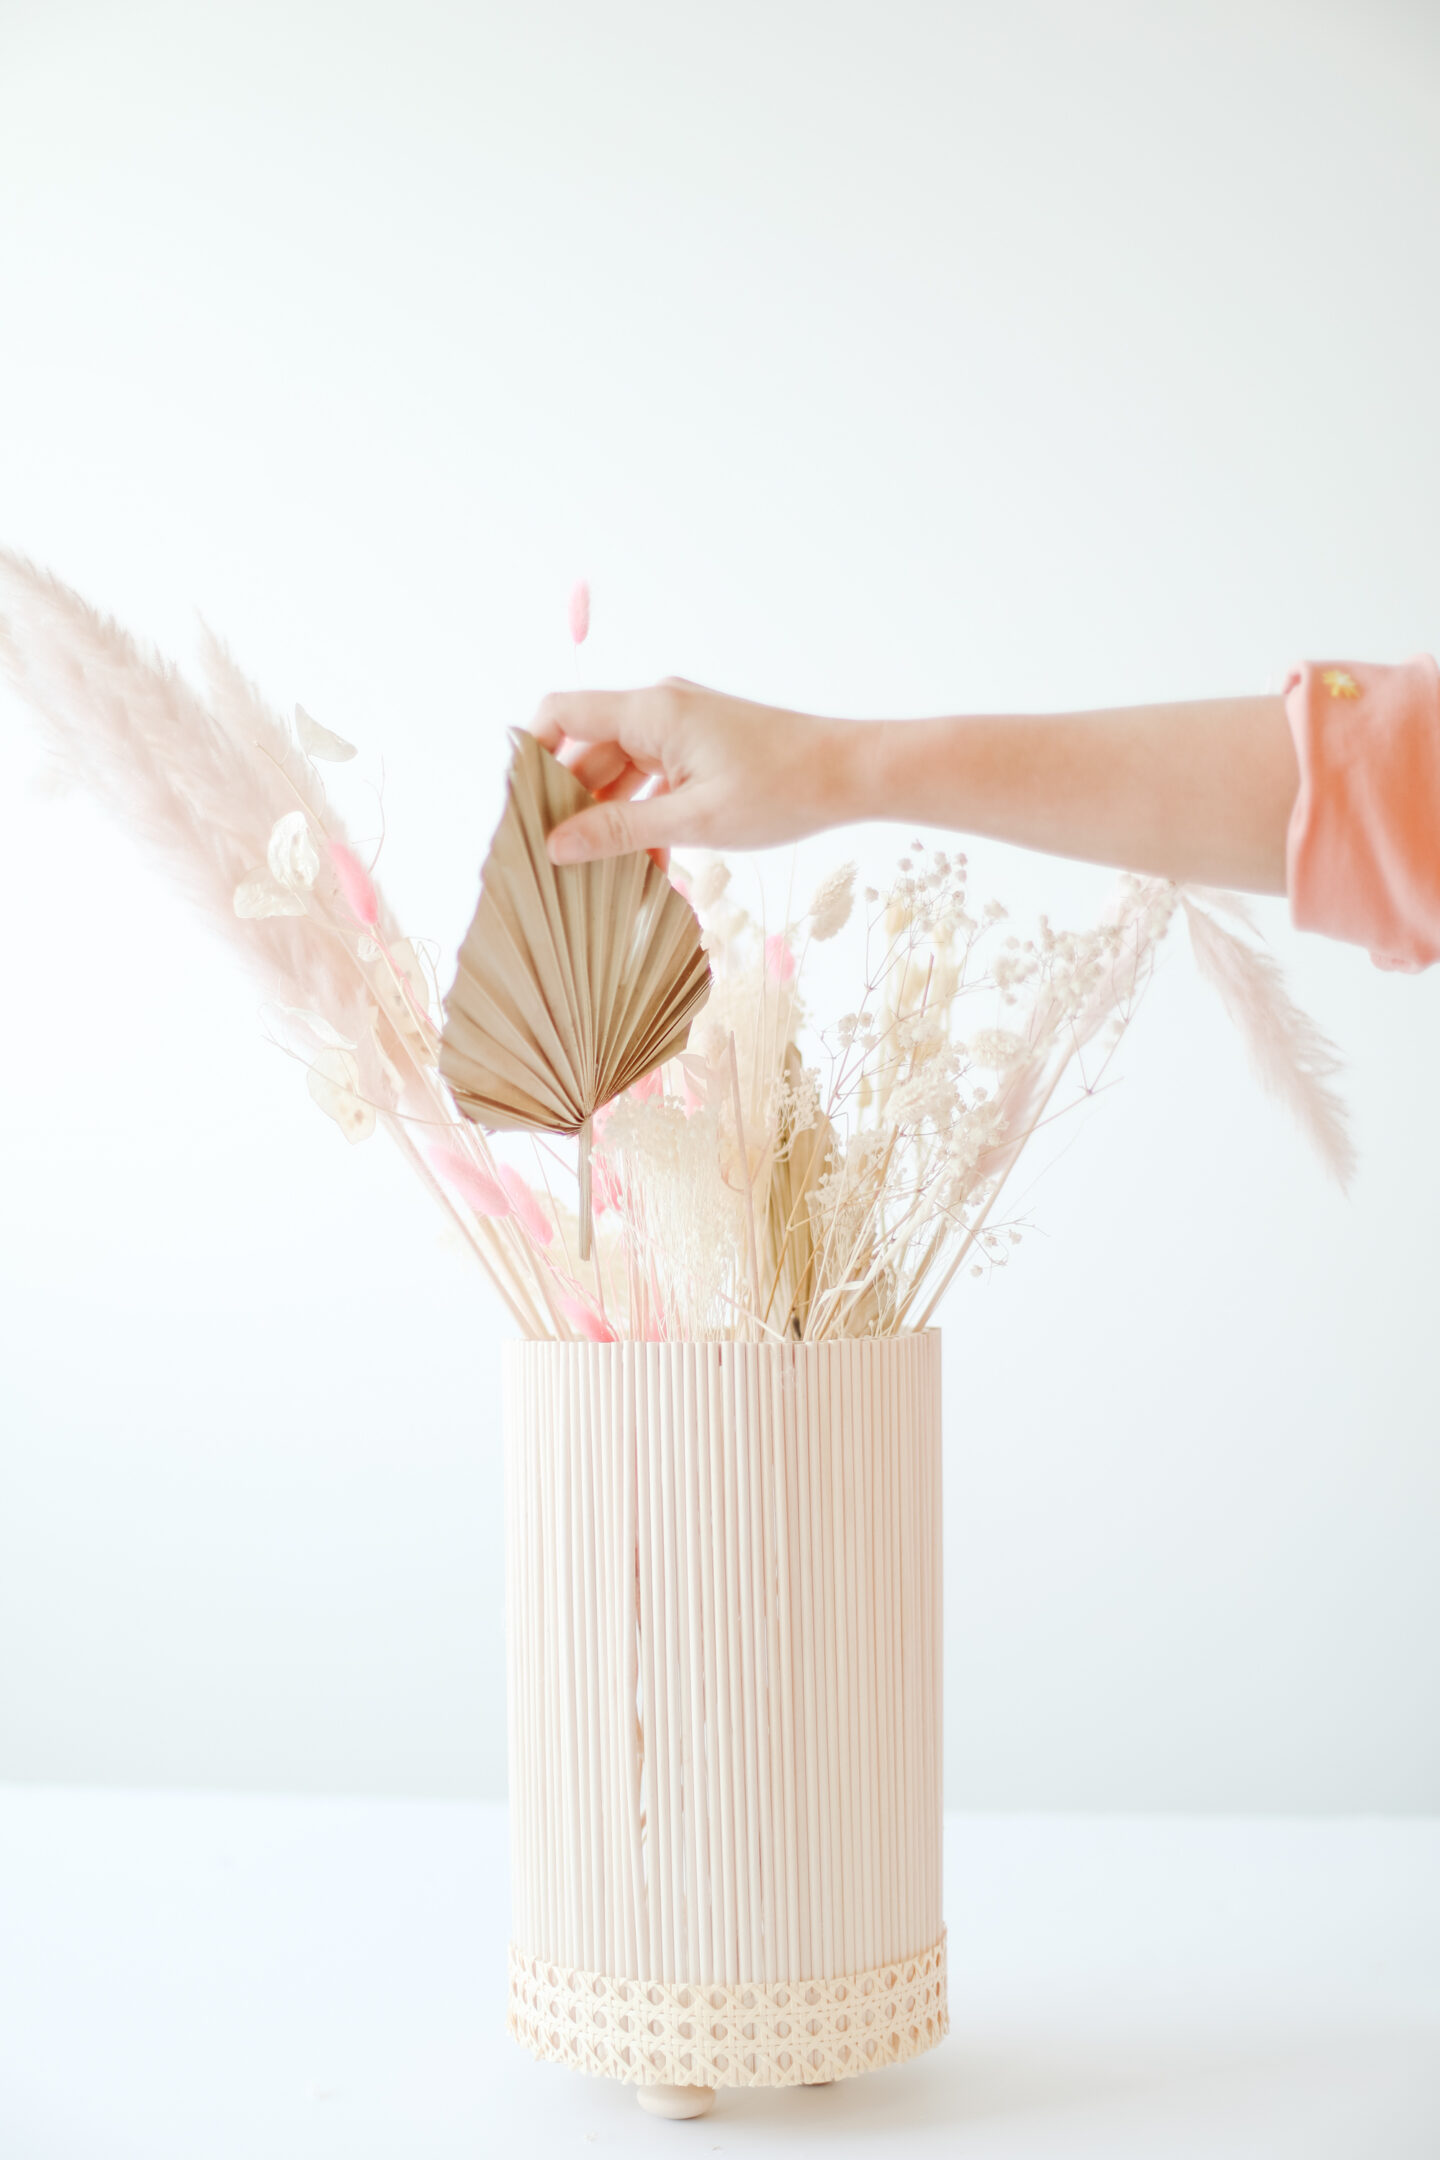
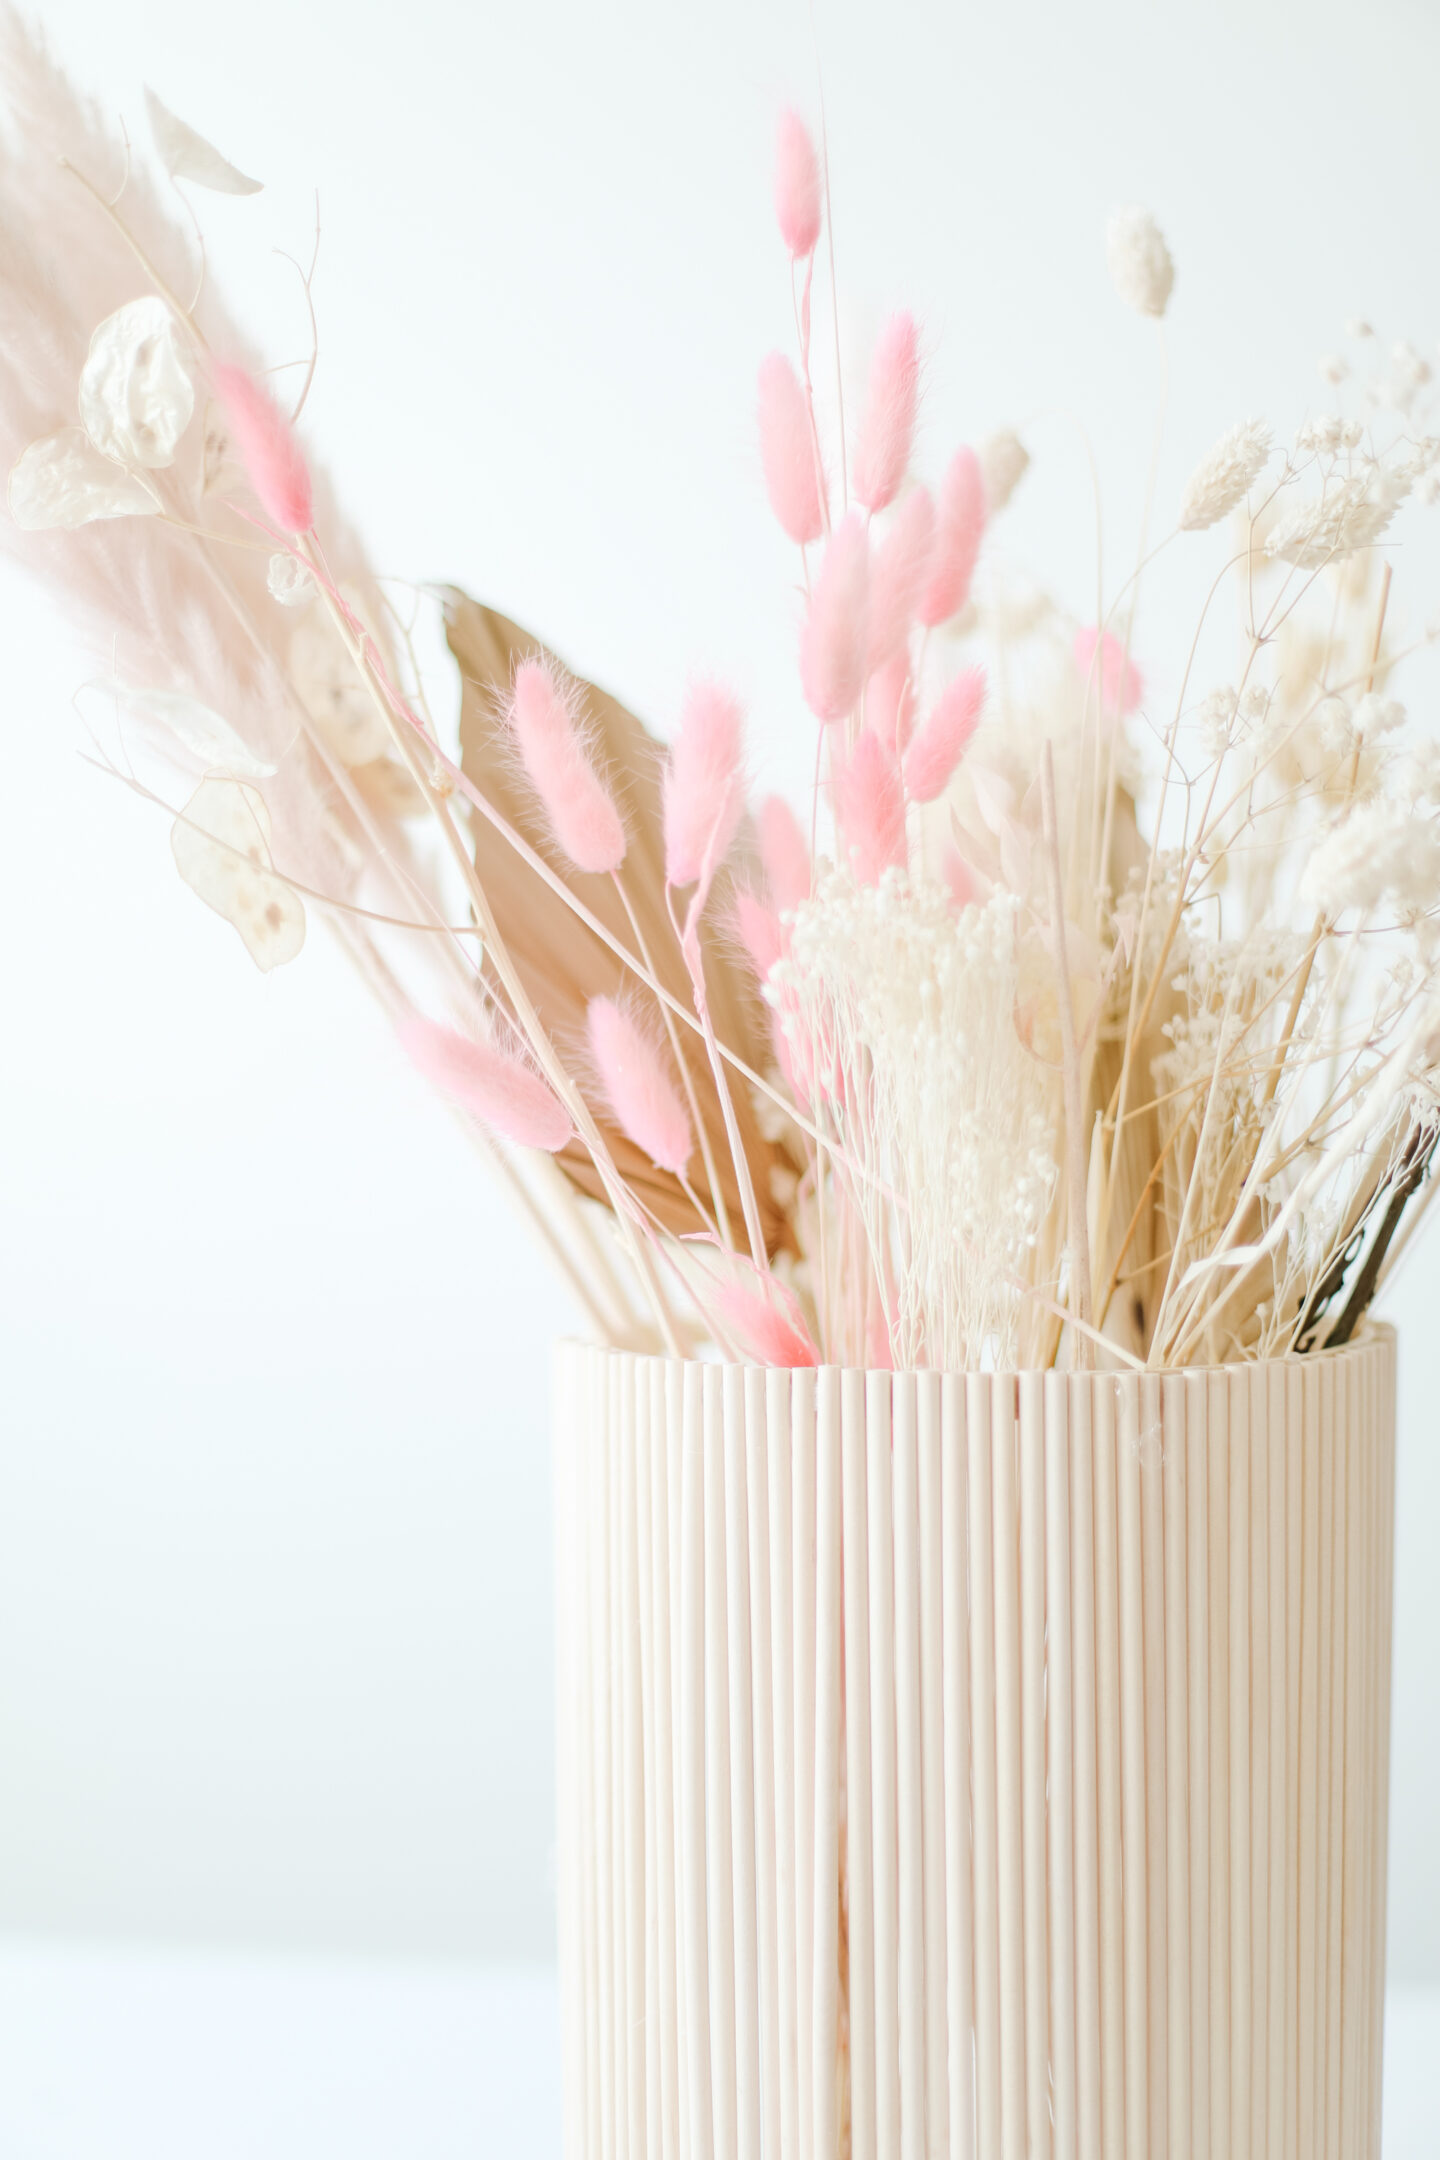
Let’s DIY a Modern Scandi Vase in Only 3 Steps!


All my cane lovers, are you around here? yes? oui?
I’ve been LOVING all things rattan for a few years now and having a home filled with natural pine in many corners (and as a proud daughter of a talented carpenter), I’m hyper inspired in creating many easy DIY projects with wood lately. This beautiful scandi modern vase made in only few suuuuper easy steps will be a perfect upgrade to any regular, boring and meeep vase you have at home, pinky promise!
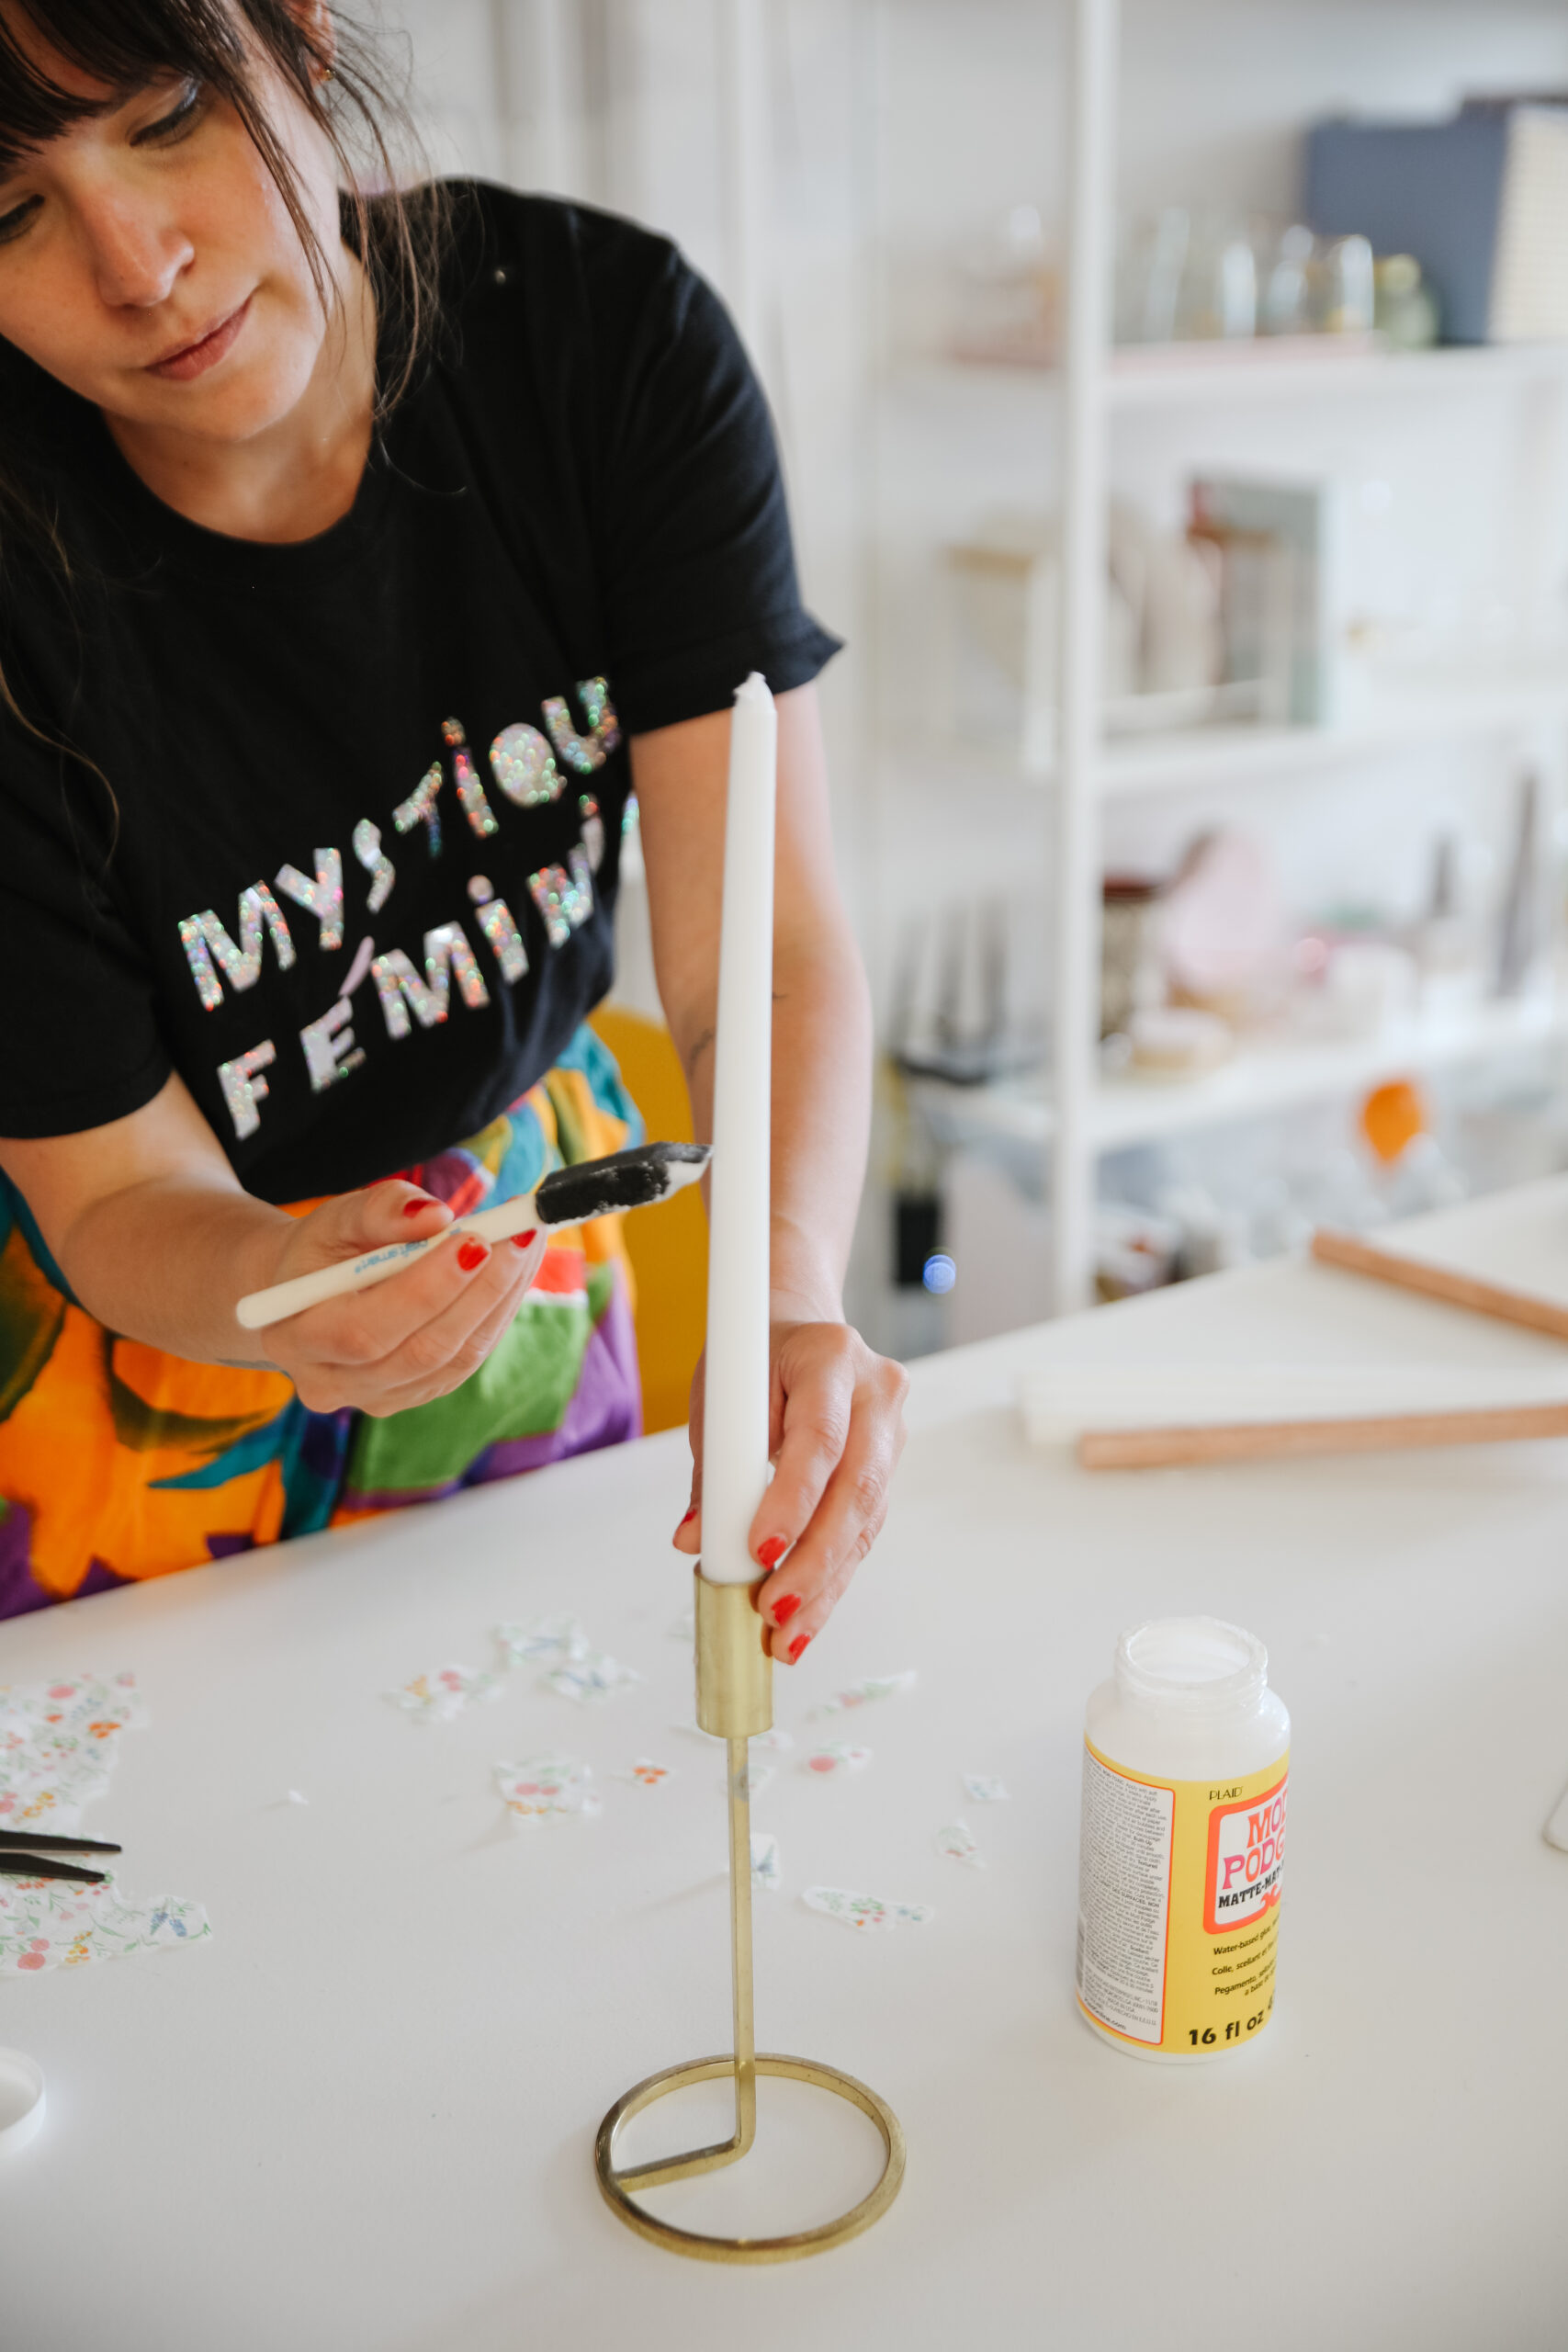
You’ll just need a hot glue gun, heavy duty glue sticks and a few materials to make it at home, are you ready?
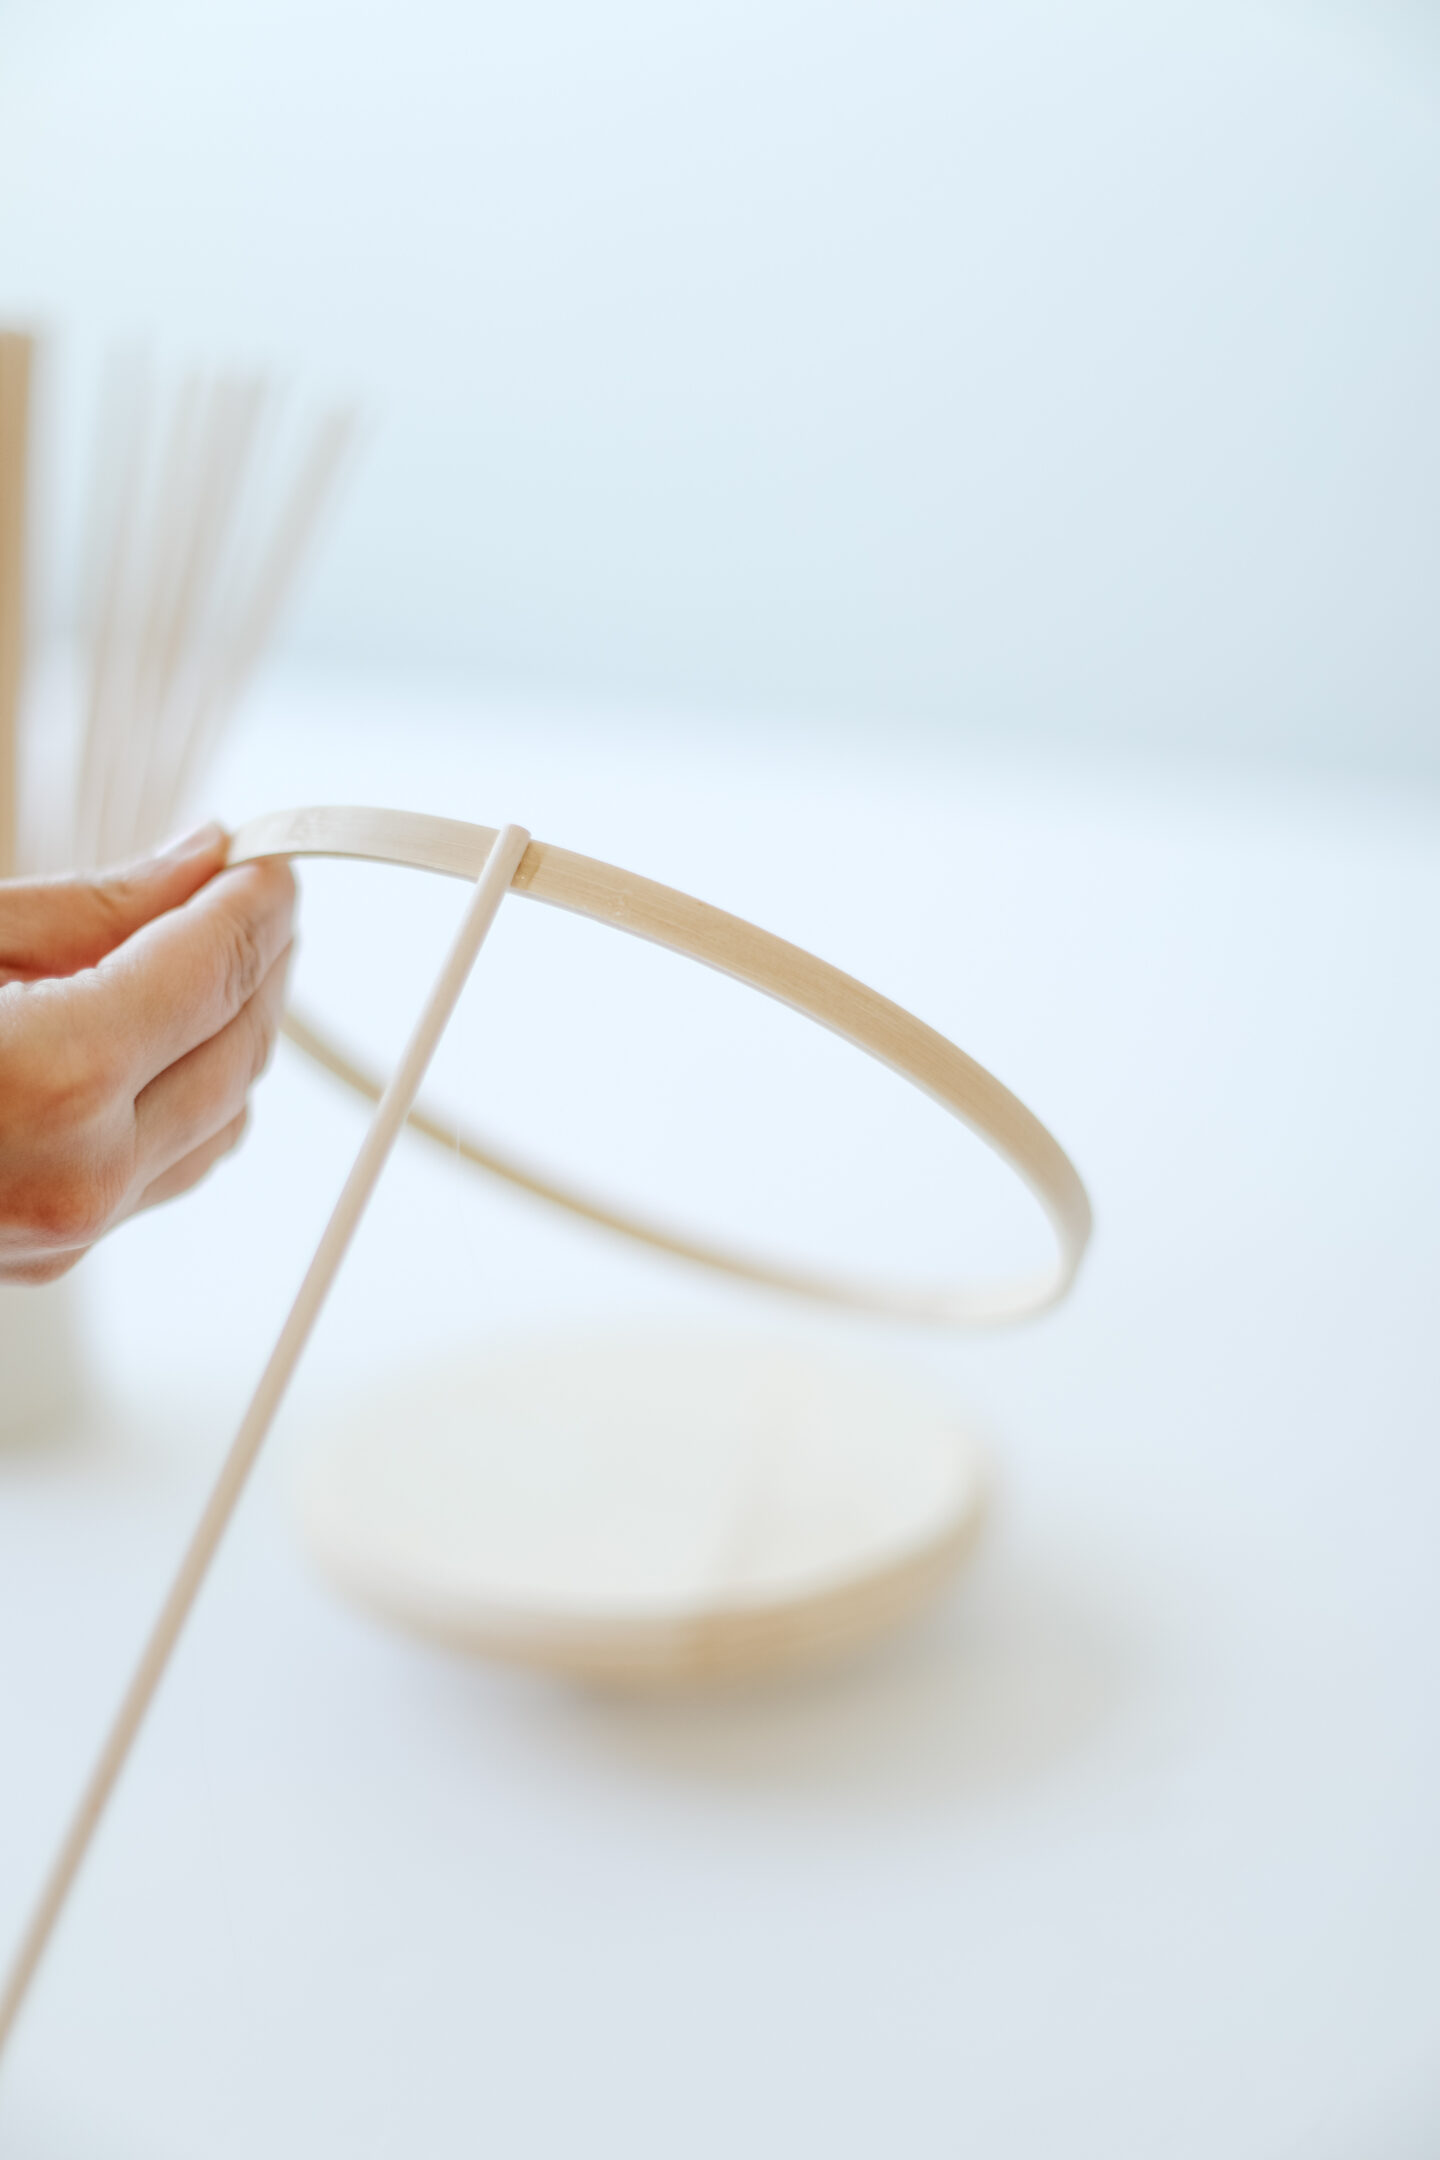
– Embroidery hoop (I used a 7′ diameter)
– Pine circle as a base
– Cane webbing
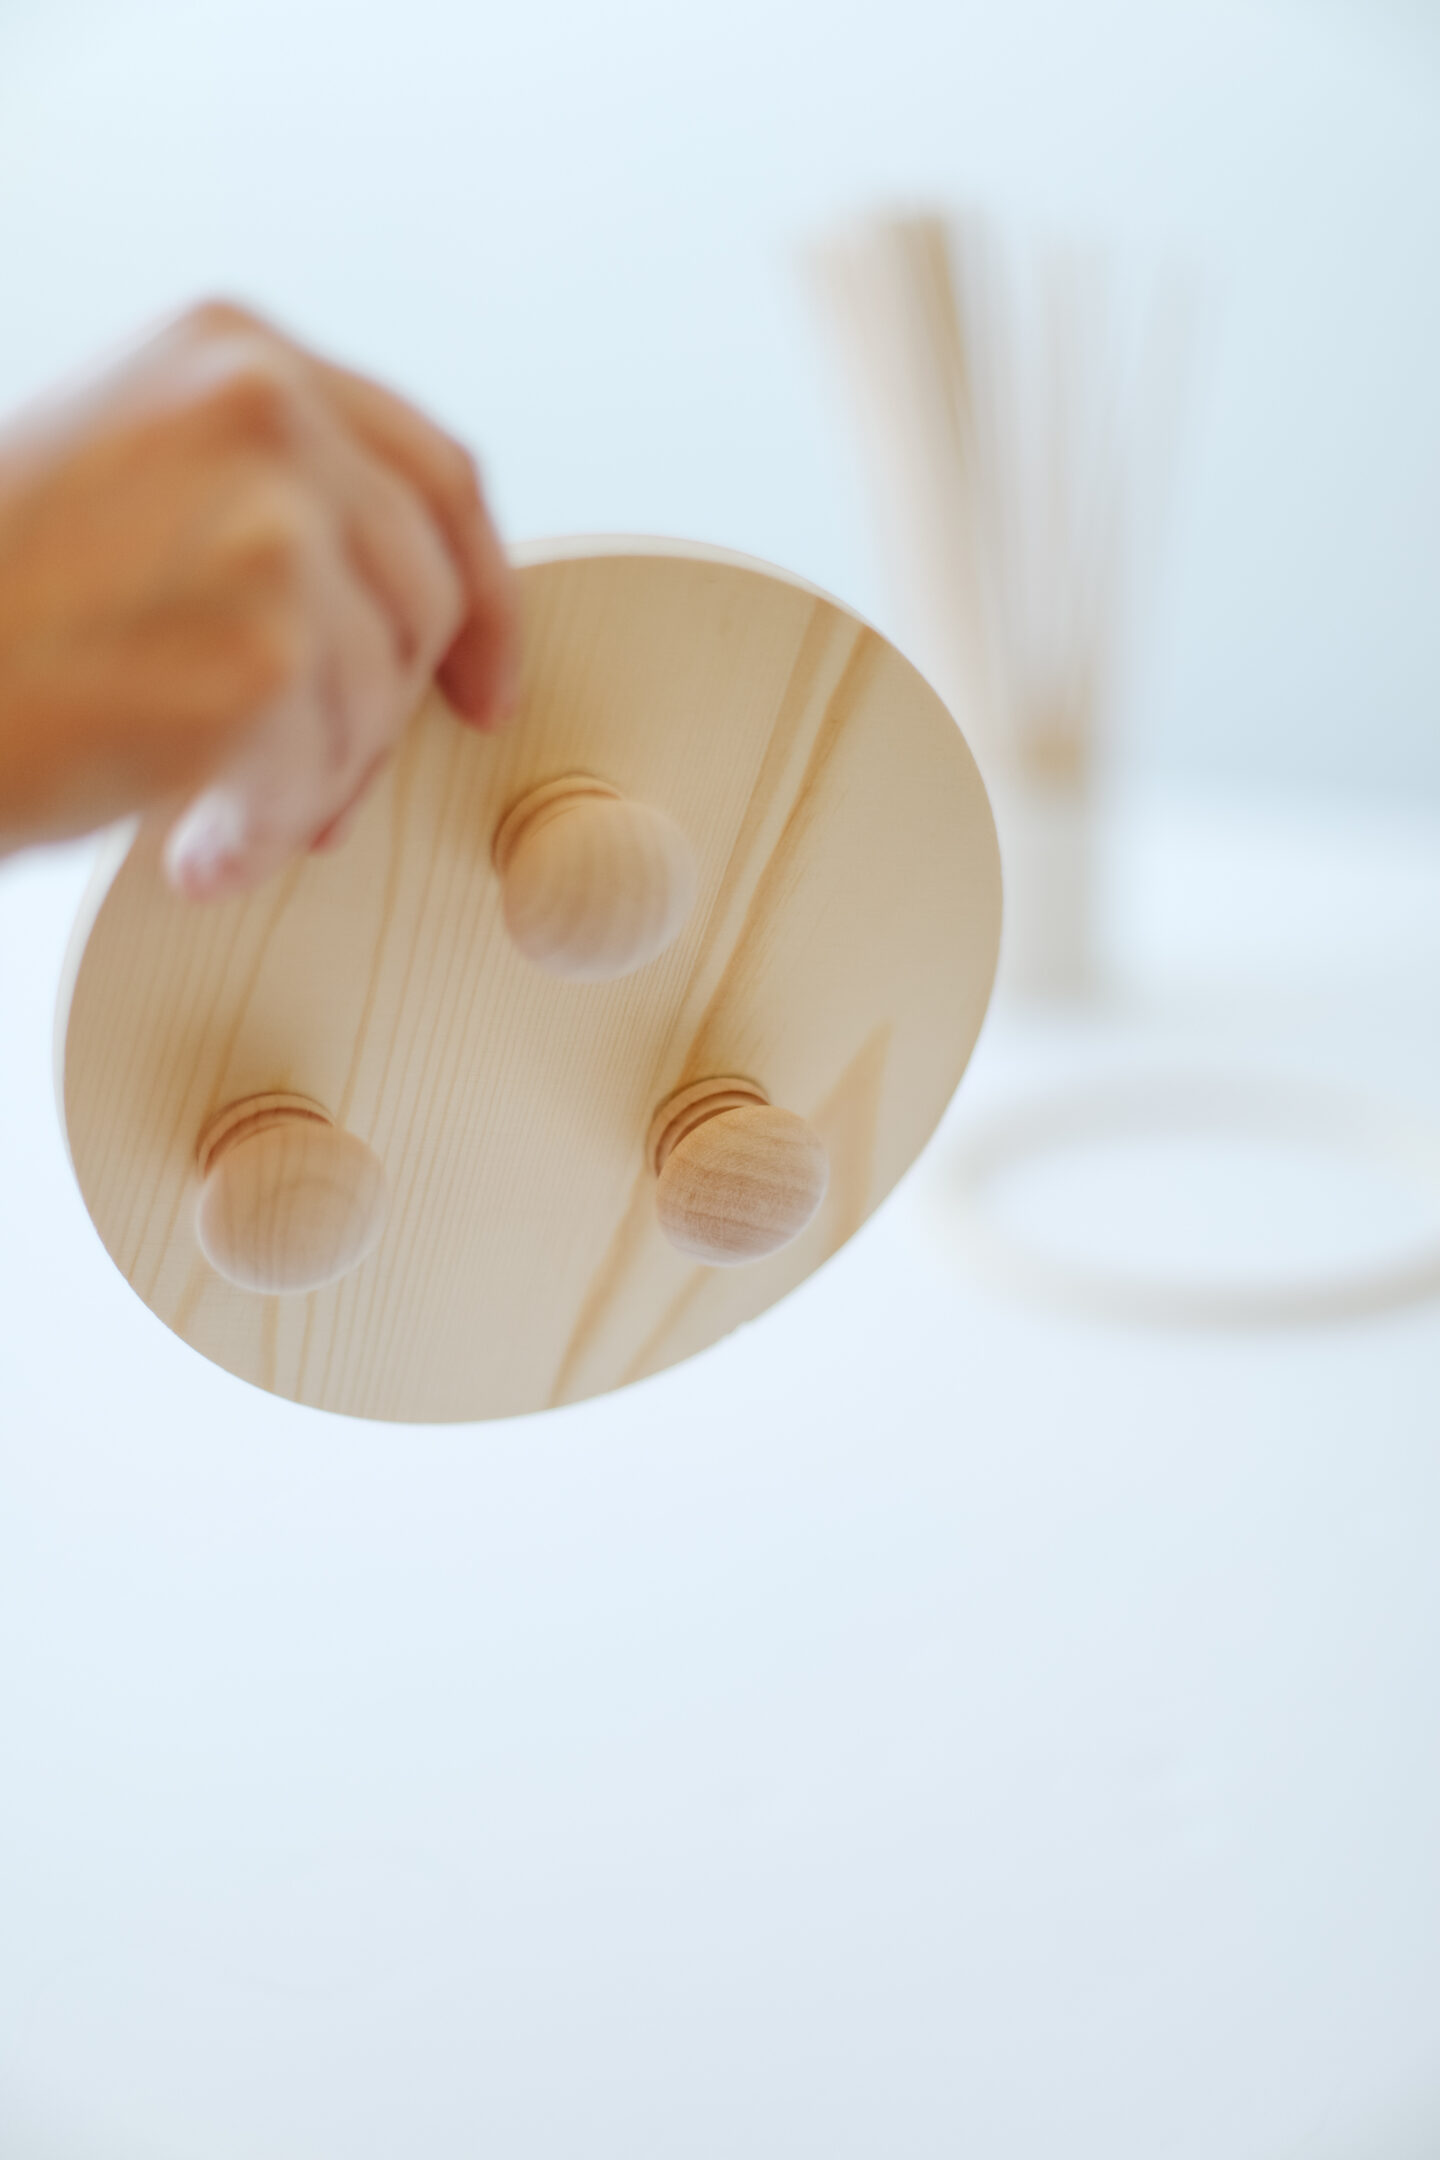
– Wood knobs
– Hot glue gun and heavy duty glue sticks
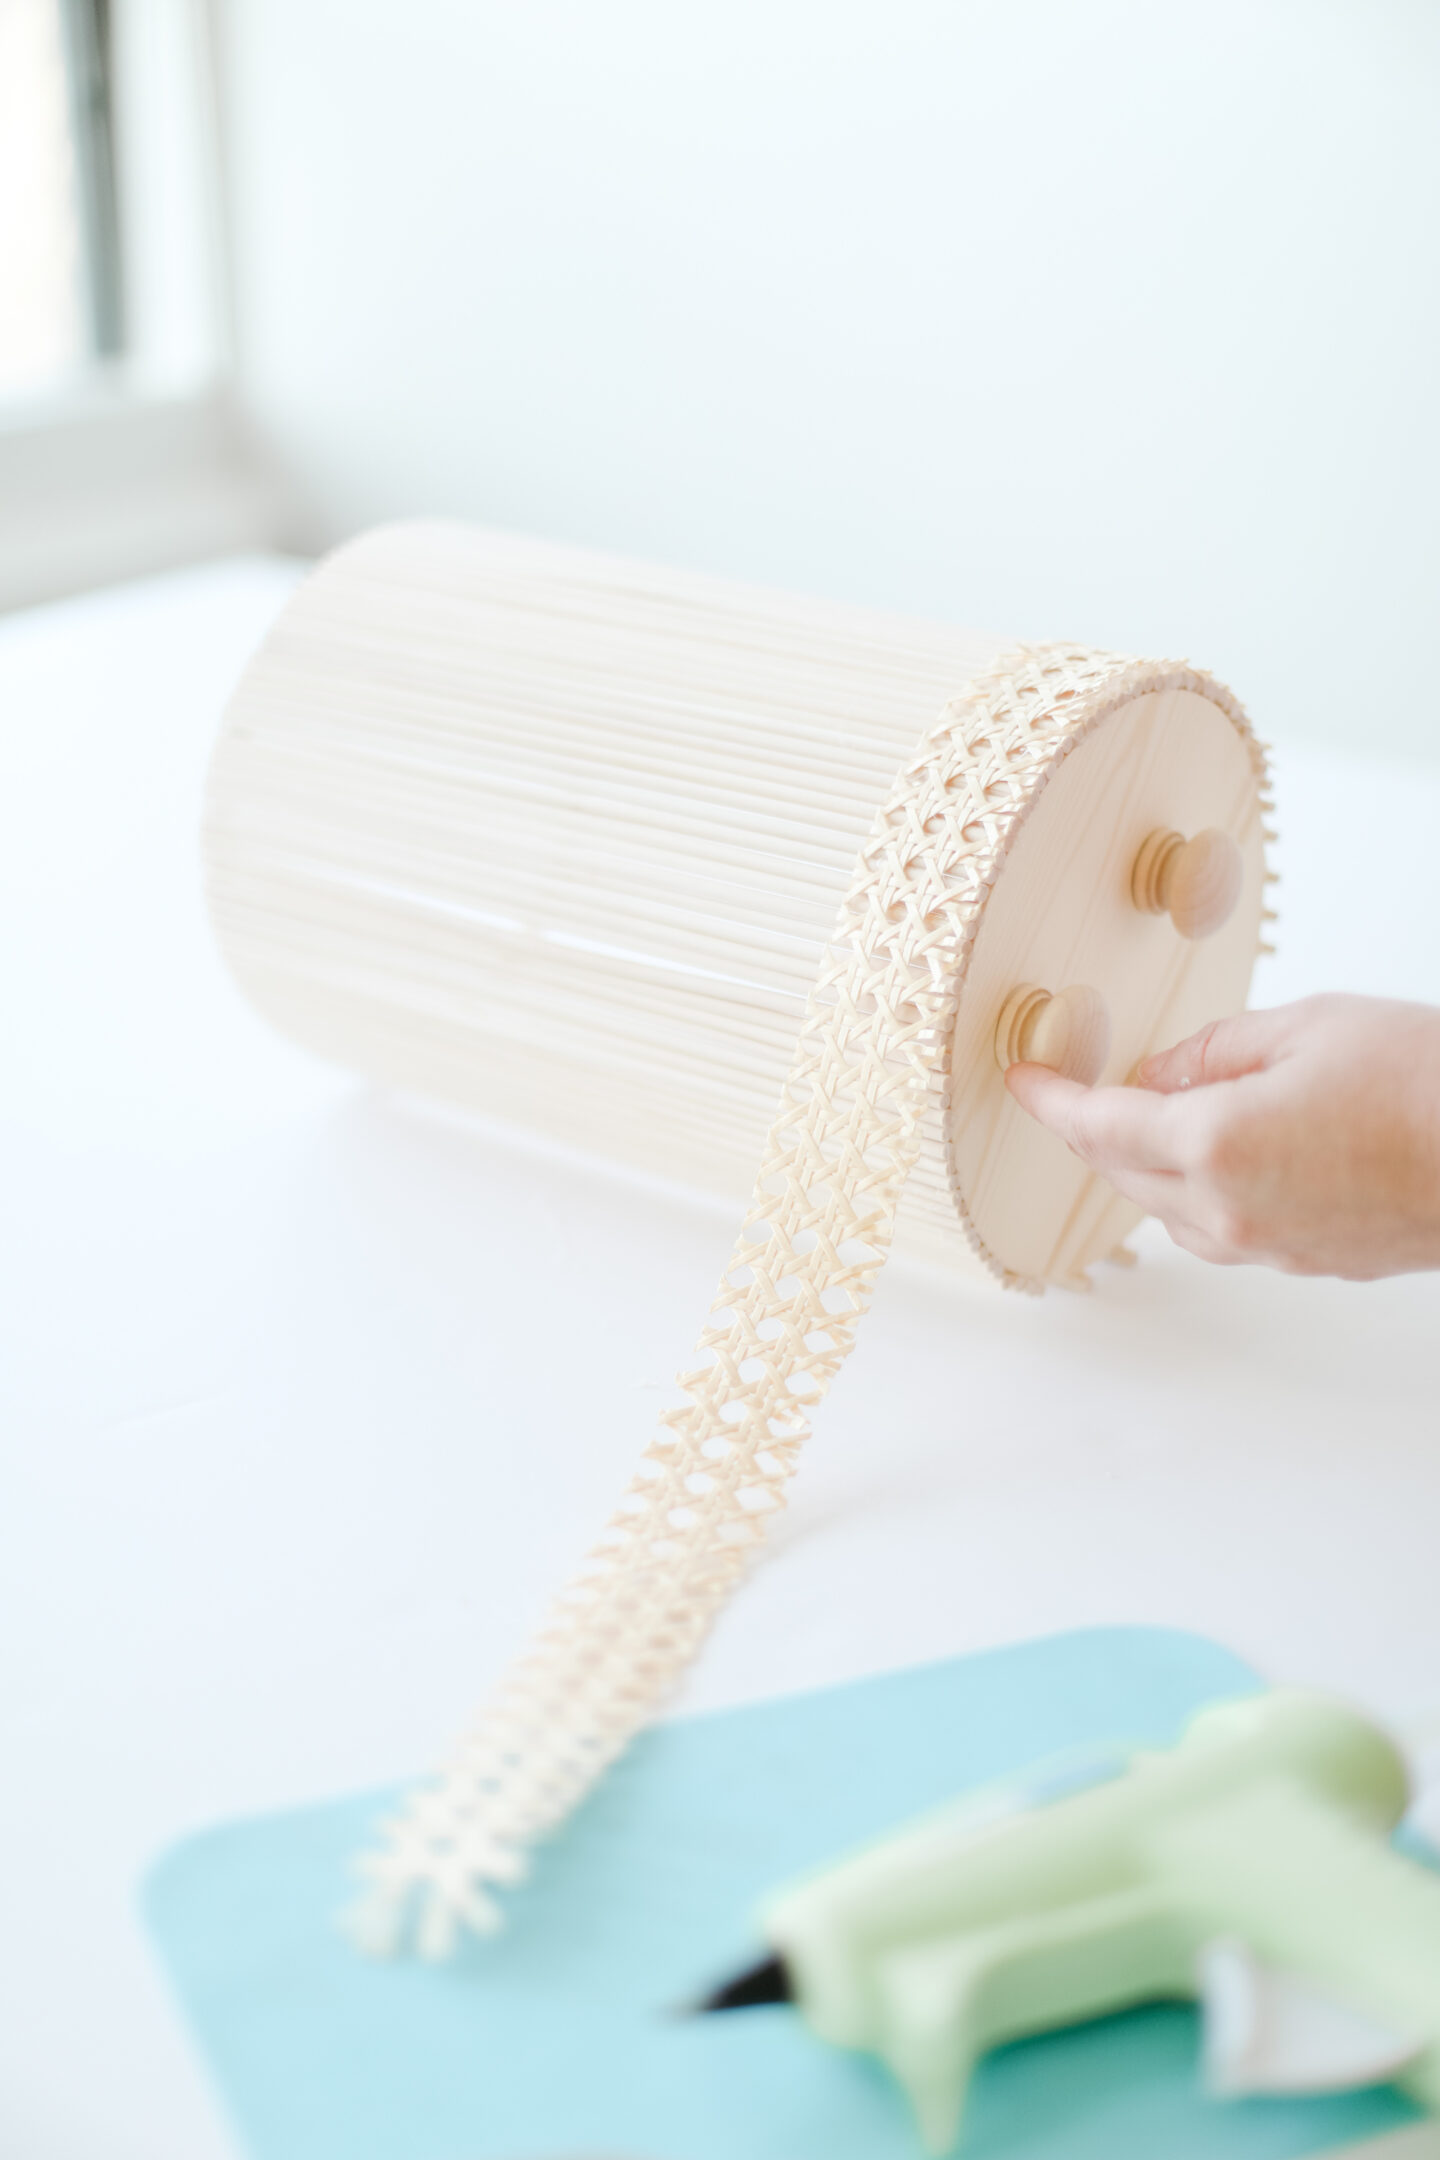
Grab your natural wood knobs to start, I used three and created a triangle in the base of our vase. Using the hot glue gun, secure them pressing for 30 seconds each.
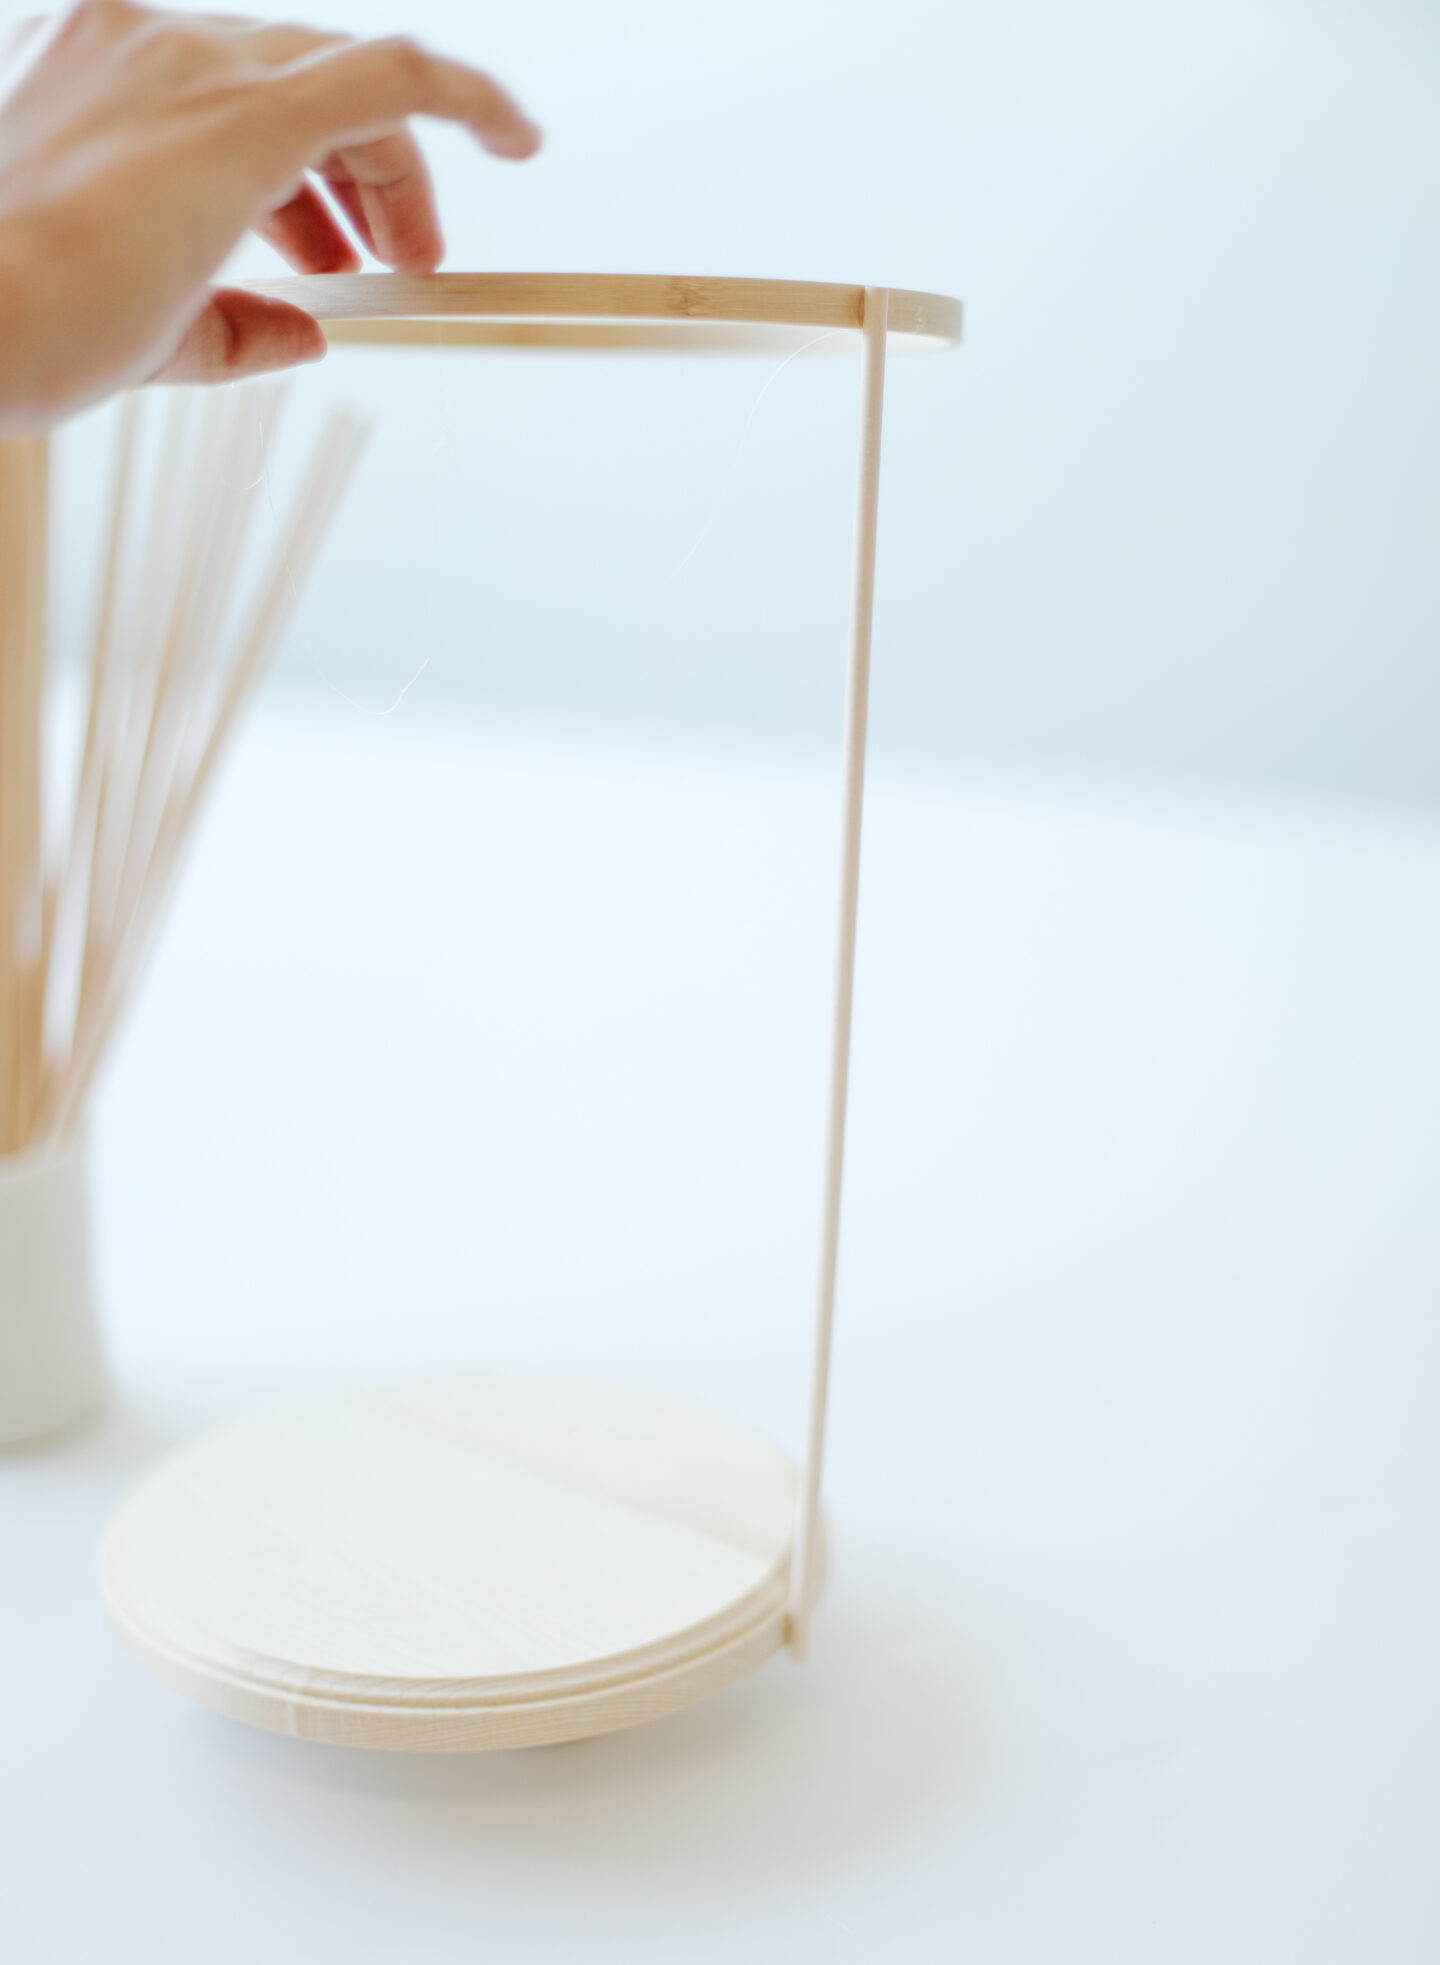
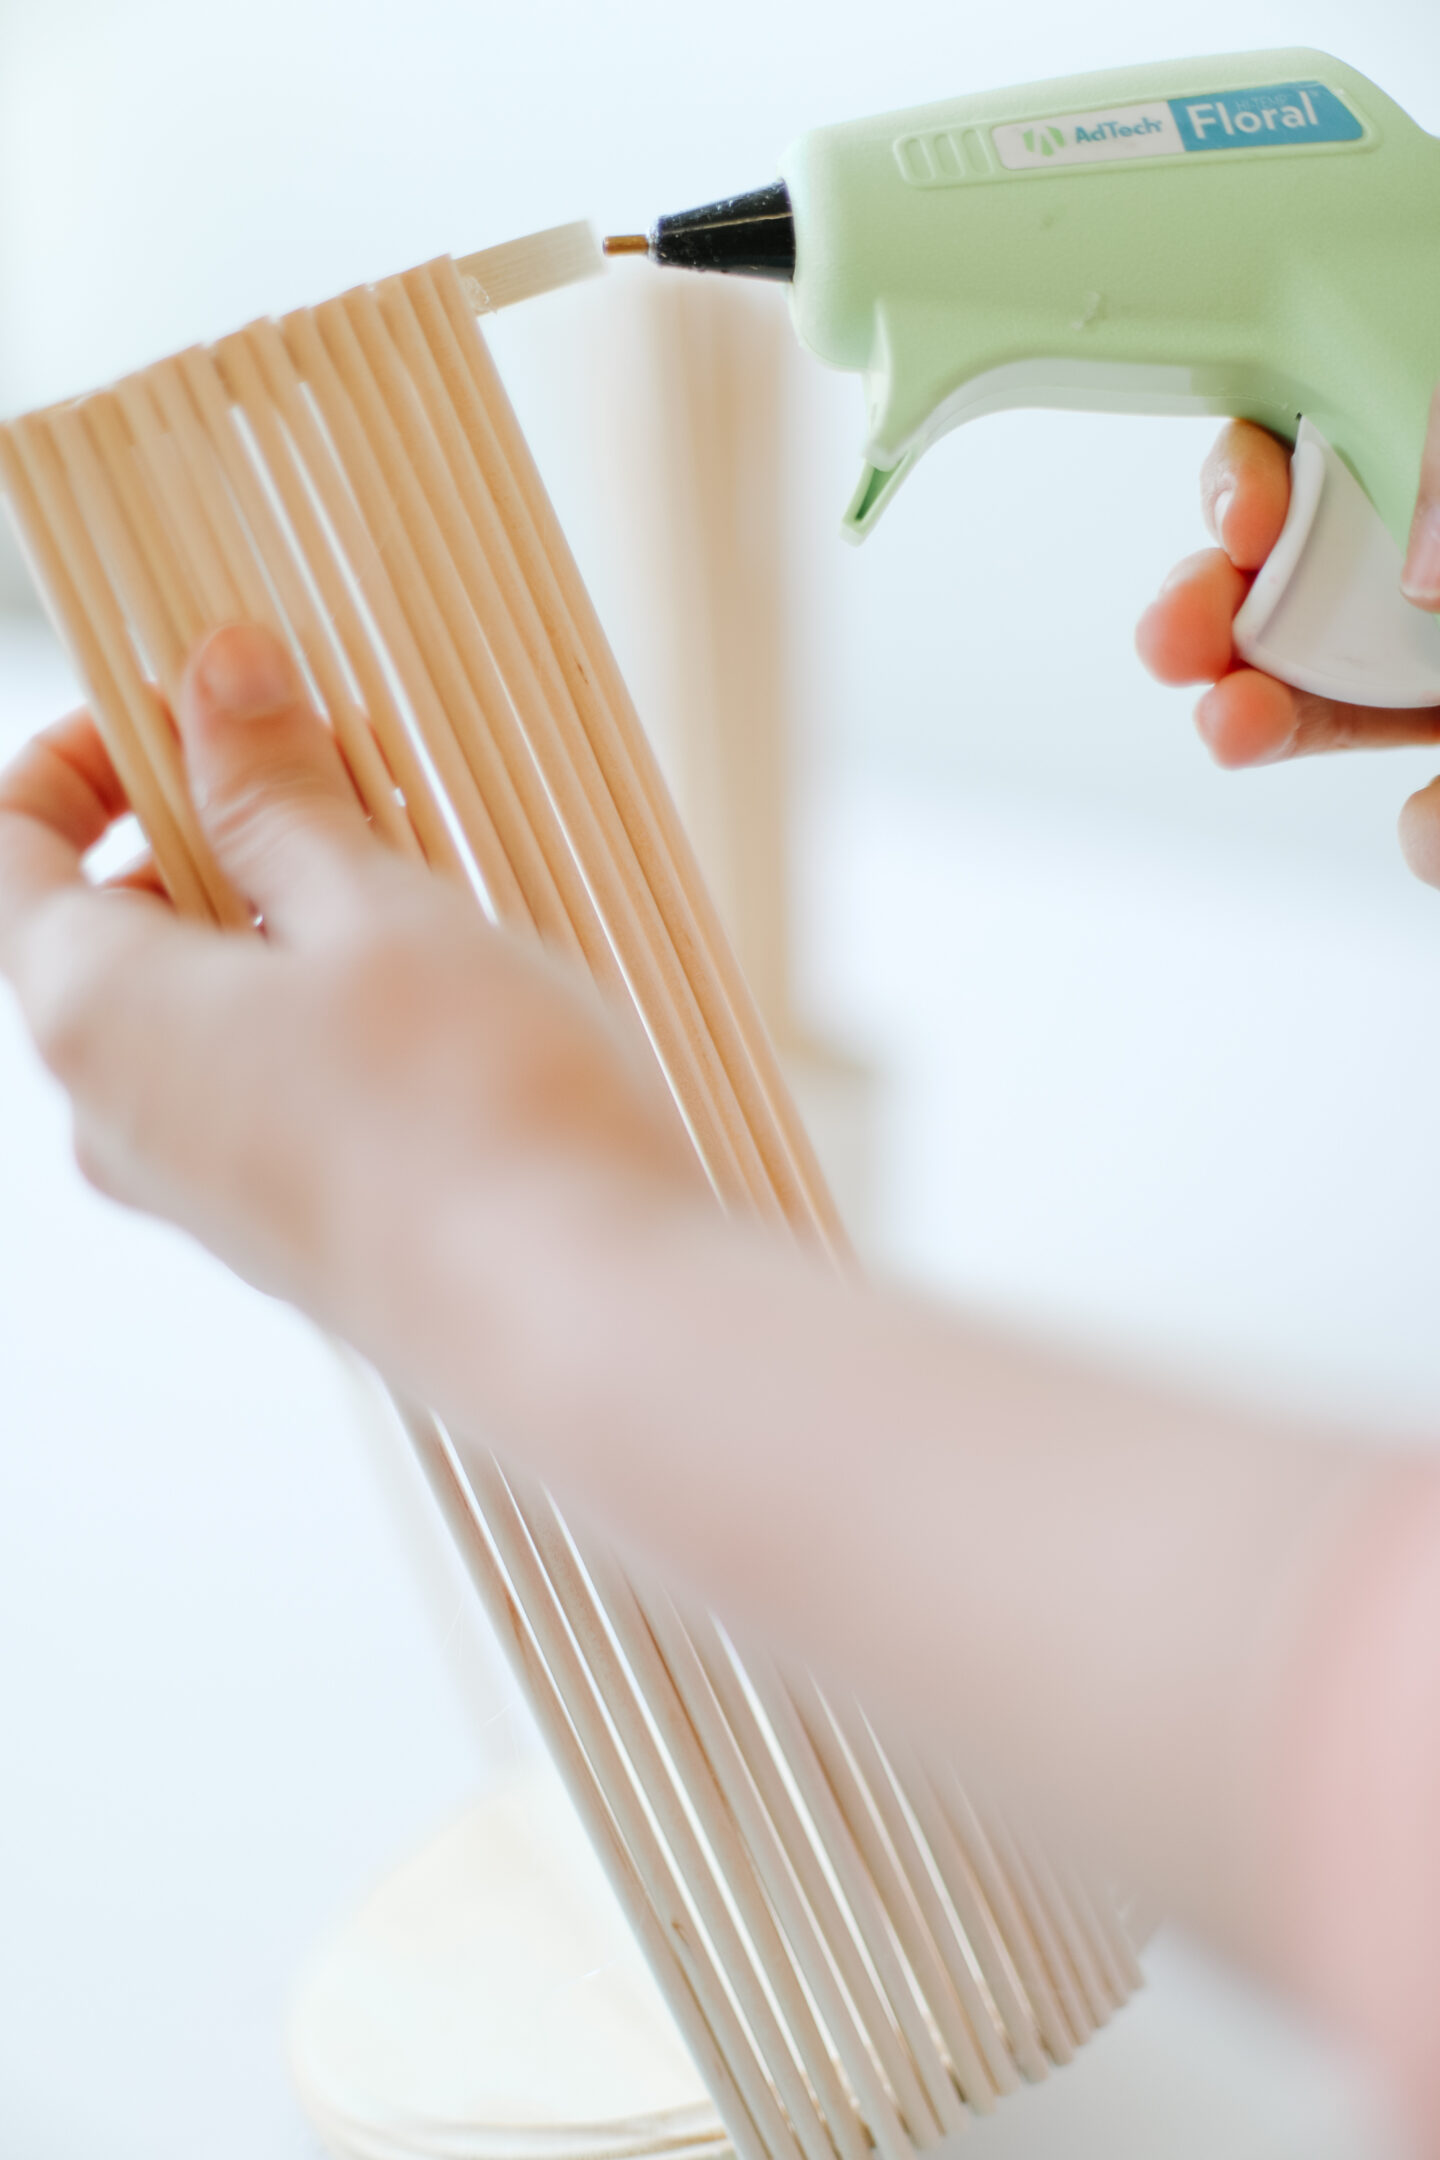
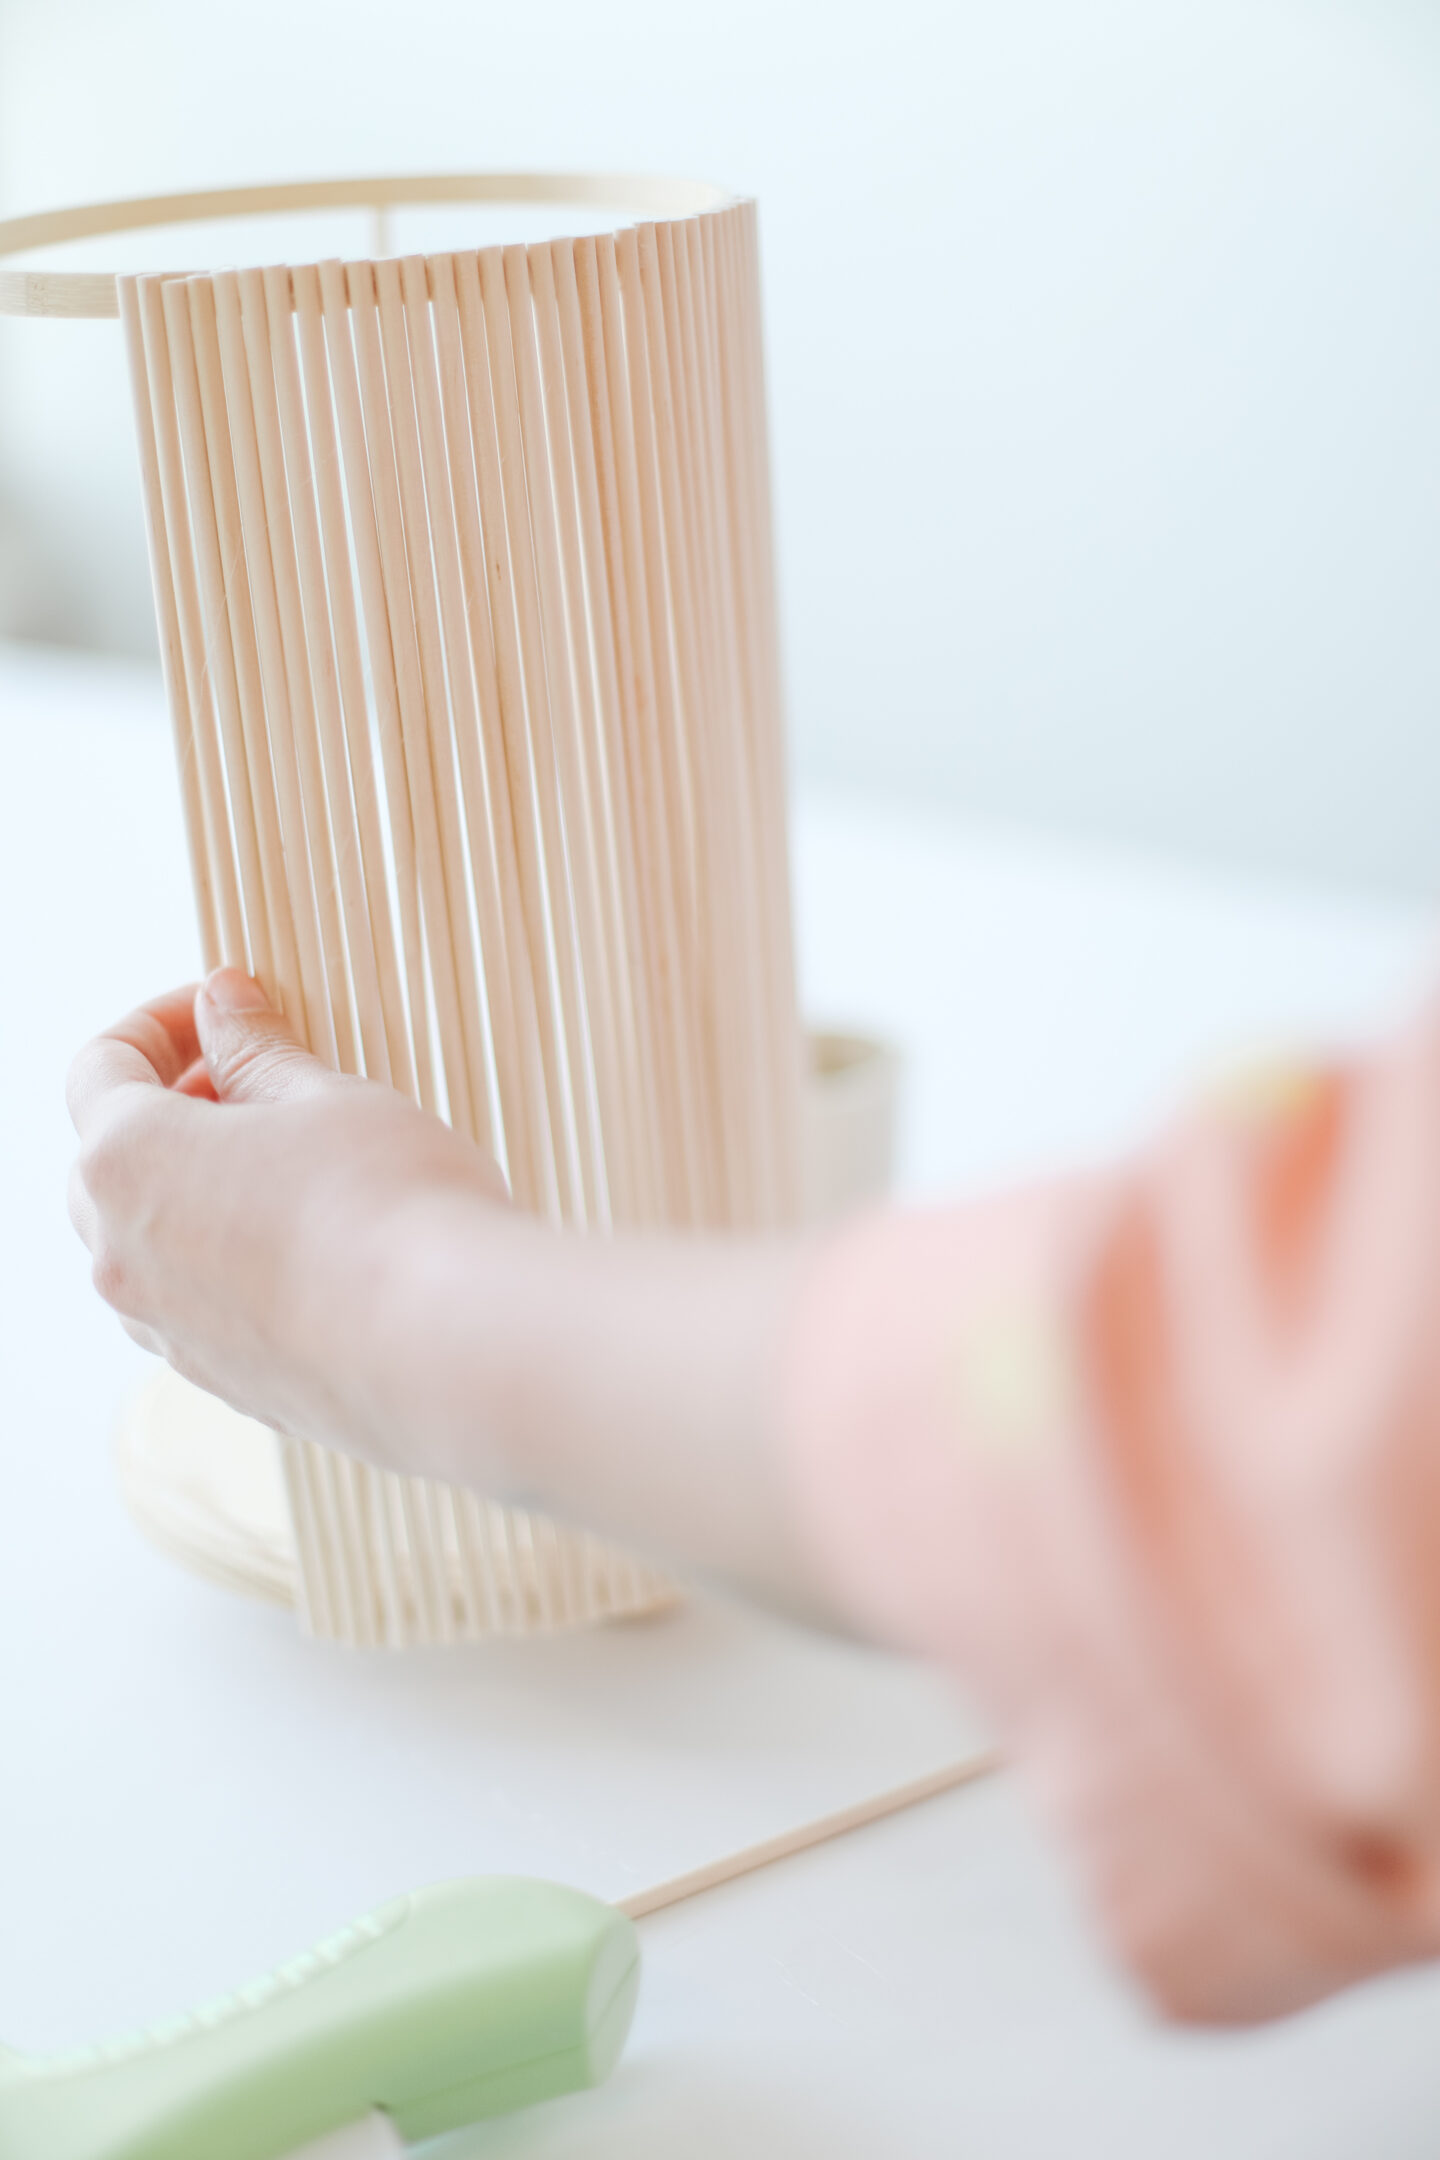
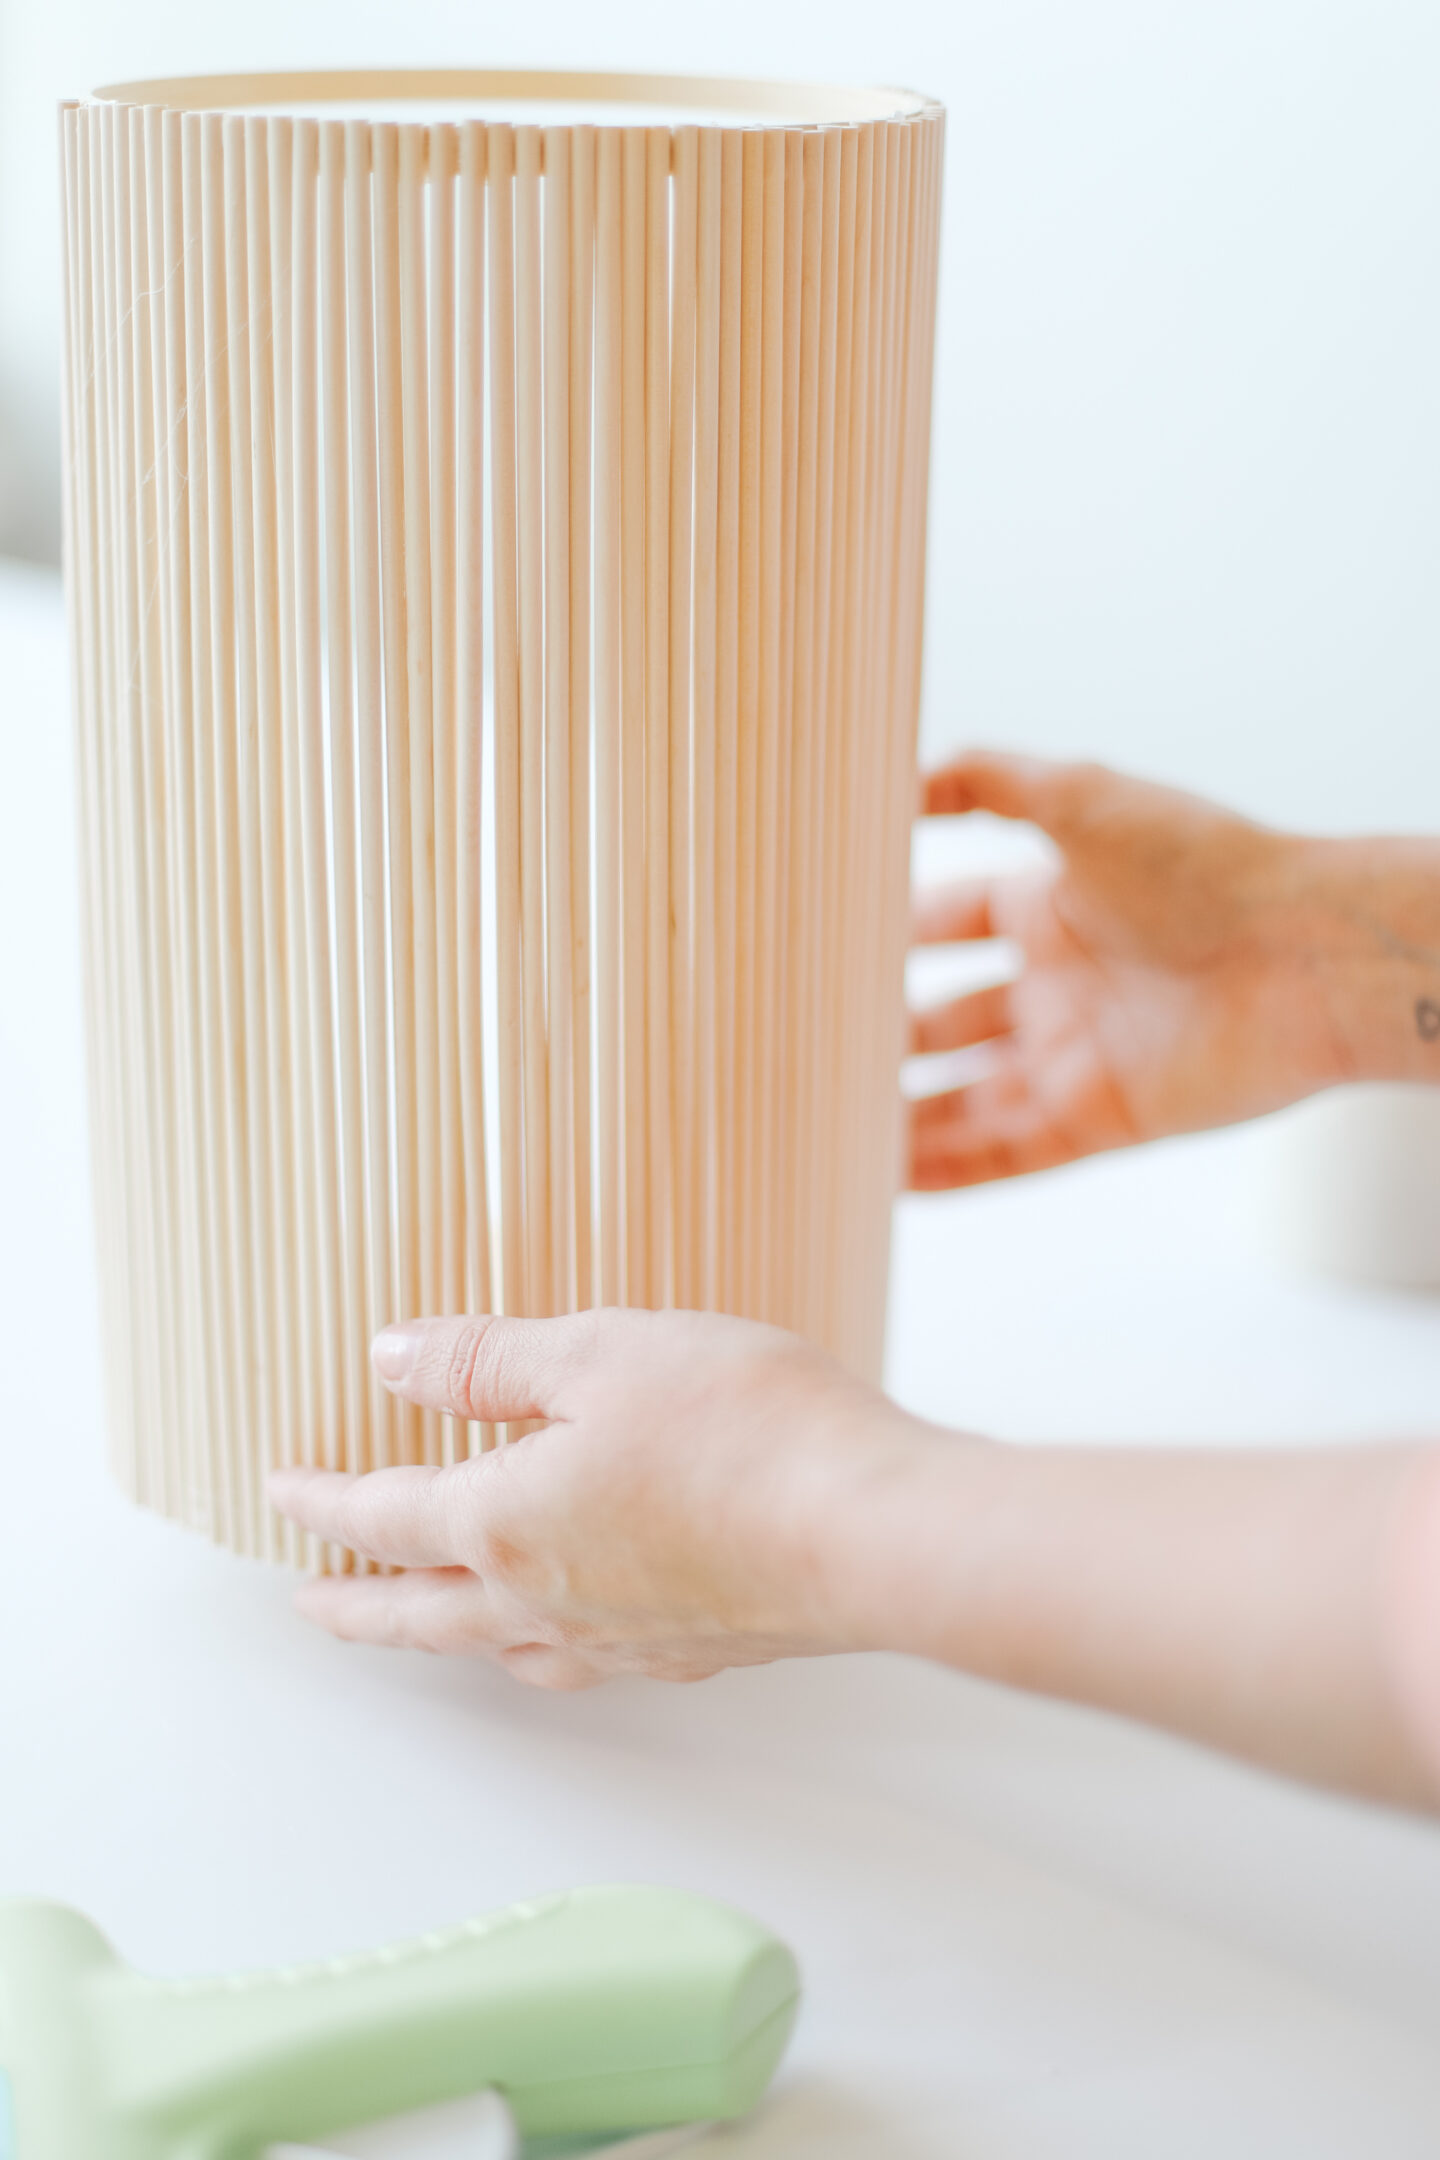
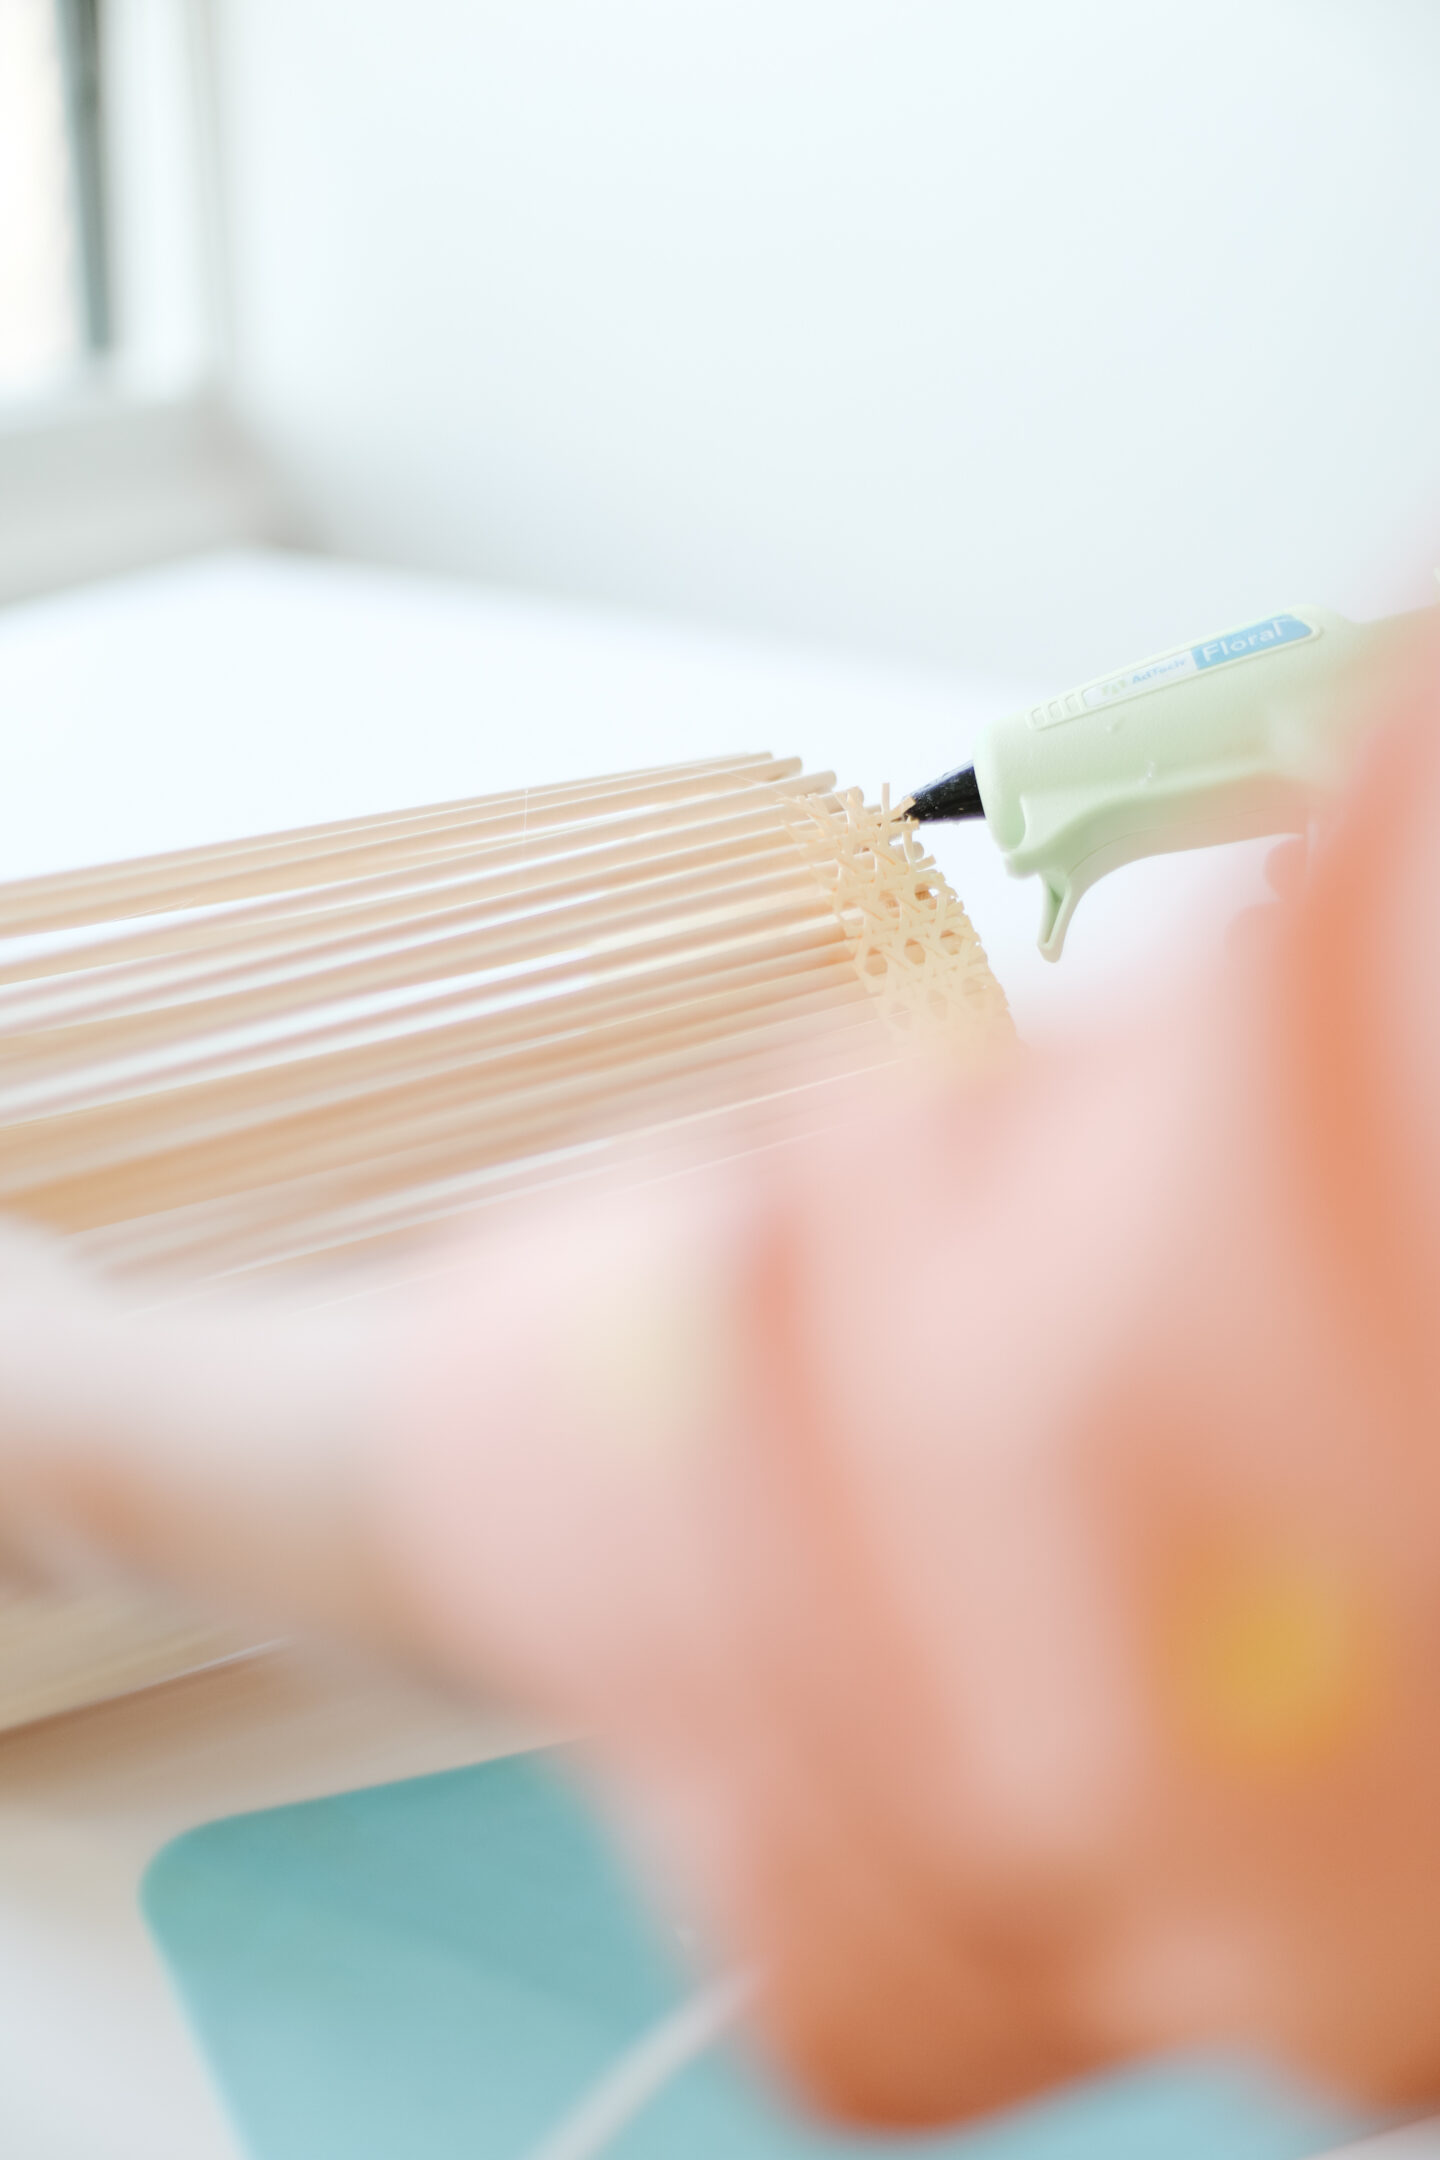
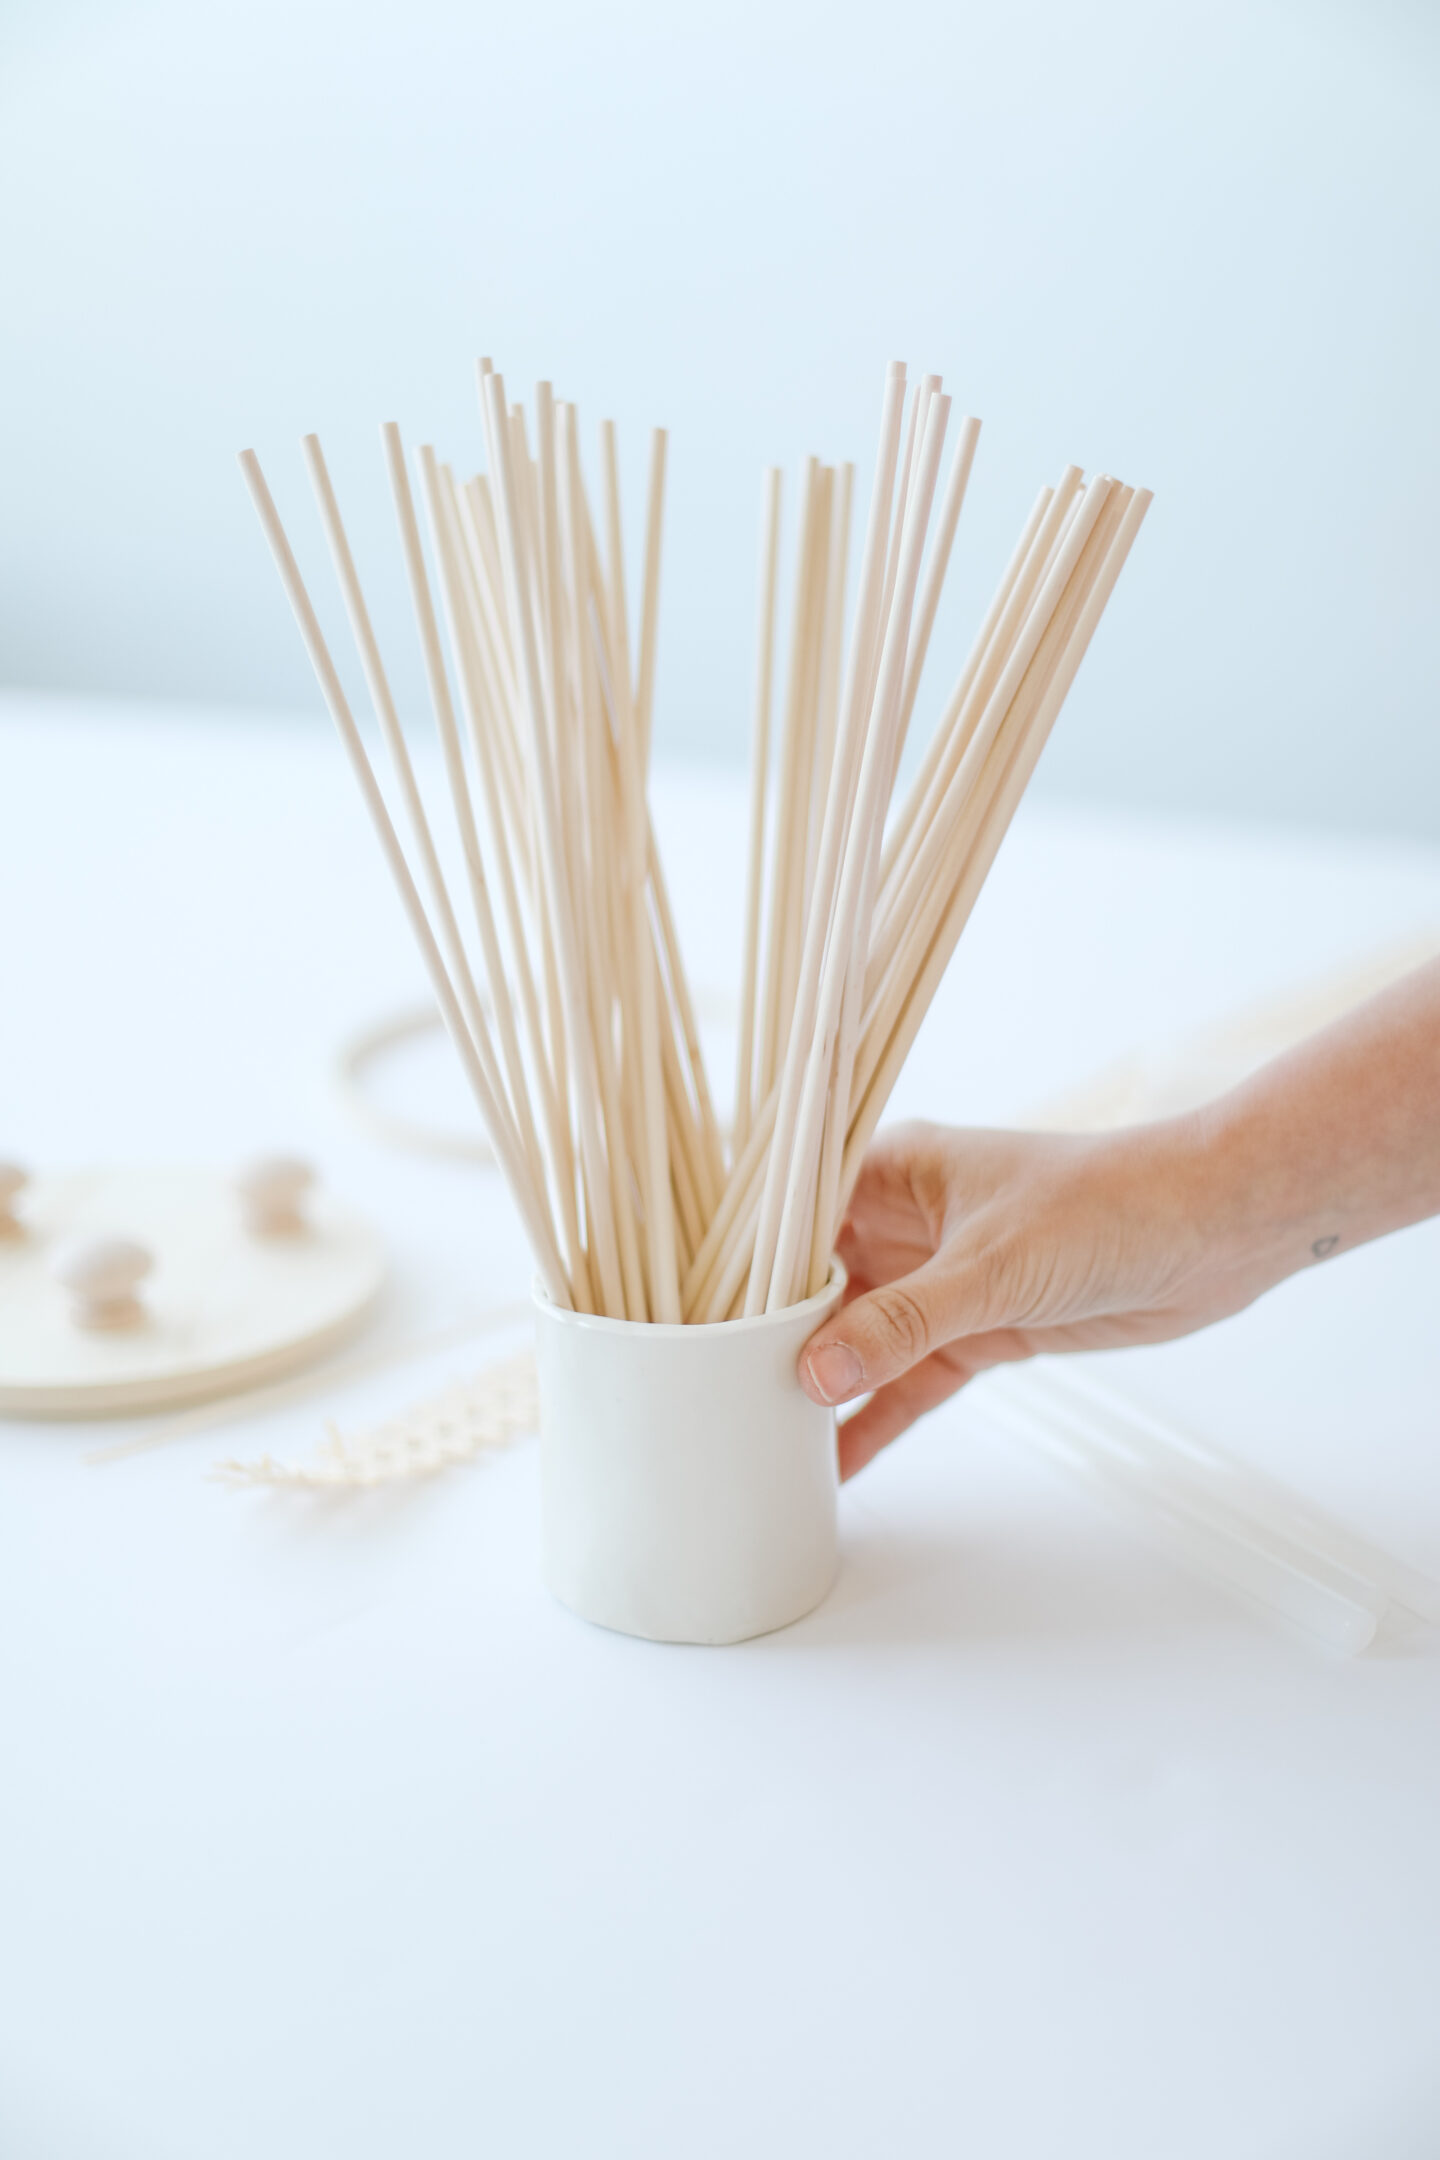
Add a small dot of hot glue to the base and add the first dowel. As soon as it is dry, glue the embroidery hoop and the dowel at the top of the base. Continue one dowel at a time, until the vase is entirely covered.
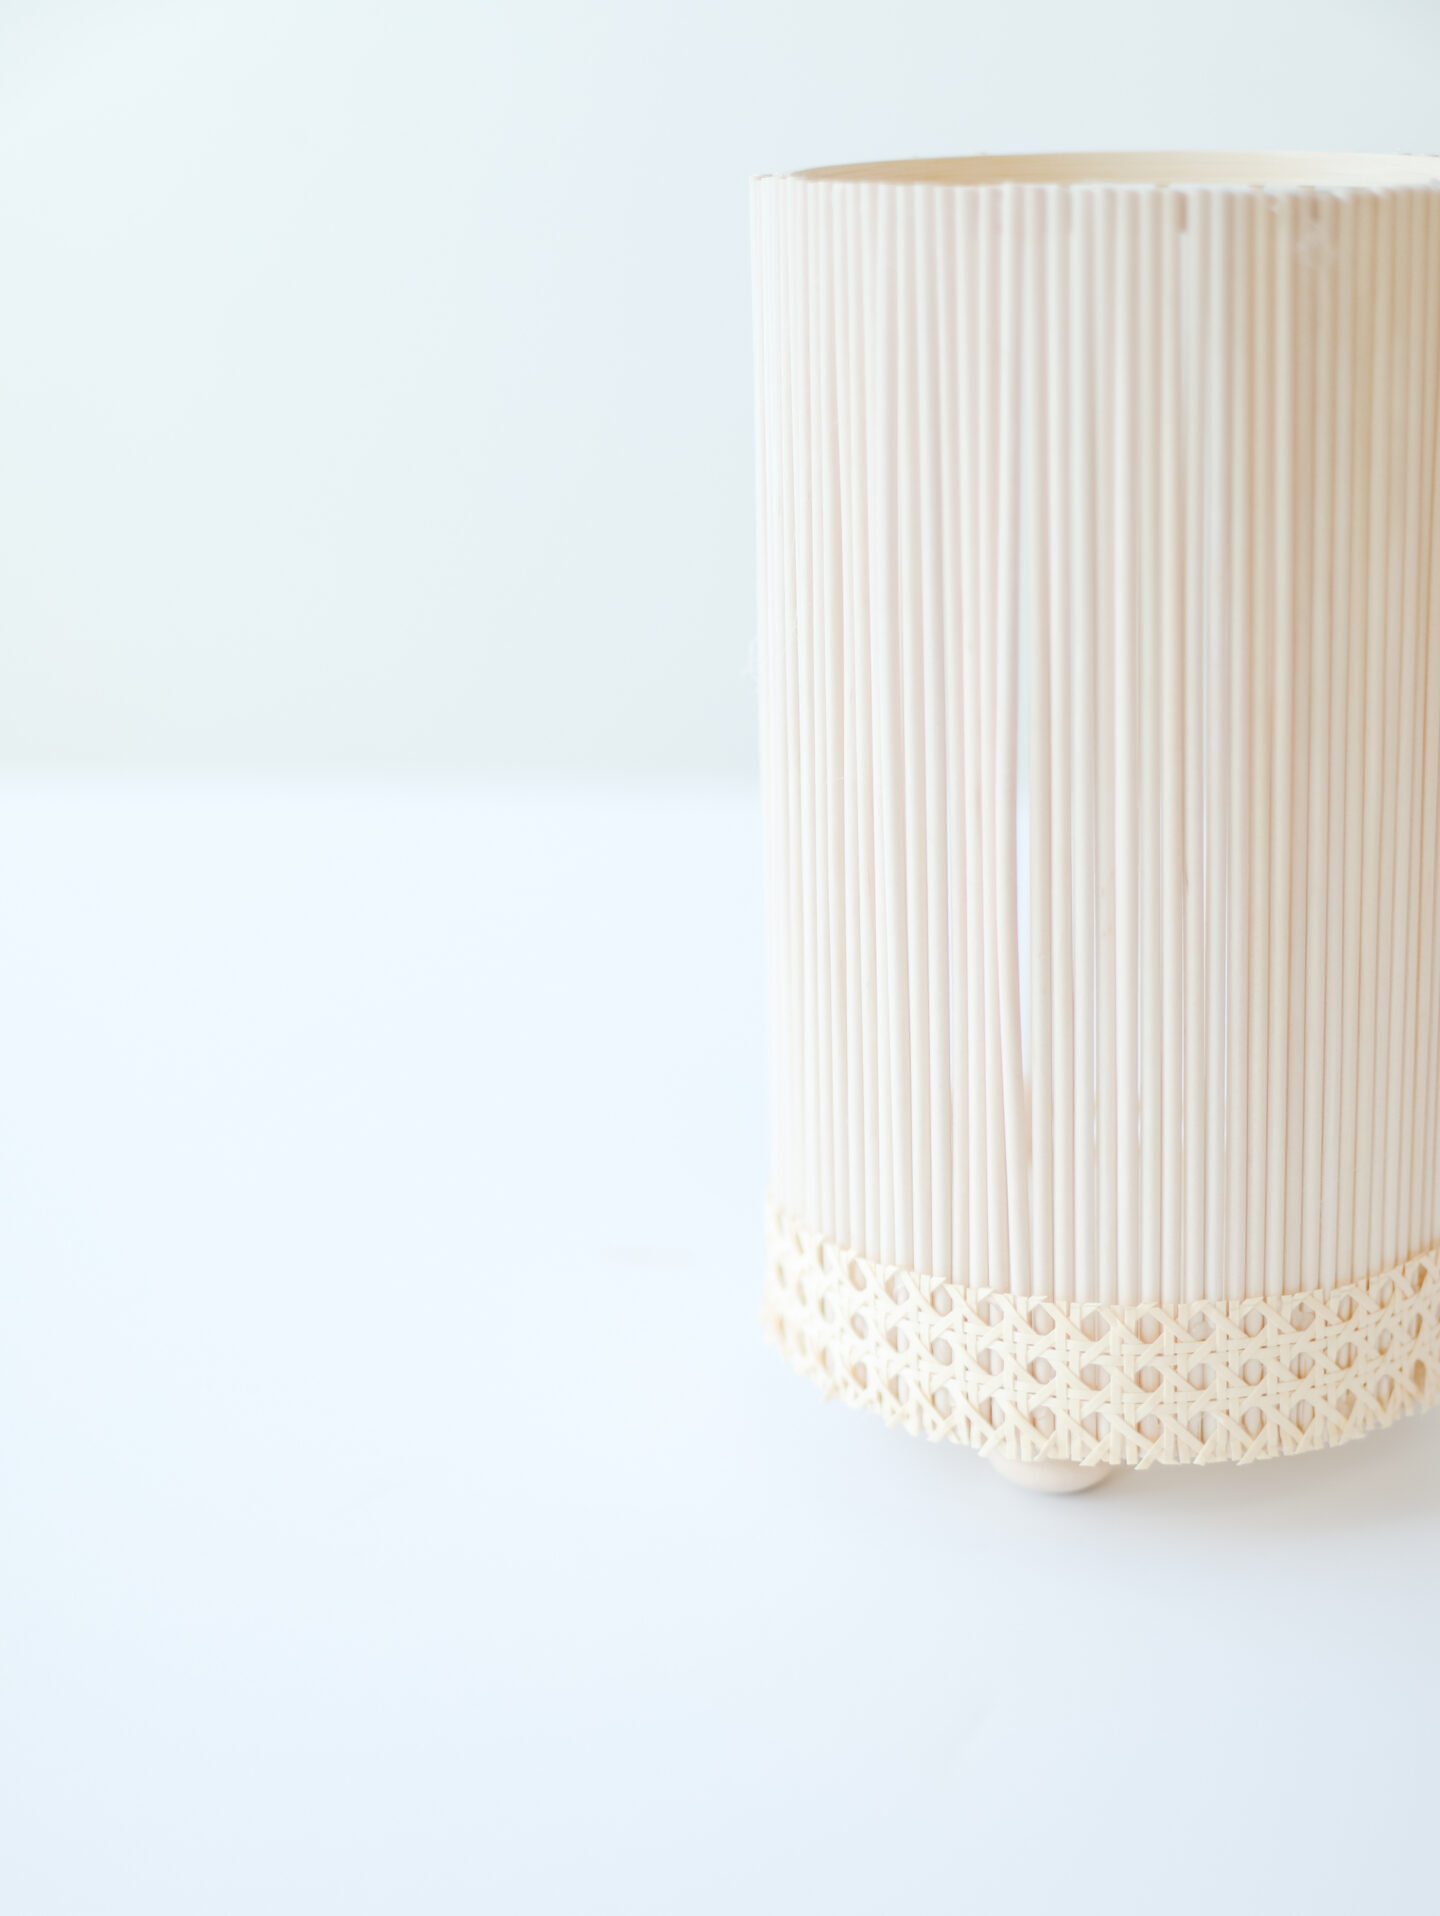
As soon as you finish glueing all the dowels and you have finished your vase, let’s add a touch of cane! Using the hot glue gun, I added glue in a zig-zag form and added a piece of cane right at the bottom of the vase. Let it dry for about 5 minutes, pressing the cane to the dowels.