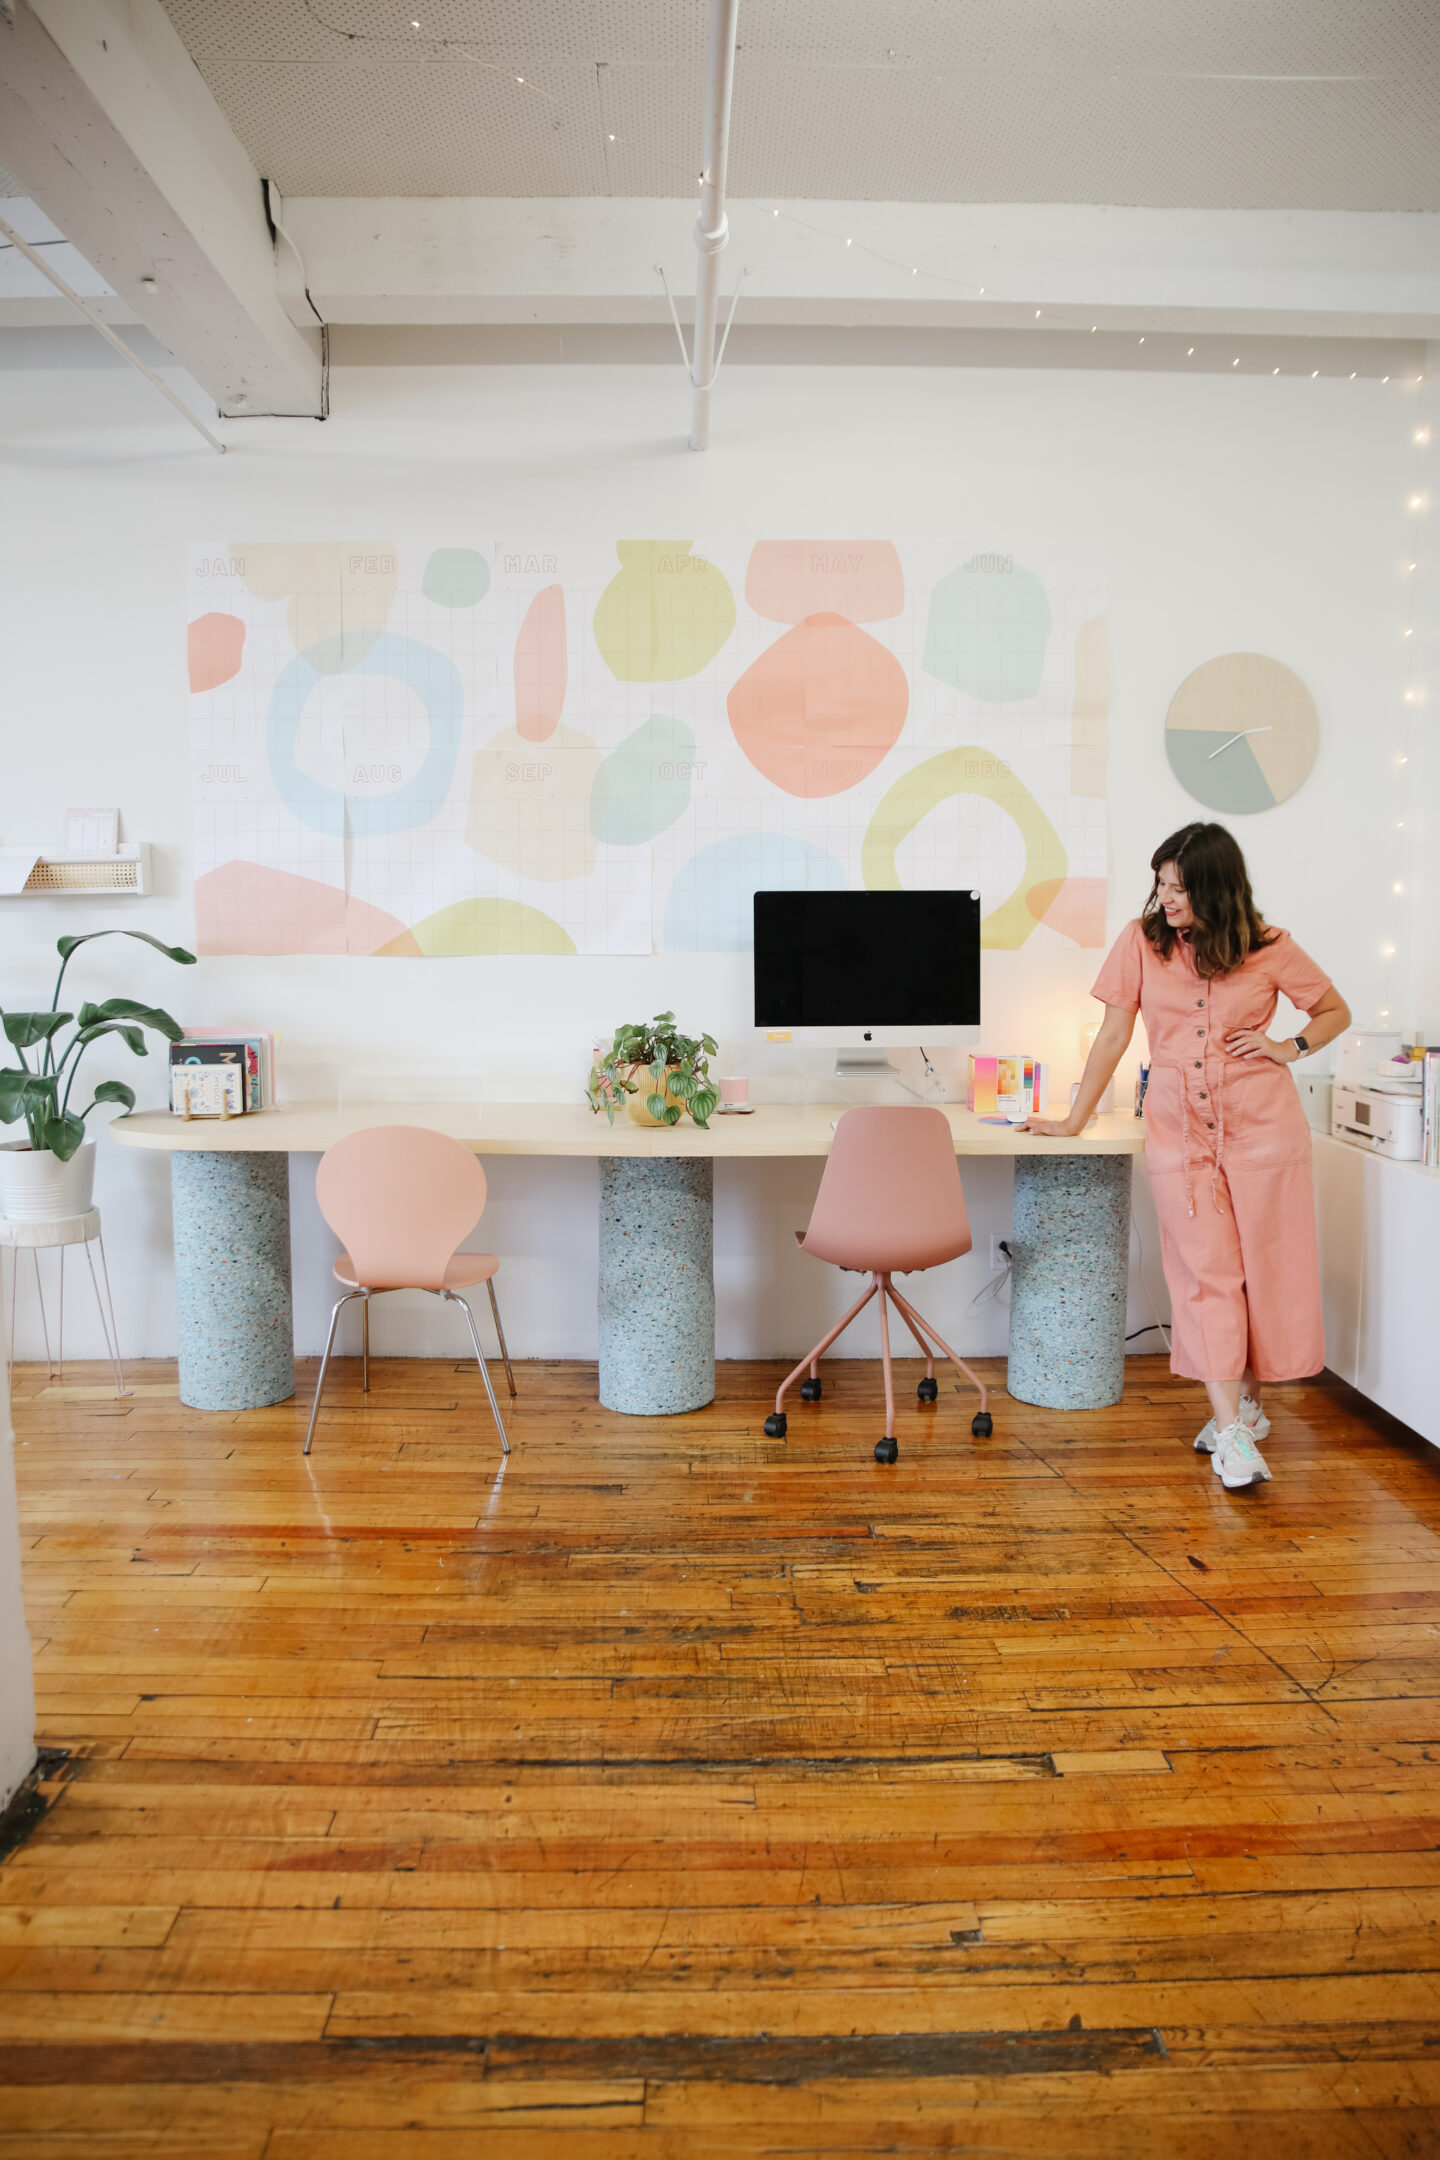
Your Step-by-Step Guide To DIY a Modern Desk

With my dad in Montreal, I started asking a bazillion questions including “Hey dad, can I be a carpenter? if yes, can we build a new desk together quick quick one day, you know for the studio?
You don’t have to ask him twice when wood is involved. We drove to wood heaven (literally for him) aka Langevin Forest and that’s how our modern desk DIY started a few weeks back.
Before I start with this full tutorial and all that jazz, SURPRISE! I have a full video how we made it in my new Youtube channel and I’m beyond excited to share it with you today – (truly loving shooting long form video content nowadays).
ok back to this DIY desk business, scroll down for our material list and step-by-step instructions, I promise it’ll be a FUN ride.
Tools
– Jigsaw
– Brad nailer
– Wood router
– Drill
– Belt sander
– Power cutter
– Hammer
– Iron
Materials
– Two 1/8 x 30″ x 60″ plywood boards
– Wood edge banding
– Any wood scraps
– 3 tins of contact cement glue
– 8 carriage bolts with butterfly nut
– Two 12″ x 4′ building form
– 2mt carpet cushion
– 80, 120, 180 grit belt sand paper
– Wood file (you can use this set)
– Water-based polyurethane
– Measuring tape
– Pencil
– Glue spreader tool
– Square
– Mask
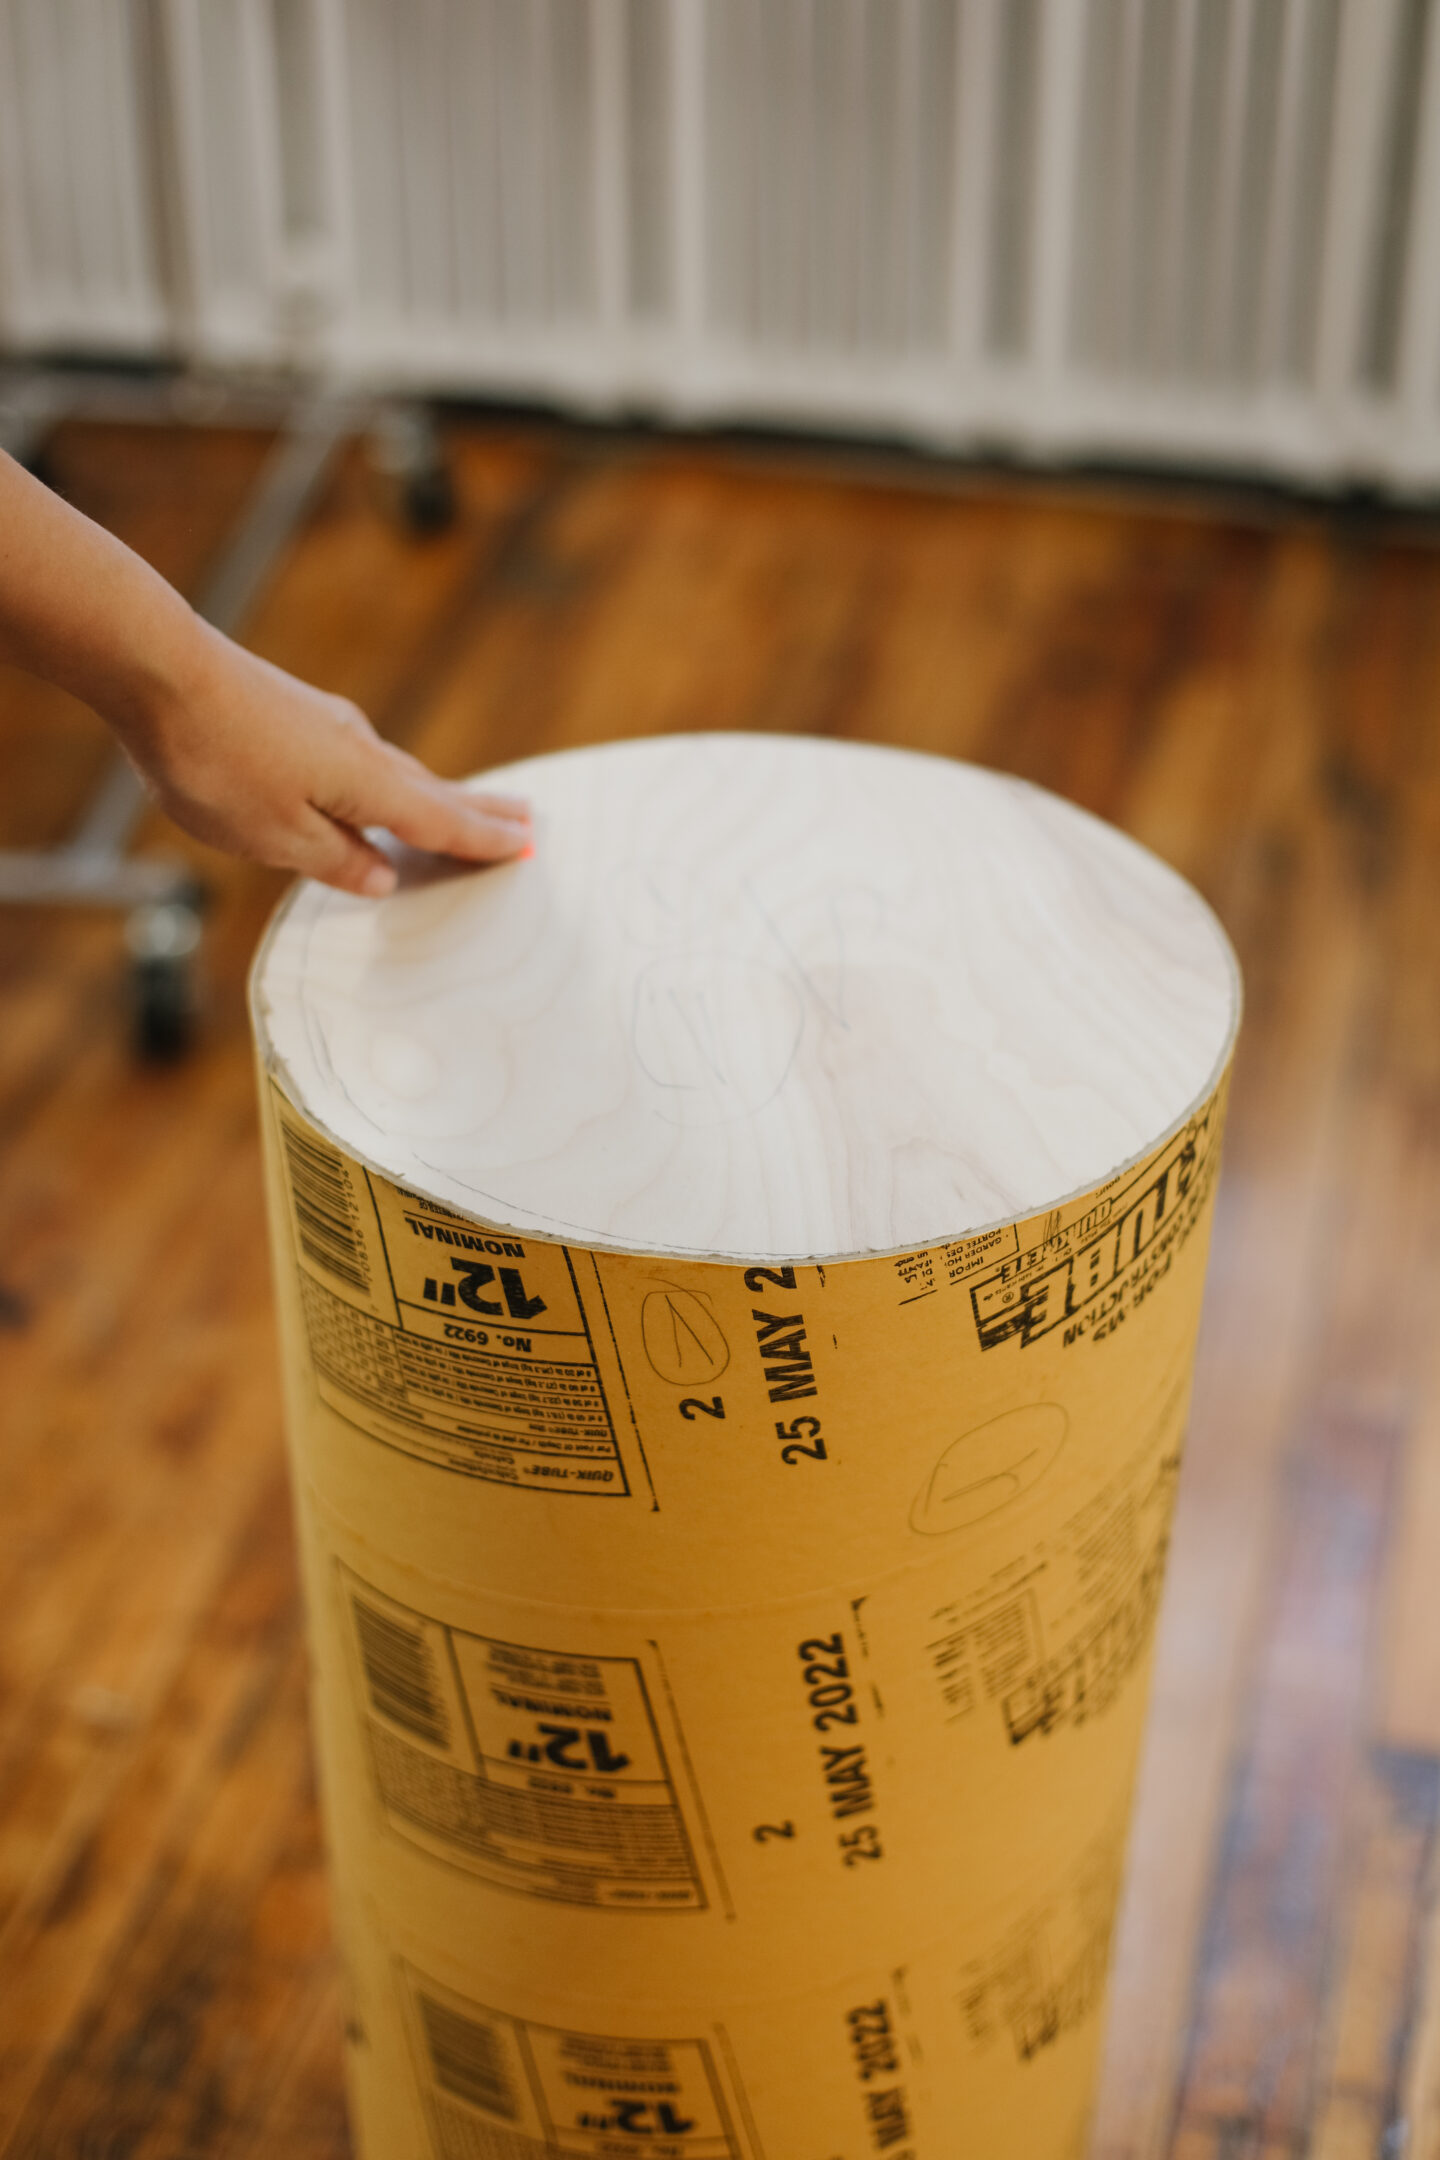
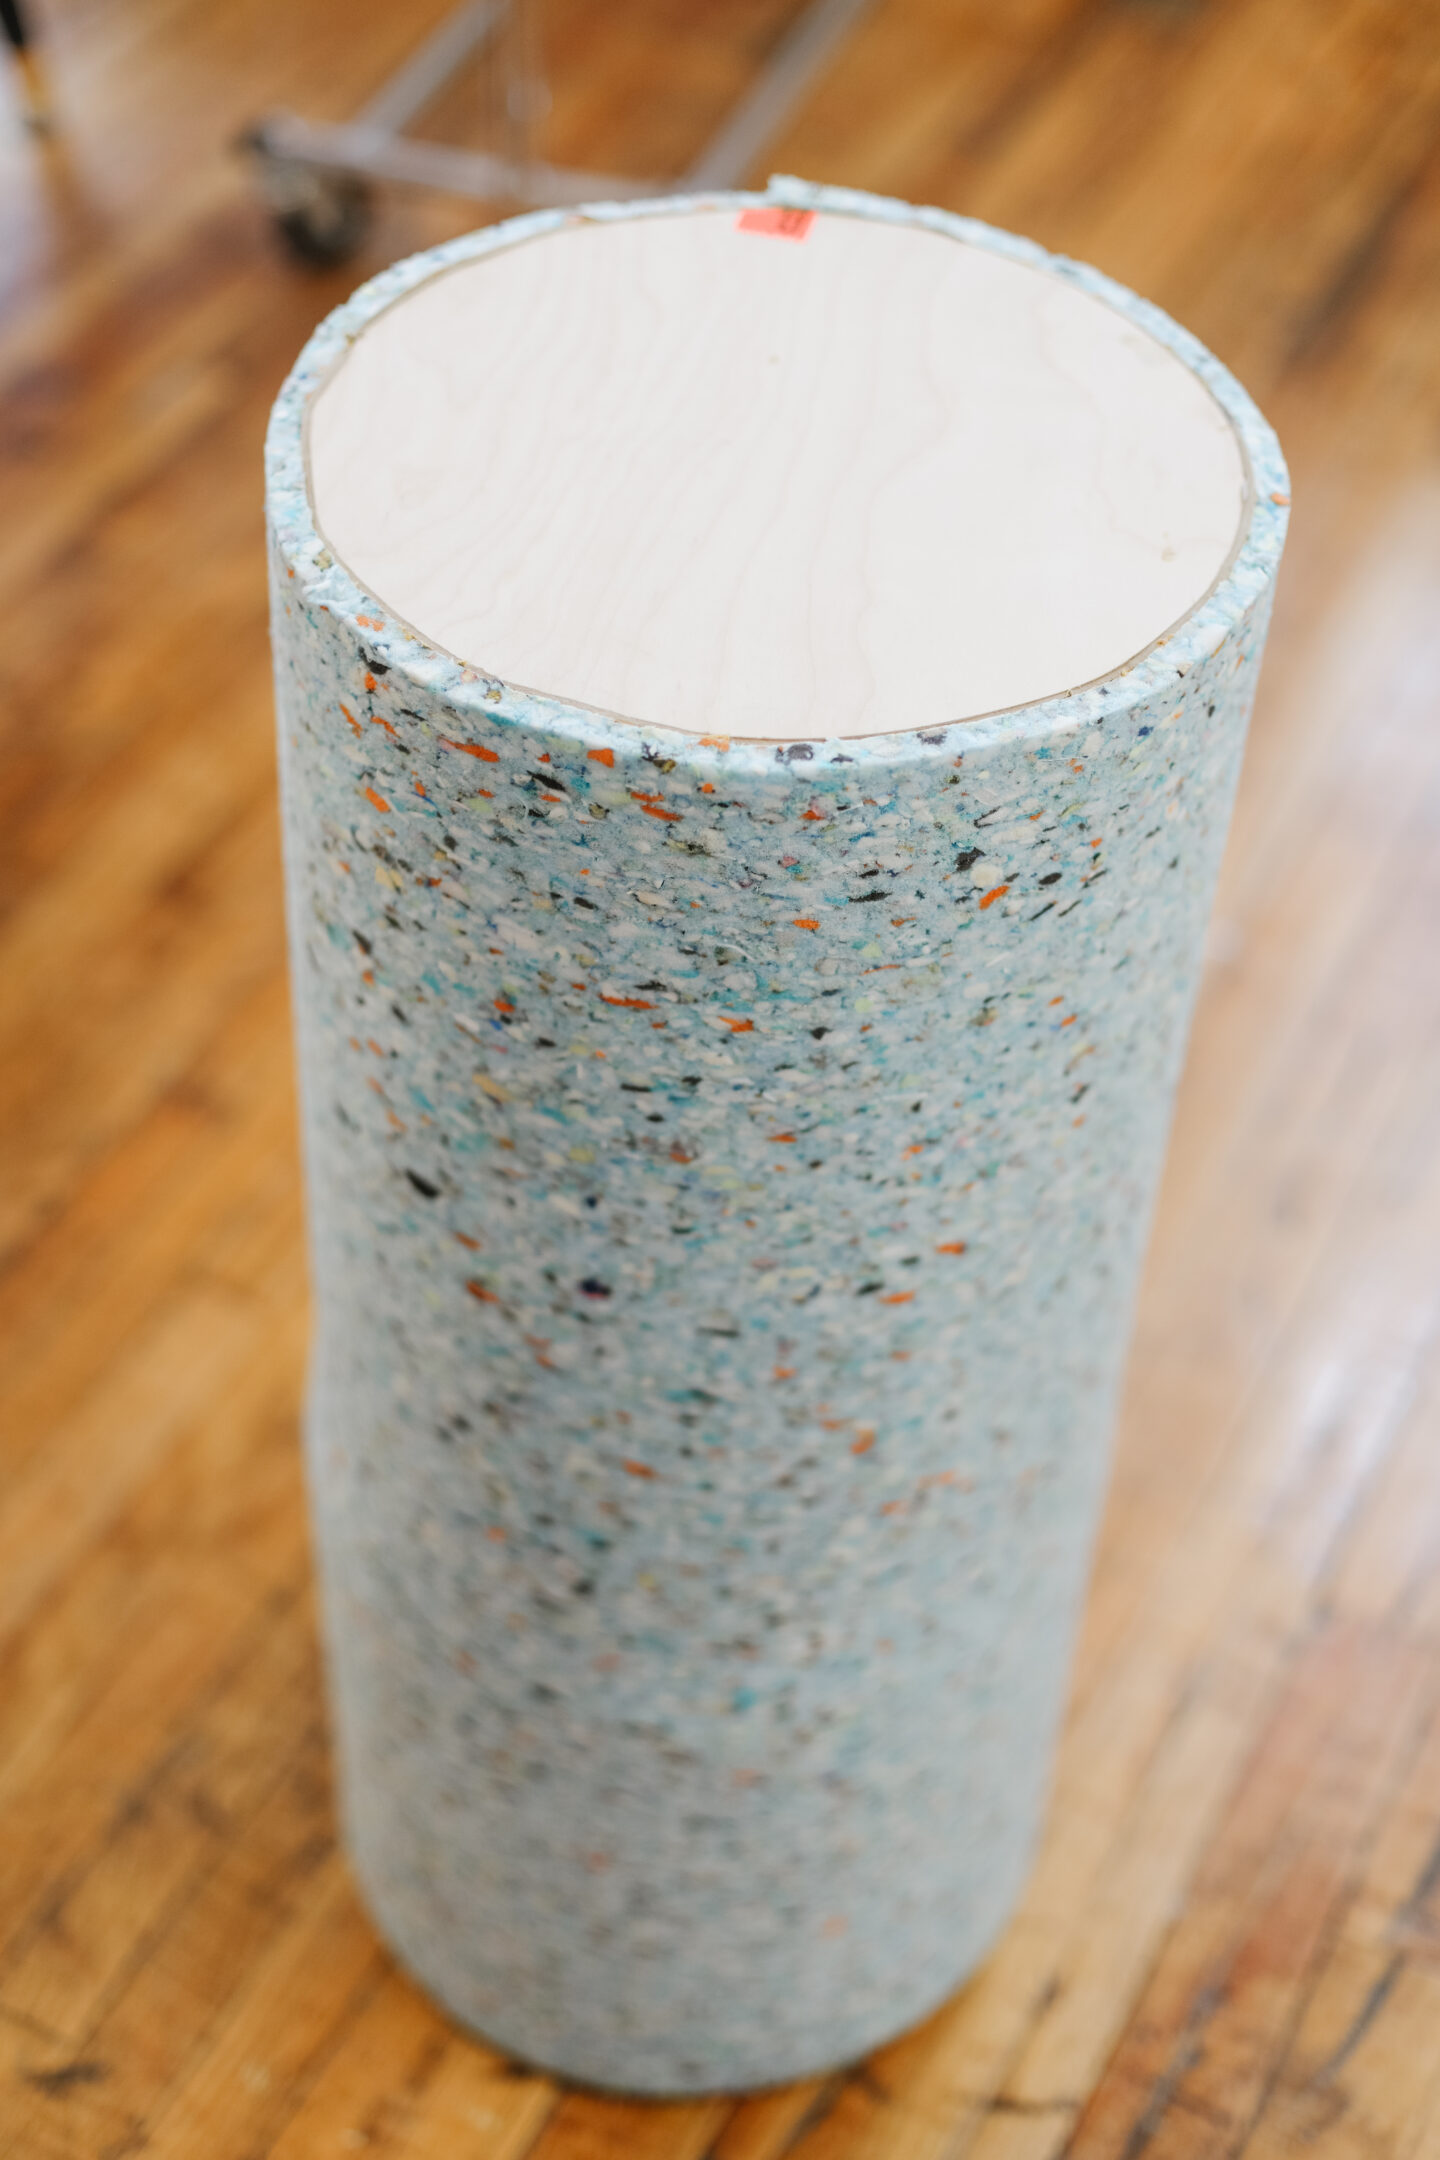
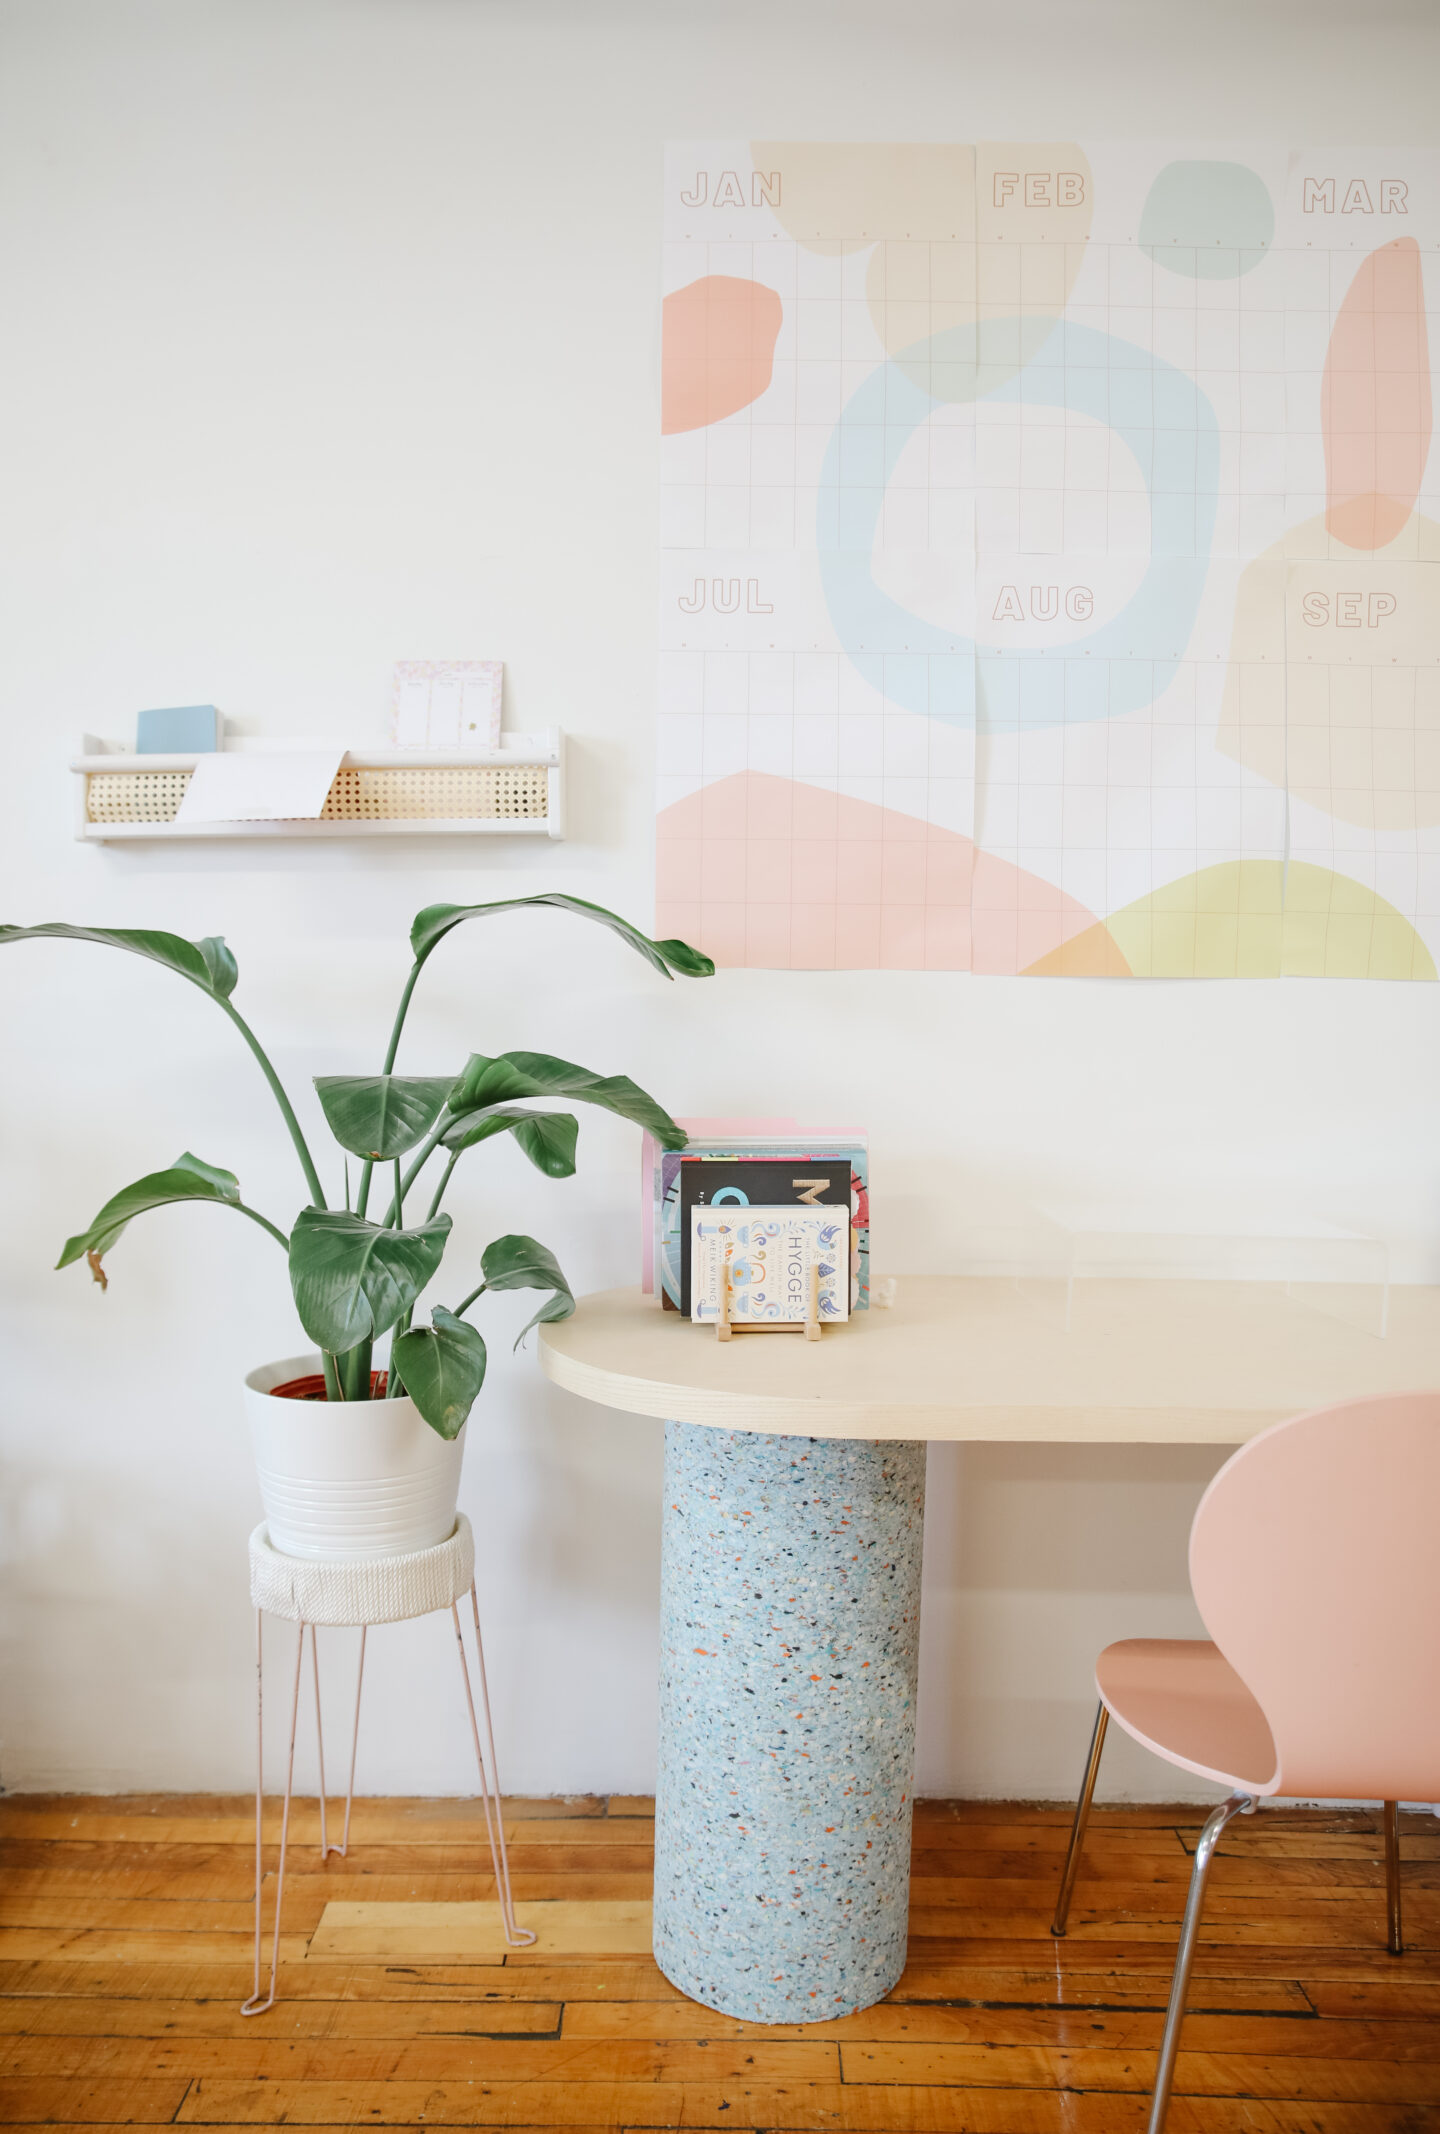
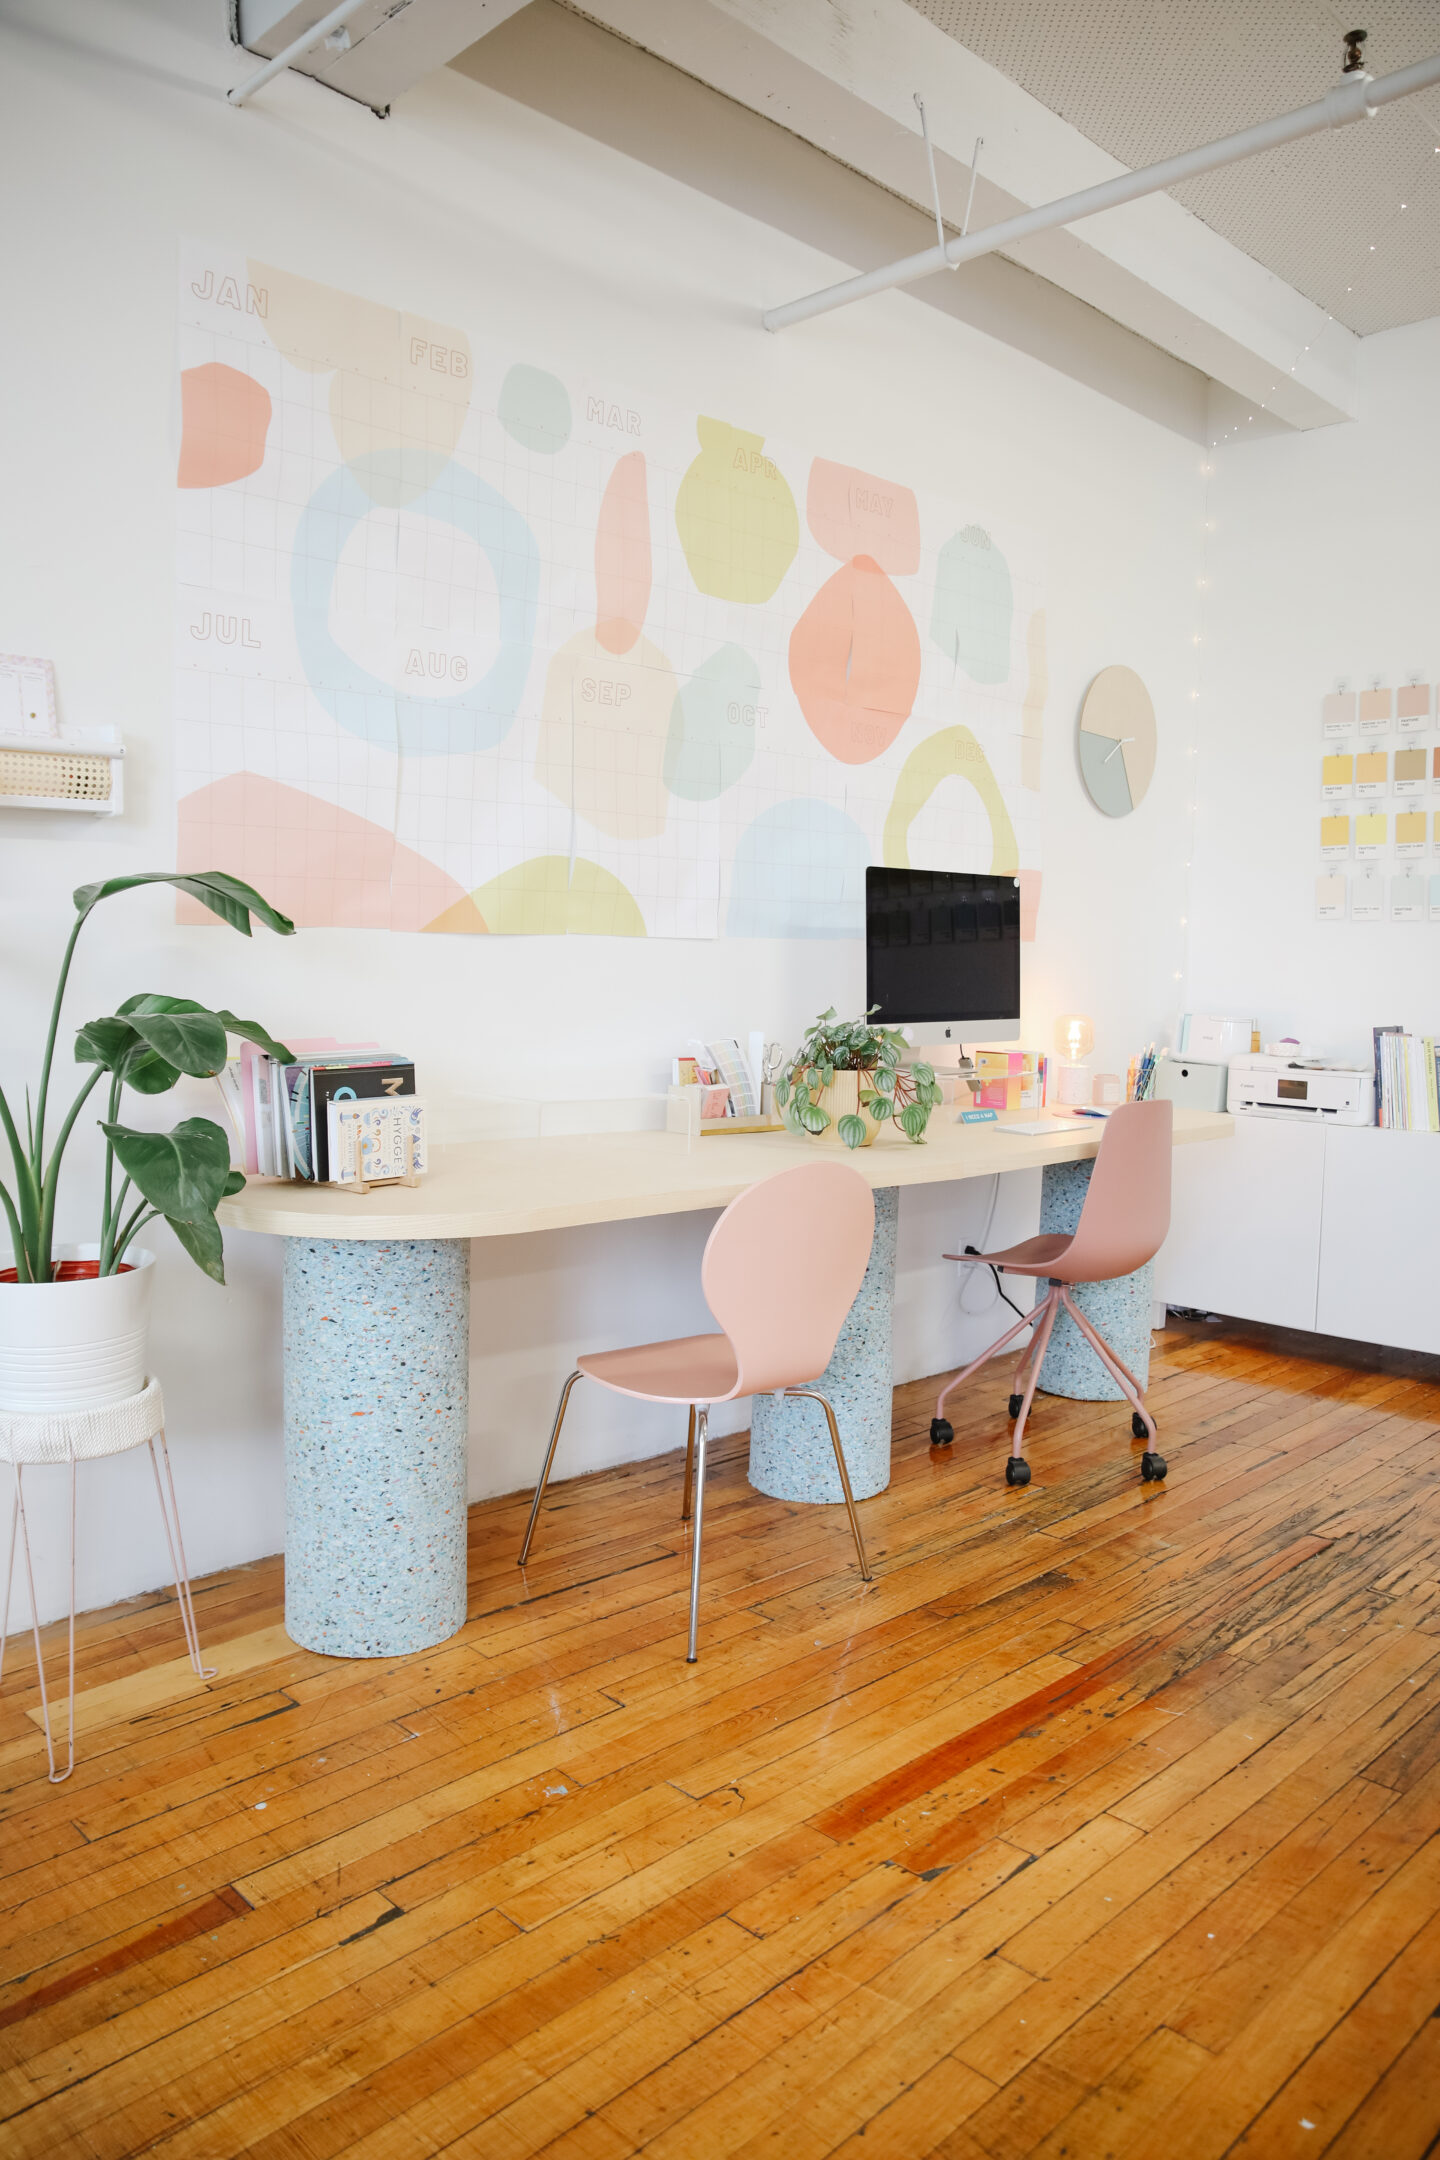
Firstly, let’s start with the legs. I picked two 12 inch construction form tubes (that are usually used for concrete) and are SO fun for any kind of project to be honest. We cut the tube based on the height of our desk (19 inches) and cut it using a jigsaw.
With any wood scraps you have handy, draw a 12 inch circle and cut it with the jigsaw. You’ll need to nail the circle to the top of the tube, using a brad nailer or a hammer. Repeat the same process three times, making three legs.
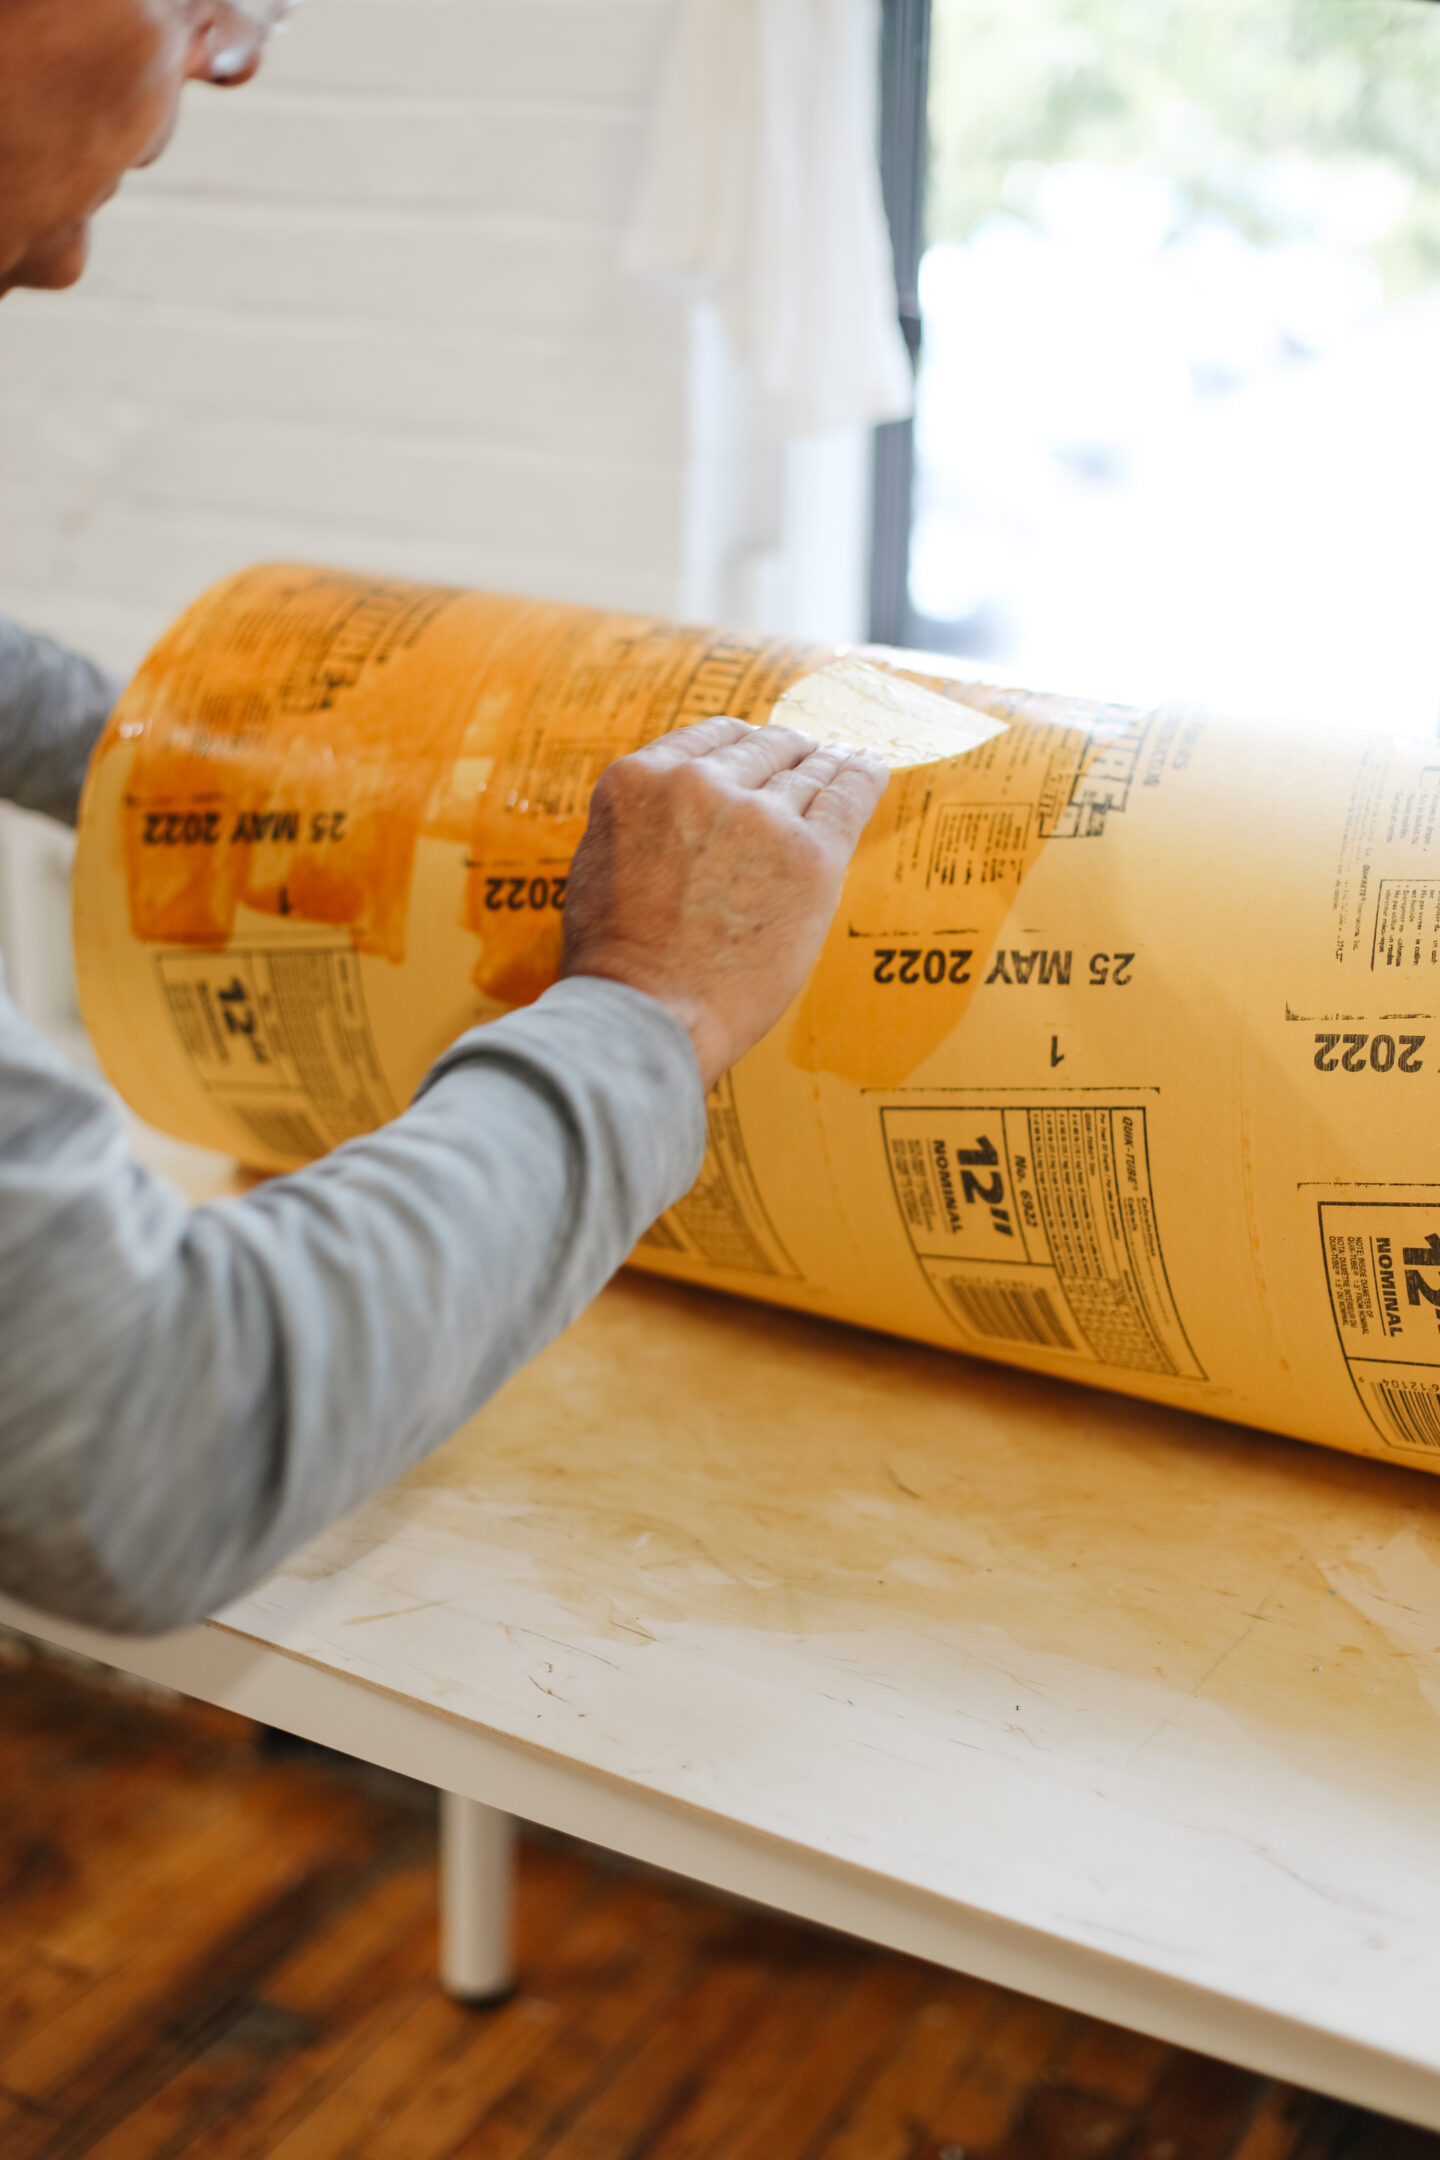
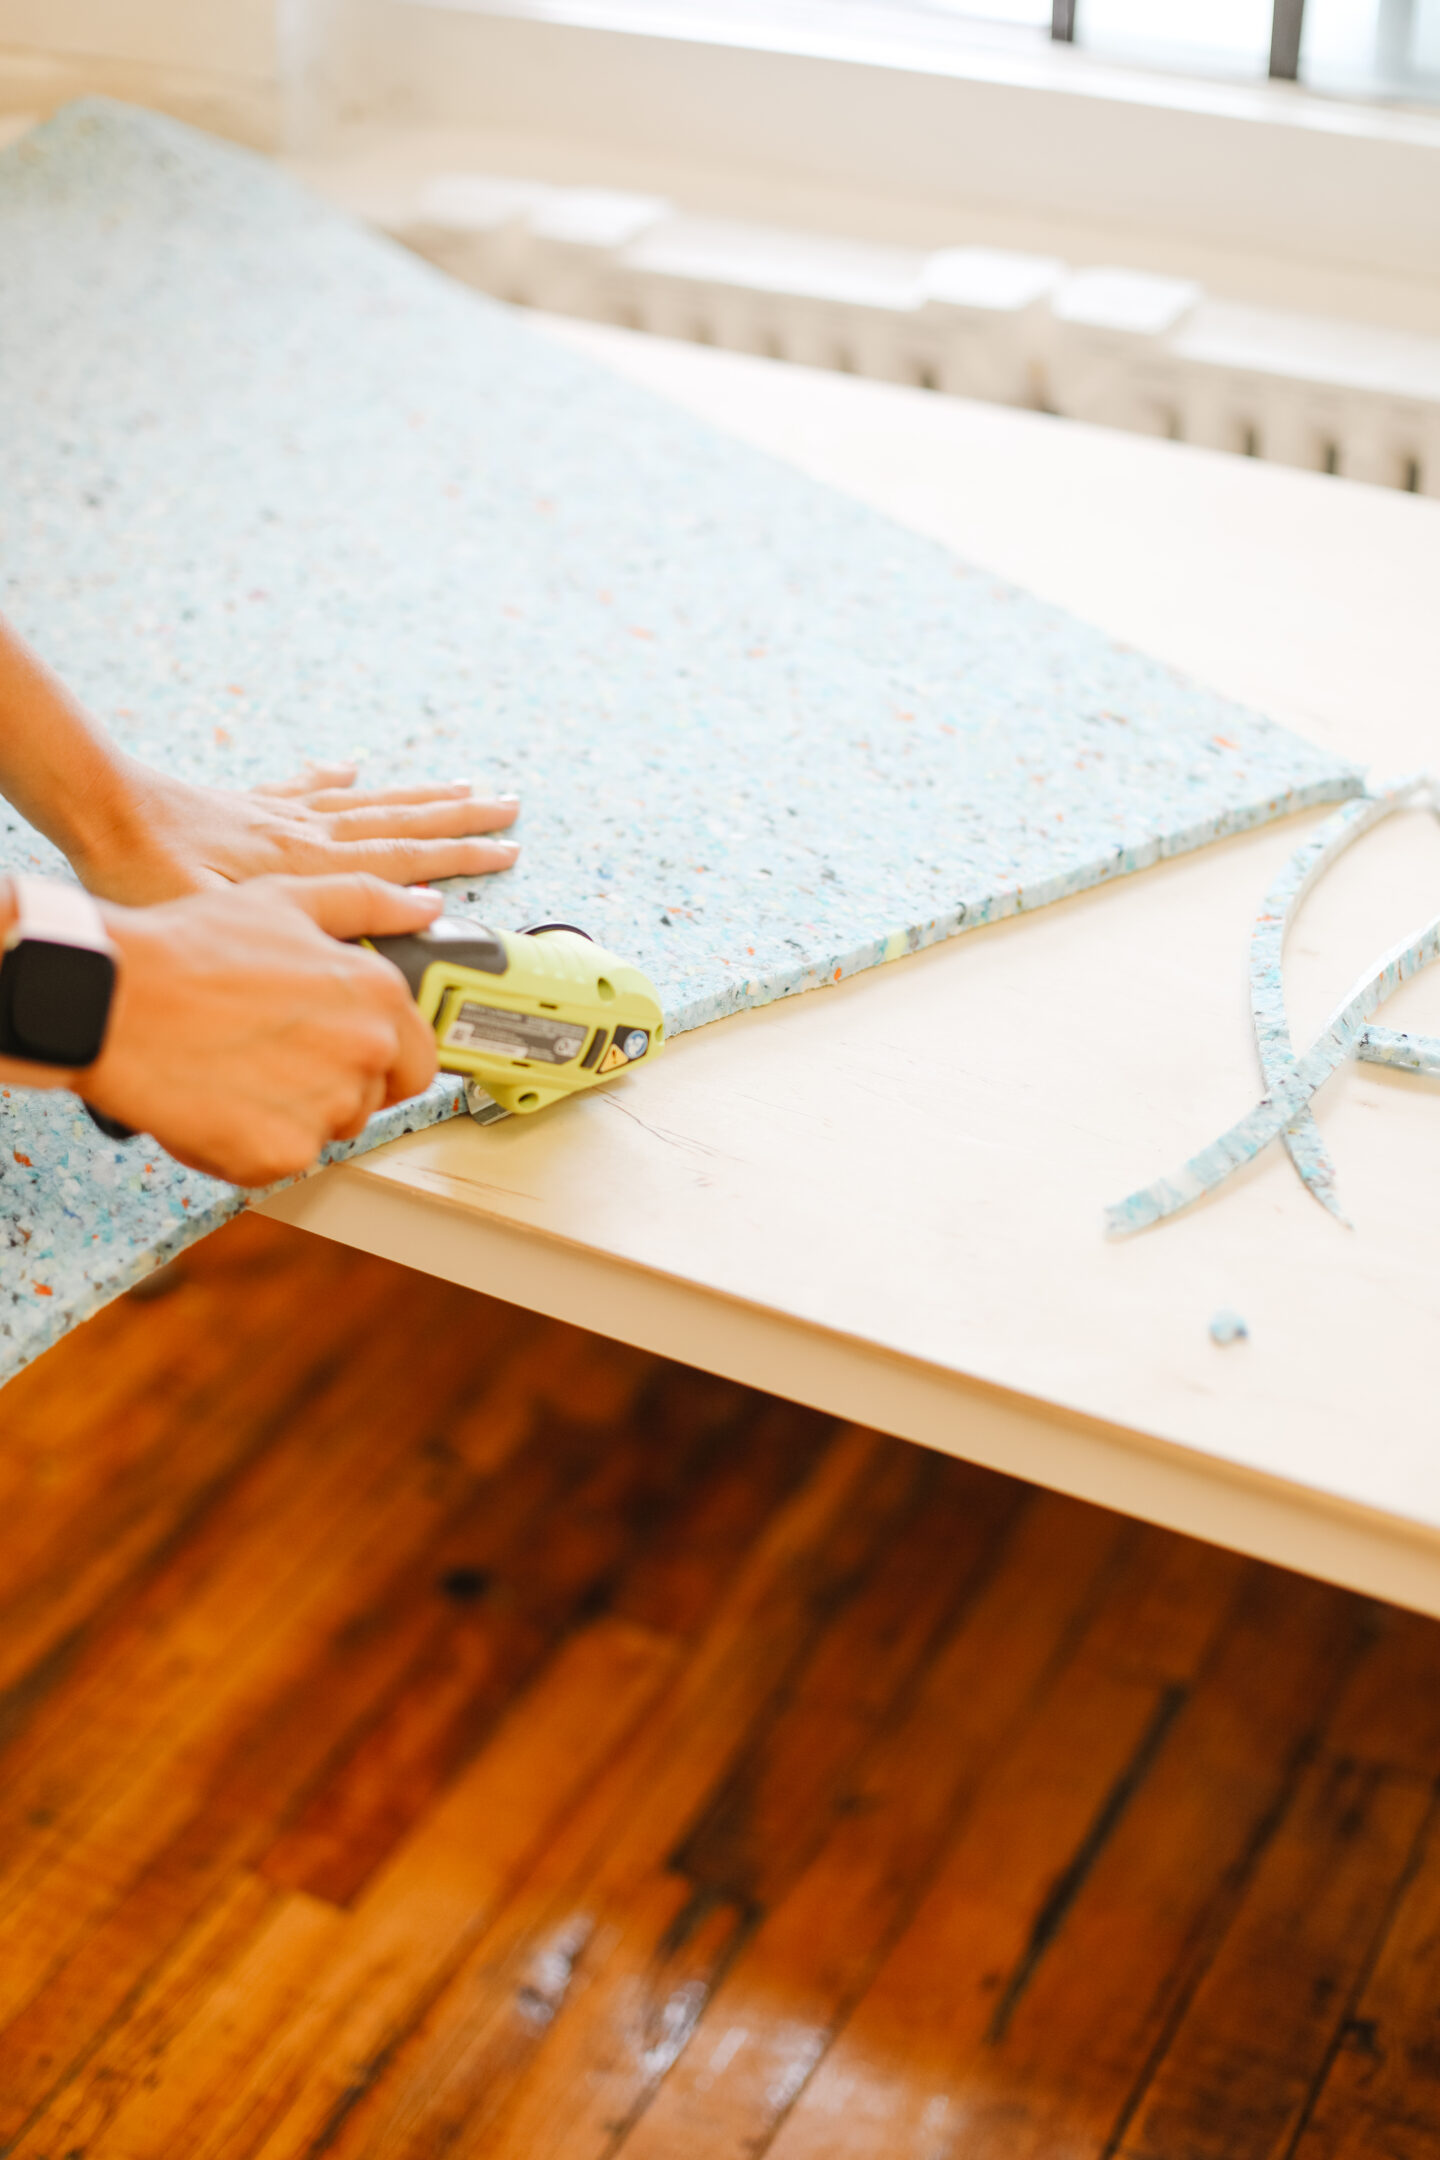
Once you finish attaching the tops of the three legs, apply contact cement to the tube, let it dry for 10 minutes. Now, turn the carpet cushion upside down and spread a good amount of contact cement on top, let it dry for 10 minutes as well.
Attach the cushion to each tube and voila! Your legs are now ready!
Tip: use a mask when you are handling the contact cement and in a well ventilated area.
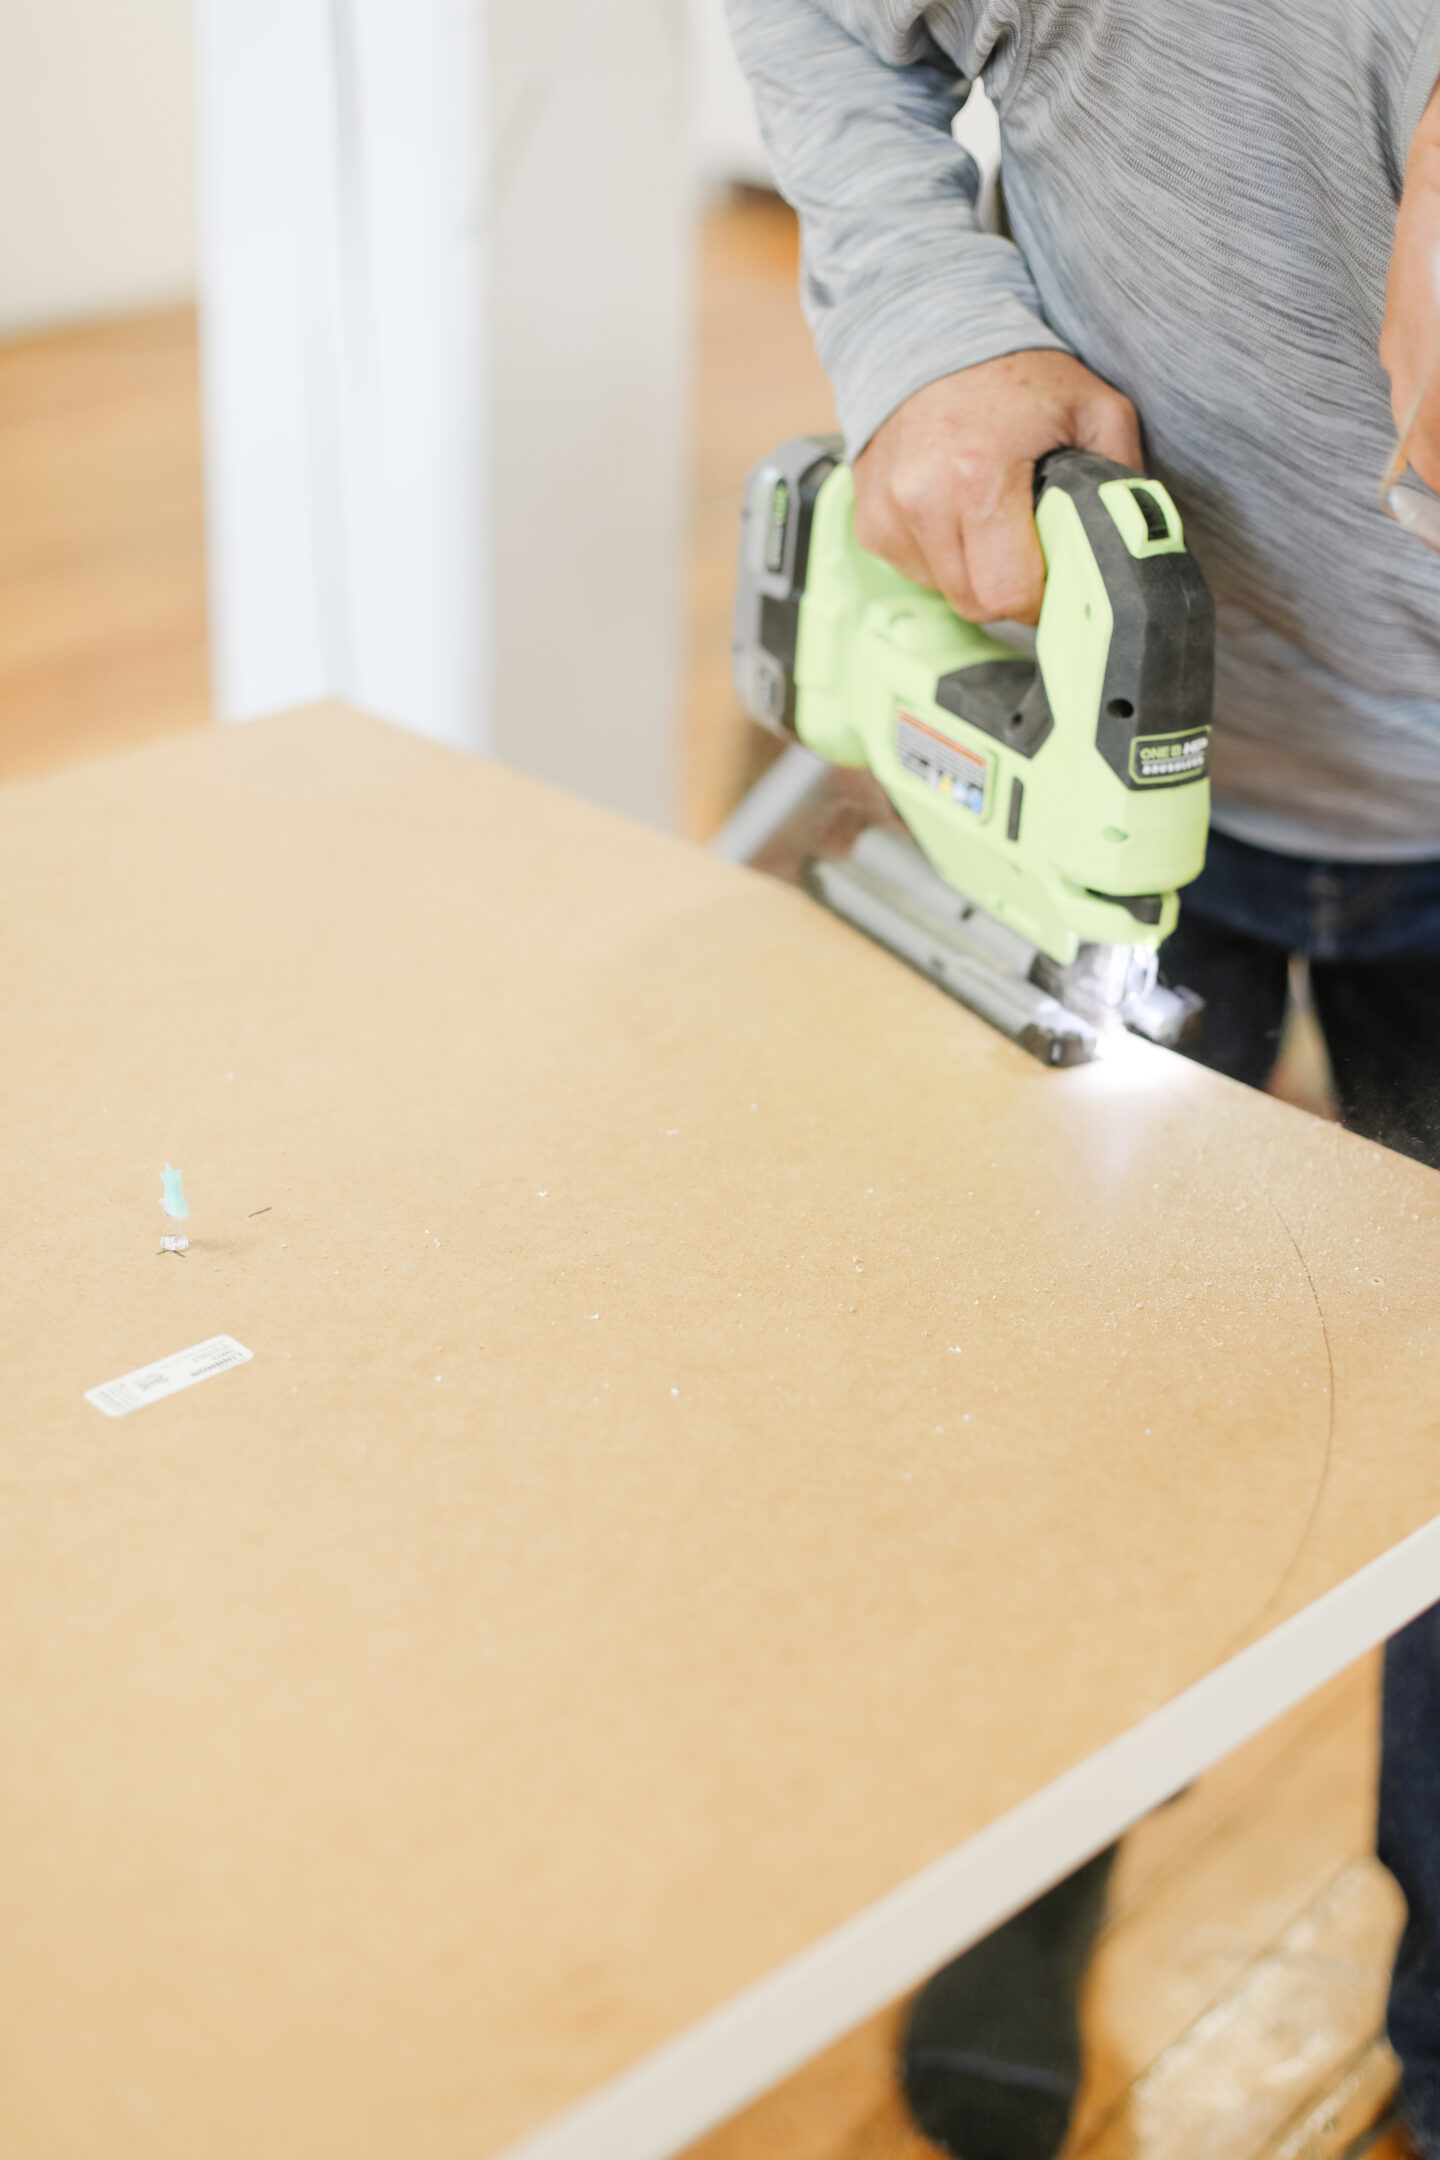
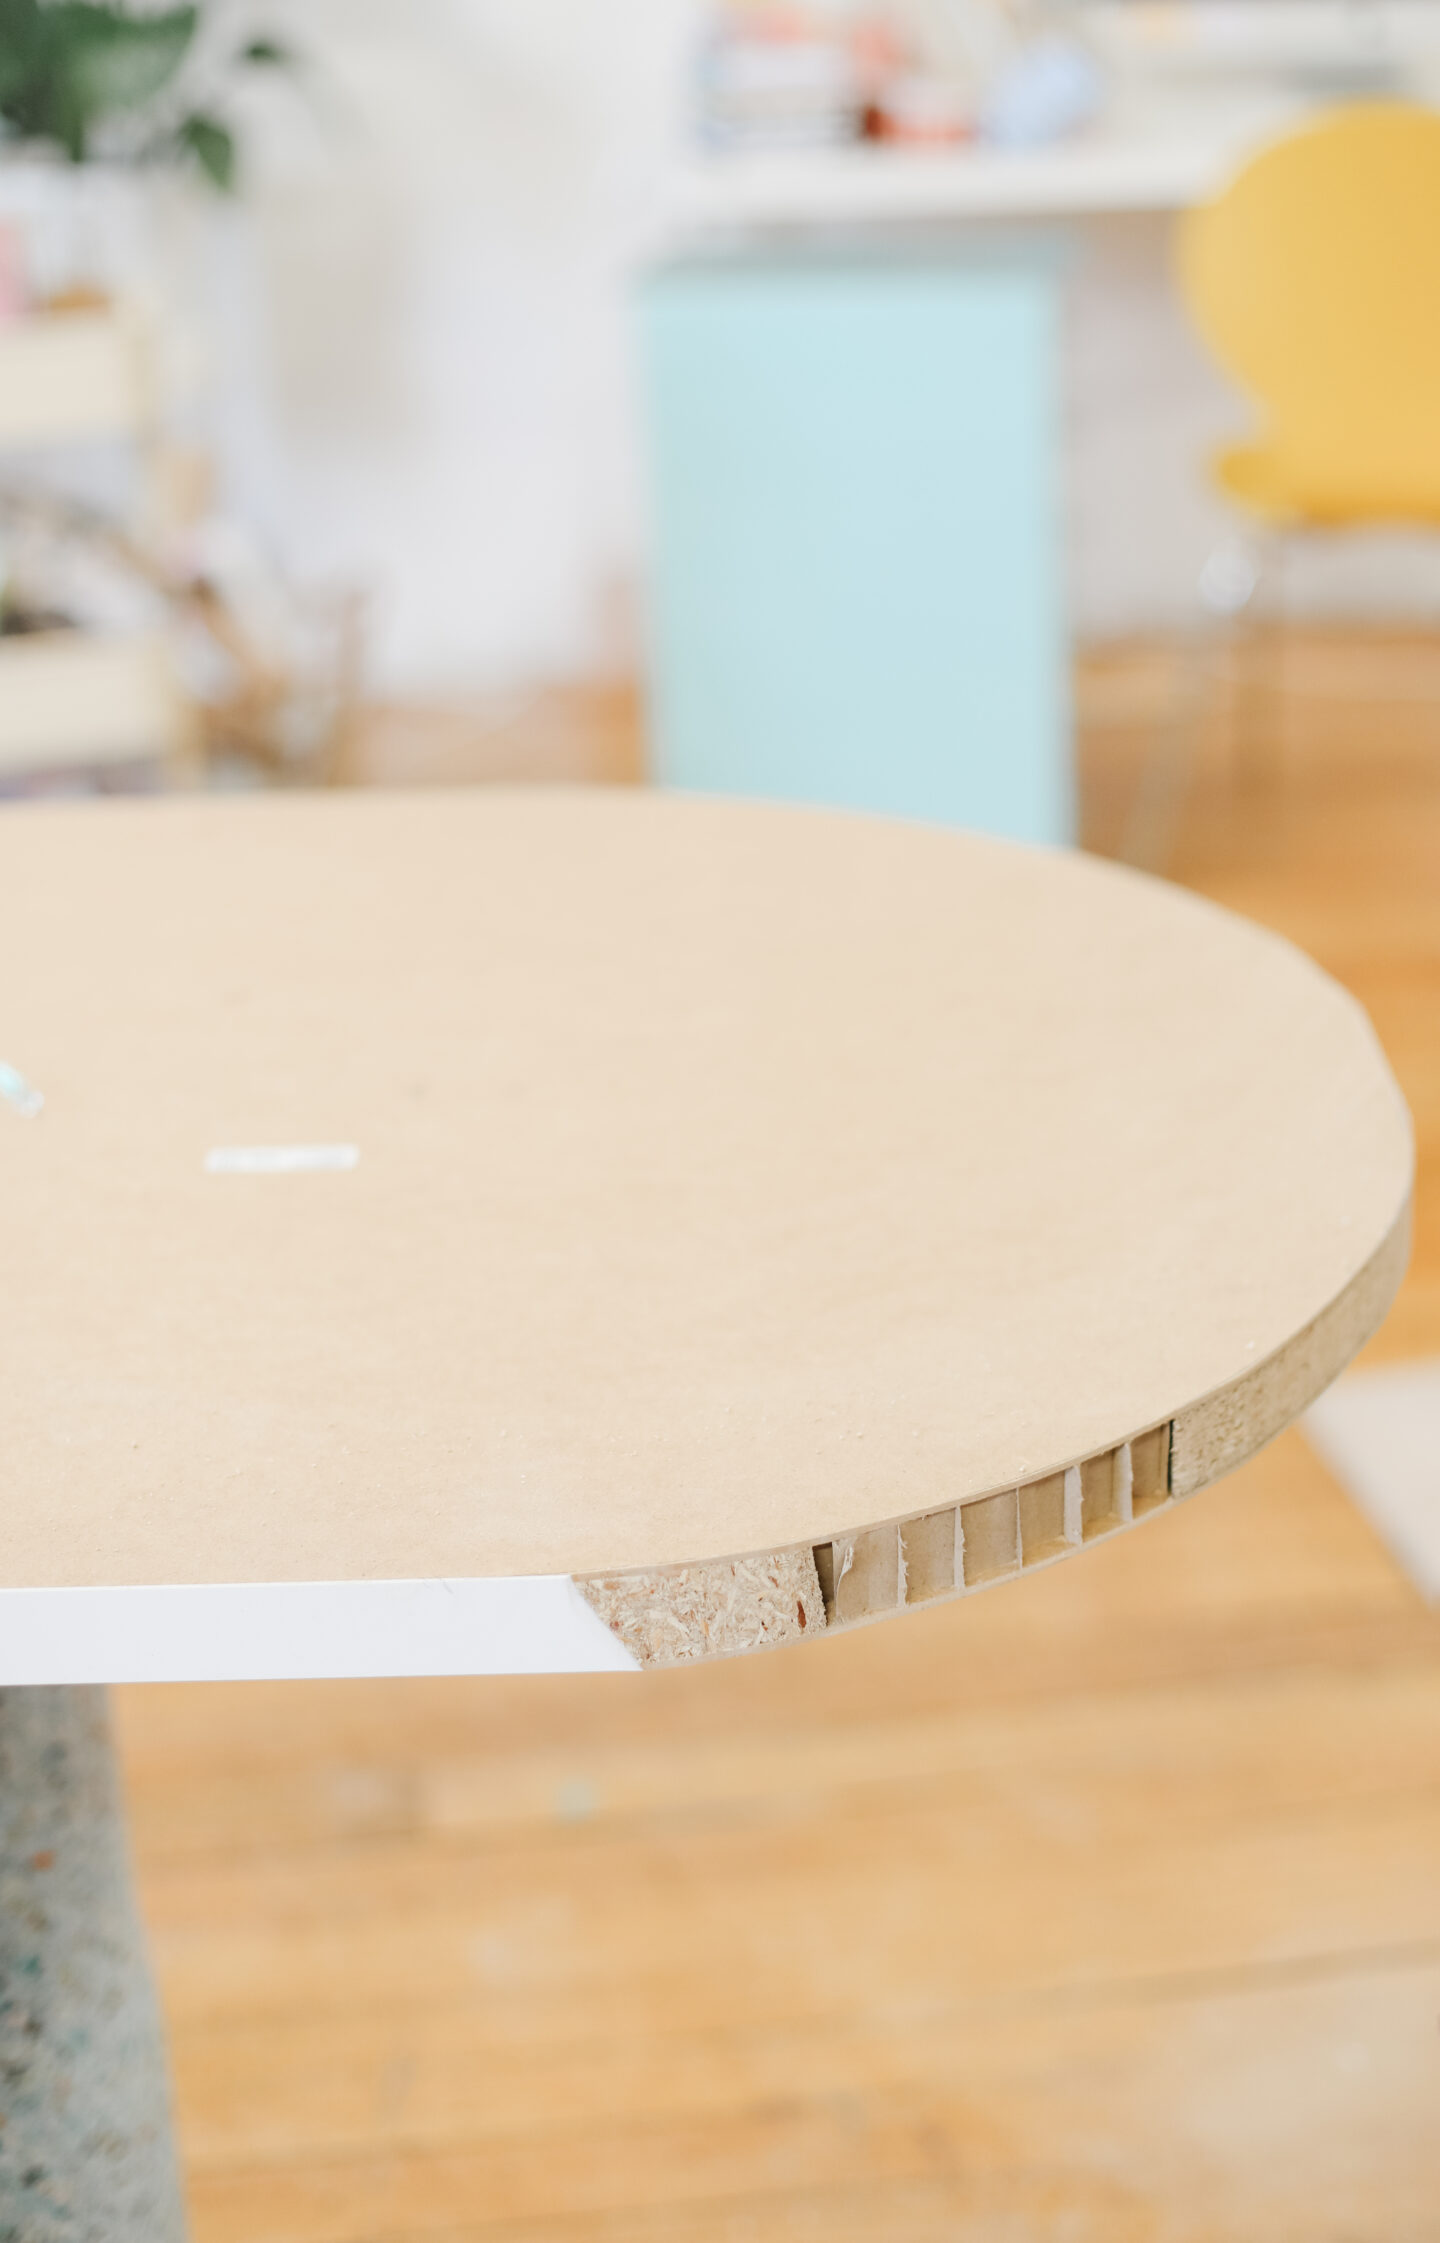
Now, let’s work on the top. I decided to reuse my old IKEA desks (hello, zero waste project!) and create a round cover style for the ends of my new desk. To achieve that, I used the pencil and string method and cut the old desk with a jigsaw.
If you are using an upcycled desk like I did, make sure the edges are covered in wood, if you have any cardboard spaces (like the photo above) you will need to fix it. I show you in my YouTube video all the details how to do this trick (thanks, dad!).
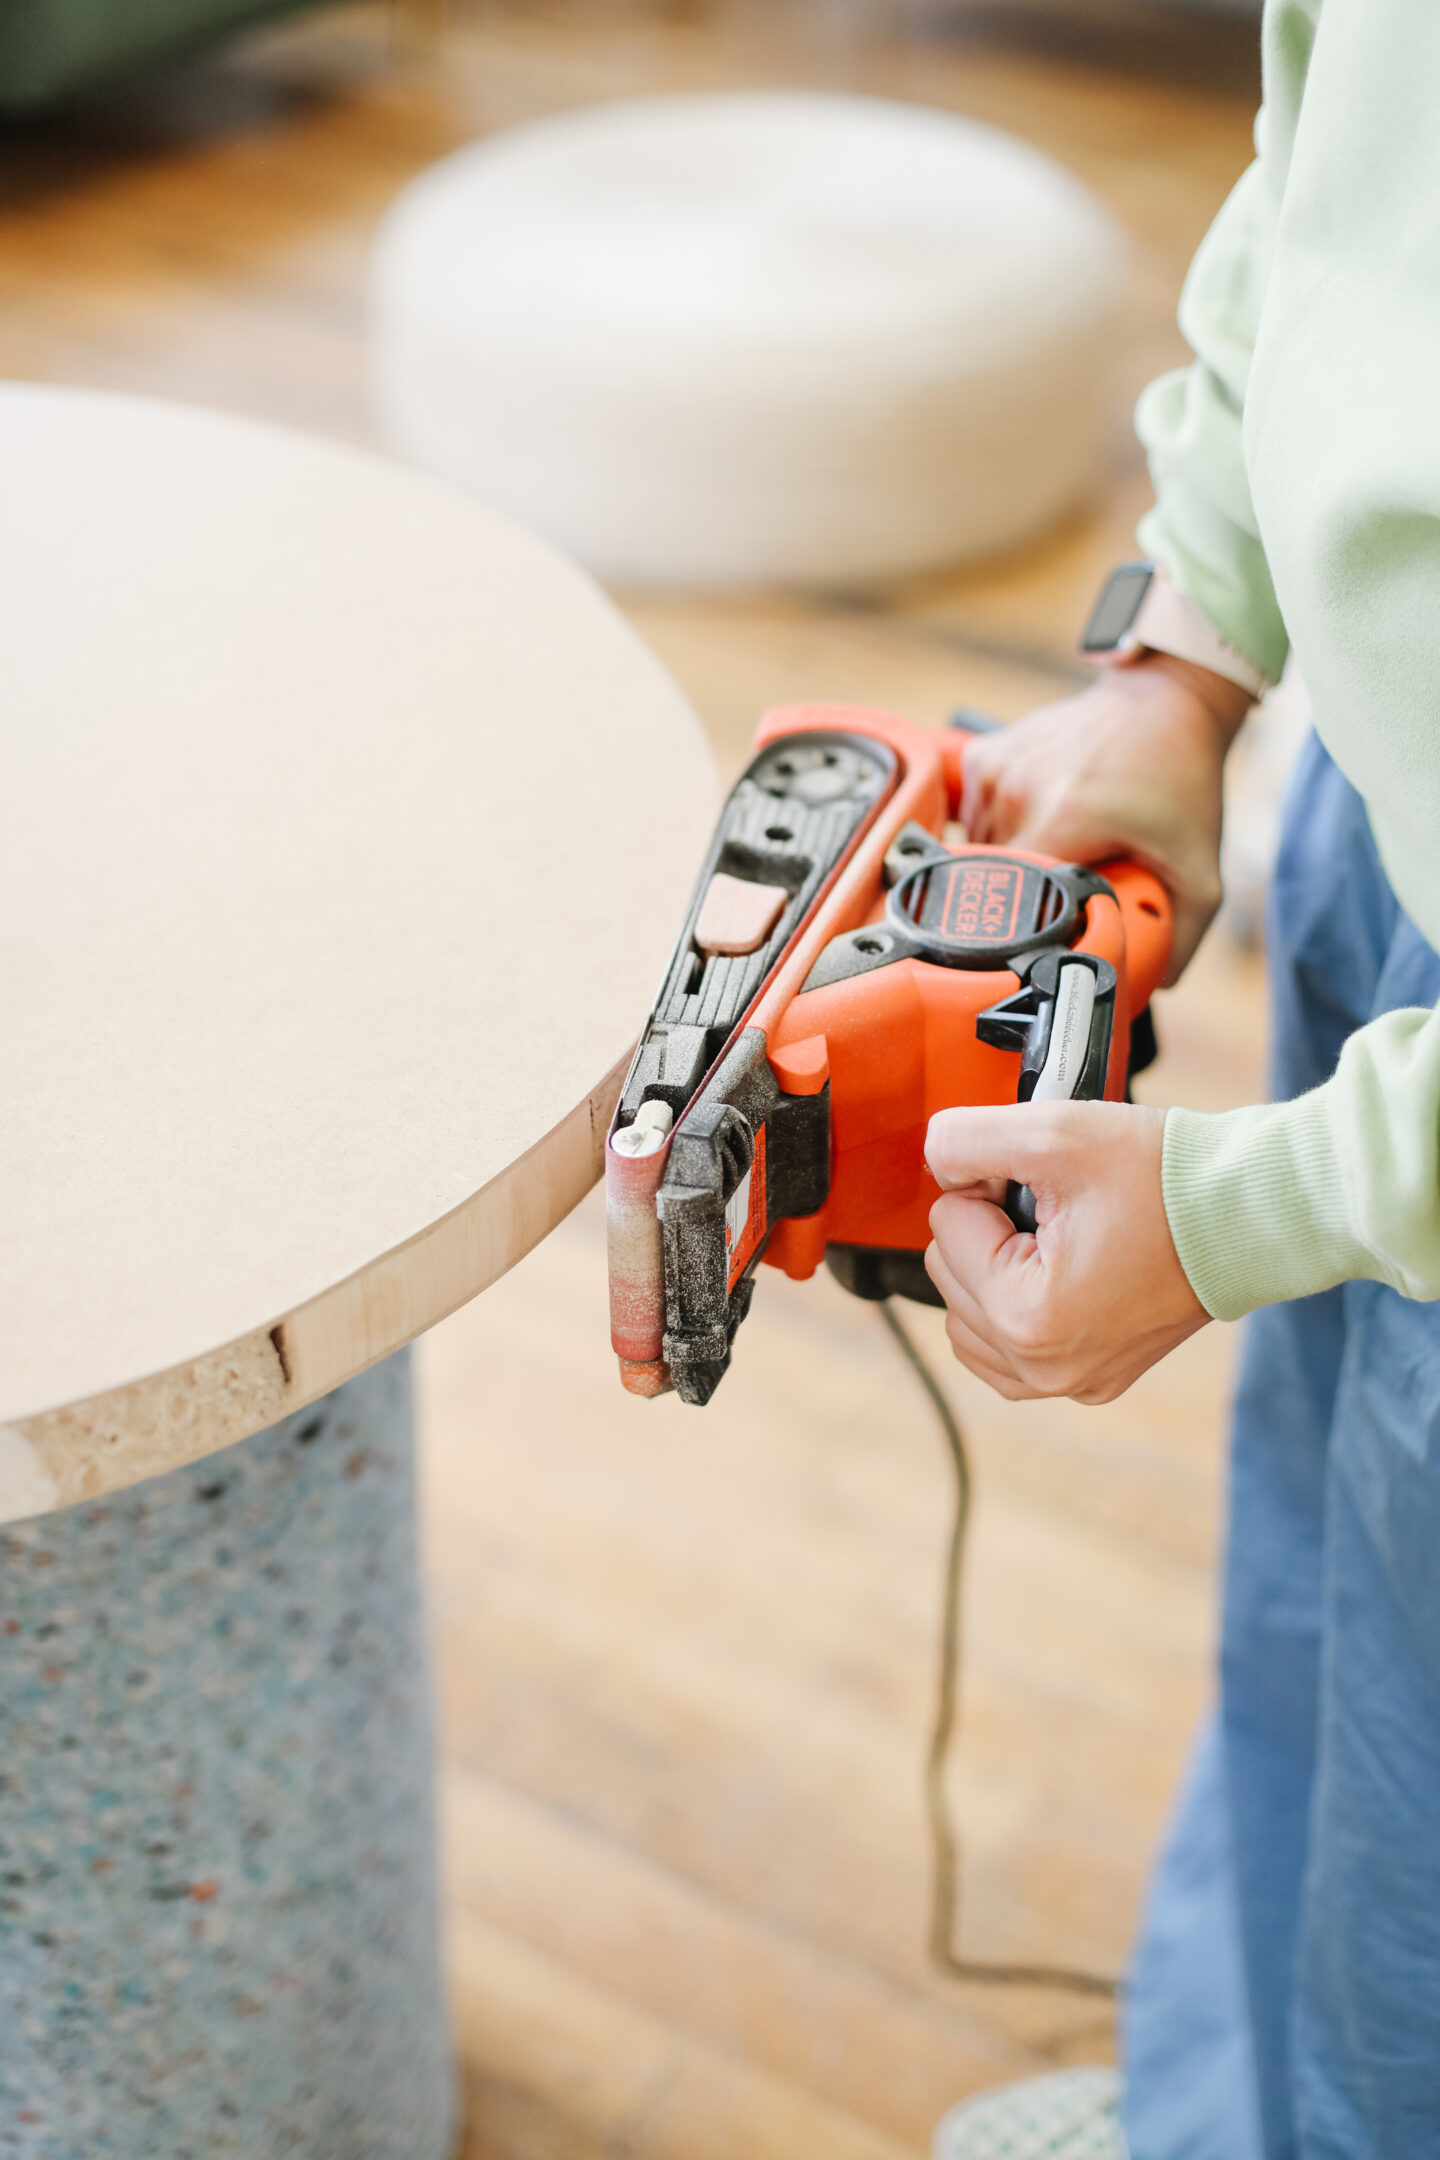
Right next, sanding (my favourite part!) I bought a belt sander for this project and oh boy, this is clearly next level. We sanded (using 3 different grits) our fresh new round corner on both sides of the table and removed the dust.
With a square you can make sure the rounded corner is perfectly straight by passing it on top all the way around (if it isn’t, no worries! go back and sand a bit more until it is). Try not to skip this step, you’ll thank me later.
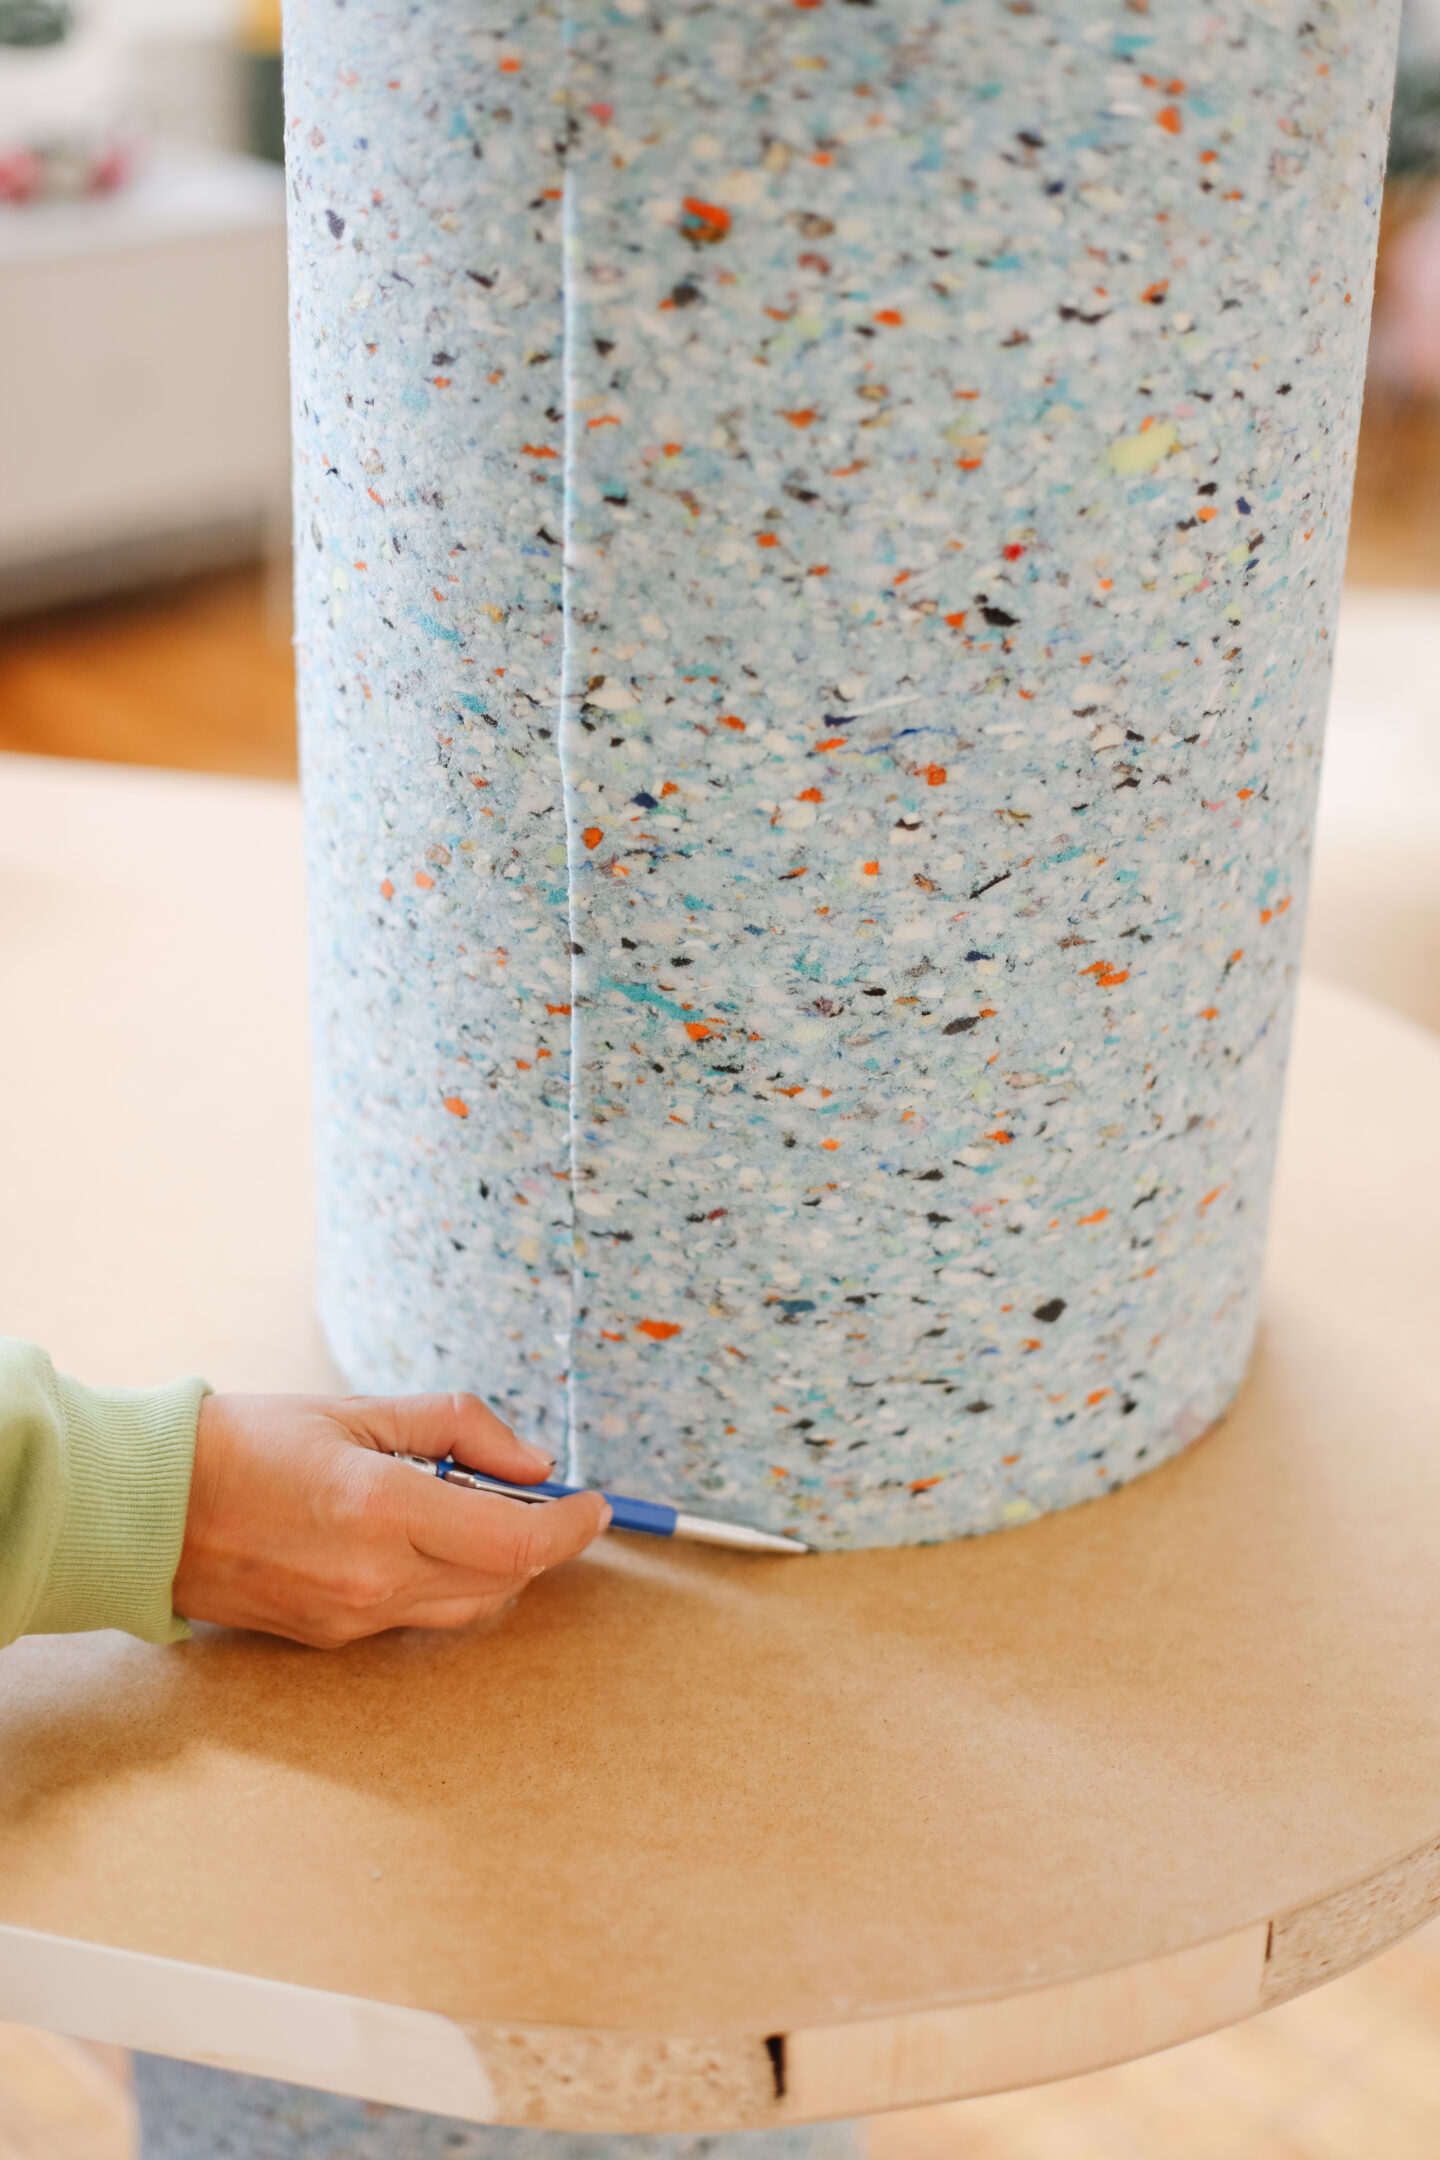
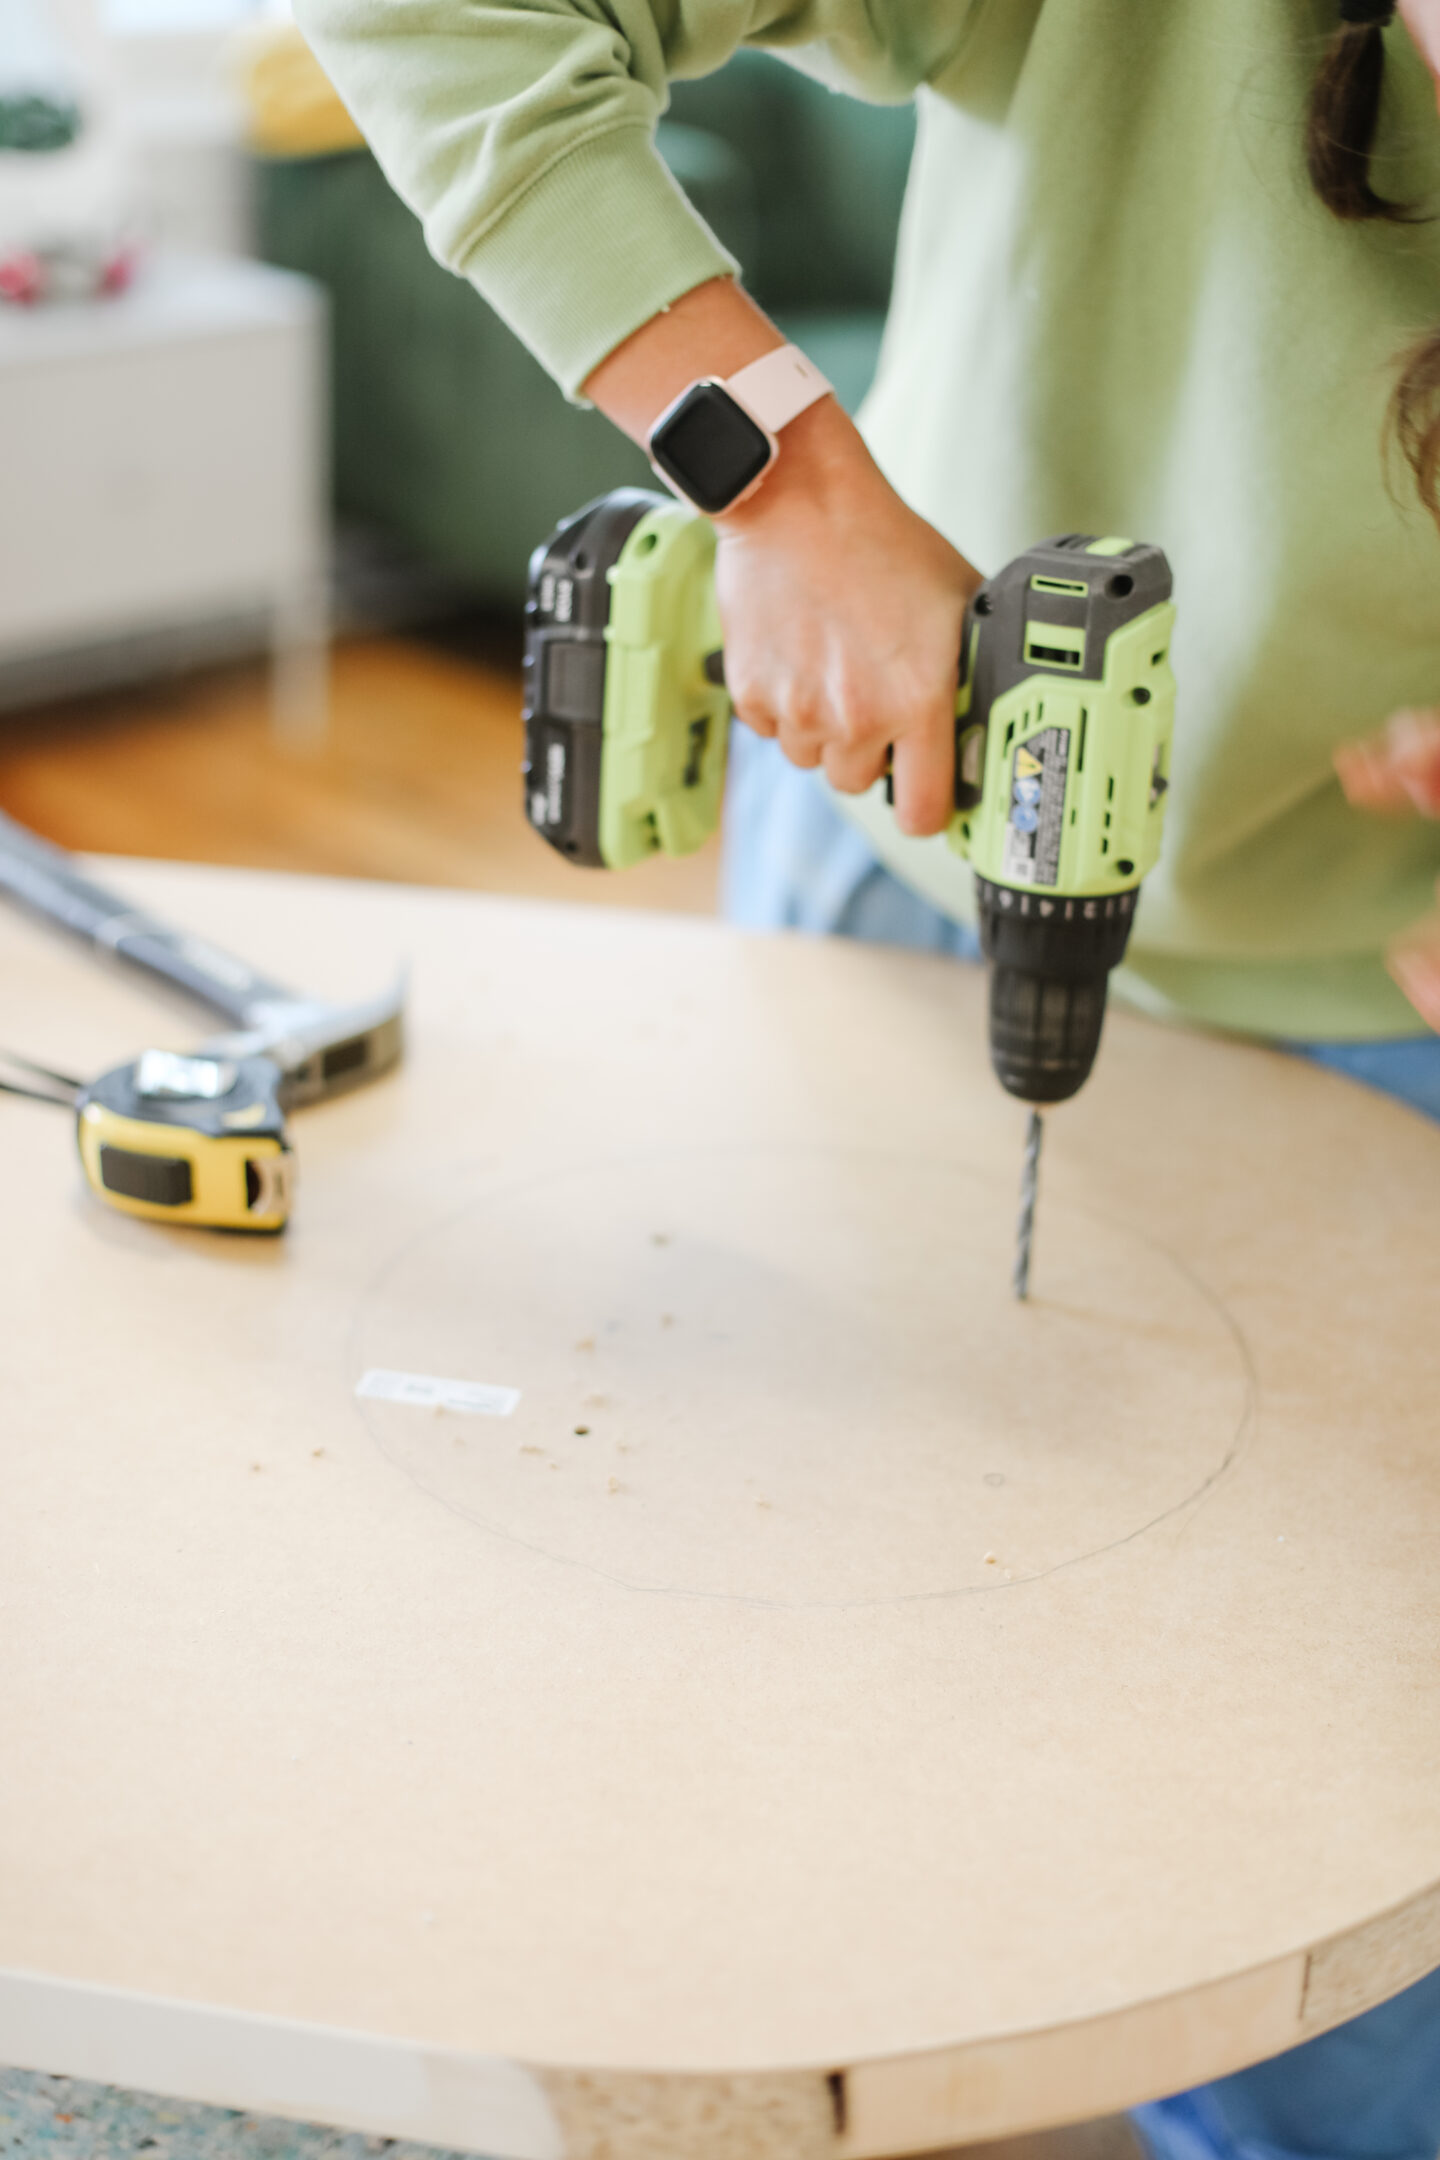
The fun part, drilling the legs (right?). Place the three legs on top of your upcycled rounded corner desks you just sanded and mark with a pencil the leg circumference. drill four holes and assemble the legs with the carriage bolts with butterfly nuts.
Repeat this process with the other two legs, you got this!
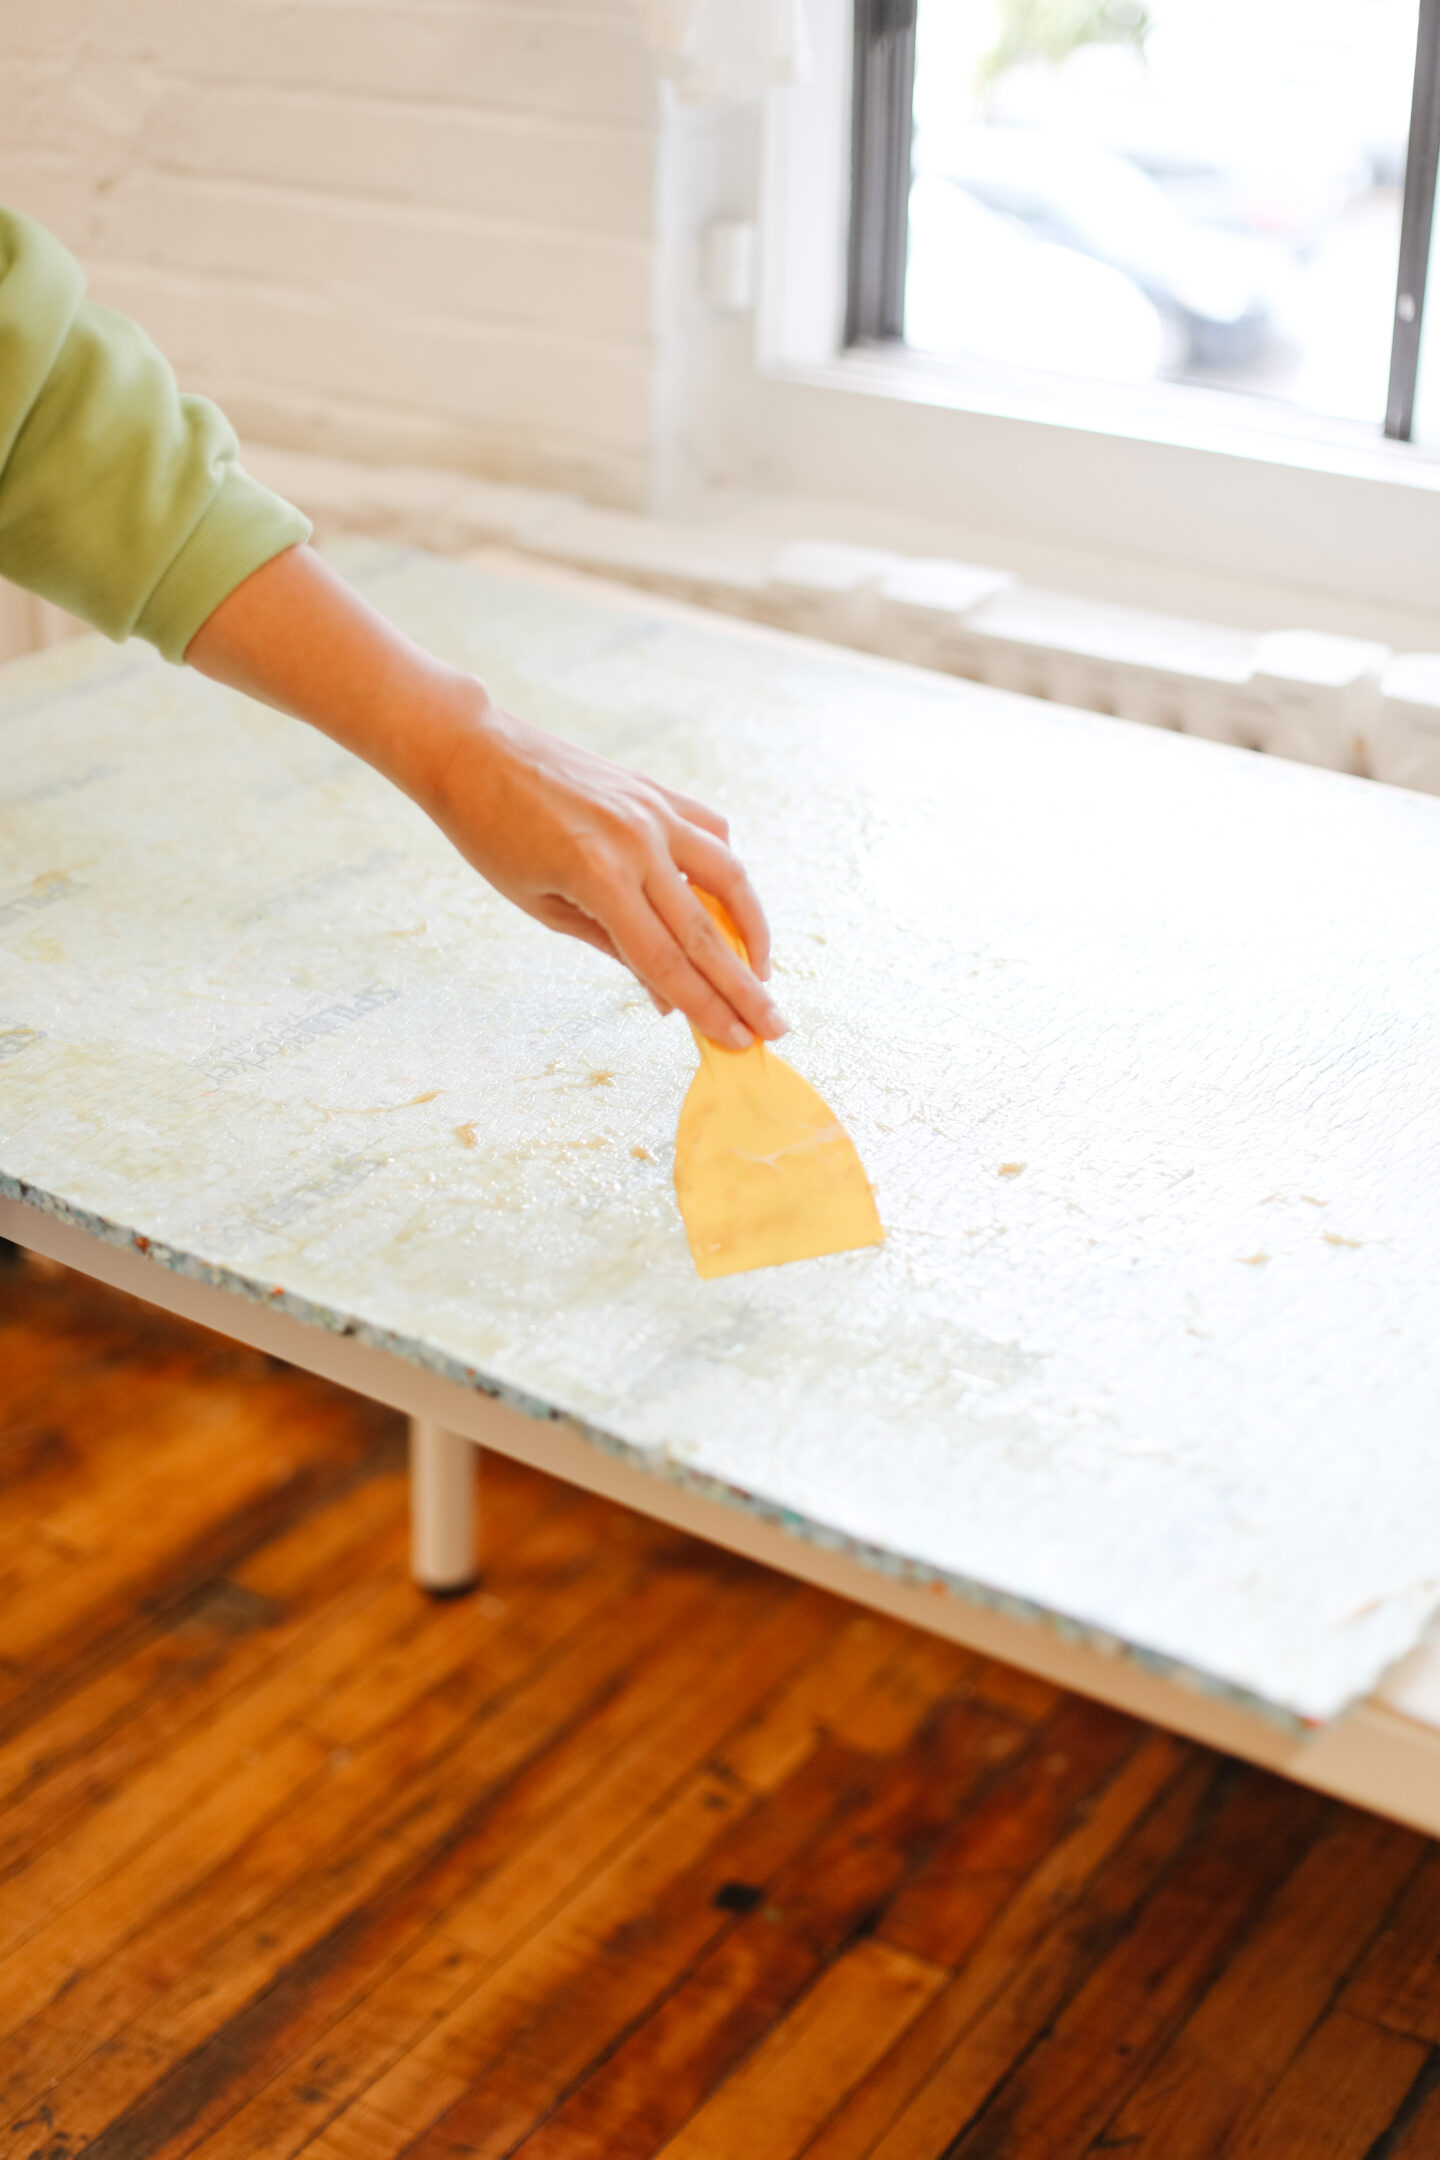
I lied before when I said sanding was my favourite part, this one IS! Remember the contact cement and your mask? Wear it again and using your glue spreader tool apply a decent coat of glue on top of the upcycled desk AND the new plywood board. Let both dry for 10 minutes (or to touch) and place them on top of the desk.
Using a scraper apply pressure up and down to flat down the new wood, it’s such a FUN process!
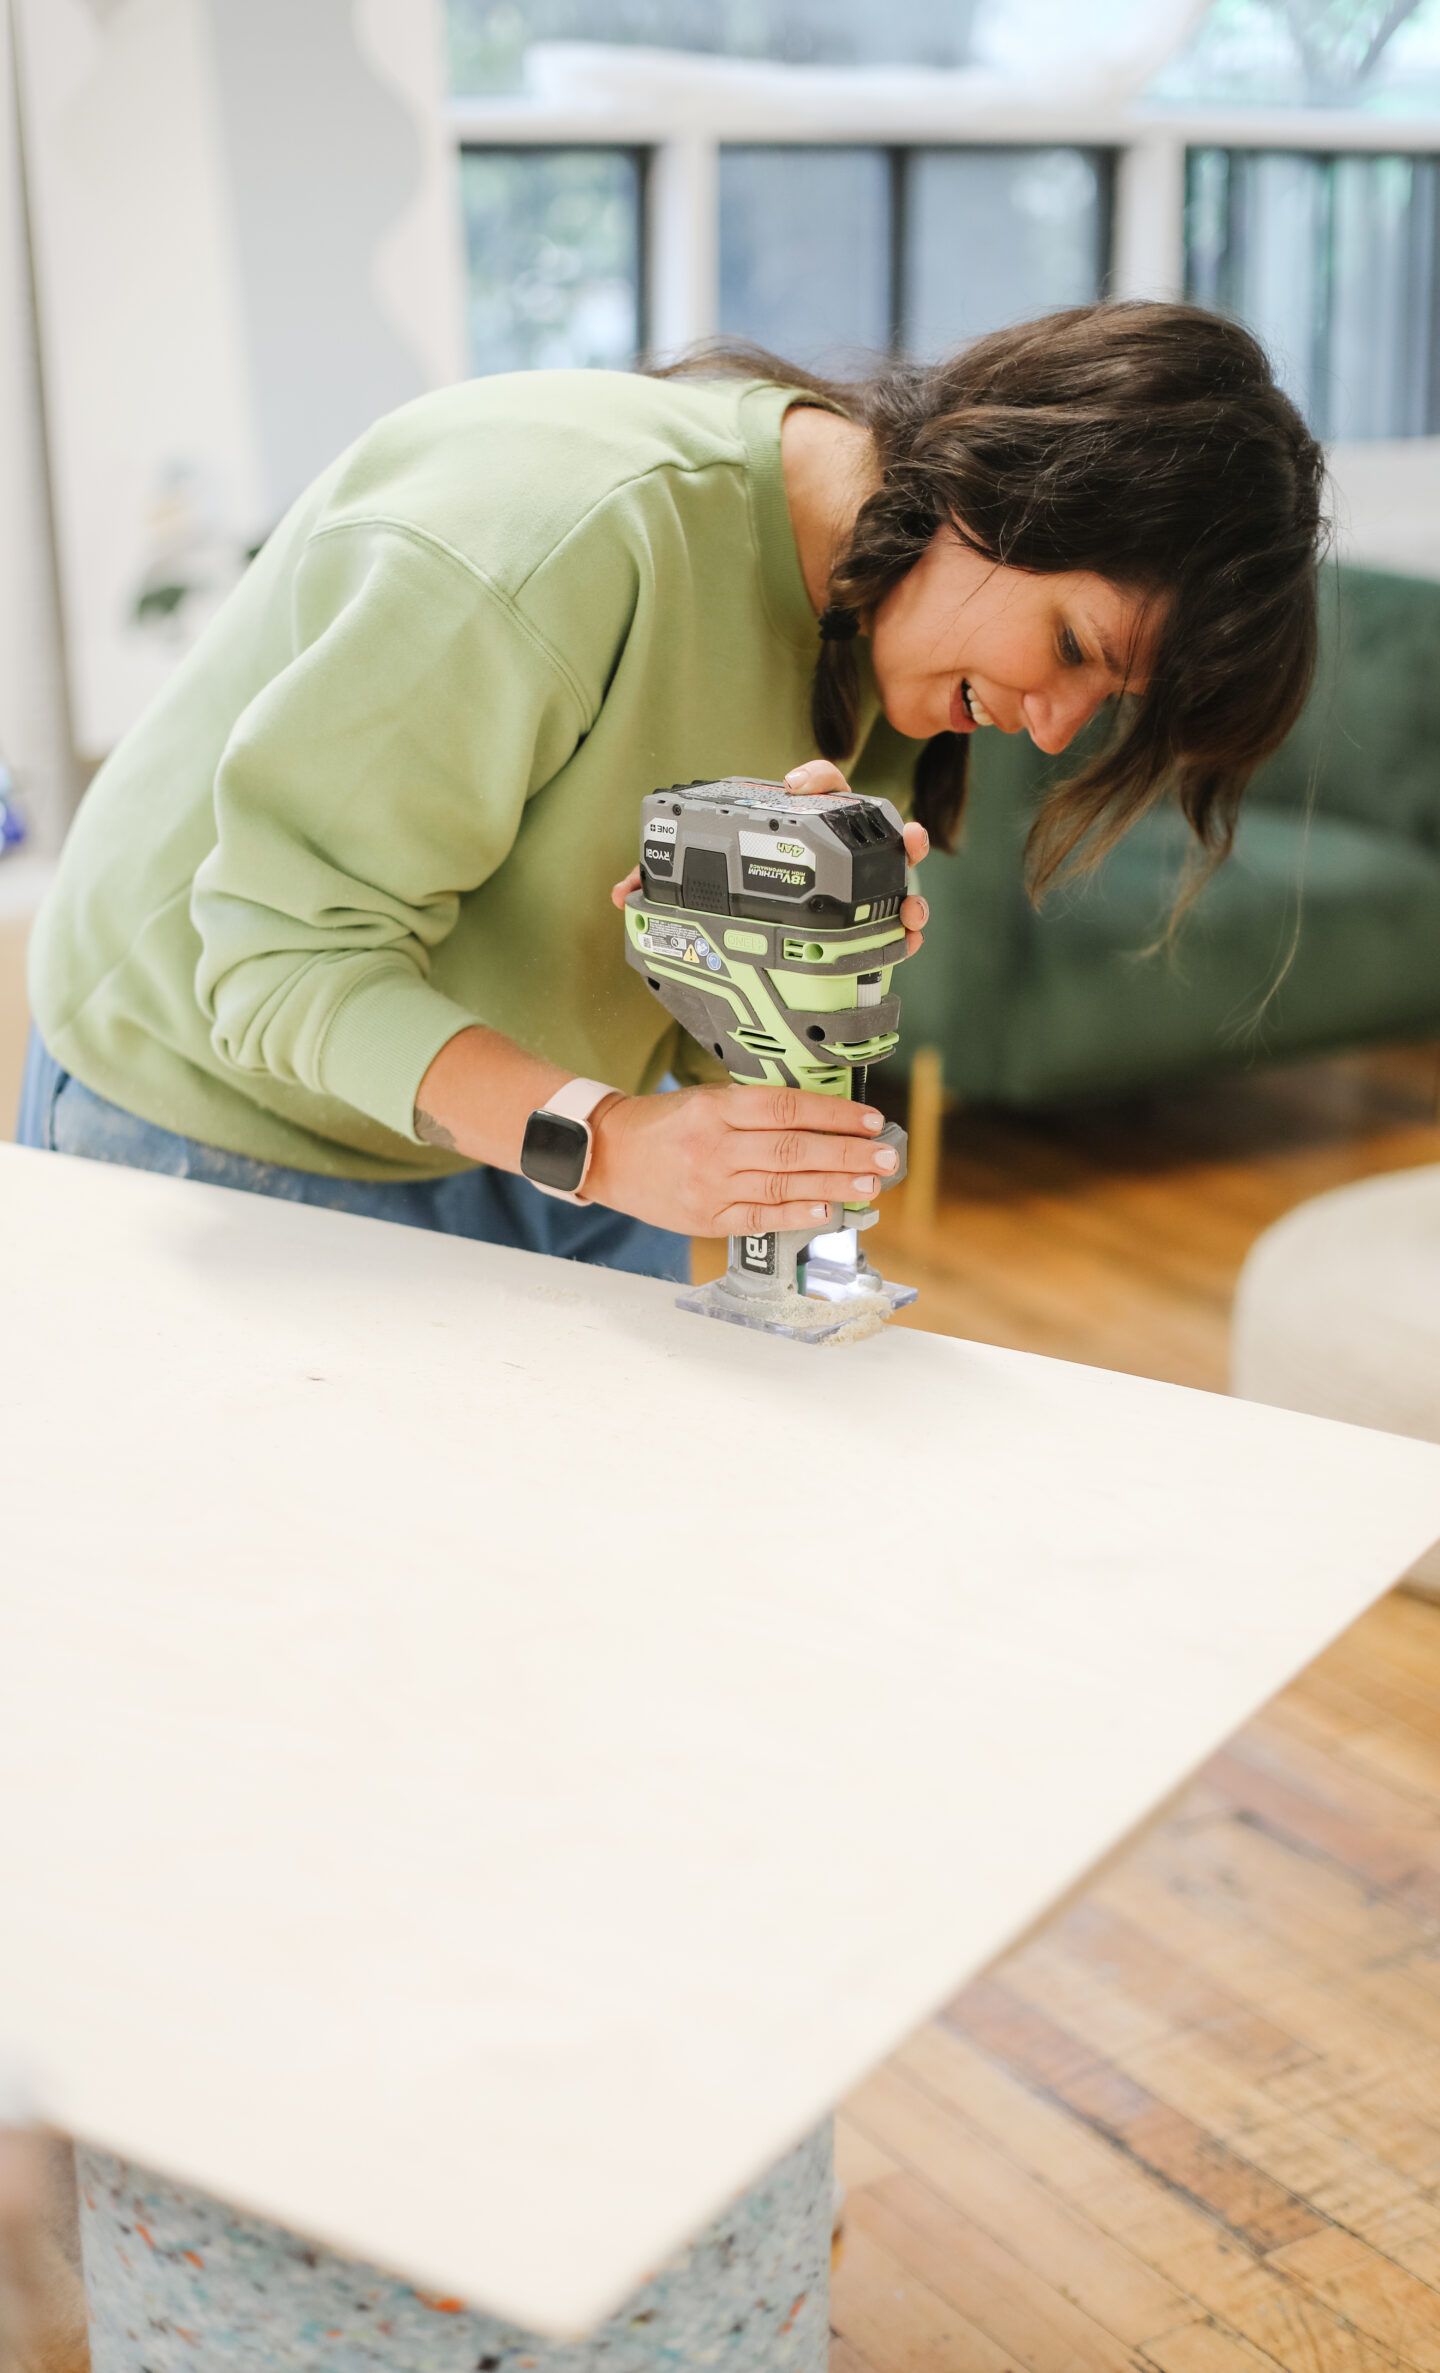
Grab your wood router and a flat straight cutter bit (yes!) and trim all the wood excess. Be careful and do not speed up this step, the plywood board needs some TLC okay?
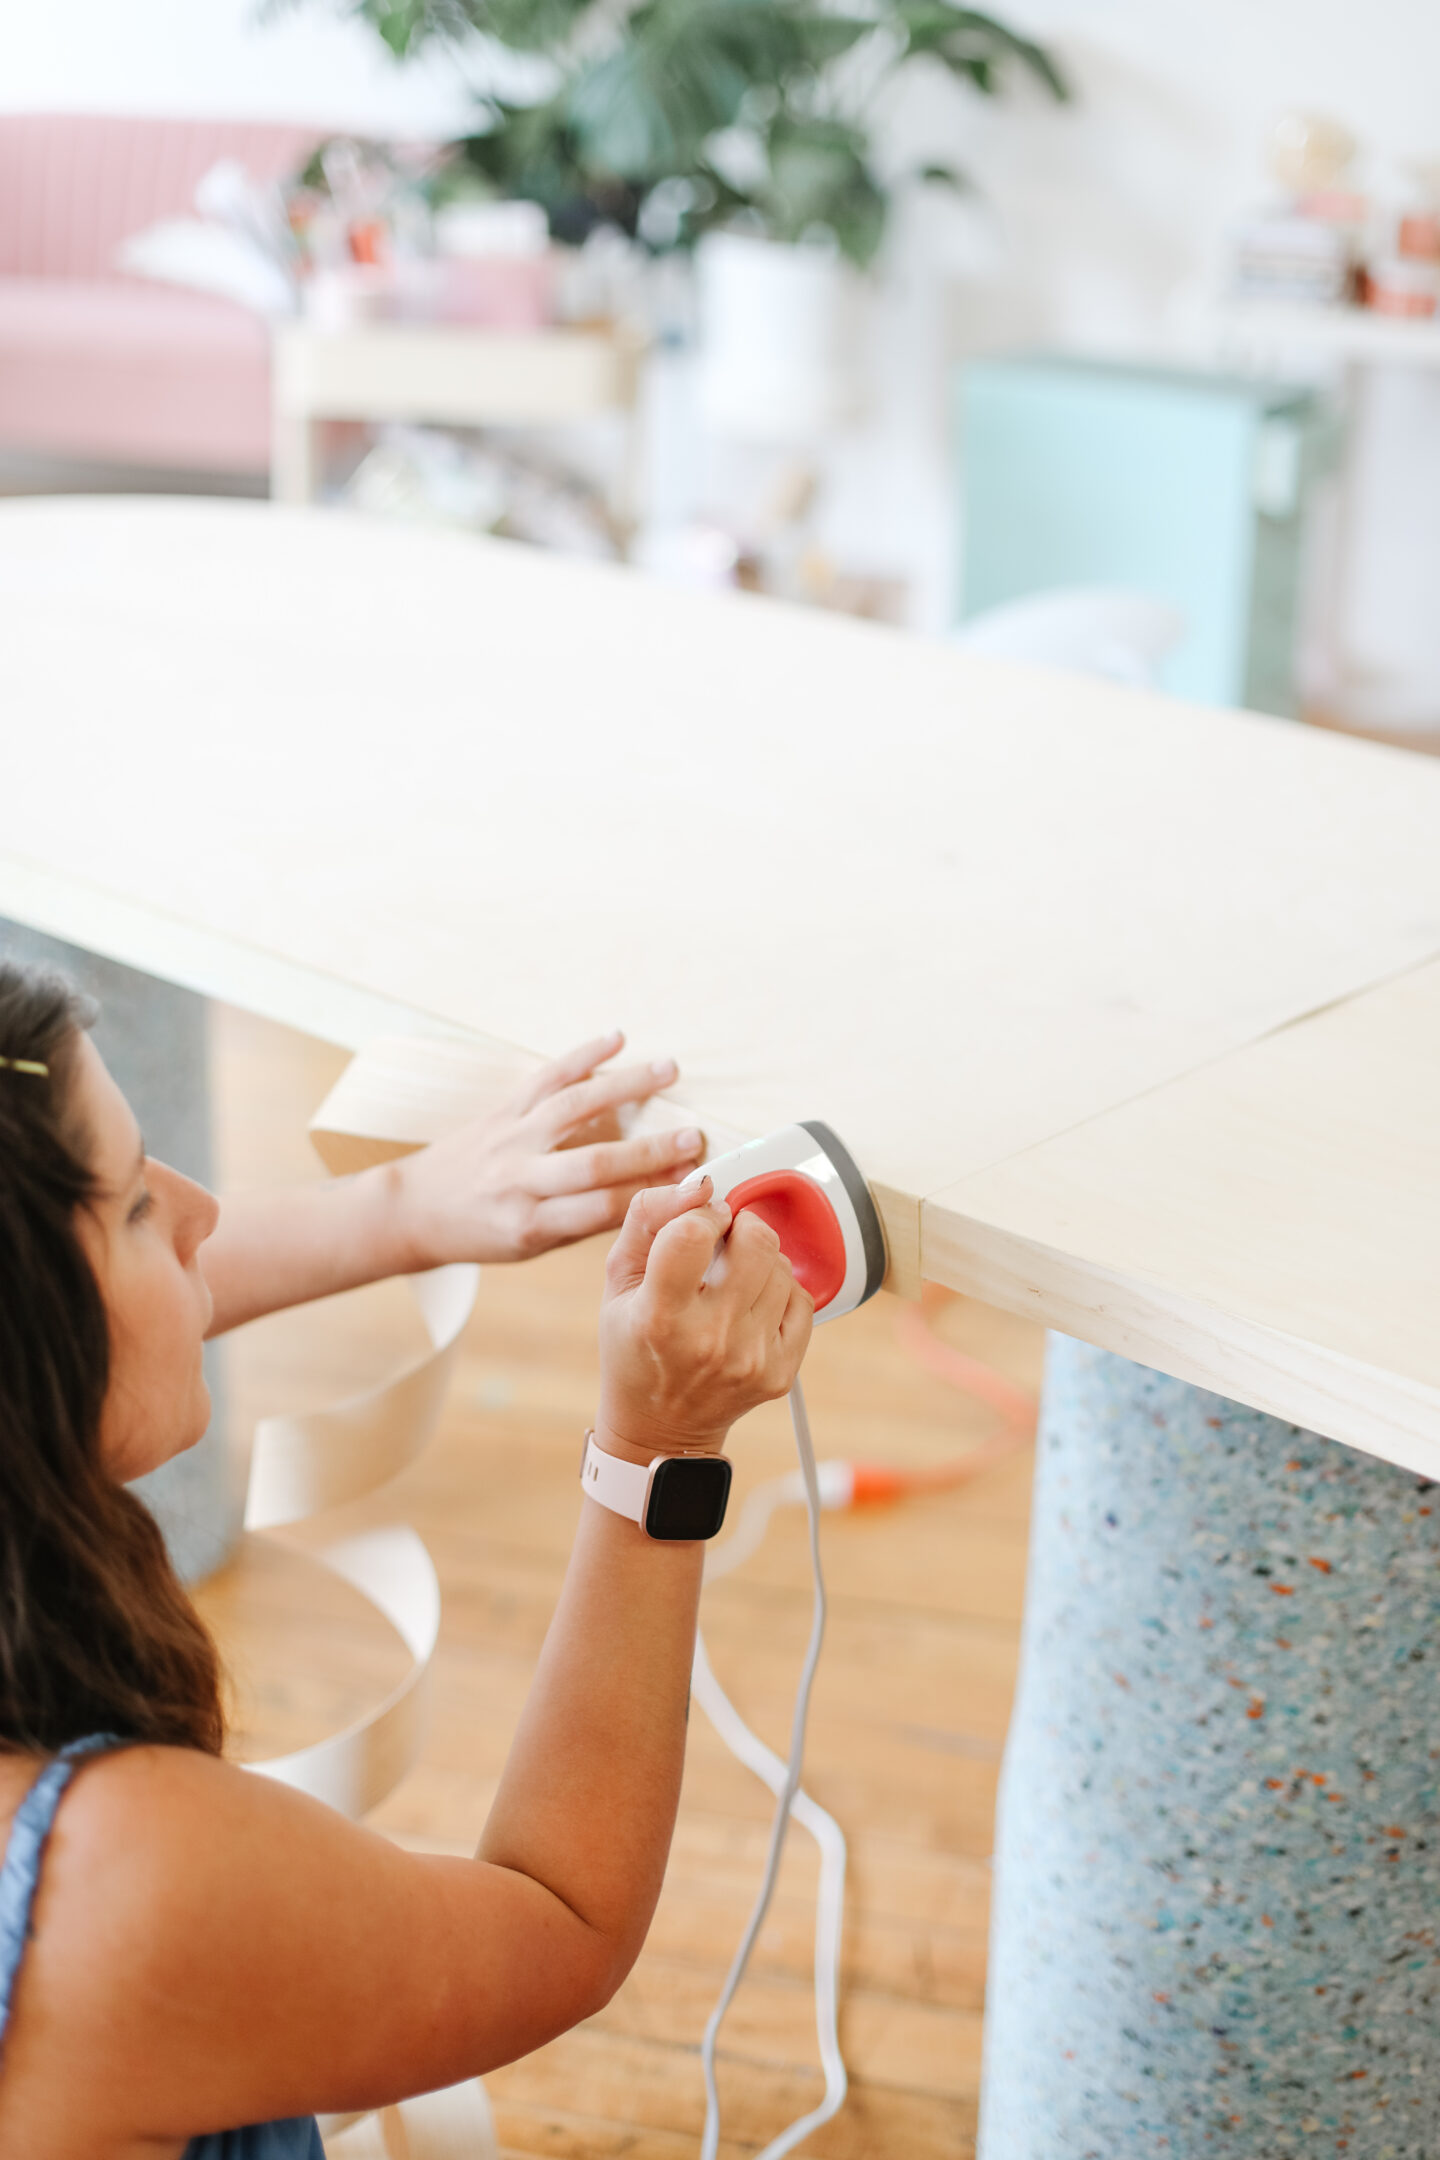
I used a beautiful plywood wood edge banding and attached it to my old desk border applying a bit of contact cement and a hot iron. Start applying pressure using your hot iron and glue (very slowly) the wood edge aligned to the top of the desk.
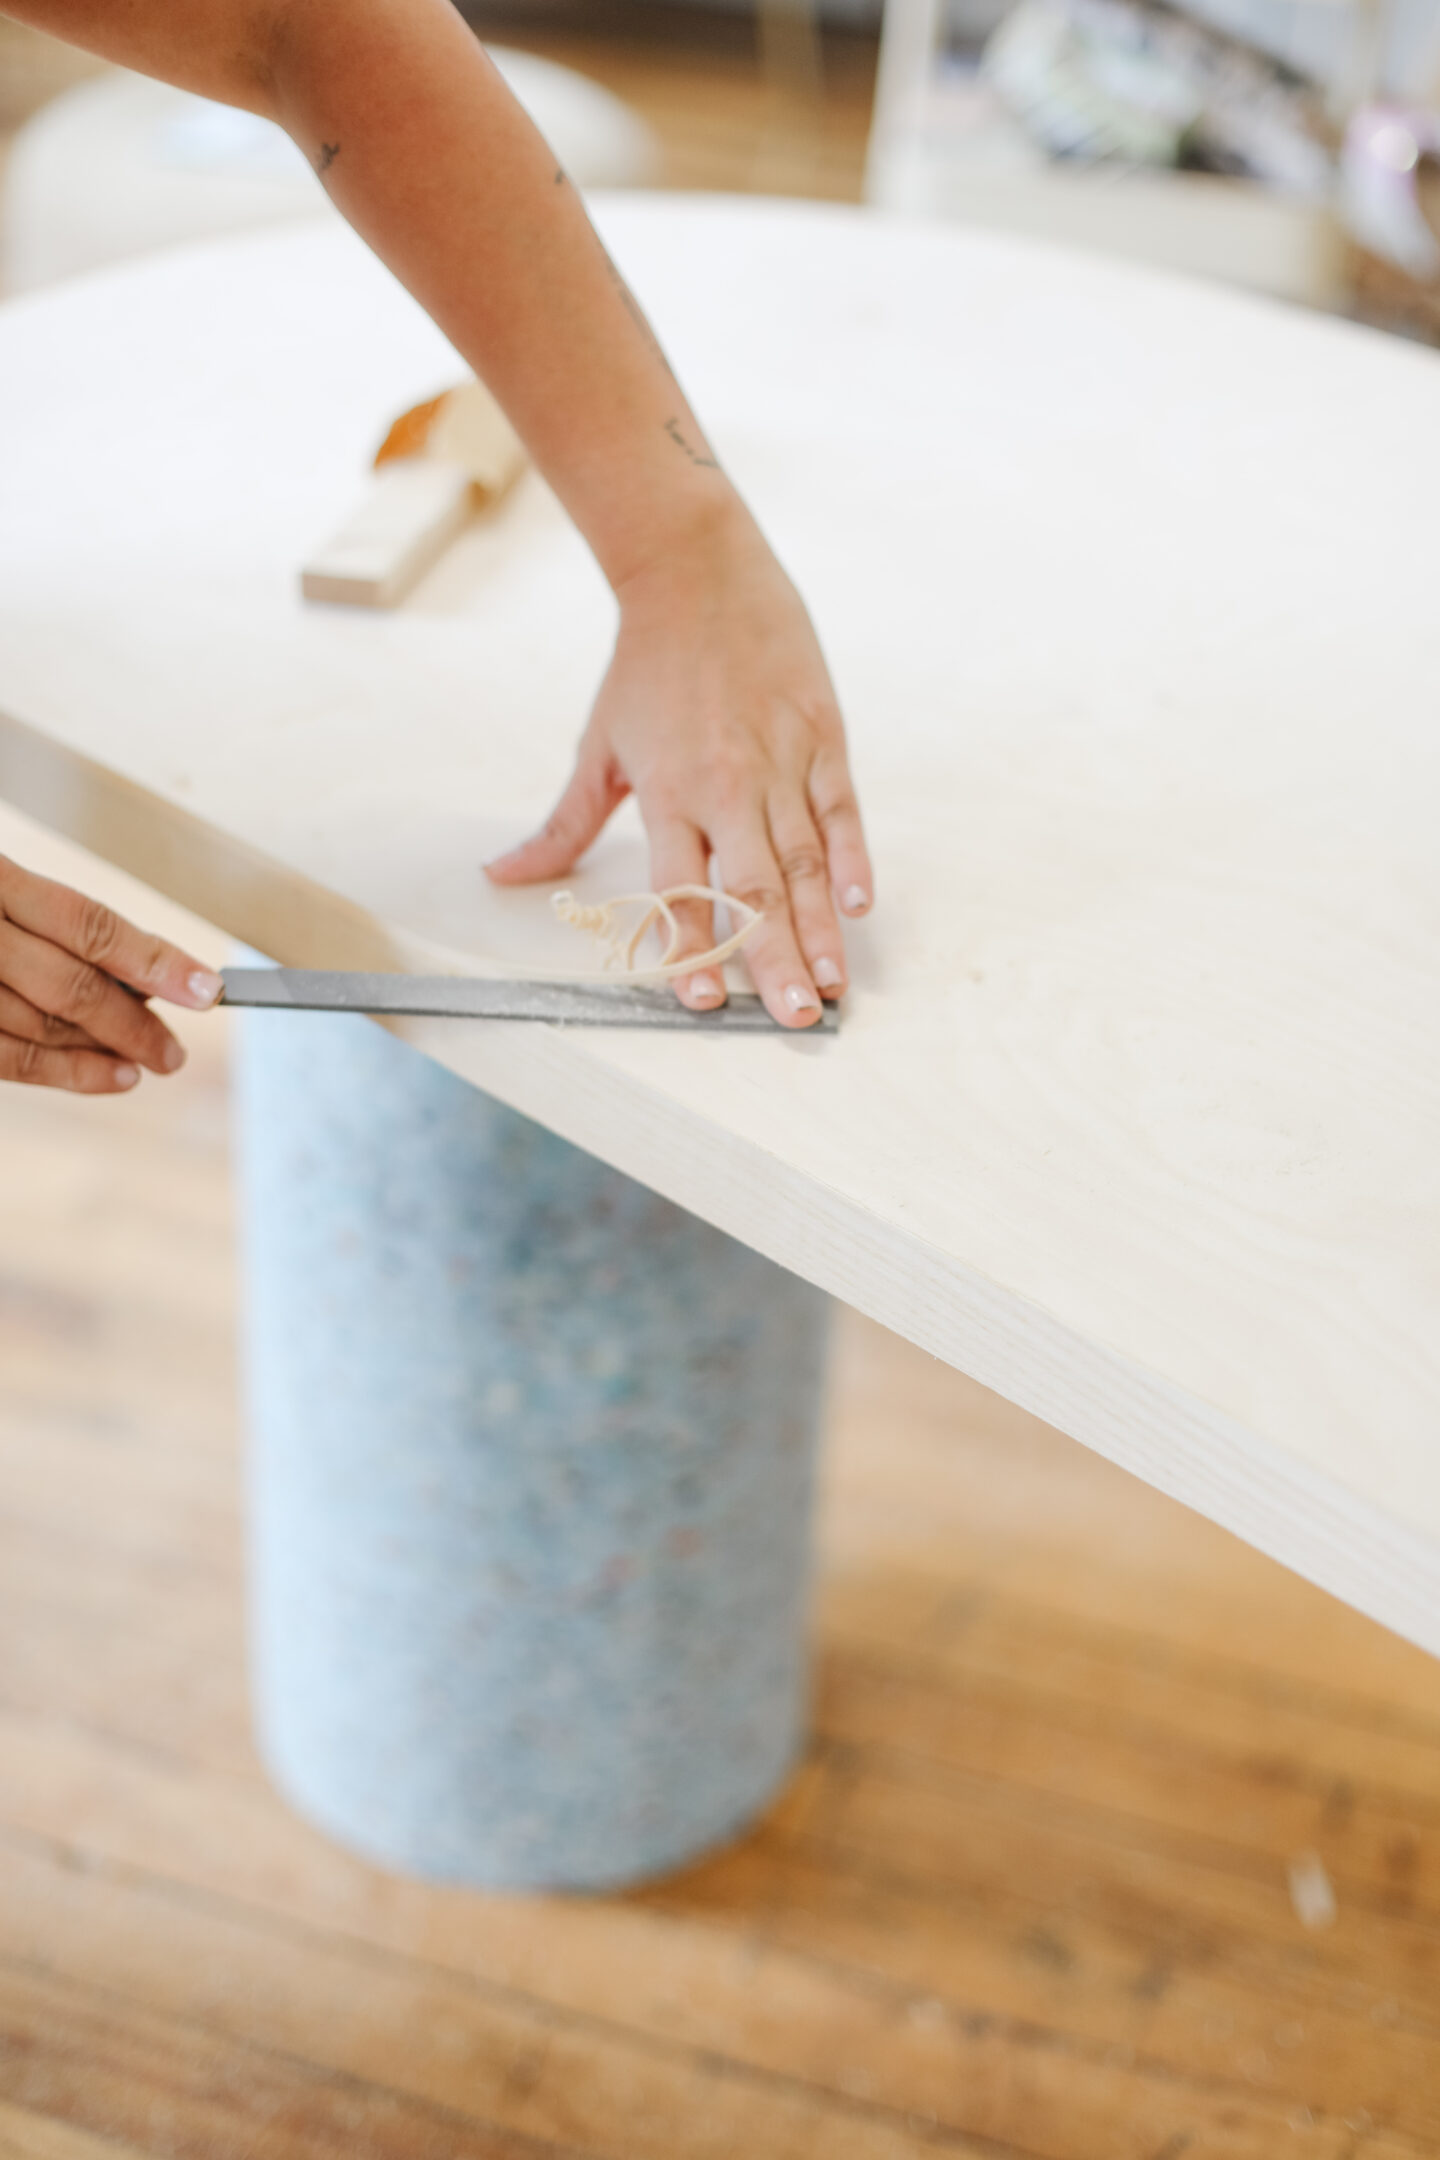
To remove the edge excess (and to achieve an impeccable look), remove the trim gently with a wood file, I found this step so fascinating and learned so much doing it with my dad (I miss him already!).
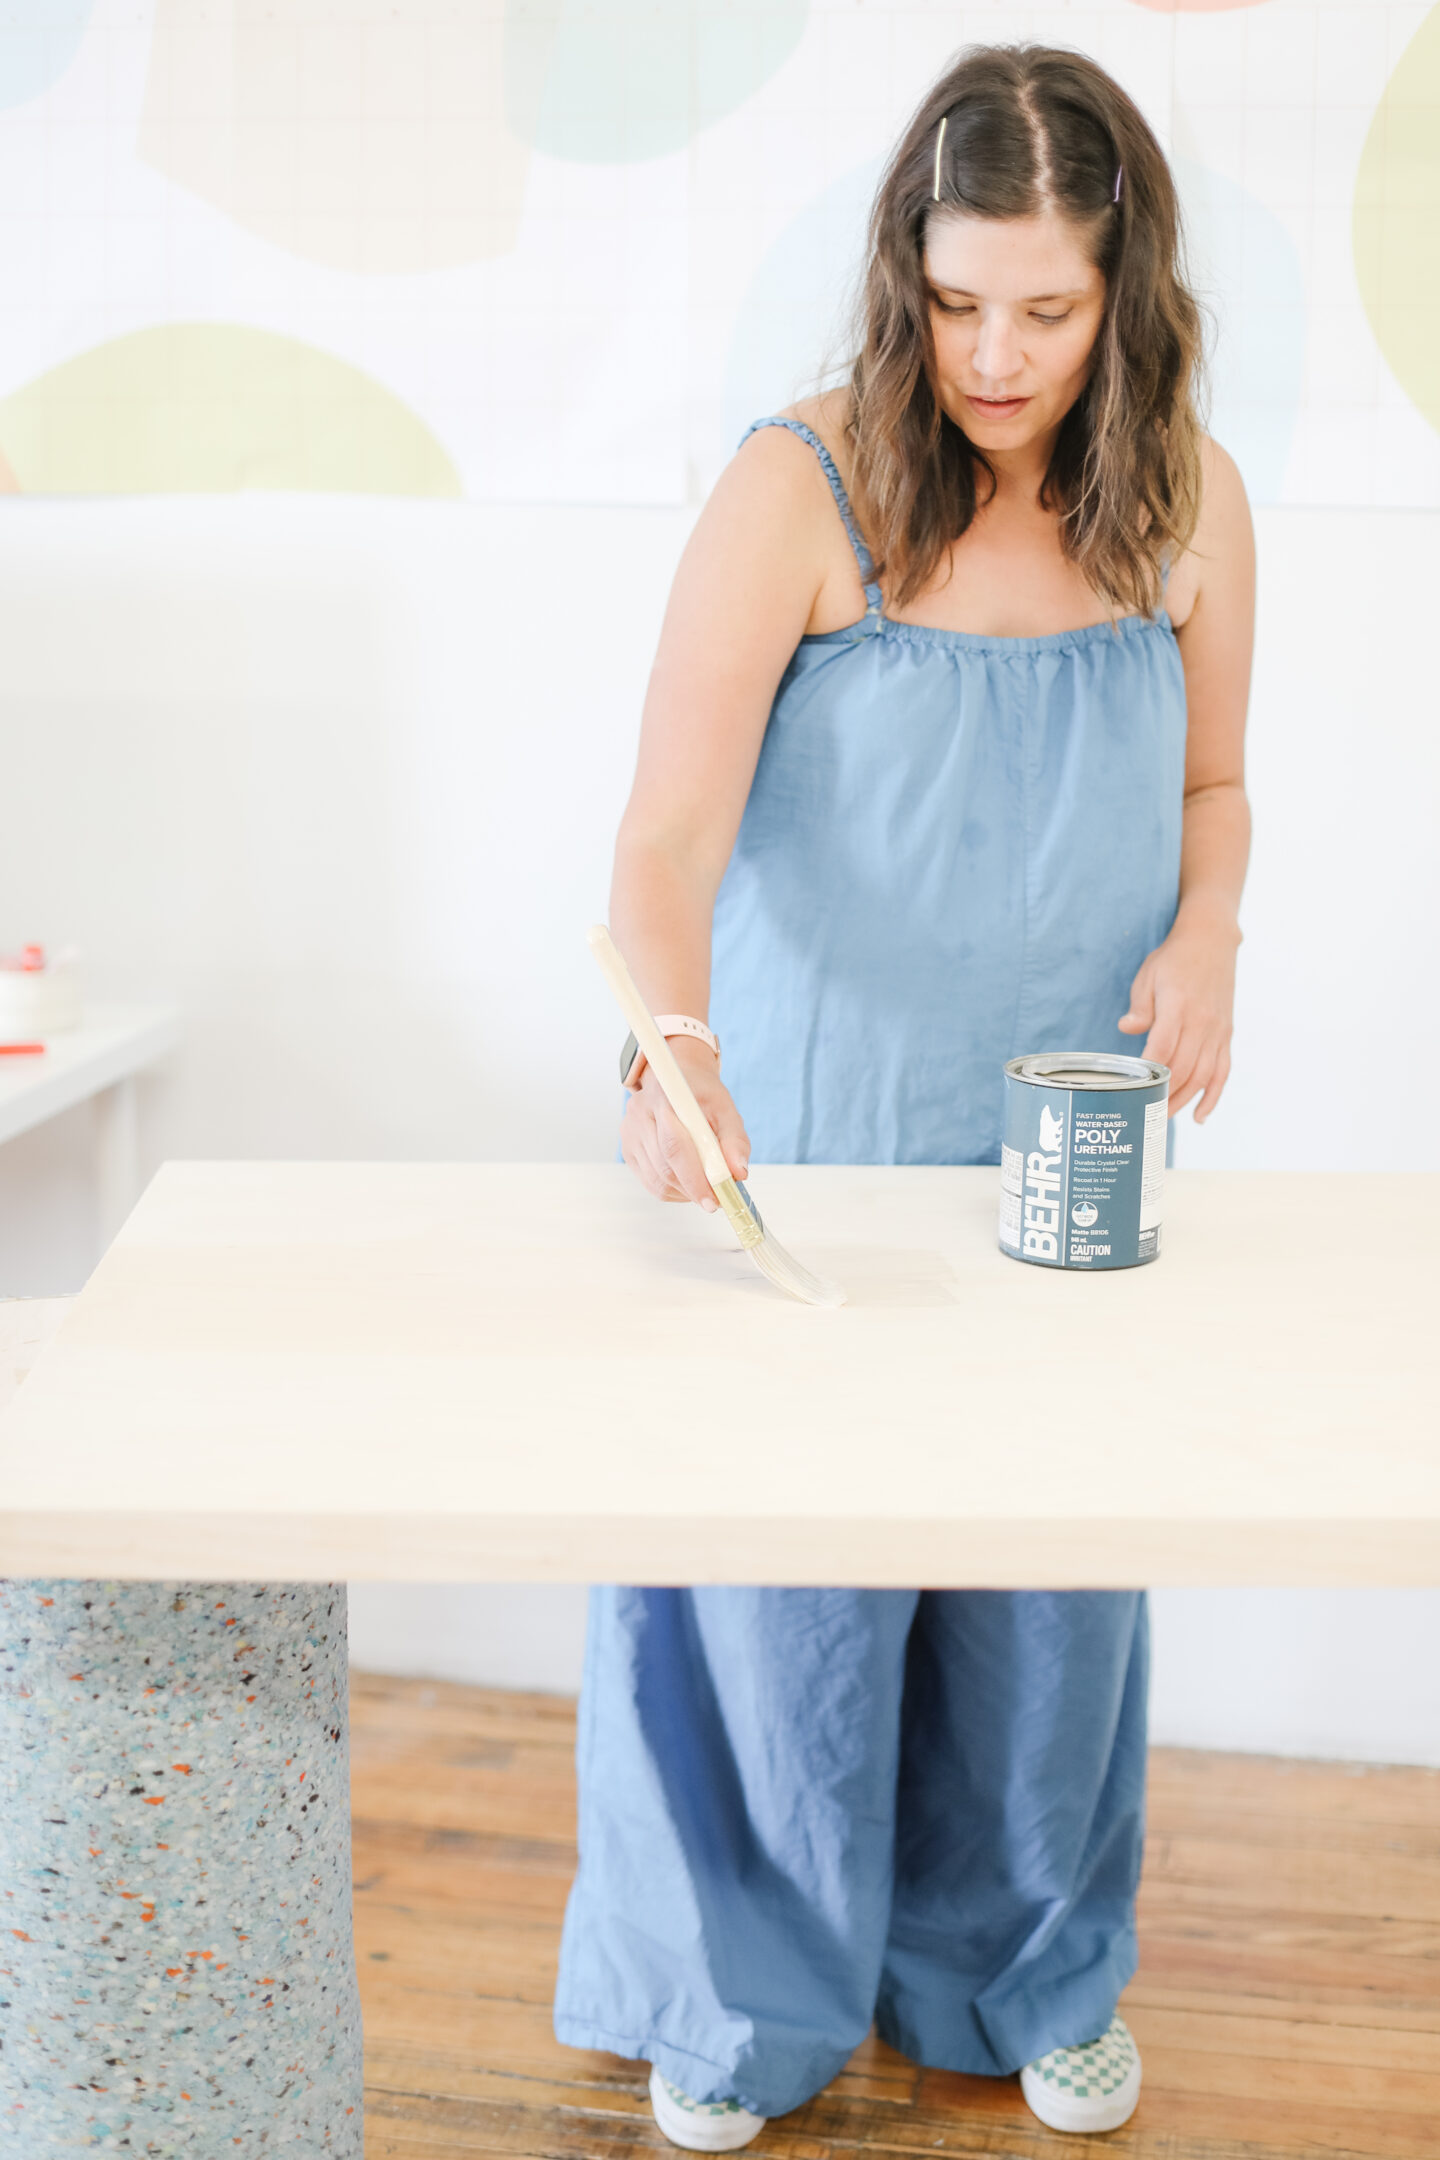
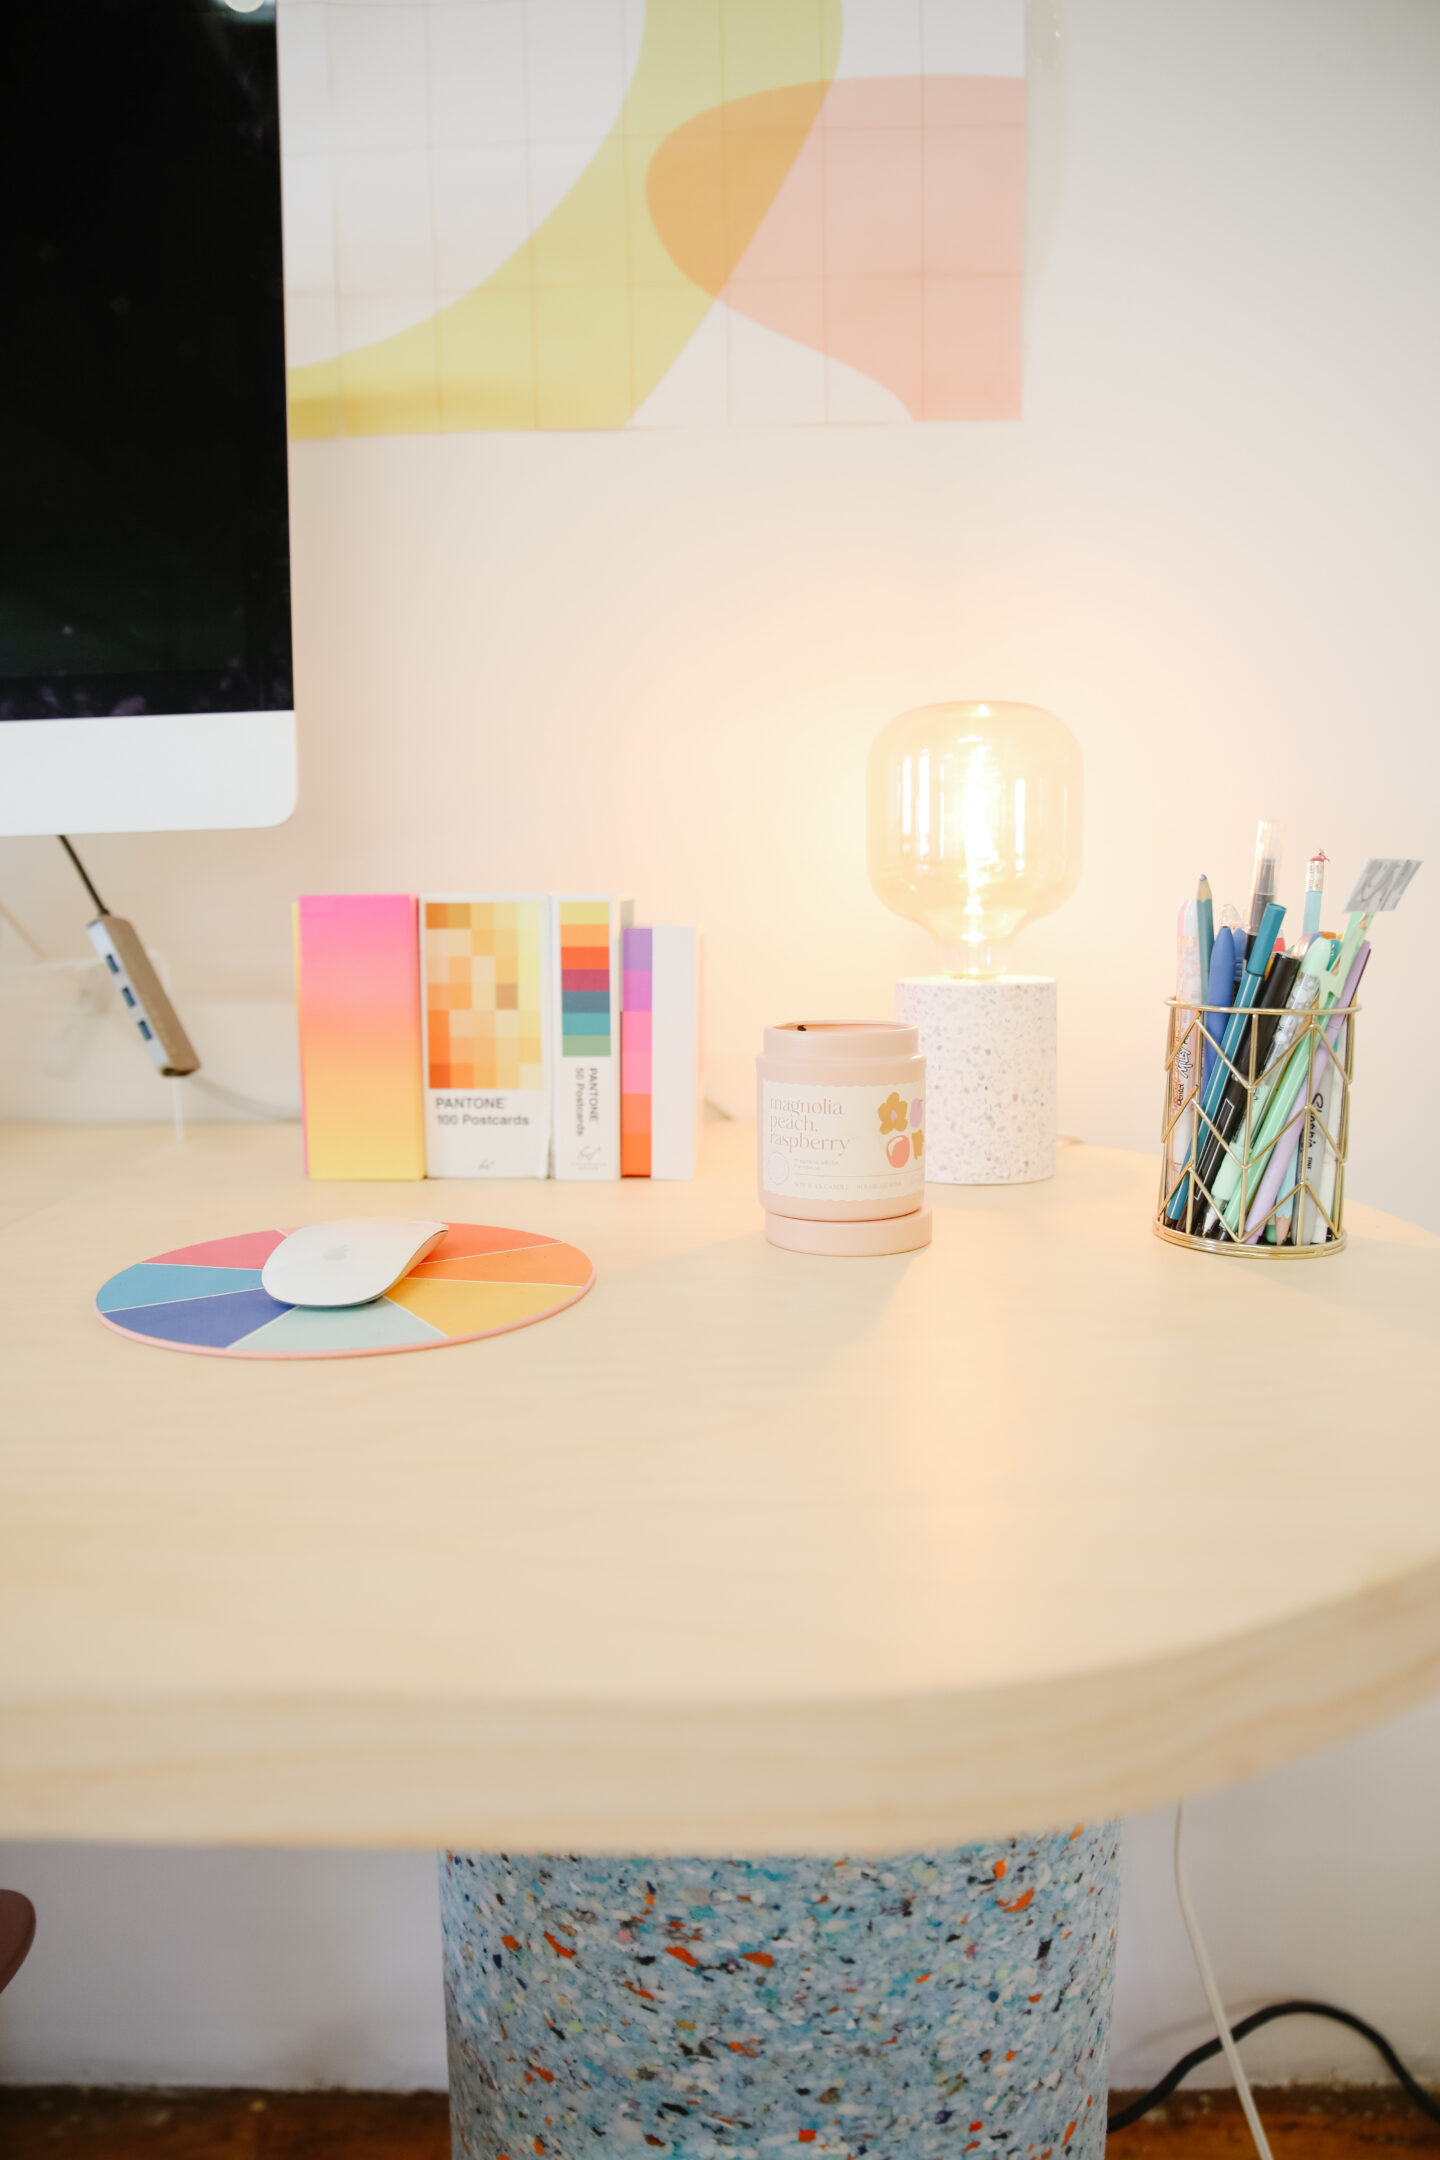
Guess what? WE DID IT! It wasn’t easy, but the results are so so good I’d do 10 more without a single doubt. To protect this precious plywood and maintain the natural wood colour, apply a coat of a water-based polyurethane and let it dry for 2 hours. Gently sand off after it’s dry and repeat the process. You can apply up to three coats if necessary.
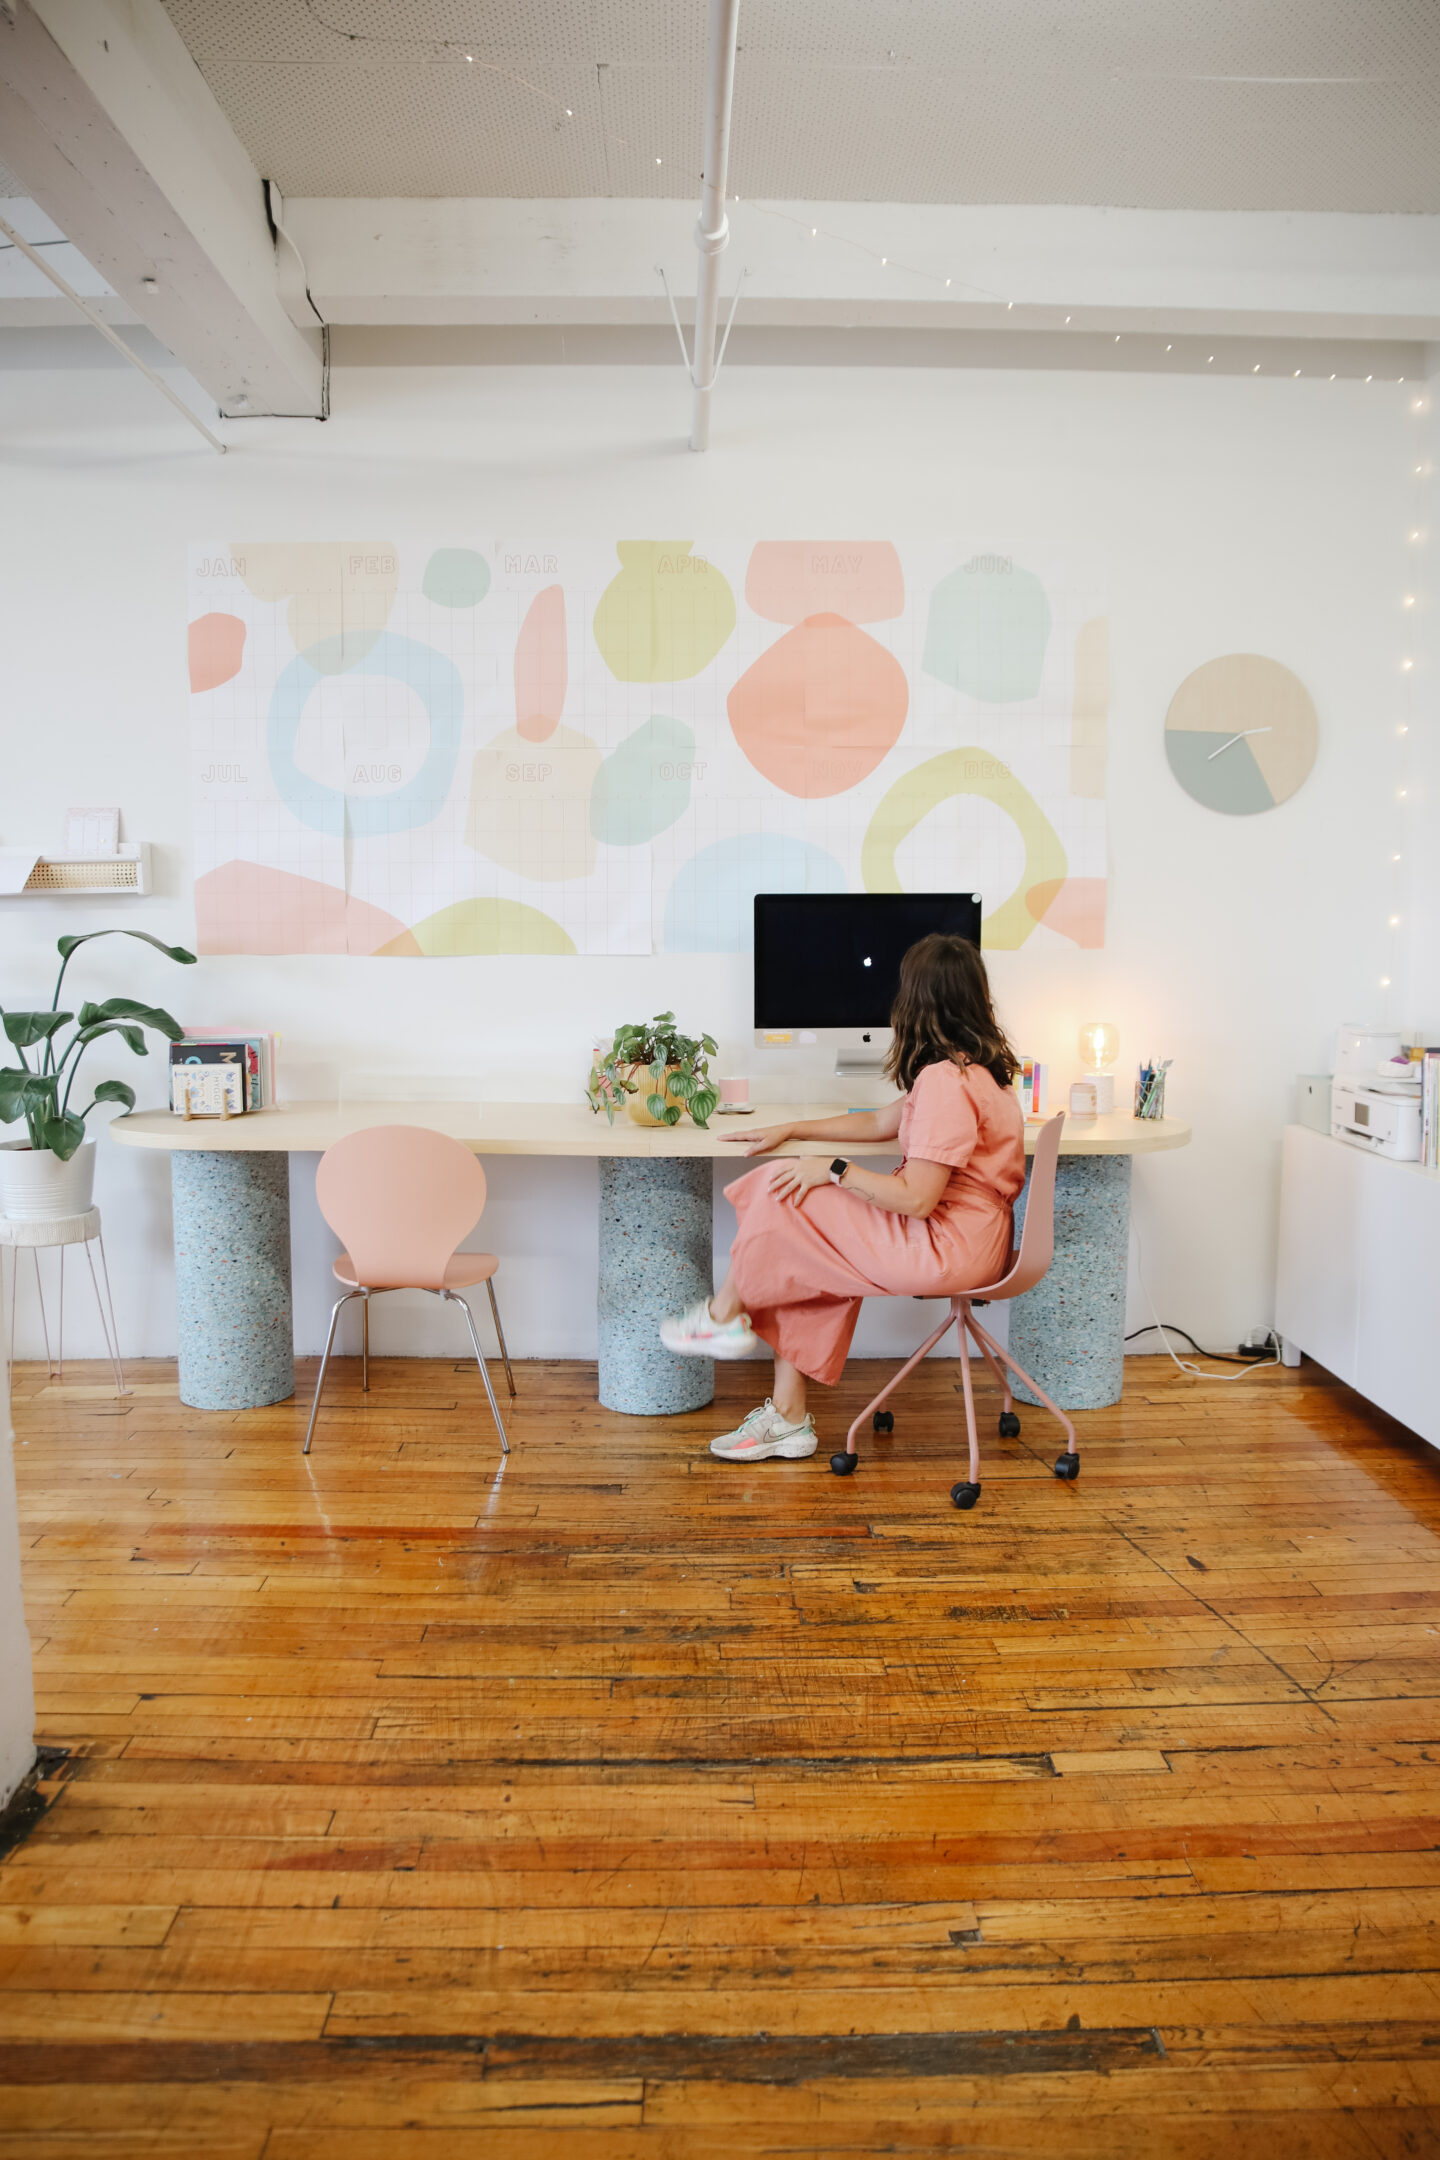
I’m truly SO proud how this project turned out and to see my design vision in a real, adorable piece of furniture. I hope you love it as MUCH as I do, and you have FUN making one at home soon!