How To Make a Cute Perpetual Desk Calendar in 3 Simple Steps!


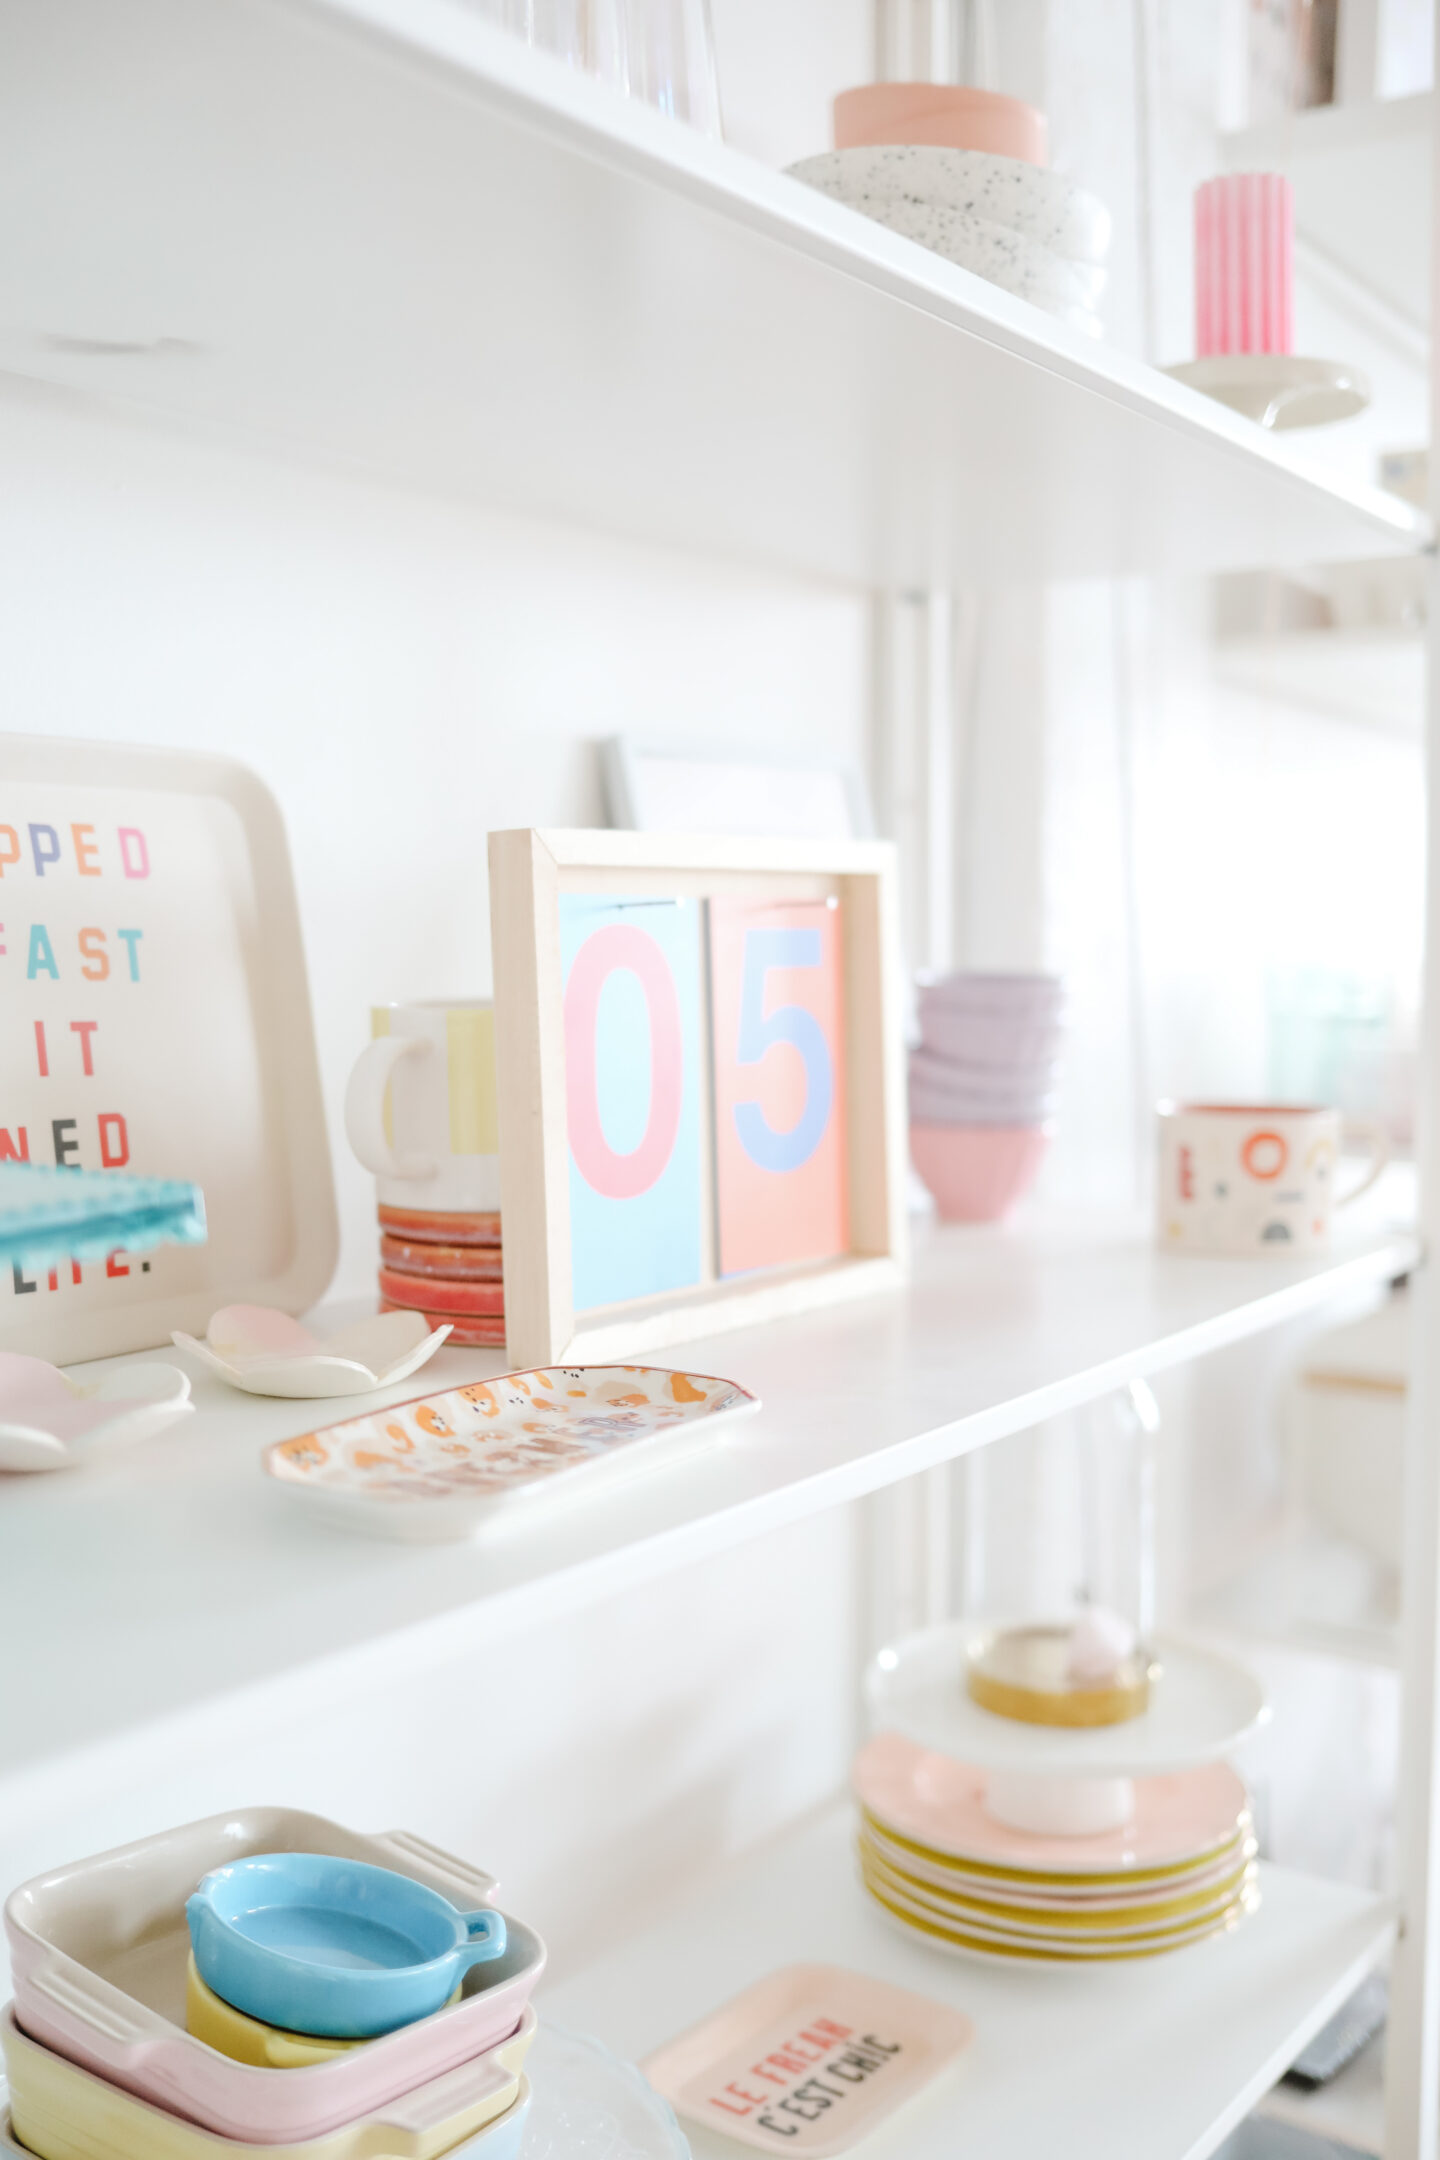
It’s no secret I’m a big fan of perpetual calendars and colour! Who else?
They are my BFFs when it comes to planning, organizing and knowing where are we each month, because let’s face it, as a busy mama, I never know.
This eye-catching perpetual colourful desk calendar is the perfect DIY project using recycled and sustainable materials and you can make it at home in only 3 steps!
Let’s do it, shall we?
– Unfinished wood serving tray (I found this one at the Dollar store for $1,50)
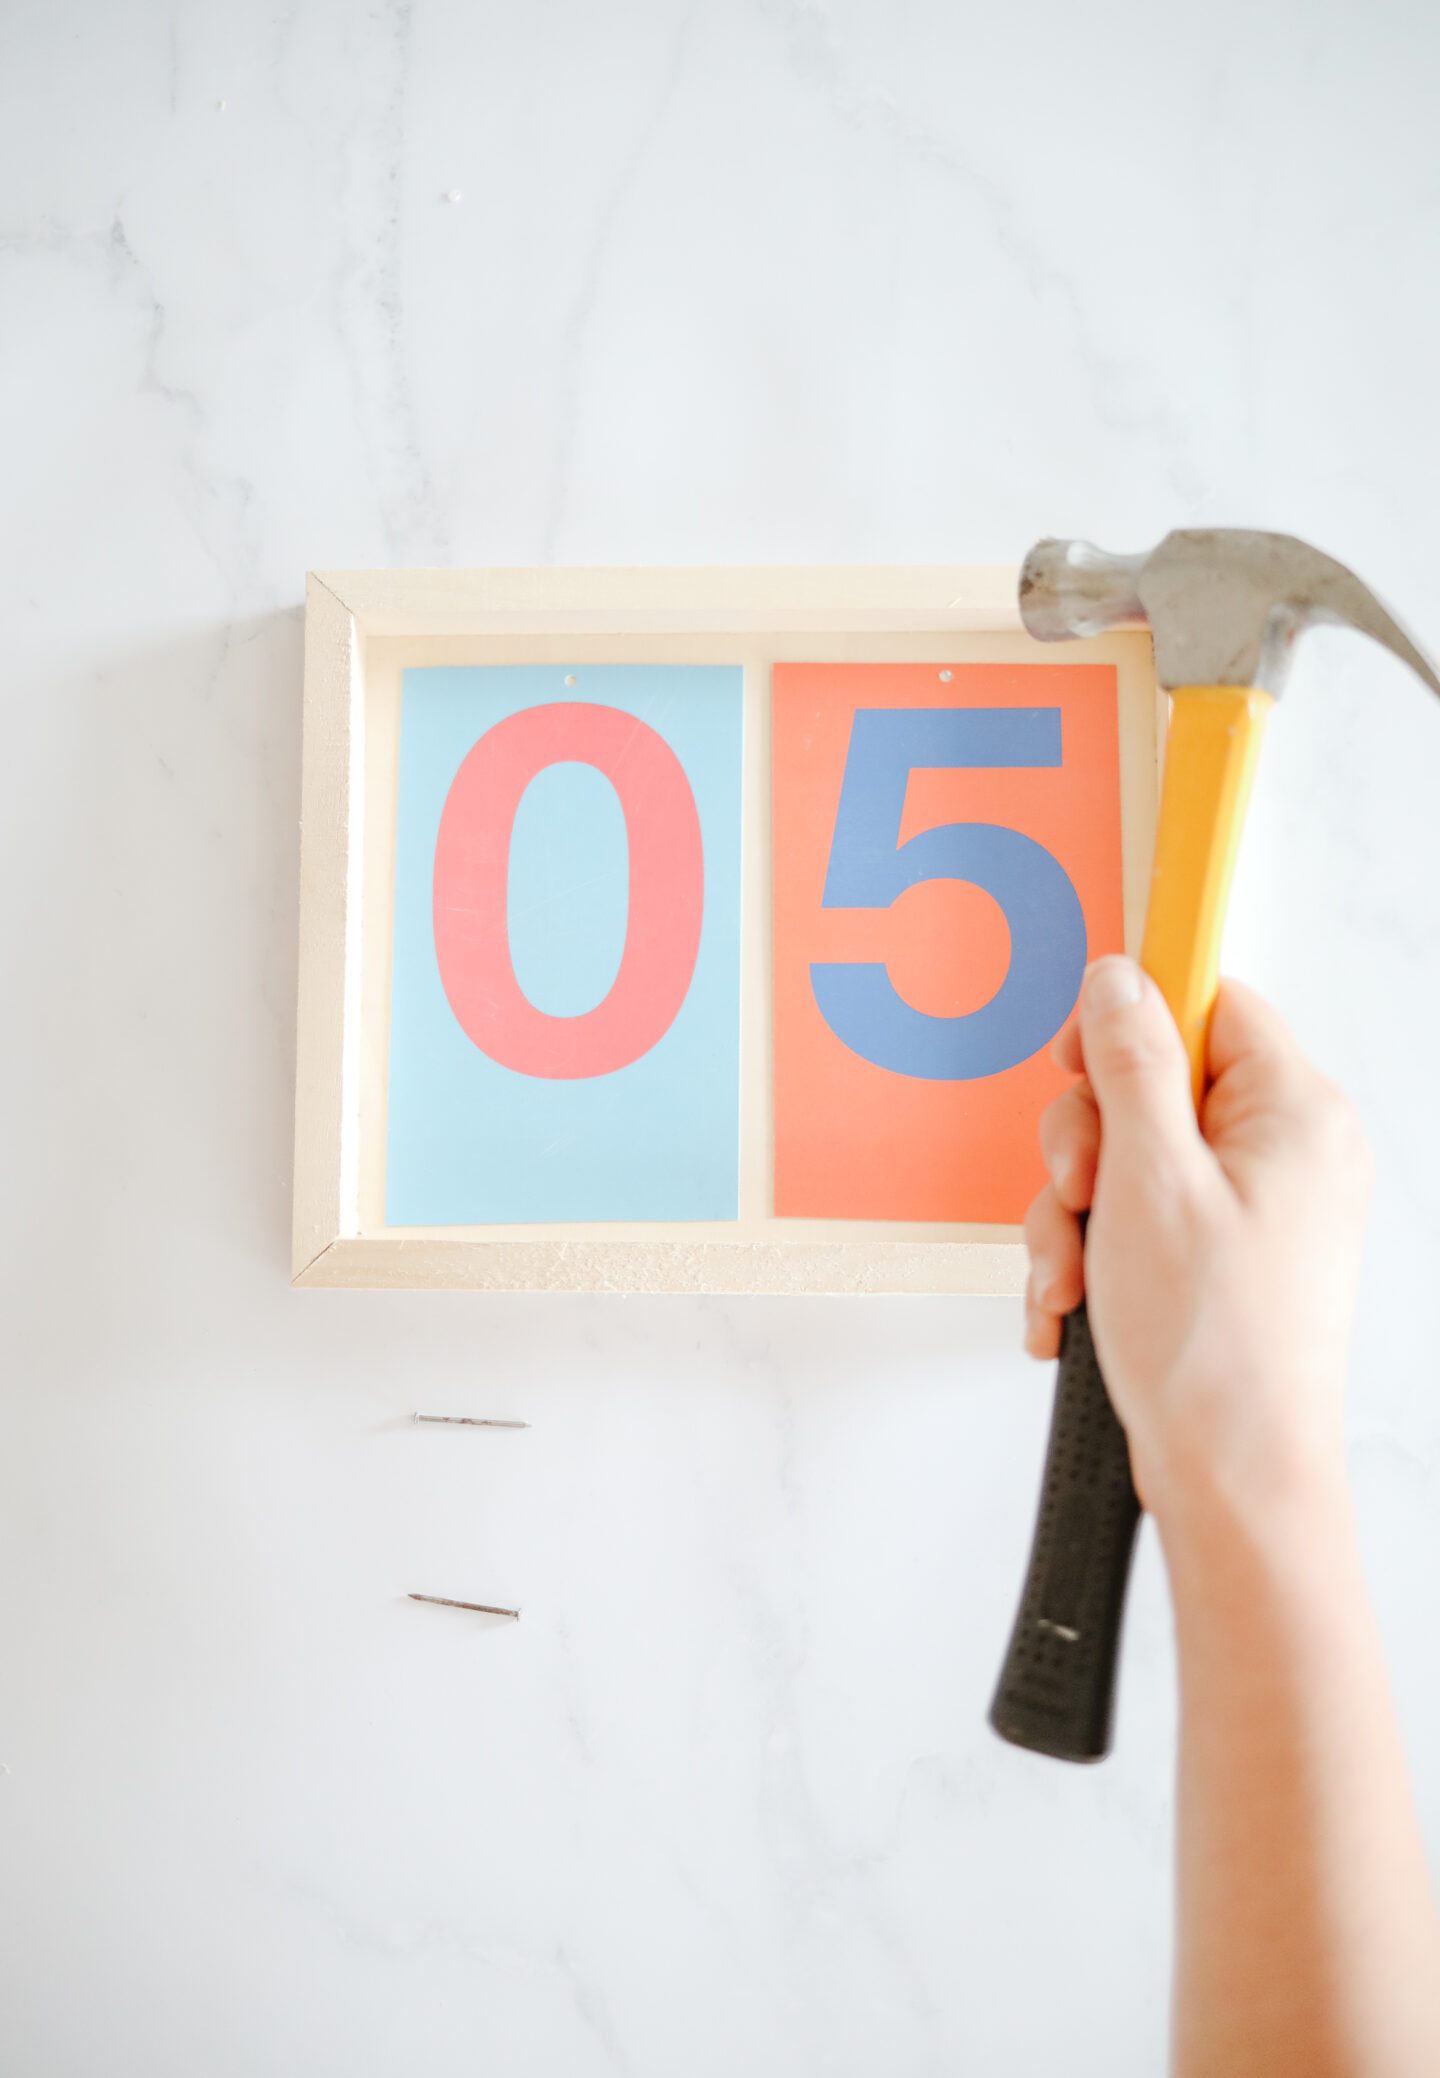
– Hammer
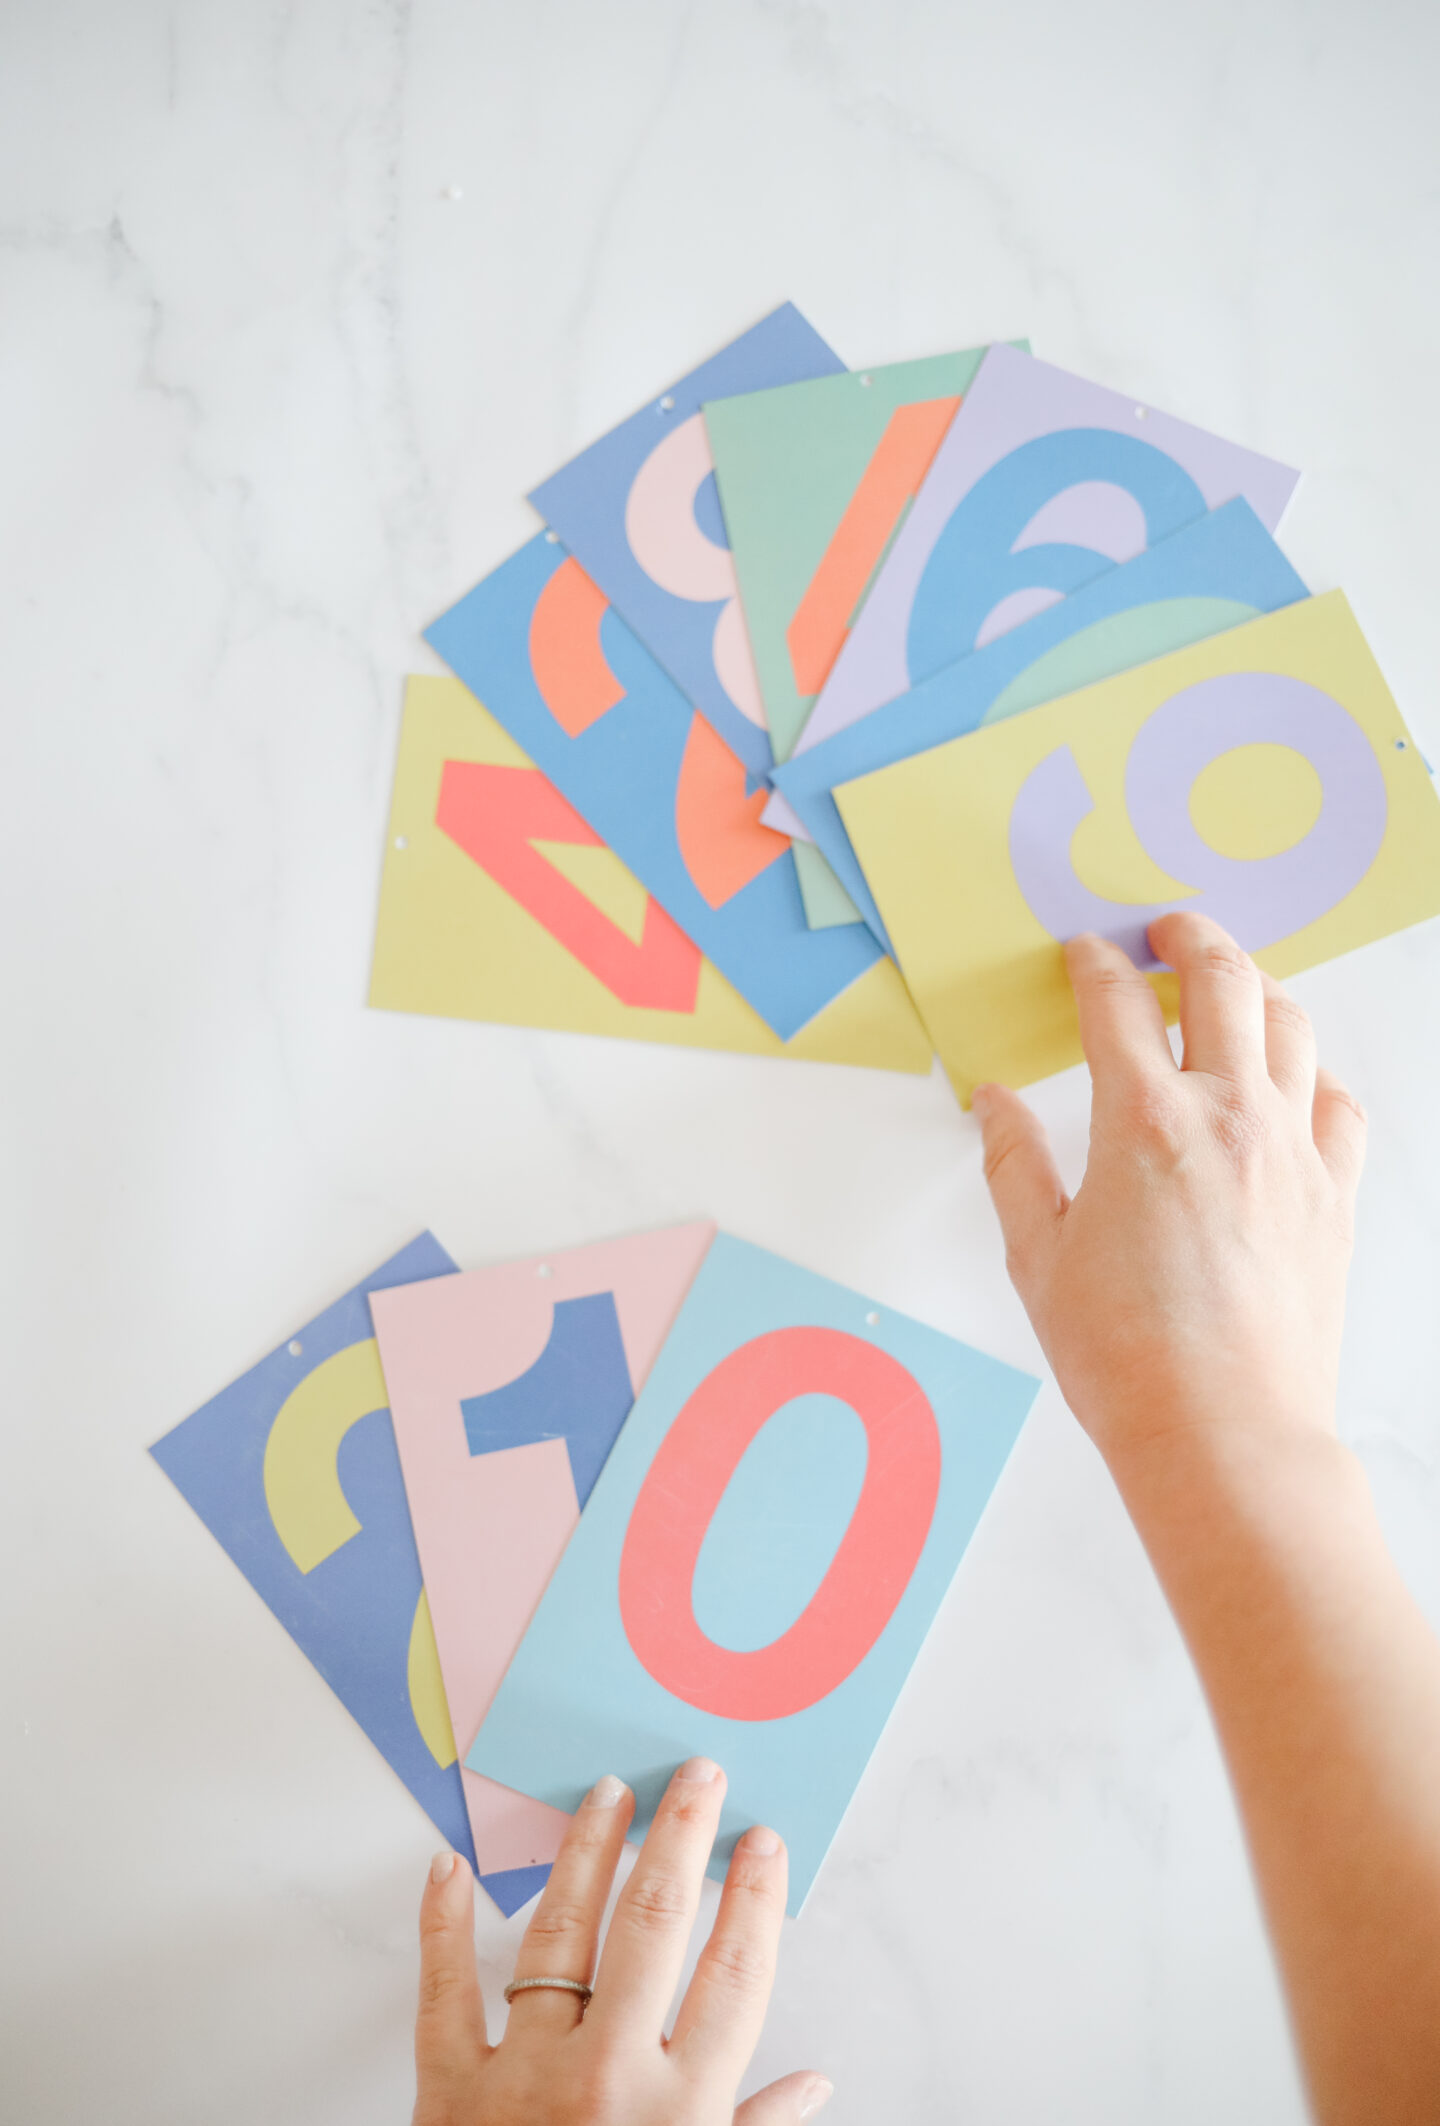
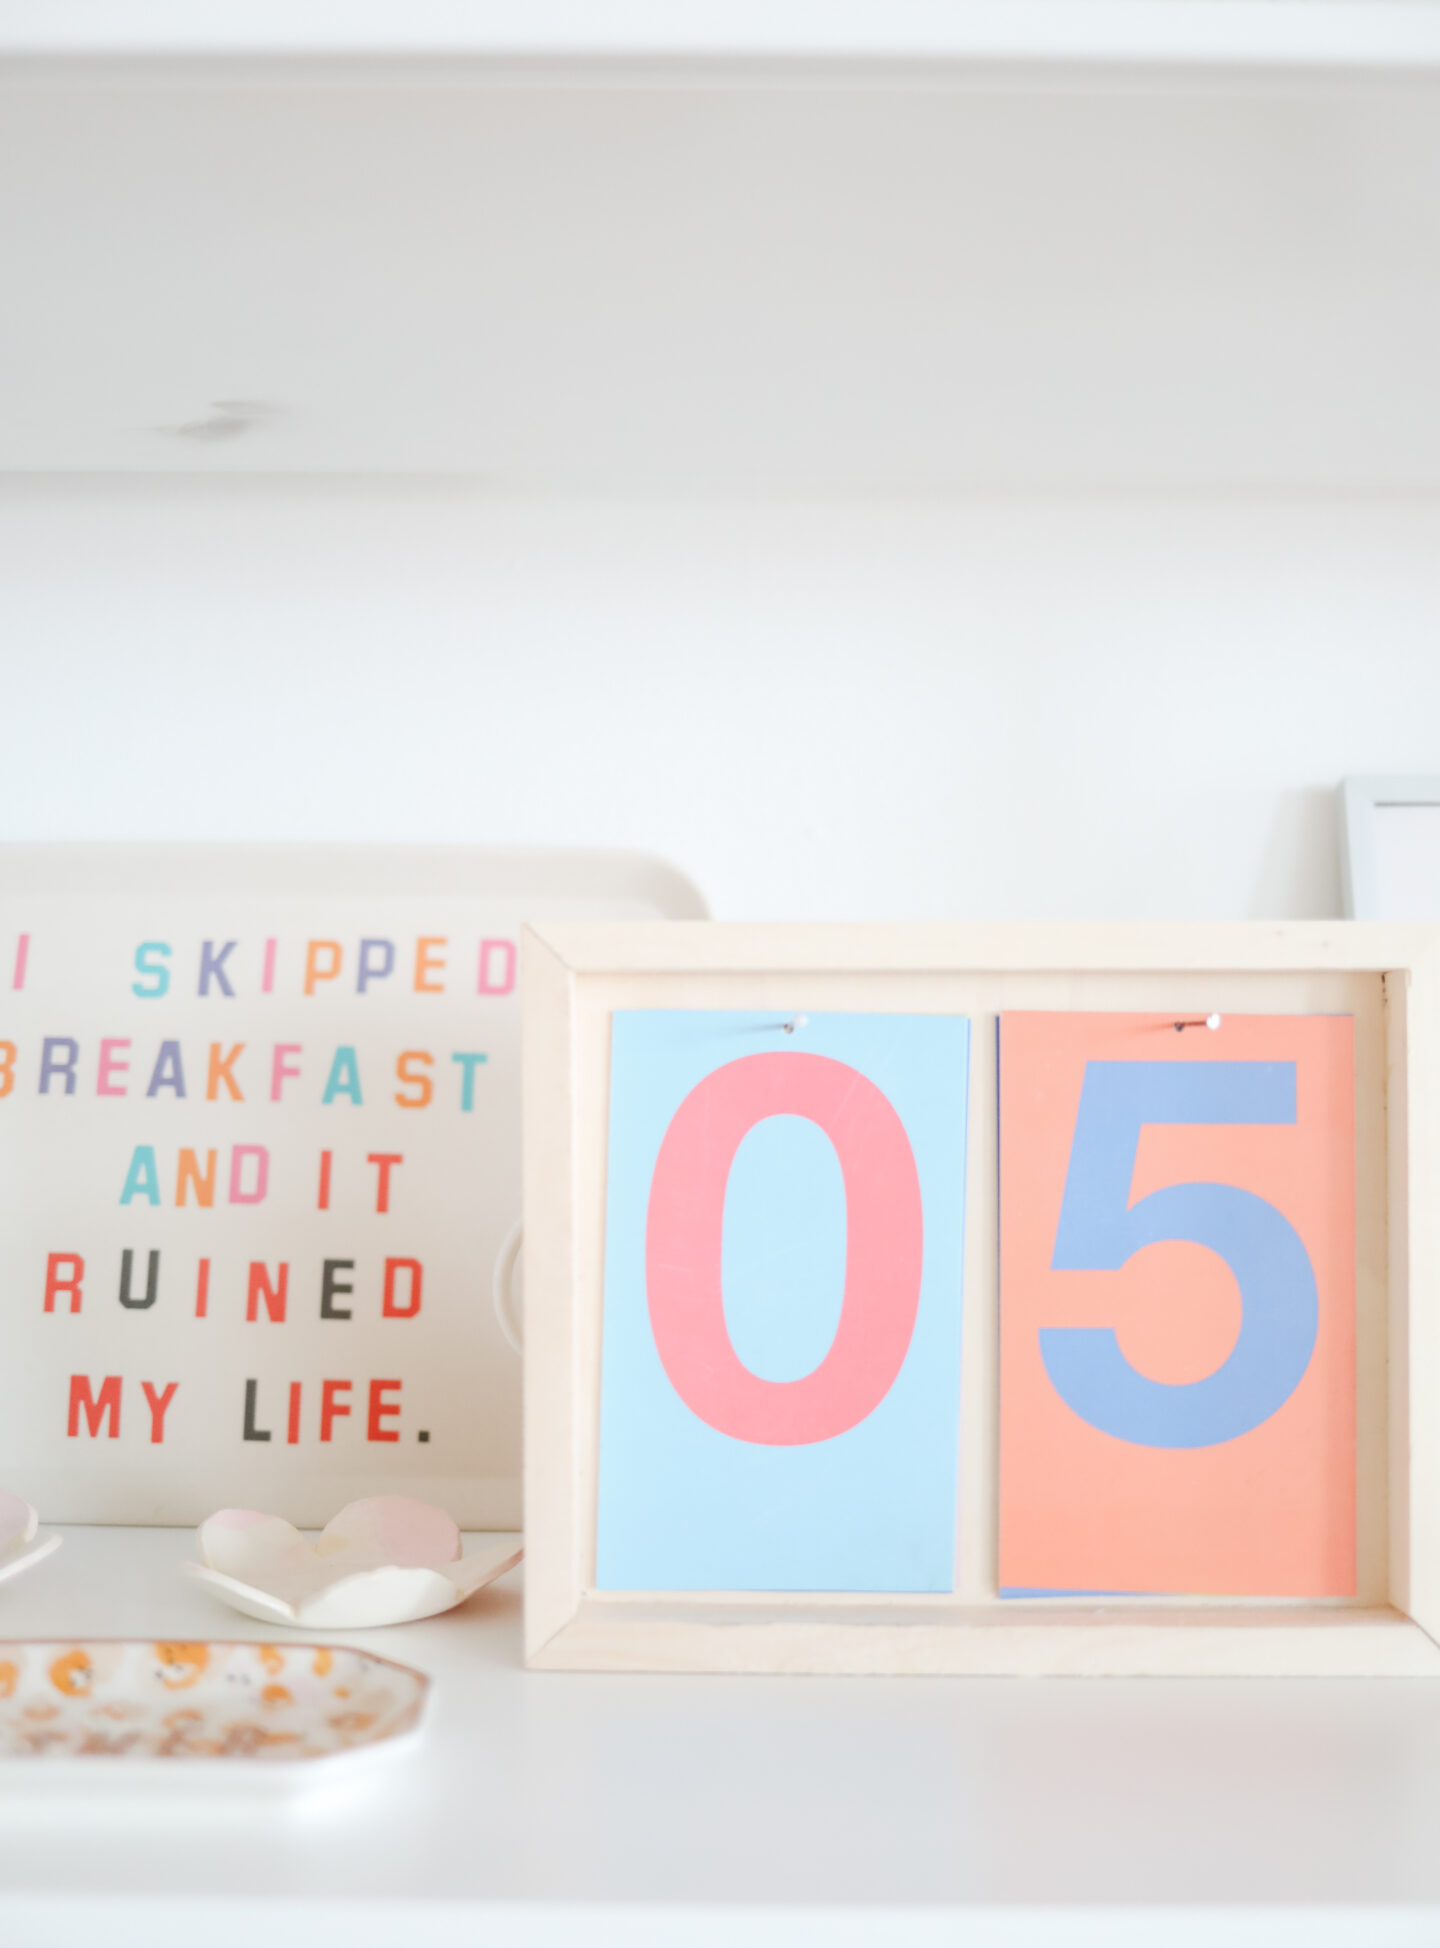
– Colourful numbers (these ones are upcycled from an old broken calendar) other ideas: you could print numbers using a thick cardstock, design them and cut in vinyl with a Cricut machine or recycle them from the Stendig calendar if you own one at home.
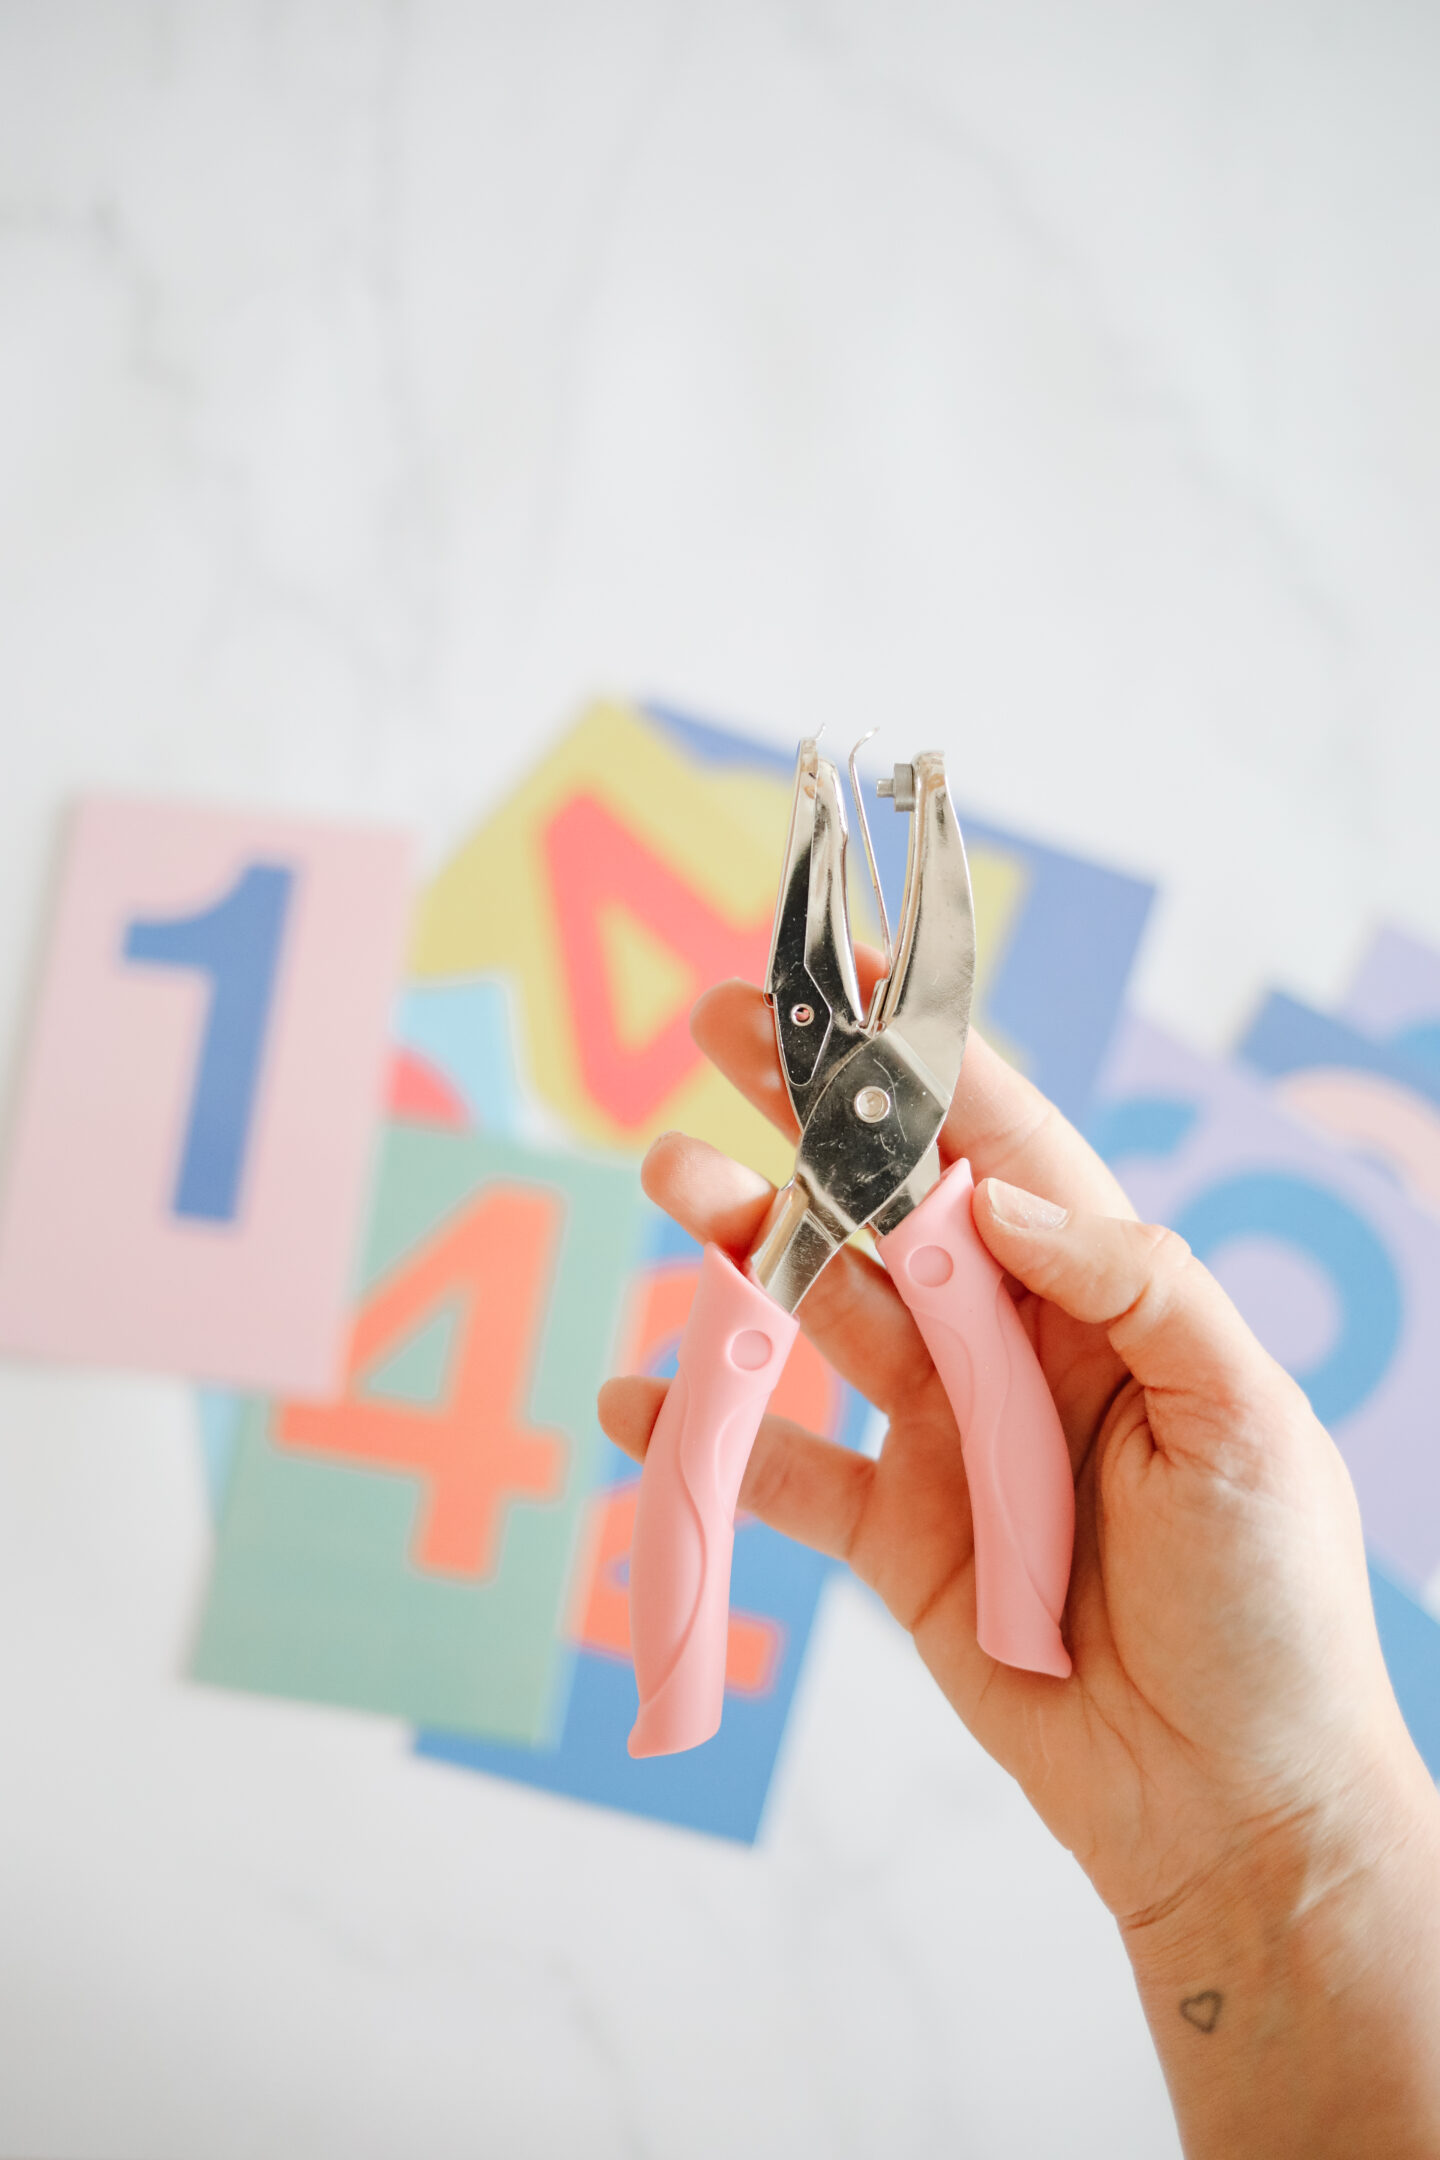
– Paper hole punch
– Scissors
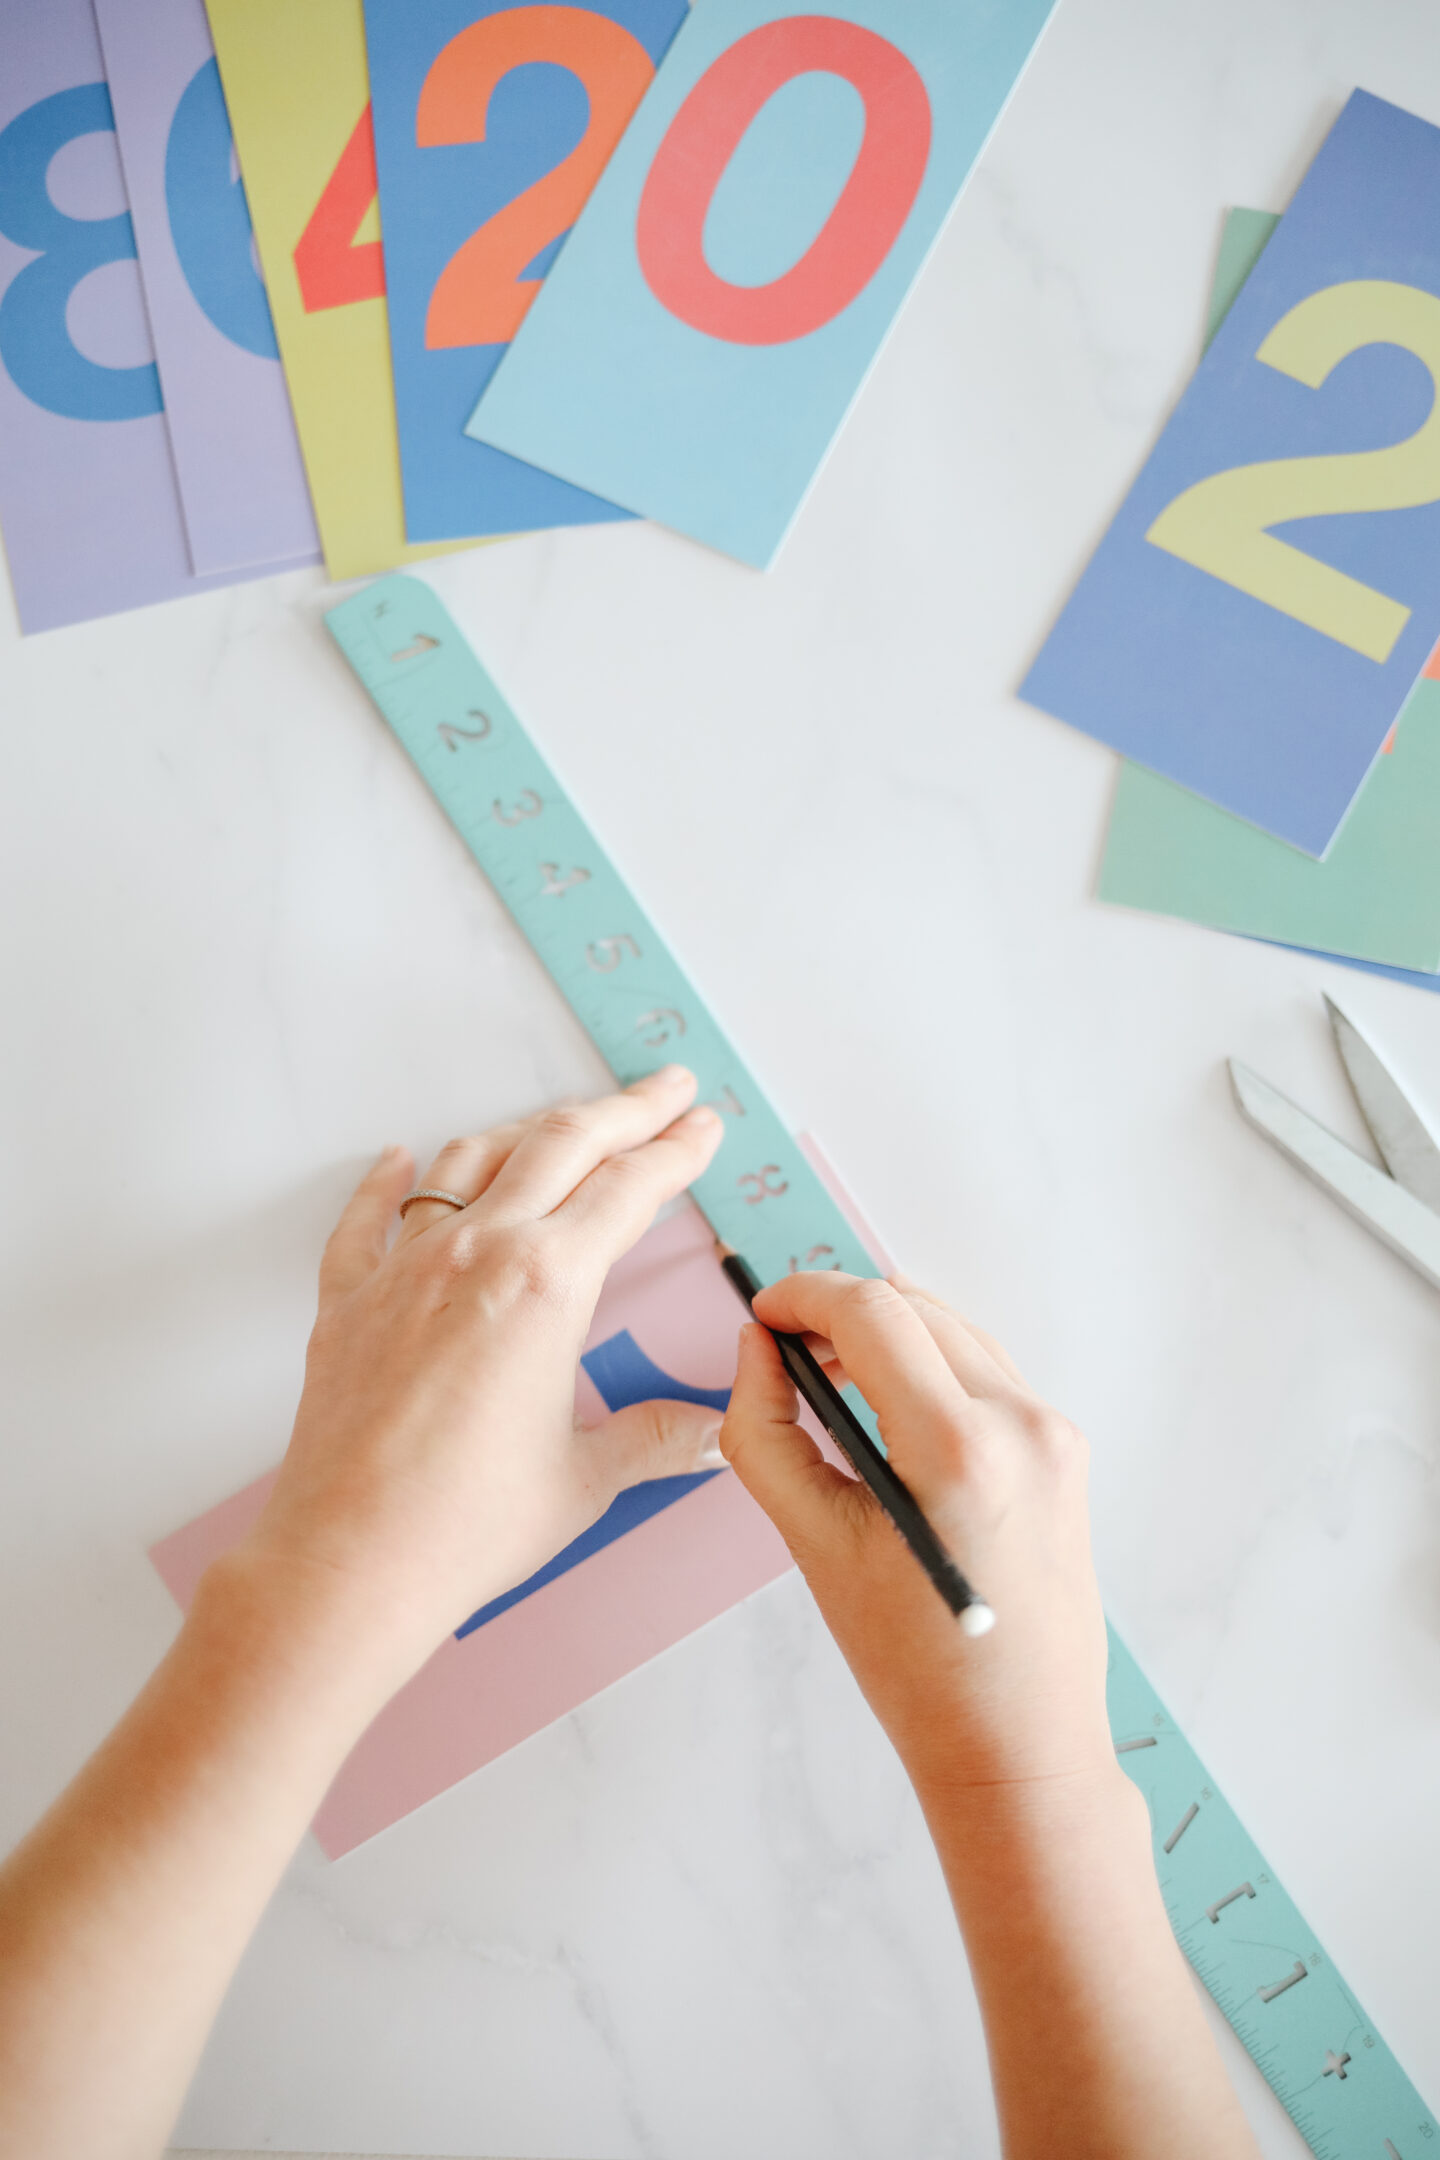
– Ruler
– 2 nails
Measure the wood serving tray length and cut the colourful numbers with your scissors to fit them inside the frame.
Now, let’s make a small hole on each number card using the hole punch. With a ruler calculate the middle and make the small holes one by one.
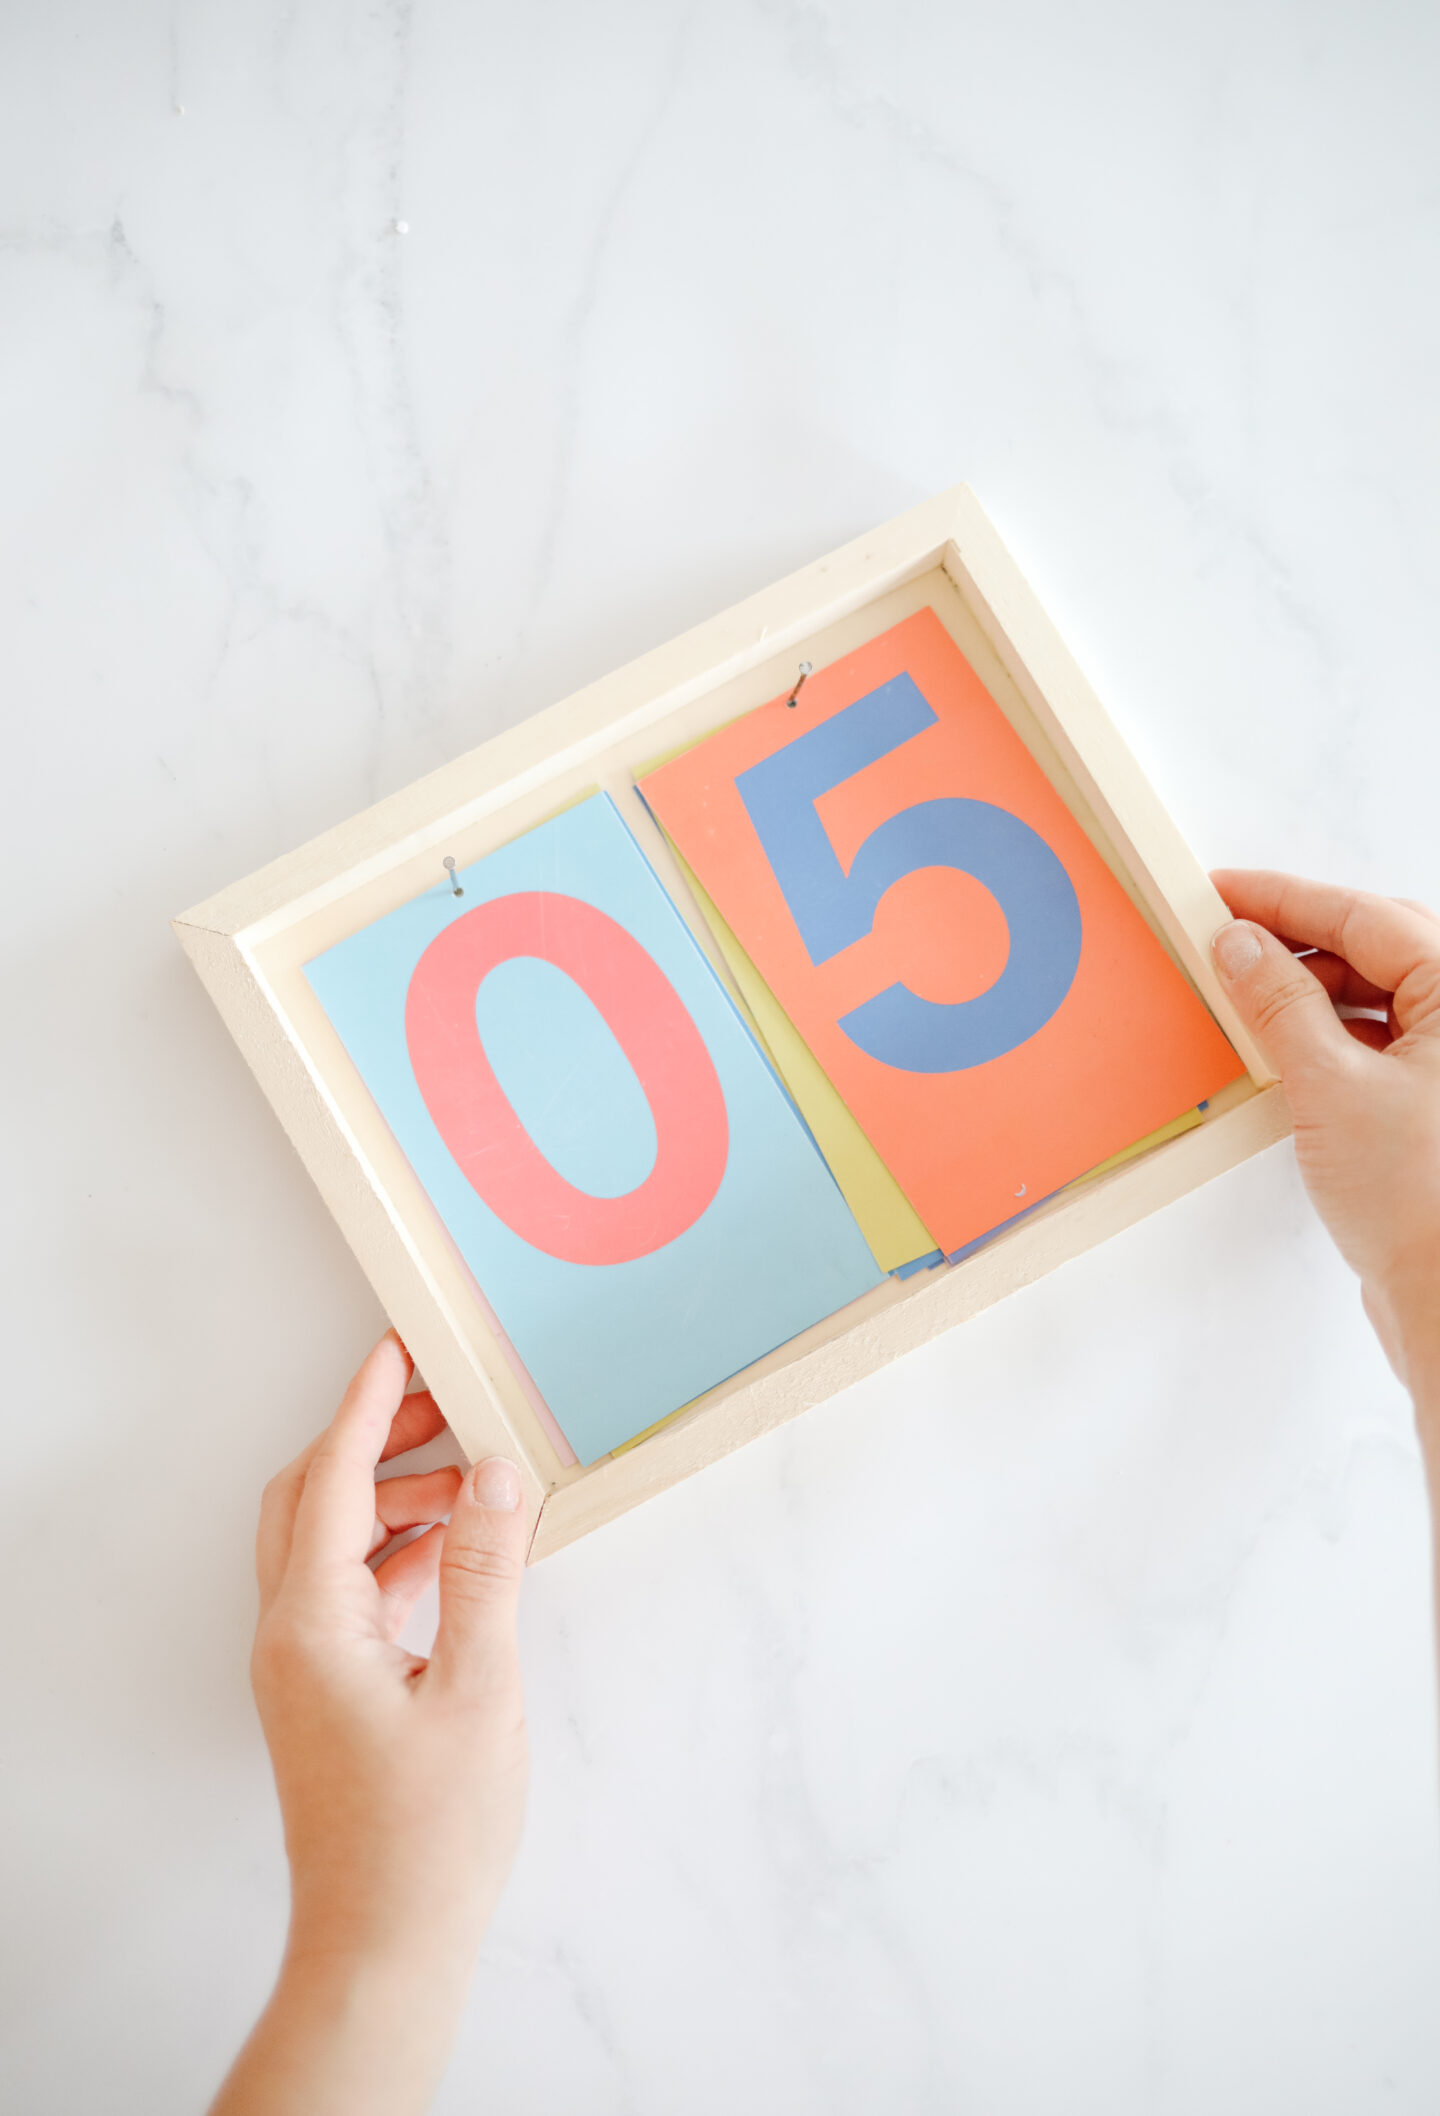
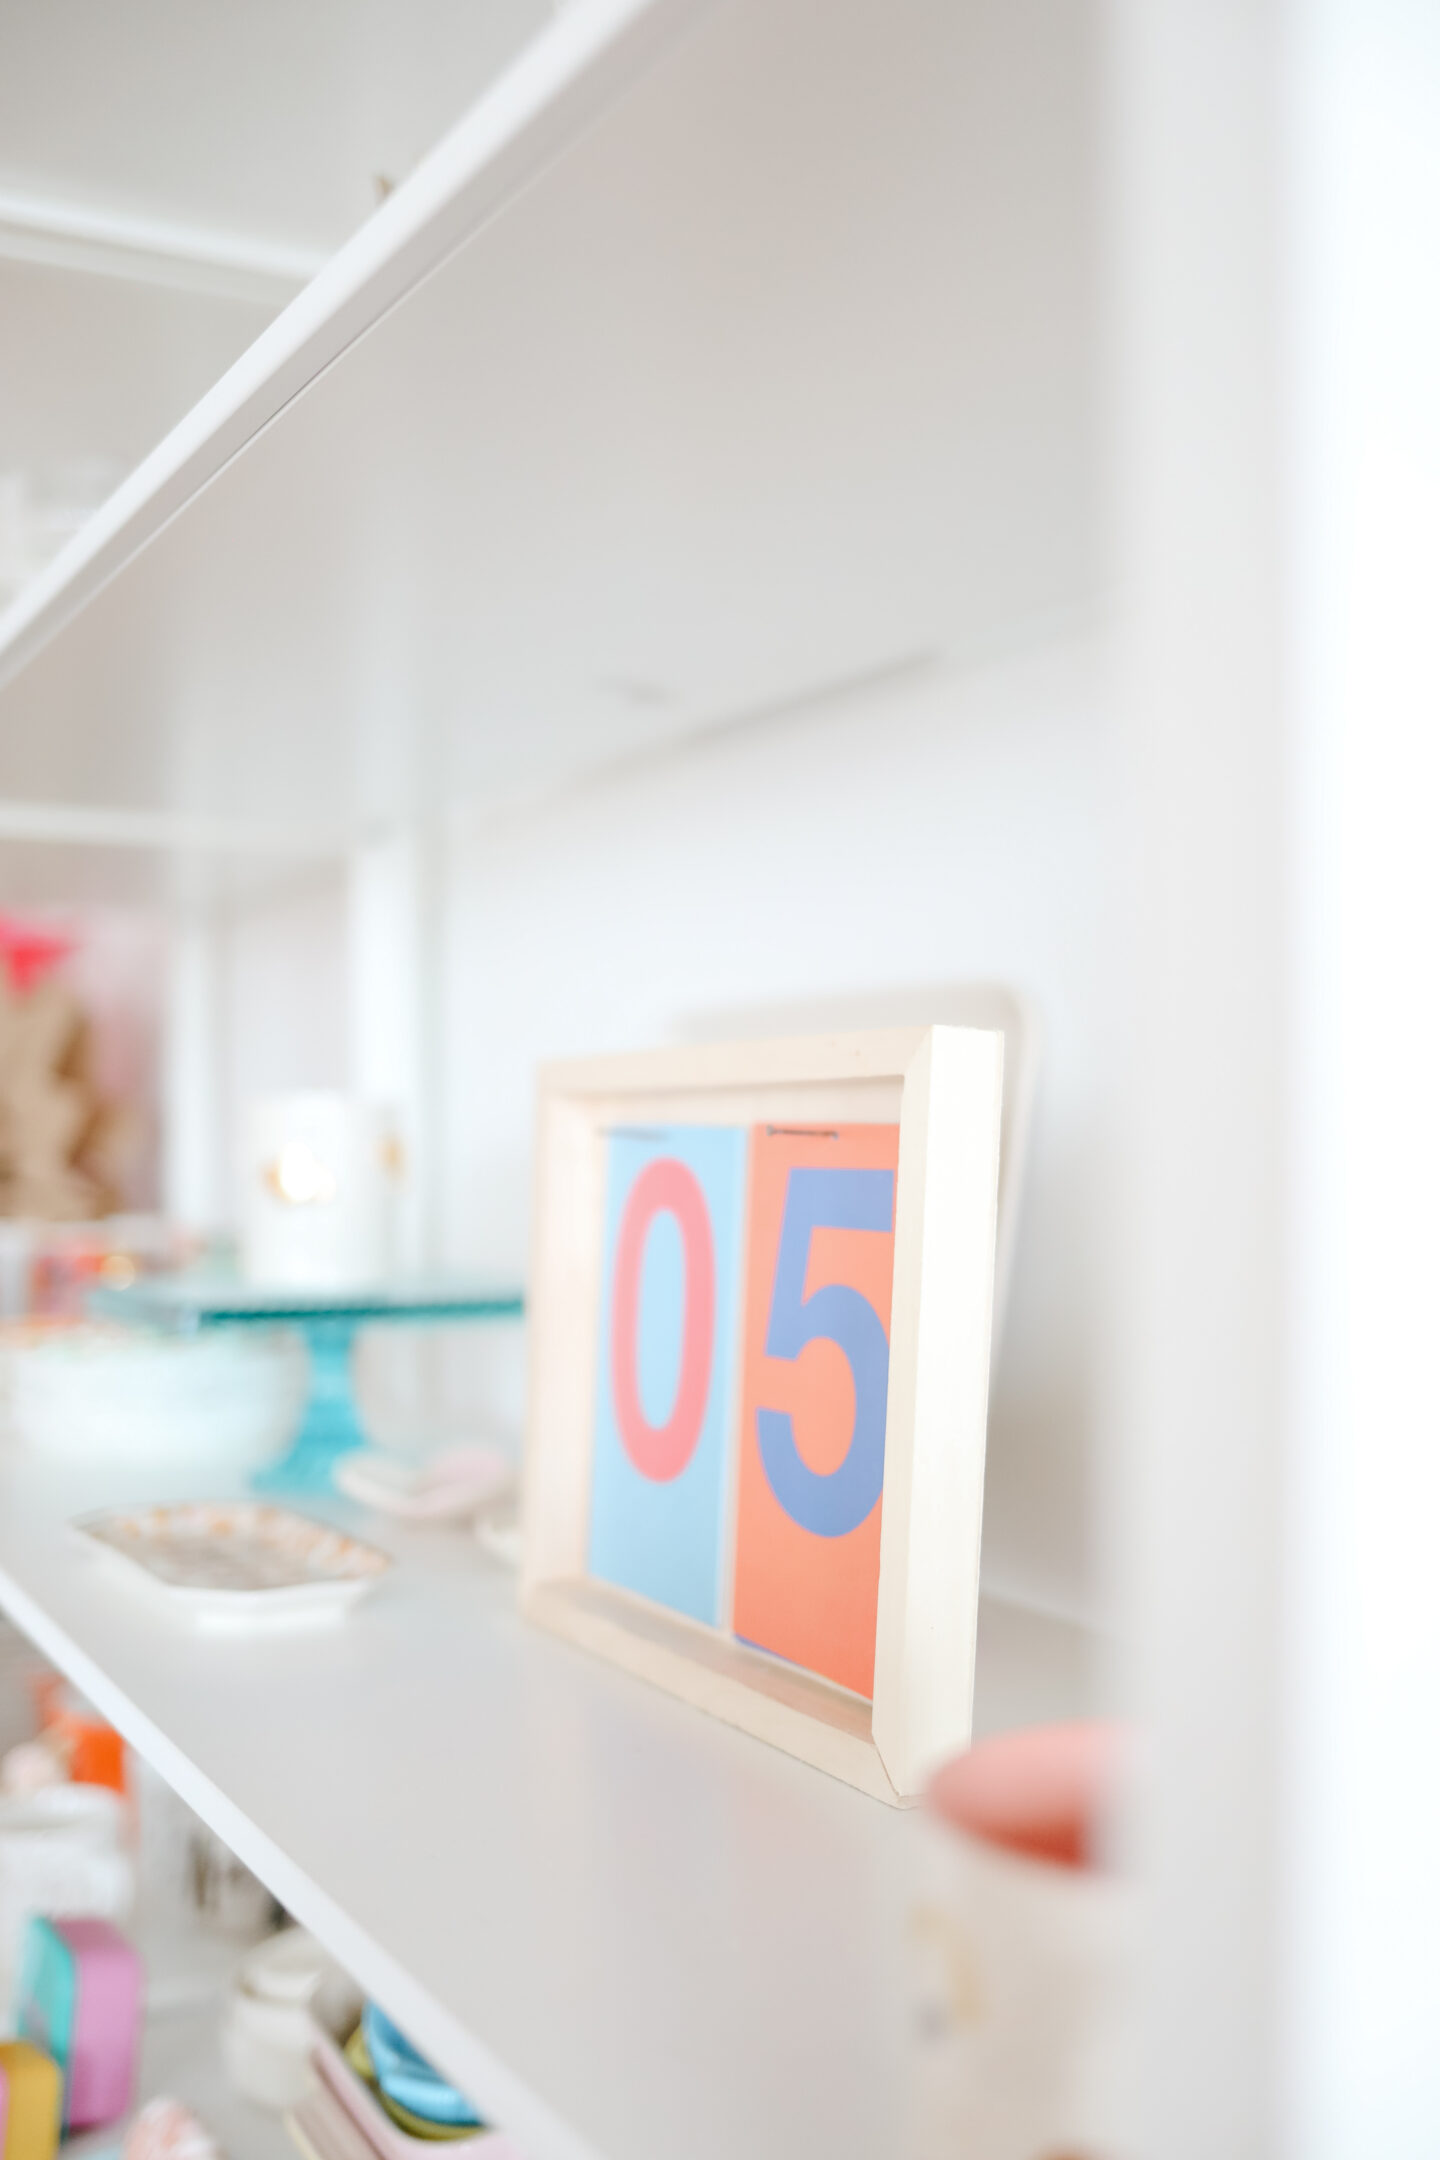
Grab the punched number cards and align them inside the wood tray. Add two nails (one for each number) and hammer them to the tray. Add all the numbers back to back and flip them to change the dates every day!
Loooved how easy and fun this project was to put together!
If you’re not a fan of colour, you can customize the numbers and make them black and white for a more Scandinavian look.