Here’s Your DIY Guide To Upcycle Any Table With a Modern Fluted Style!


My love for a more sustainable life has changed me so much. I appreciate so many things I didn’t before like lengthening the life of my old furniture with one of my passions: DIY! Maybe I don’t mention it enough, but I’m such a big fan of upcyling.
If you haven’t tried to revamp any old piece of furniture (remember when I made my own glossier mirror?) I cannot recommend it enough. You will reduce significantly the amount of waste (the planet will thank us) and also will reduce the expenses when we decorate our homes (your wallet will now thank me, lol).
In today’s DIY project, I will show you in this step-by-step guide how to upcycle any table with a modern fluted style, how to cut dowels, and how to stain wood, because I just can’t get enough of this fluted fever lately.
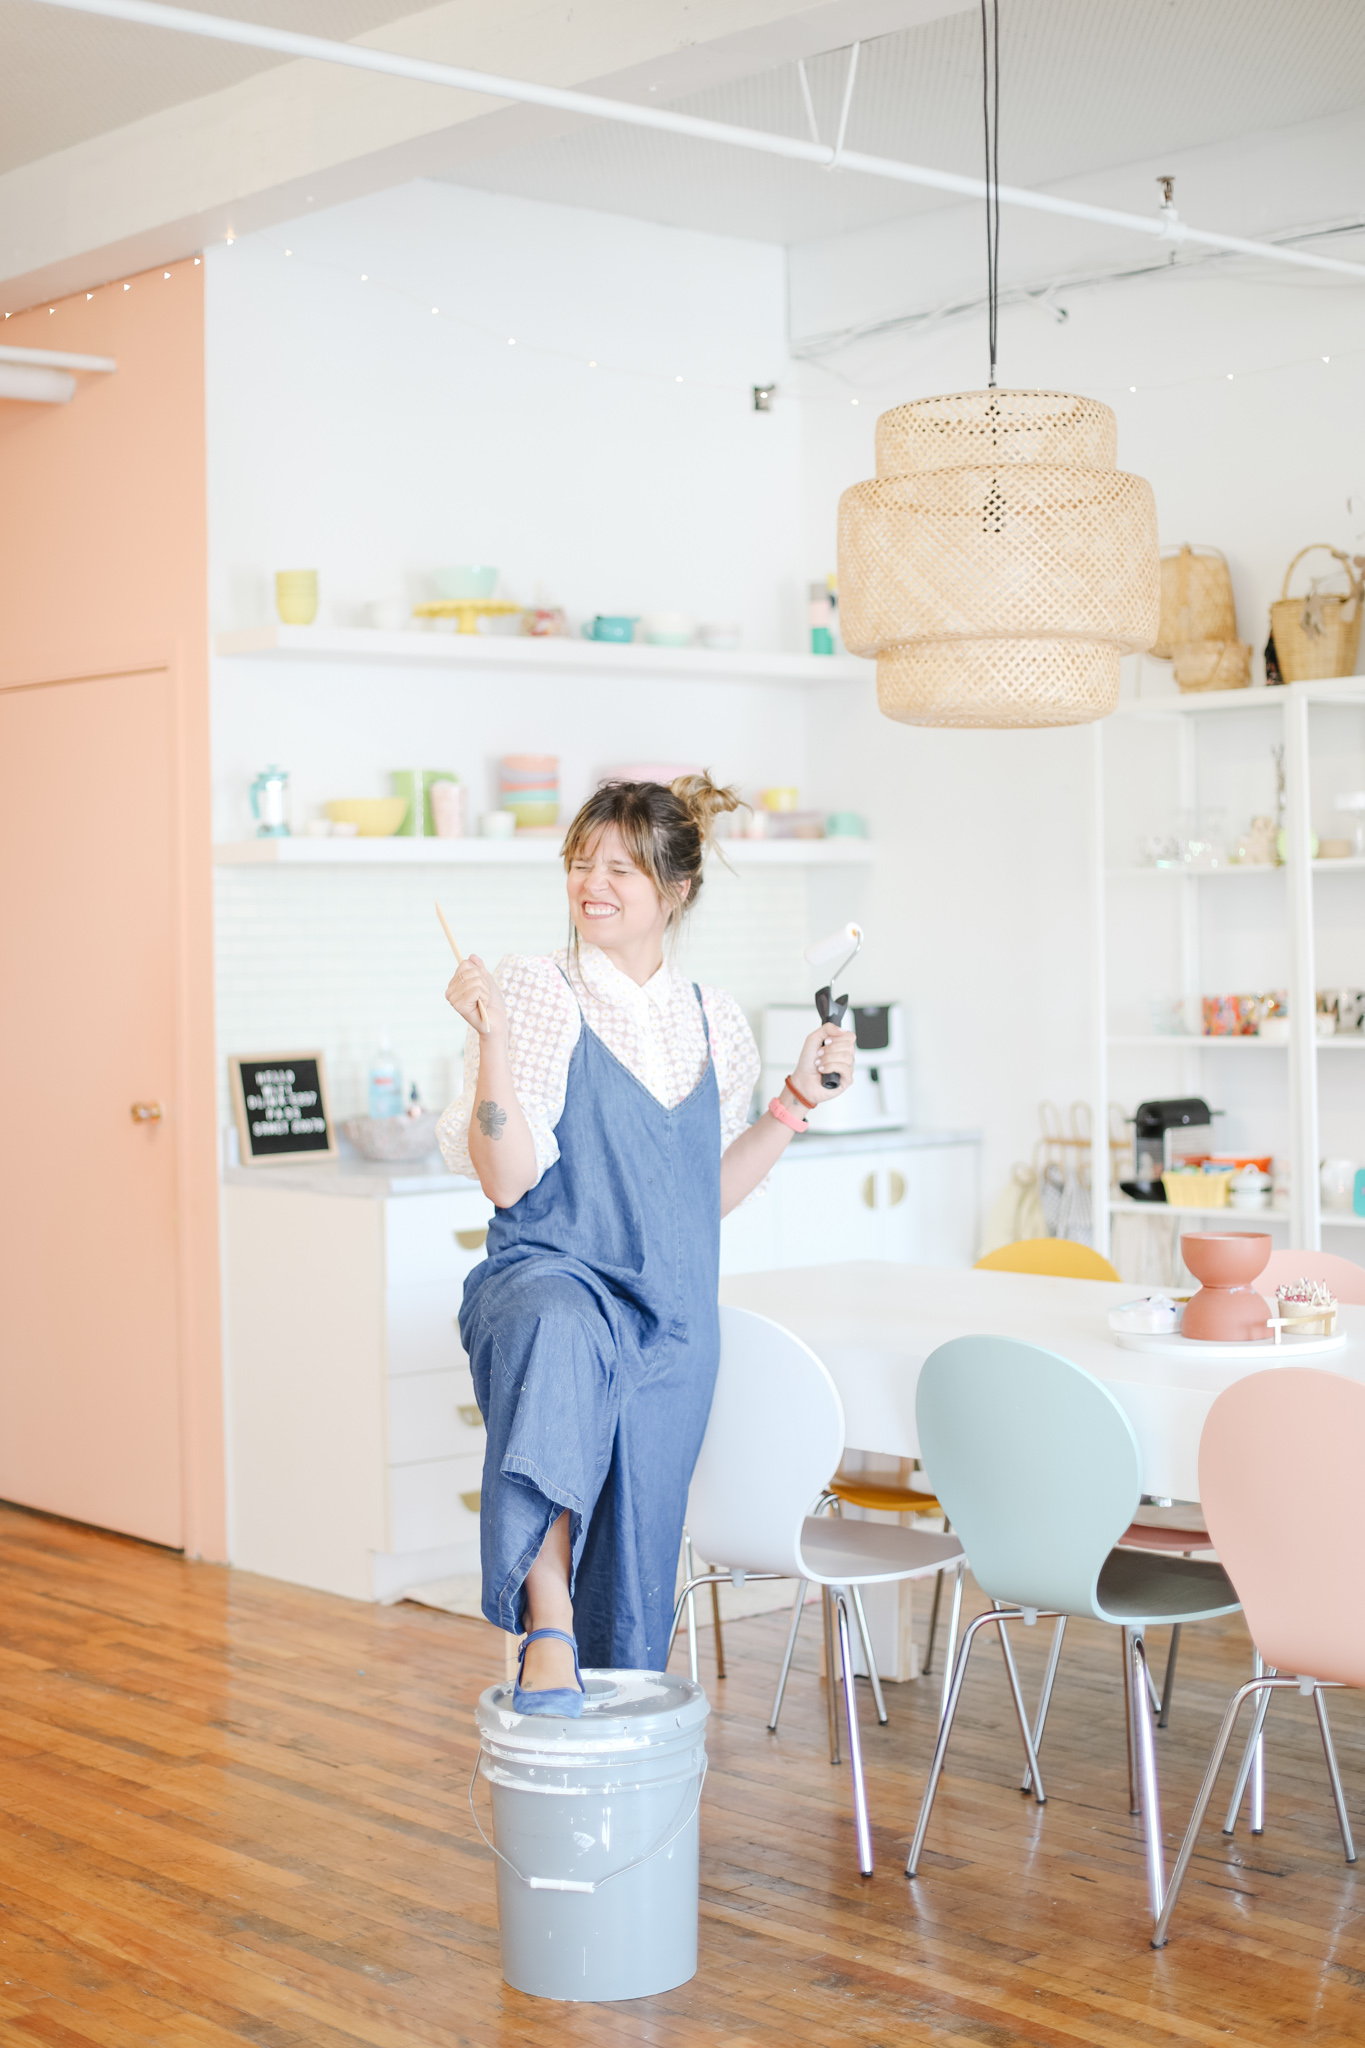
Let’s grab our tools, and let’s do this.
Before you tackle any old wooden table, you should check the state of the piece and the material you are working with. If you have an untreated wood (raw) as pine, you don’t need to do much pre-work. Just a light sand will work before painting (yay!).
If you have a piece with treated, painted, melamine, or varnished wood, use a good sandpaper (an orbital sander will be the best bet) to remove the old paint and then a good quality primer before the top coat paint, making sure the colour and finish will last.
If you stain wood, wear rubber gloves and goggles, always protect yourself before starting any DIY project. Investing in a good quality paint brushes, paint rollers and sandpaper will be a must (I learned this the hard way), so don’t cut any budget on tools, you’ll see this in the future.
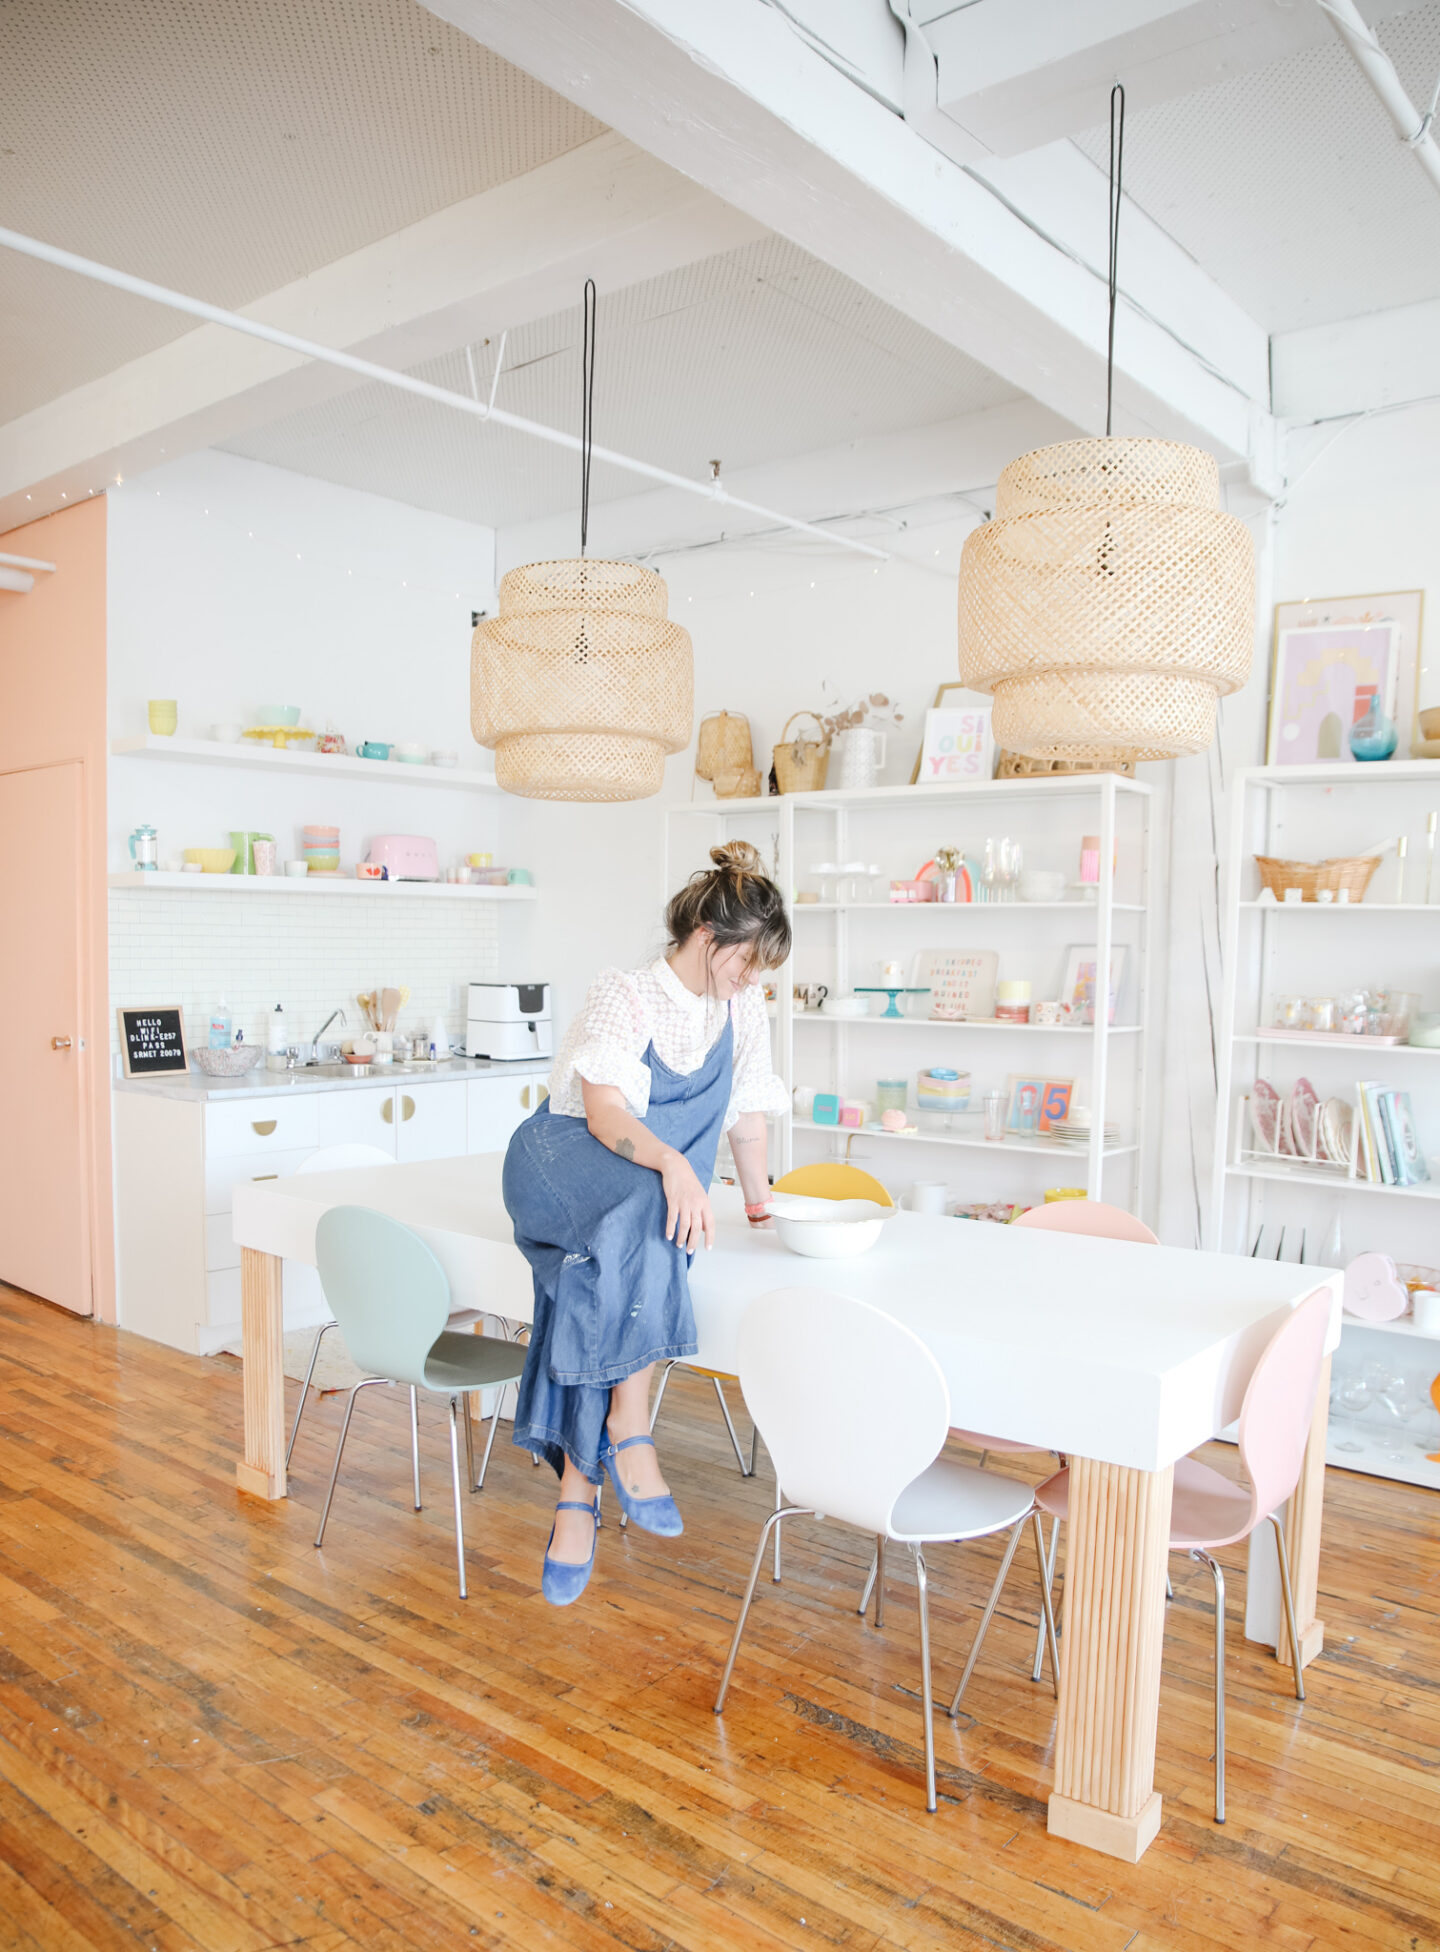
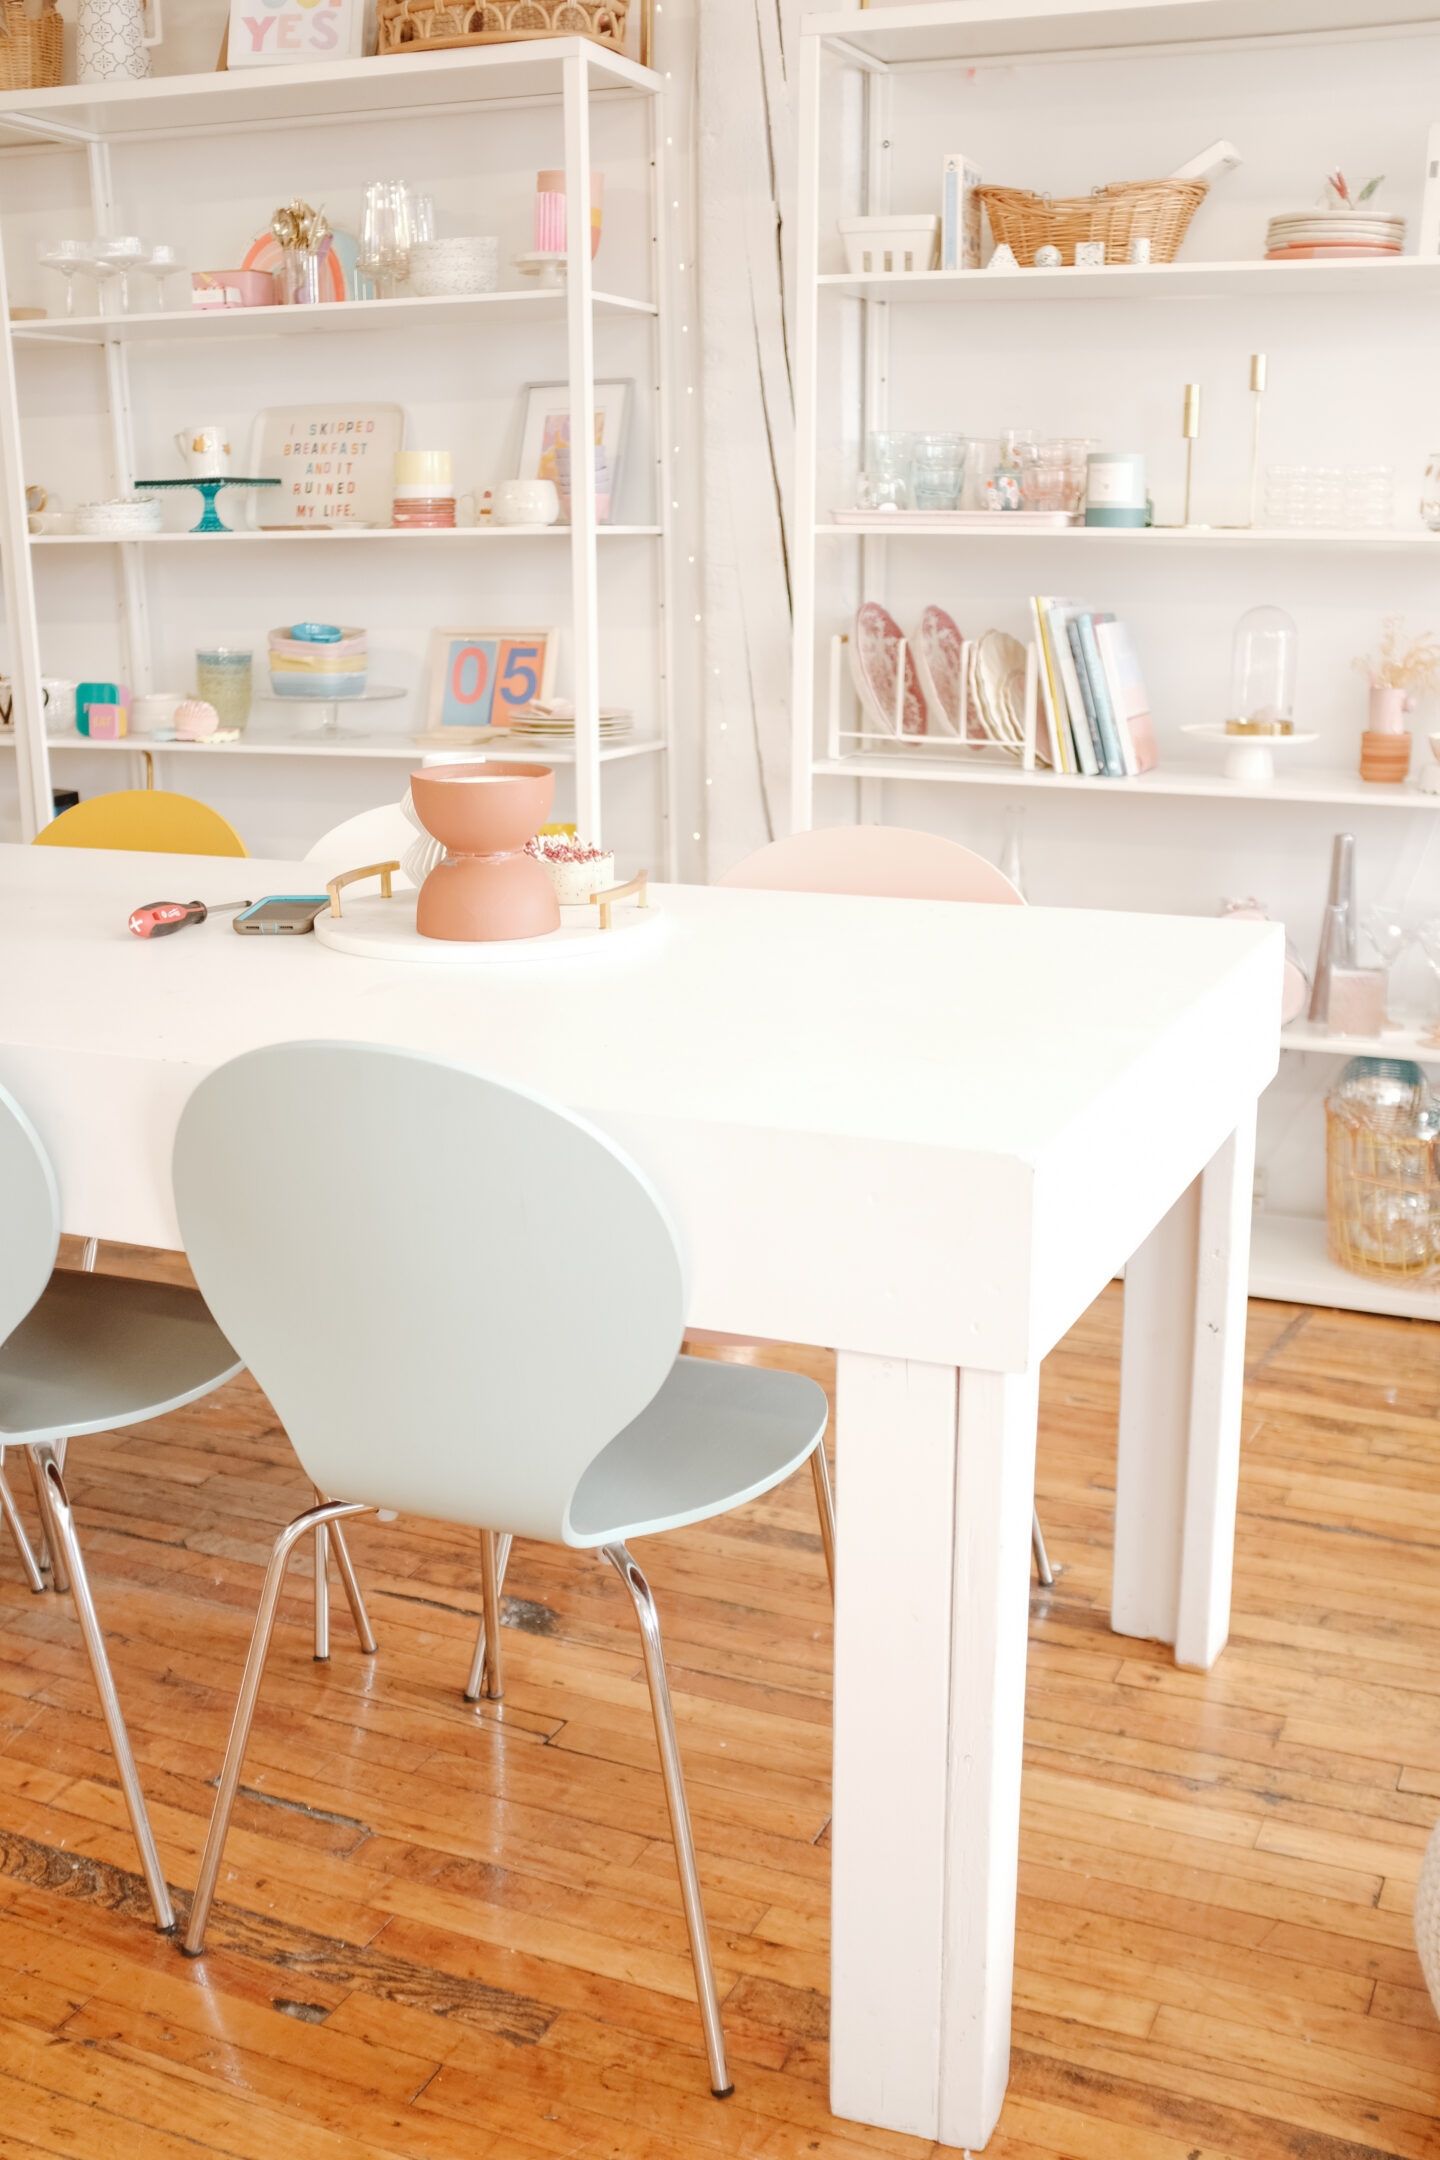
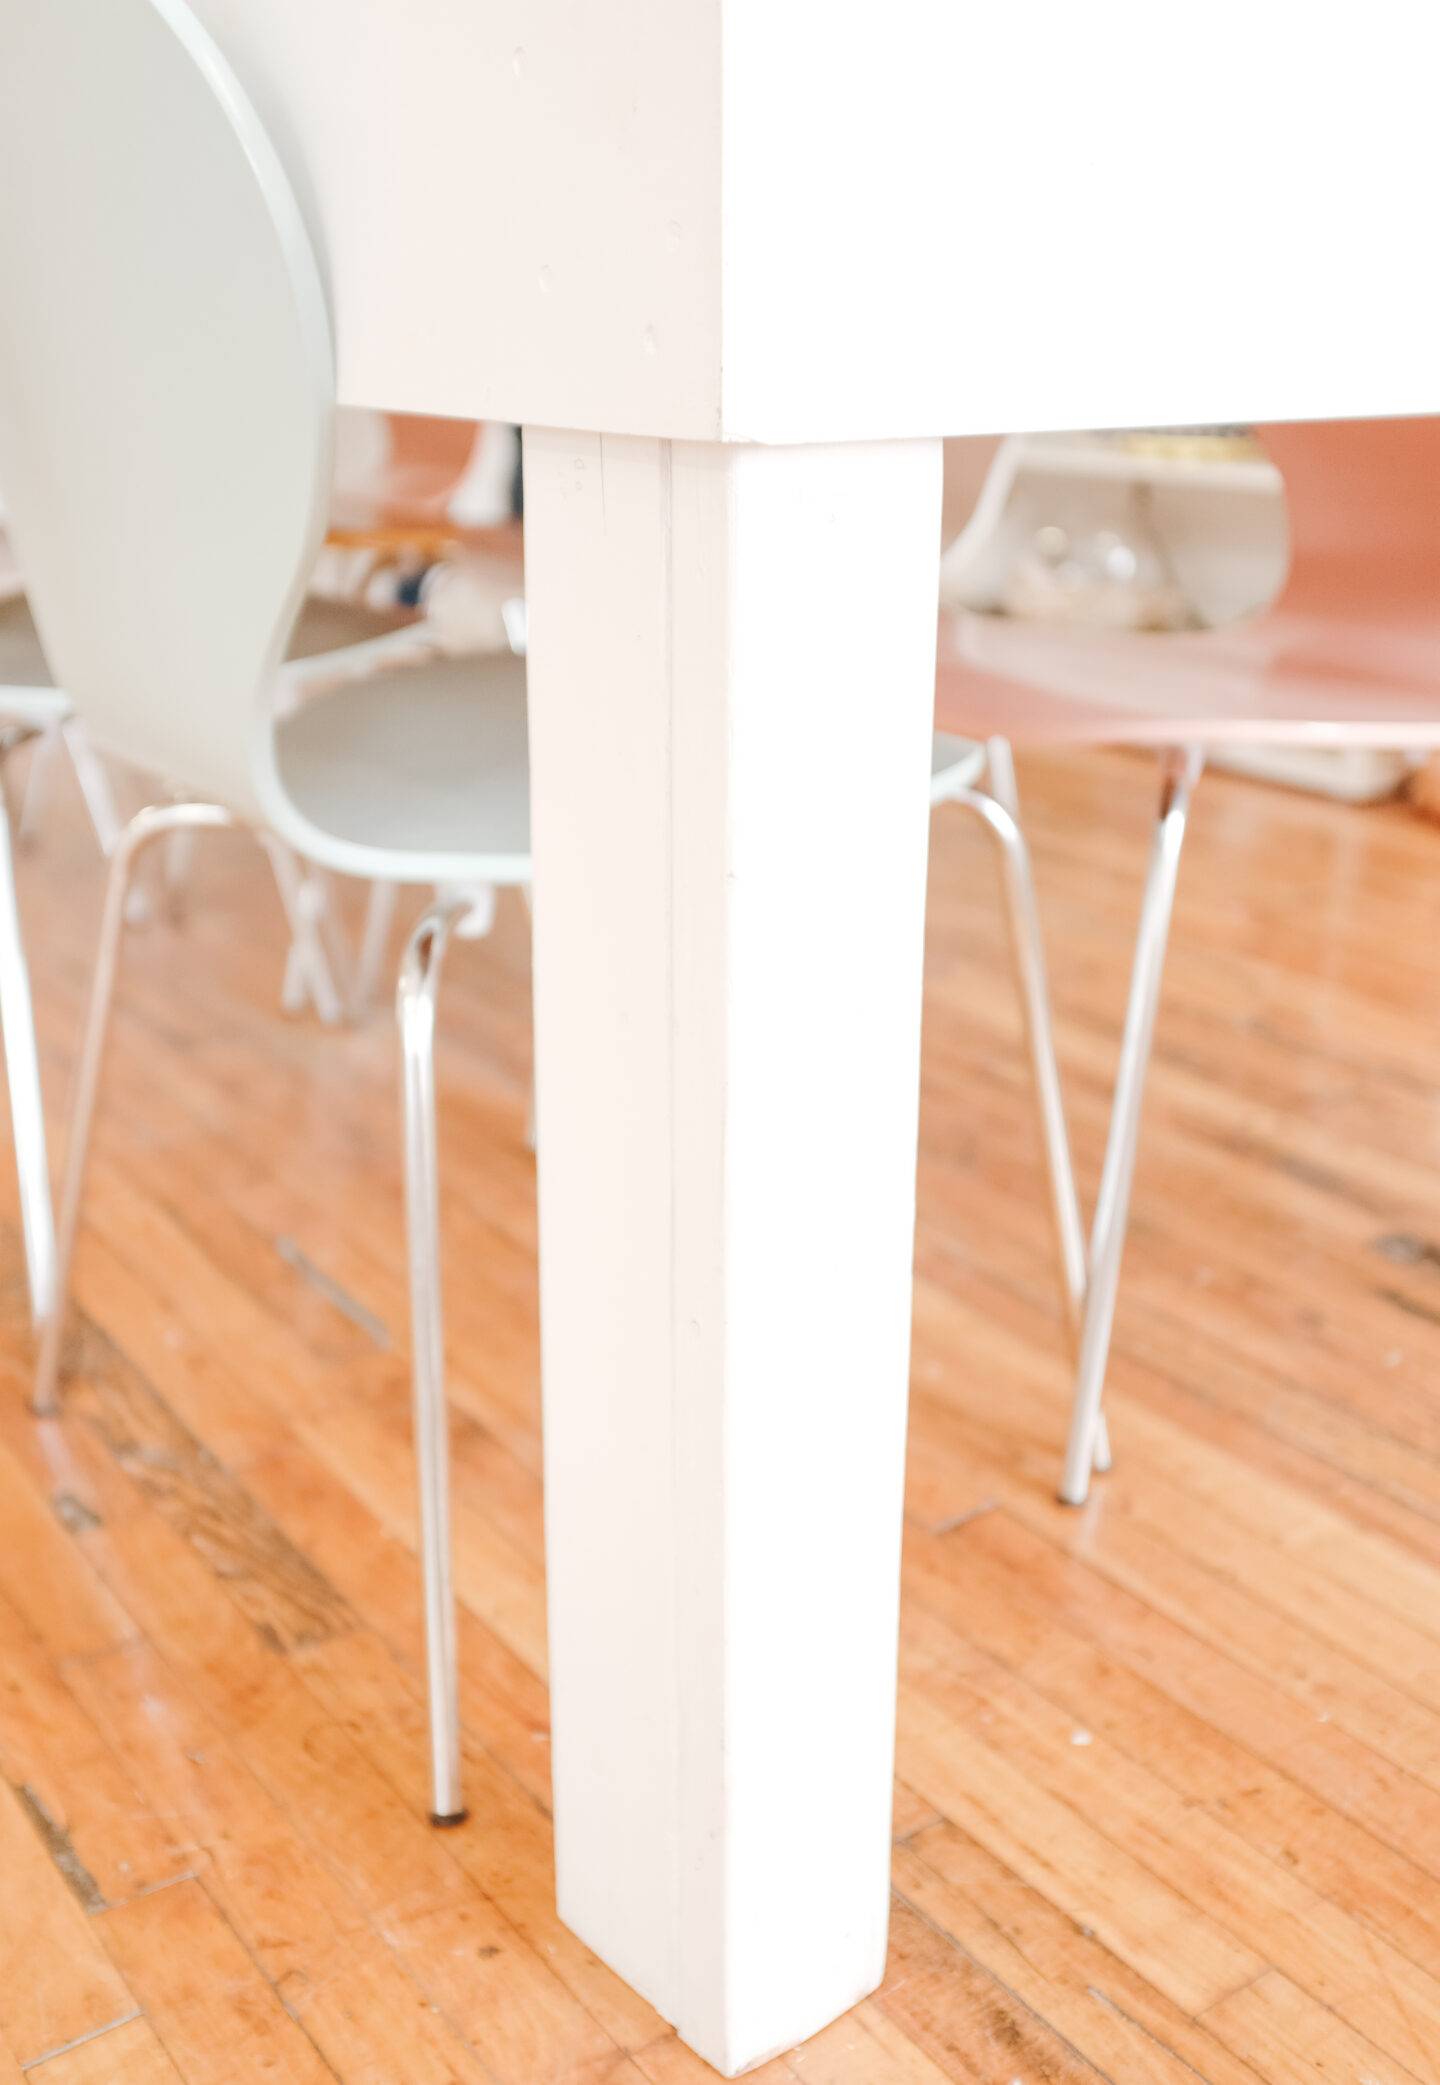
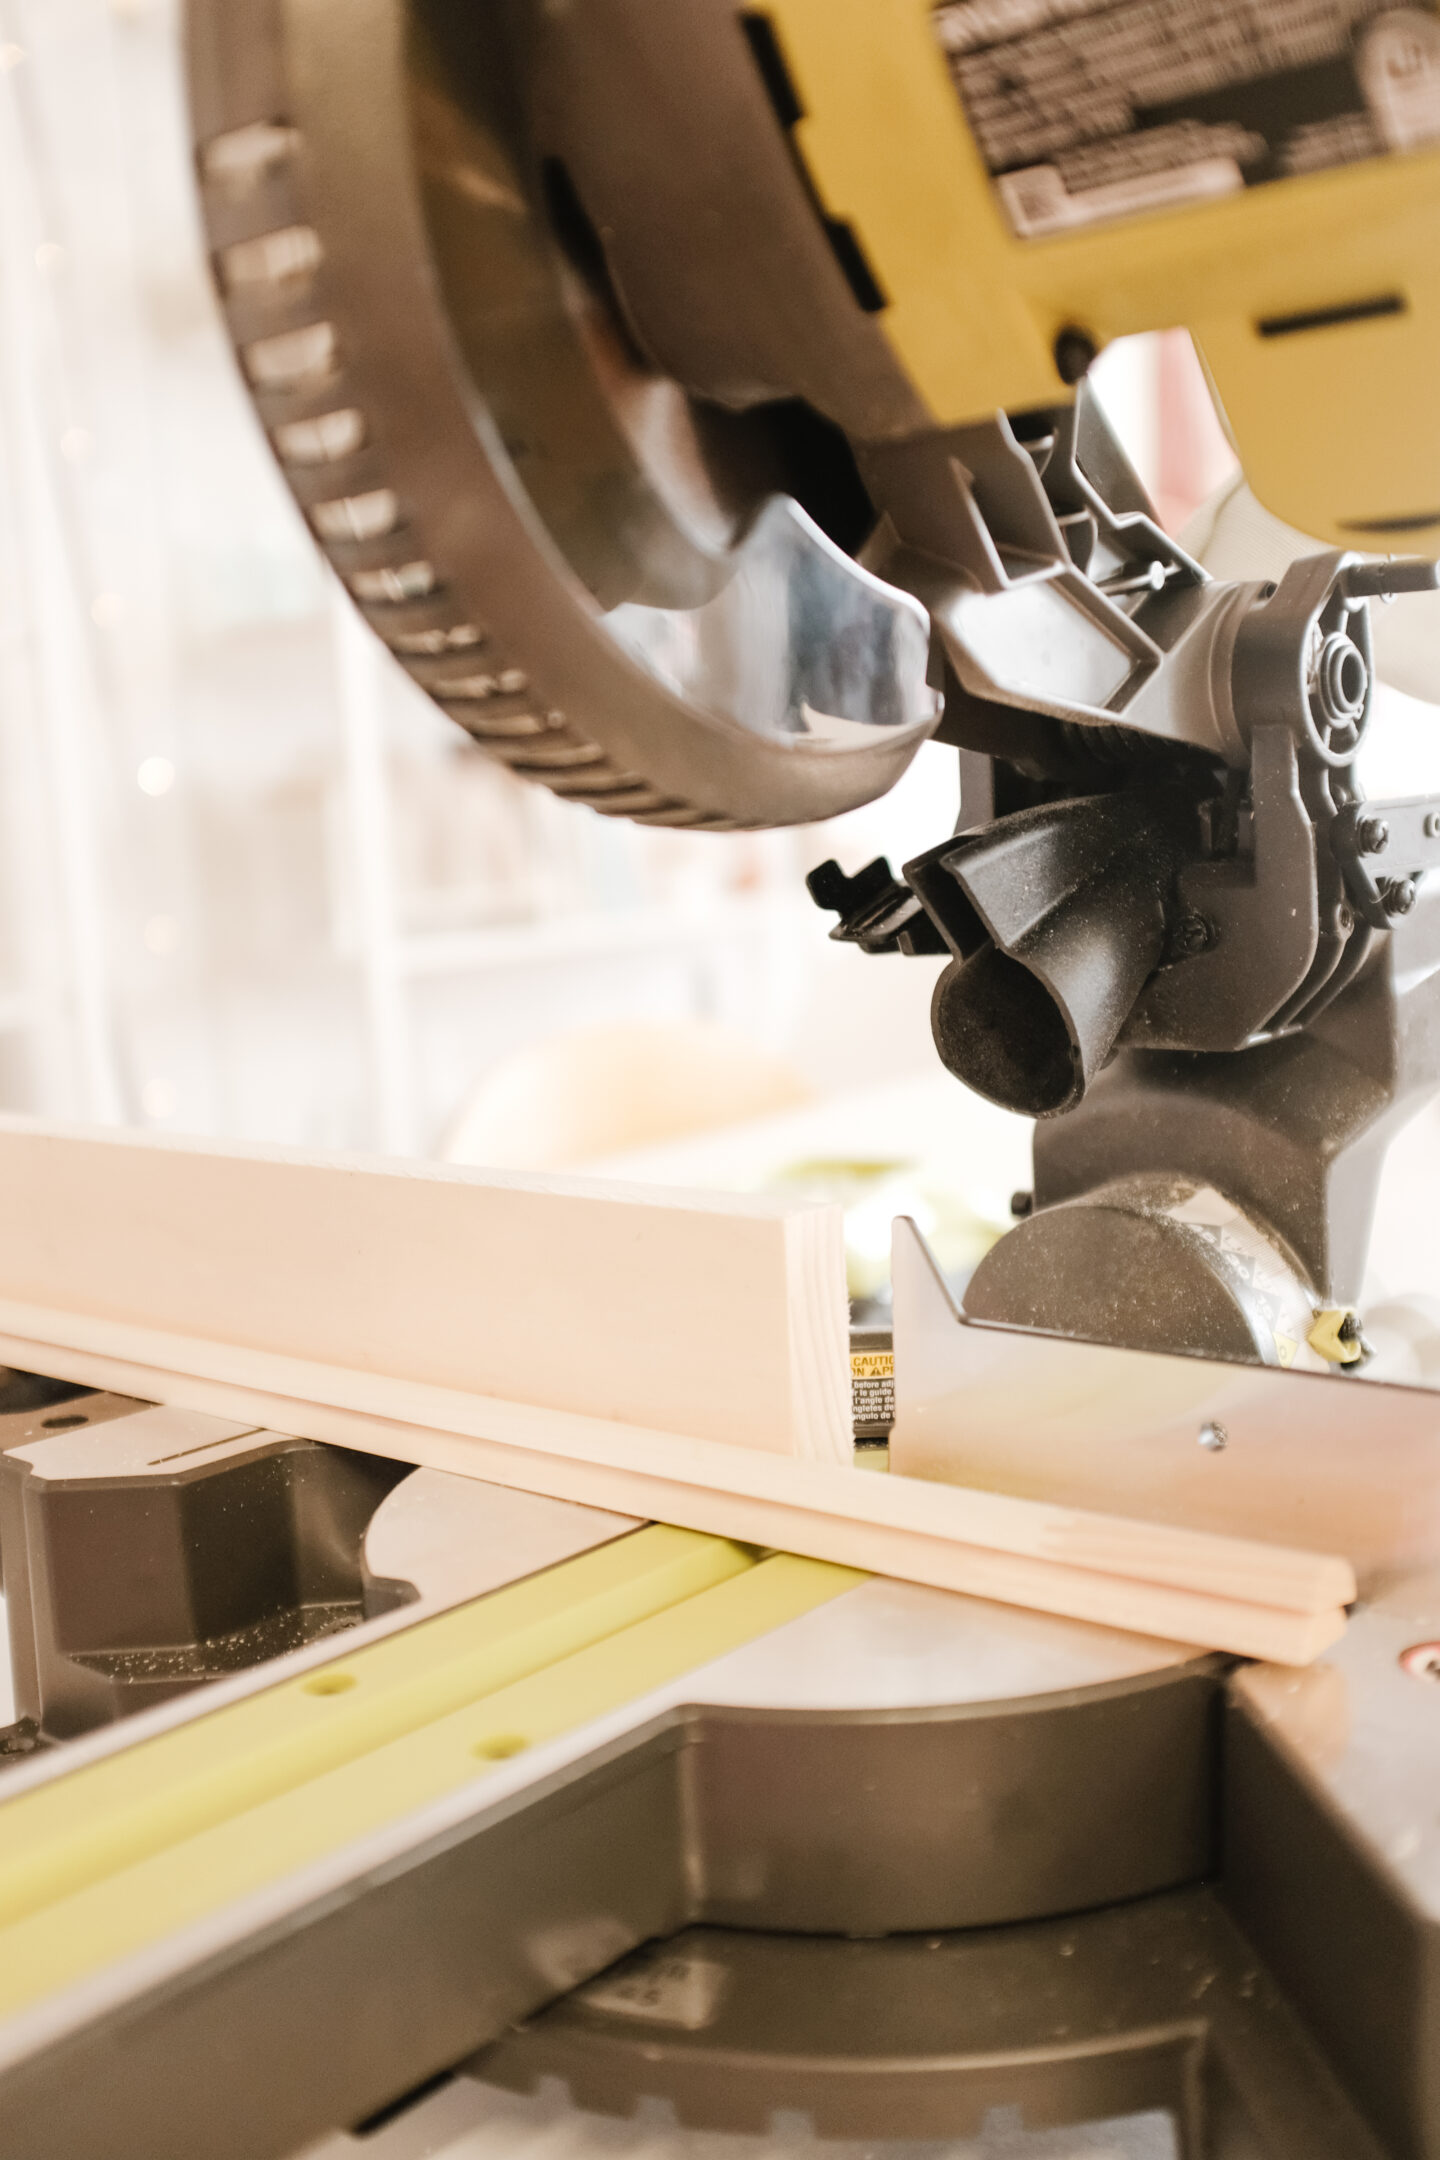
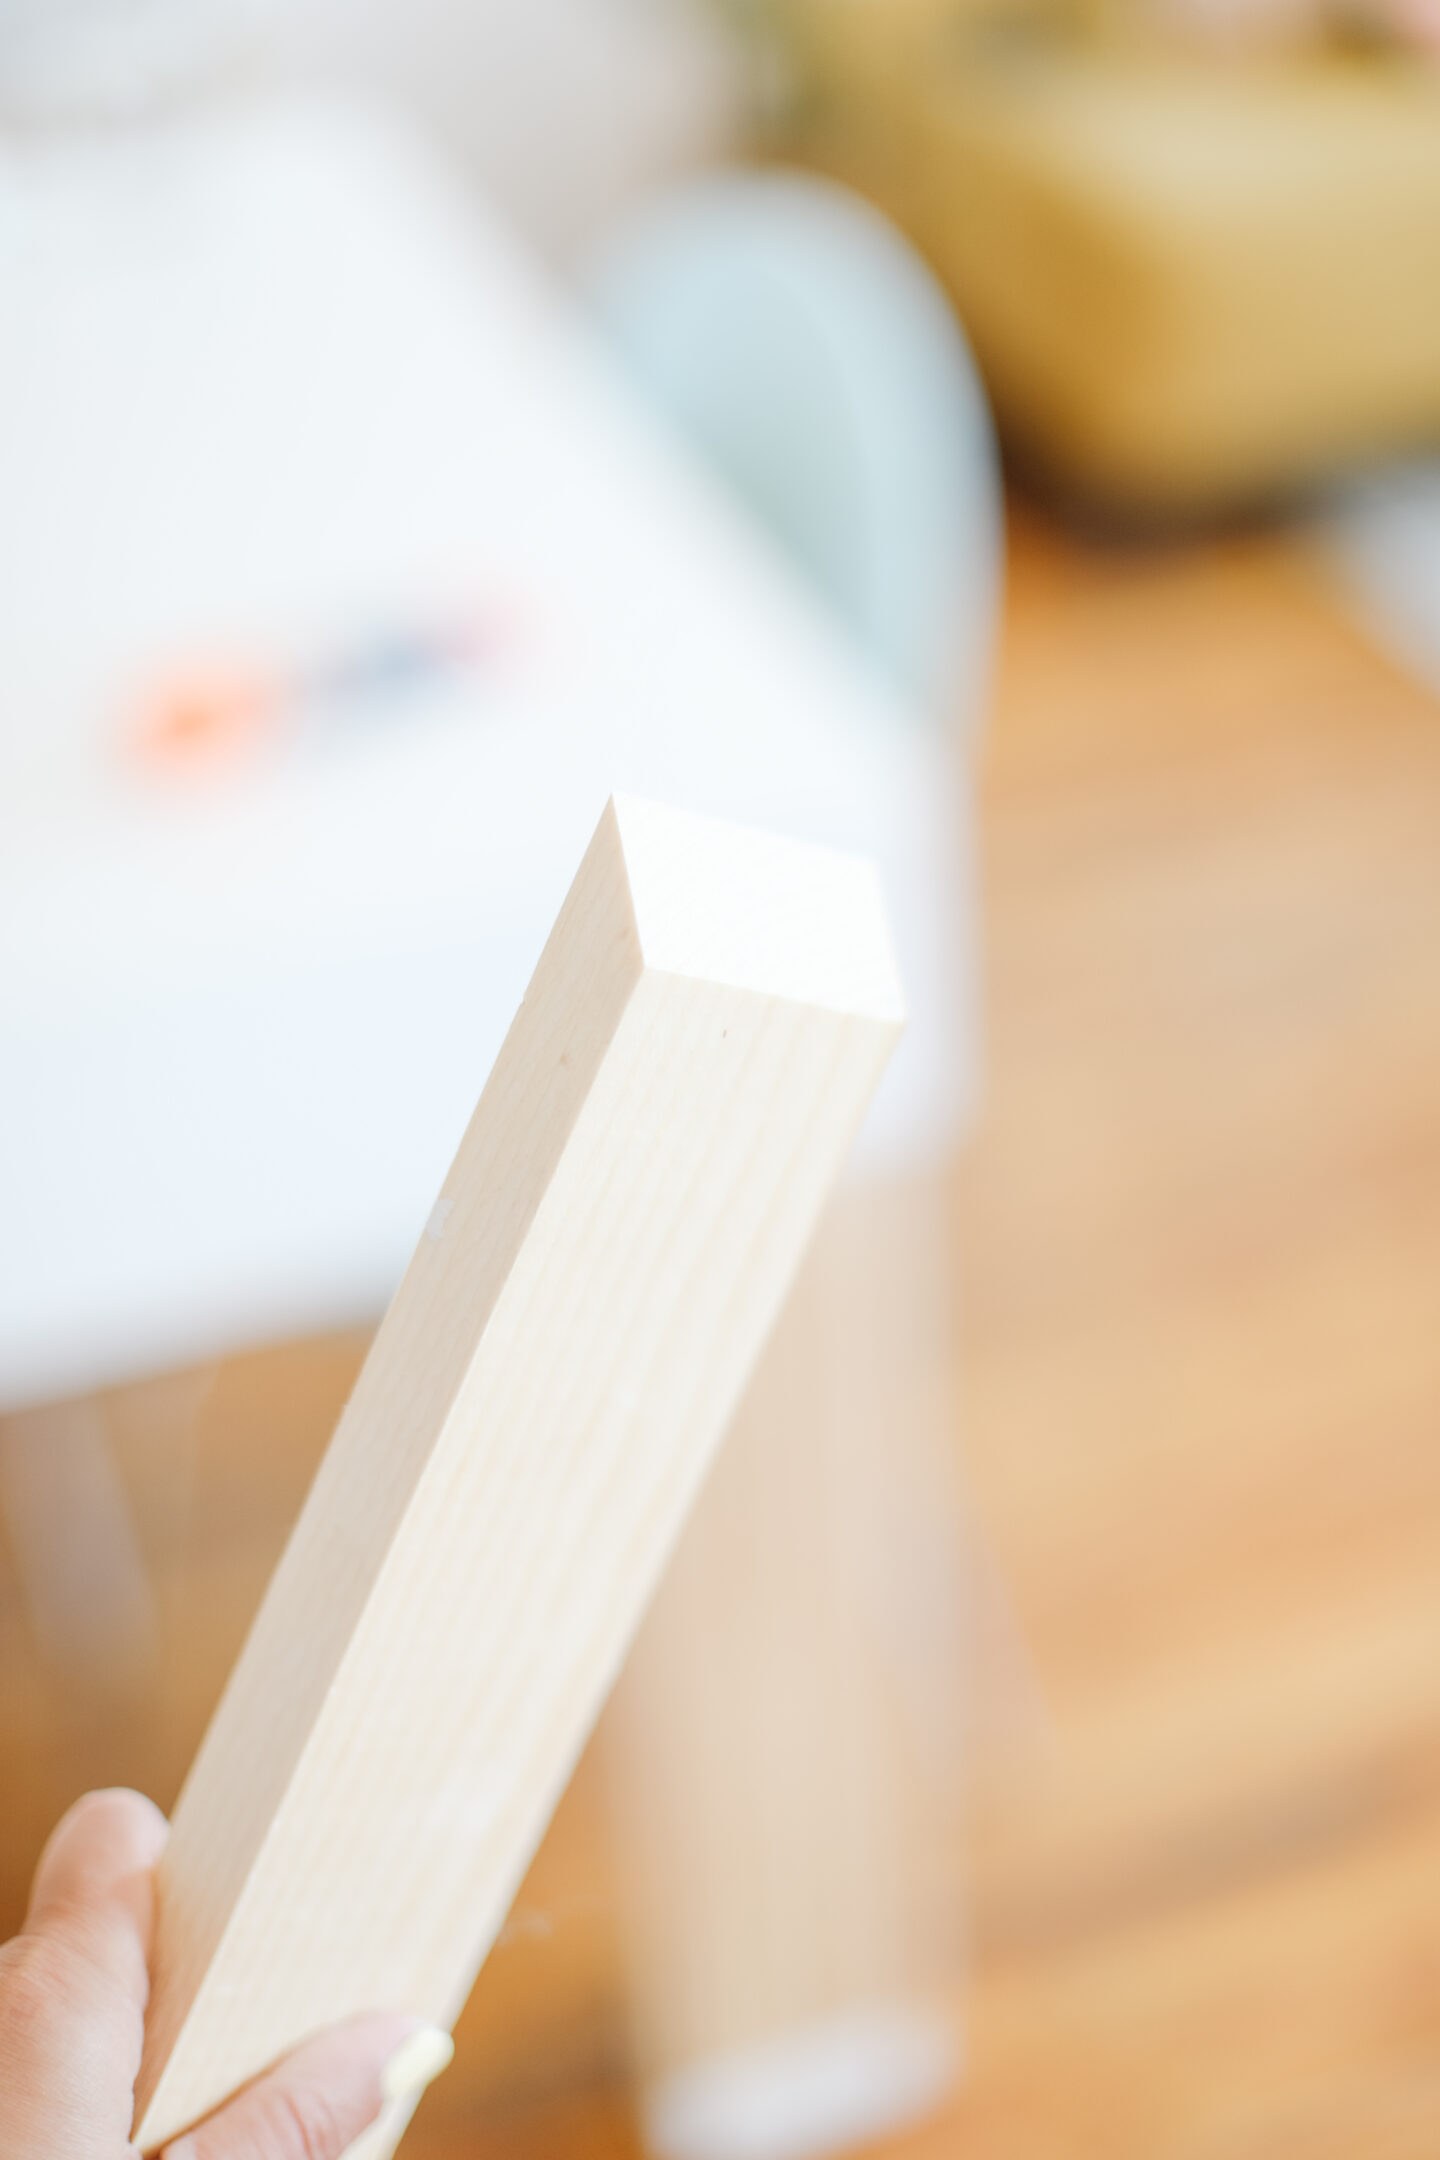
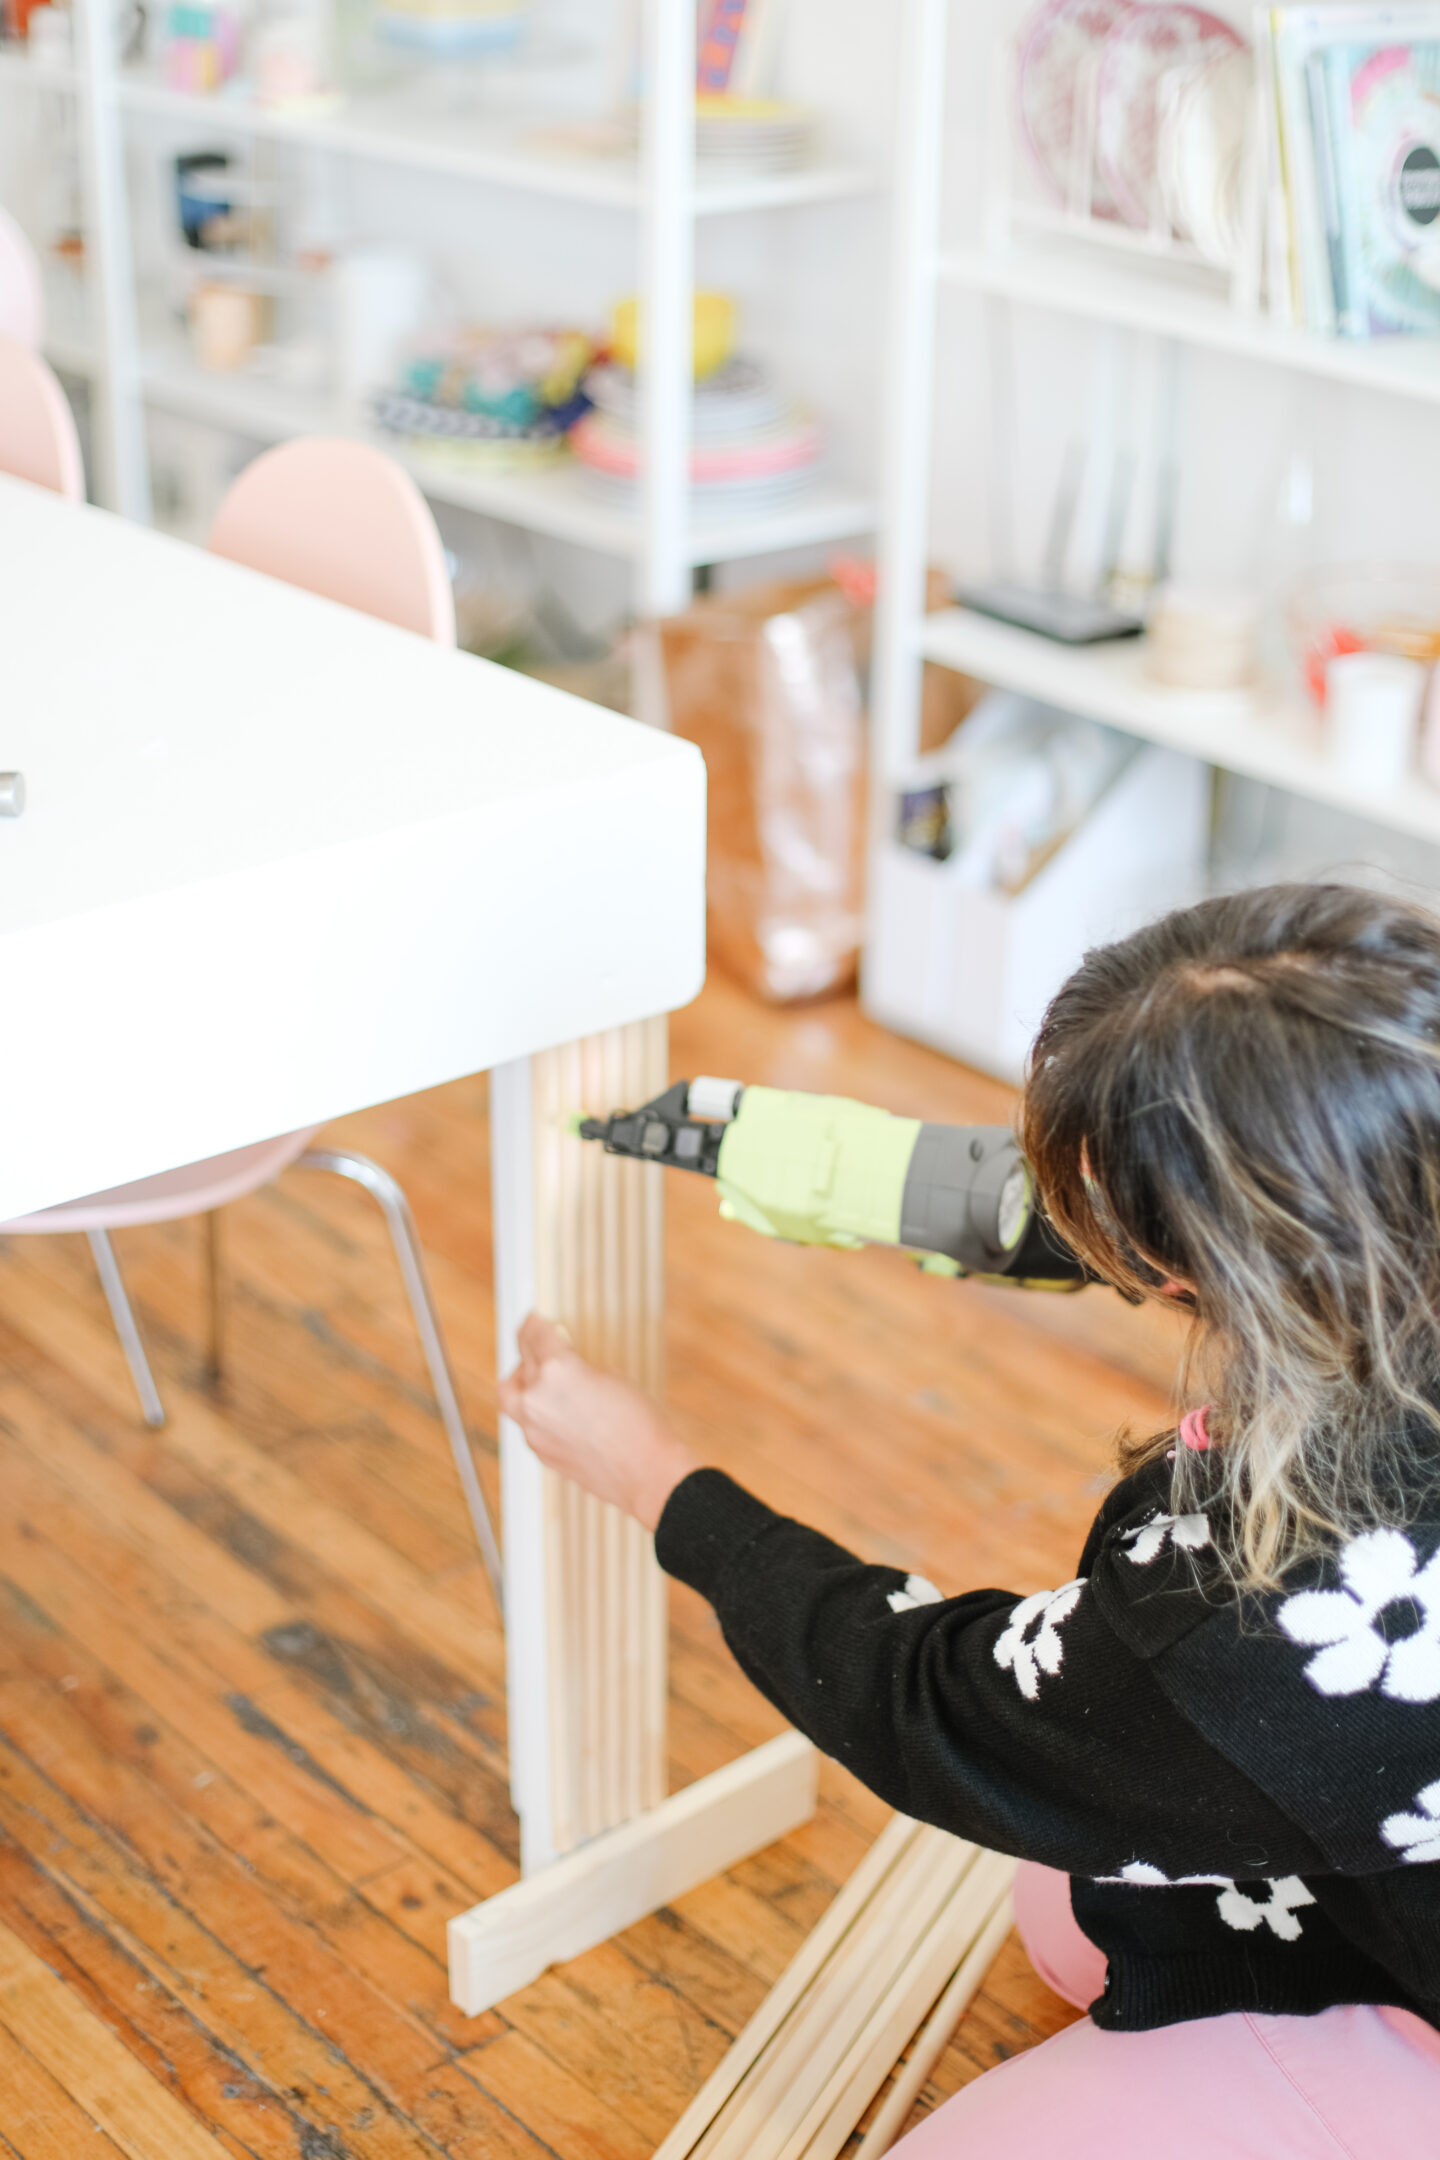
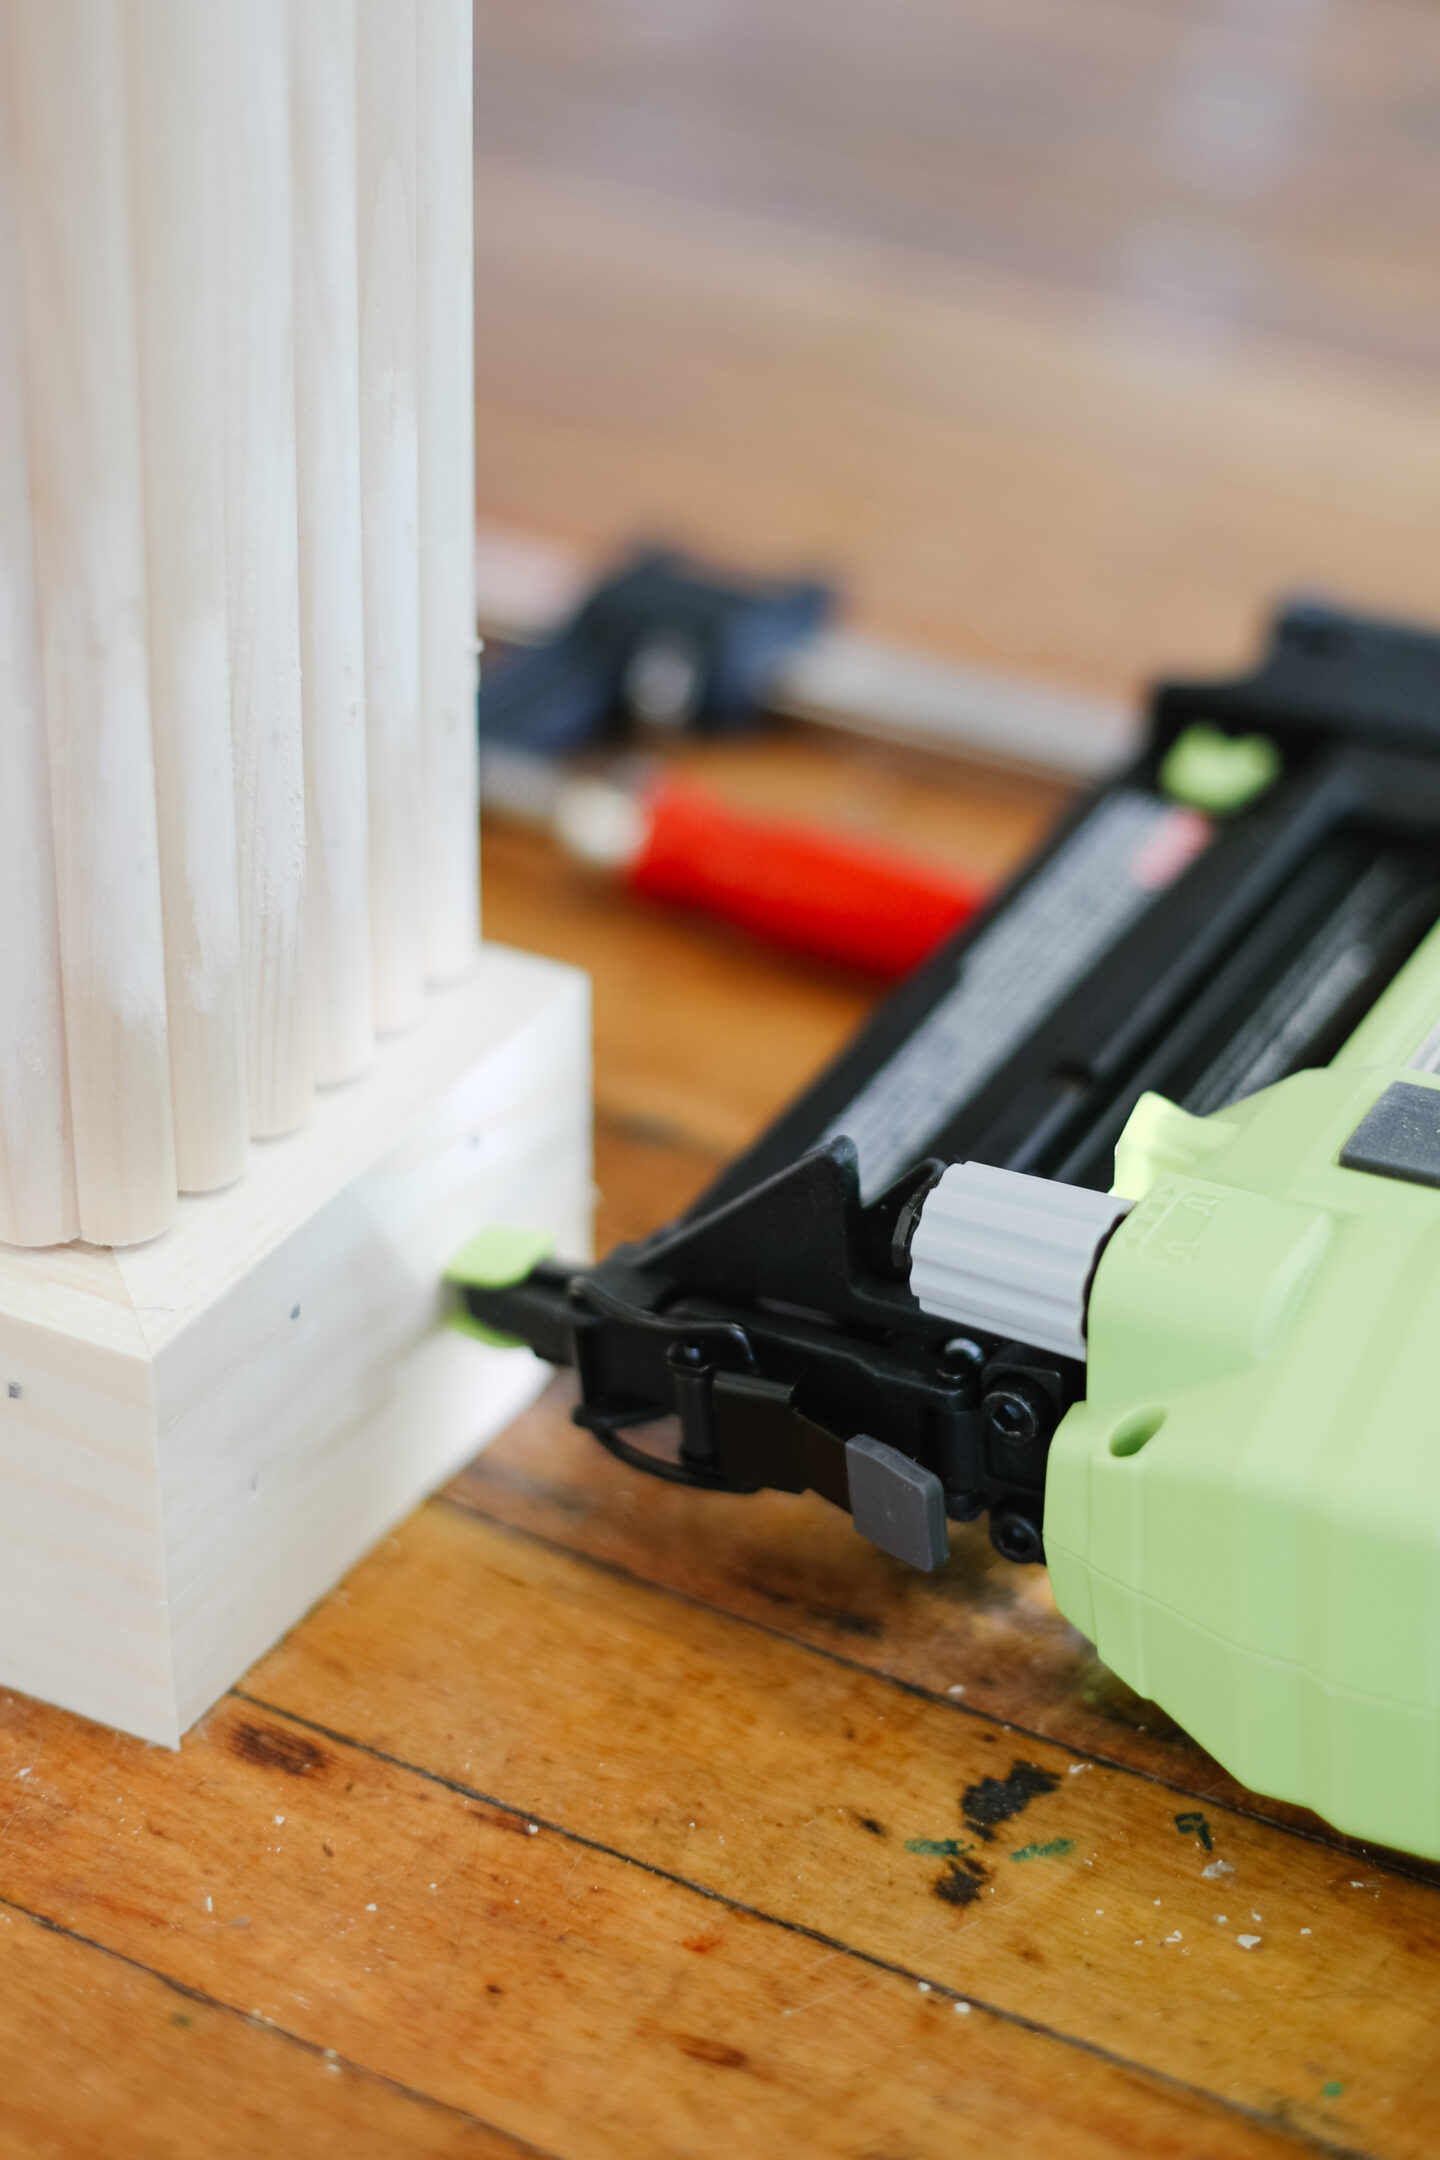
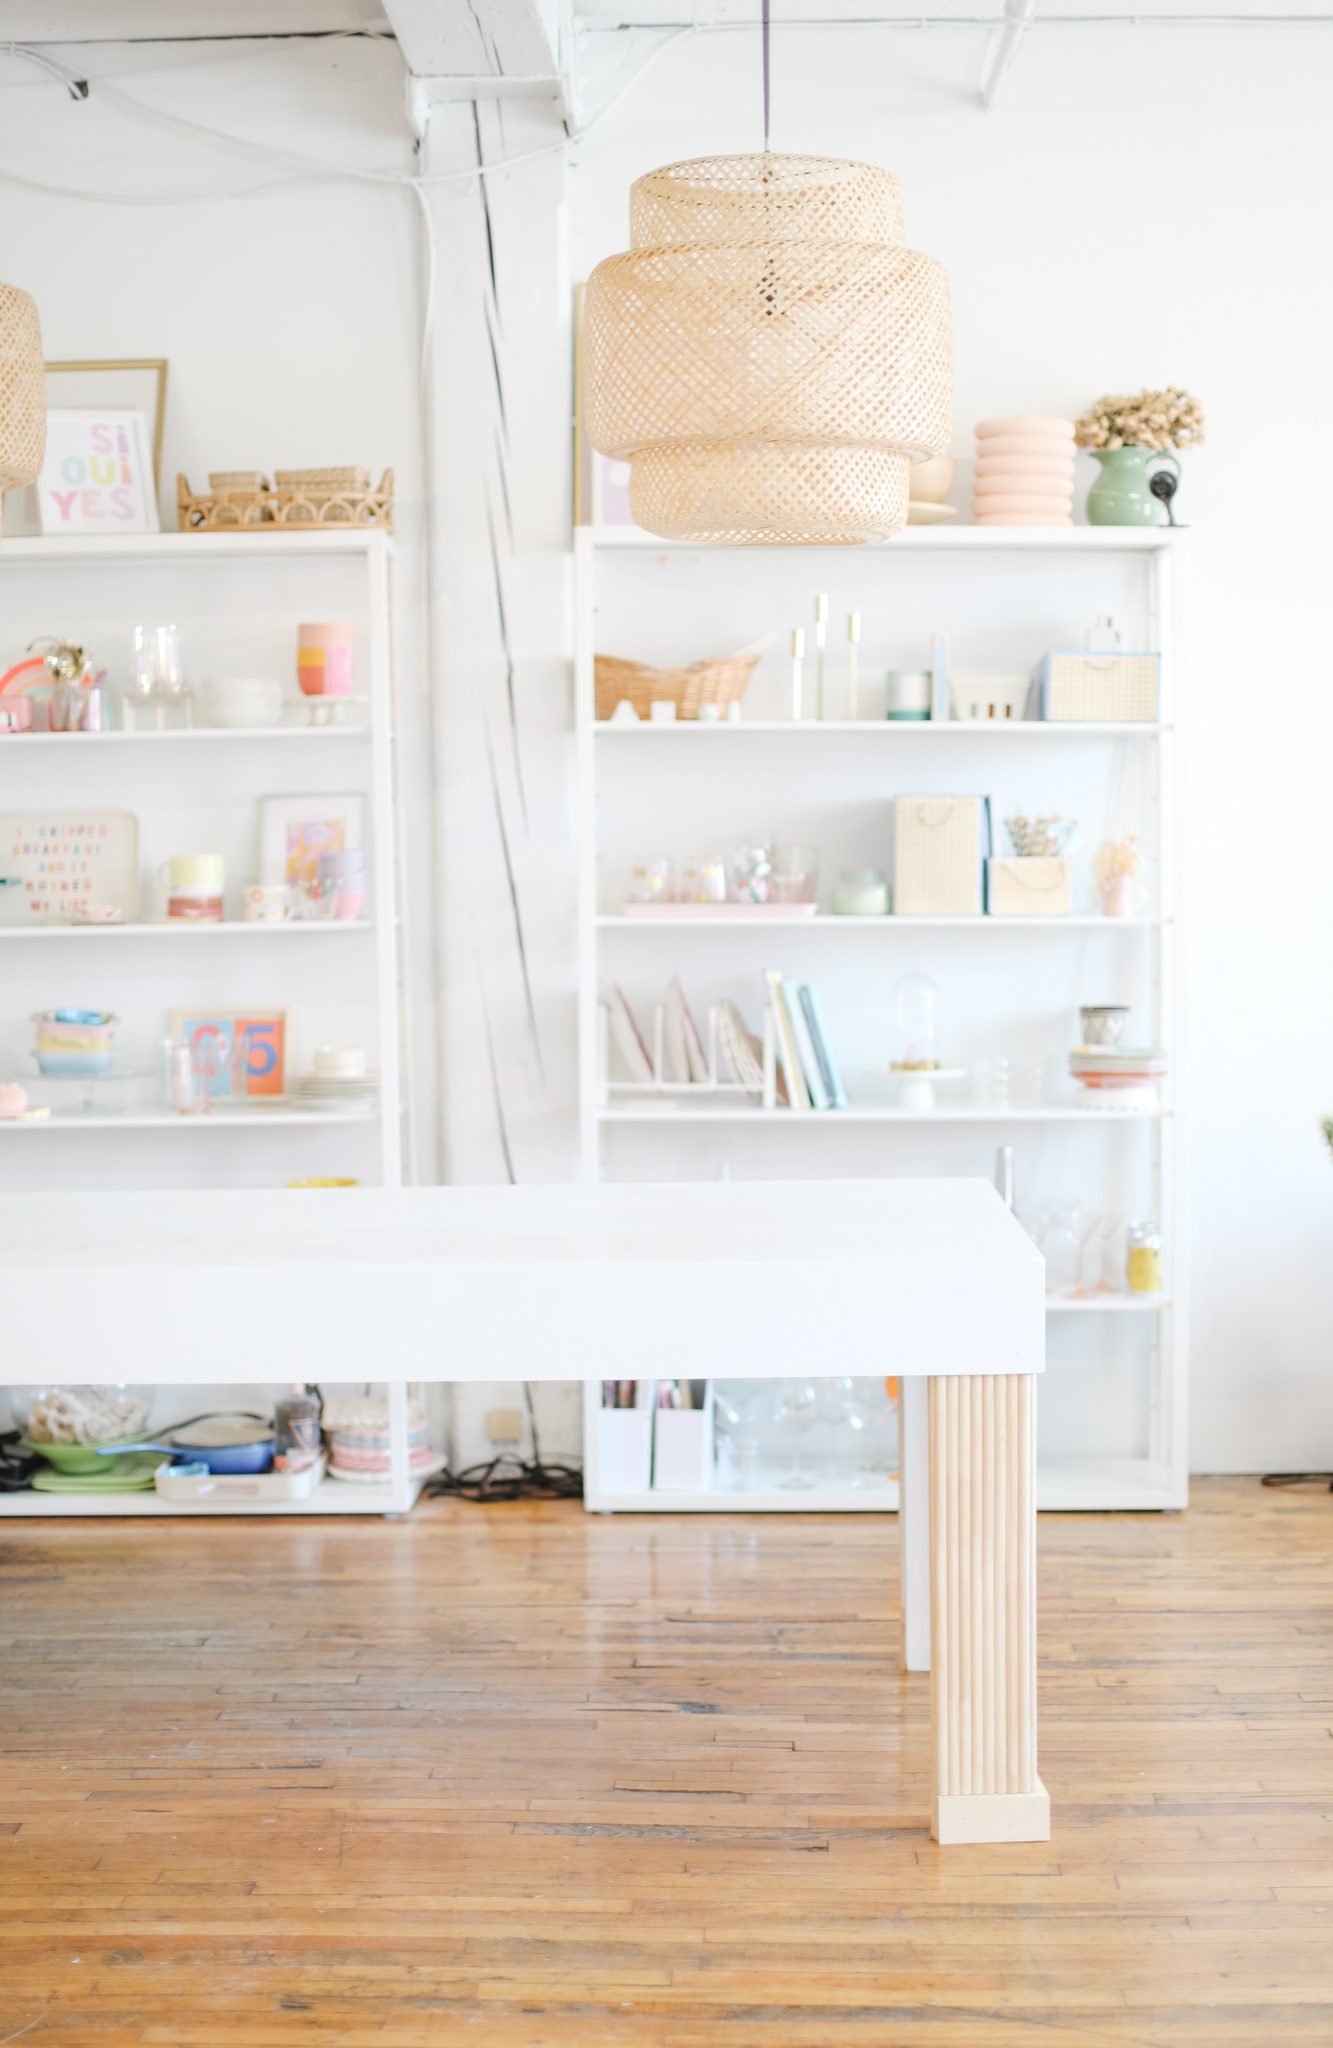
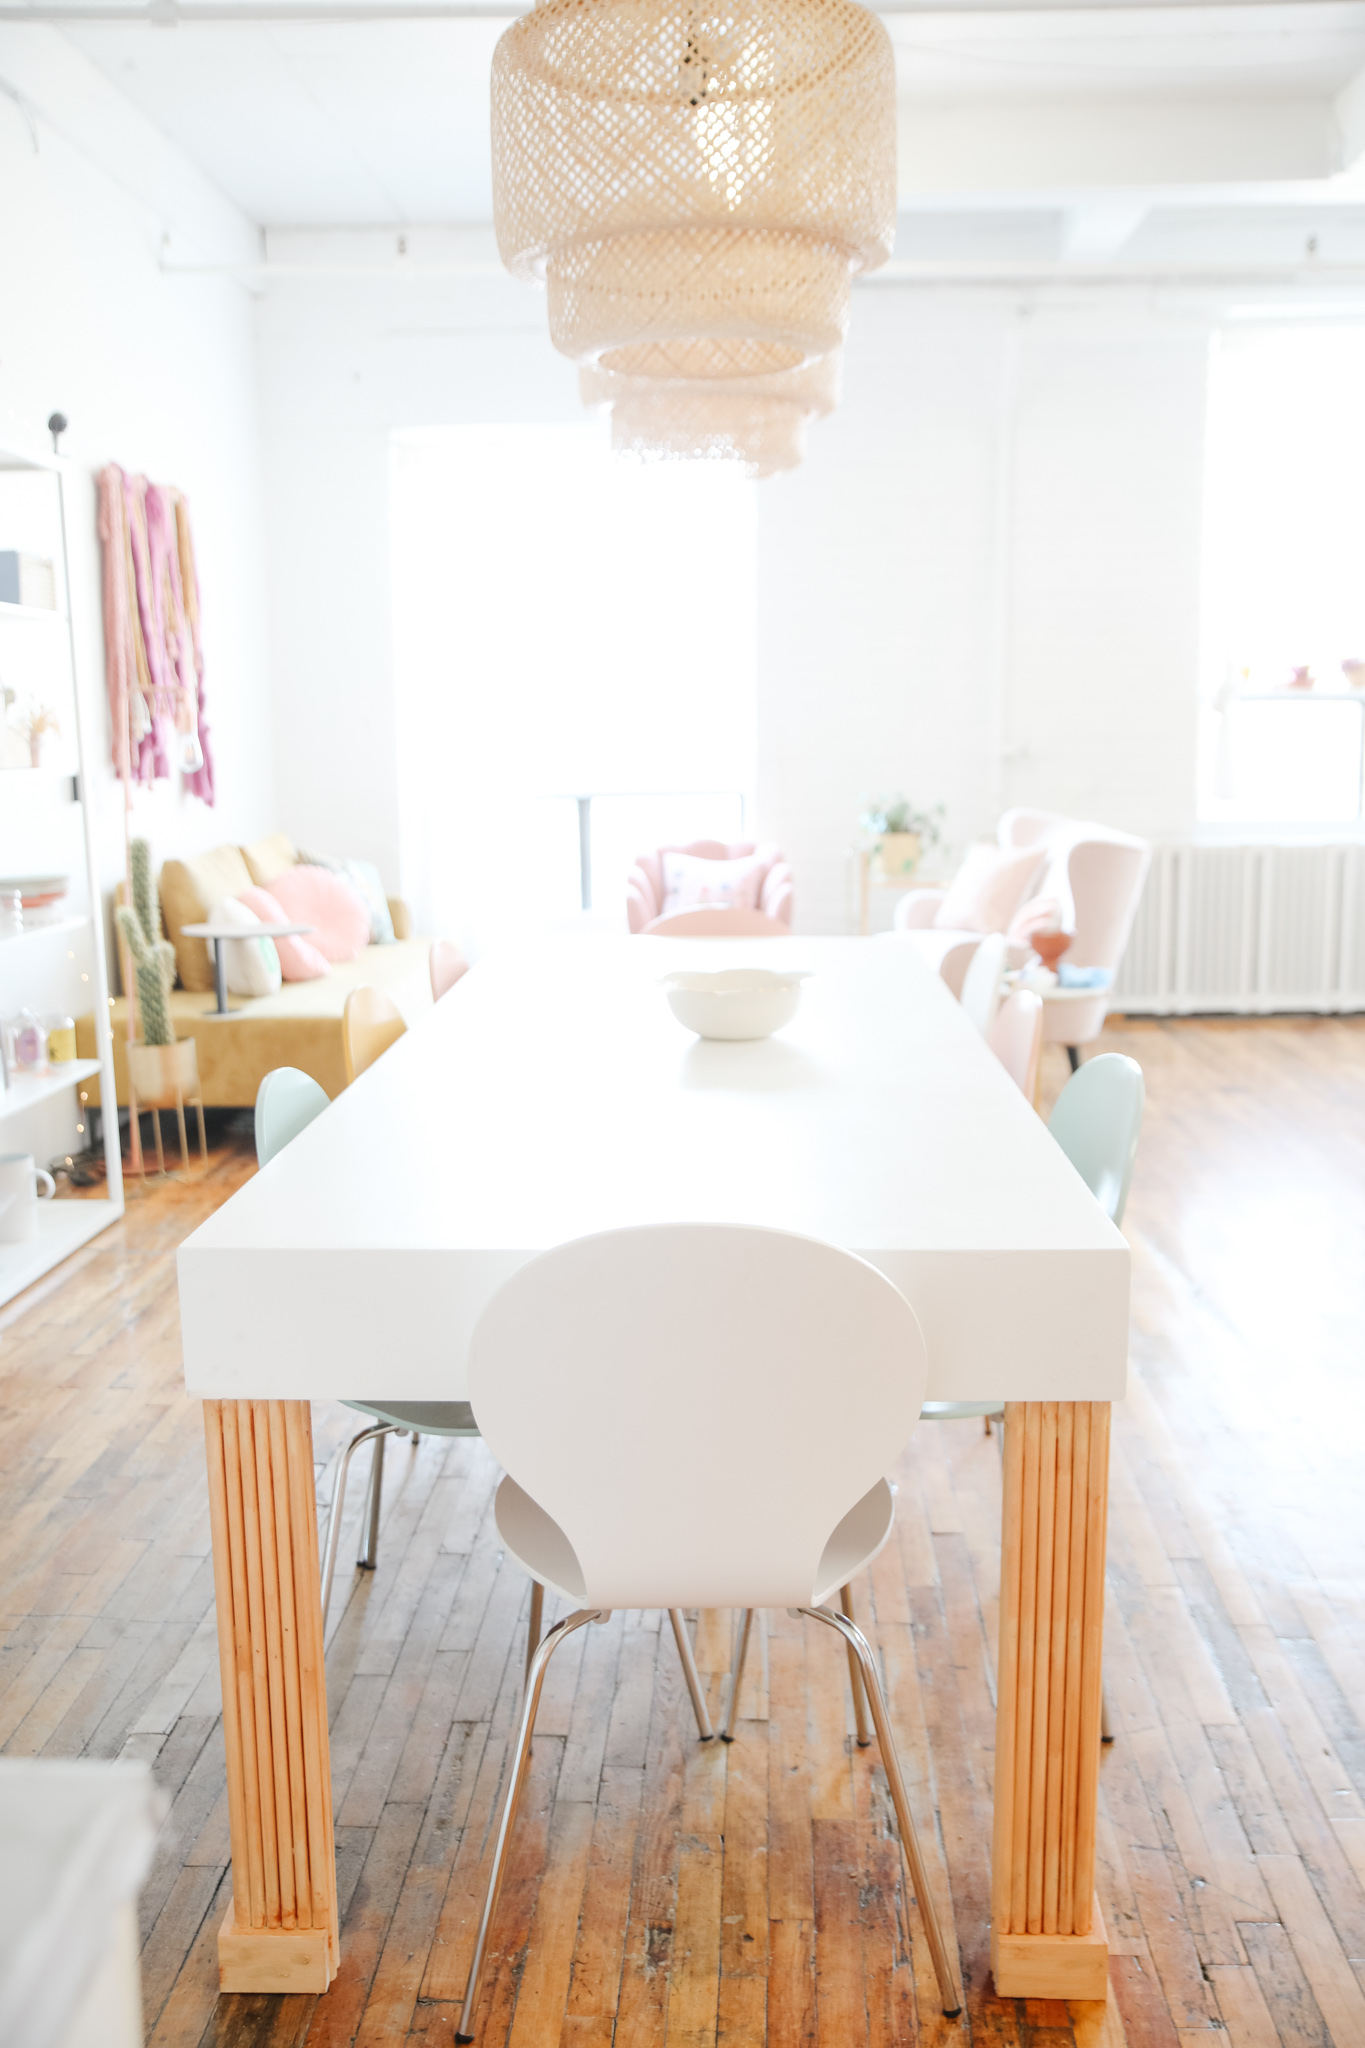
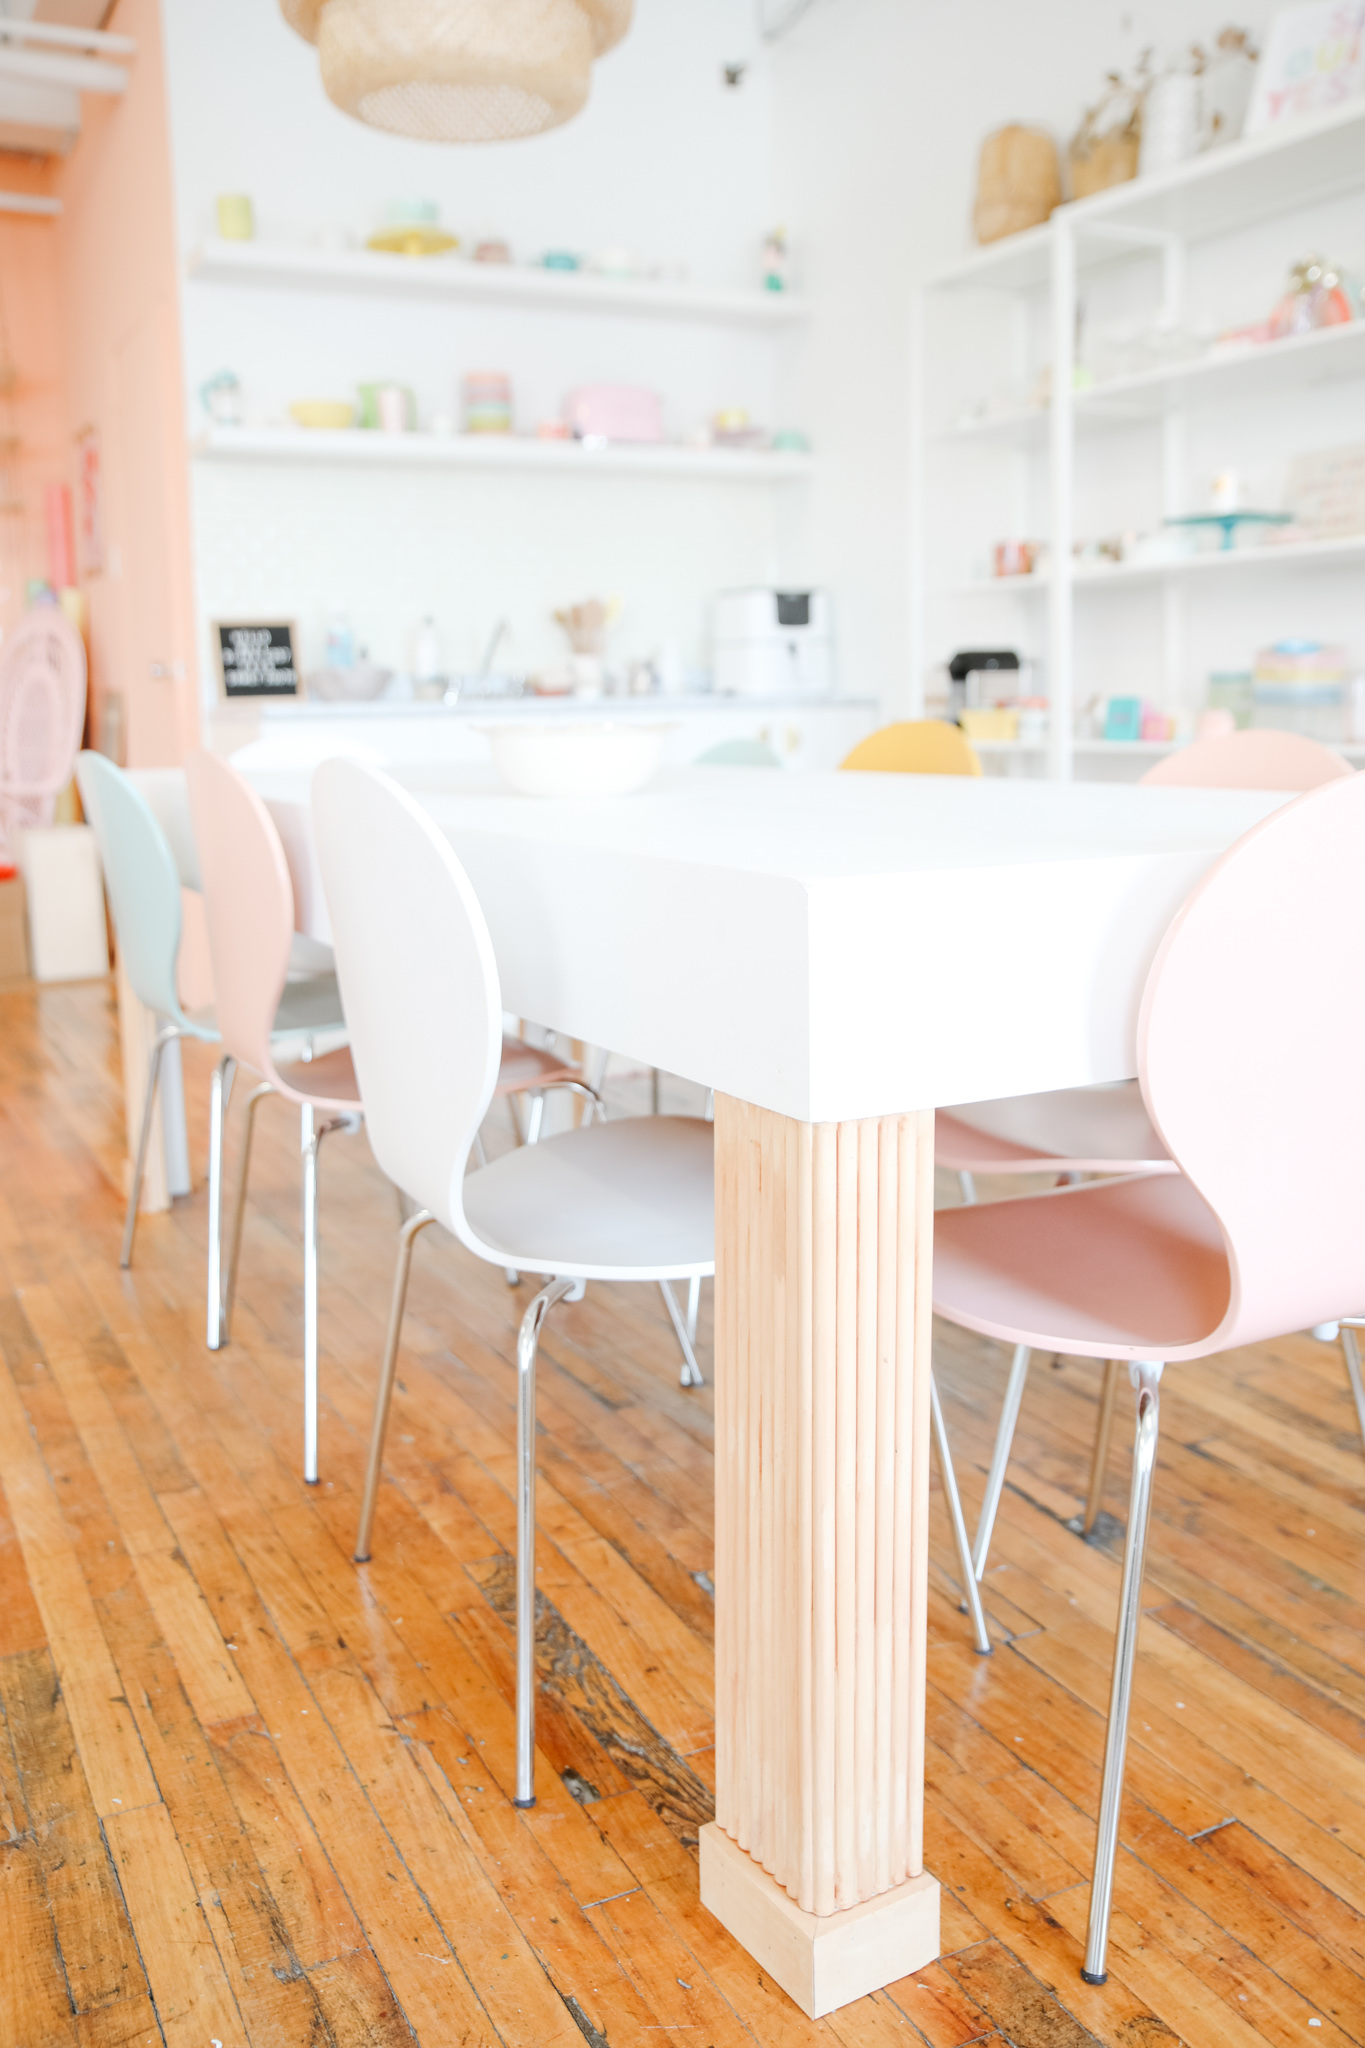
I started this project measuring the legs with the measuring tape, that I covered with the fluted design later on. This part was the most expensive one, and to save costs, I planned the design with a baseboard, saving money and material. Using a mitre saw, I cut the dowels to the exact length of the legs and attached one by one with a brad nailer.
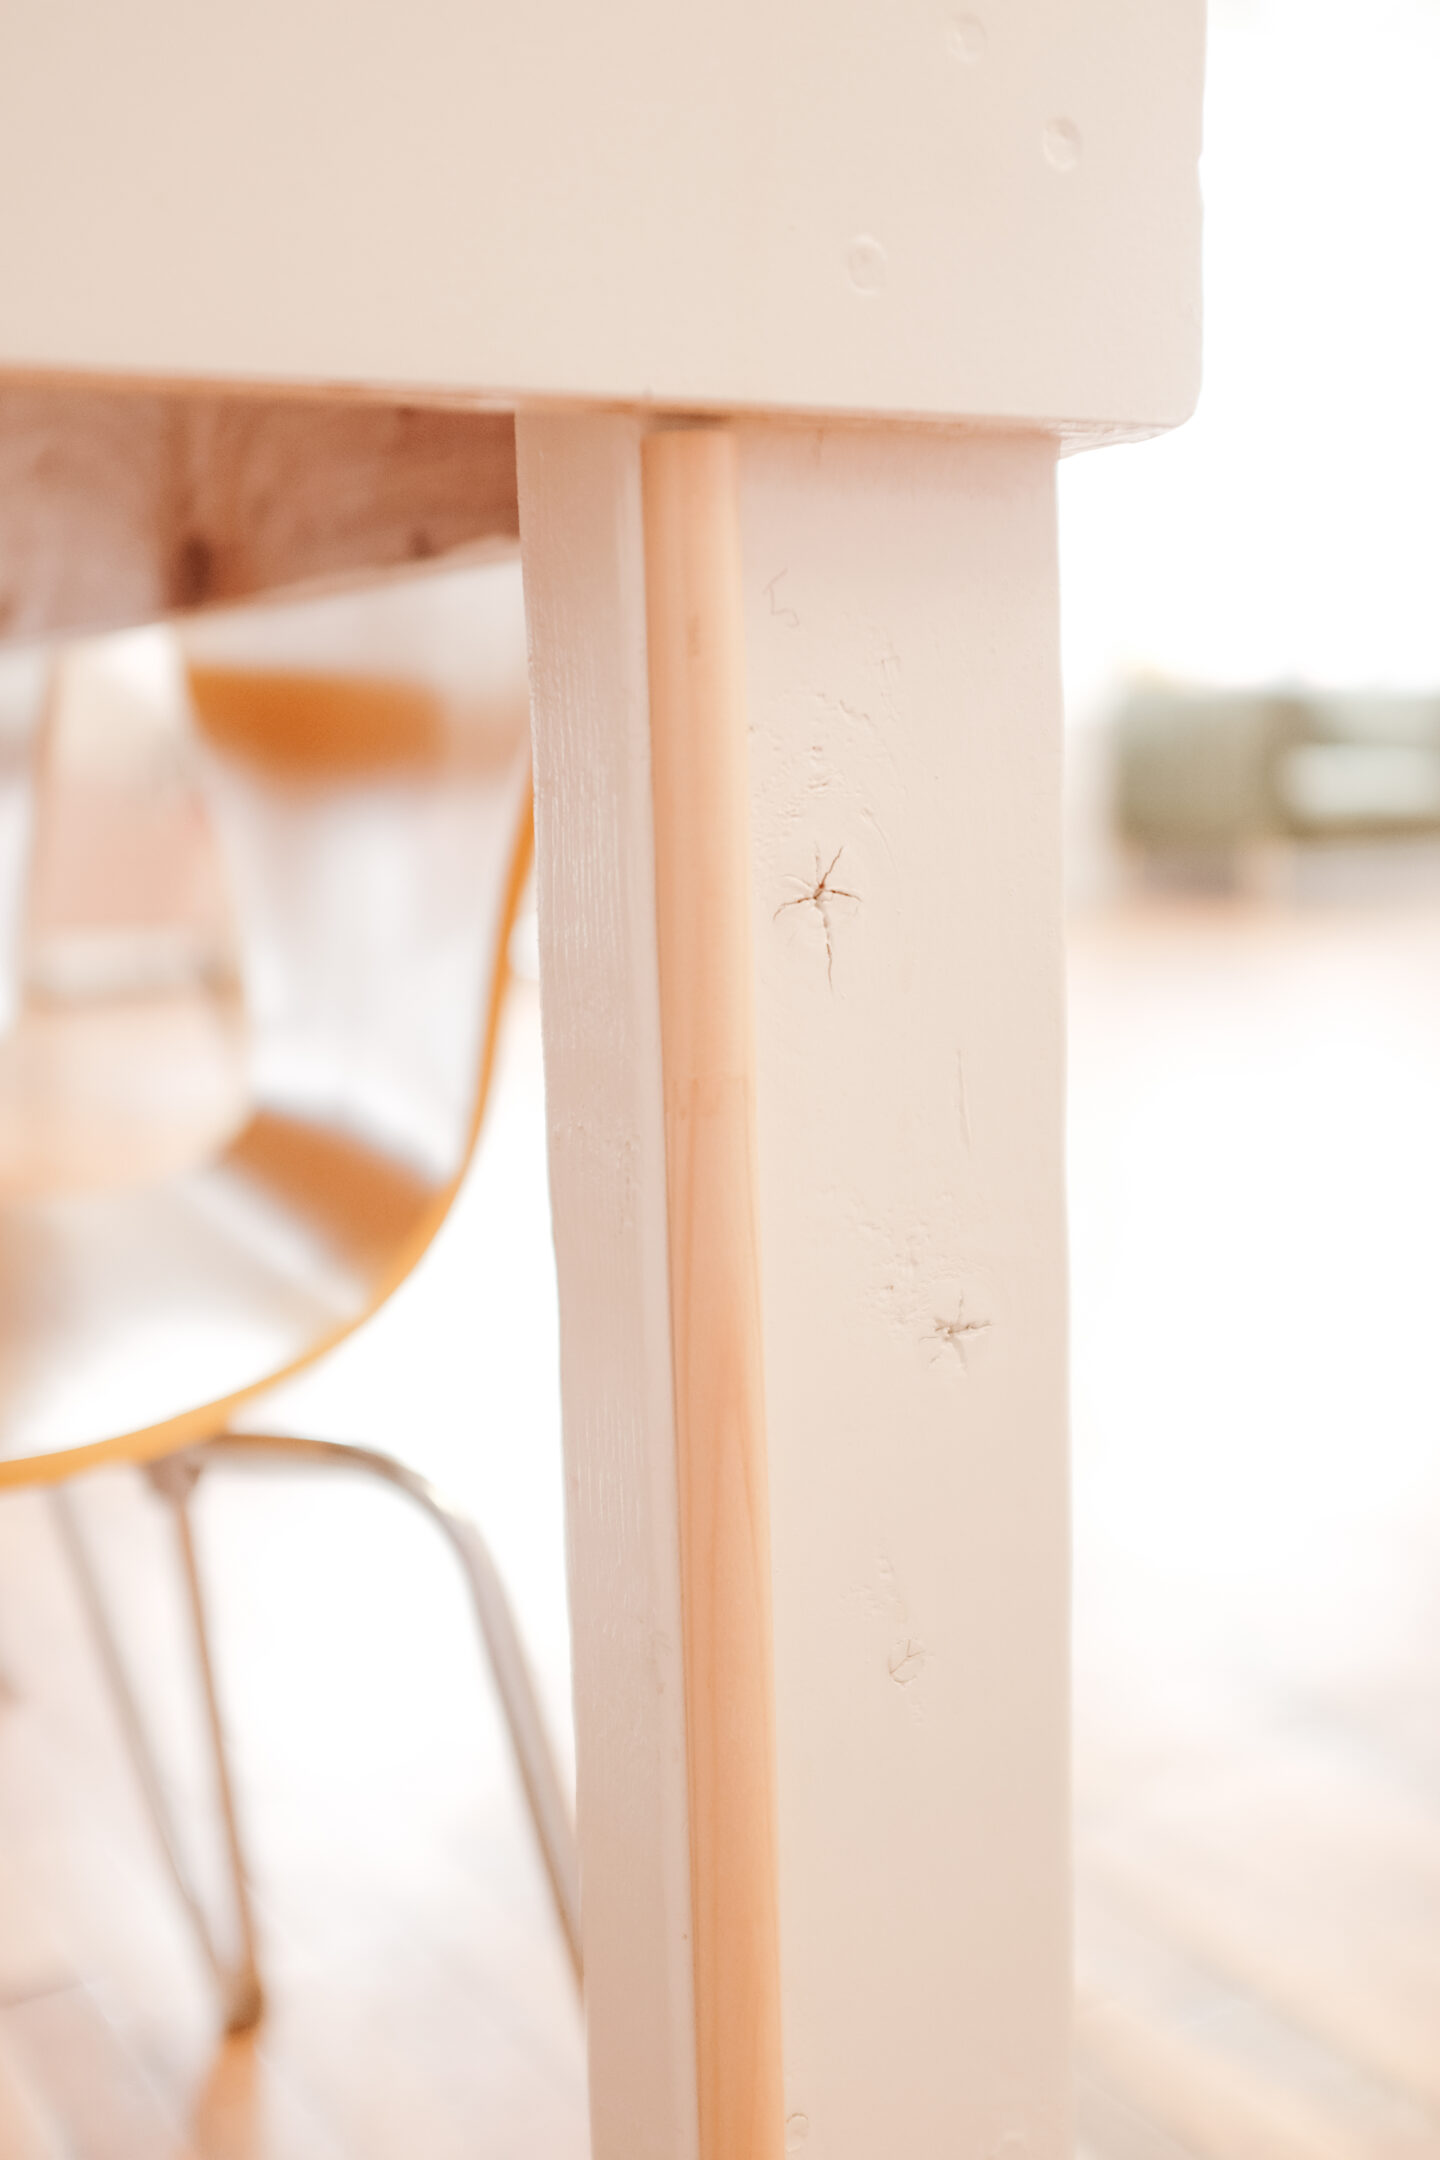
I measured the space I had left in the legs for the baseboard and did a 45 degree cut using my mitre saw (OMG). Next step, making sure the baseboard is levelled and straight, I used clamps and then the brad nailer to finish.
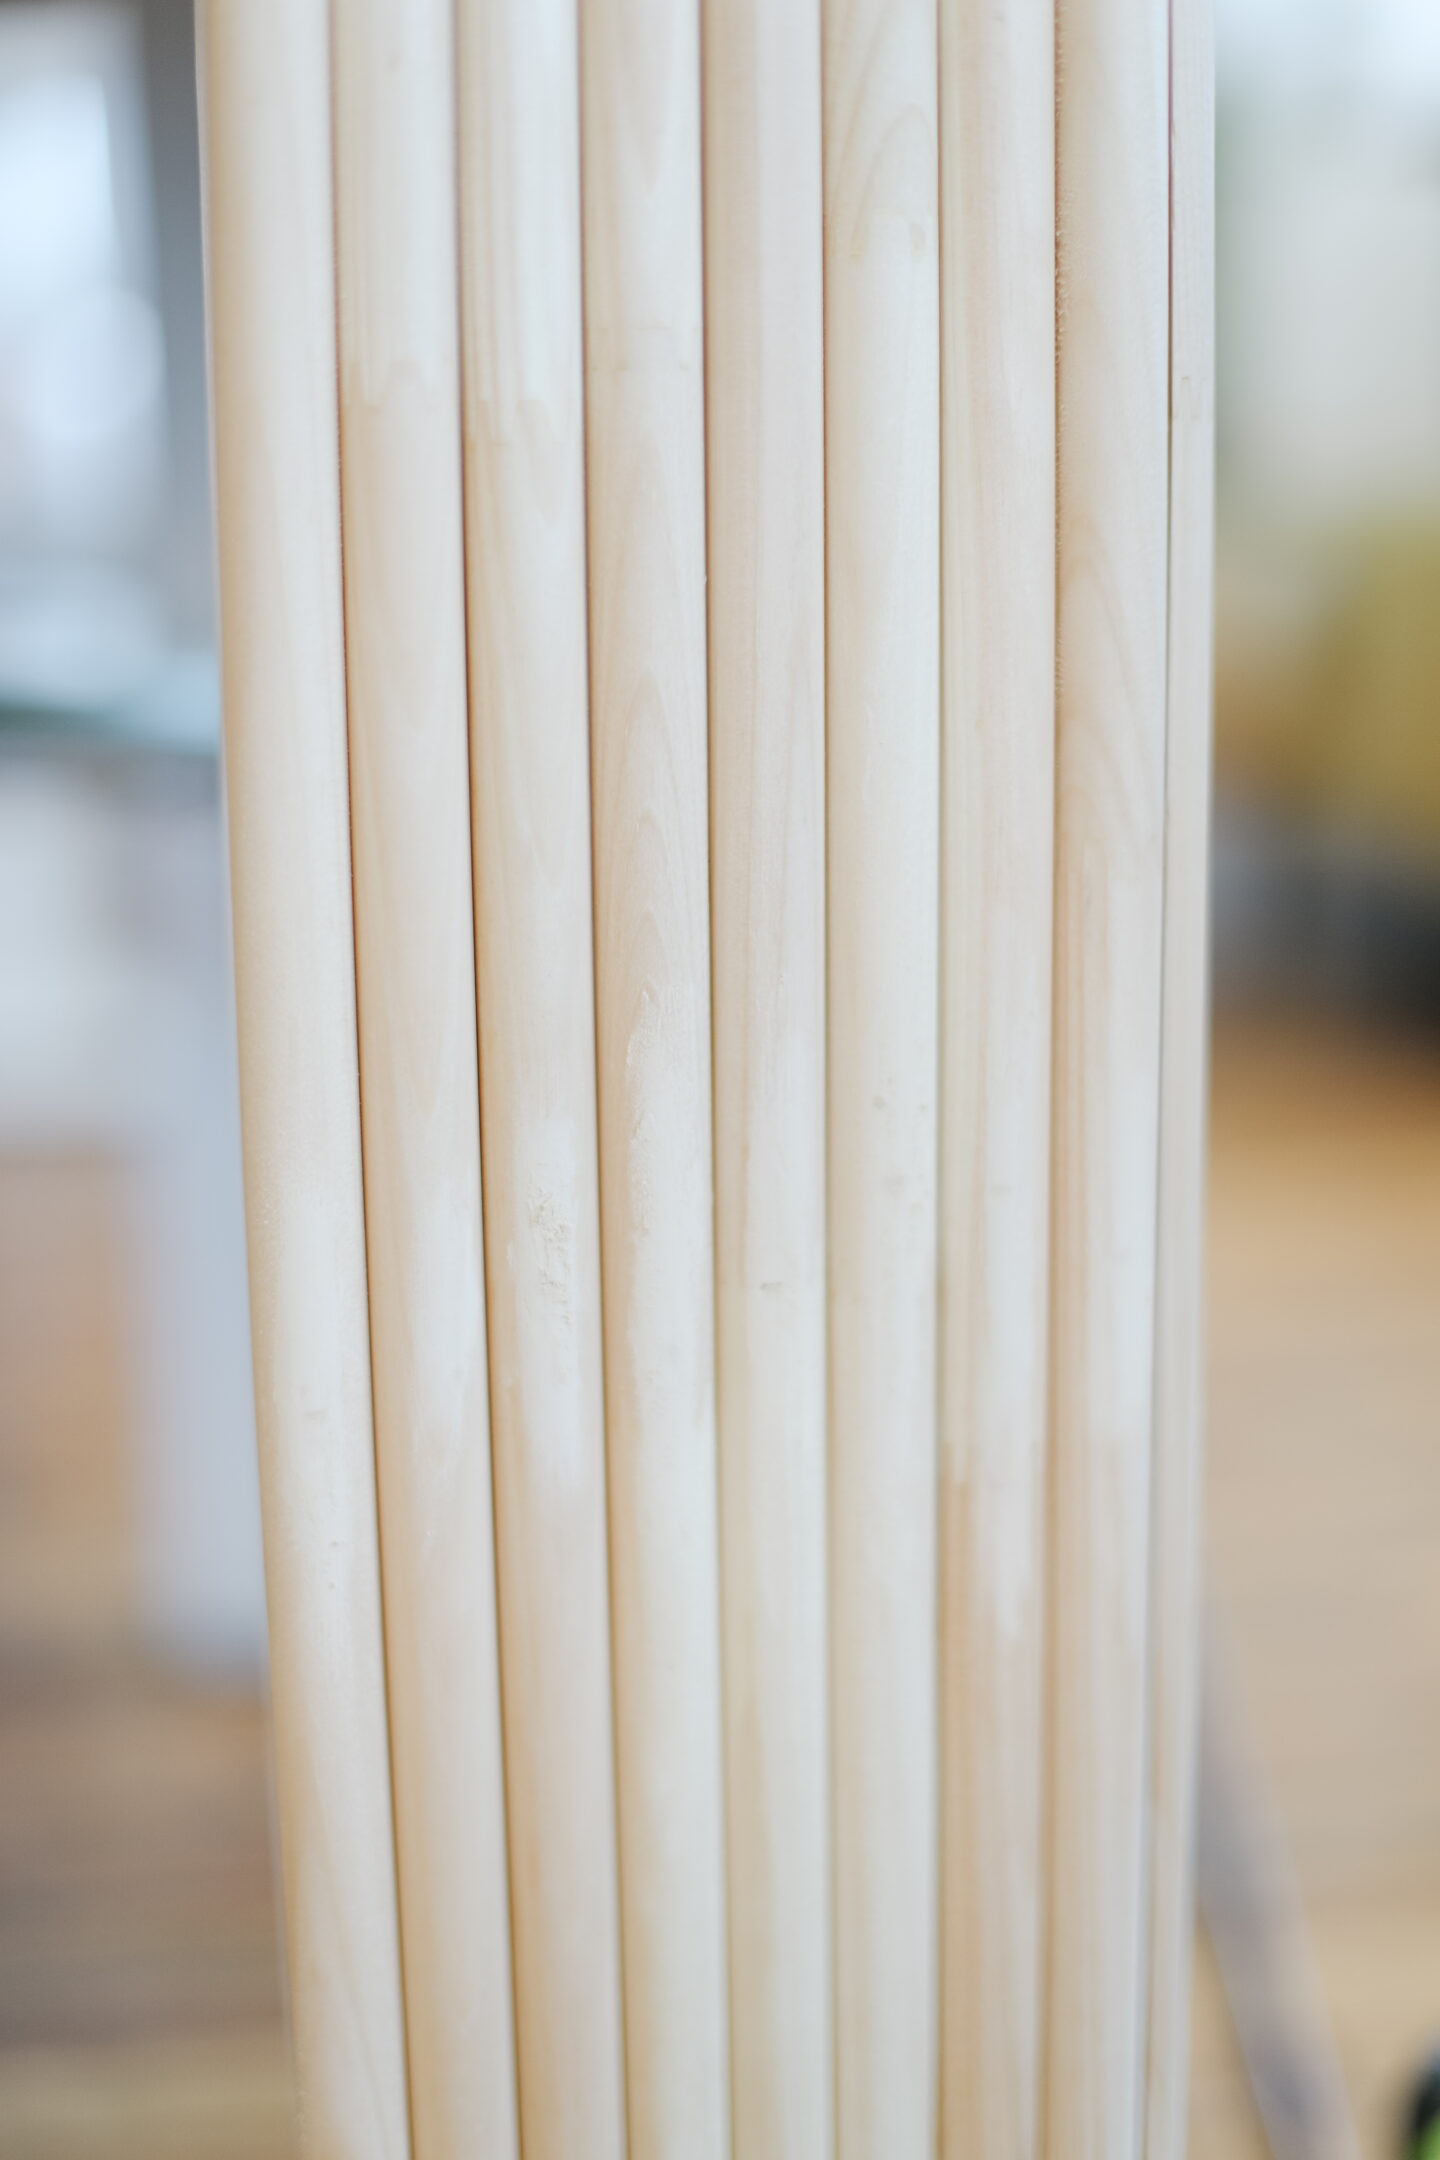
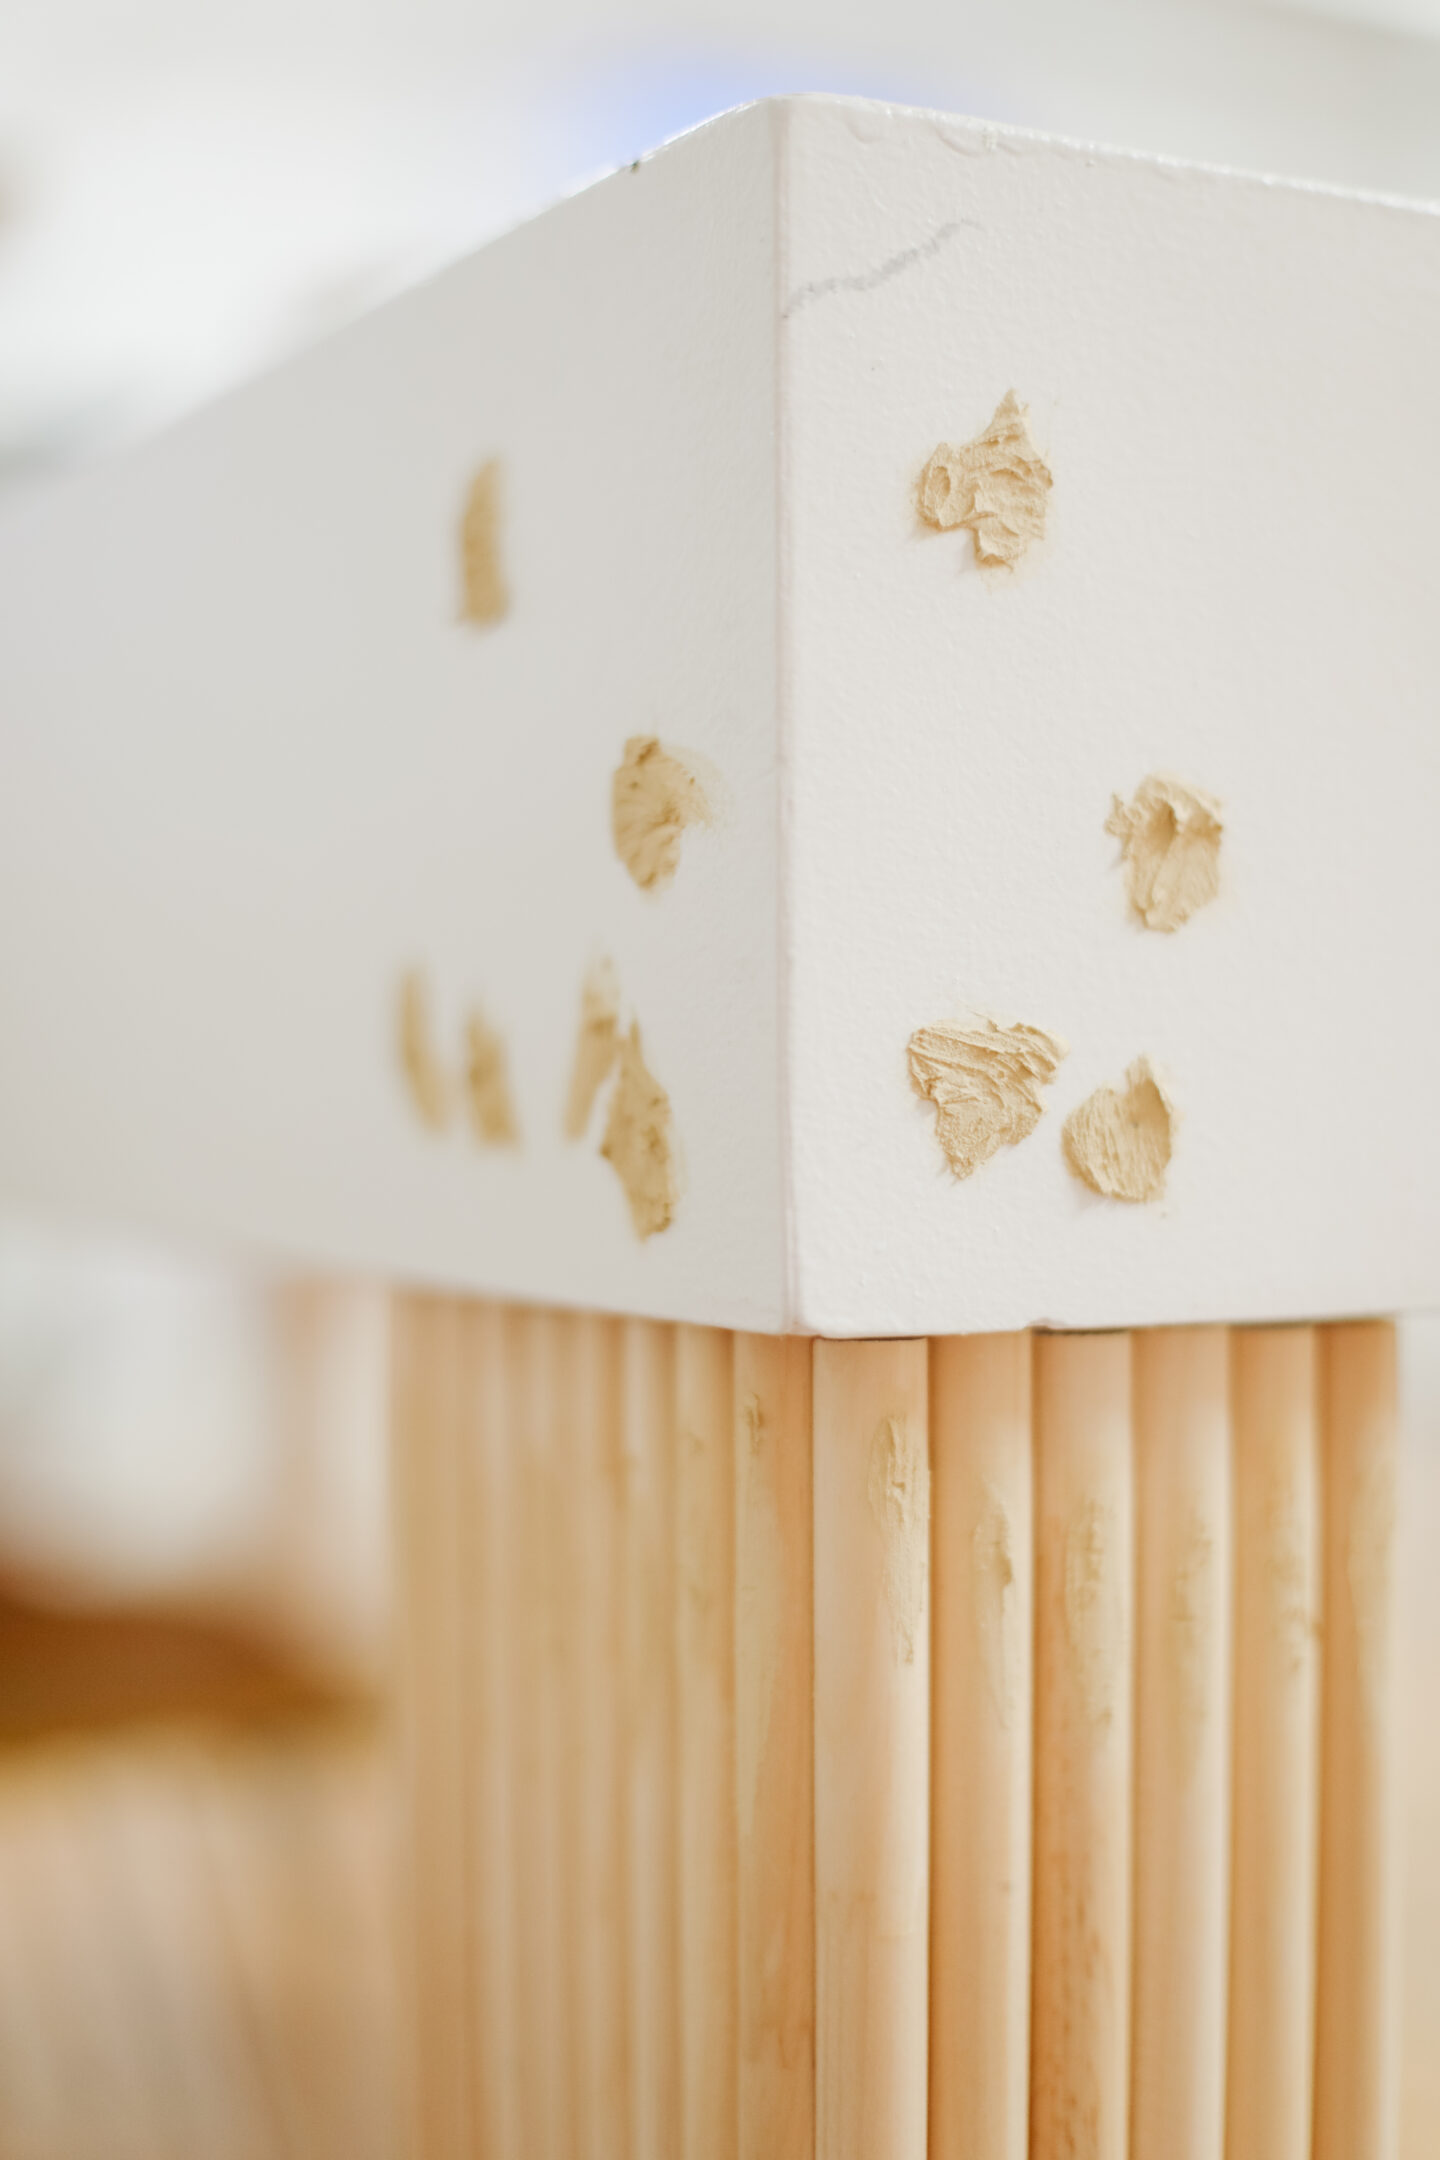
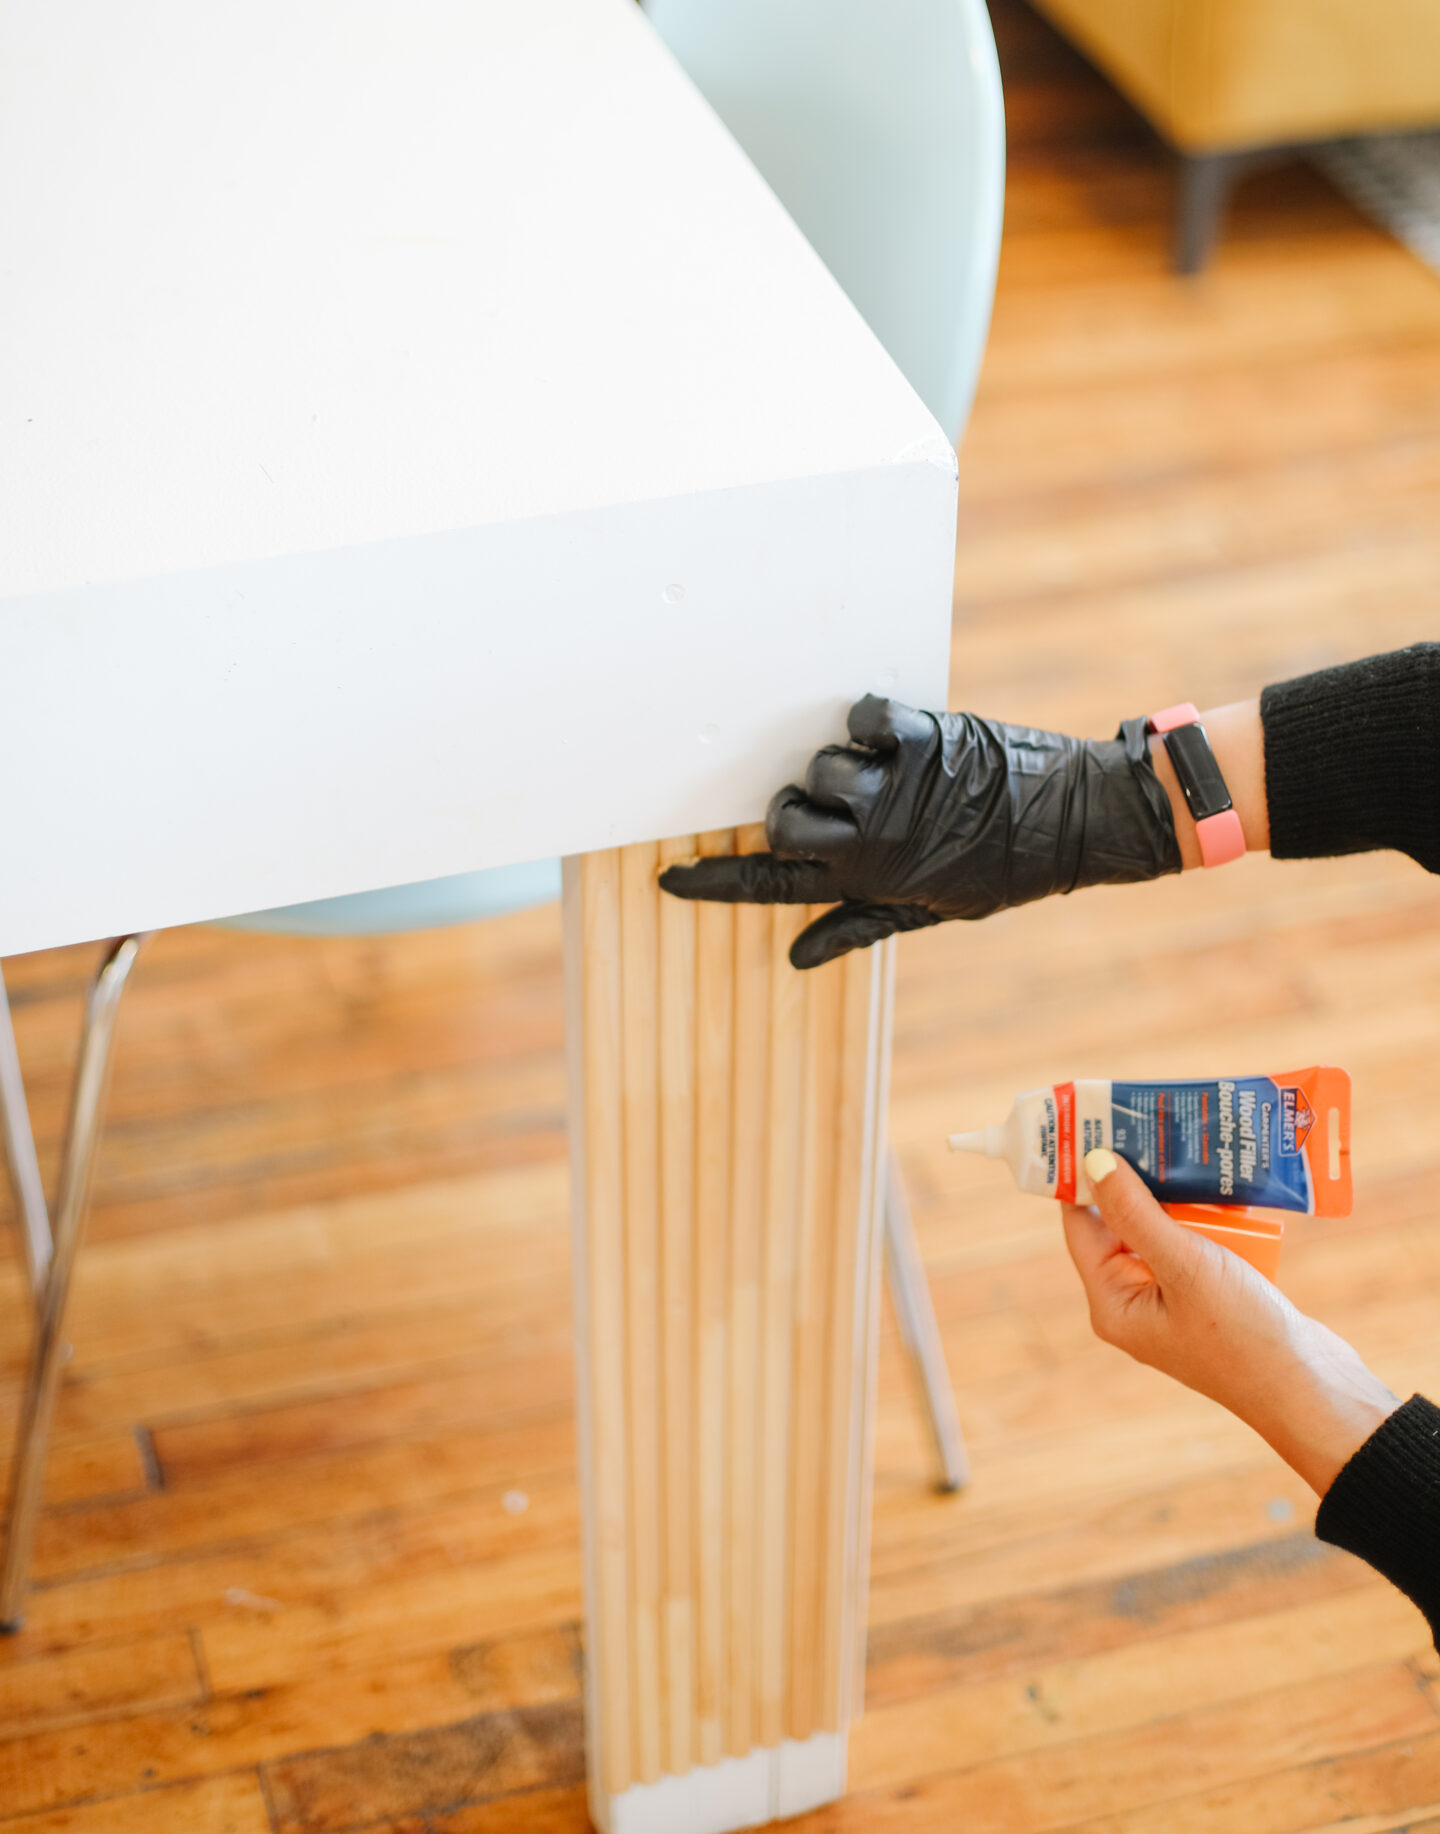
All the dowels are now up and they look SO pretty, BUT we need to fix all the imperfections, such as covering the nails and any damages or cracks you see on the tabletop with wood filler. Wood filler is a candid material that will dry quickly and will cover all the things you don’t want to show. Grab a pea-size amount of filler and apply on top of the nail you want to cover pressing firmly. Scrape off any excess (very important) and let it set for a few minutes.
Sand off the excess with the orbital sander or a sandpaper, I used a 120 grit for this project.
Are you ready to stain our legs? YAY! Before we jump into wood stain, grab a clean cloth and clean the surface, the success of any staining project starts with a clean, dry surface for proper penetration.
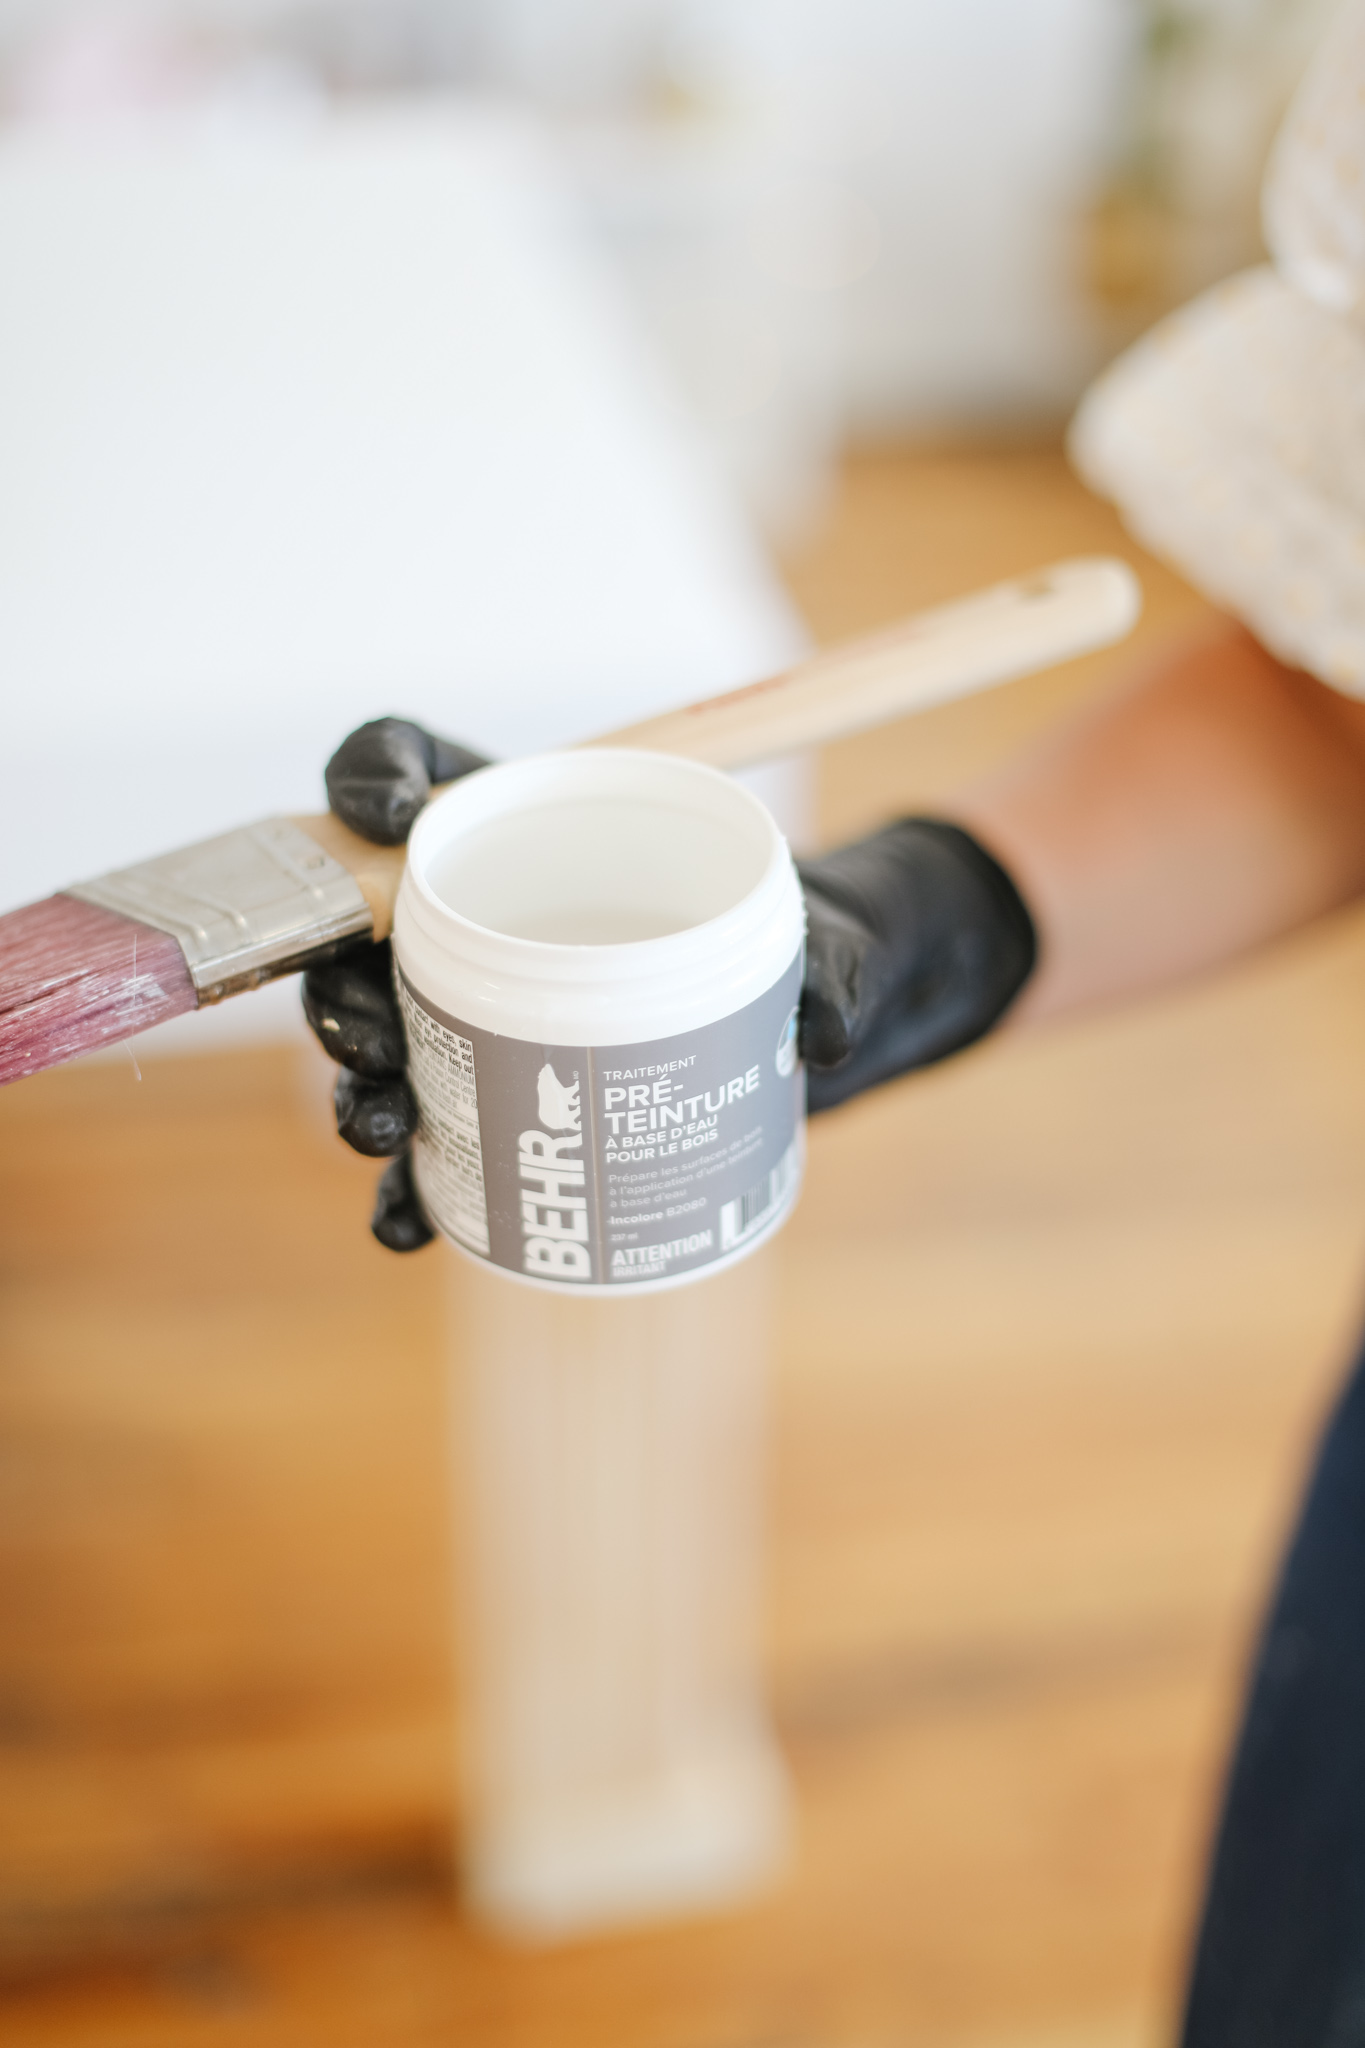
I started the staining process using a wood pre-stain conditioner that will help prevent streaks, blotches and will adhere the stain later on. Lightly sand the legs, remove any dust and using a paint brush, apply a thin coat of the pre-conditioner following the direction of the grain. Let it dry for 20 minutes and jump into stain now!
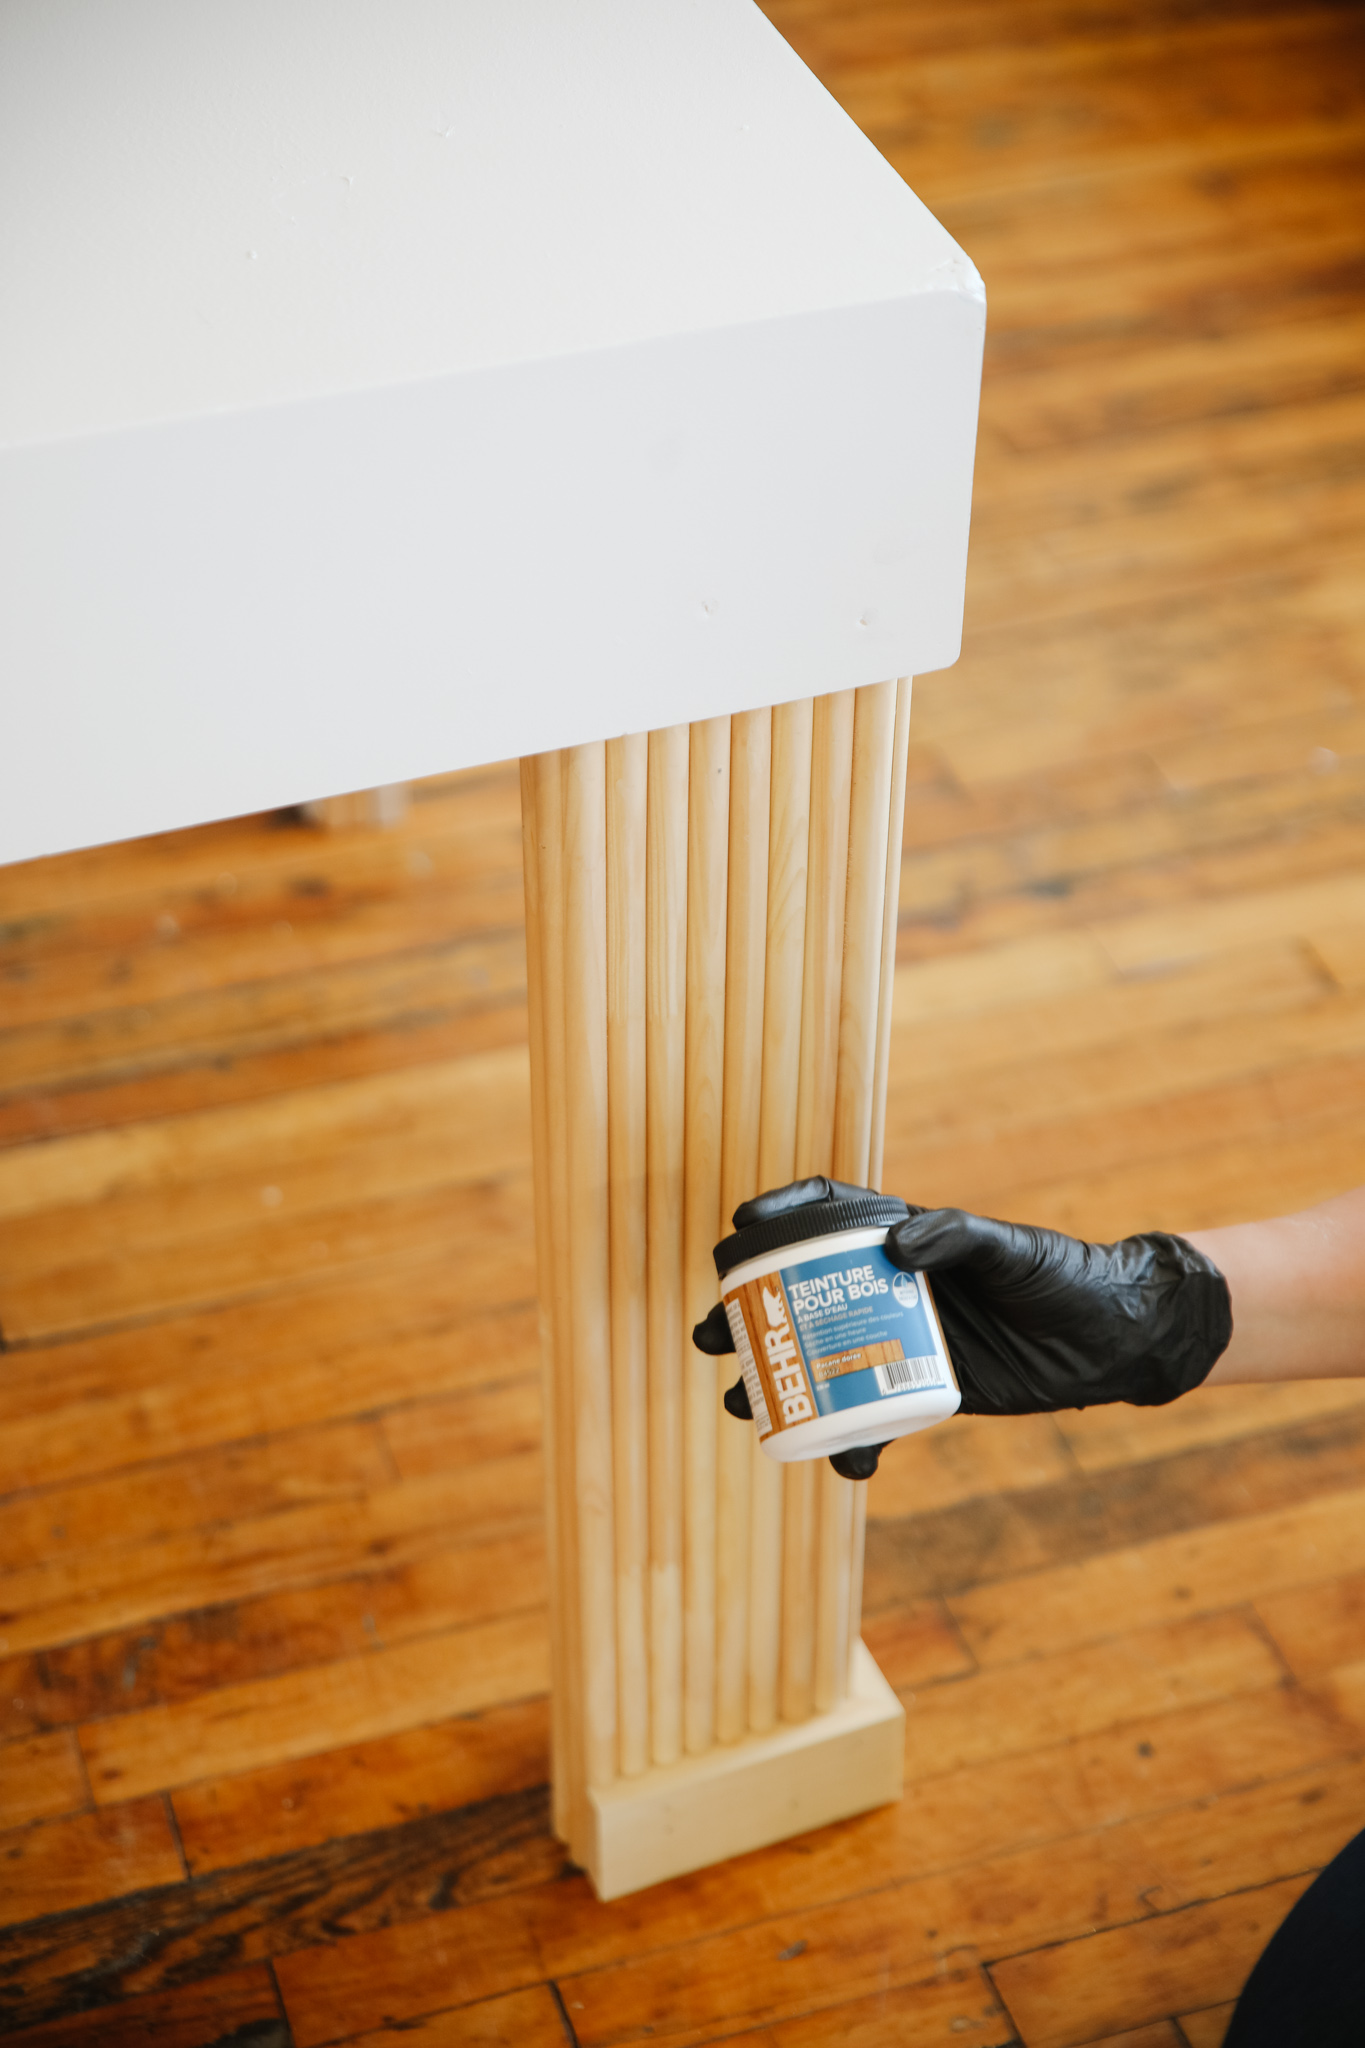
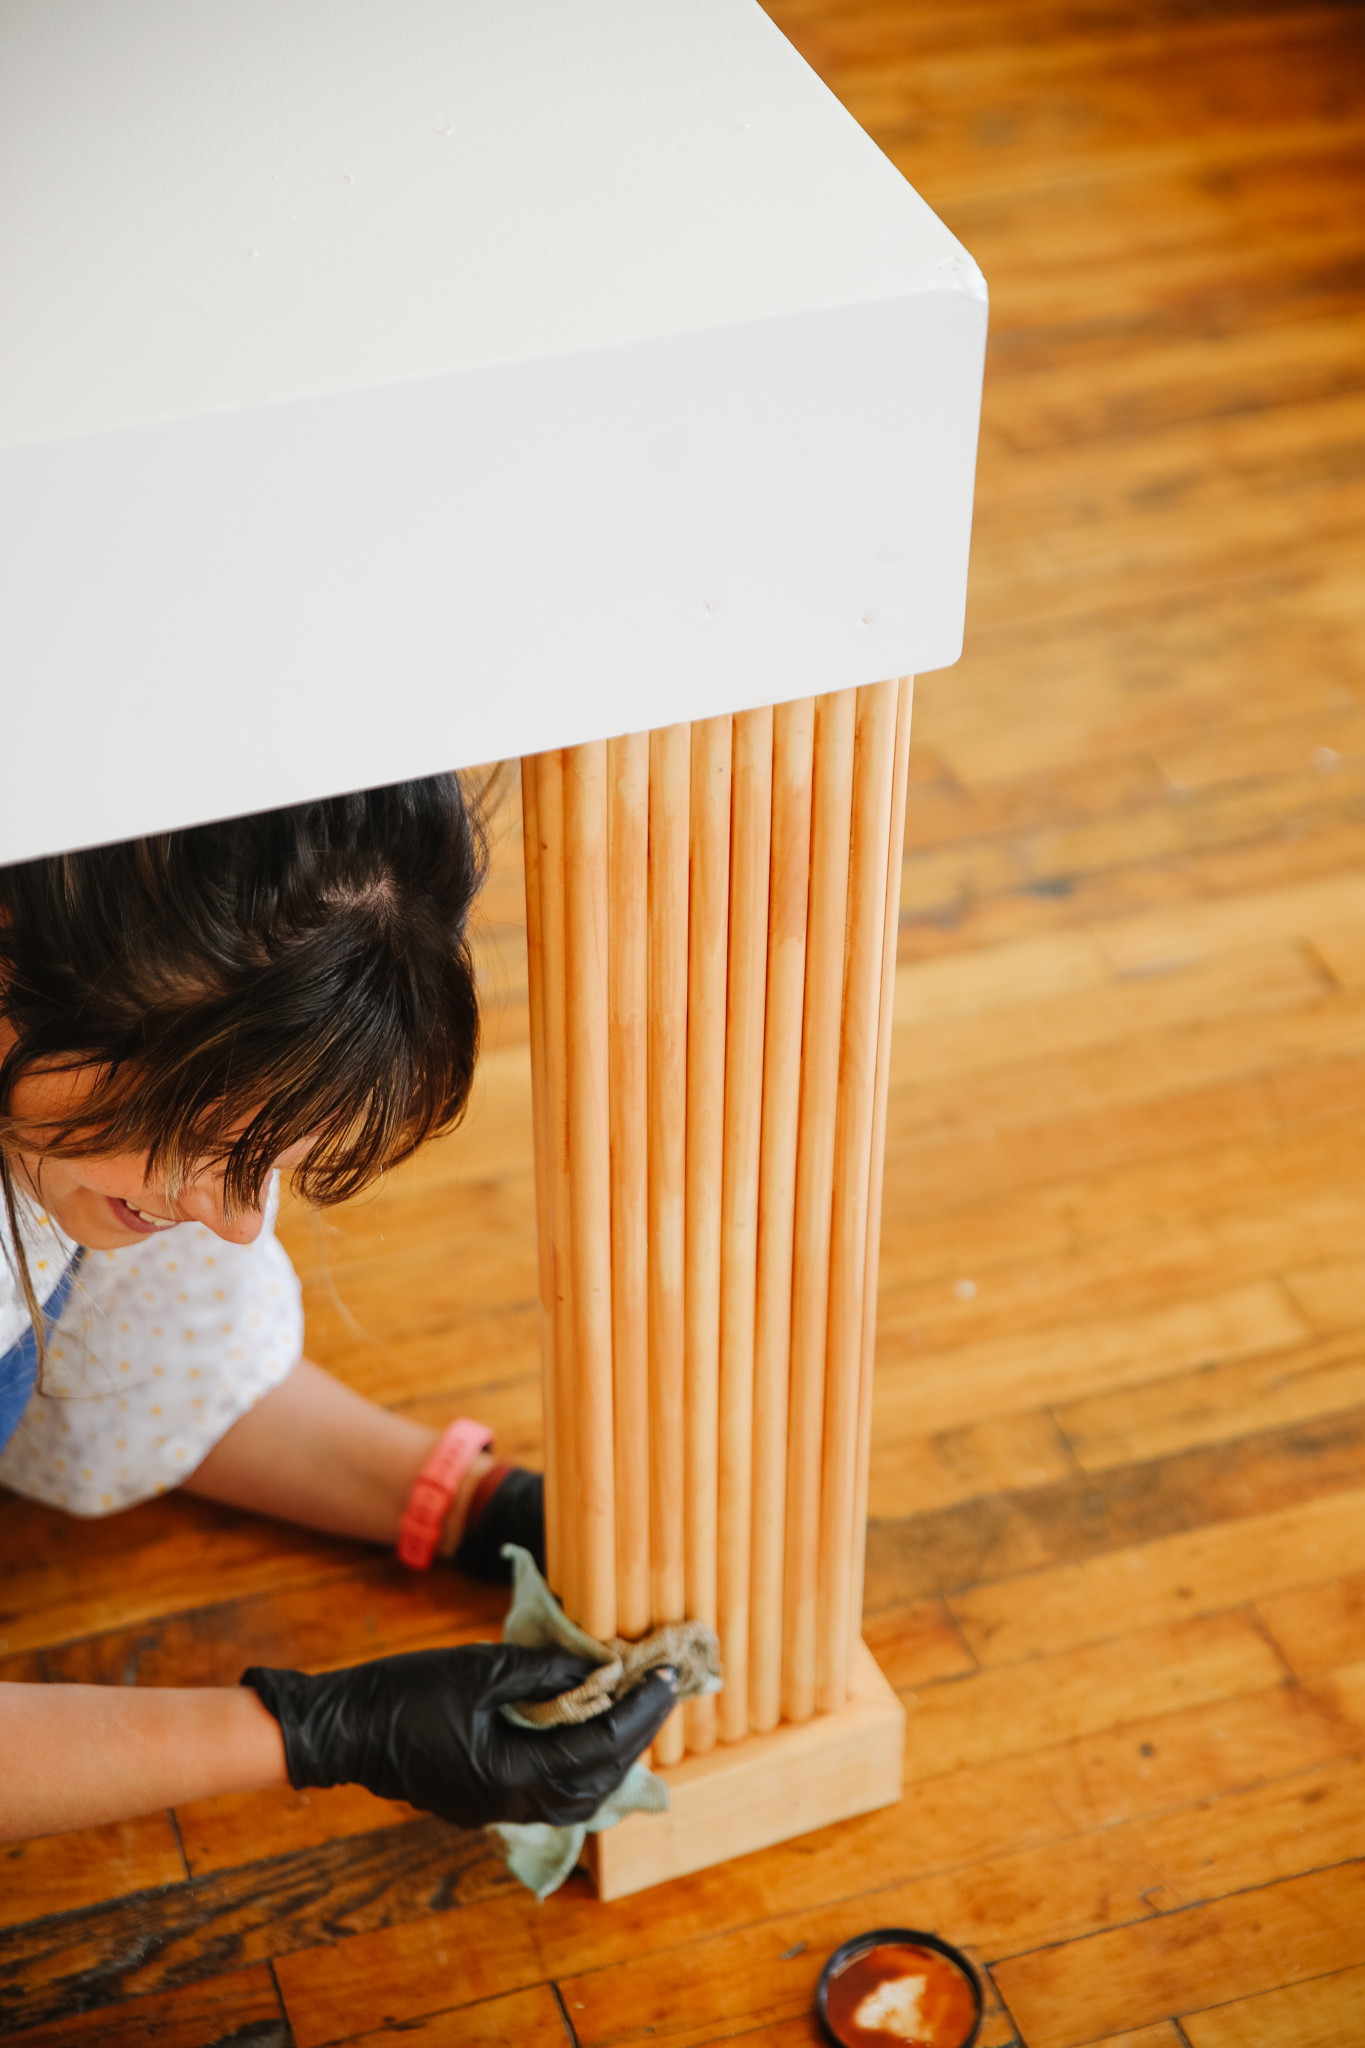
I used a clean cloth to apply the stain into the dowels, working the stain directly into the wood grain, and letting it penetrate for 5 minutes. I removed the excess with a new cloth and let it dry for one hour.
If your table will be exposed to the sun and needs protection, I recommend you to apply two coats of Poly, sanding between the coats with a good quality sand paper.
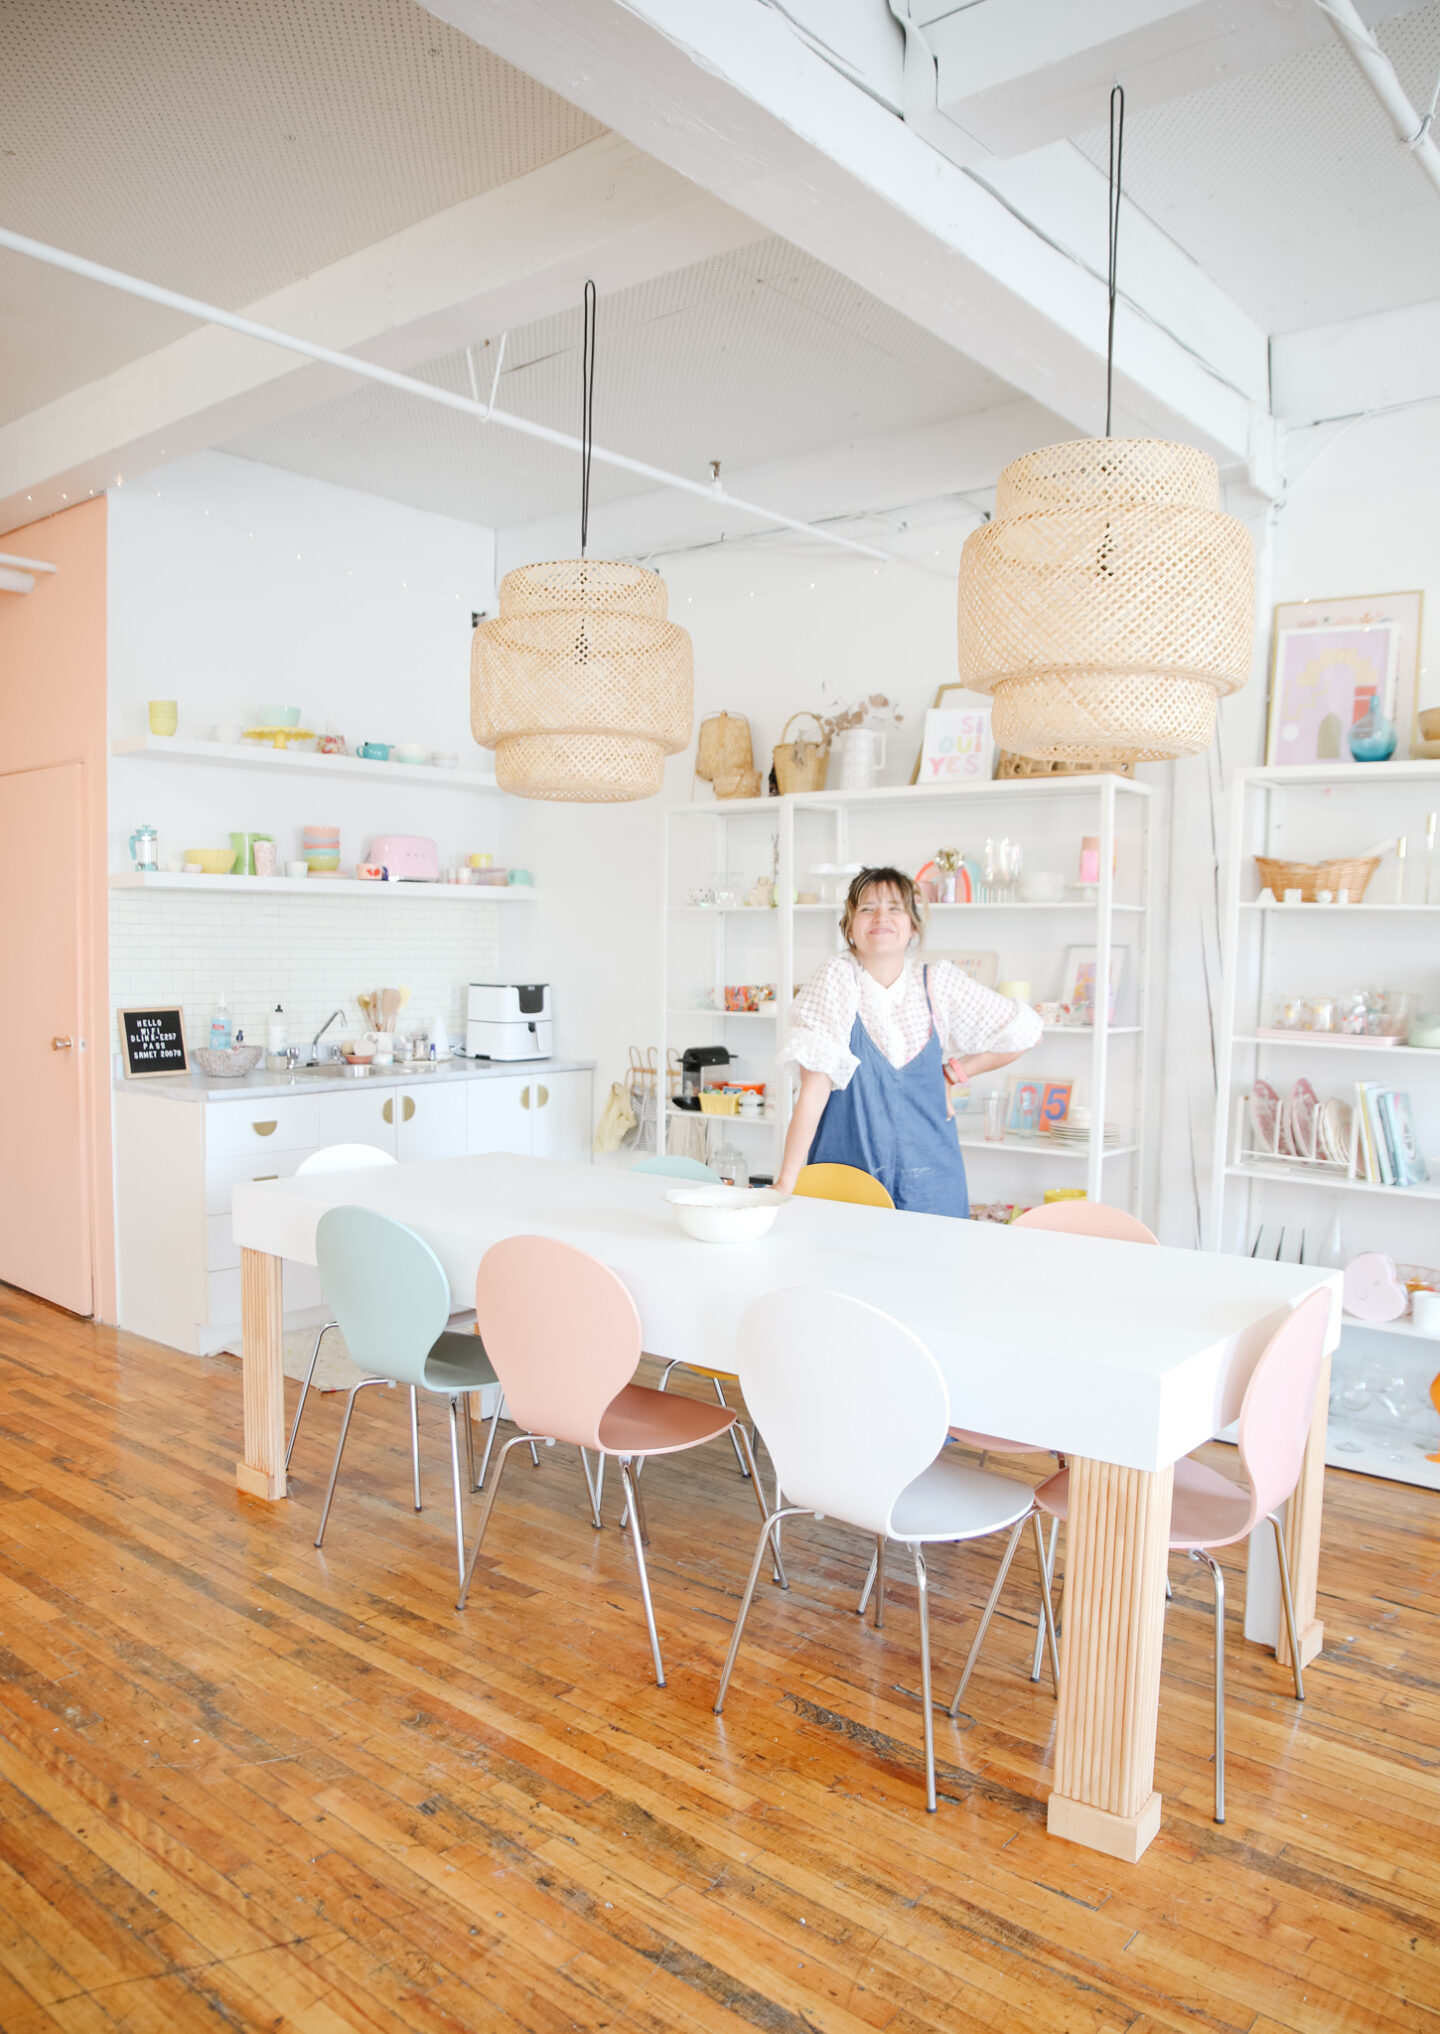
You know paint is the key to my heart, right? After finishing our wood stain, I grabbed some white paint, a mini paint roller and gave my tabletop 2 coats of fresh white paint, looking like a brand new table.
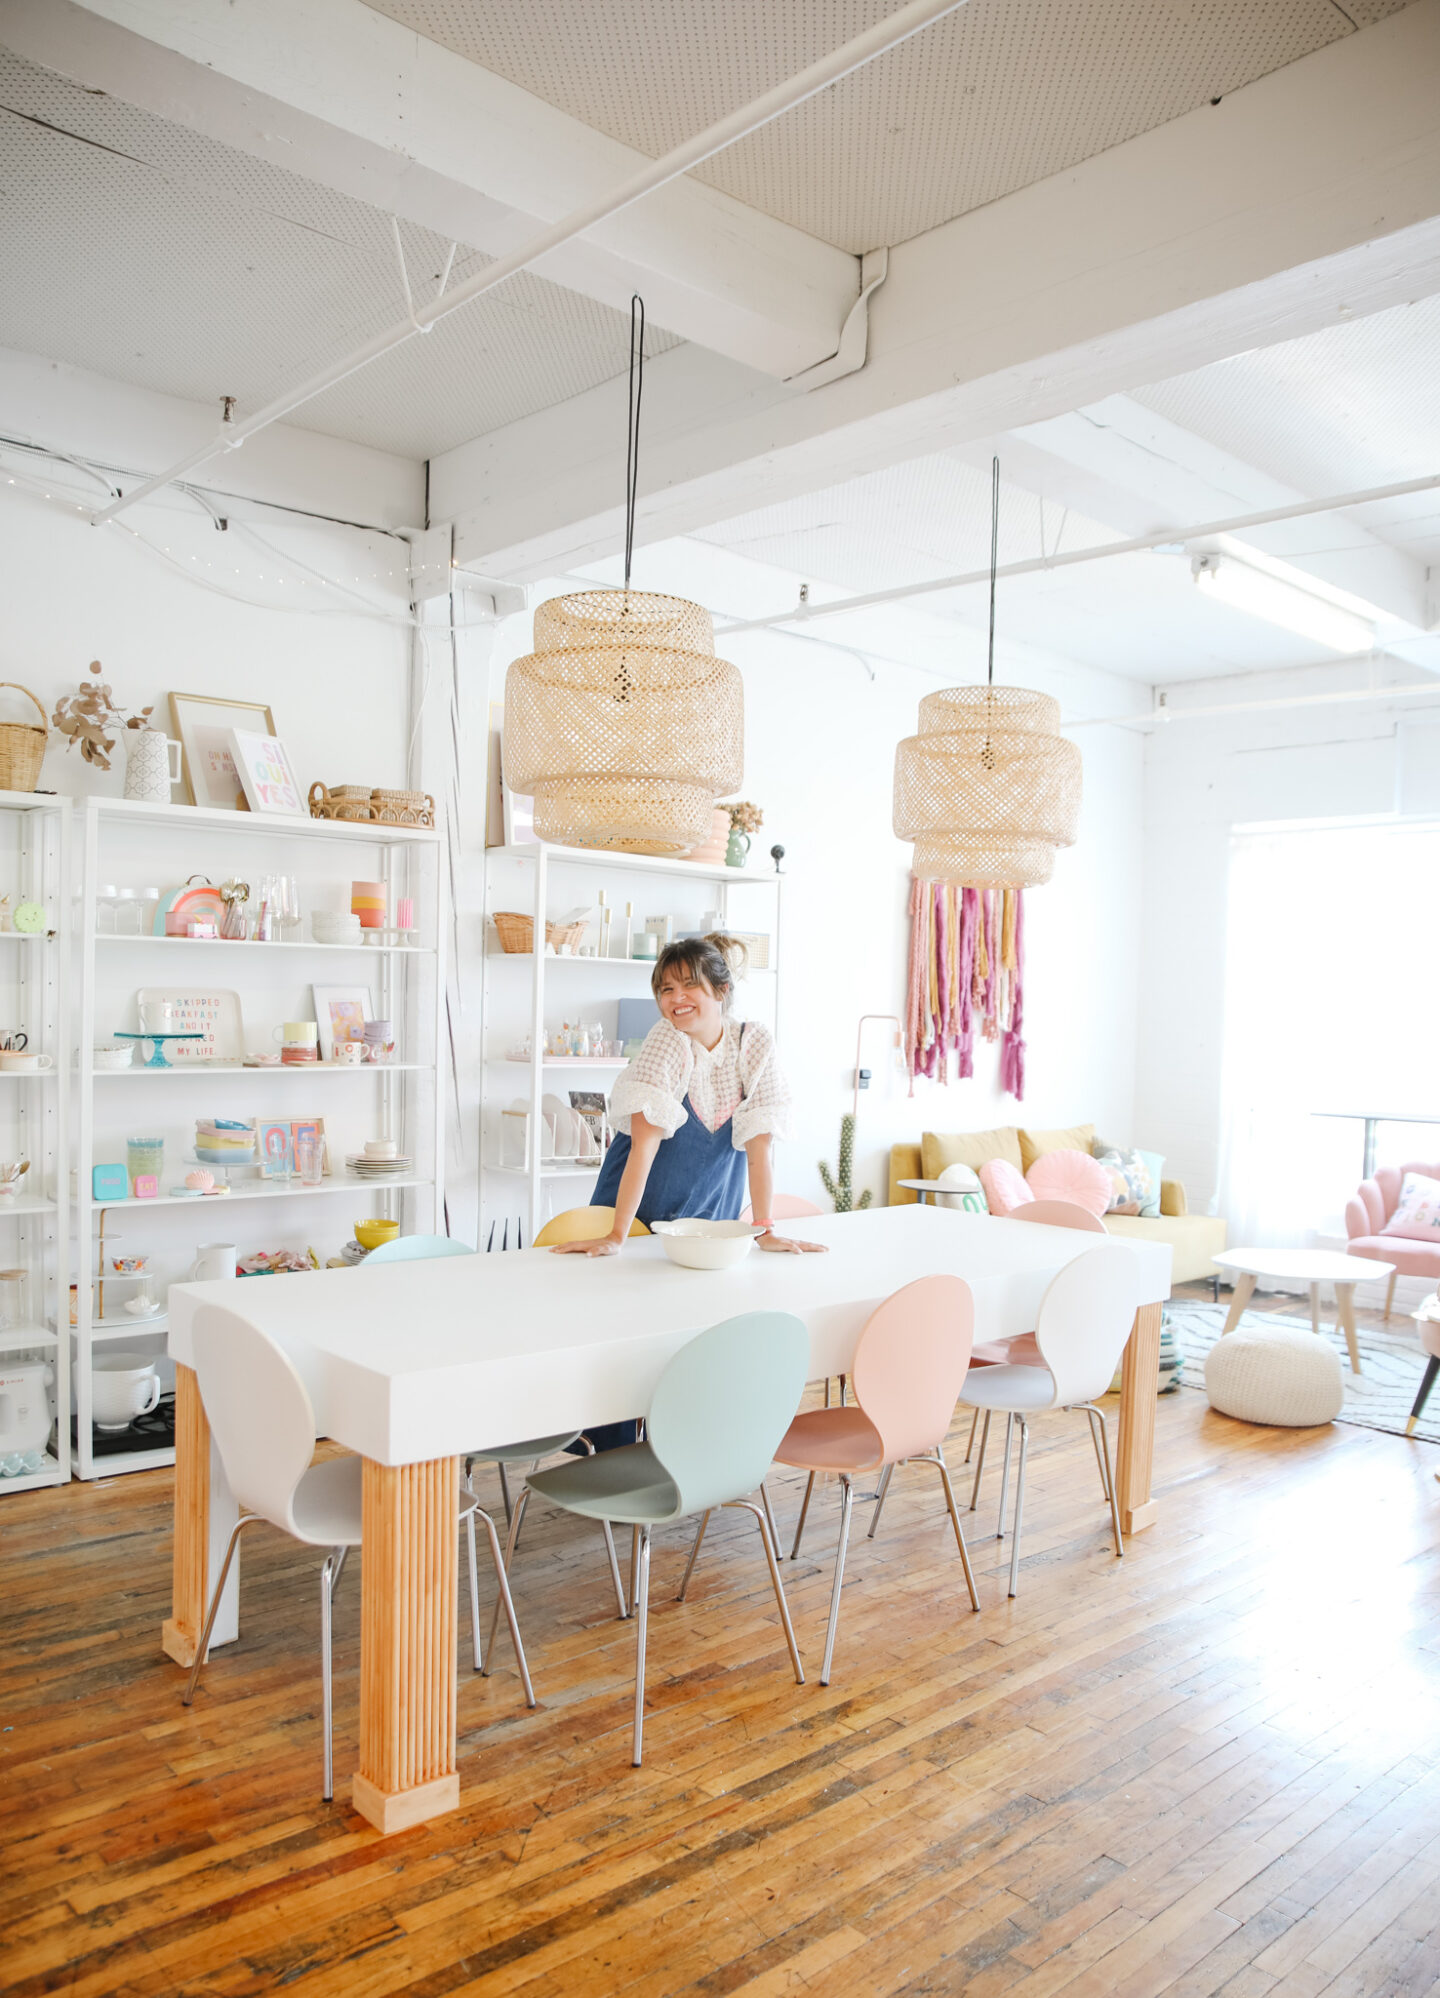
Let the paint dry for at least 2 hours, and voila! You’re ready to show your beautiful new modern fluted table, high five friend!
Here she is! I’m so so in love with this new modern look, I just can’t believe it is the same old table.
Would you try upcycling an old table at home?