Have Fun Making Your Own Glossier Mirror DIY in 3 Simple Steps!


Are you looking for a quick, cute and different solution for your bathroom mirror decor?
This project might be the one!
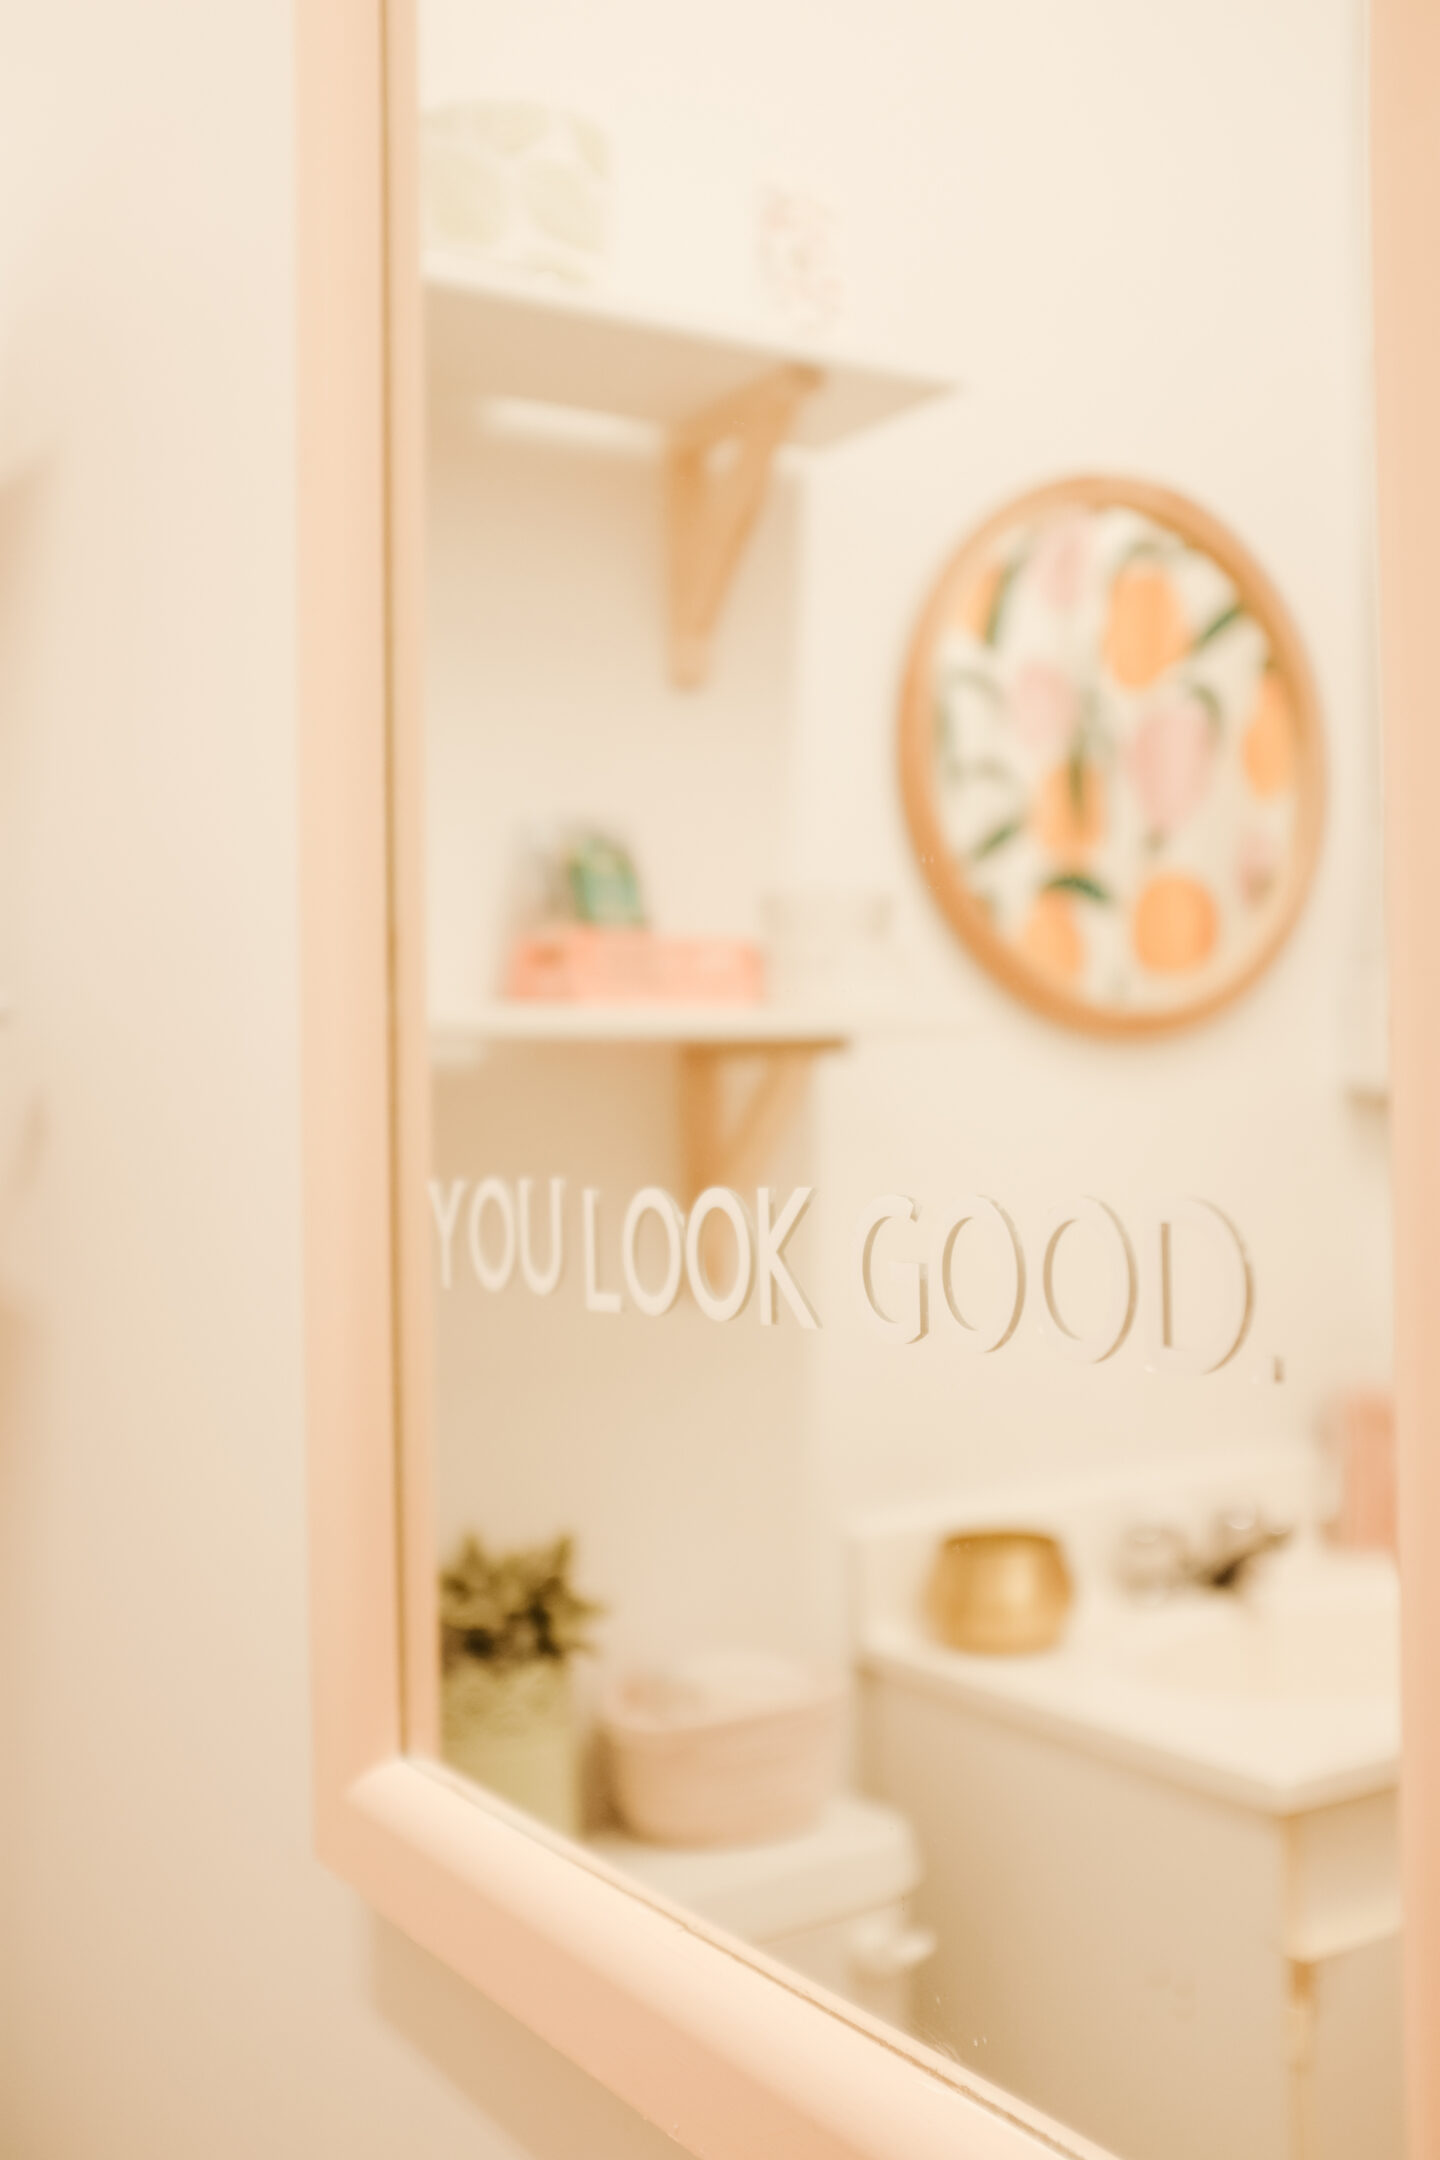
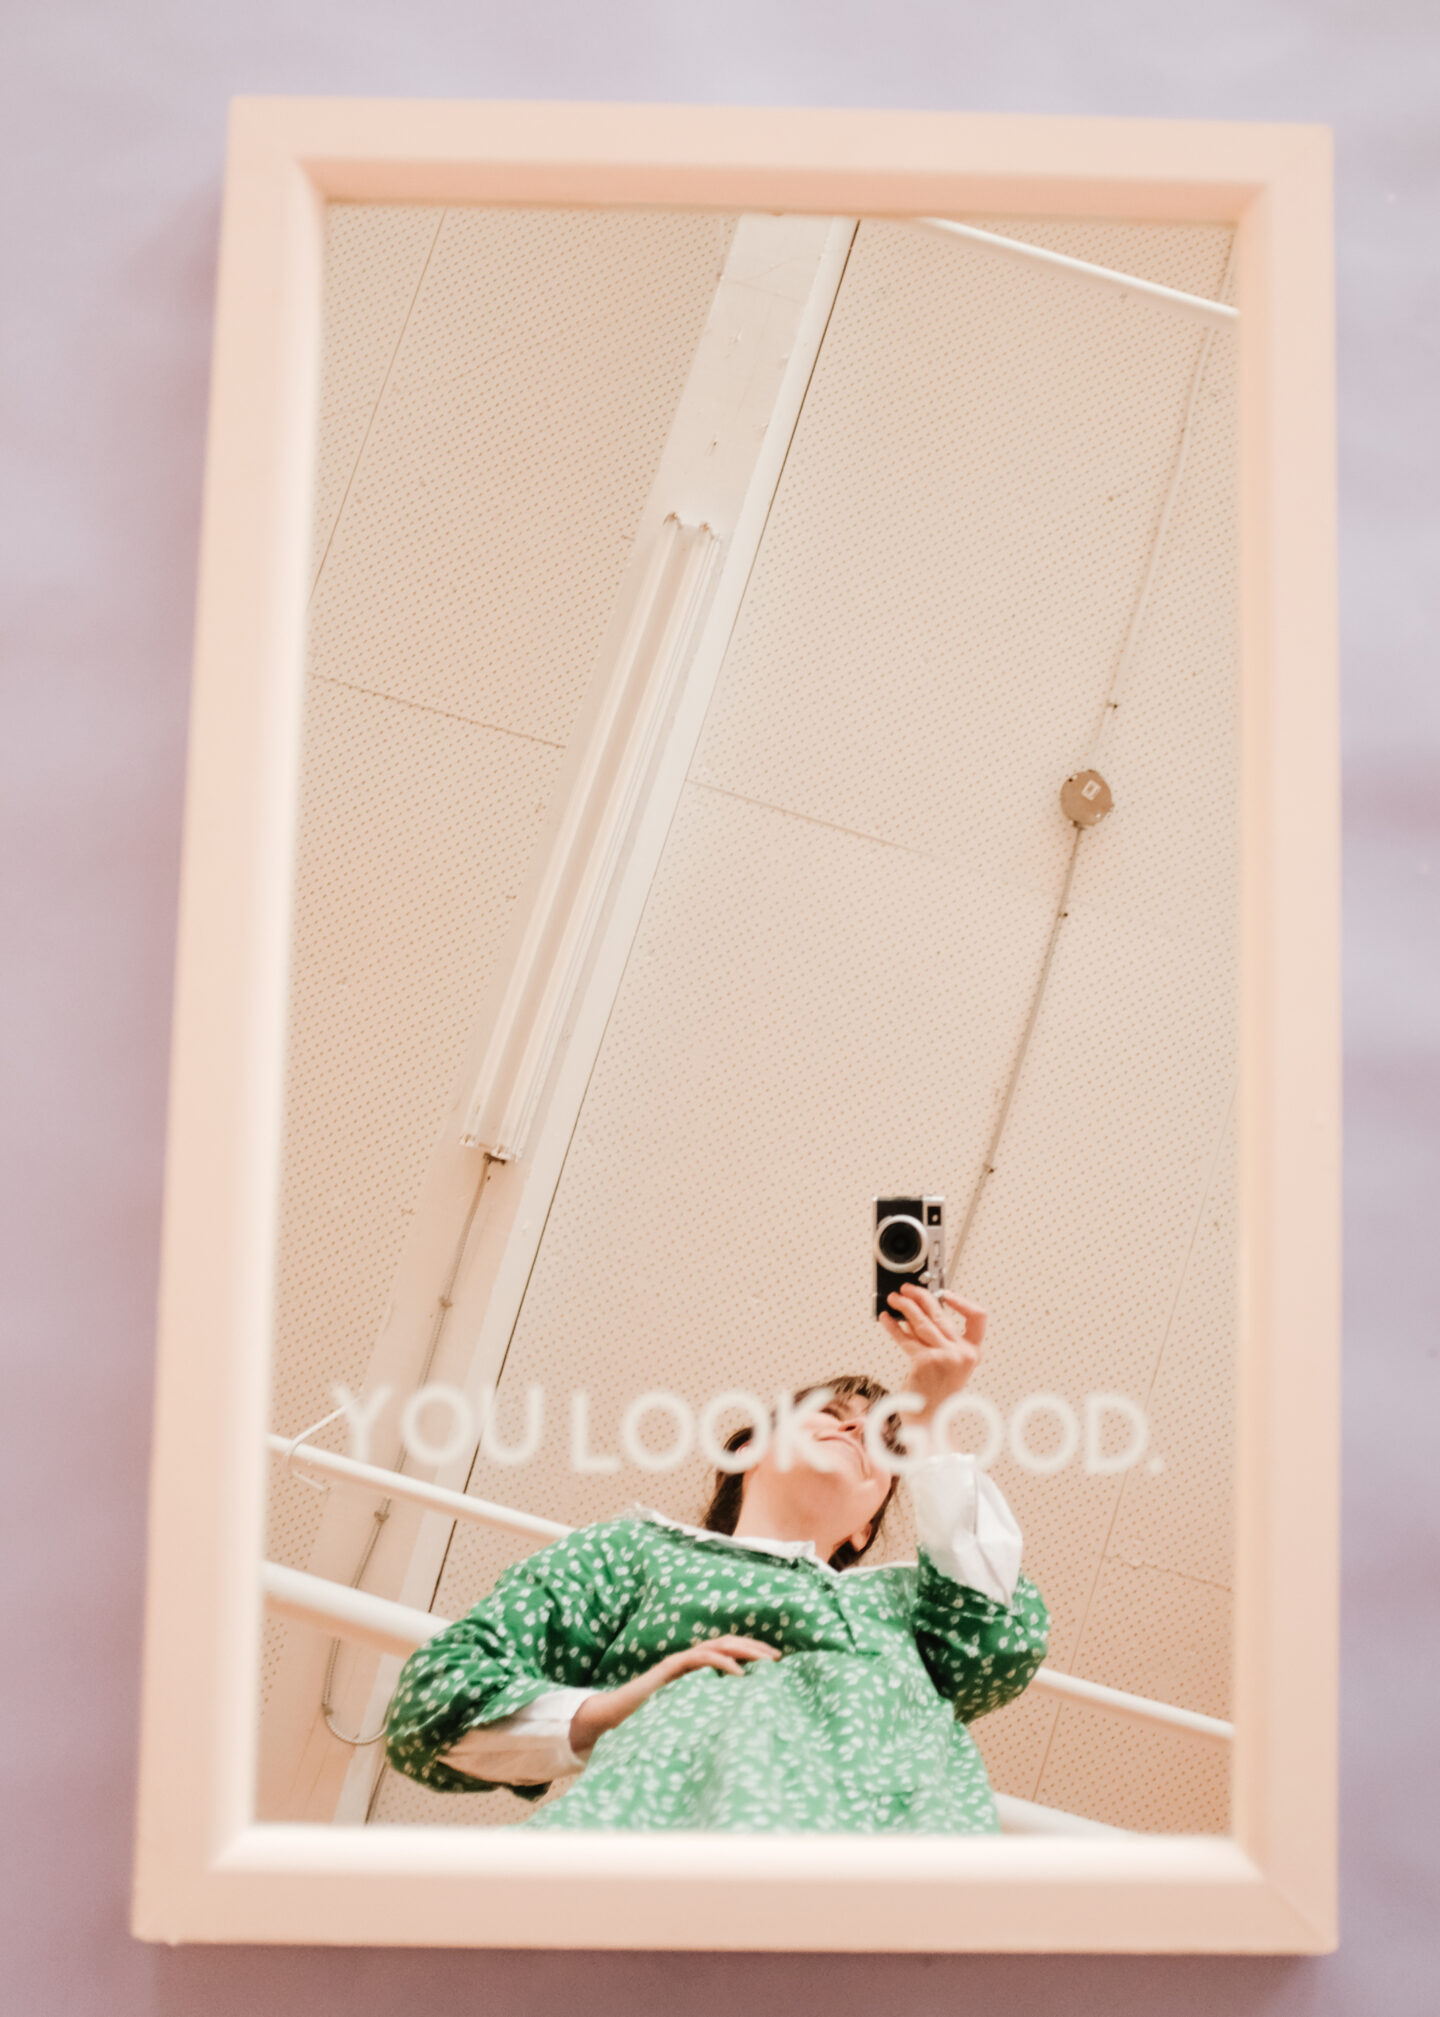
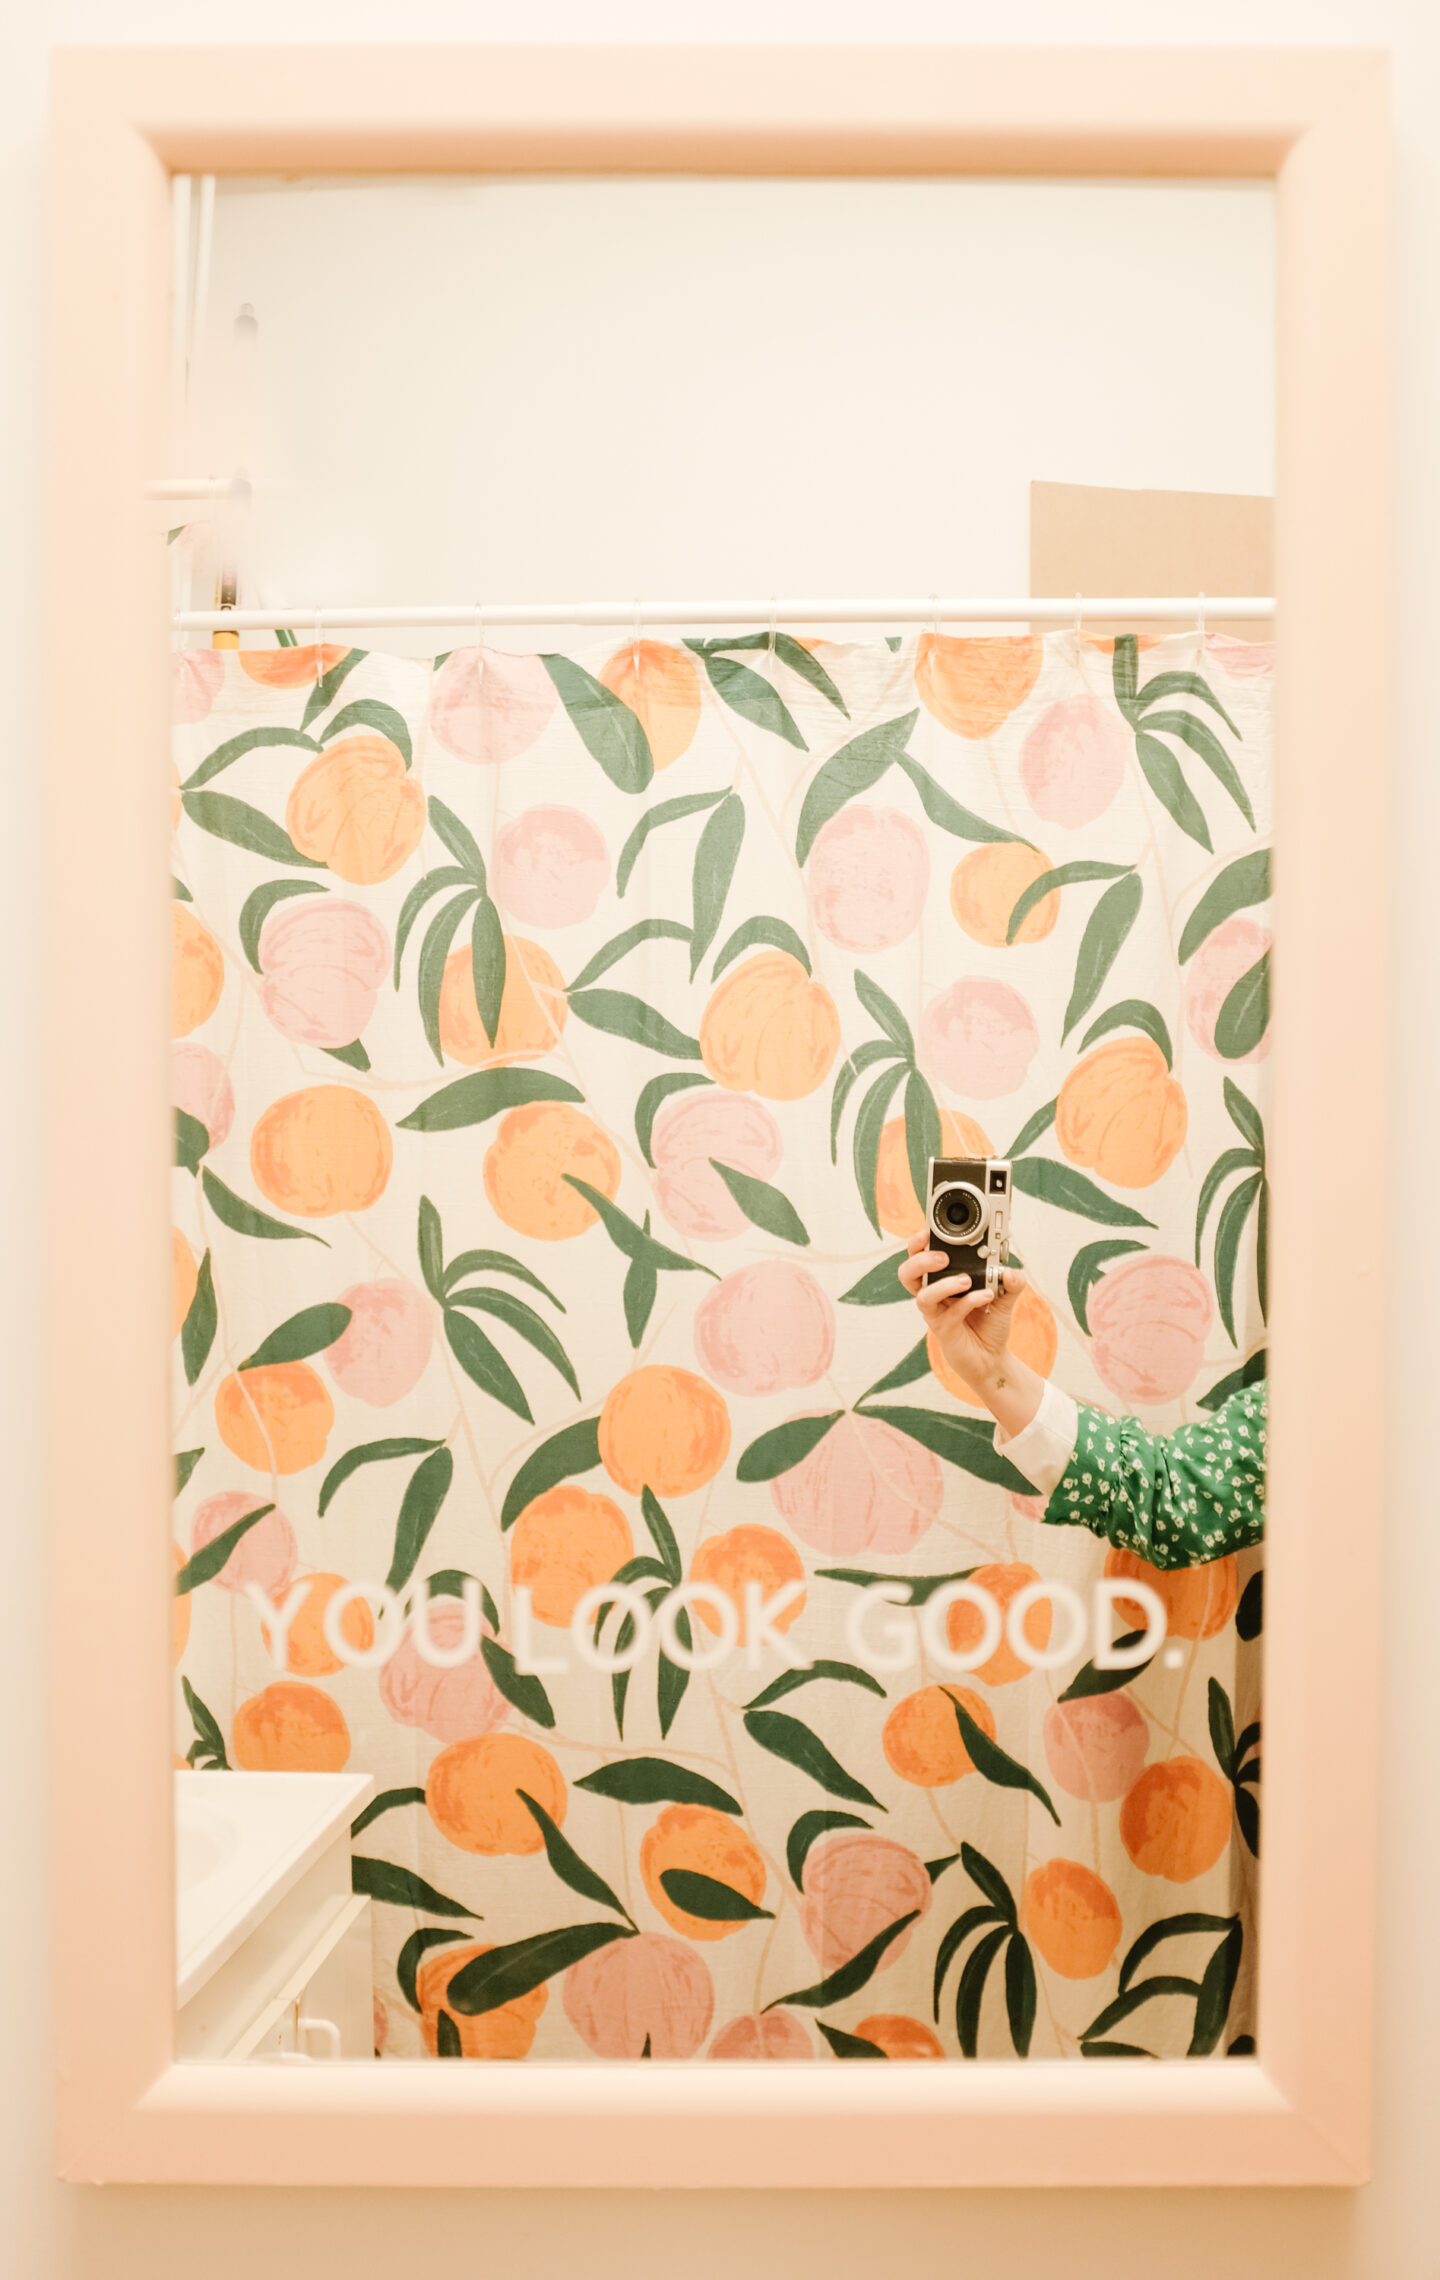
Inspired by the ultra-famous you look good Glossier selfie mirror (that I looooooove with all my heart), I knew I had to recreate this at the studio, to get a daily positive reminder that things are GOOD.
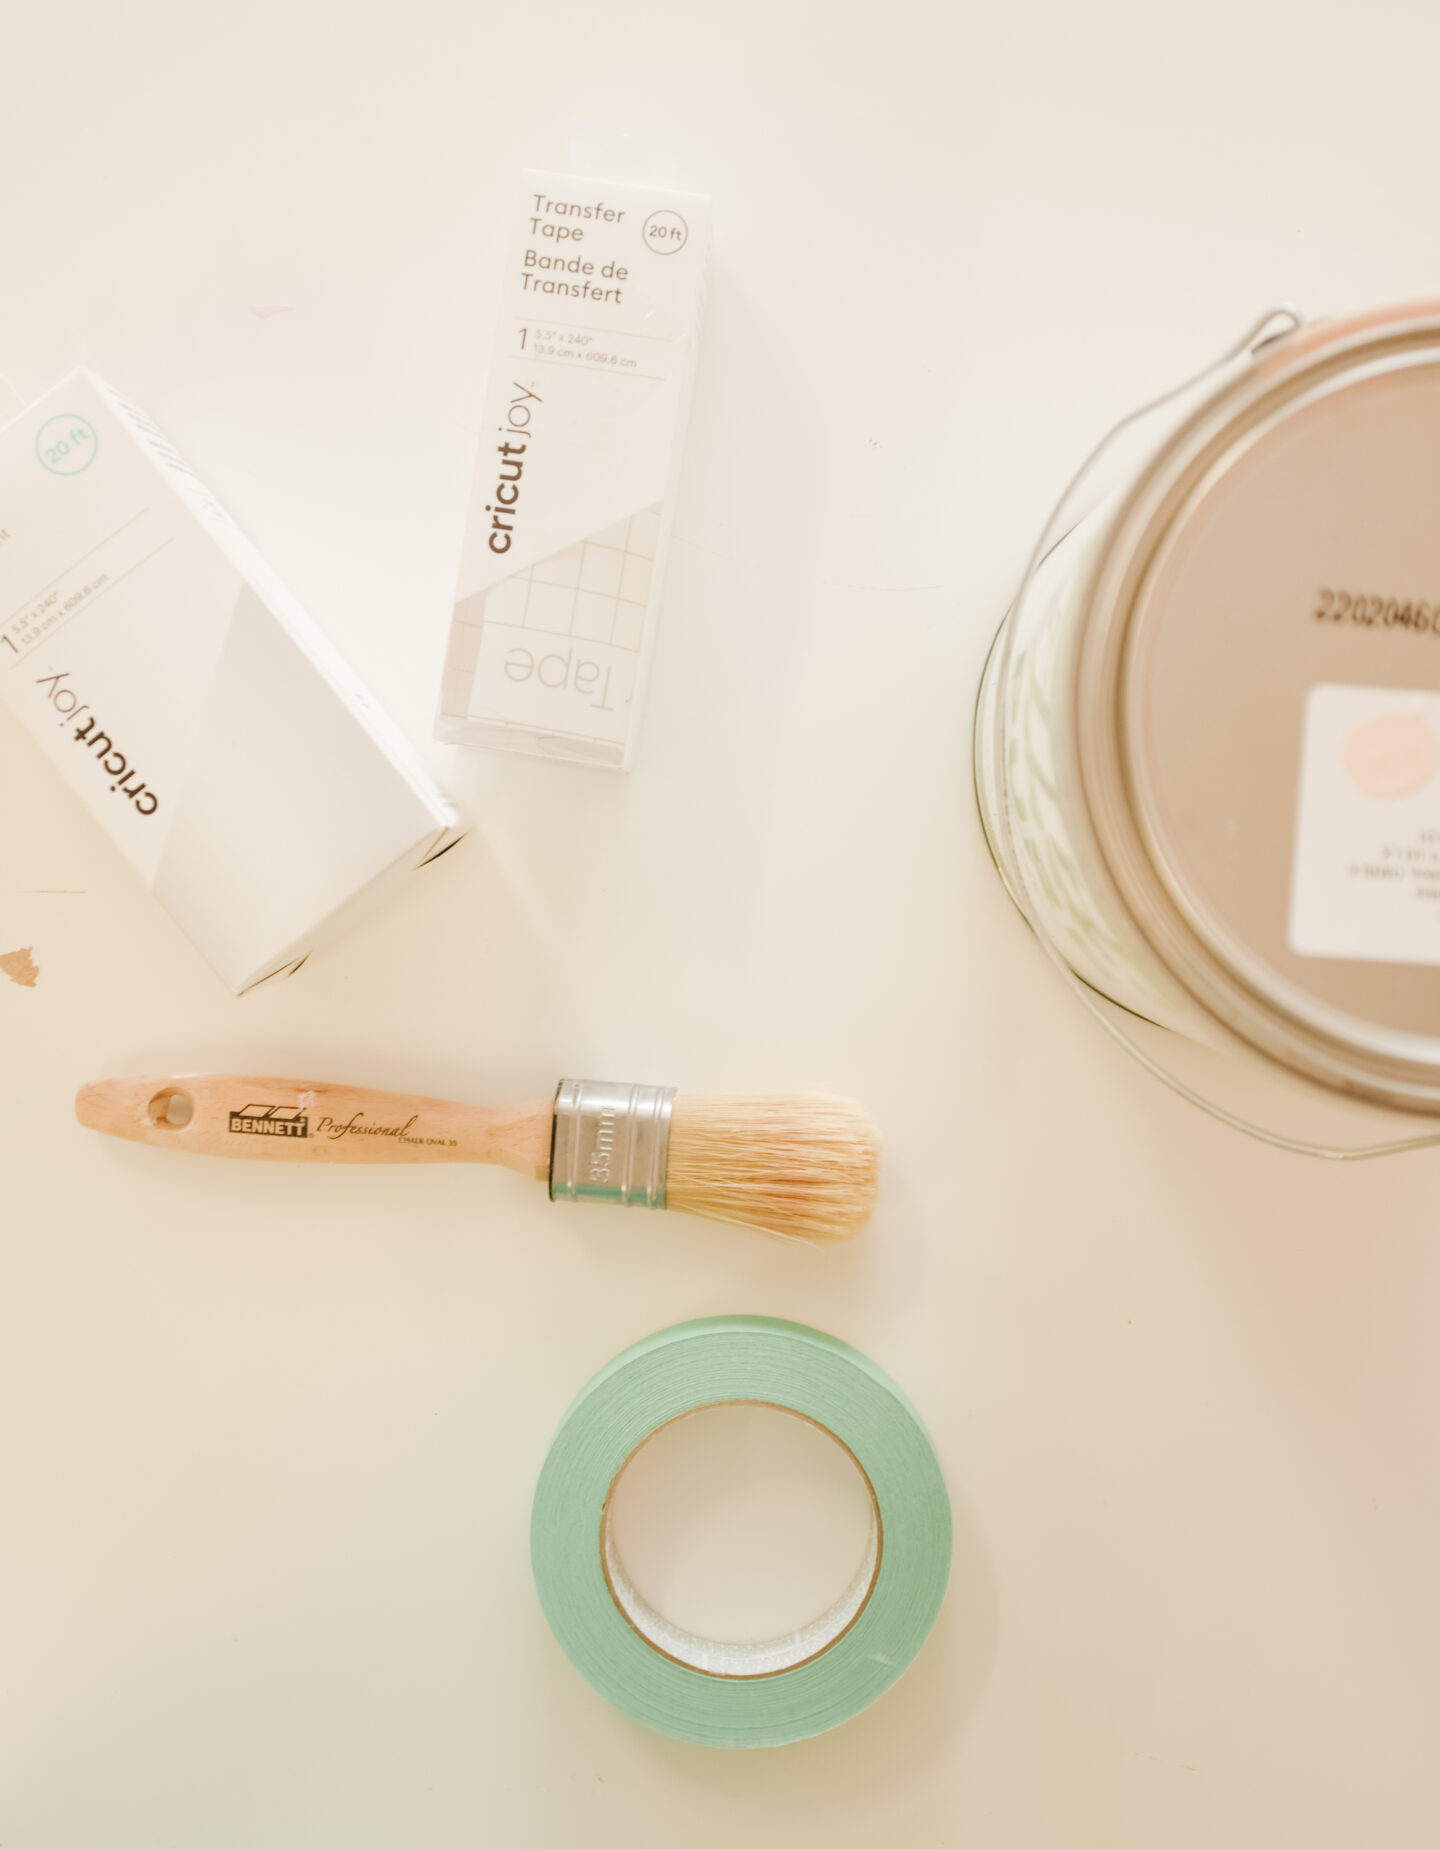
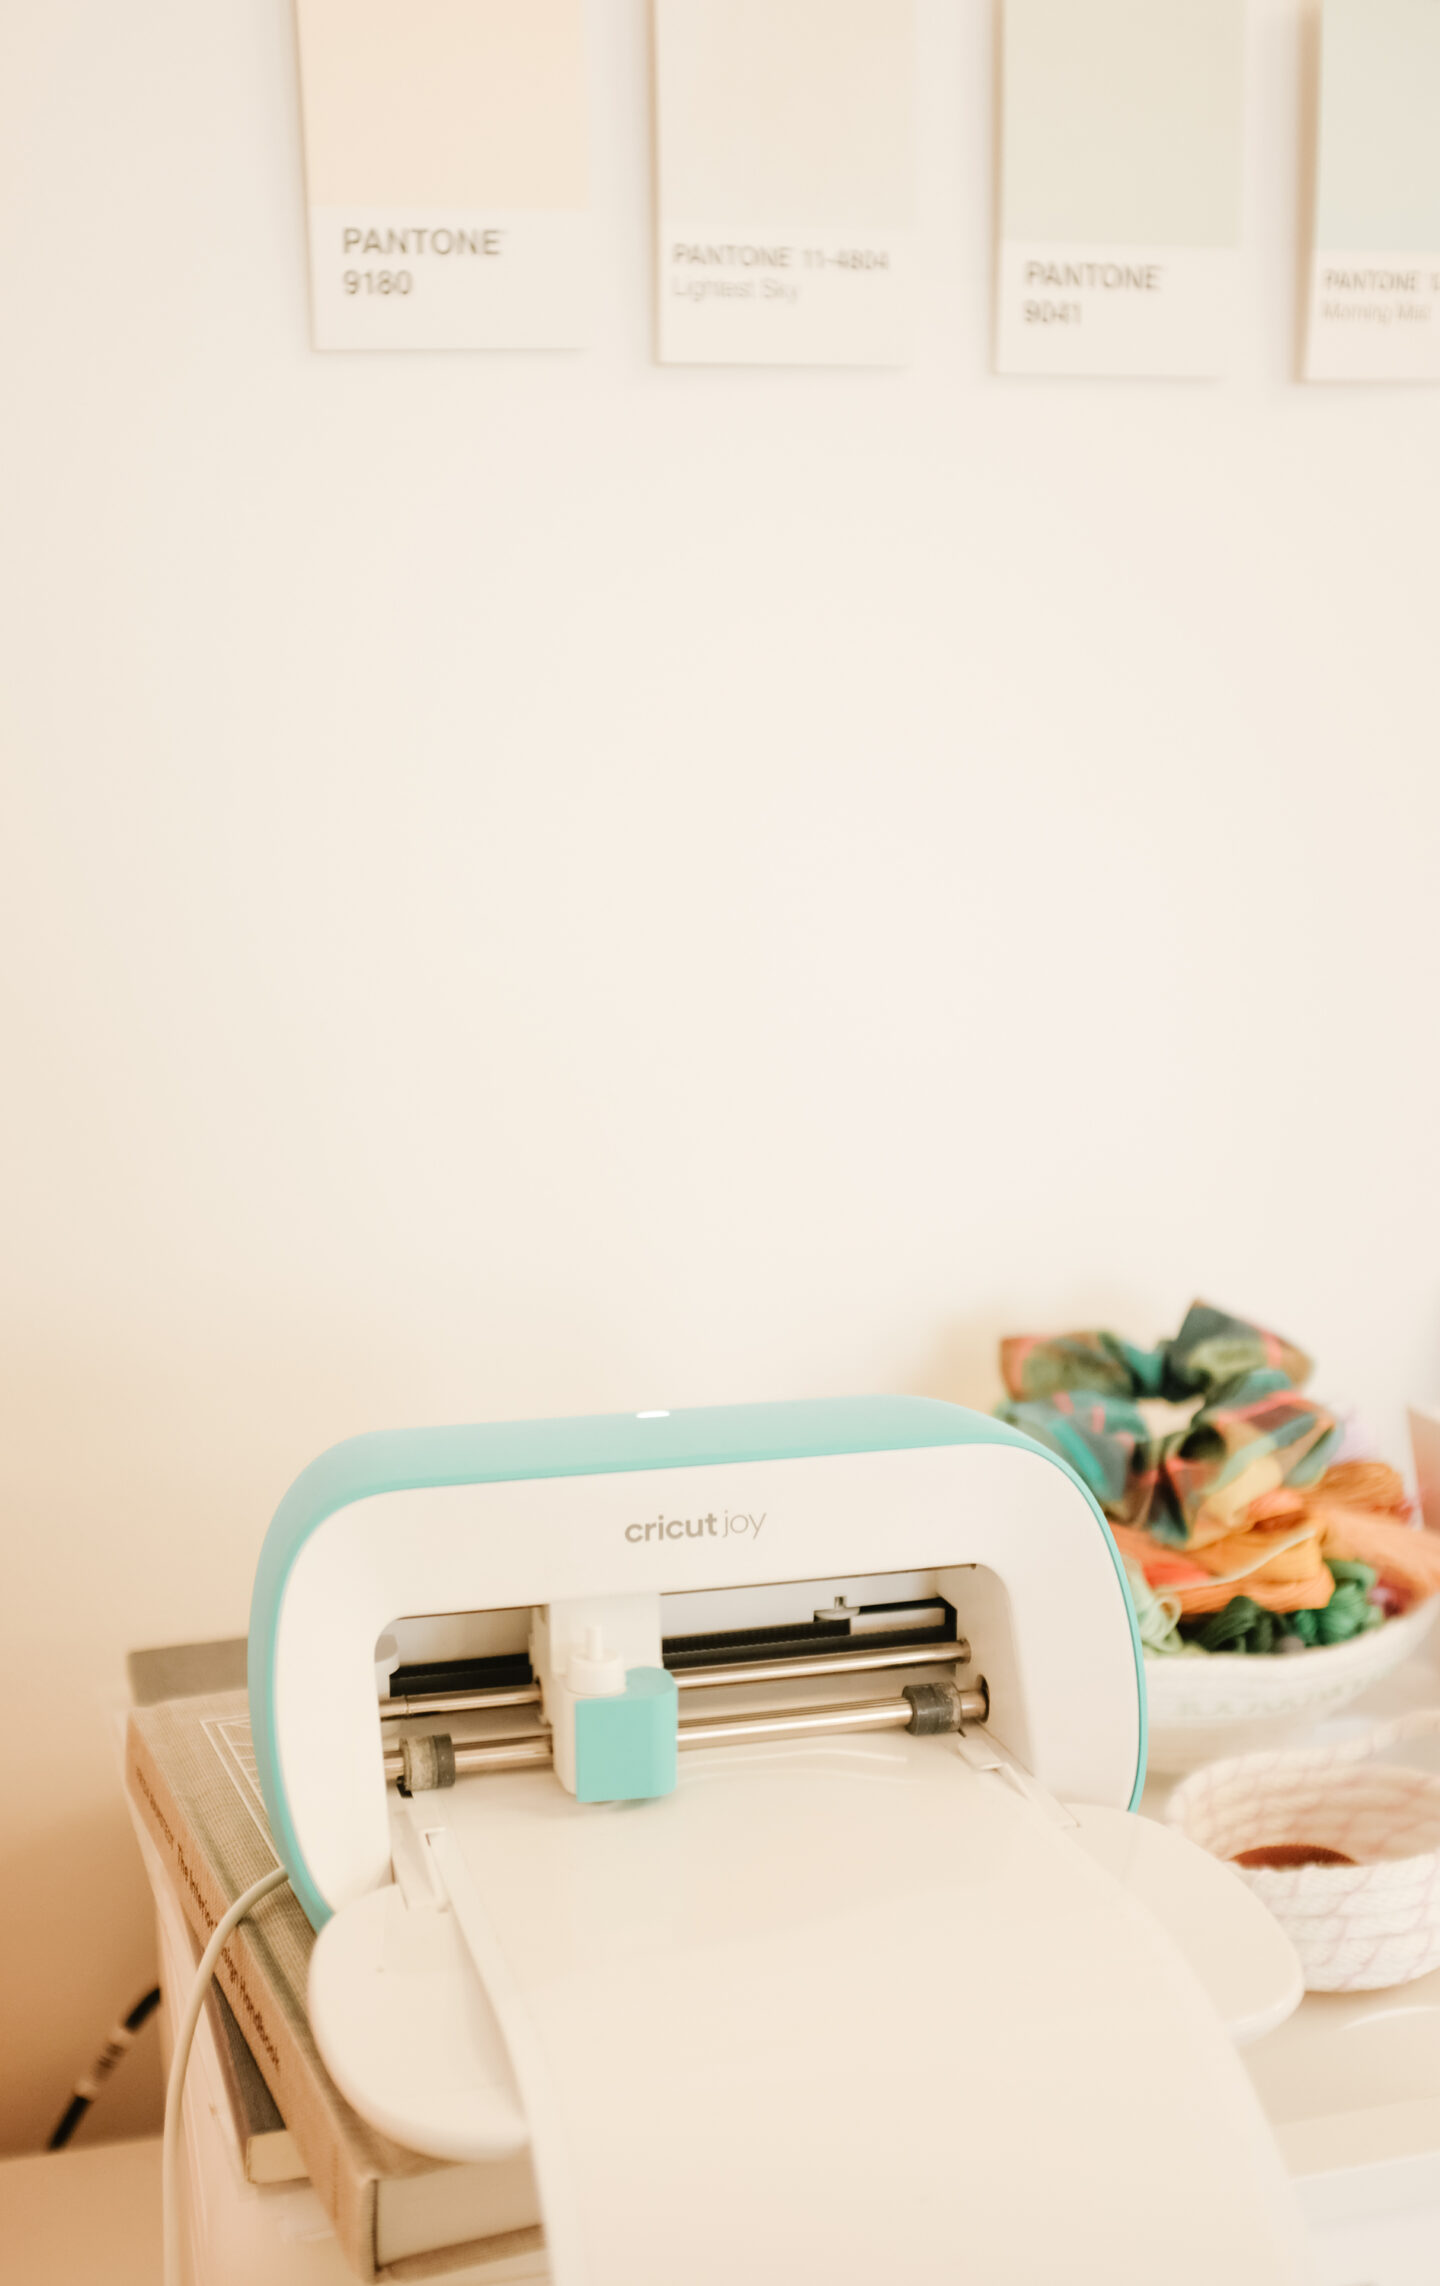
This DIY is super simple and it costs next to nothing! I used an old mirror, pink paint (from the scalloped pink wall project), a tiny bit of vinyl and my Cricut joy machine, yes! that’s it!
Let’s start this cuteness, deal?
– Paint (any colour you want to use)
– Mirror (can be round or rectangular like mine)
– Cricut machine (I used this one)
– White vinyl and transfer tape (for Cricut machines)
– Scissors
– Painters tape
– Paint brush
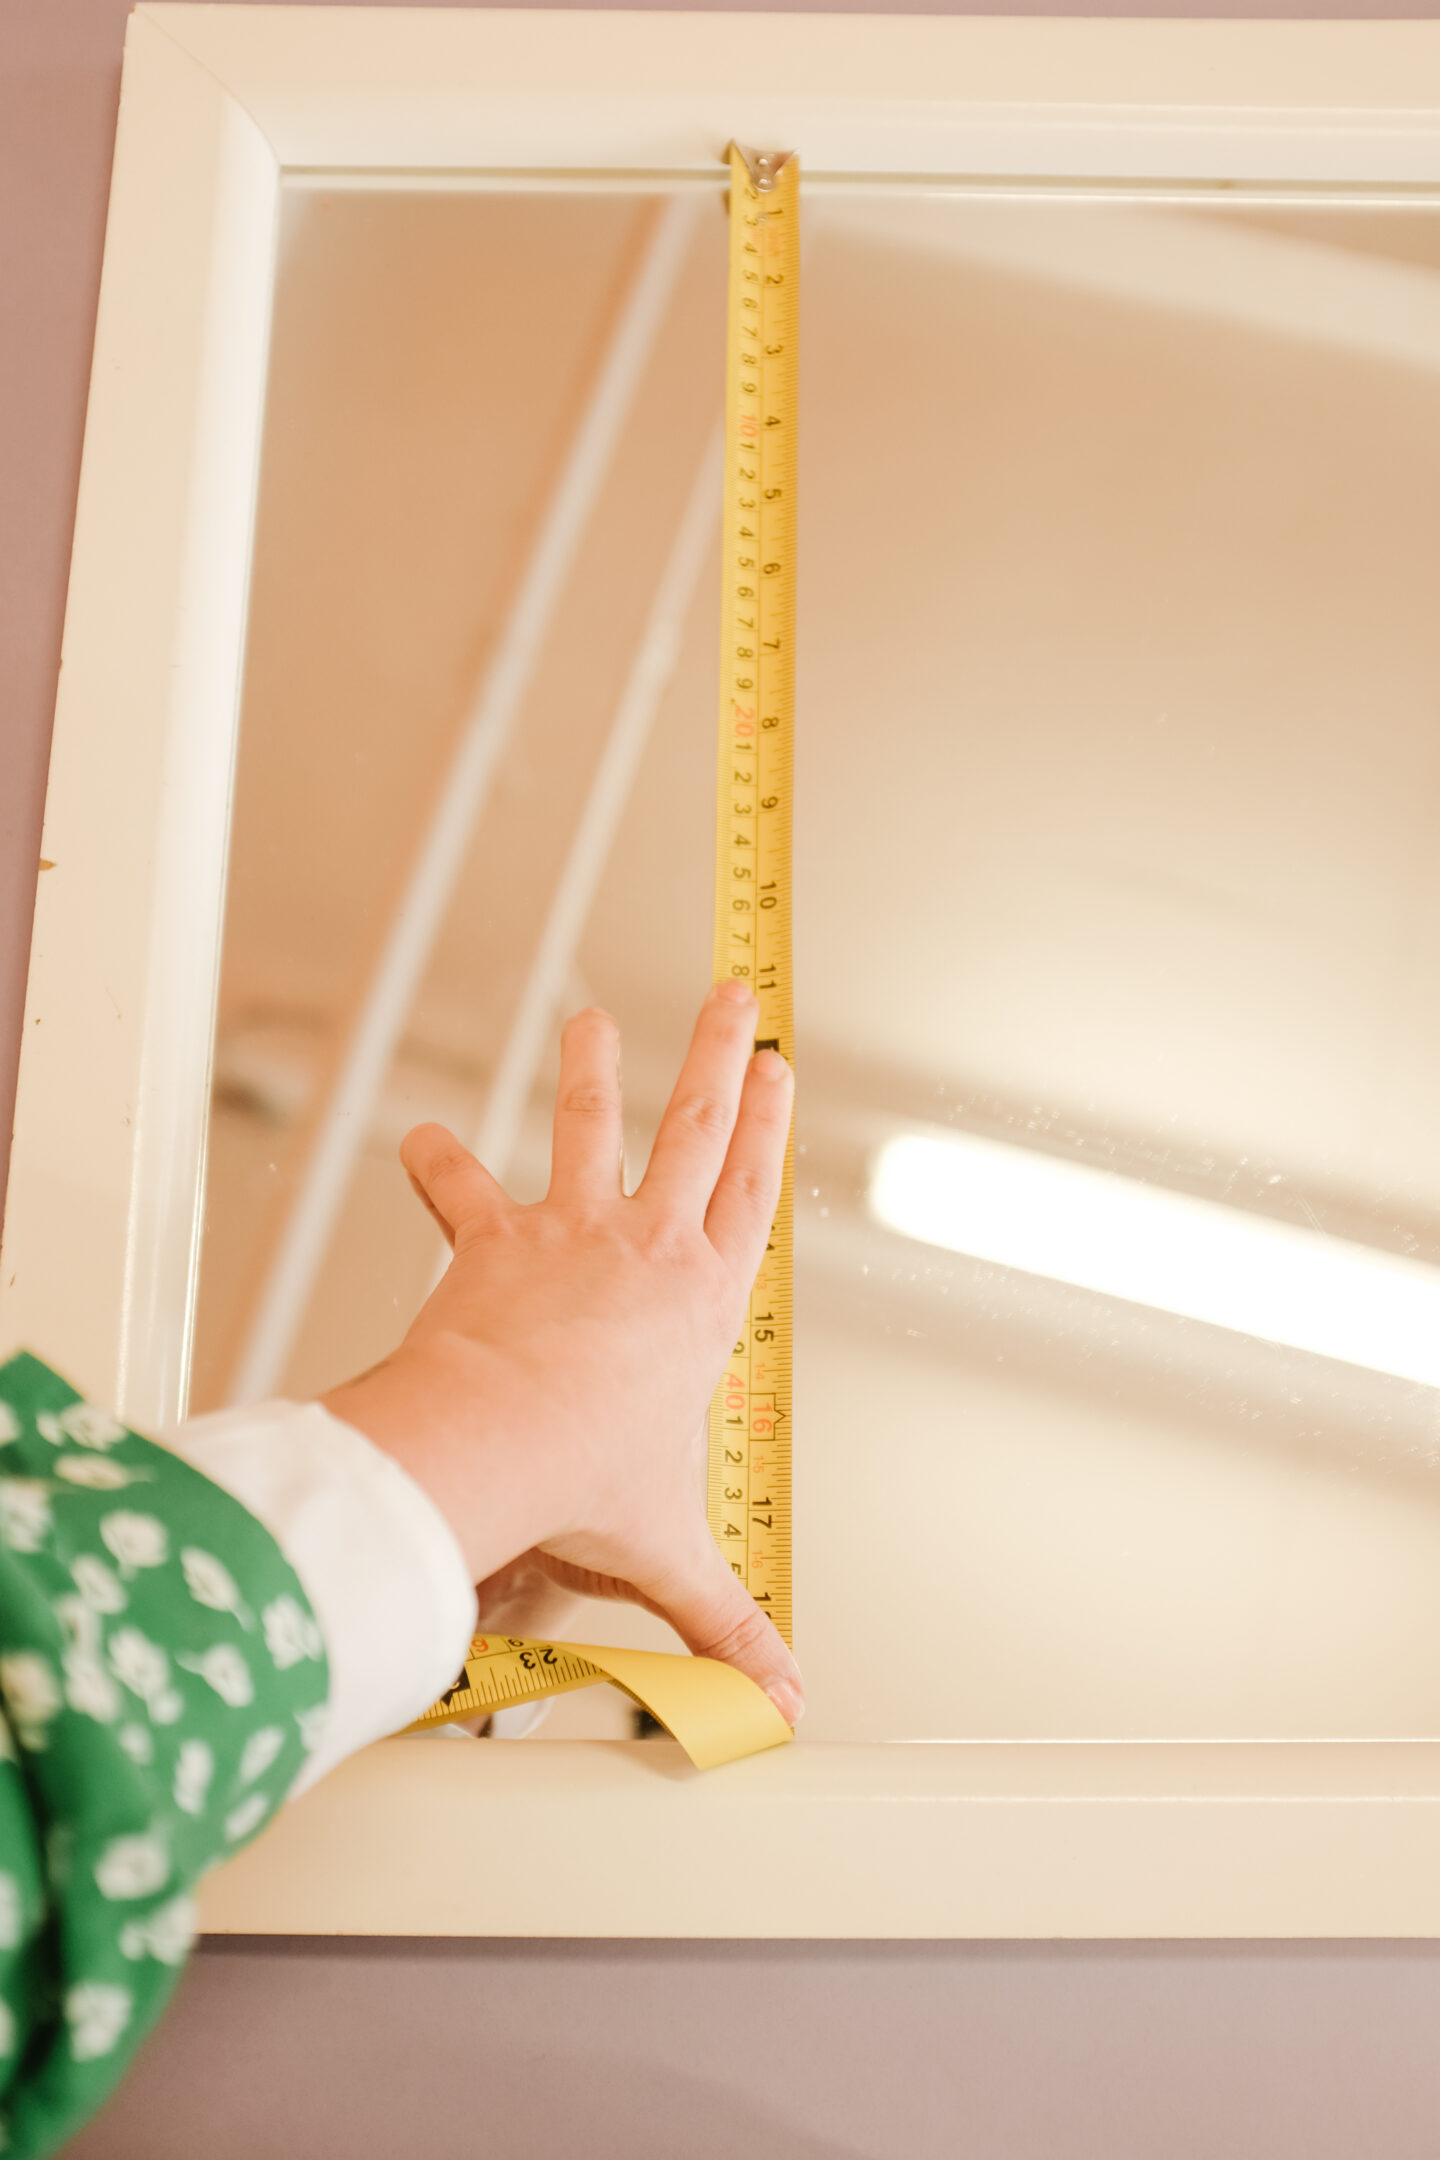
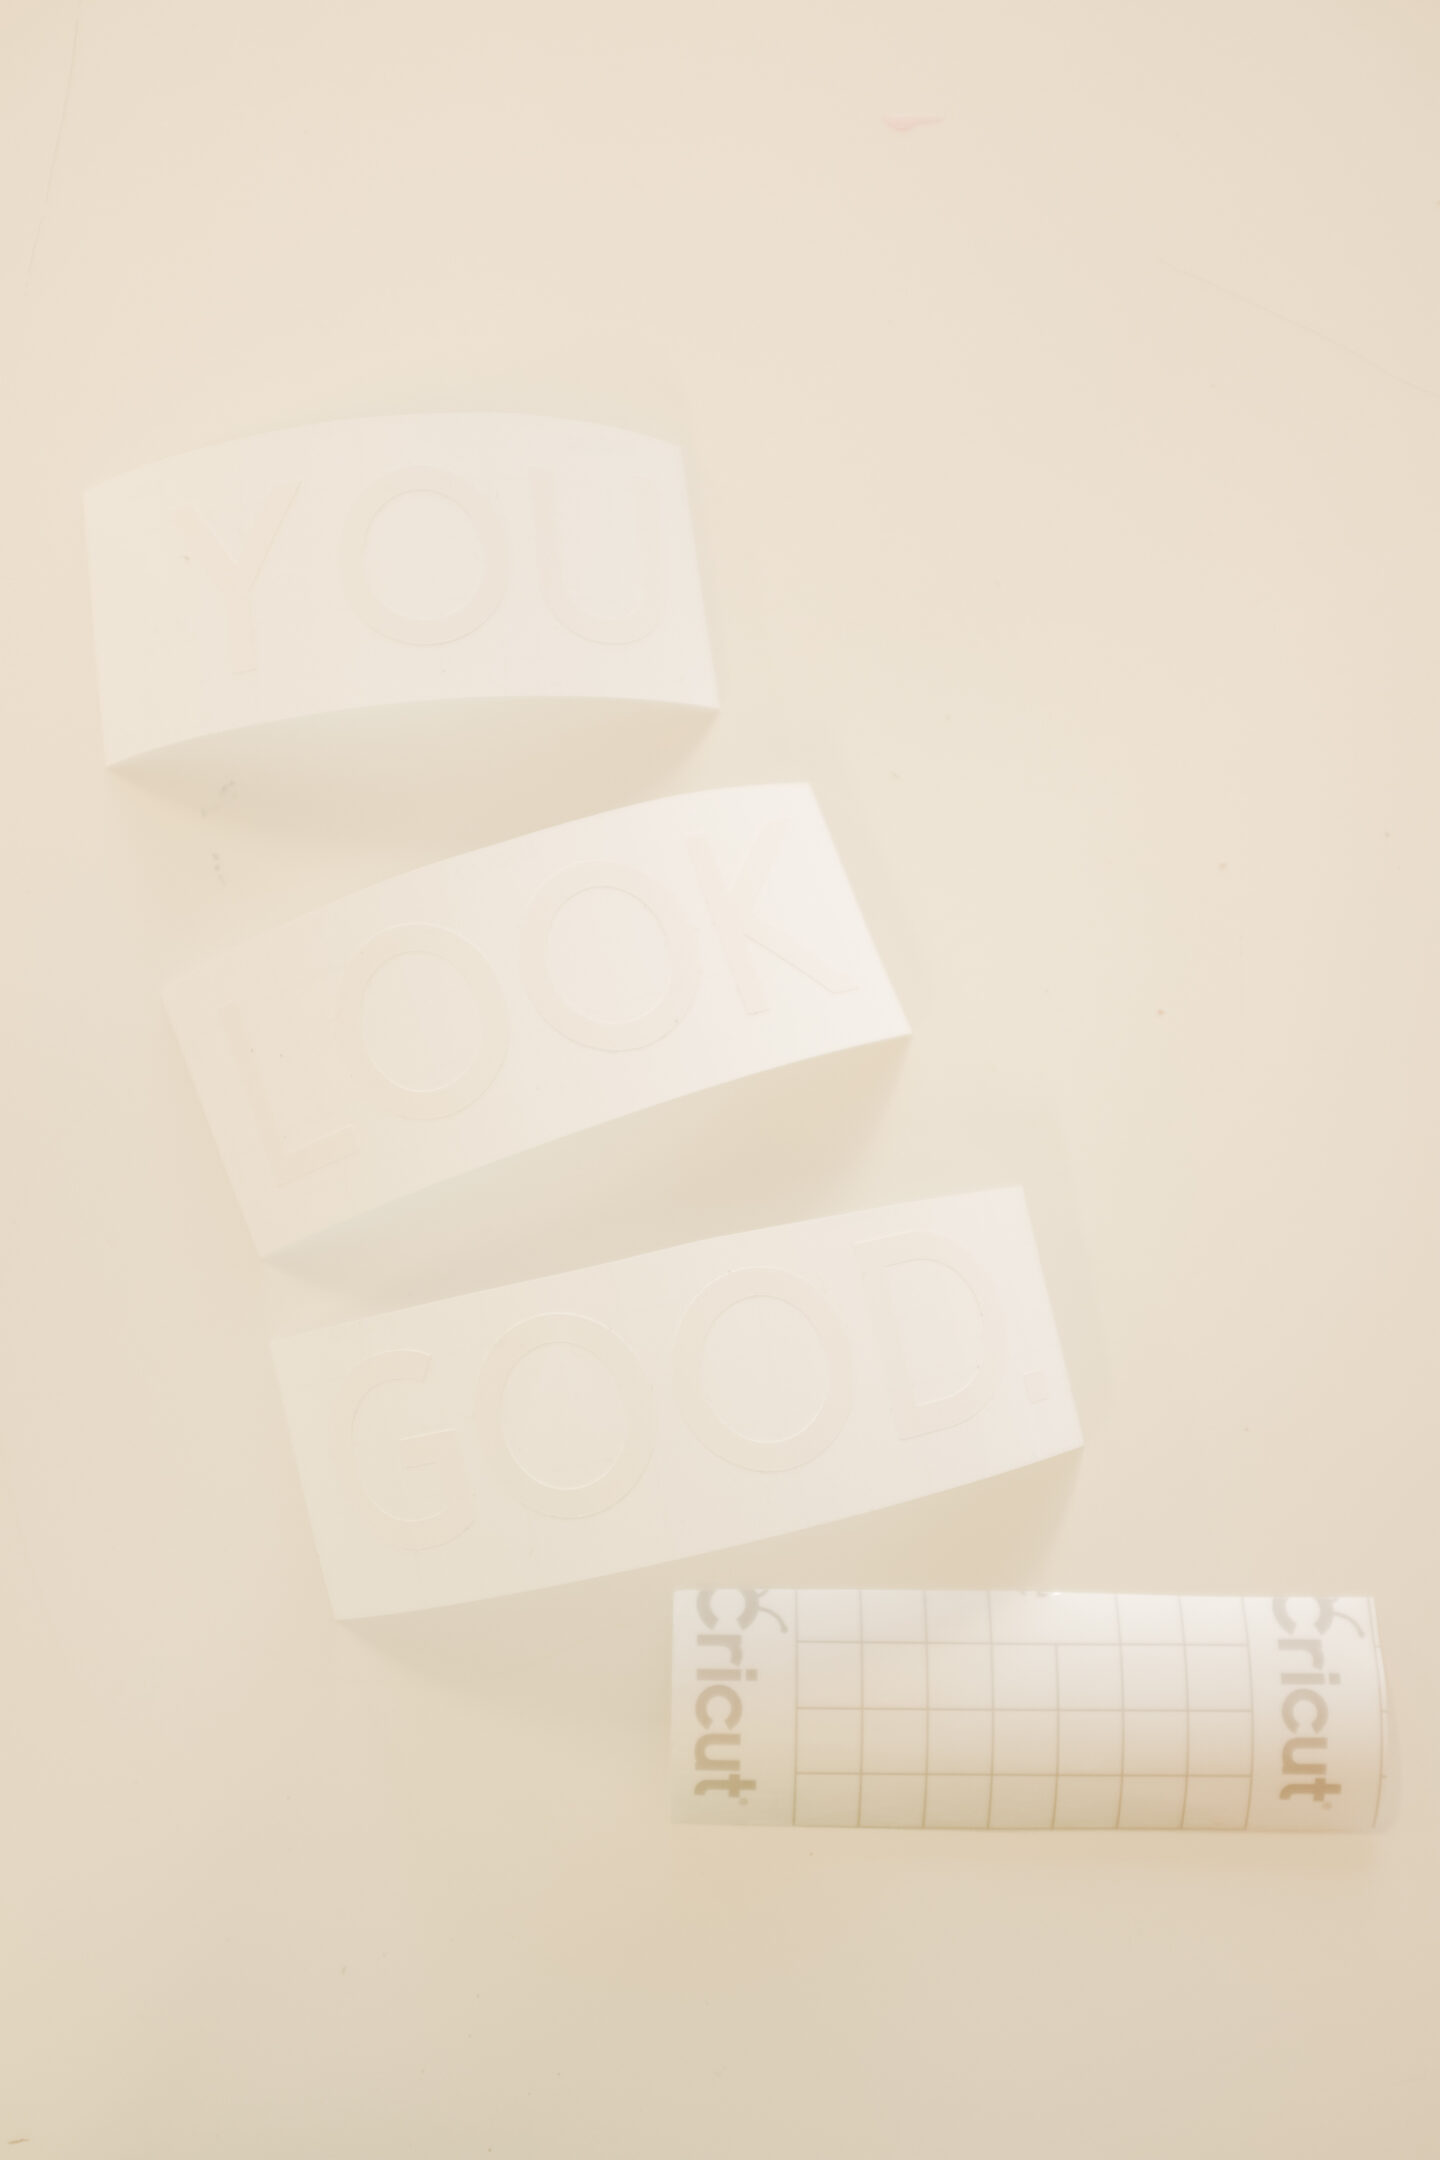
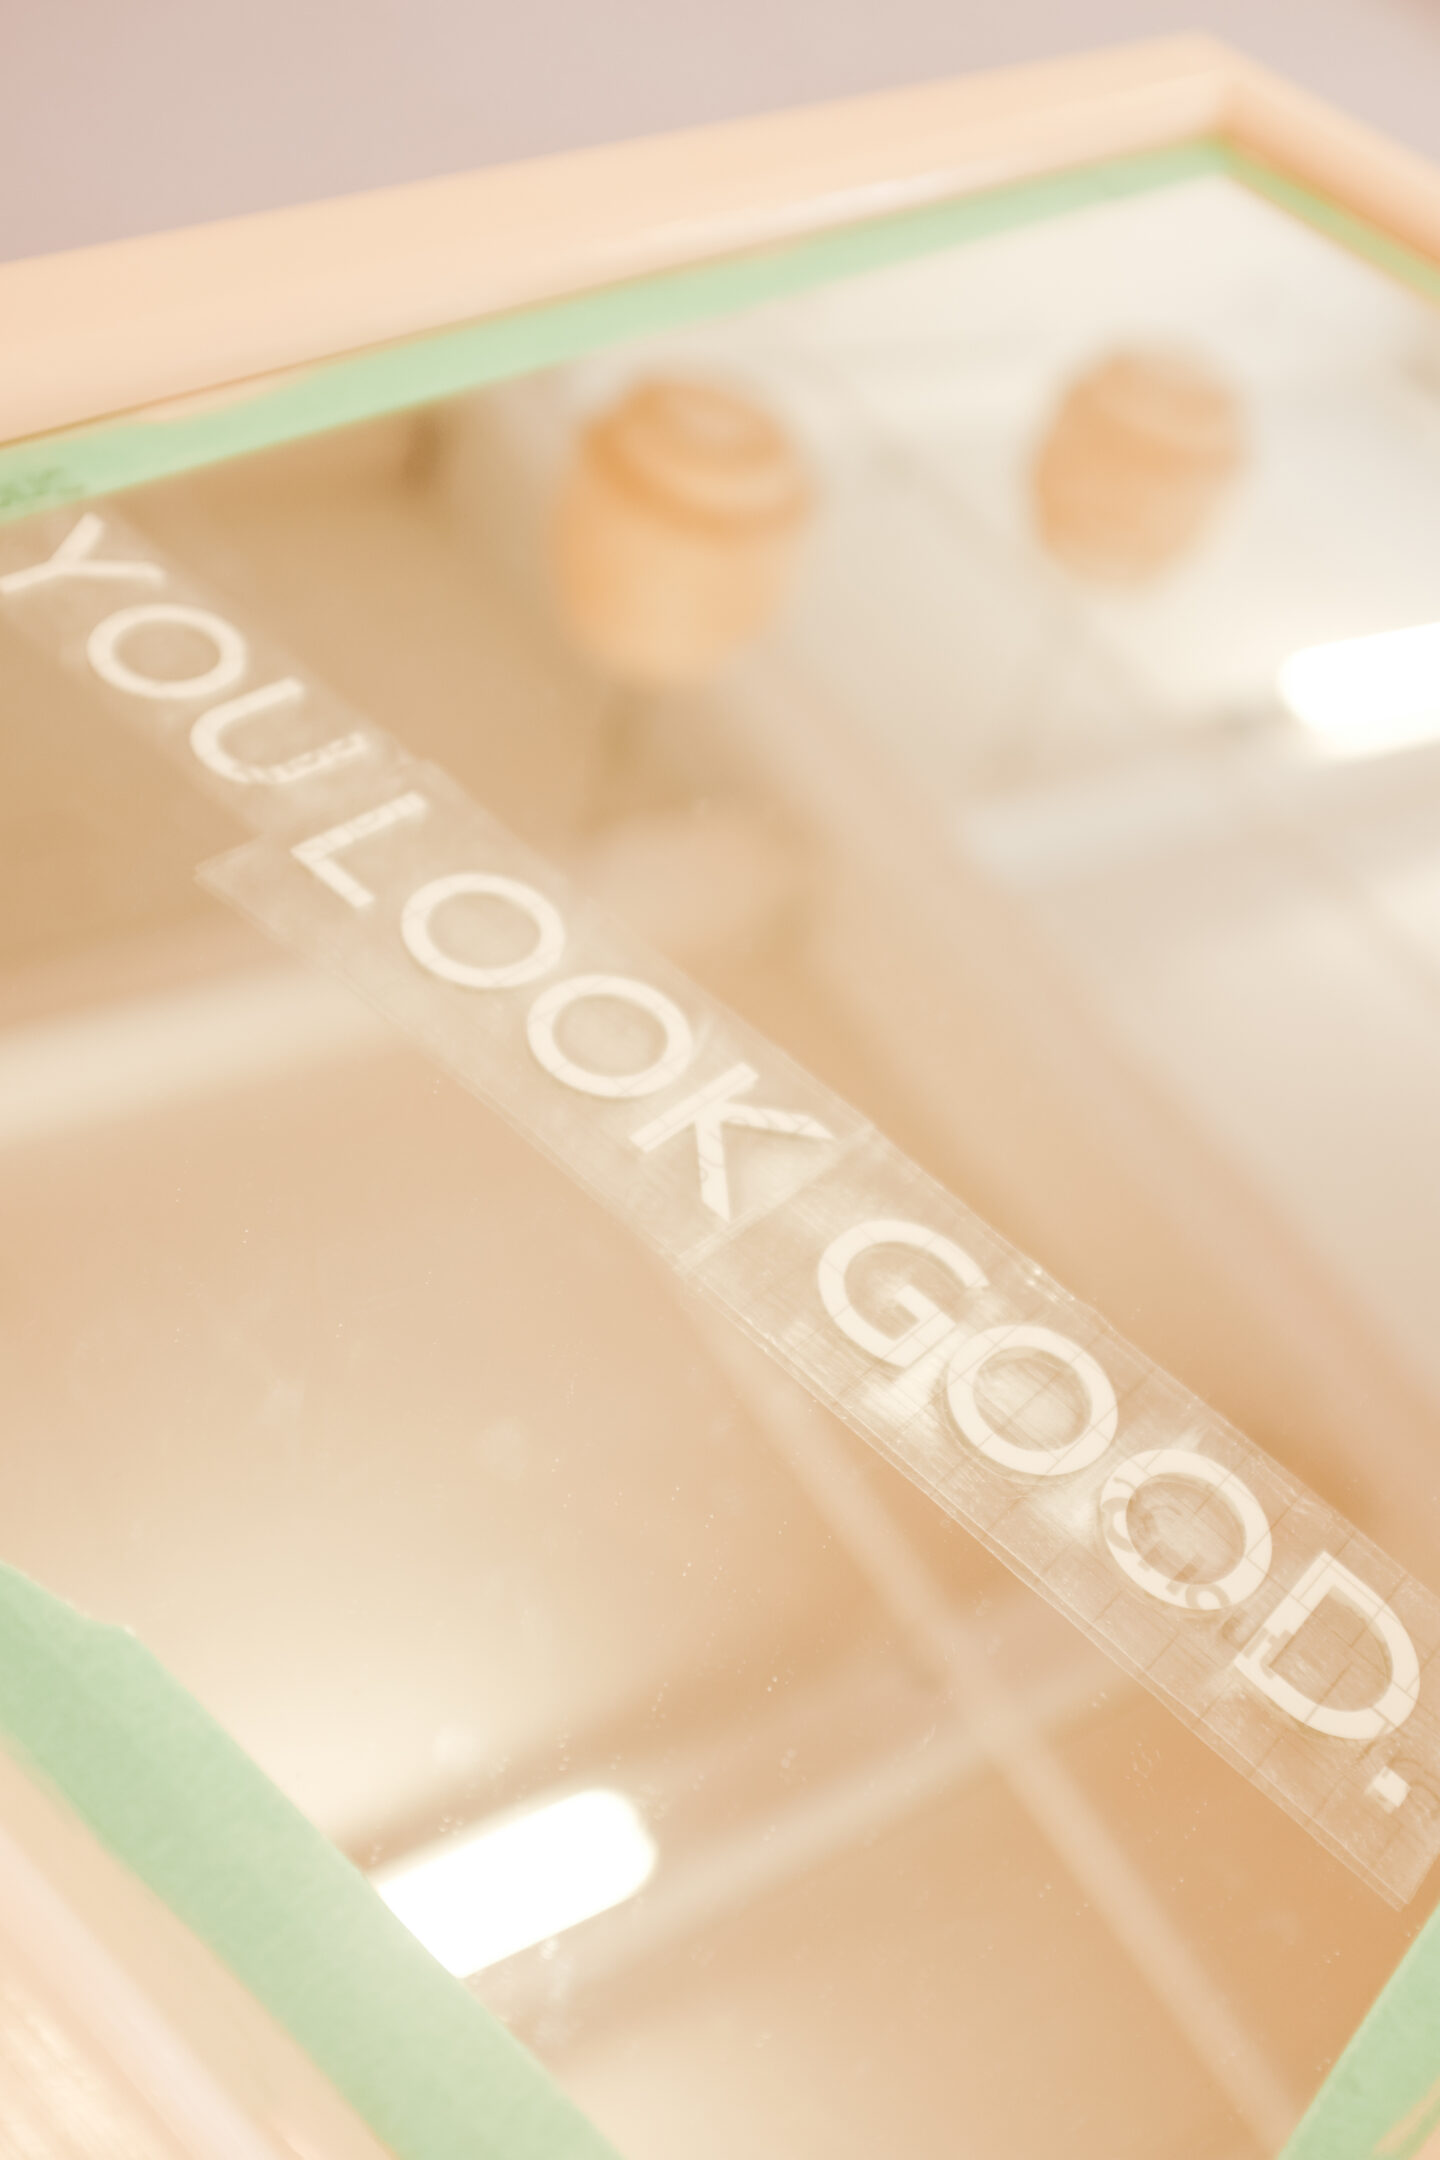
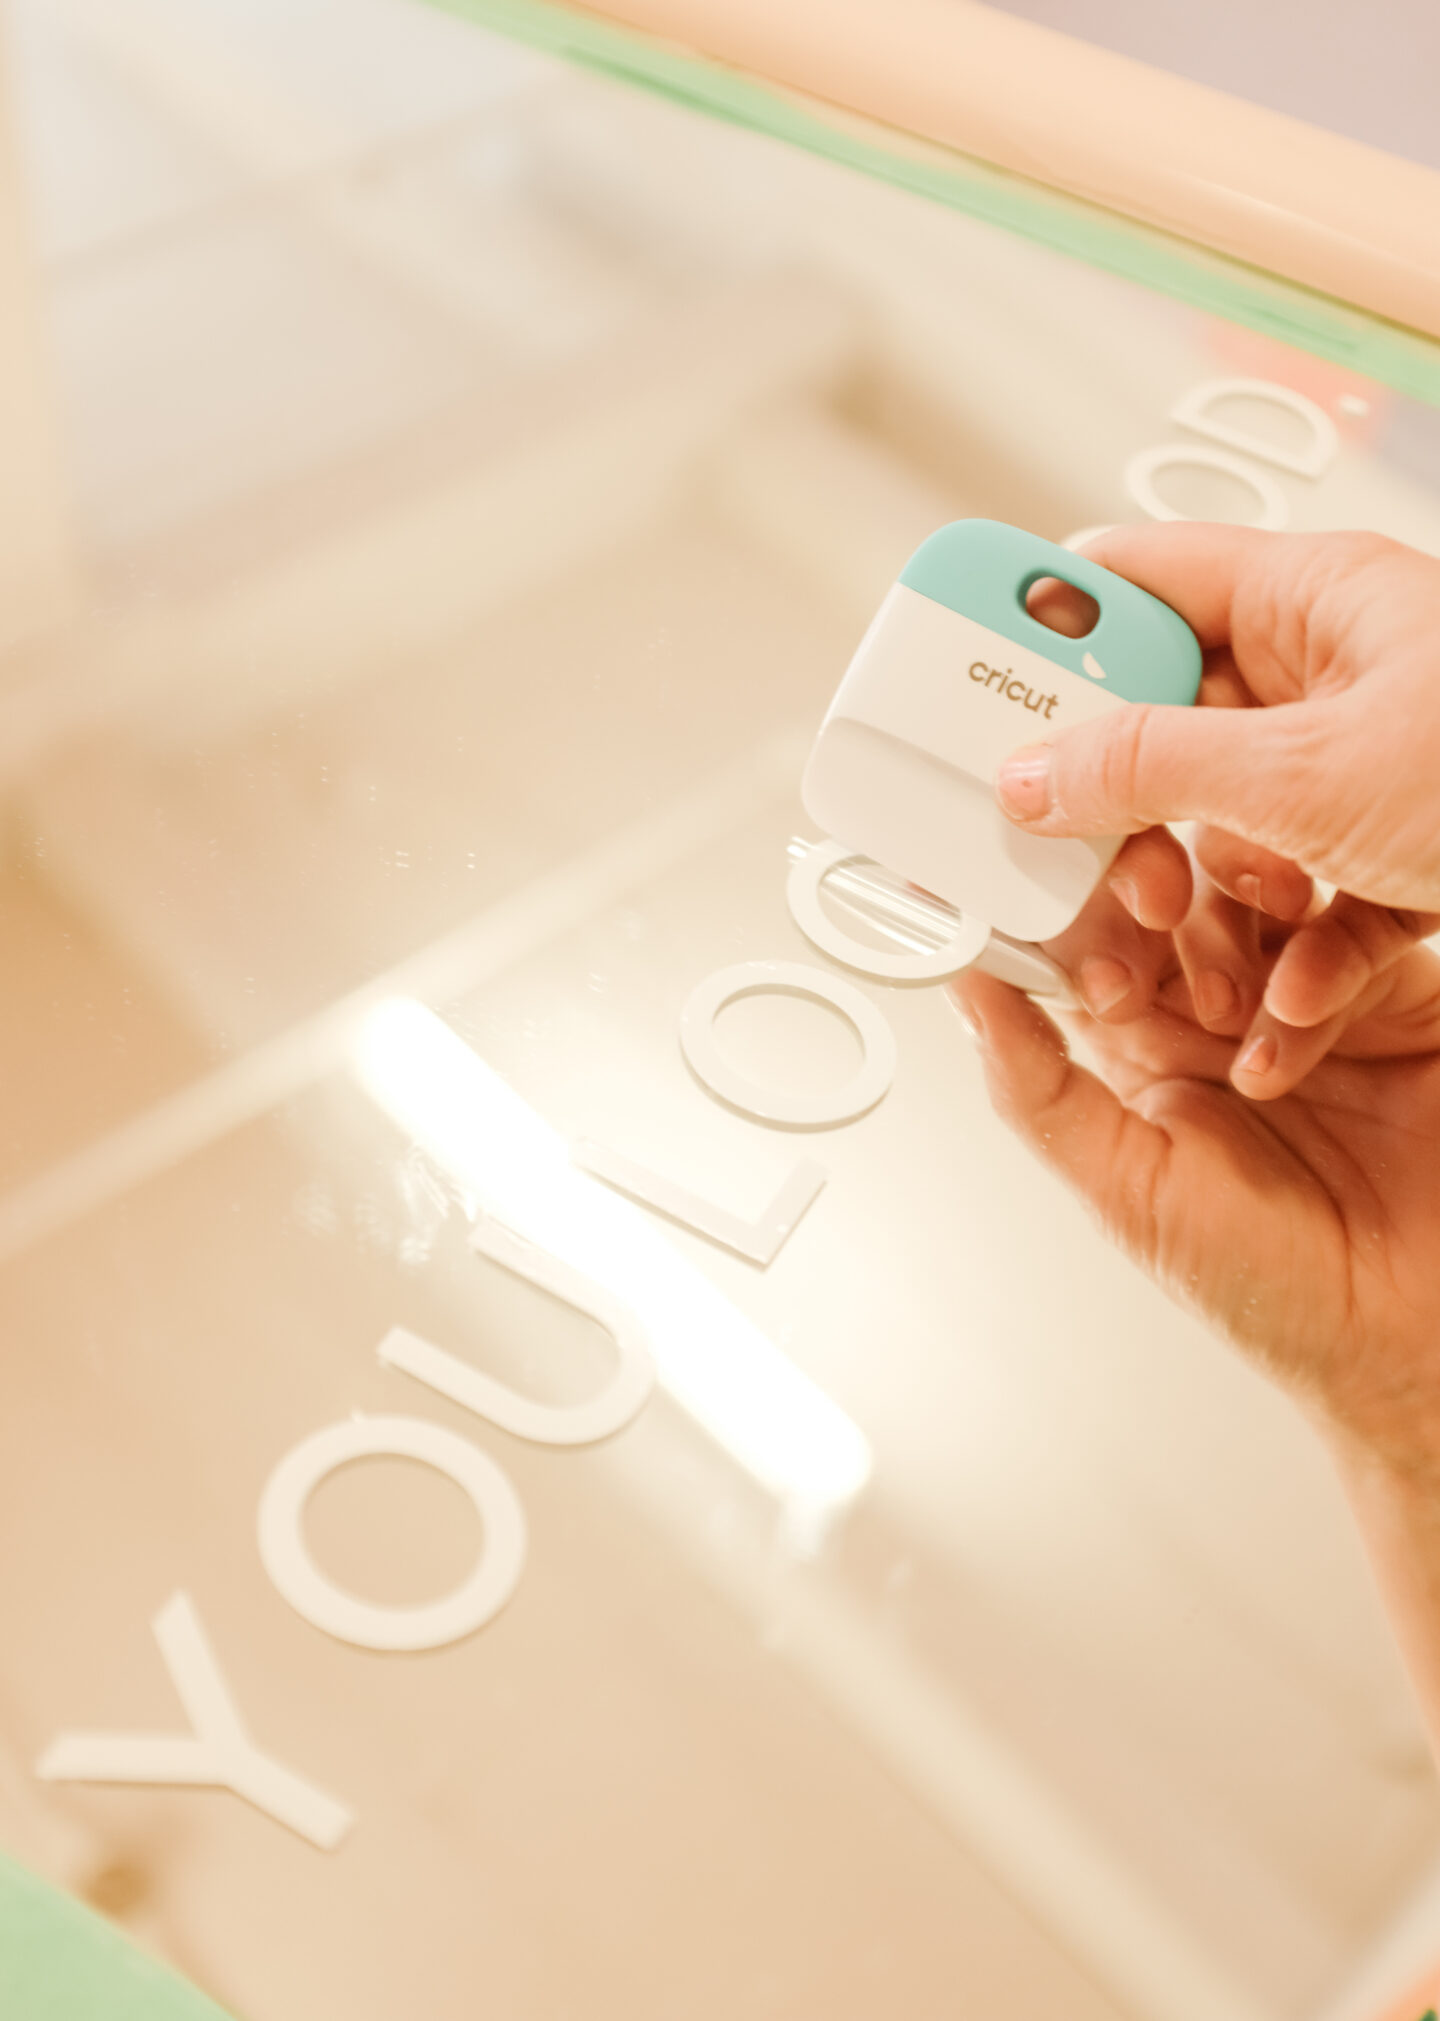
To start, I measured the length of my mirror to create the you look good stencil on my Cricut machine. Design your phrase, cut with your scissors the vinyl and add Cricut’s transfer tape.
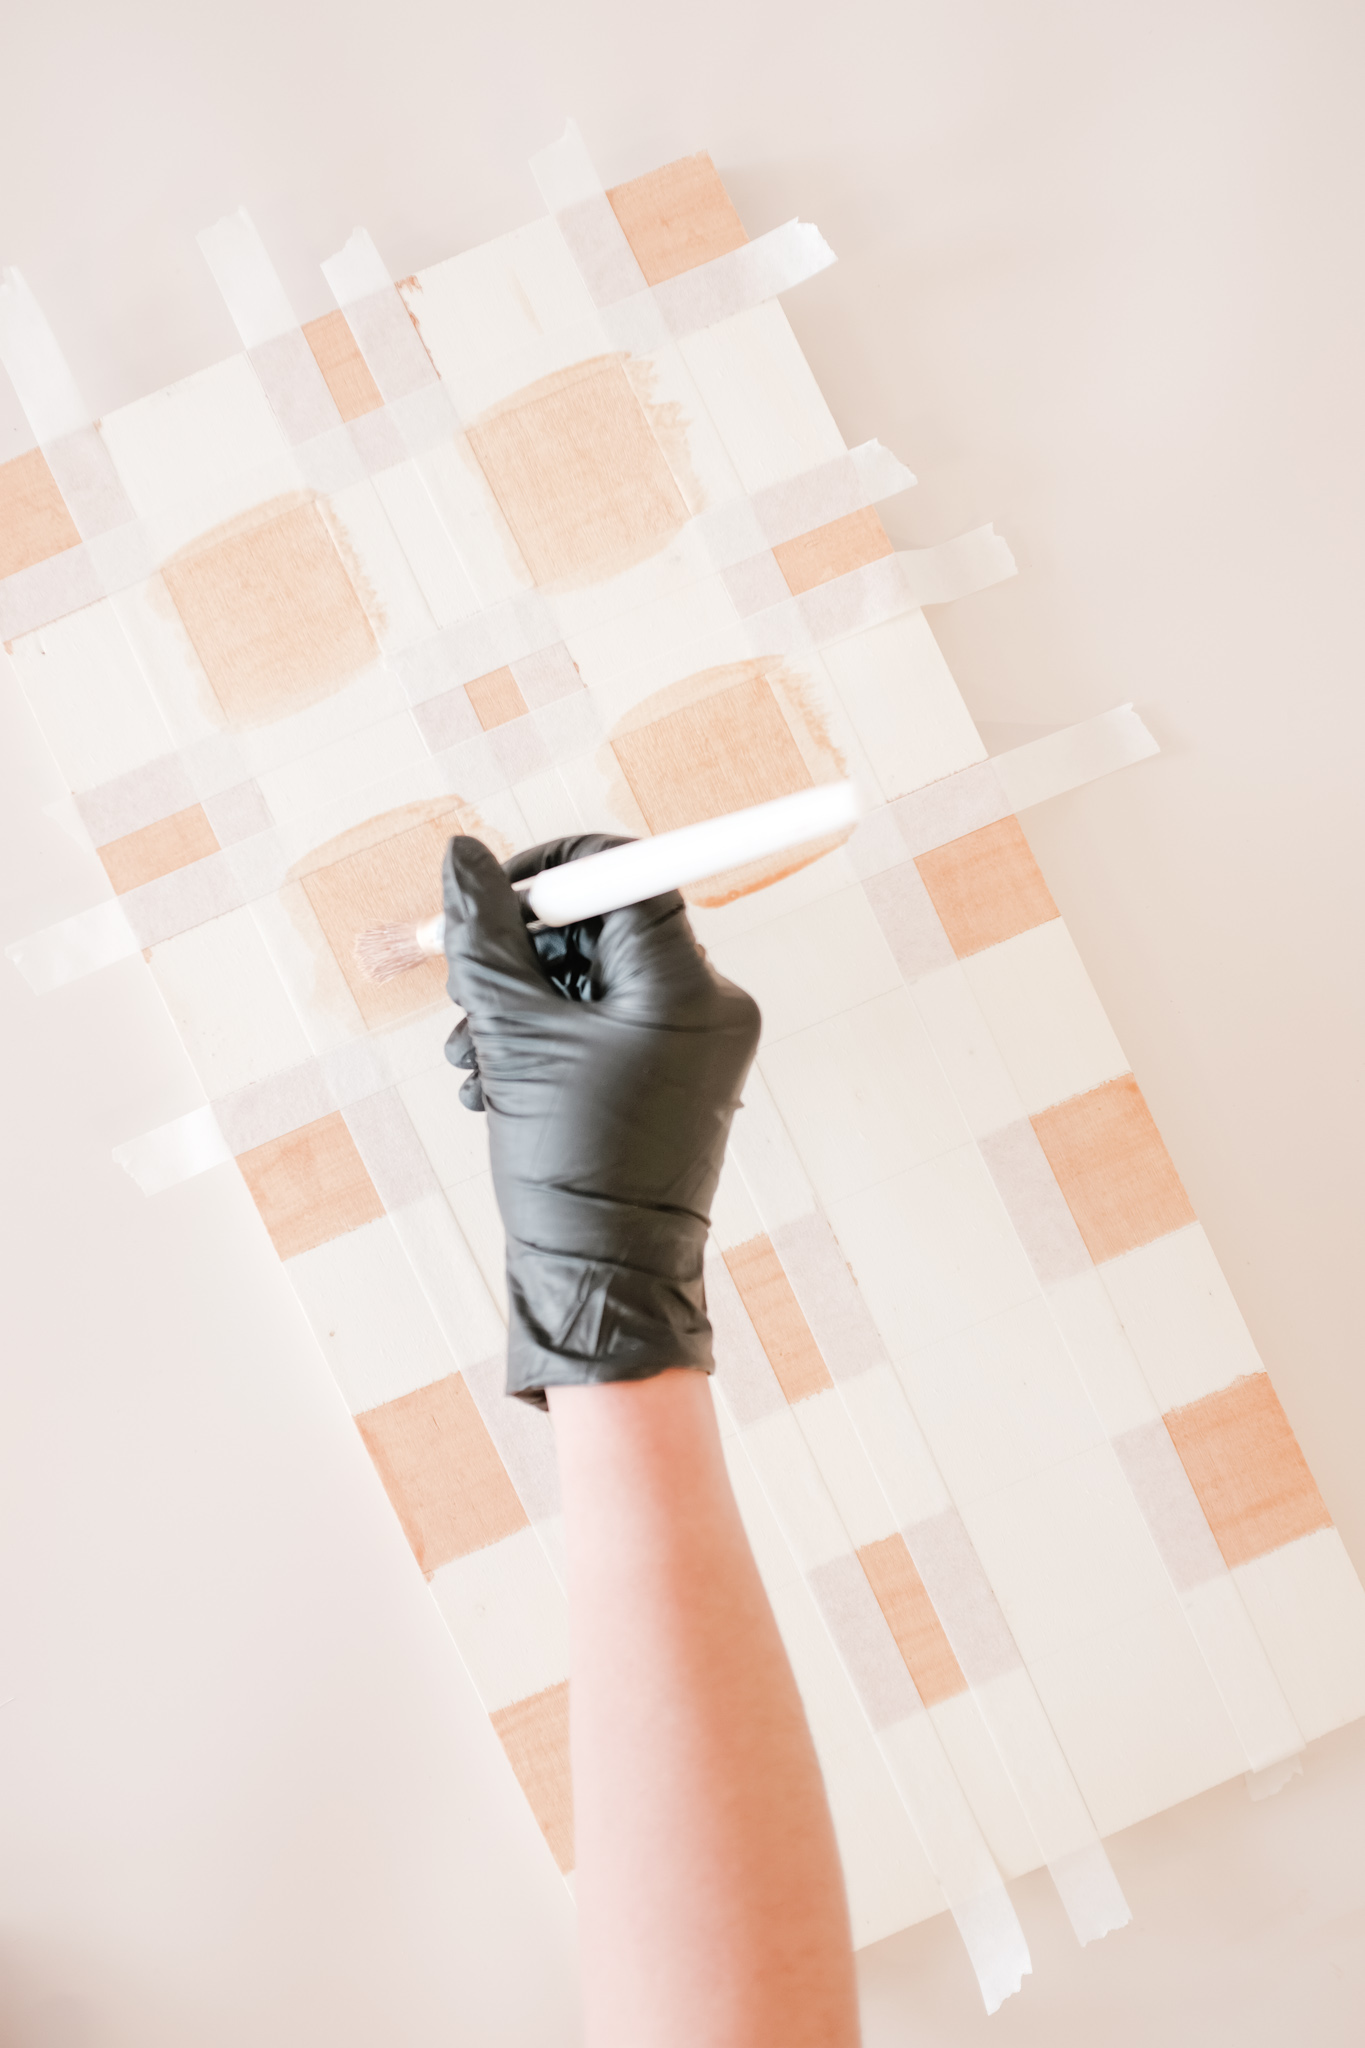
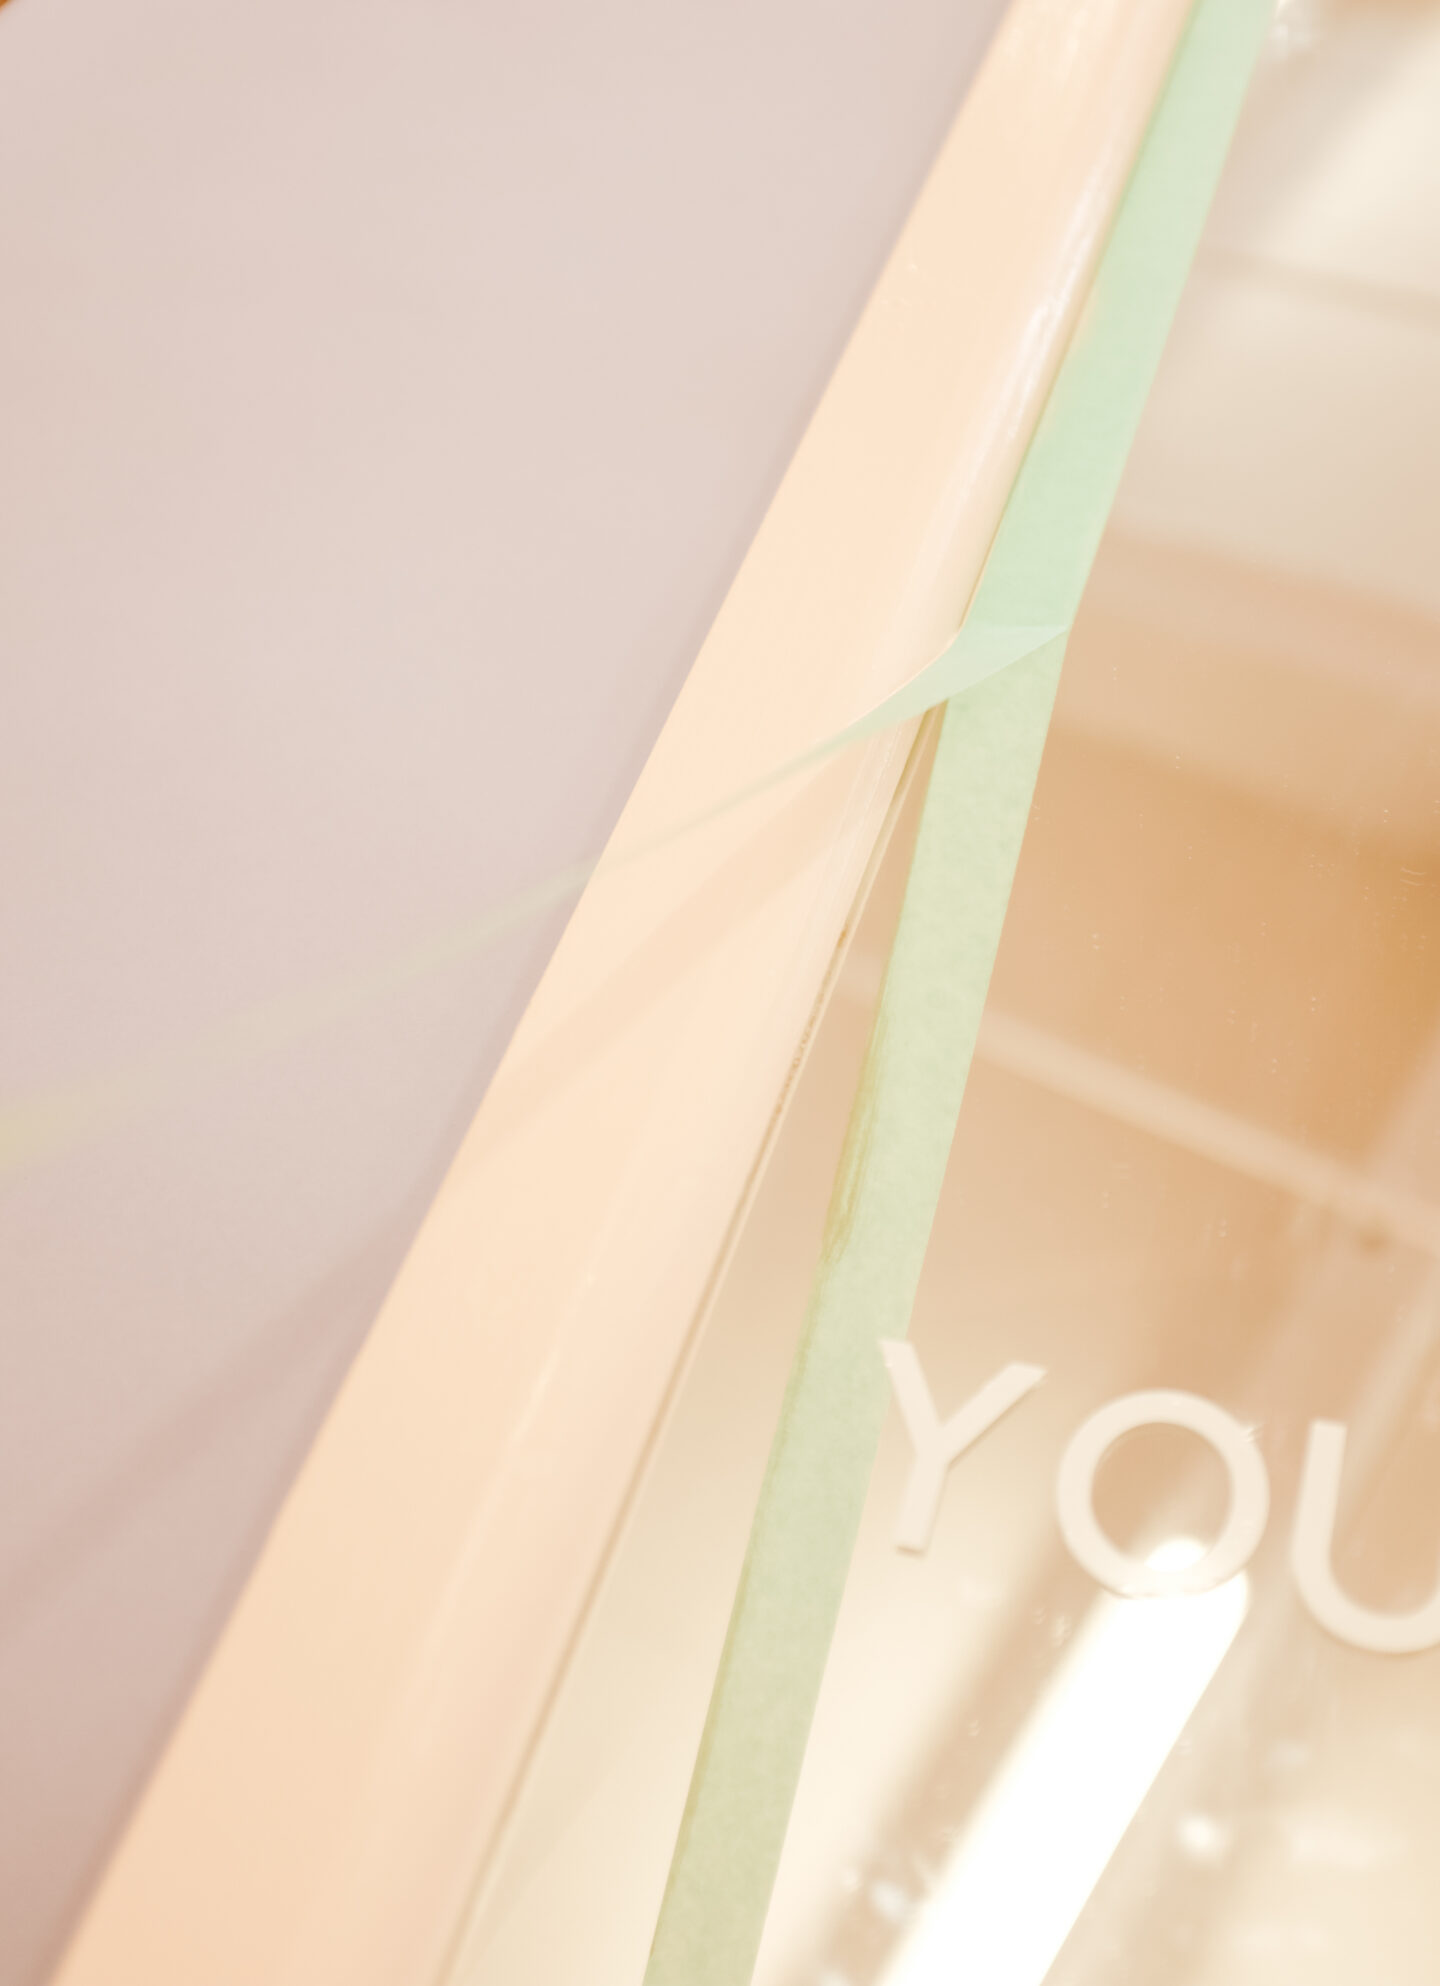
I wanted to create a pink mirror frame to match the style of our bathroom, so I started by adding painters tape to all the corners (protecting the mirror) and added three layers of pink paint. Let it dry for about 20 minutes.
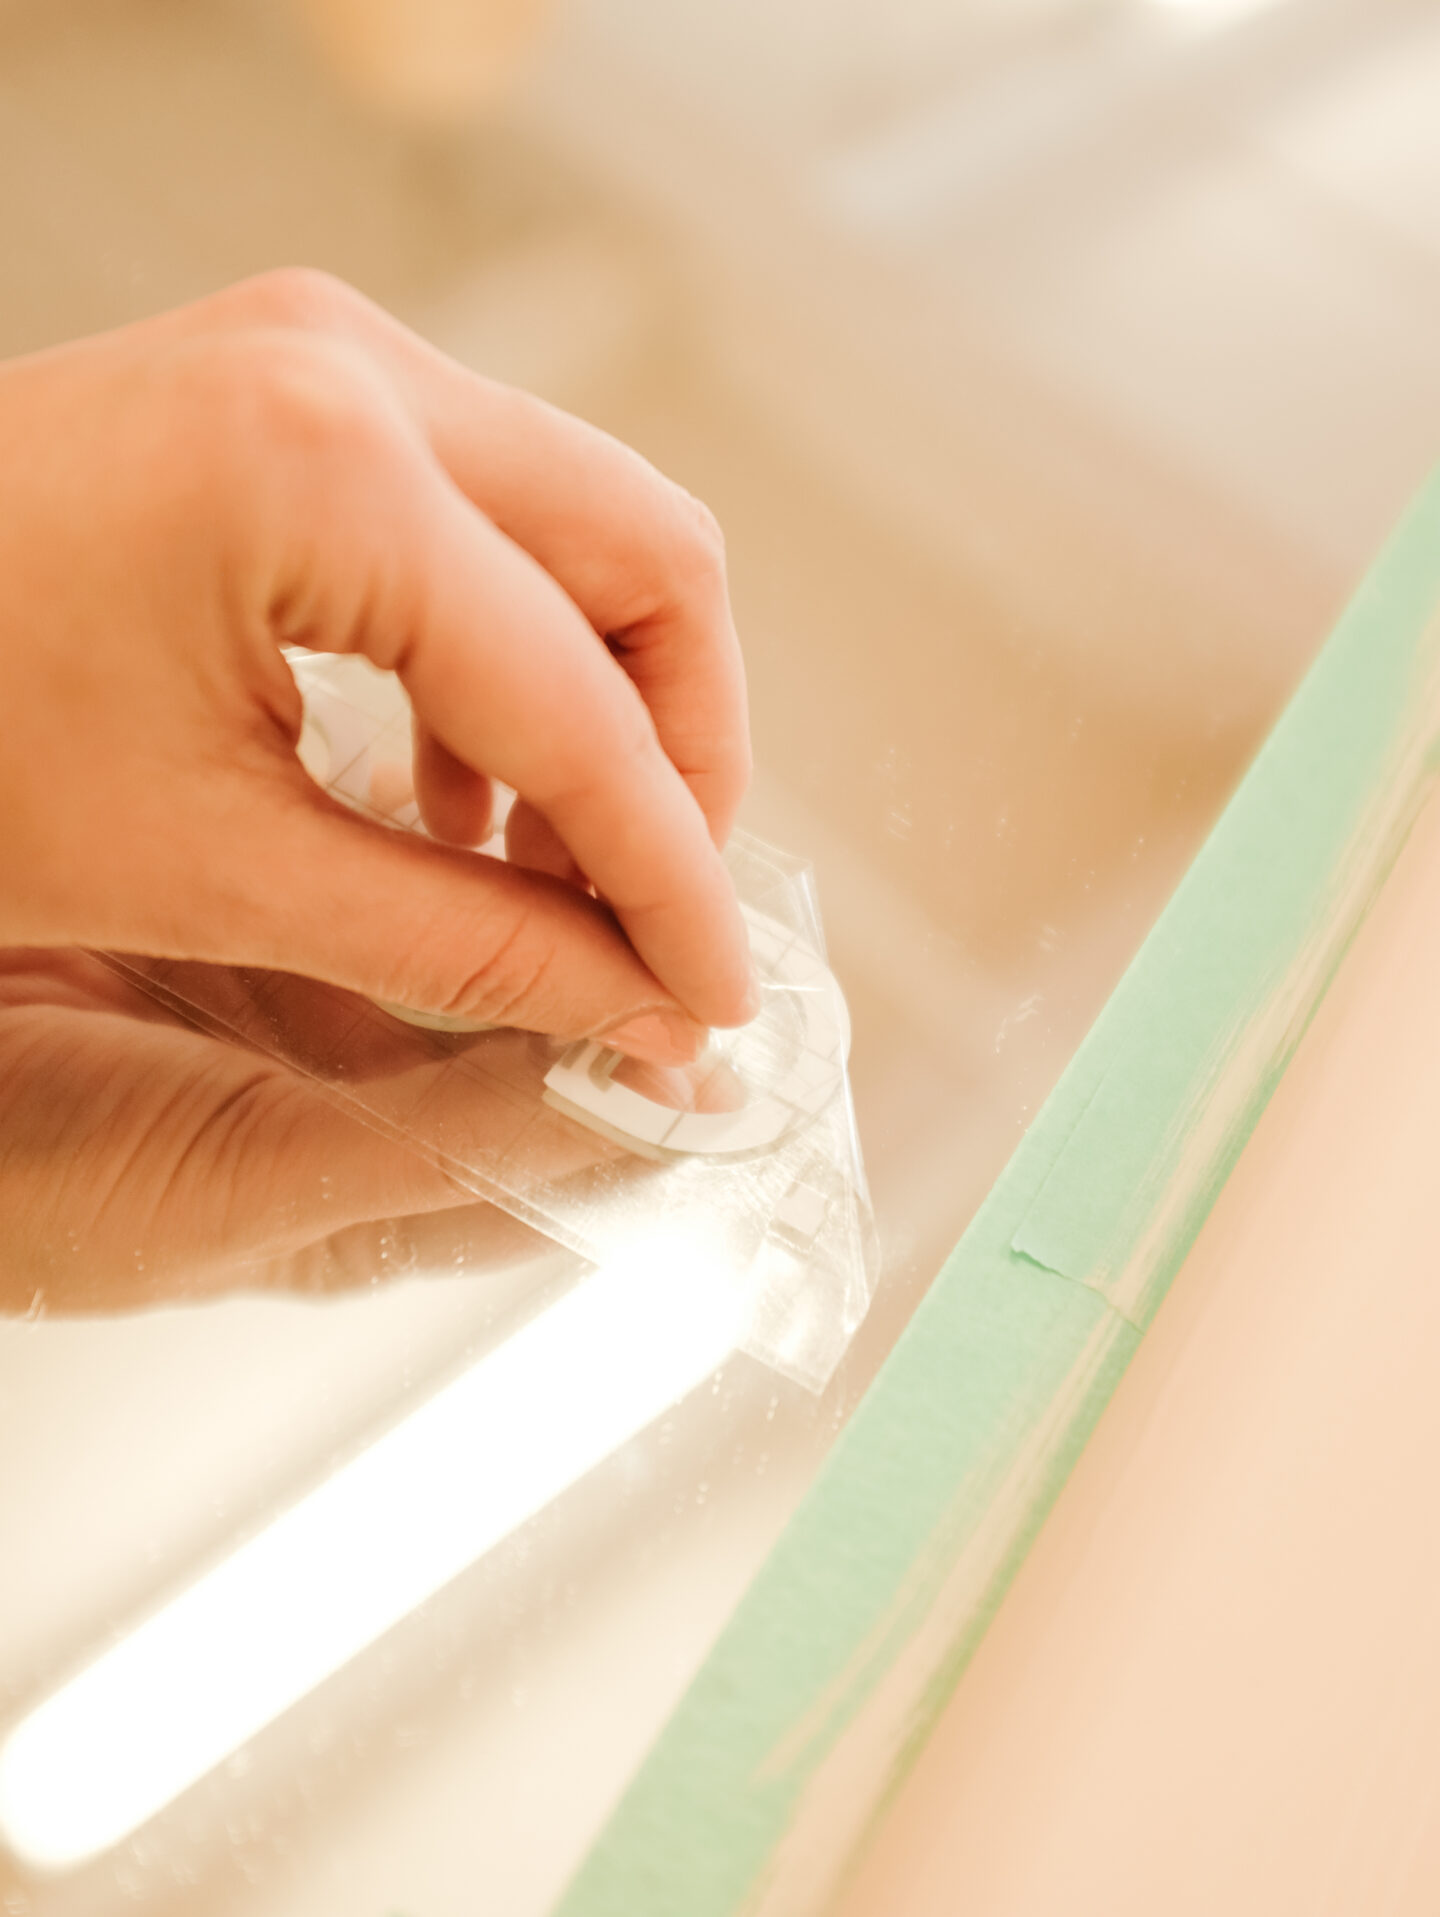
Now that the paint is dry, remove slowly and carefully the painters tape. Using a ruler, center your vinyl phrase and start sticking them to the mirror by removing the transfer tape (as you can see above) letter by letter (don’t rush in this step). The transfer tape makes the whole process way easier, and using a scraper, stick the letters carefully. I finished this last step adding a bit of Windex making sure the vinyl was glued and clean.
Voila! Can you believe you can DIY this idea in only three steps?
I couldn’t! it honestly took me 40 minutes from start to finish.
You can bet we’ll have SO much fun with these bathroom selfies at the studio moving forward, right? I can’t wait to show you what we have planned to finish our studio bathroom later this month.
Happy DIYing, friends!
Want to follow our DIY and Decor adventures? Run here