These Checkered Trays DIY are Surprisingly So Easy To Make!
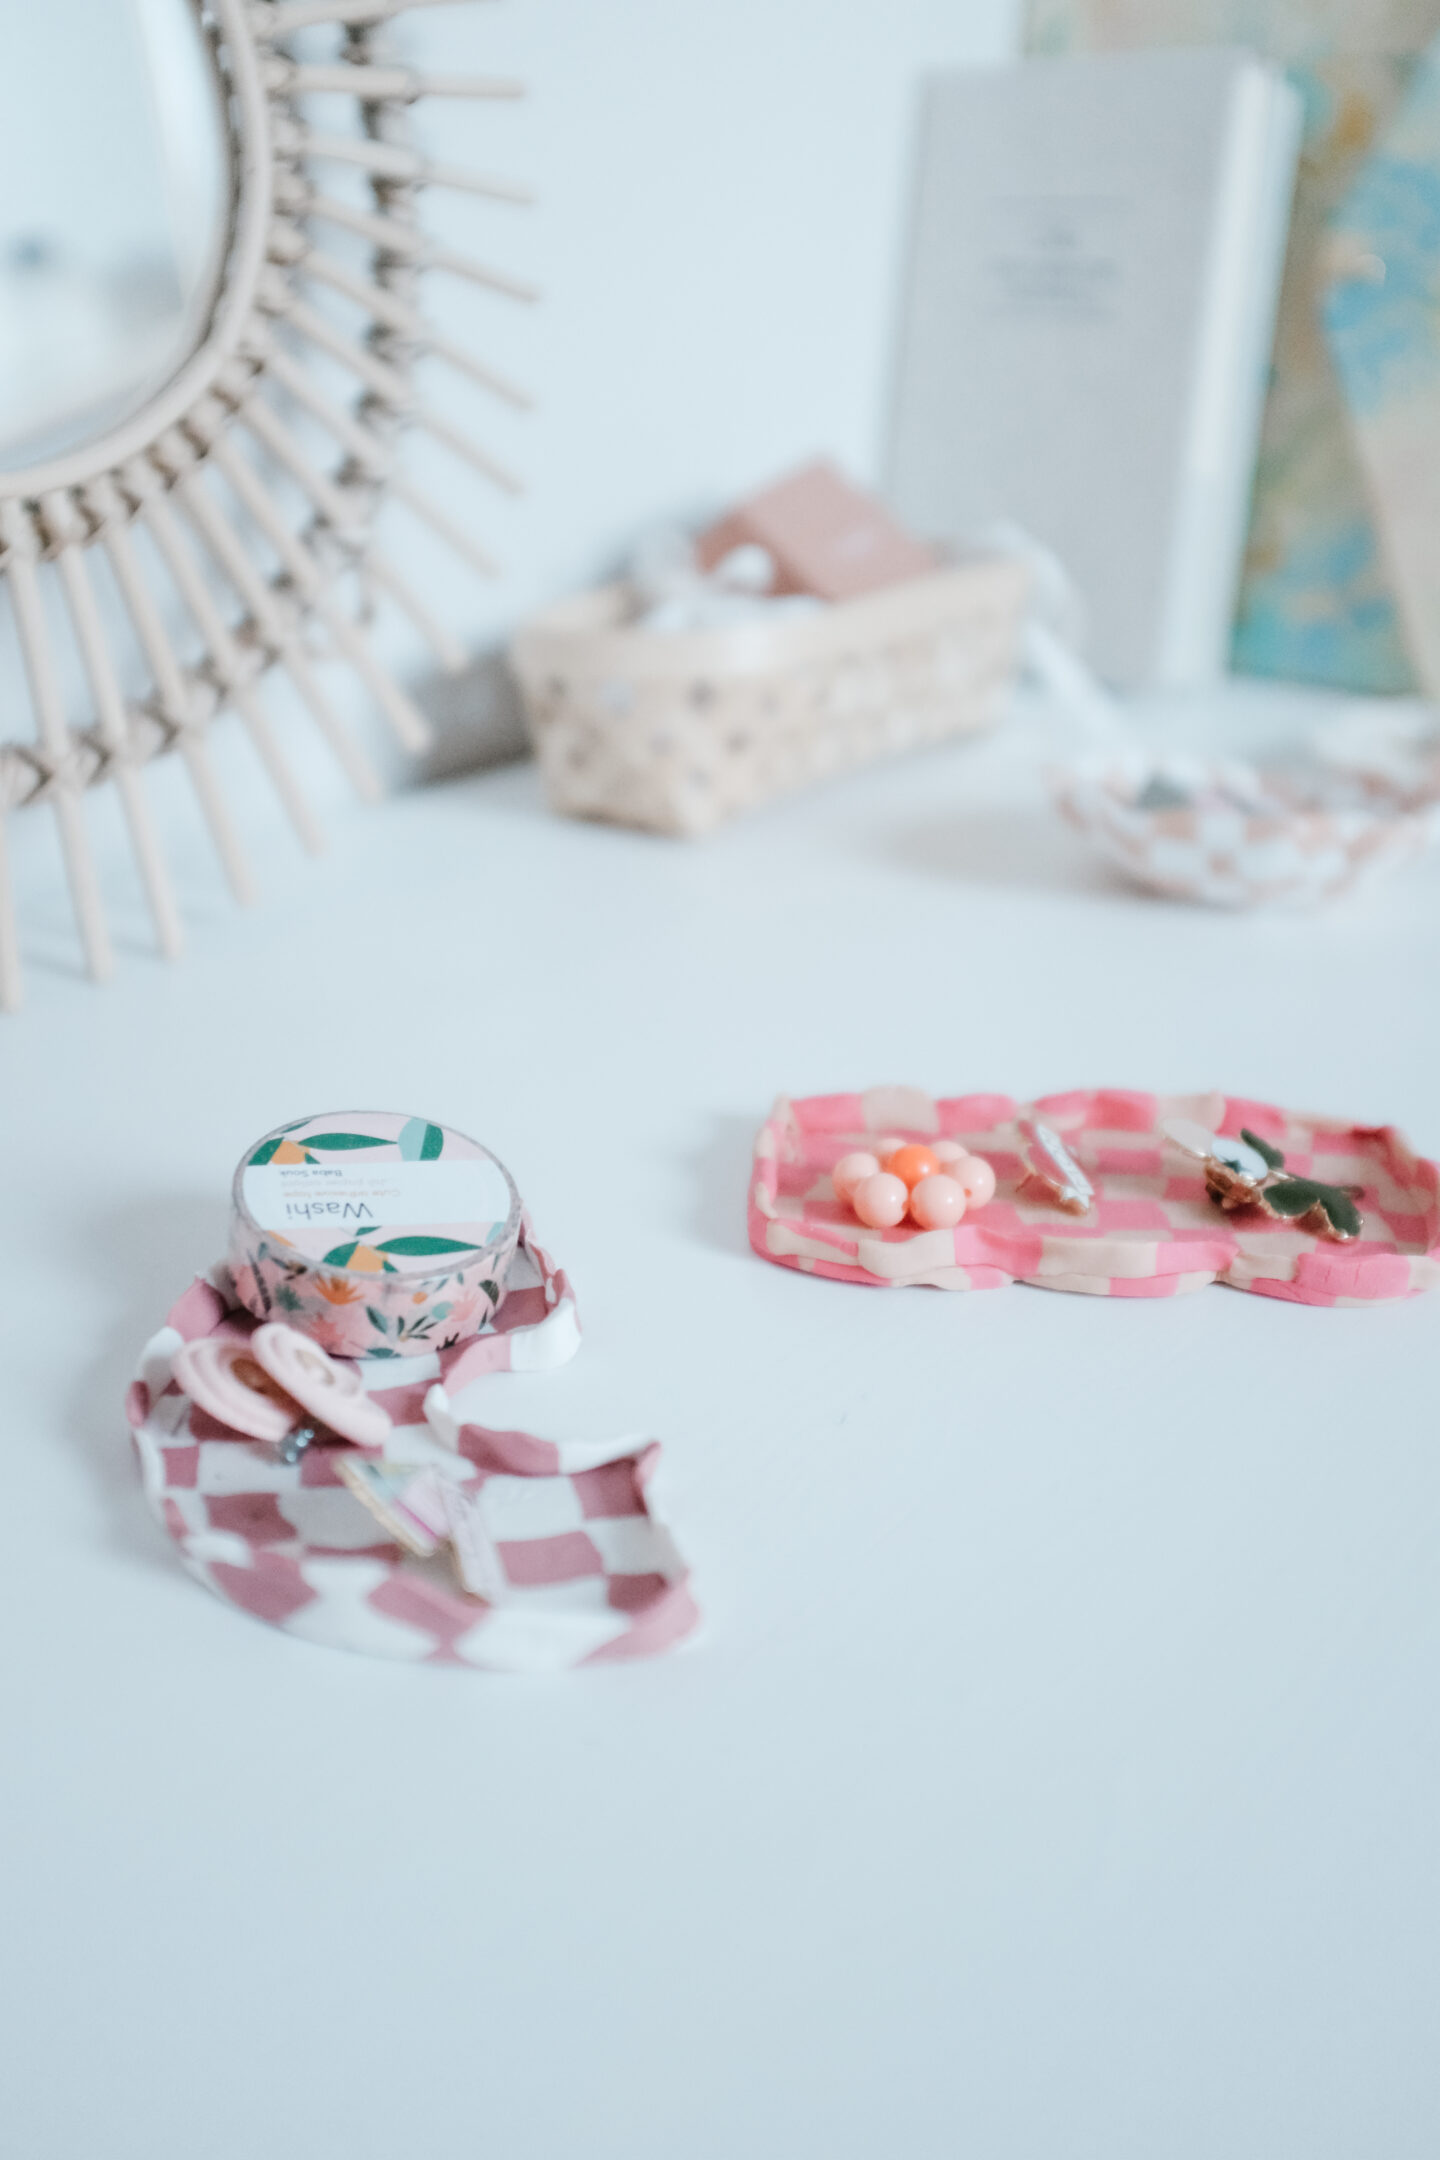
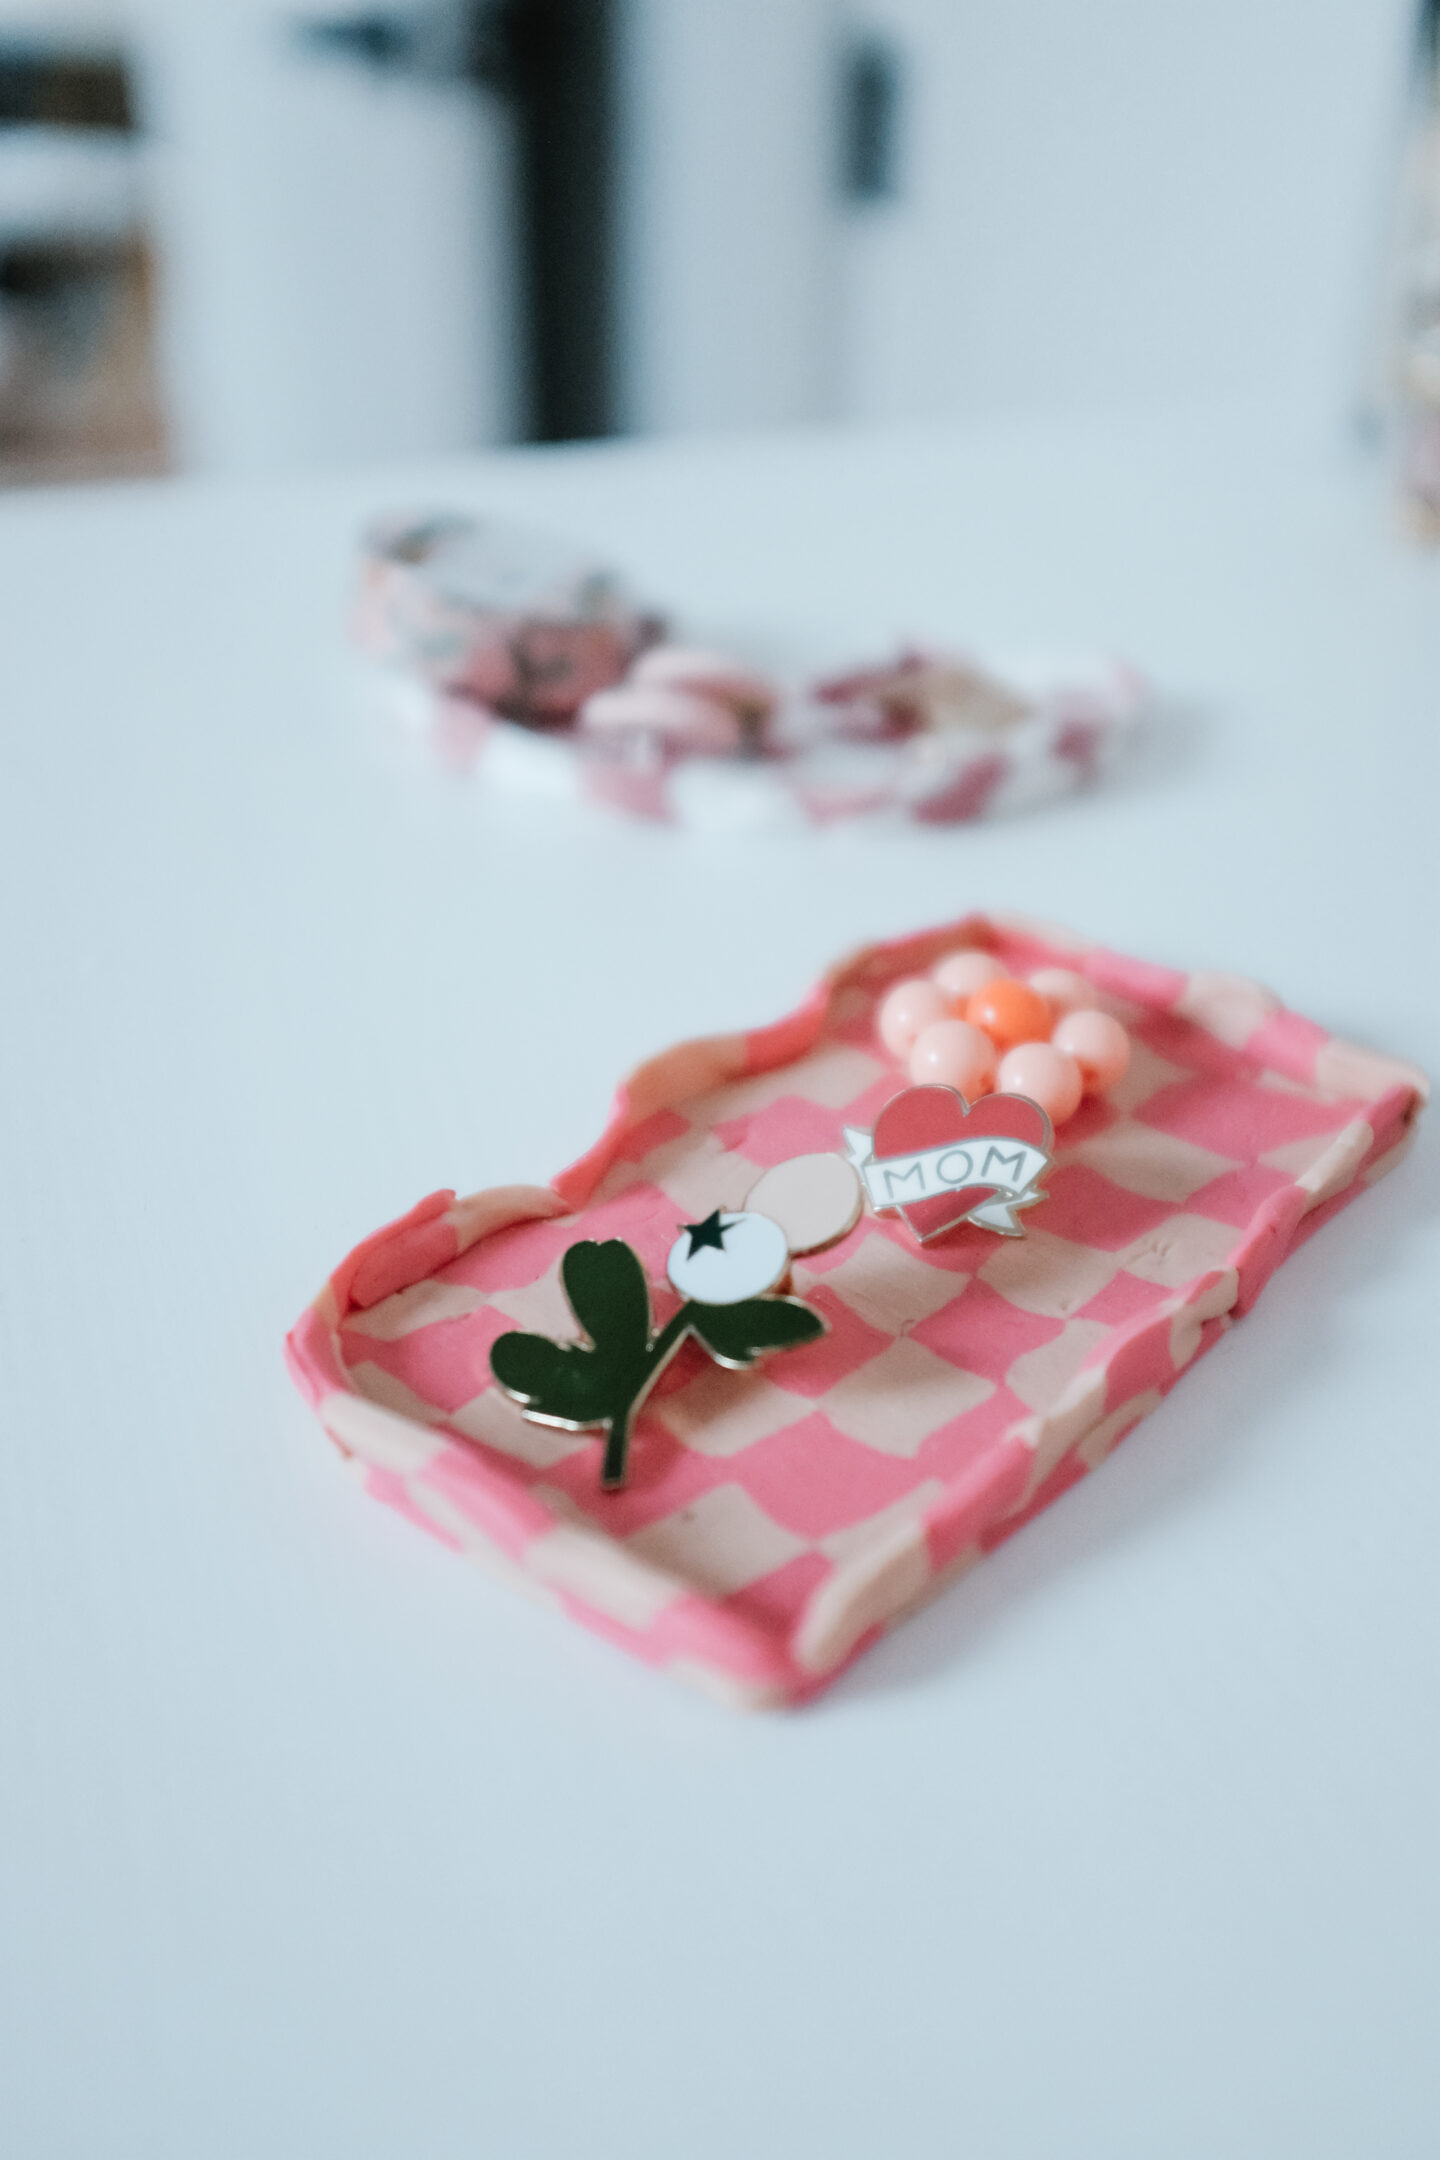
I took a tiny break from pottery this year and as soon as I DIYed these adorable checkered trays I realized I miss it so so much! This fun DIY project is super easy to make at home with polymer clay and they turn out so so good (you won’t believe it, trust me).
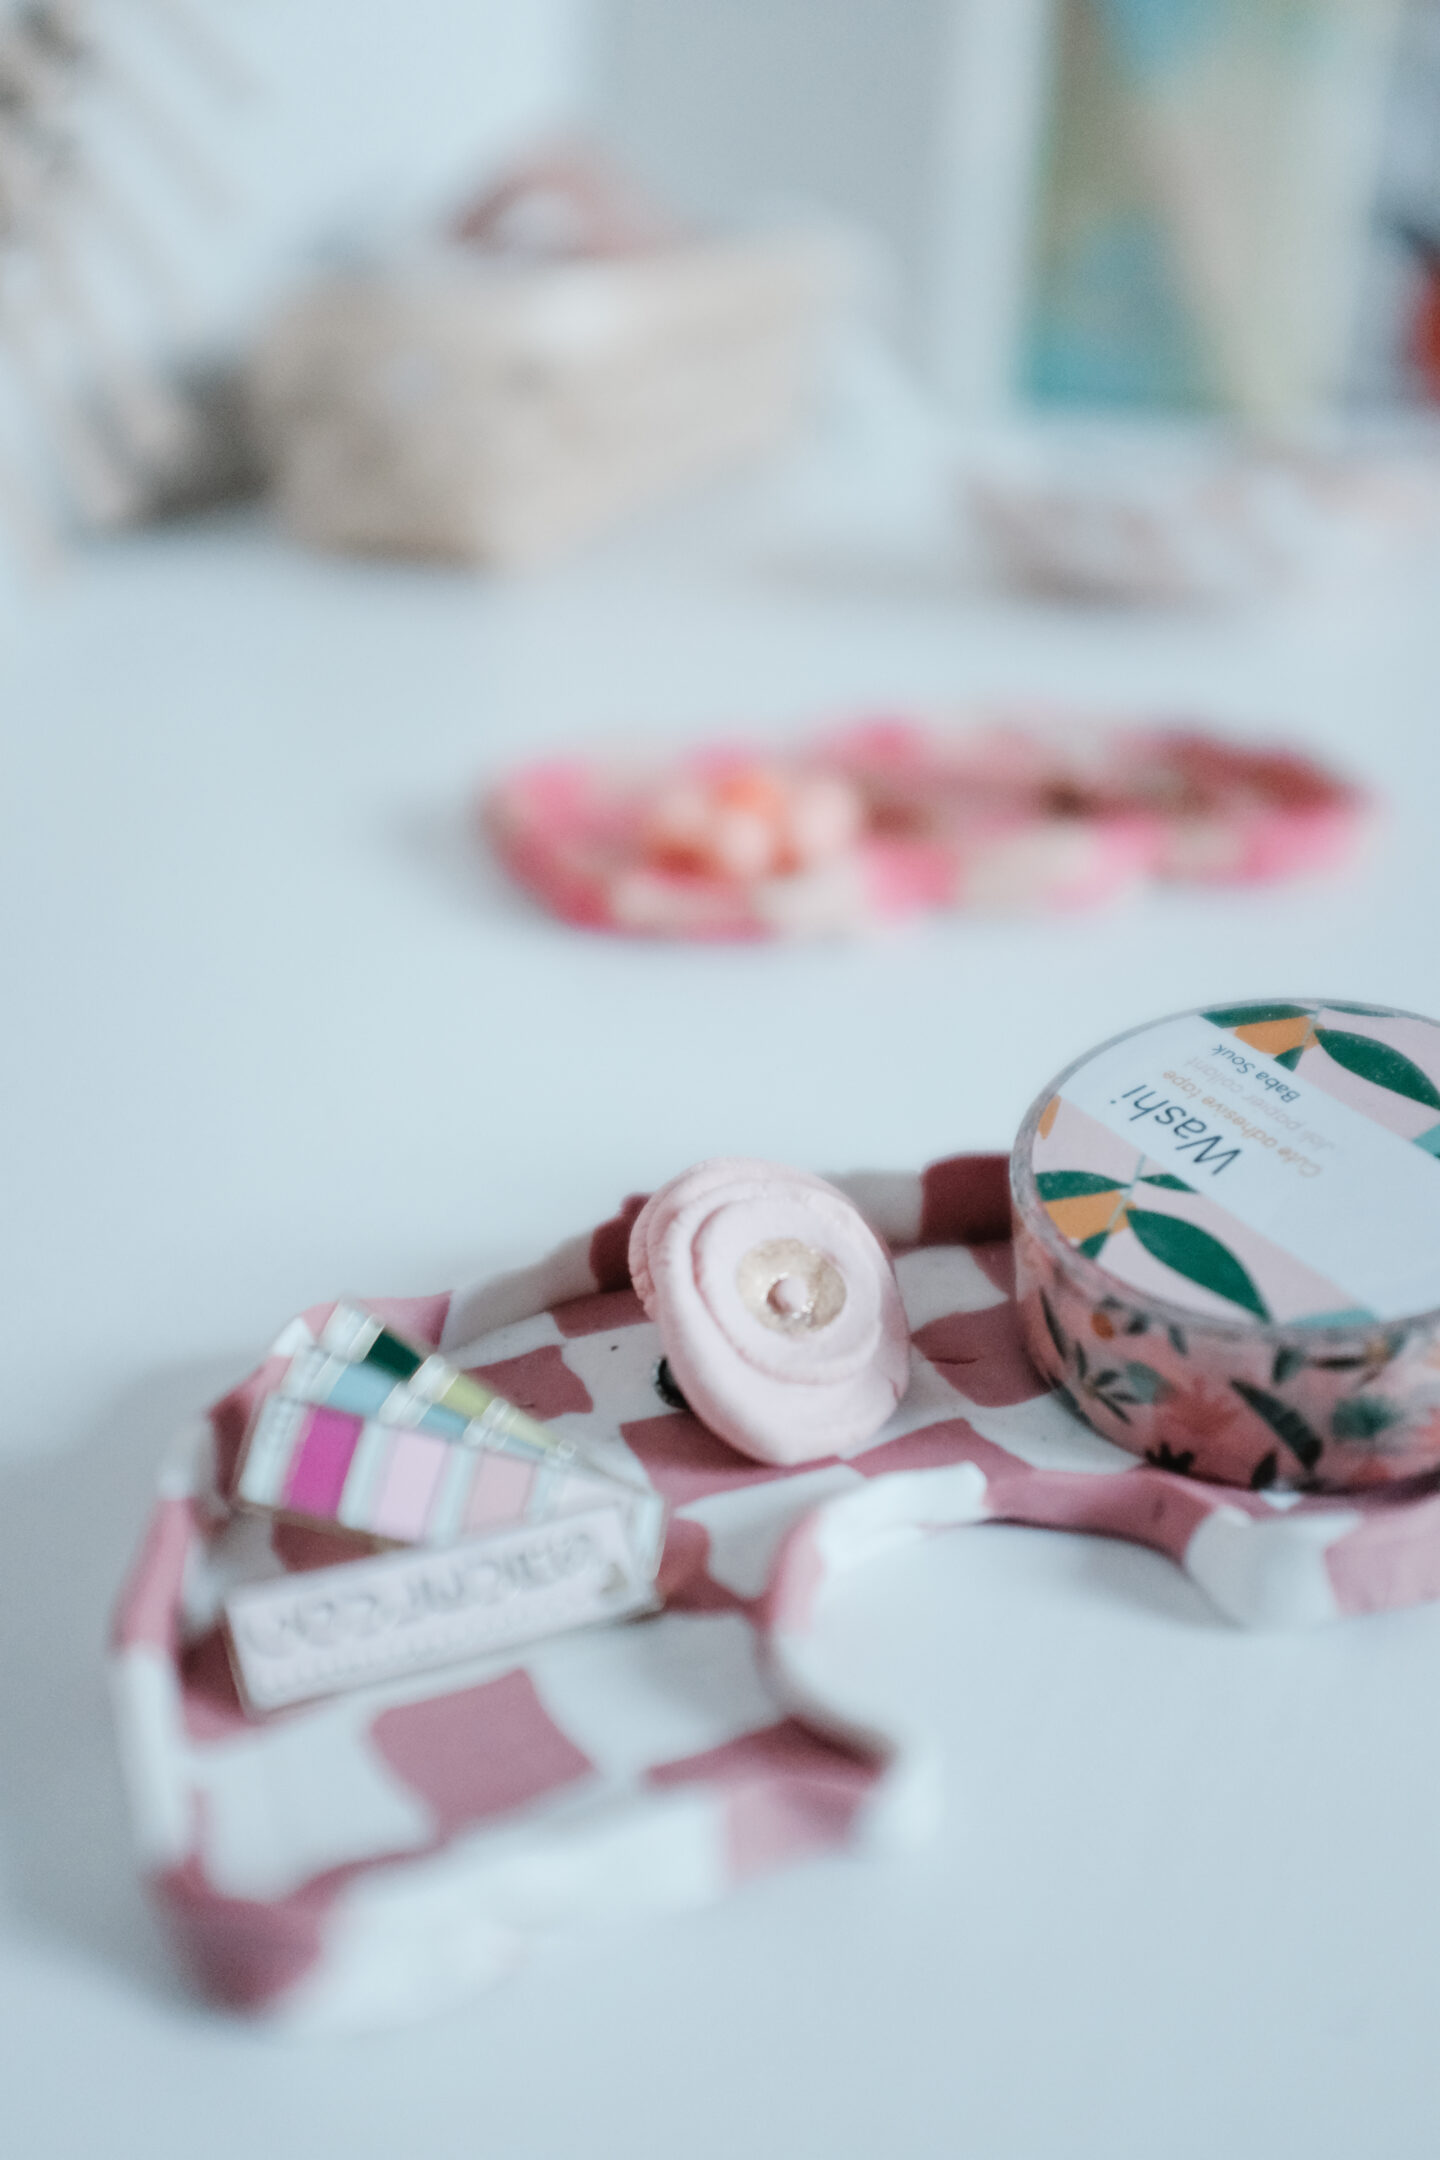
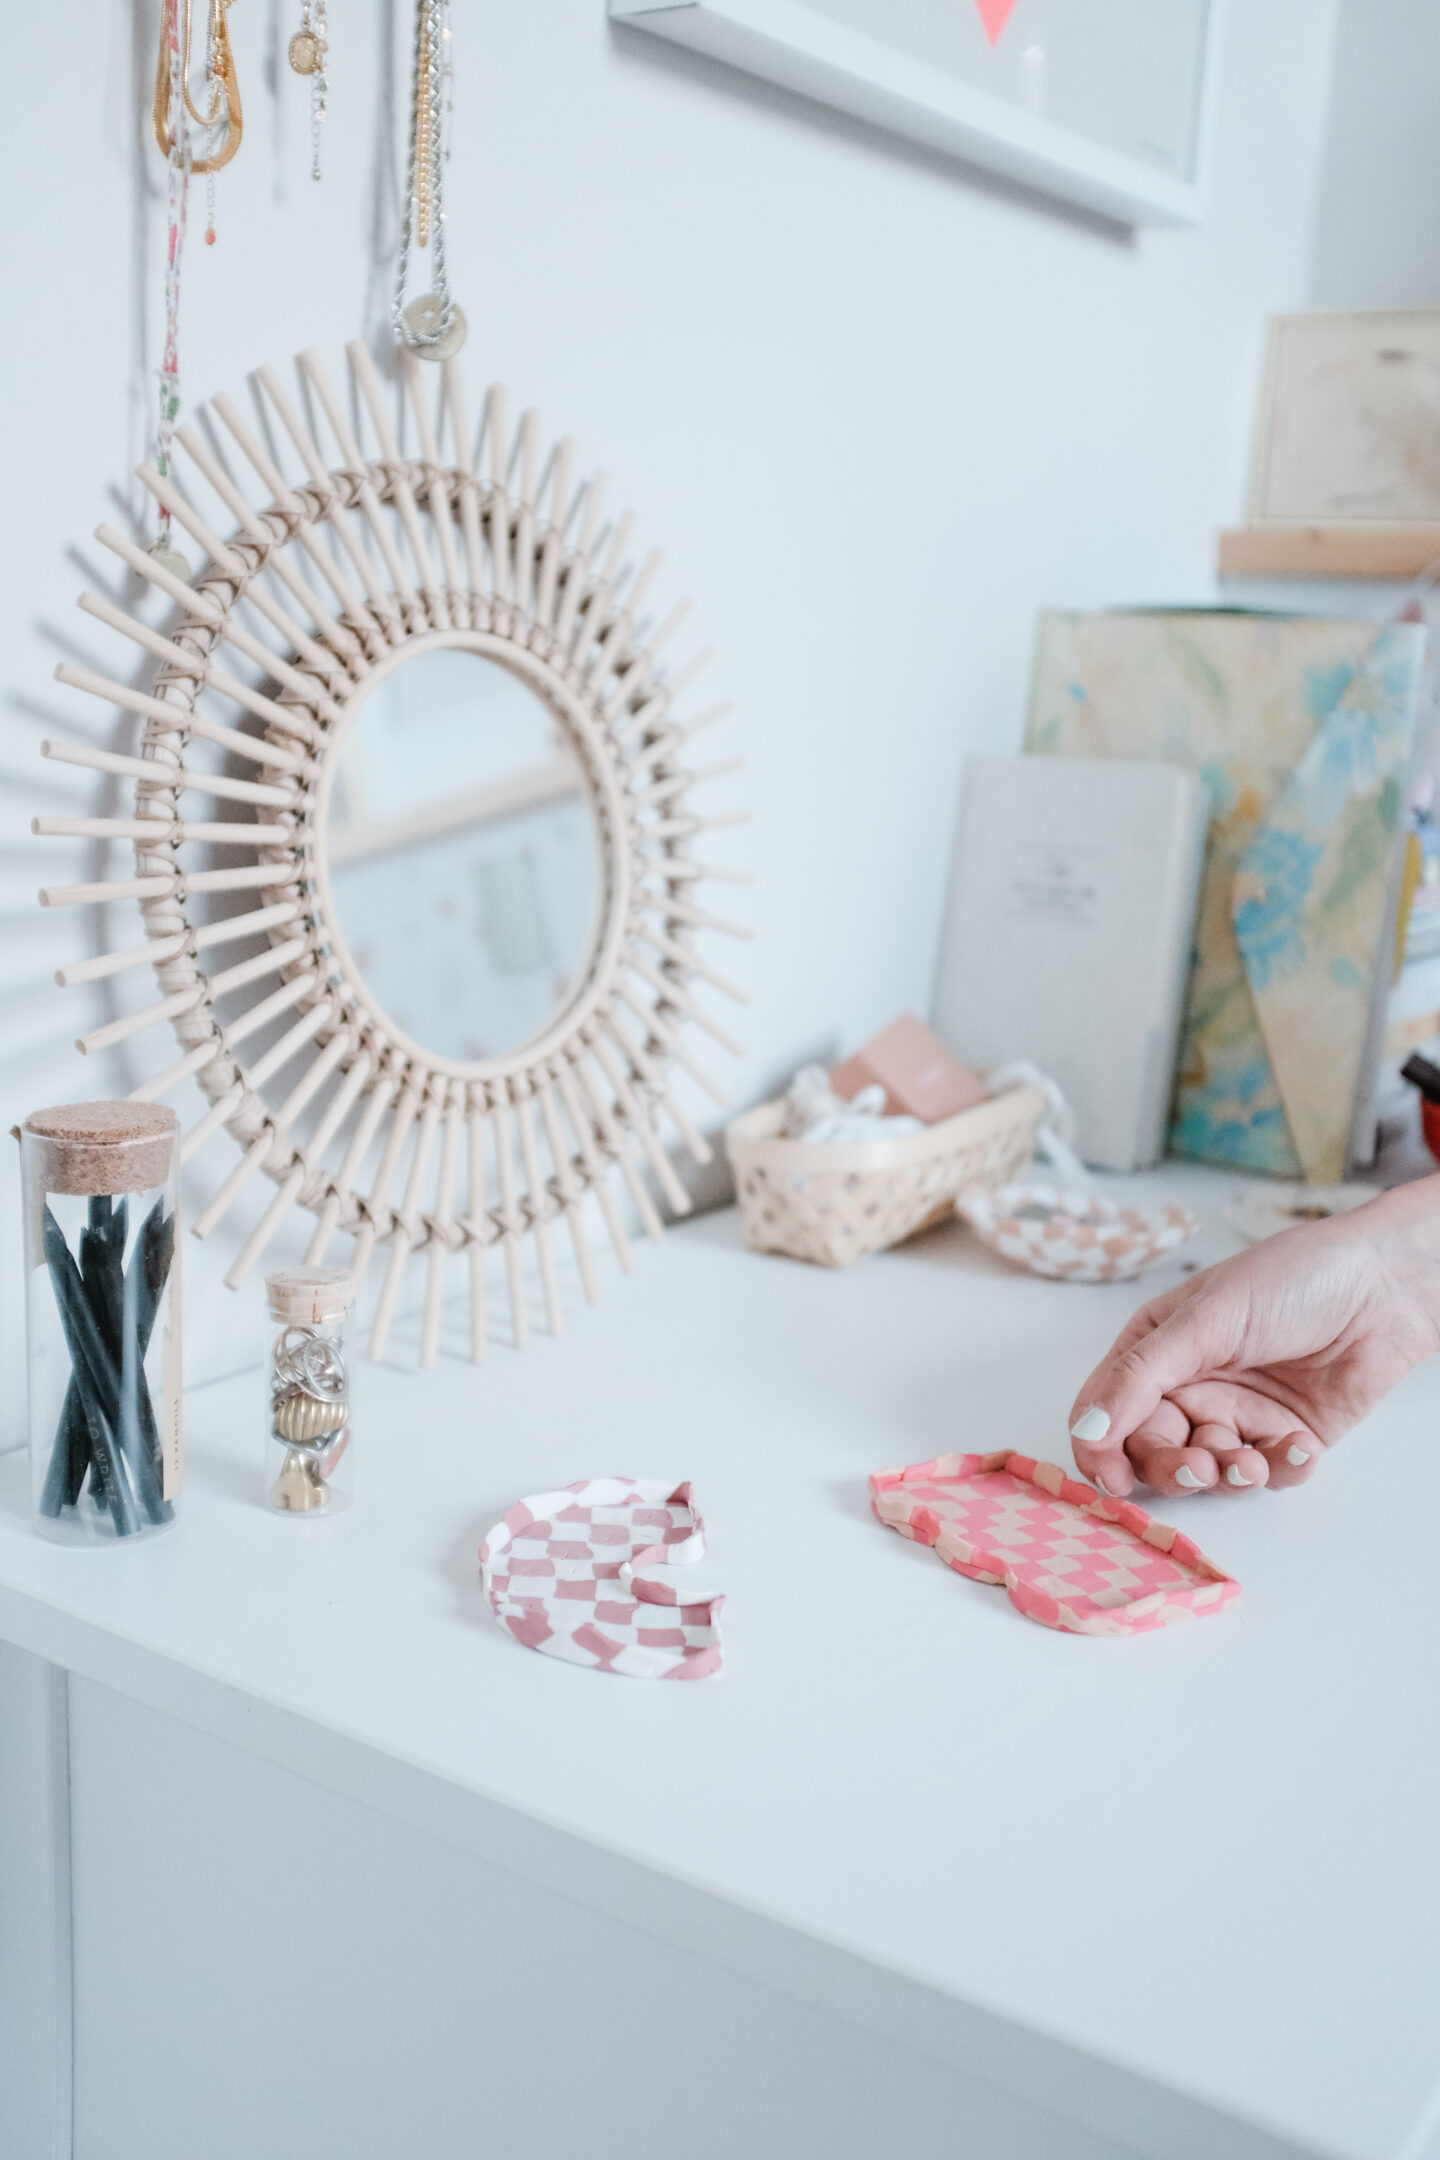
With these cute trays you’ll get your knick knacks in order (finally), you can gift them to your favourite friends or store your favourite tiny accessories, because they are just too adorable.
Let me show you how you can make your own today in just a few steps, deal?
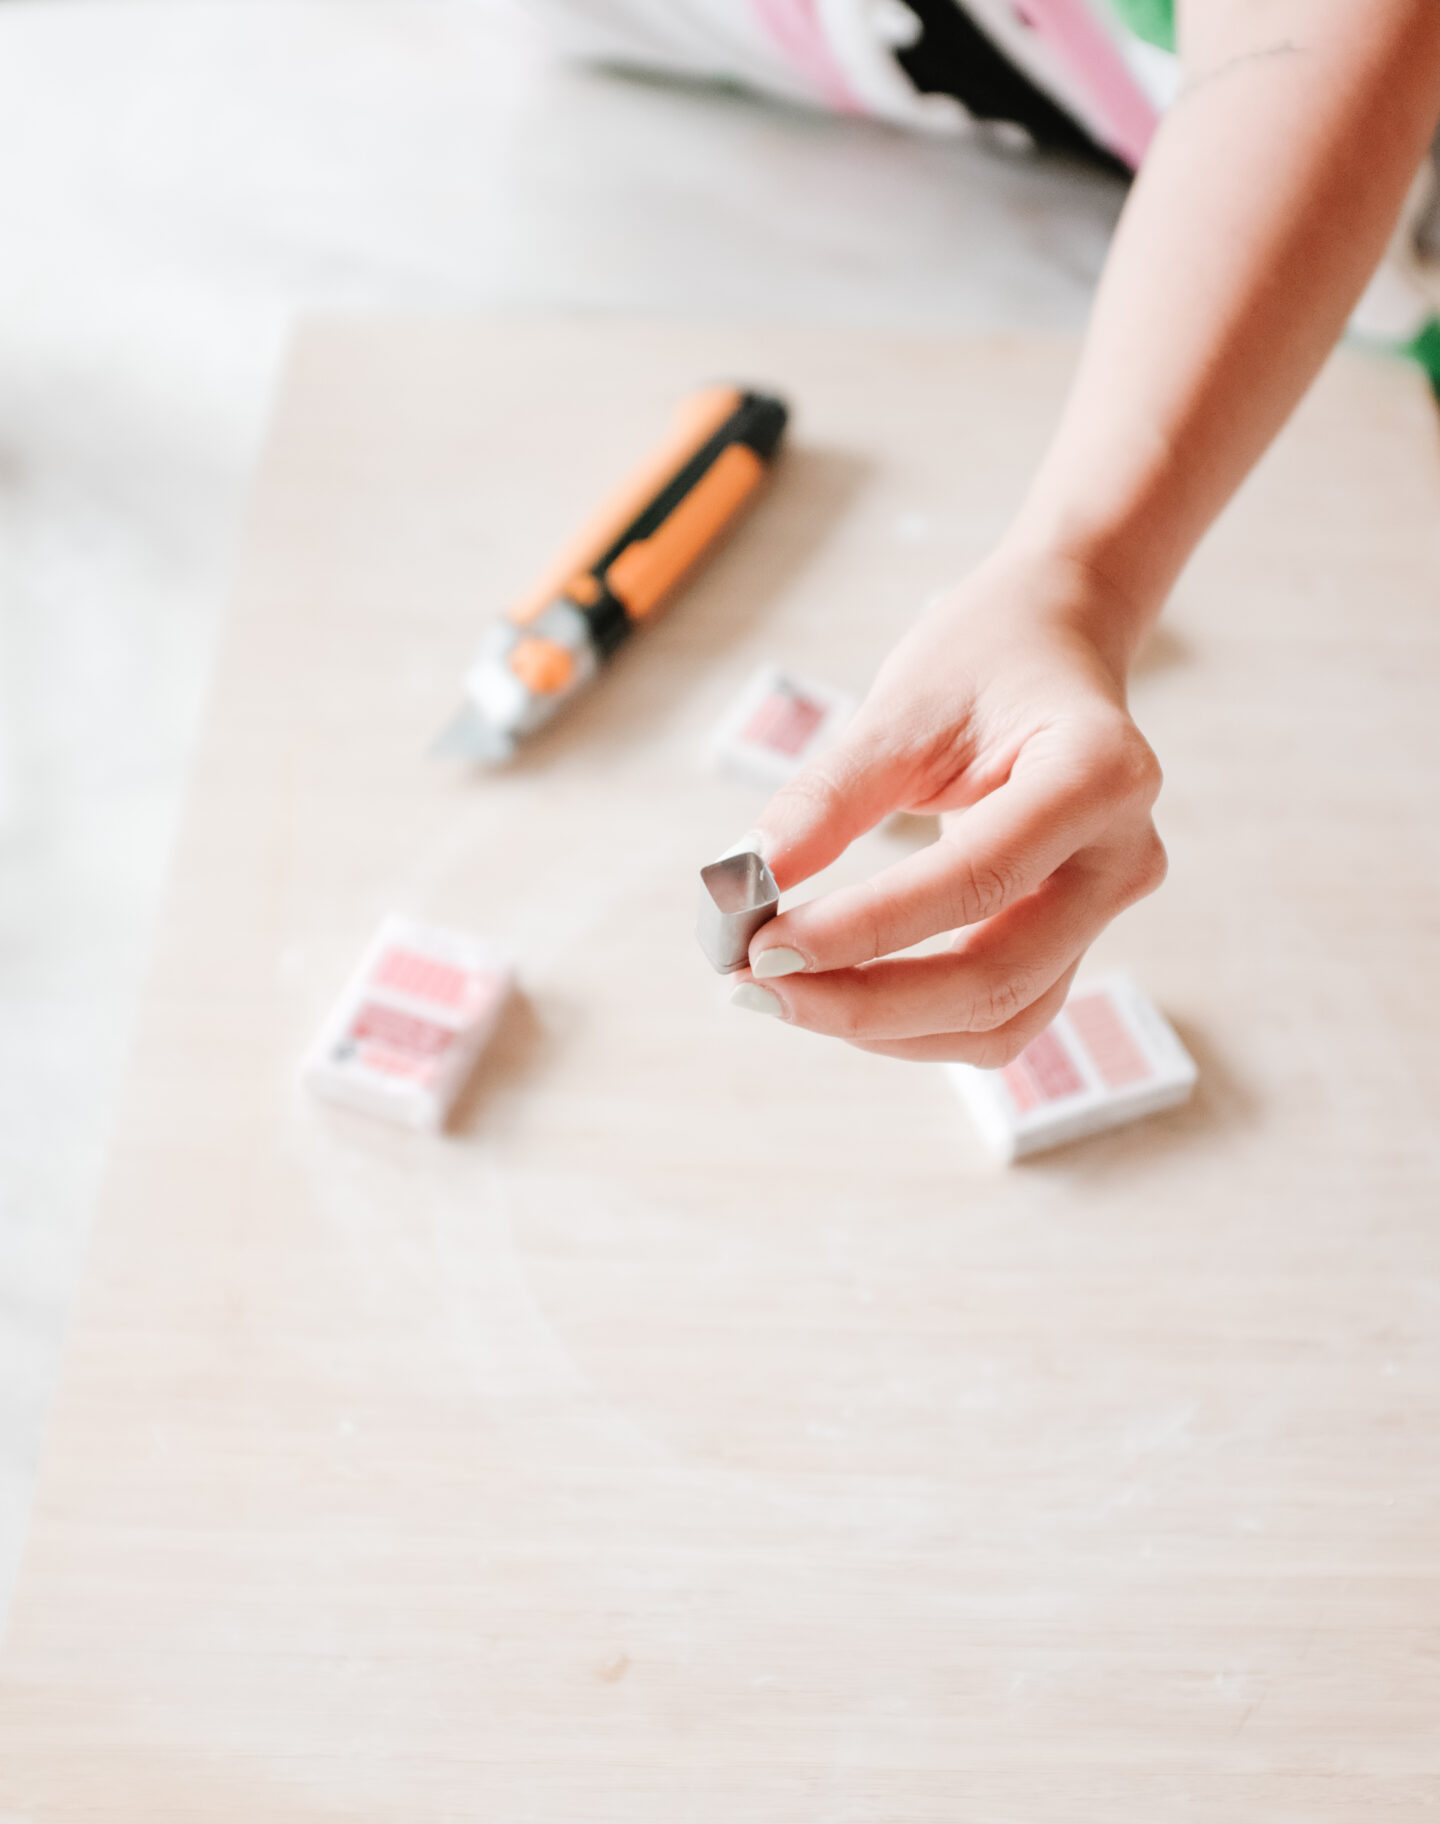
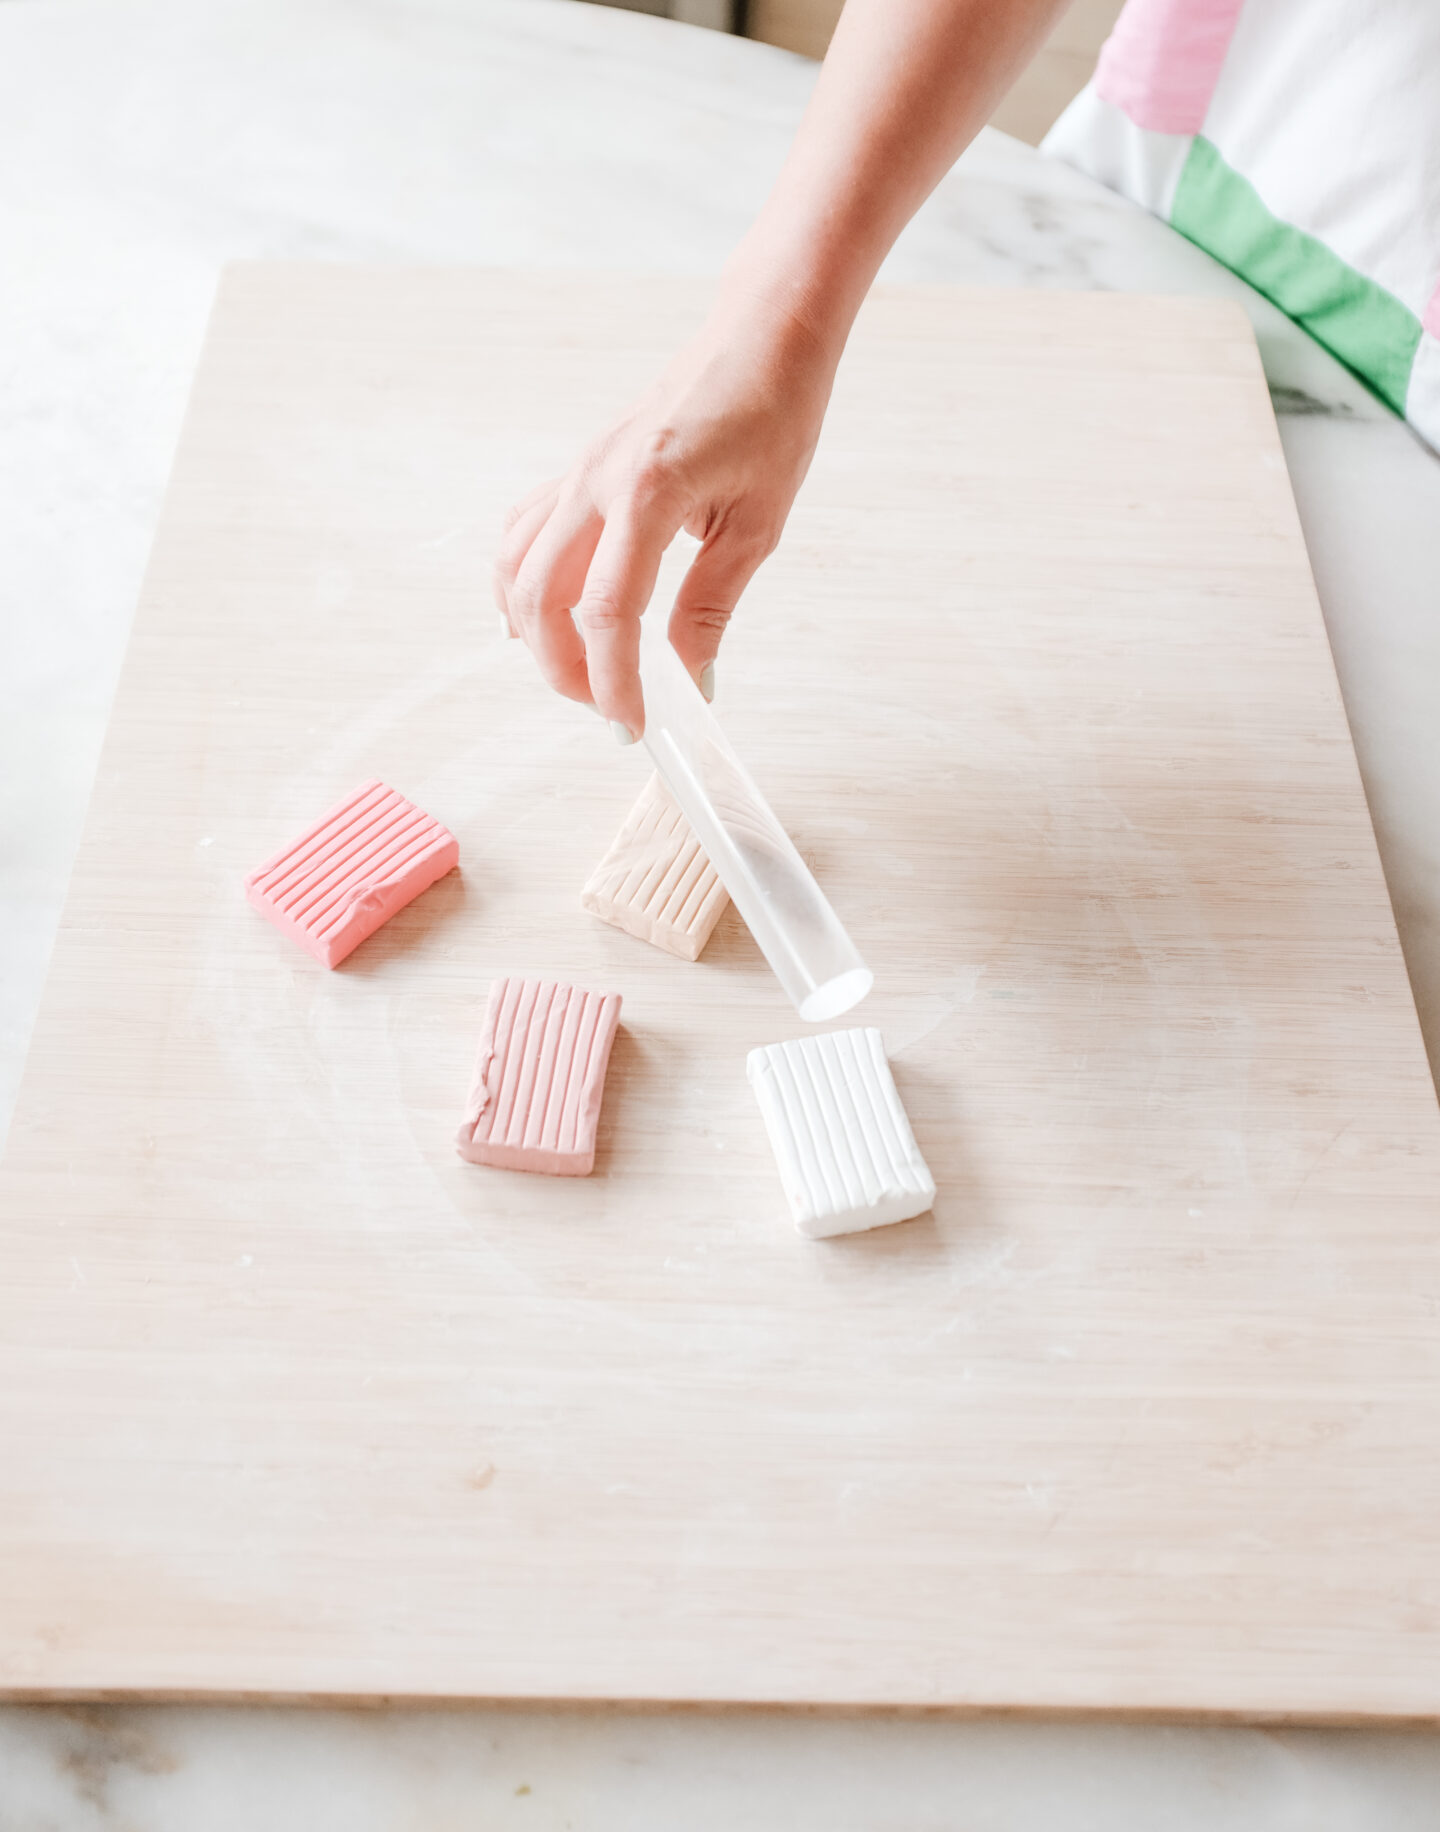
Materials Required:
- Polymer clay in different colours
- Clay roller
- Square clay cutter
- Exacto knife
- Silicone molds in different shapes and forms
- Conventional oven
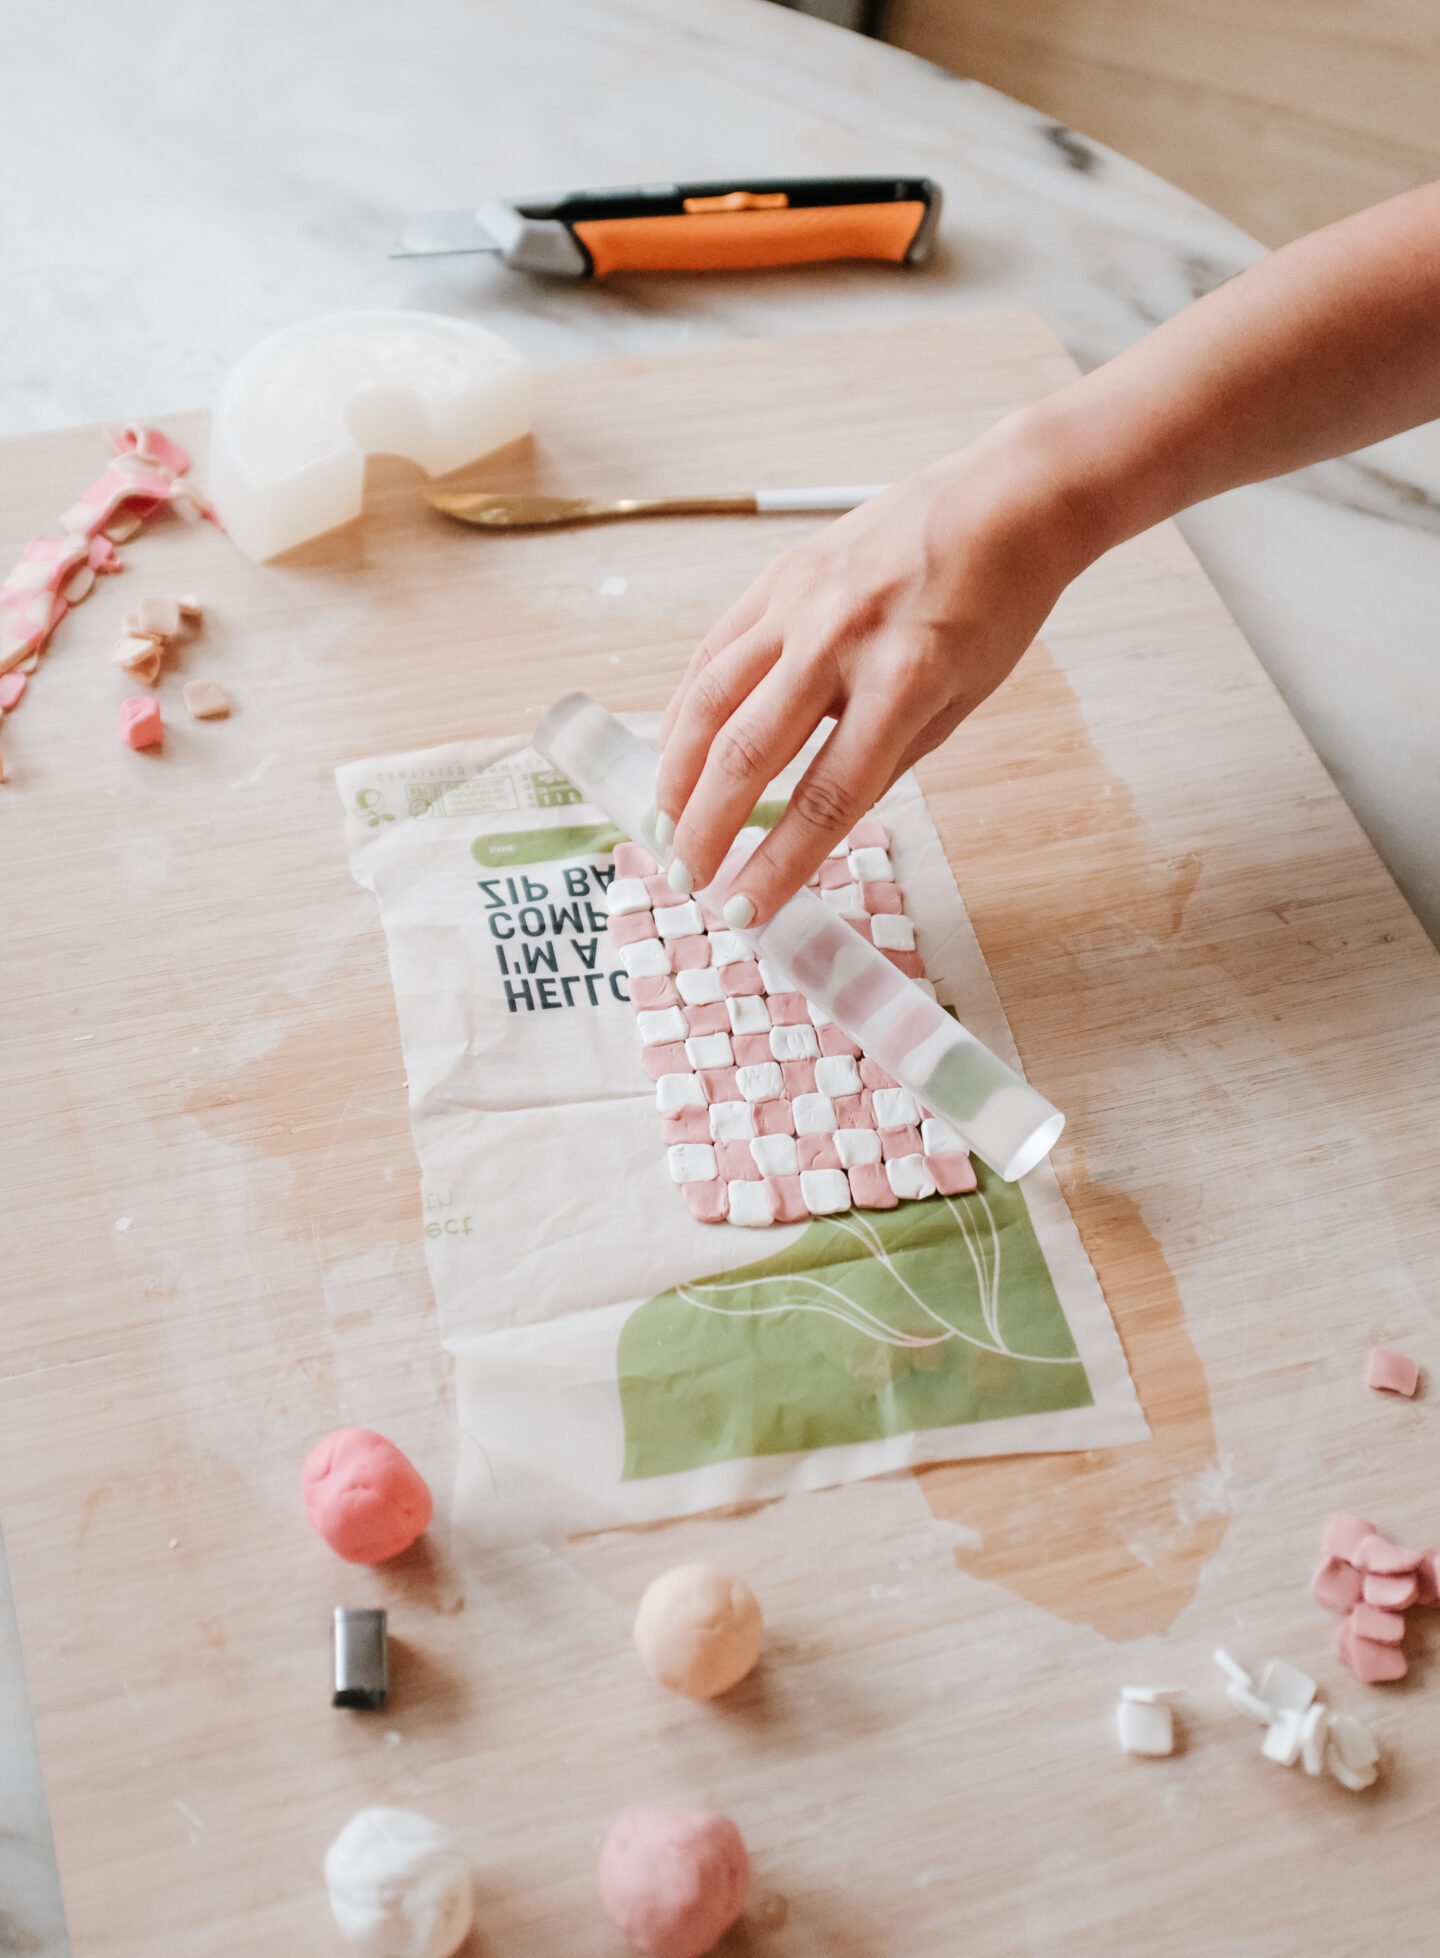
Step one: Pick your colours
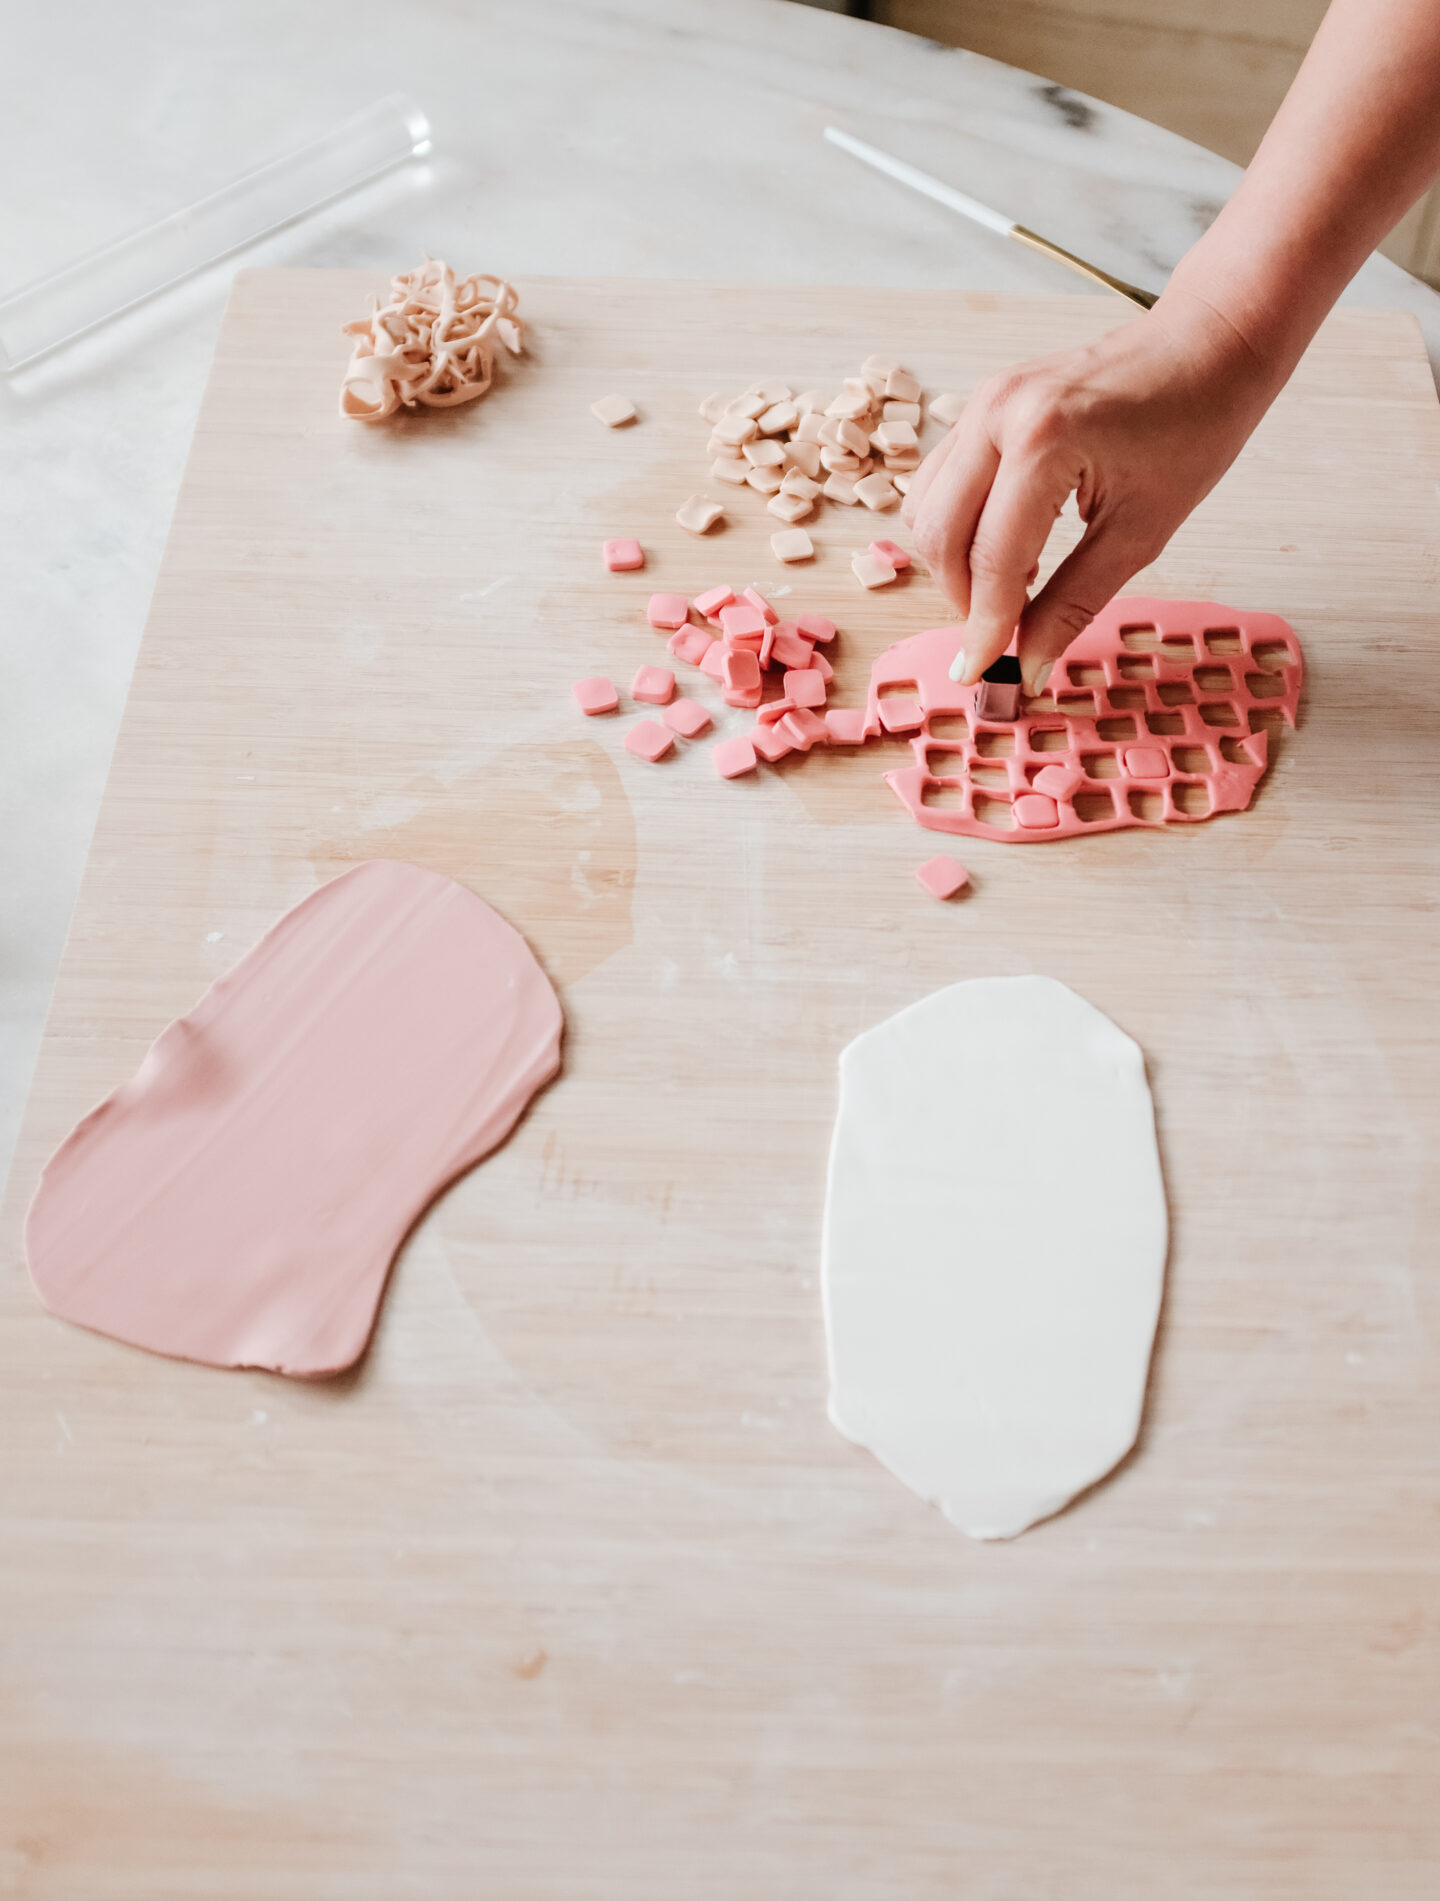
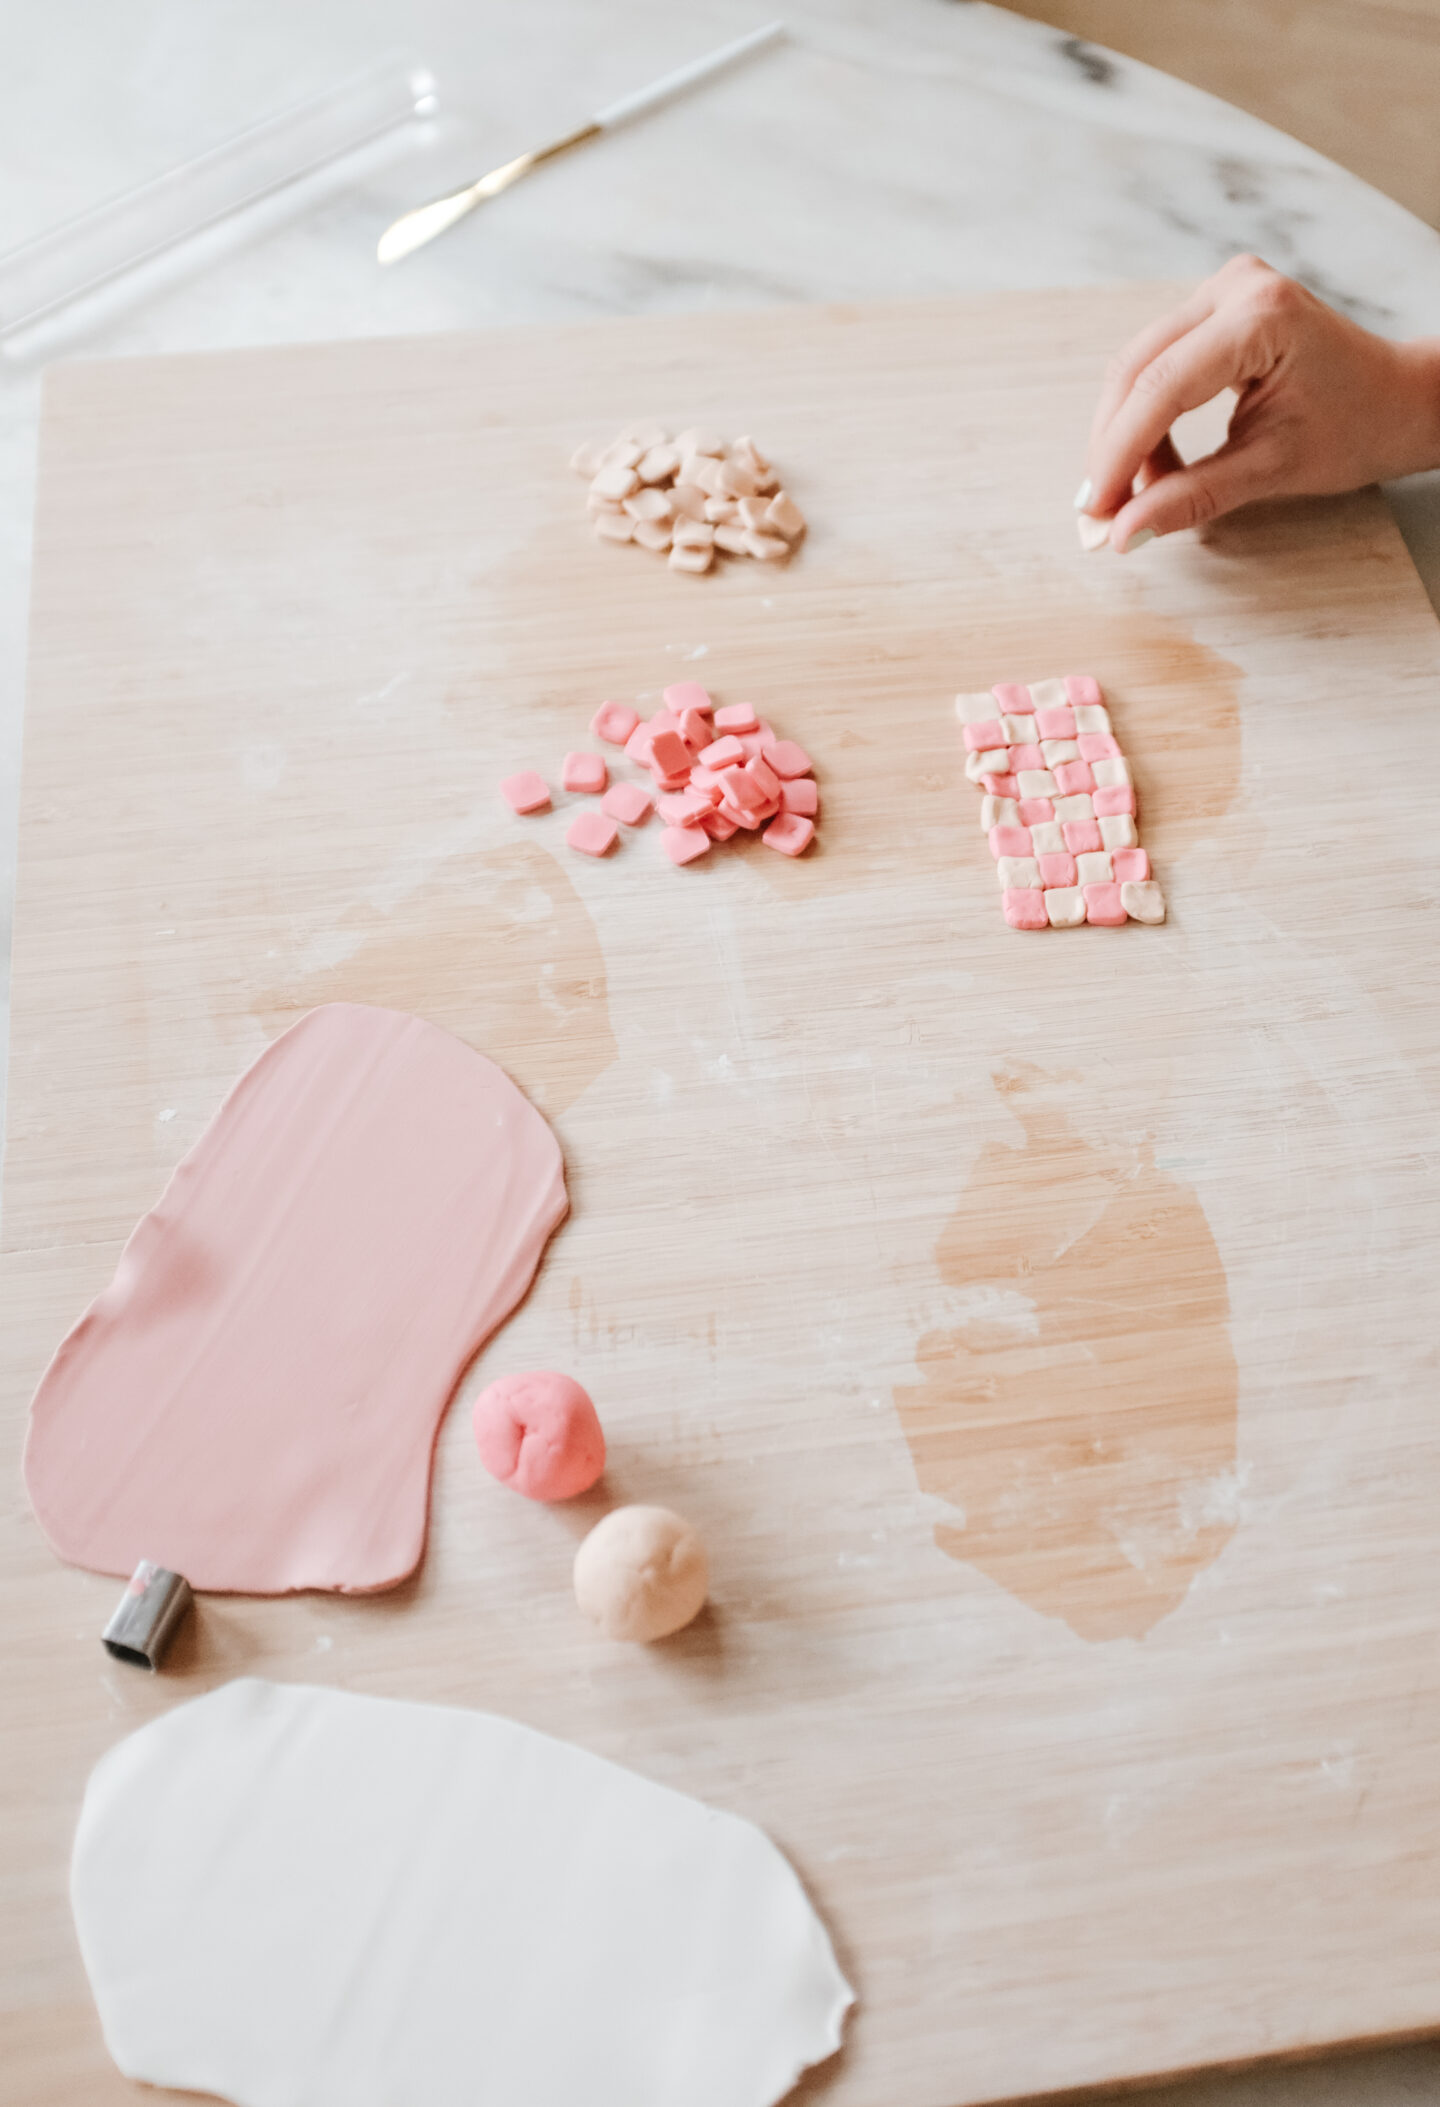
Start by selecting two colours (that make contrast) to create the checkered pattern. Using the clay roller, press lightly and roll each colour clay the thinest you can one by one.
Step two: Cut the squares & form the pattern
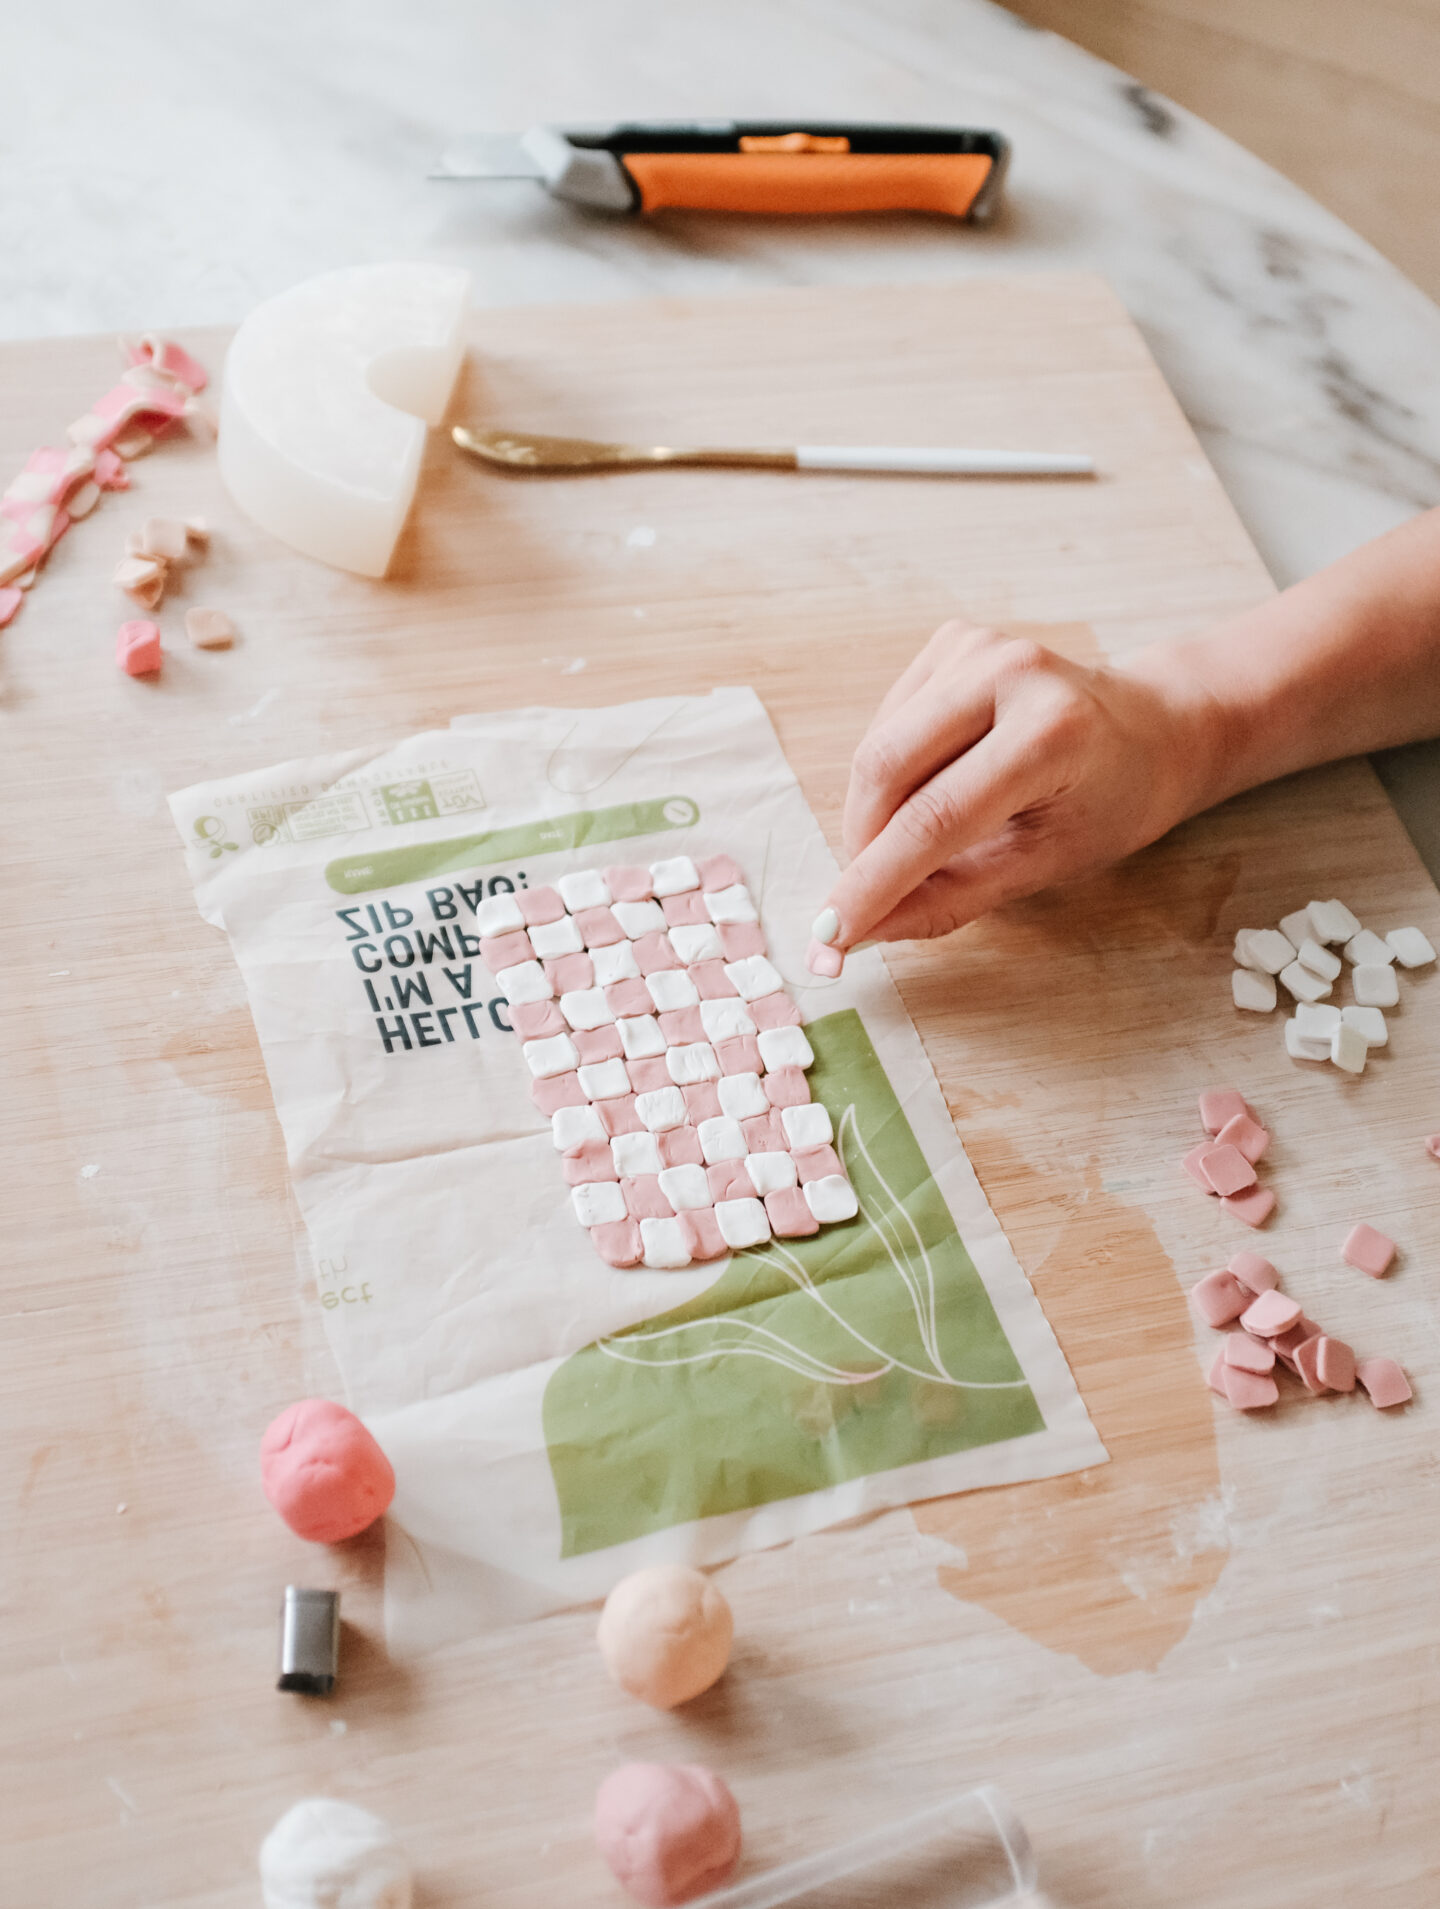
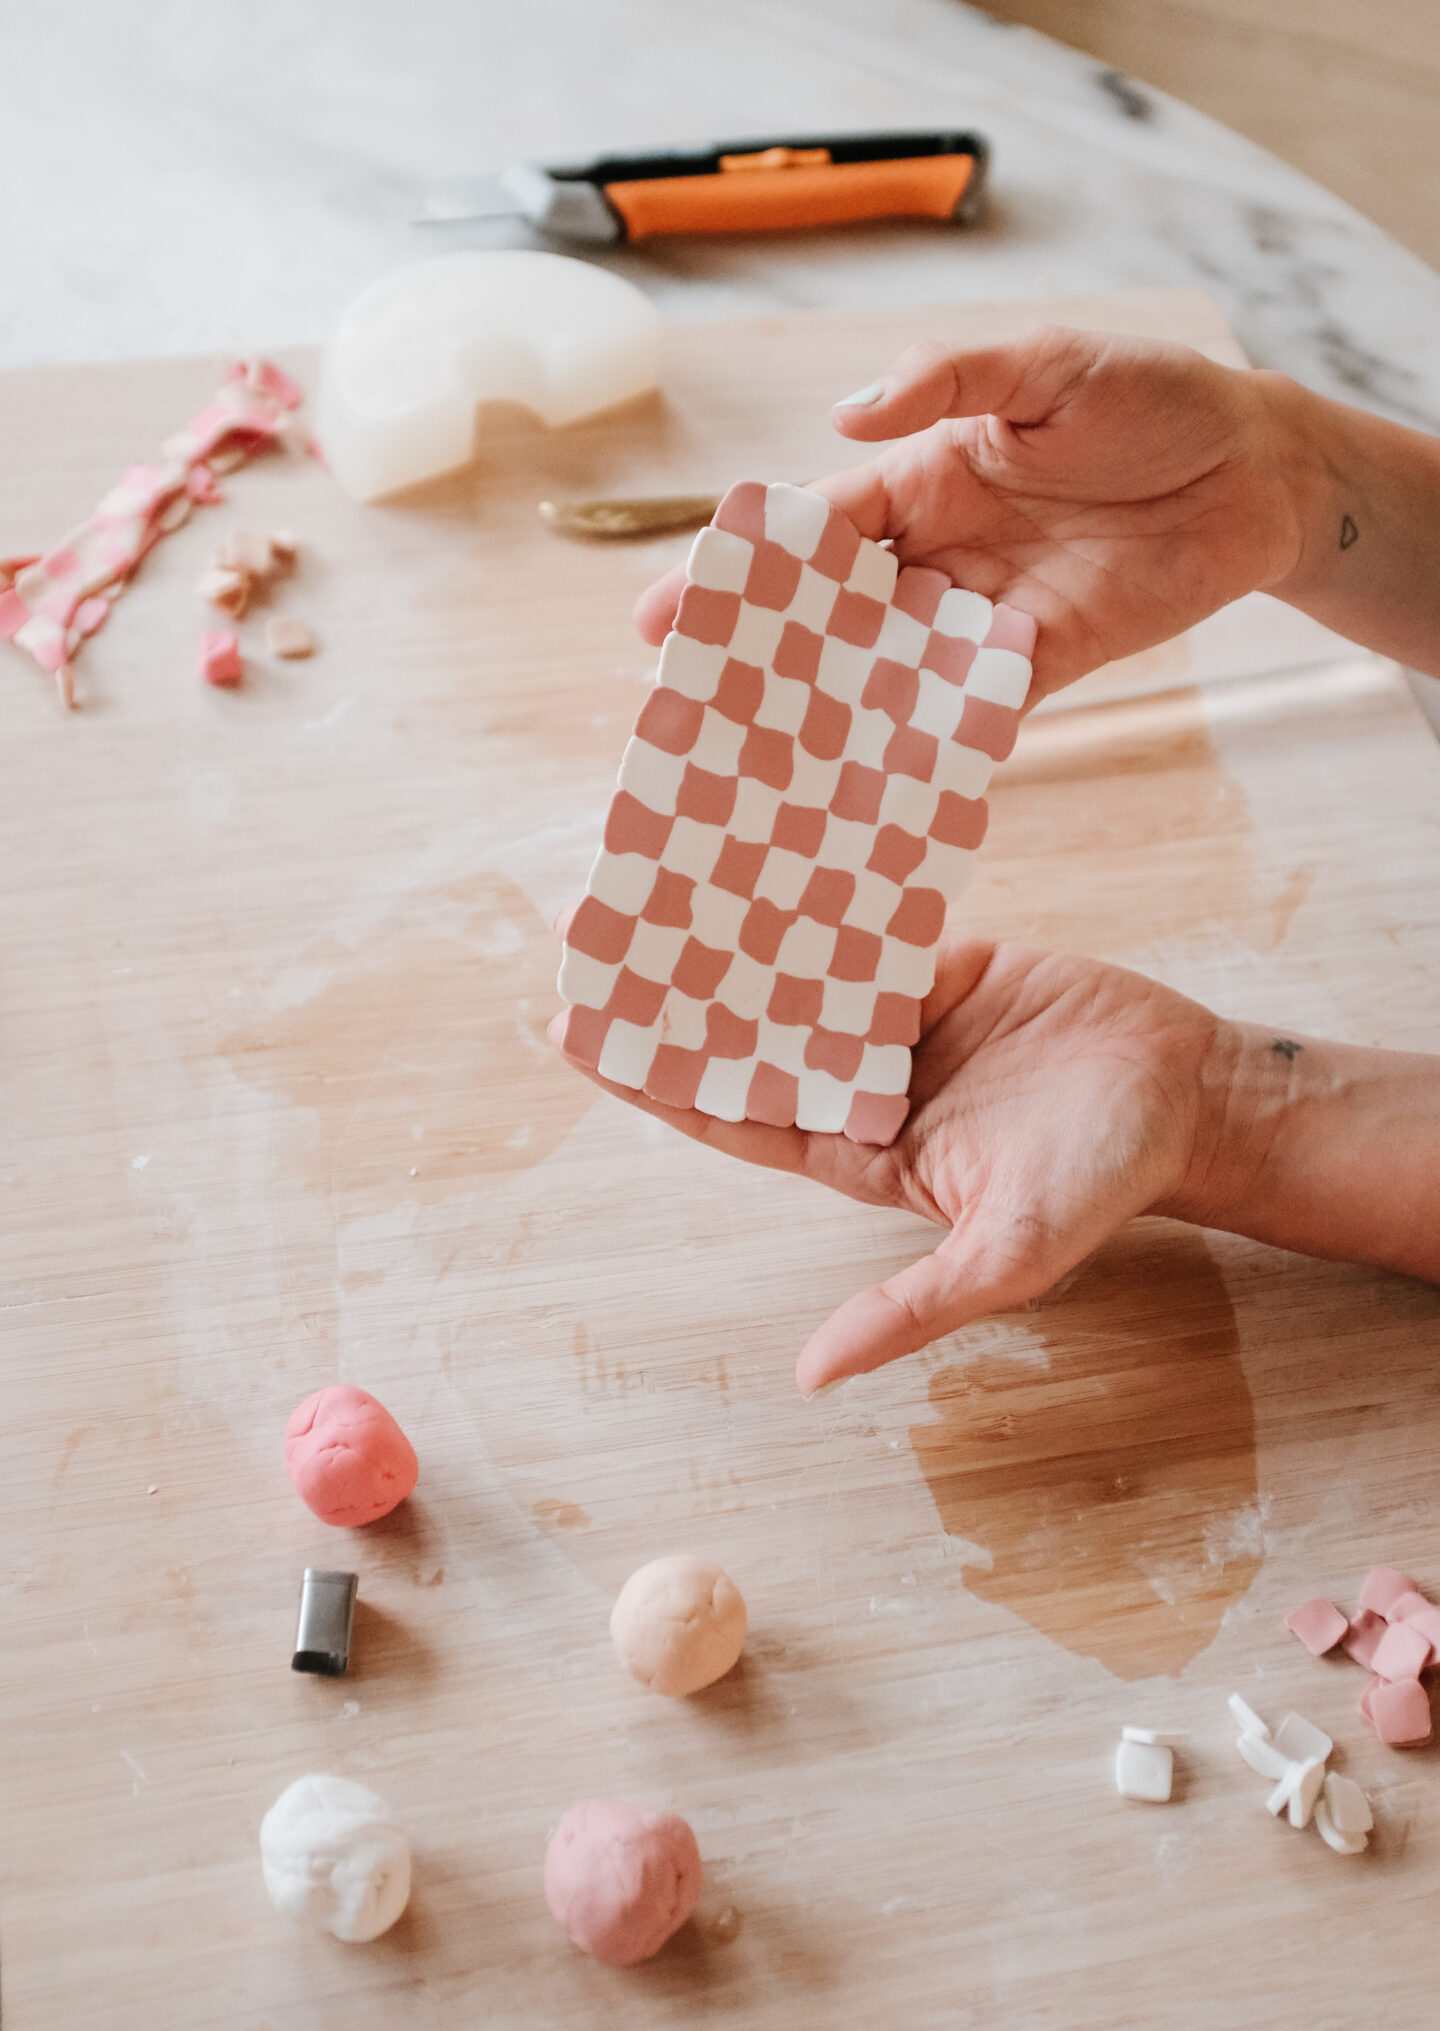
Cut little squares for each clay colour with the cutter (as many as you can) and form the pattern alternating the square colours – having different clay colours next to each other, creating the checker pattern.
Step three: Make your tray
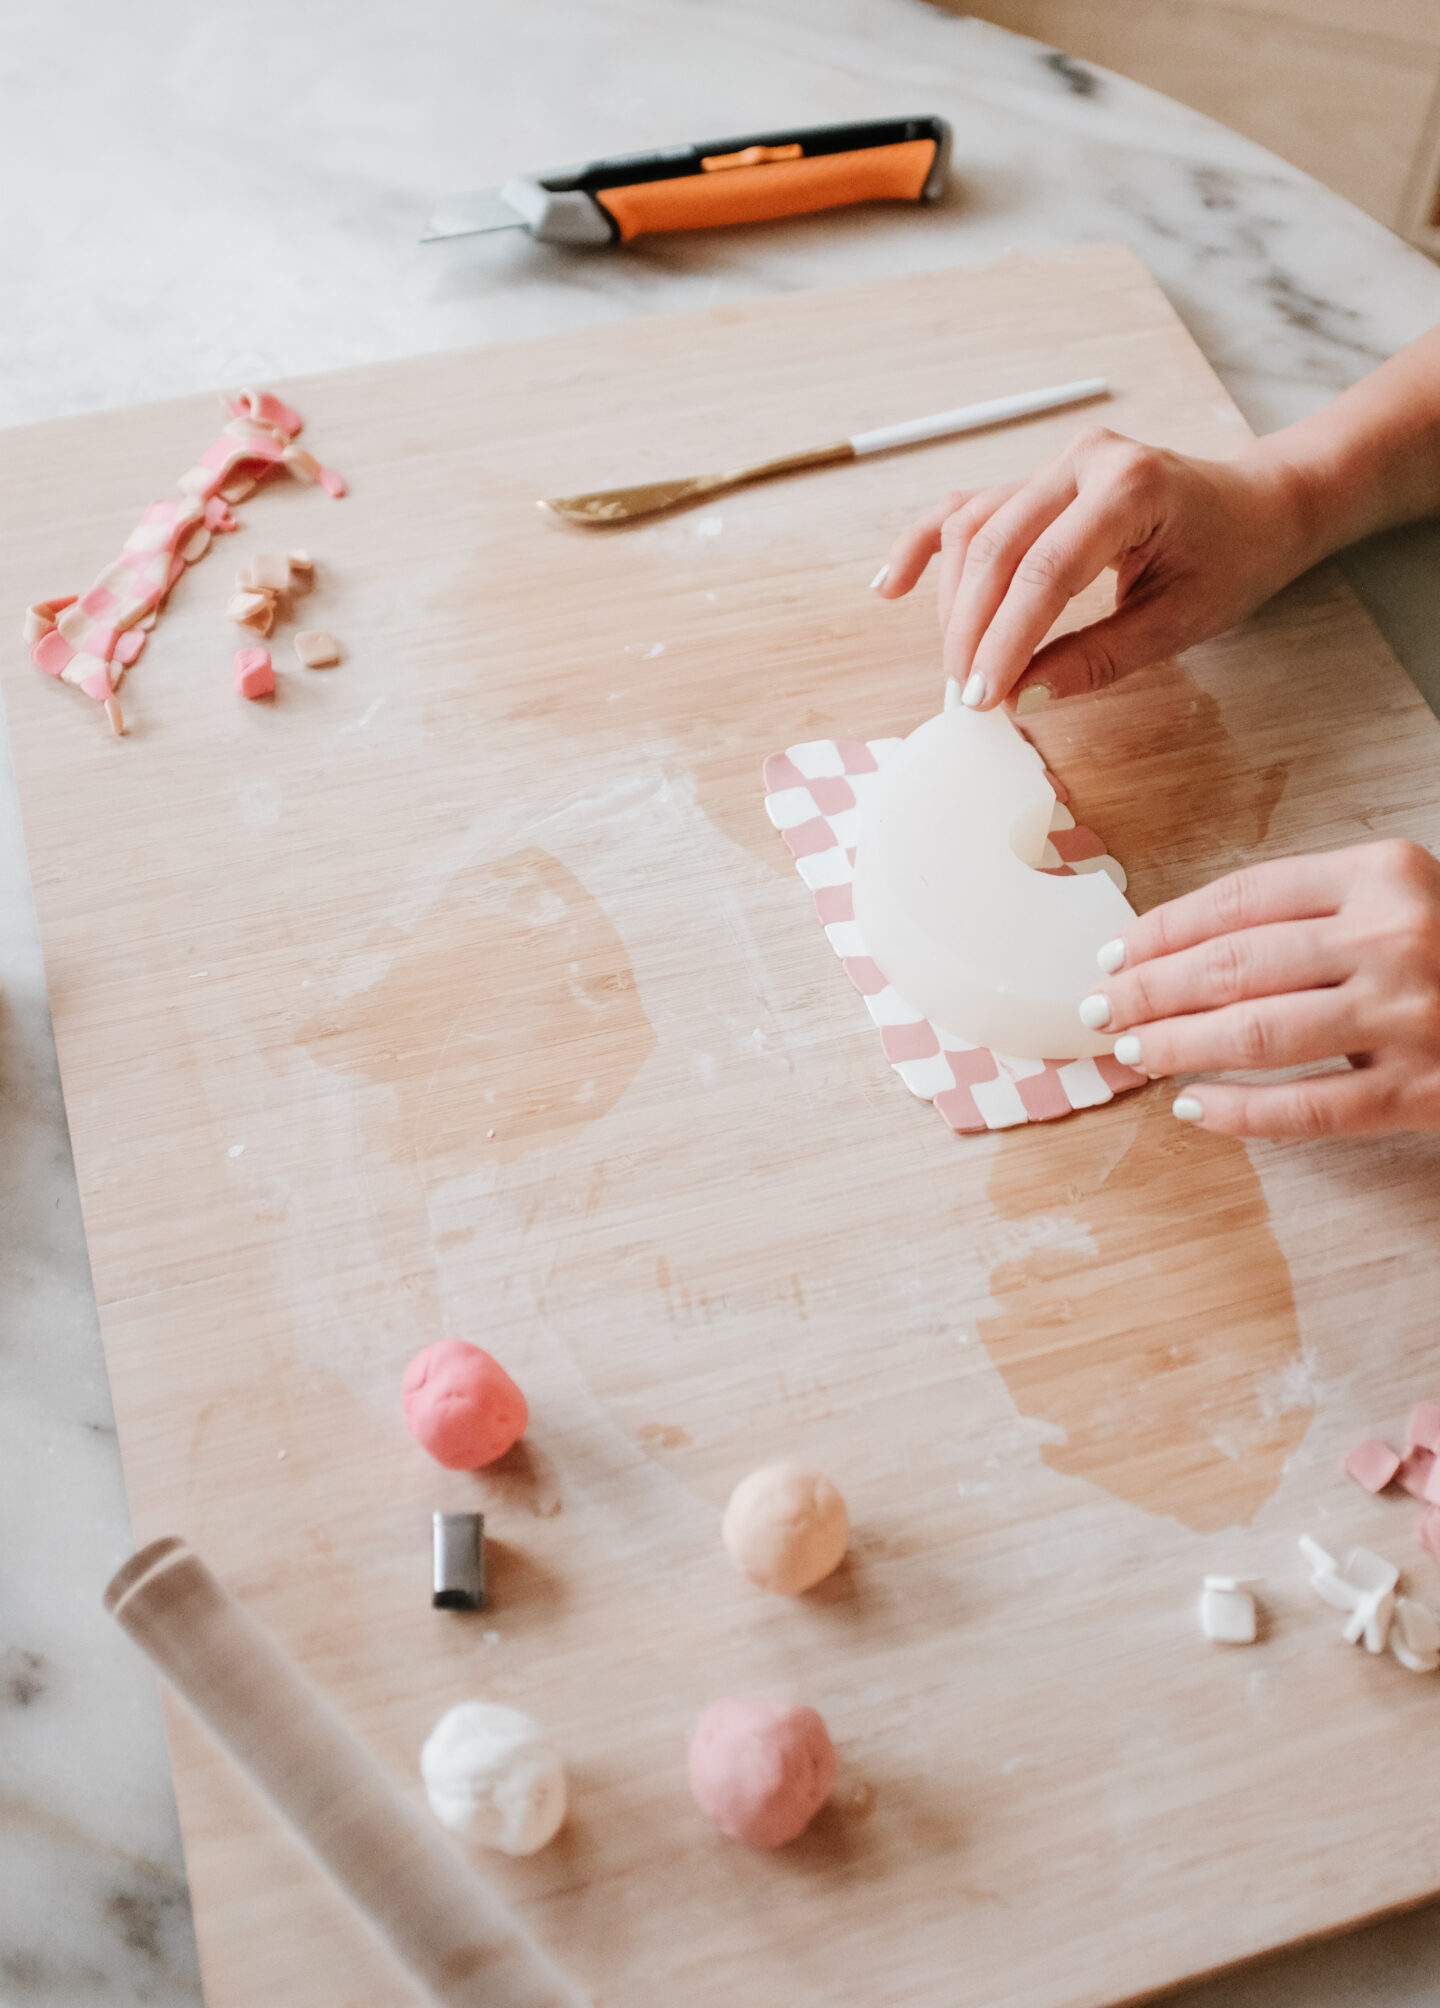
Once you’ve finished setting the check pattern, press slightly and roll again forming a large clay sheet. As in pottery, when you roll, make sure you turn sides to obtain an even thickness. I picked two fun silicone molds to form the trays. Cut the shape with an exacto or a knife and smooth the edges with your fingers or adding a bit of water.
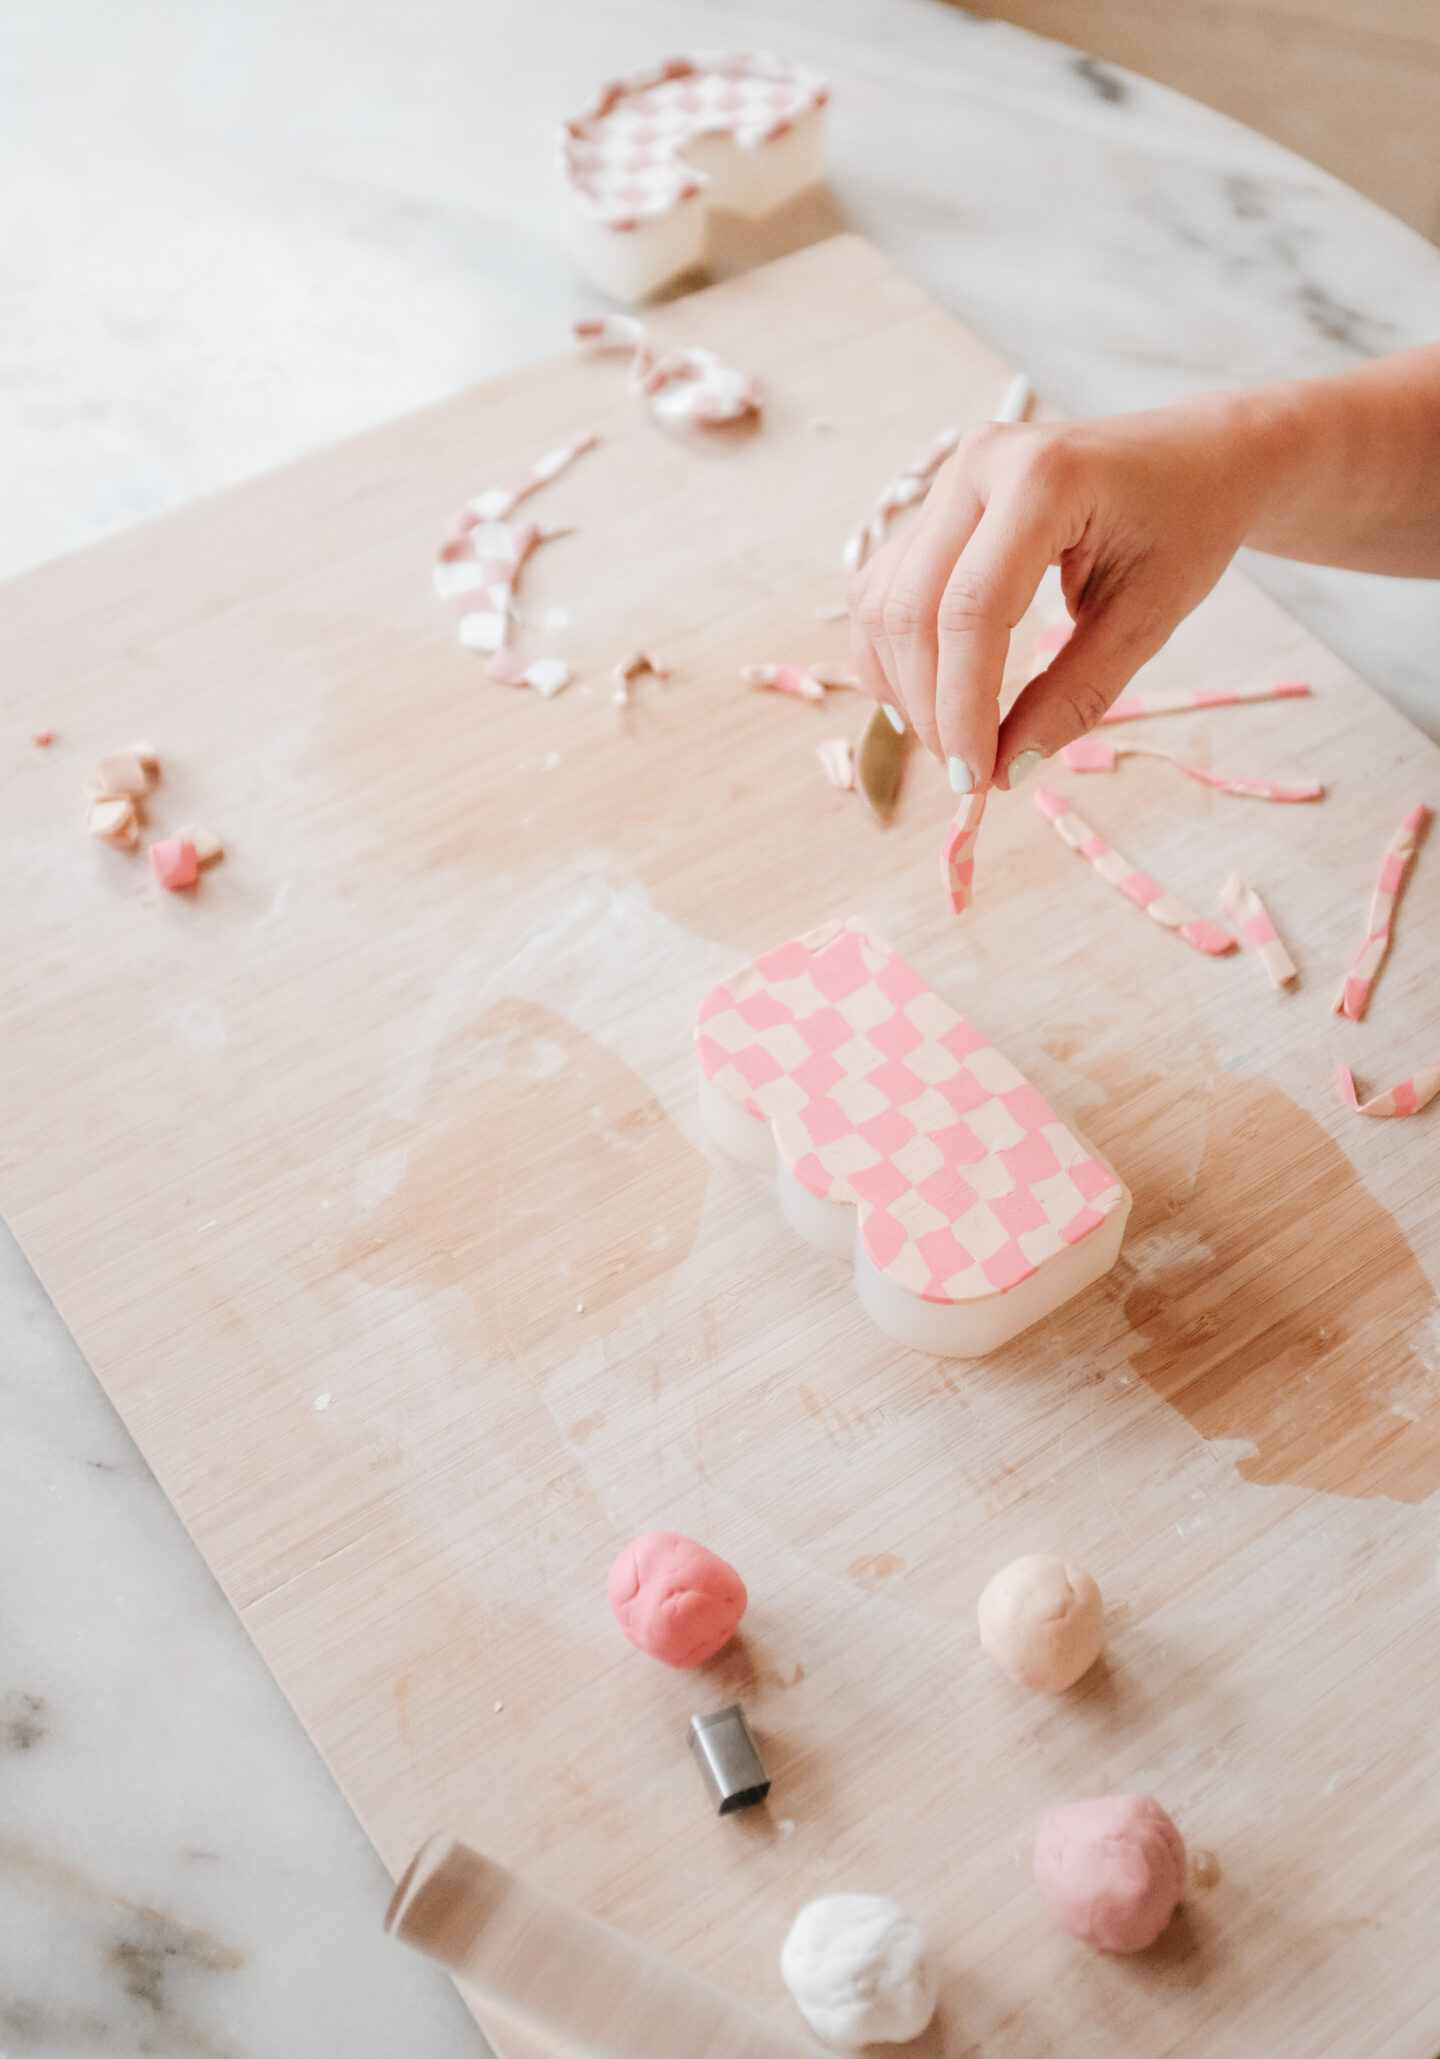
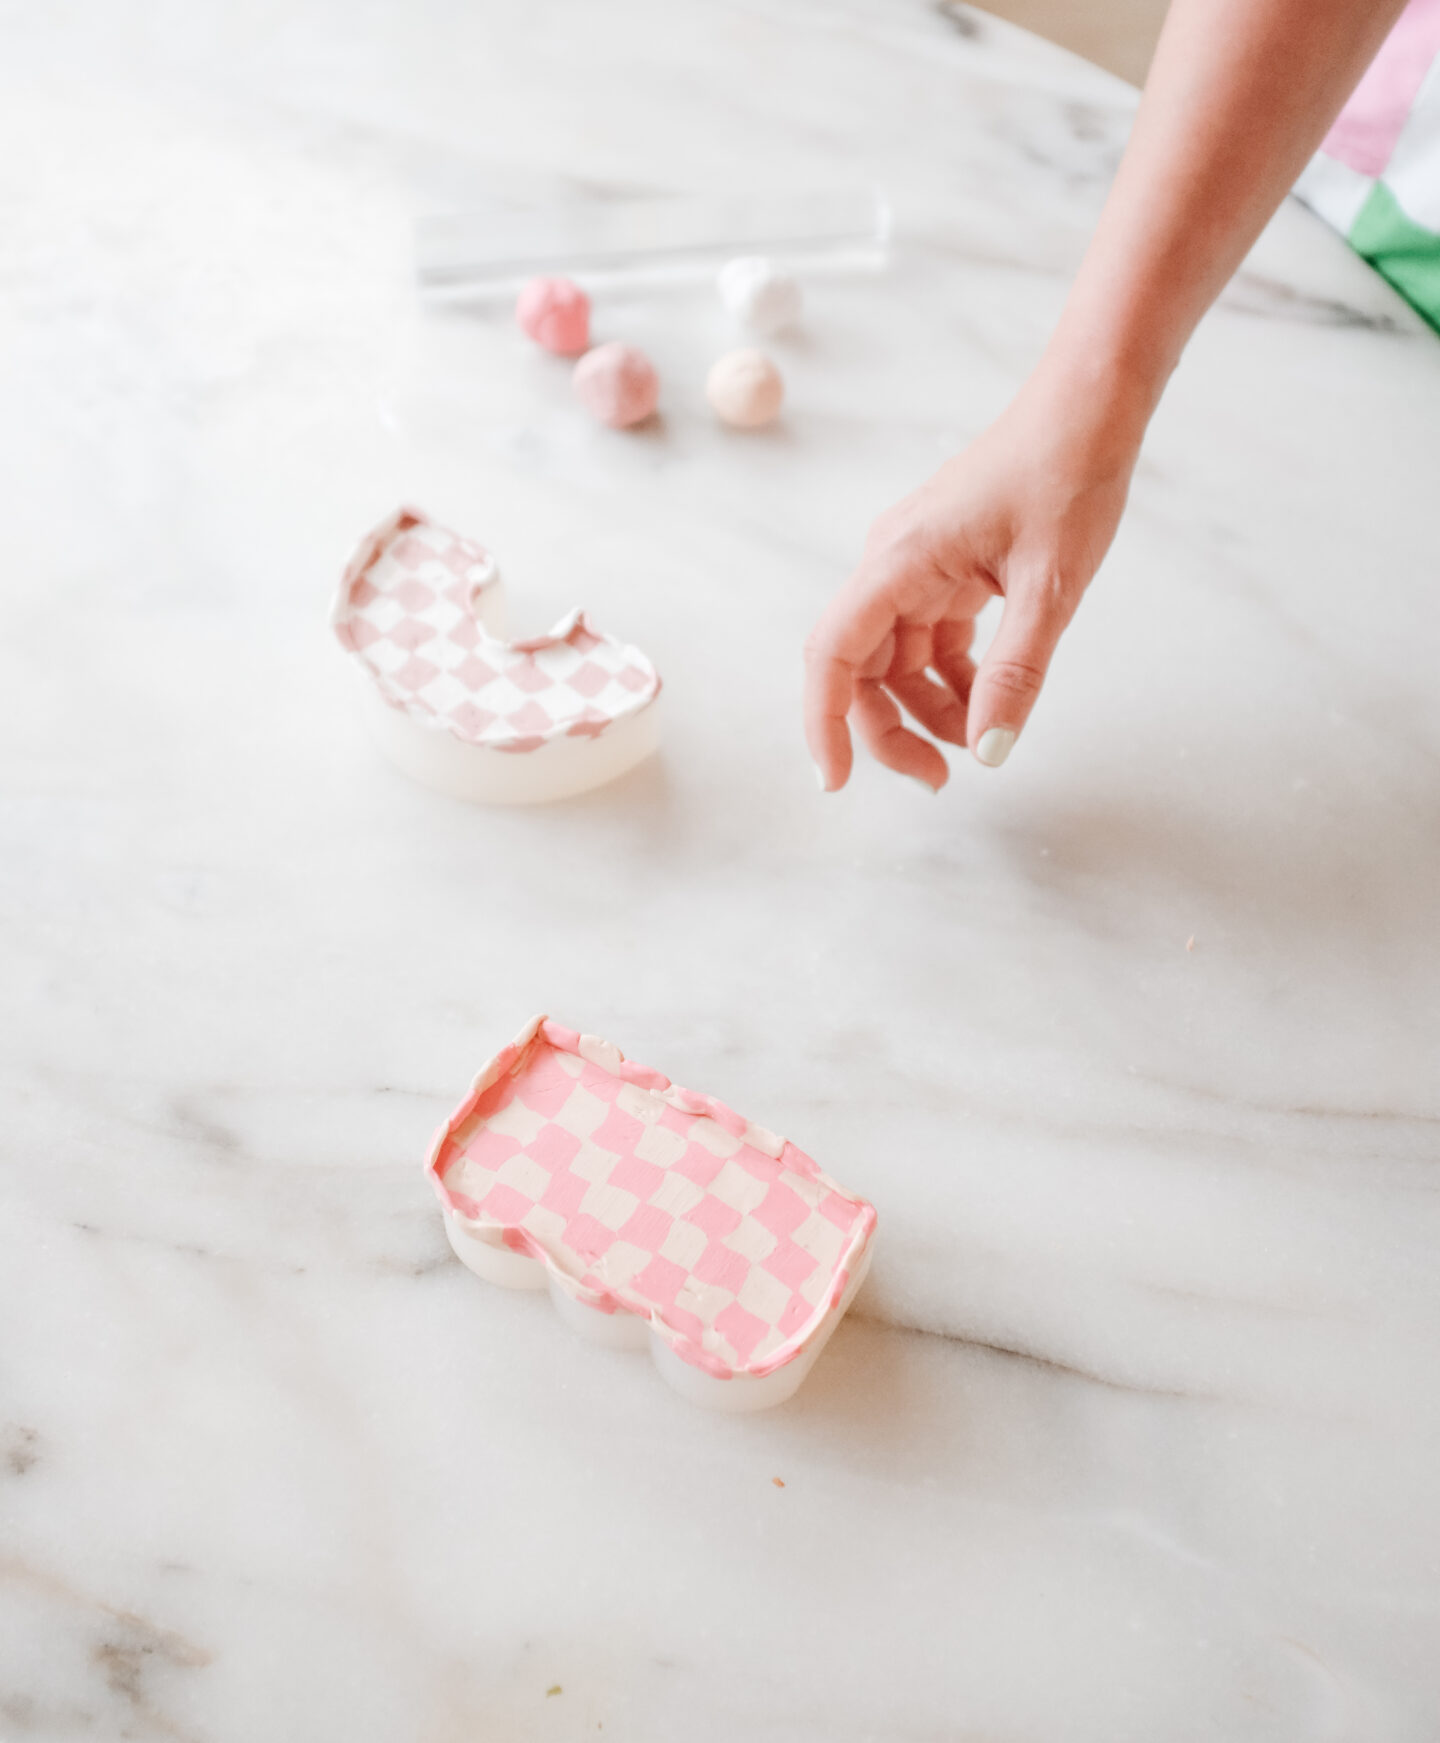
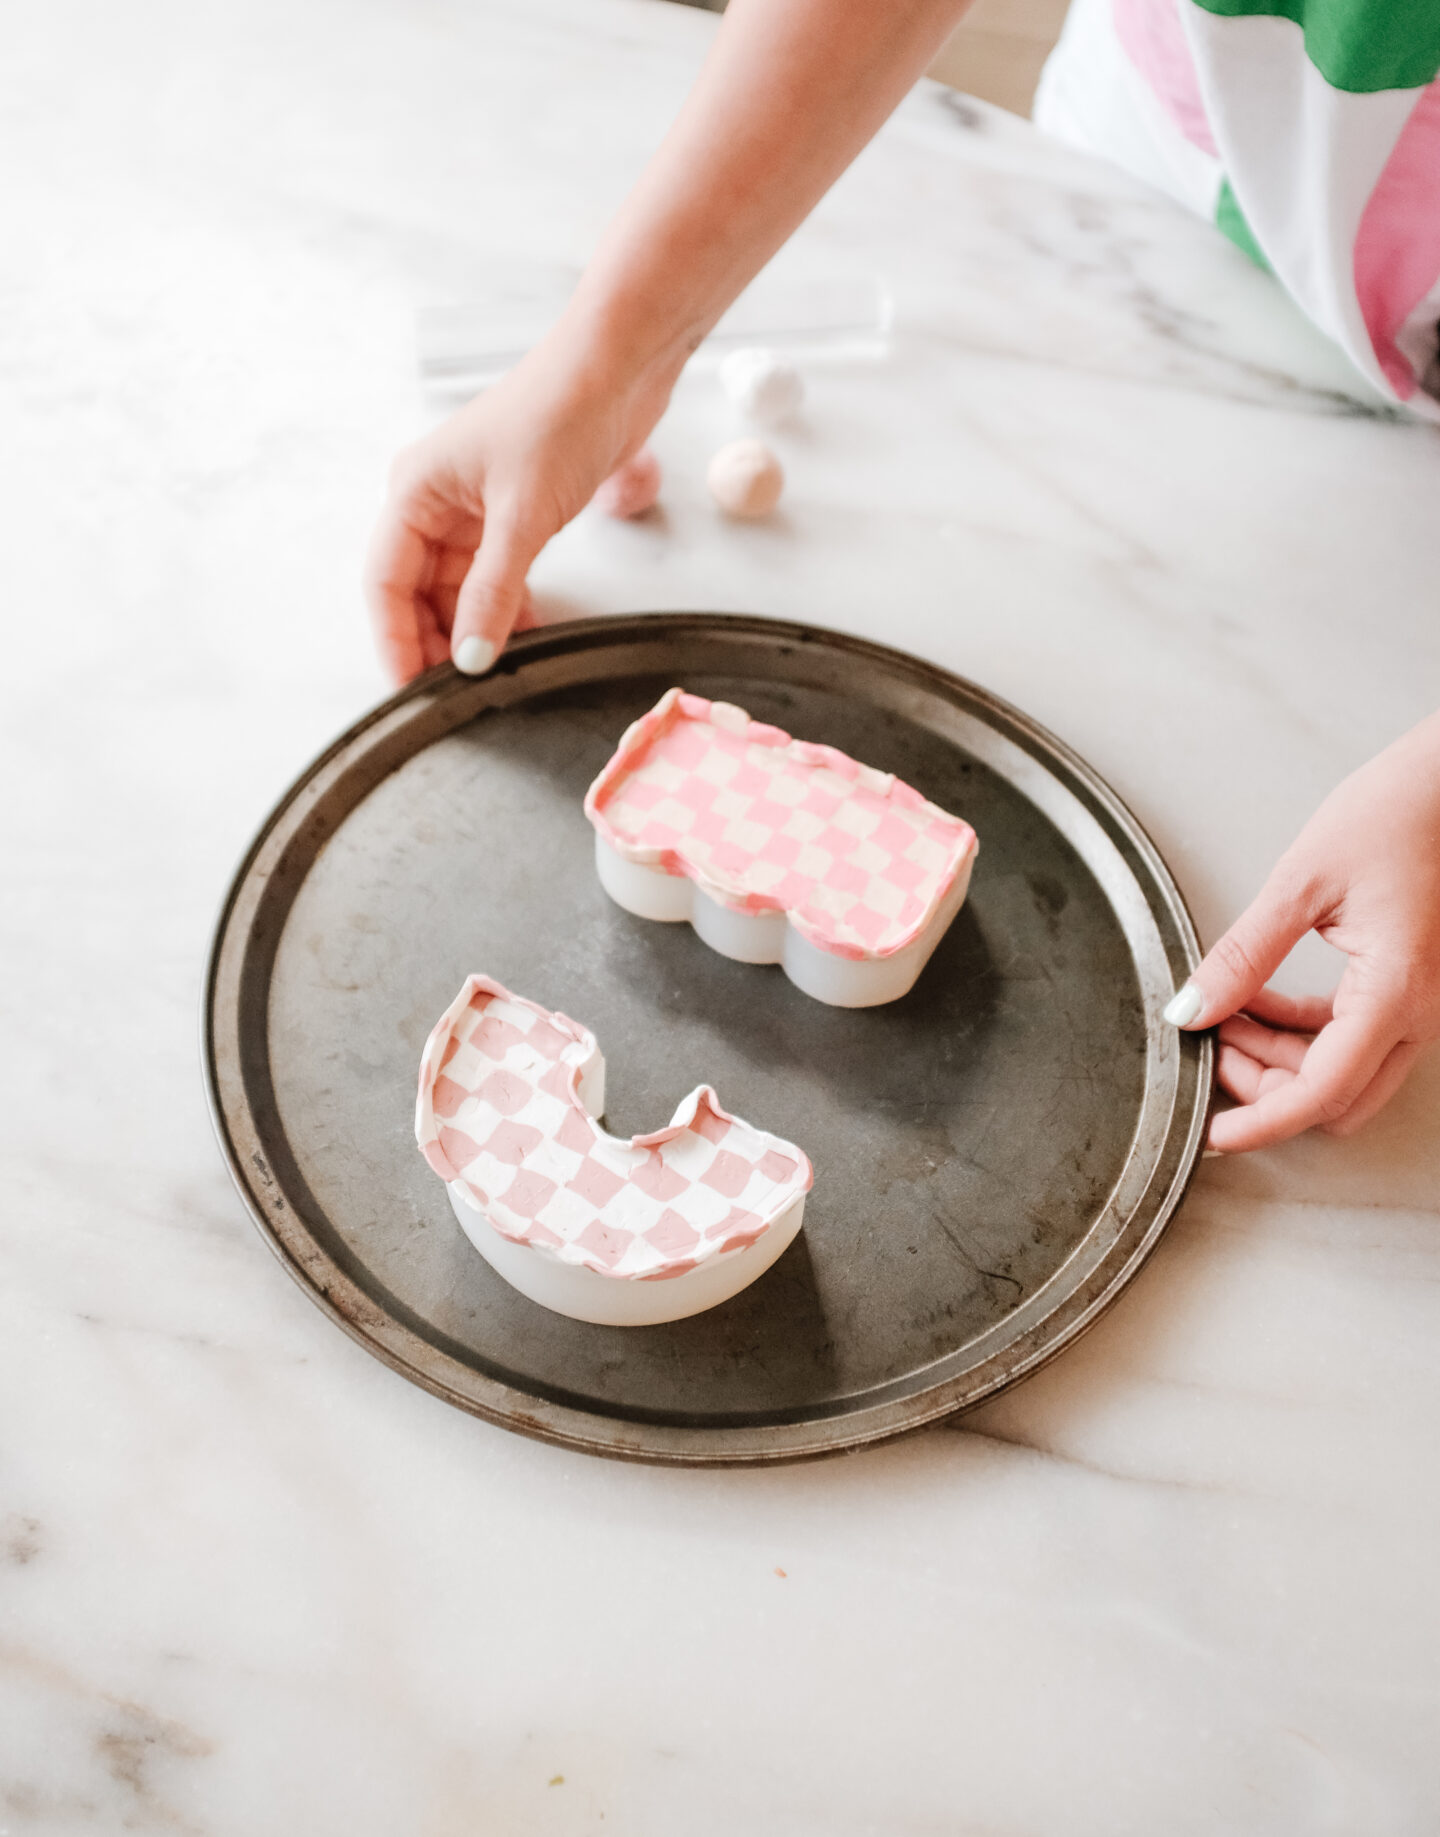
Step Four: Bake it!
Following the polymer clay instructions, I baked my trays in the oven at 275F for 15 minutes. Make sure you use oven-safe molds and trays, you can add parchment paper to protect your pieces. Once ready, let them cool for a few and voila!
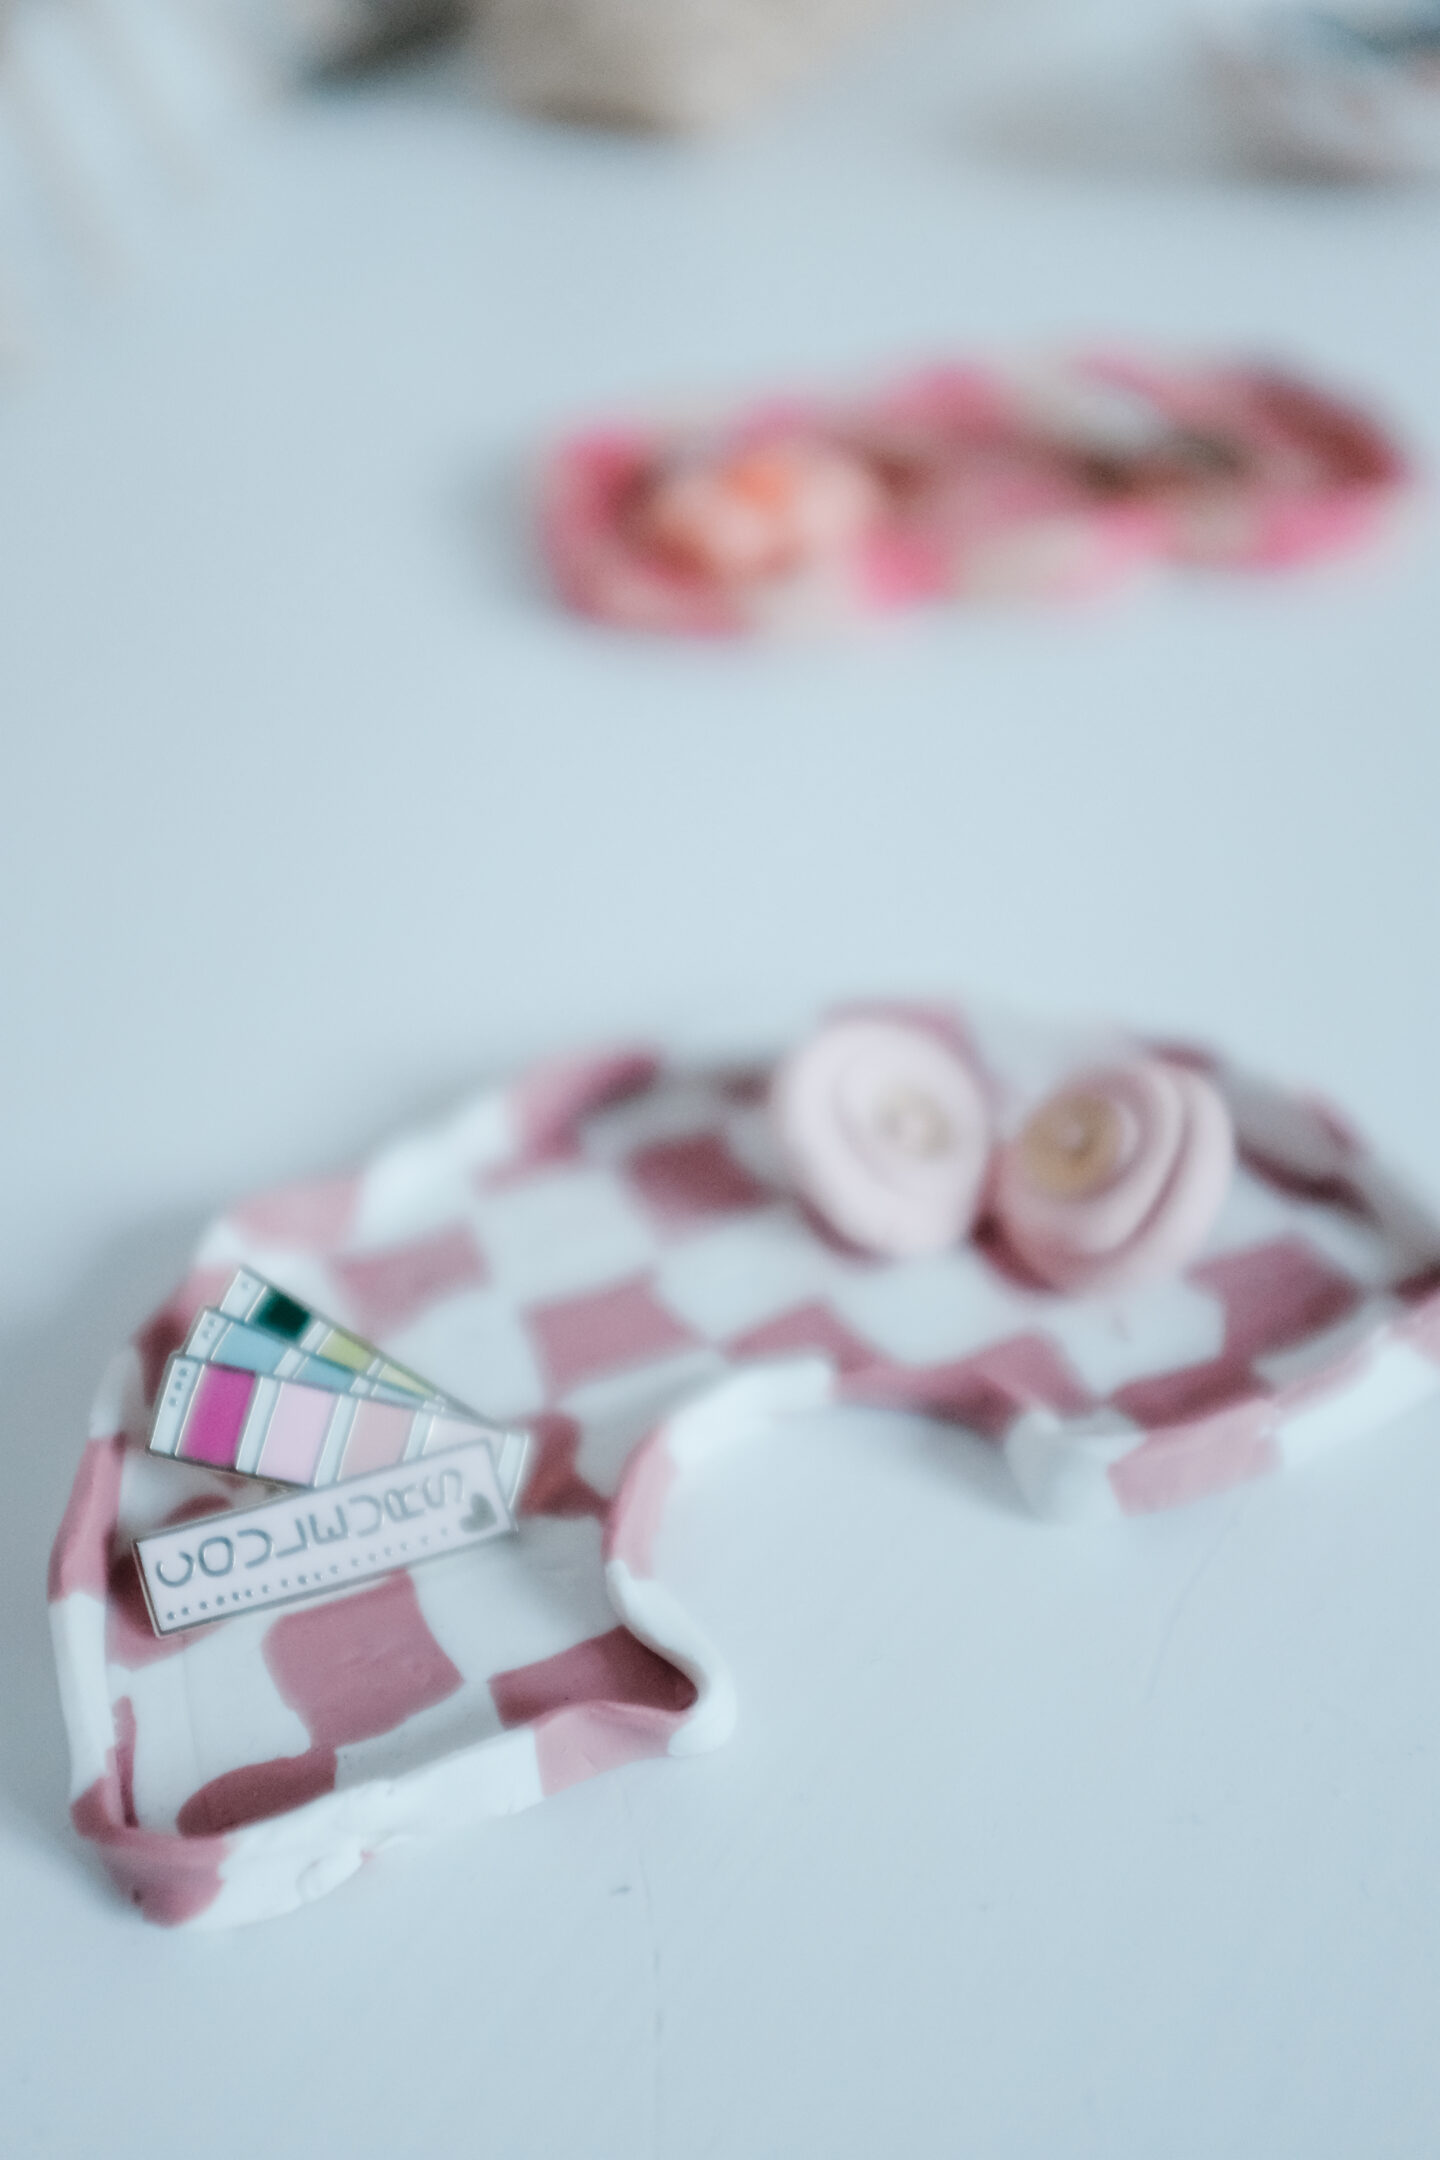
Aren’t they the cutest mini trays? Can’t wait to see what you’ll DIY in checkers!
