How to DIY The Cutest Scalloped Wall


We are very clear that my love for scallops is here to stay, right?
You’ve seen me wearing scallop skirts, our latest shop collection with the sweetest gold washi tapes, DIYing these scalloped mini-bags recently and all my porcelain pieces I’ve created, because for real, scallops are just the sweetest little things.
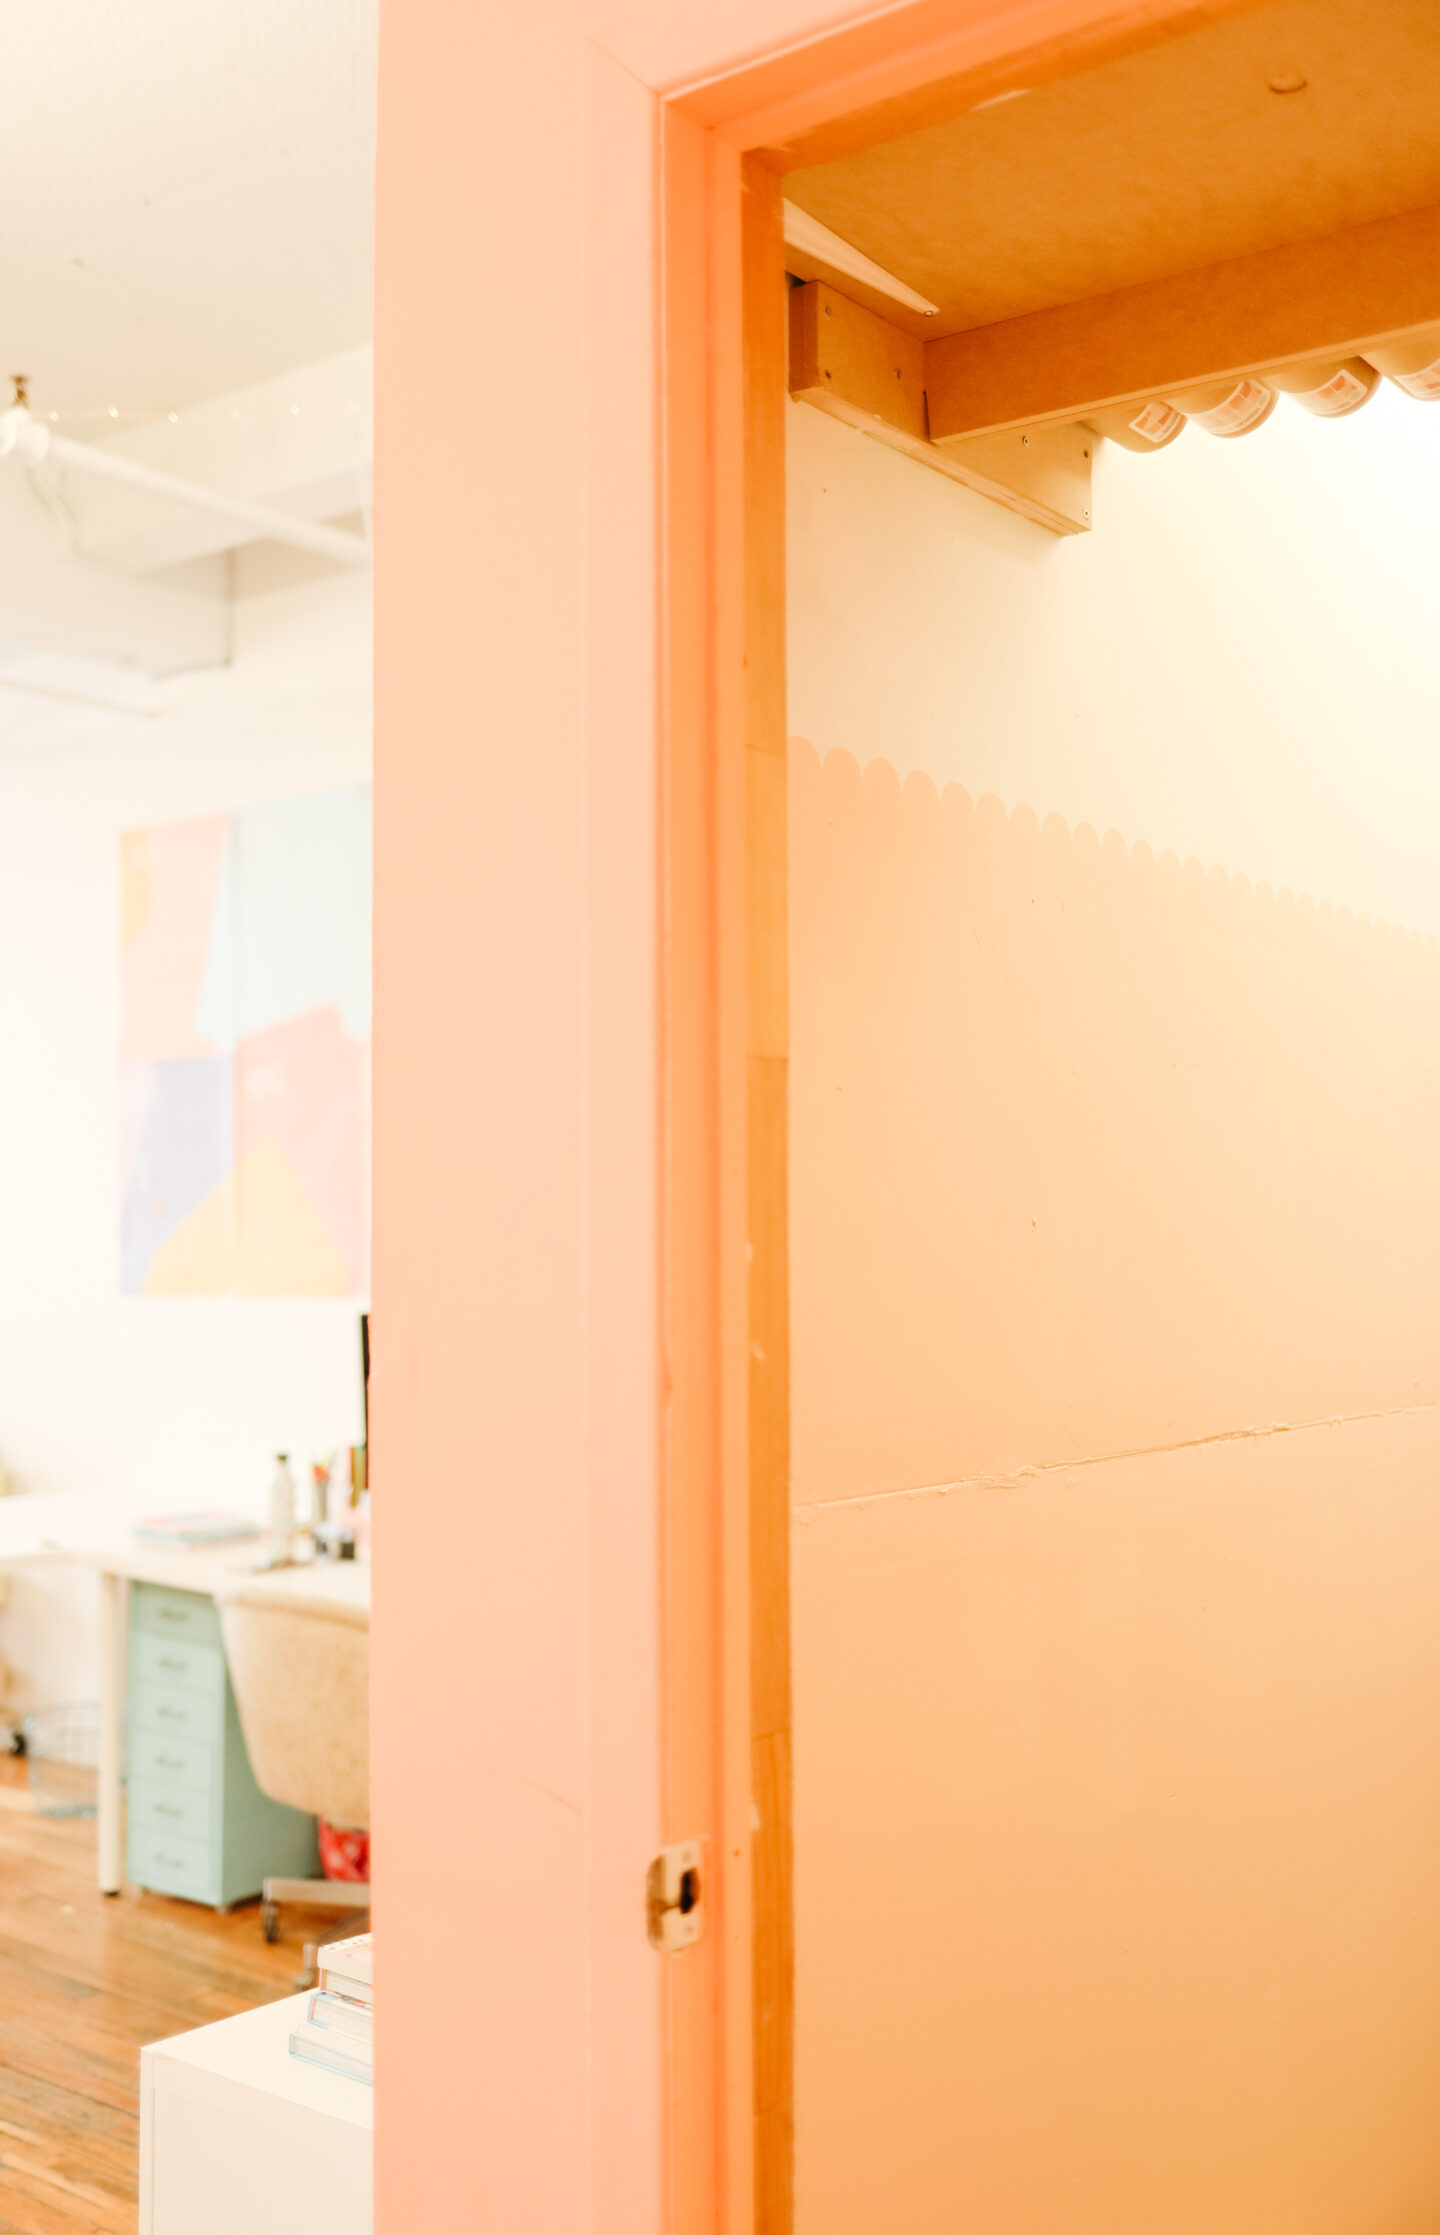
I’ve been organizing the studio lately (nothing new here, ha!), and one of the rooms on my pending list since last year is the storage/DIY room. I finally installed a pegboard wall where we can place all our tools and have them handy for our day-to-day projects, but, we needed a splash of paint!
Pink scalloped wall design? BINGO!
In today’s post, I’ll show you how easy it is, and how you can also have your very own scalloped wall at home. Let’s do it!
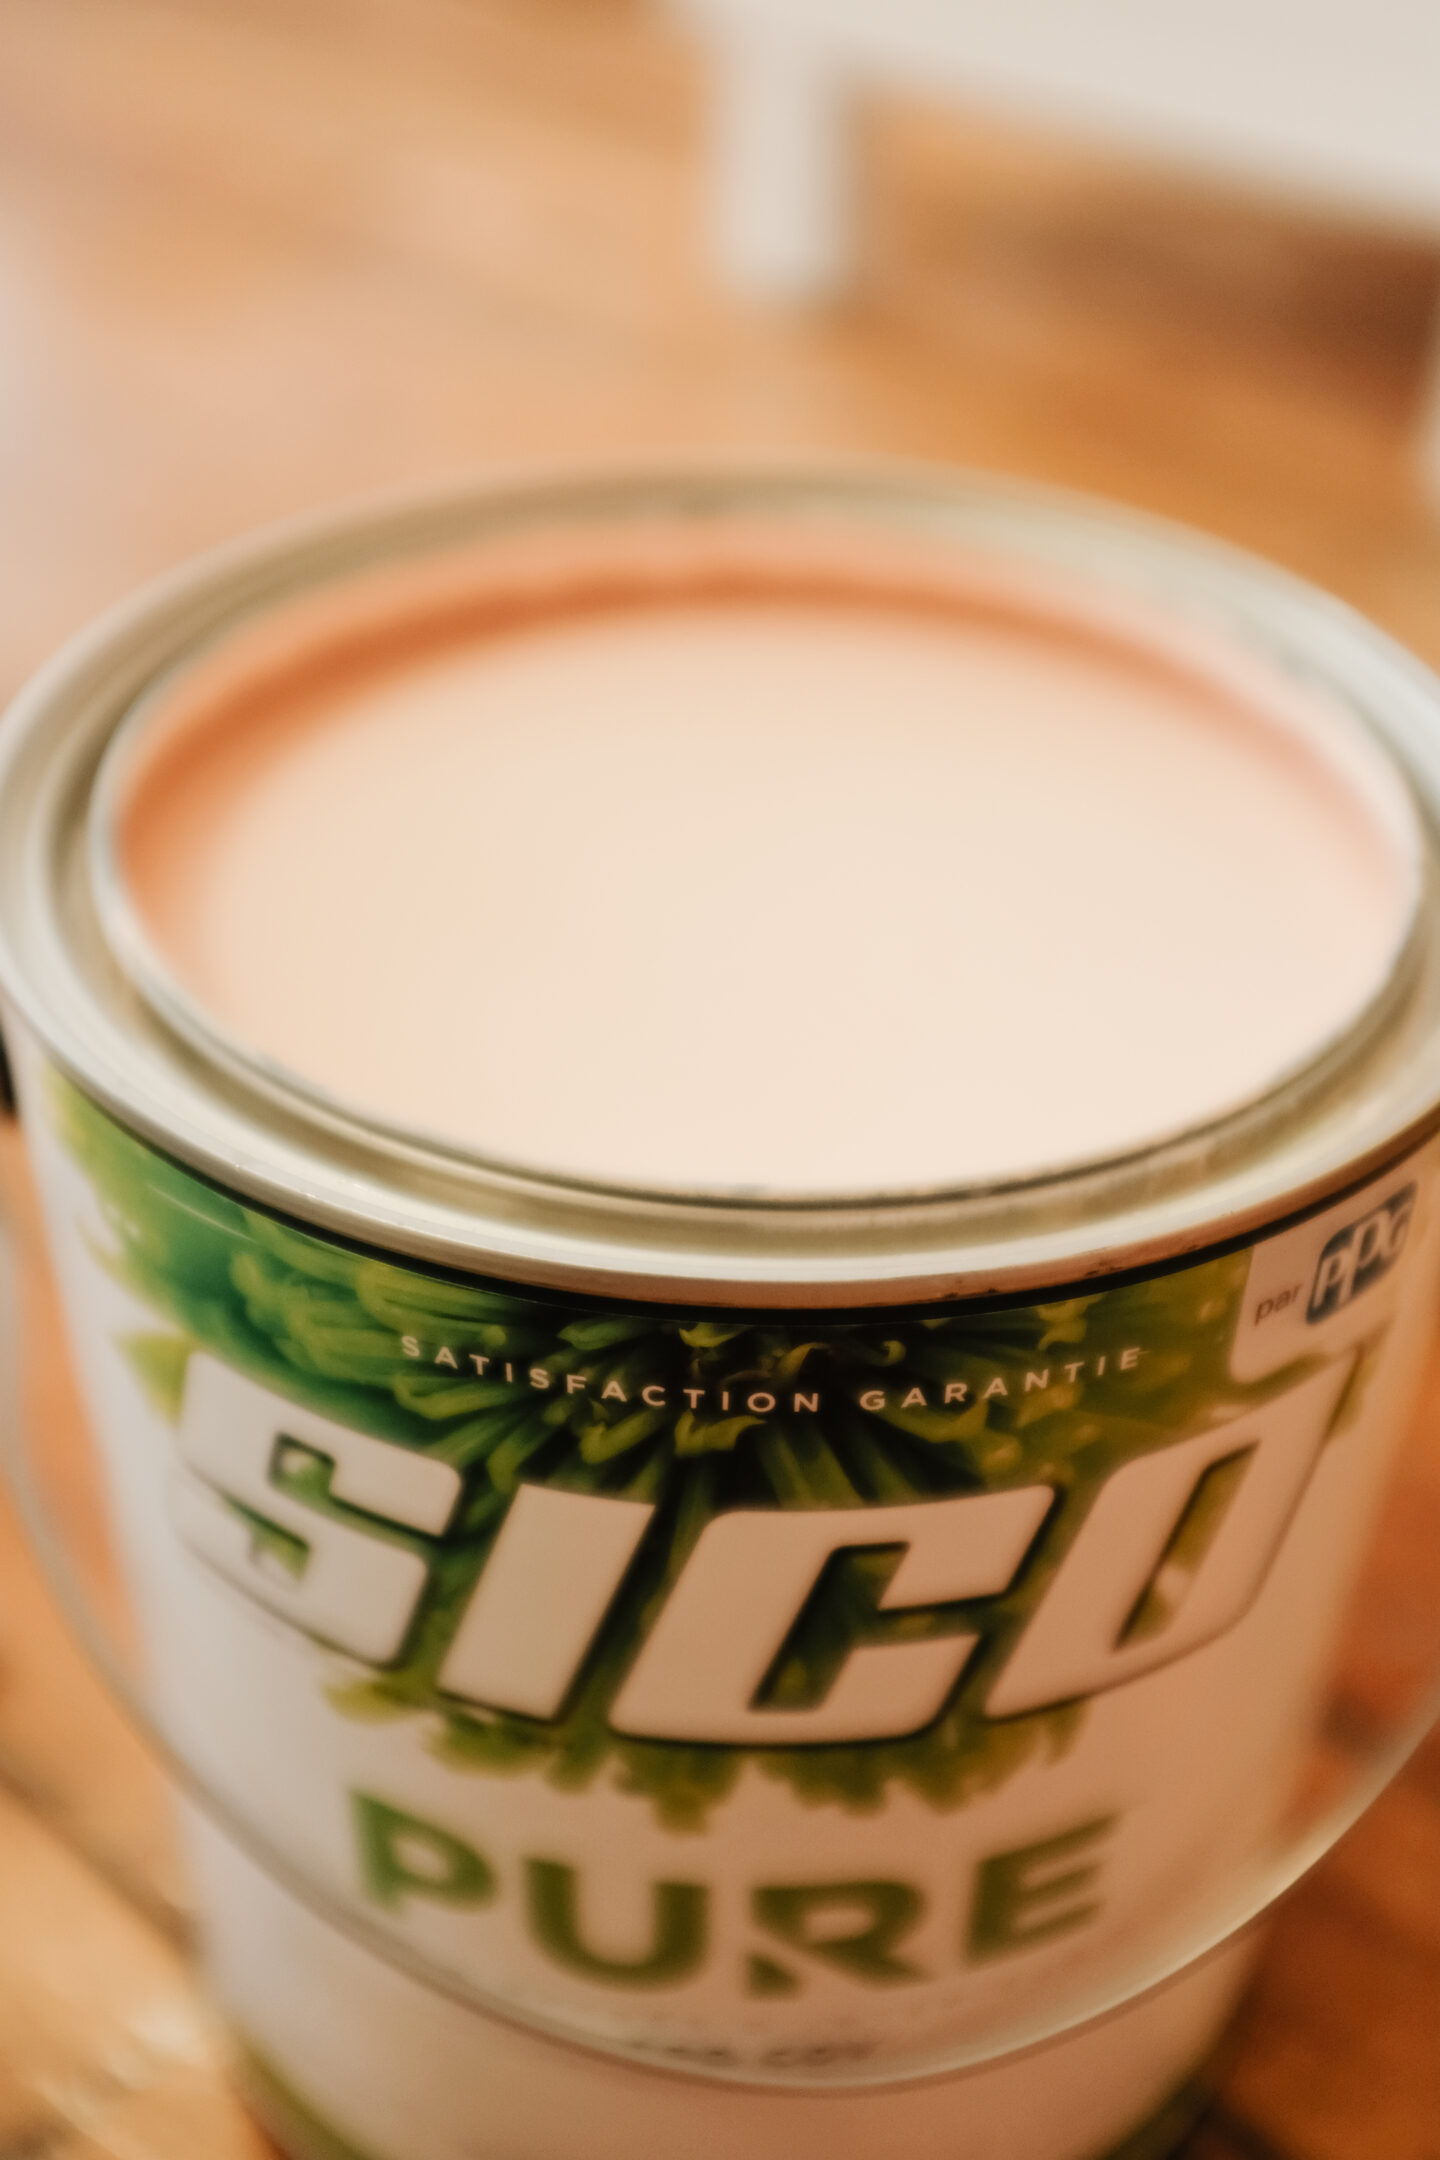
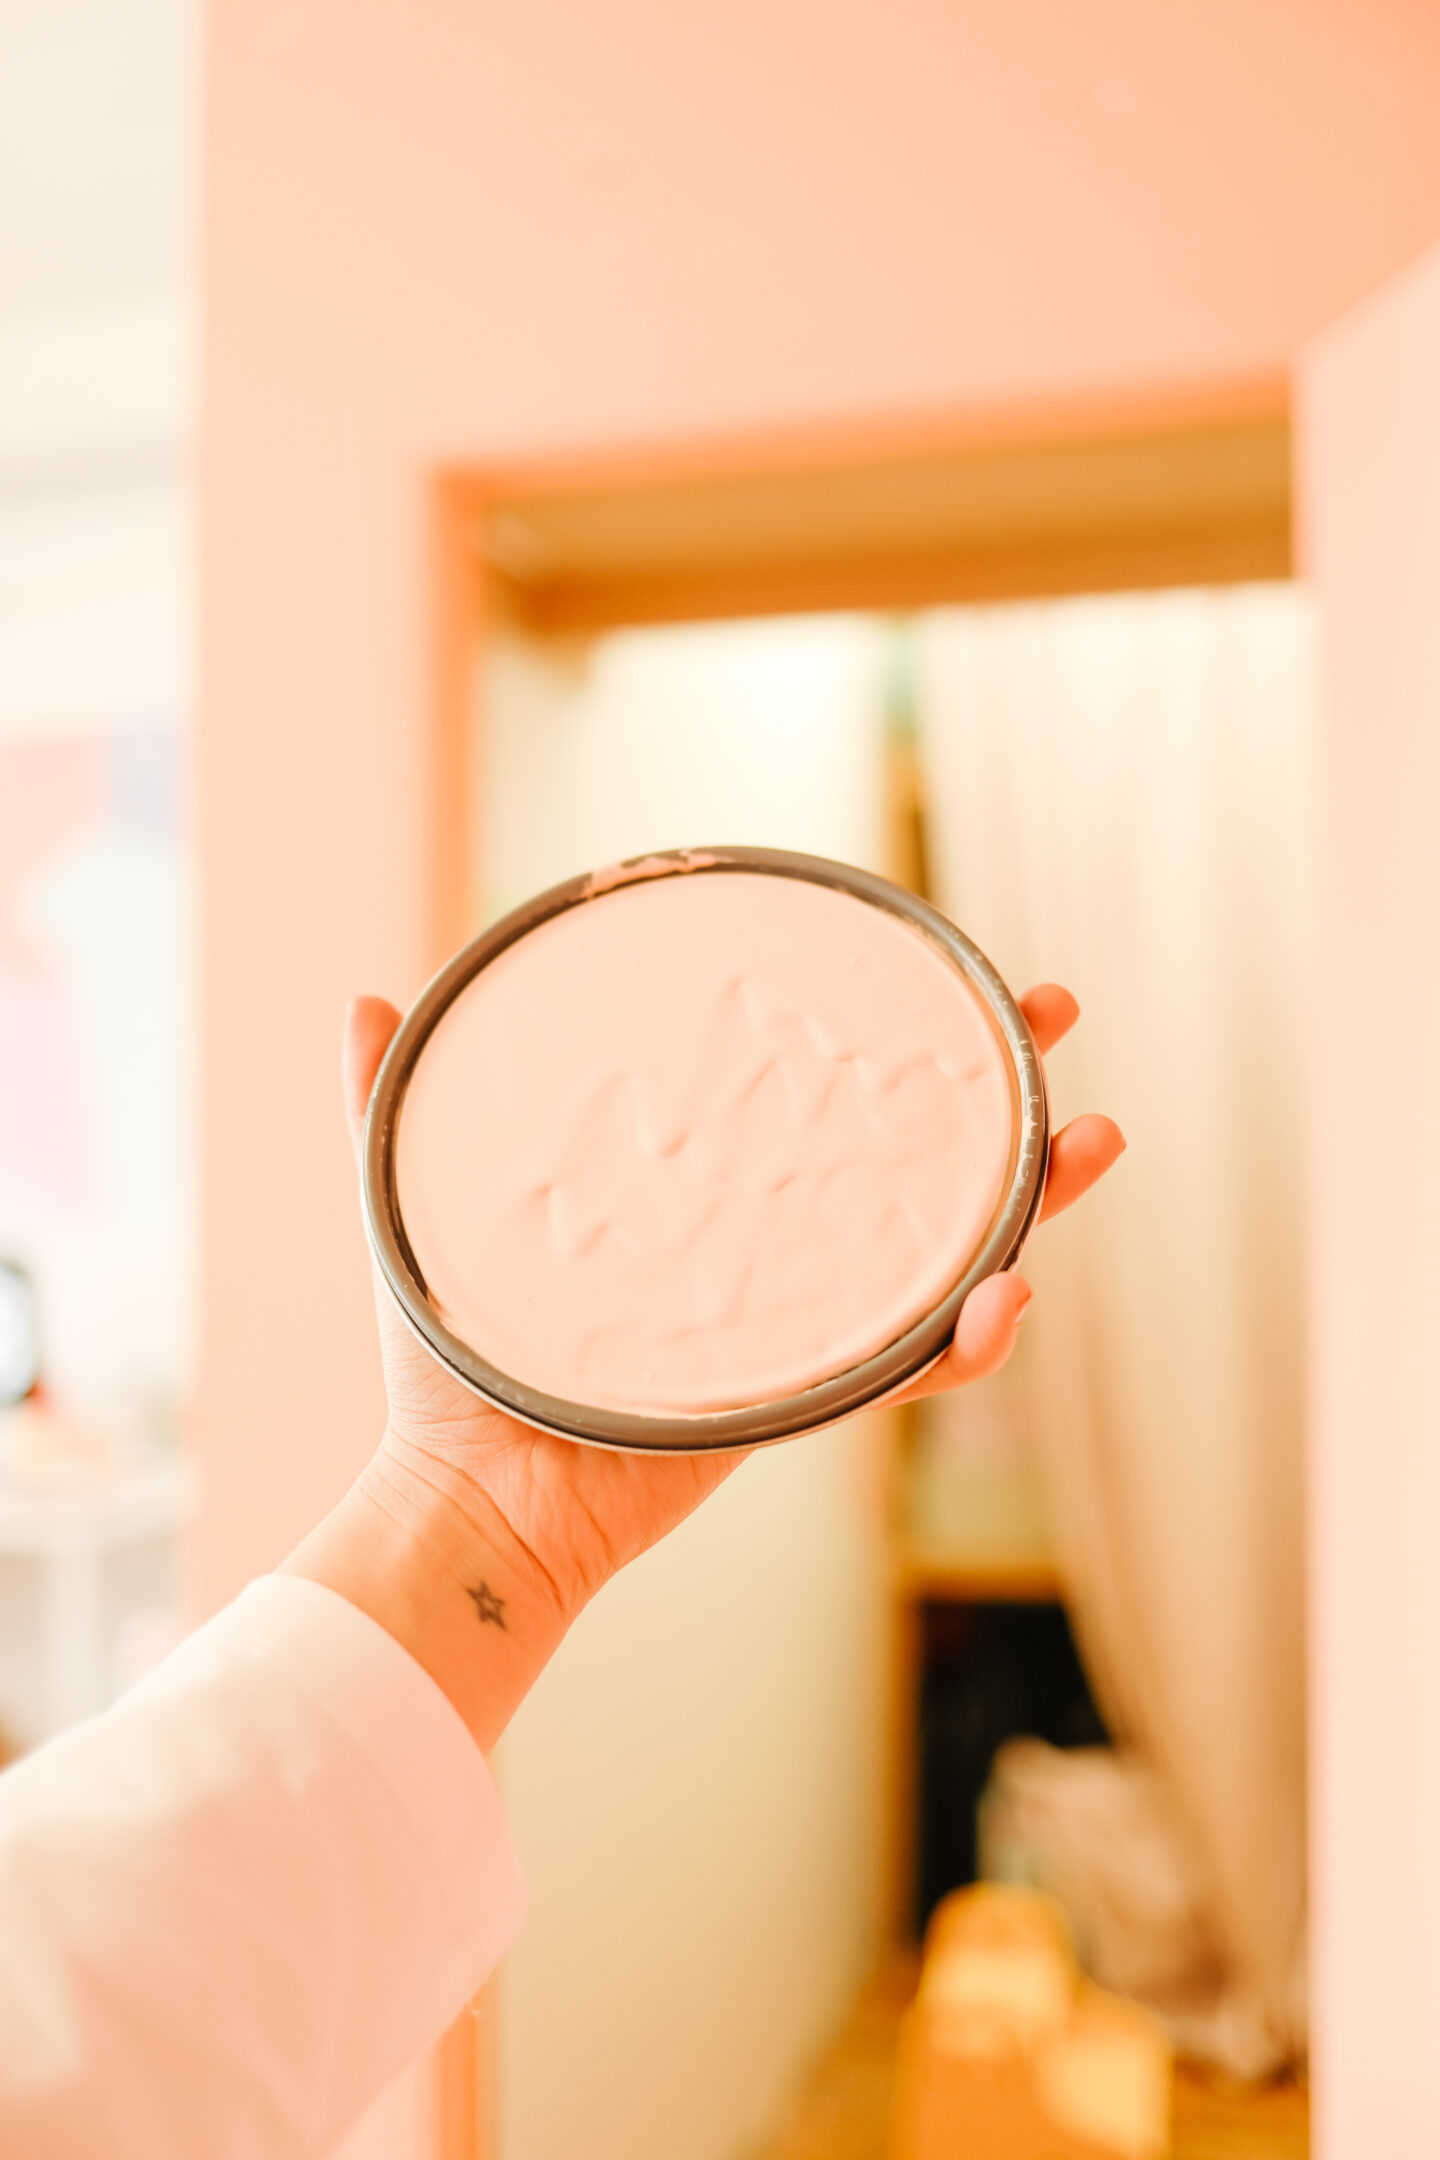
I picked a lighter pink/coral for the room, and before I forget, here are the details I used: Sico paint in matte, colour: brook trout, 6064-31 (got it online, at Rona!)
– Pencil
– Painters tape
– Paint brush and paint roller
– Scalloped MDF pattern (I bought mine at Dollarama)
– Level
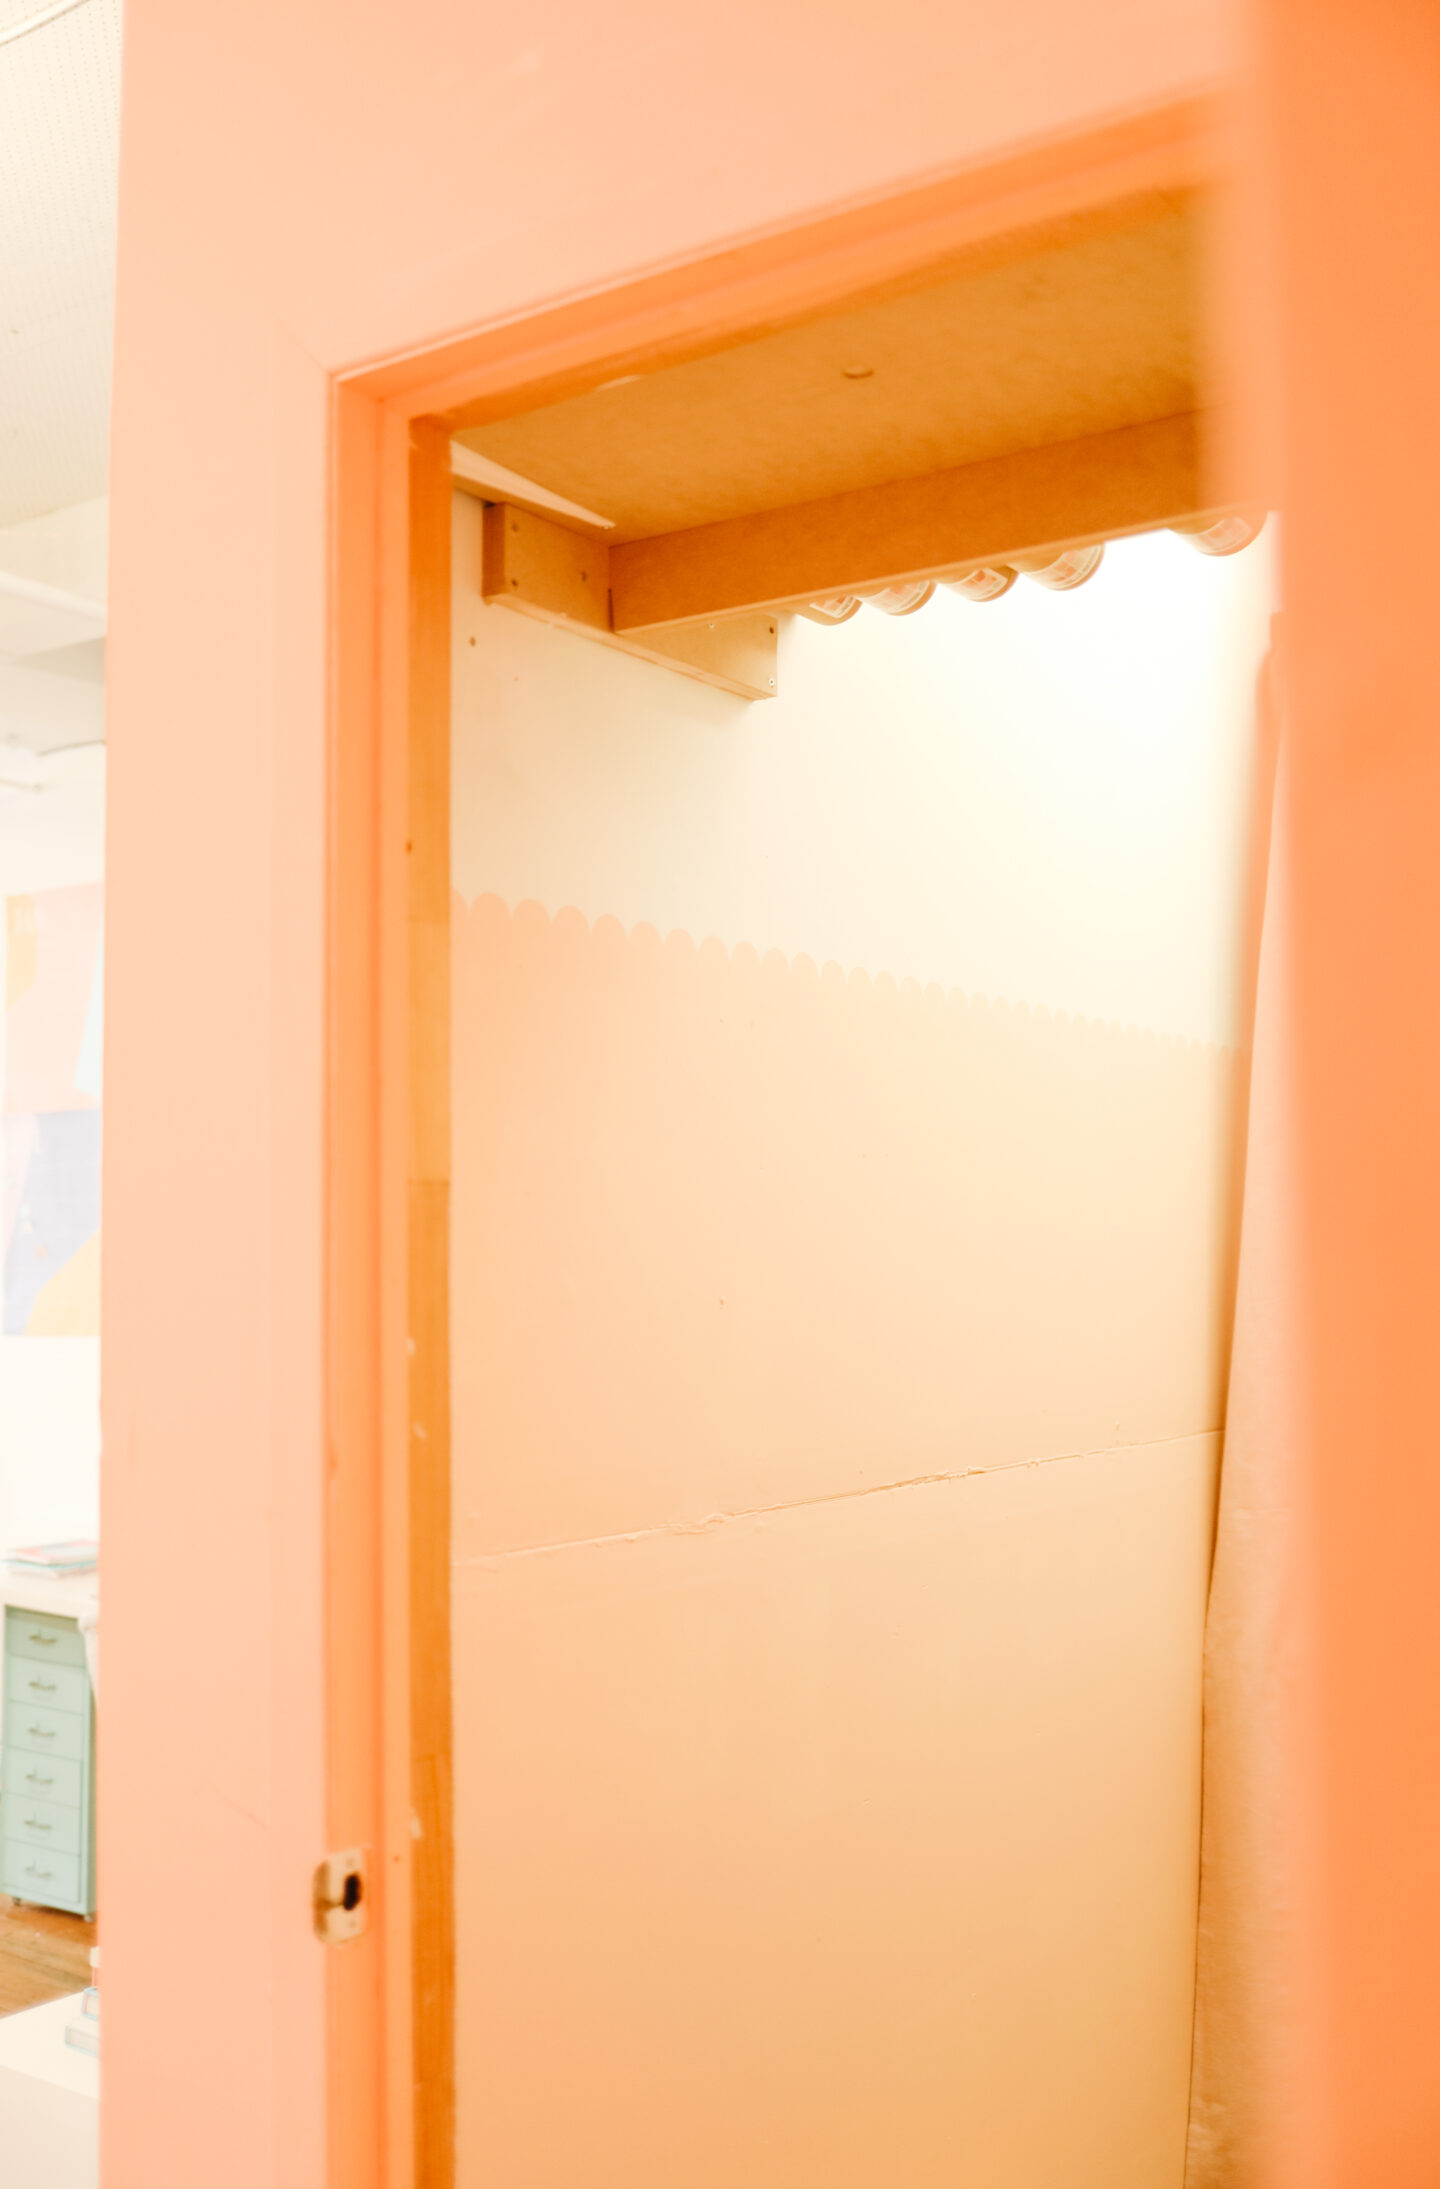
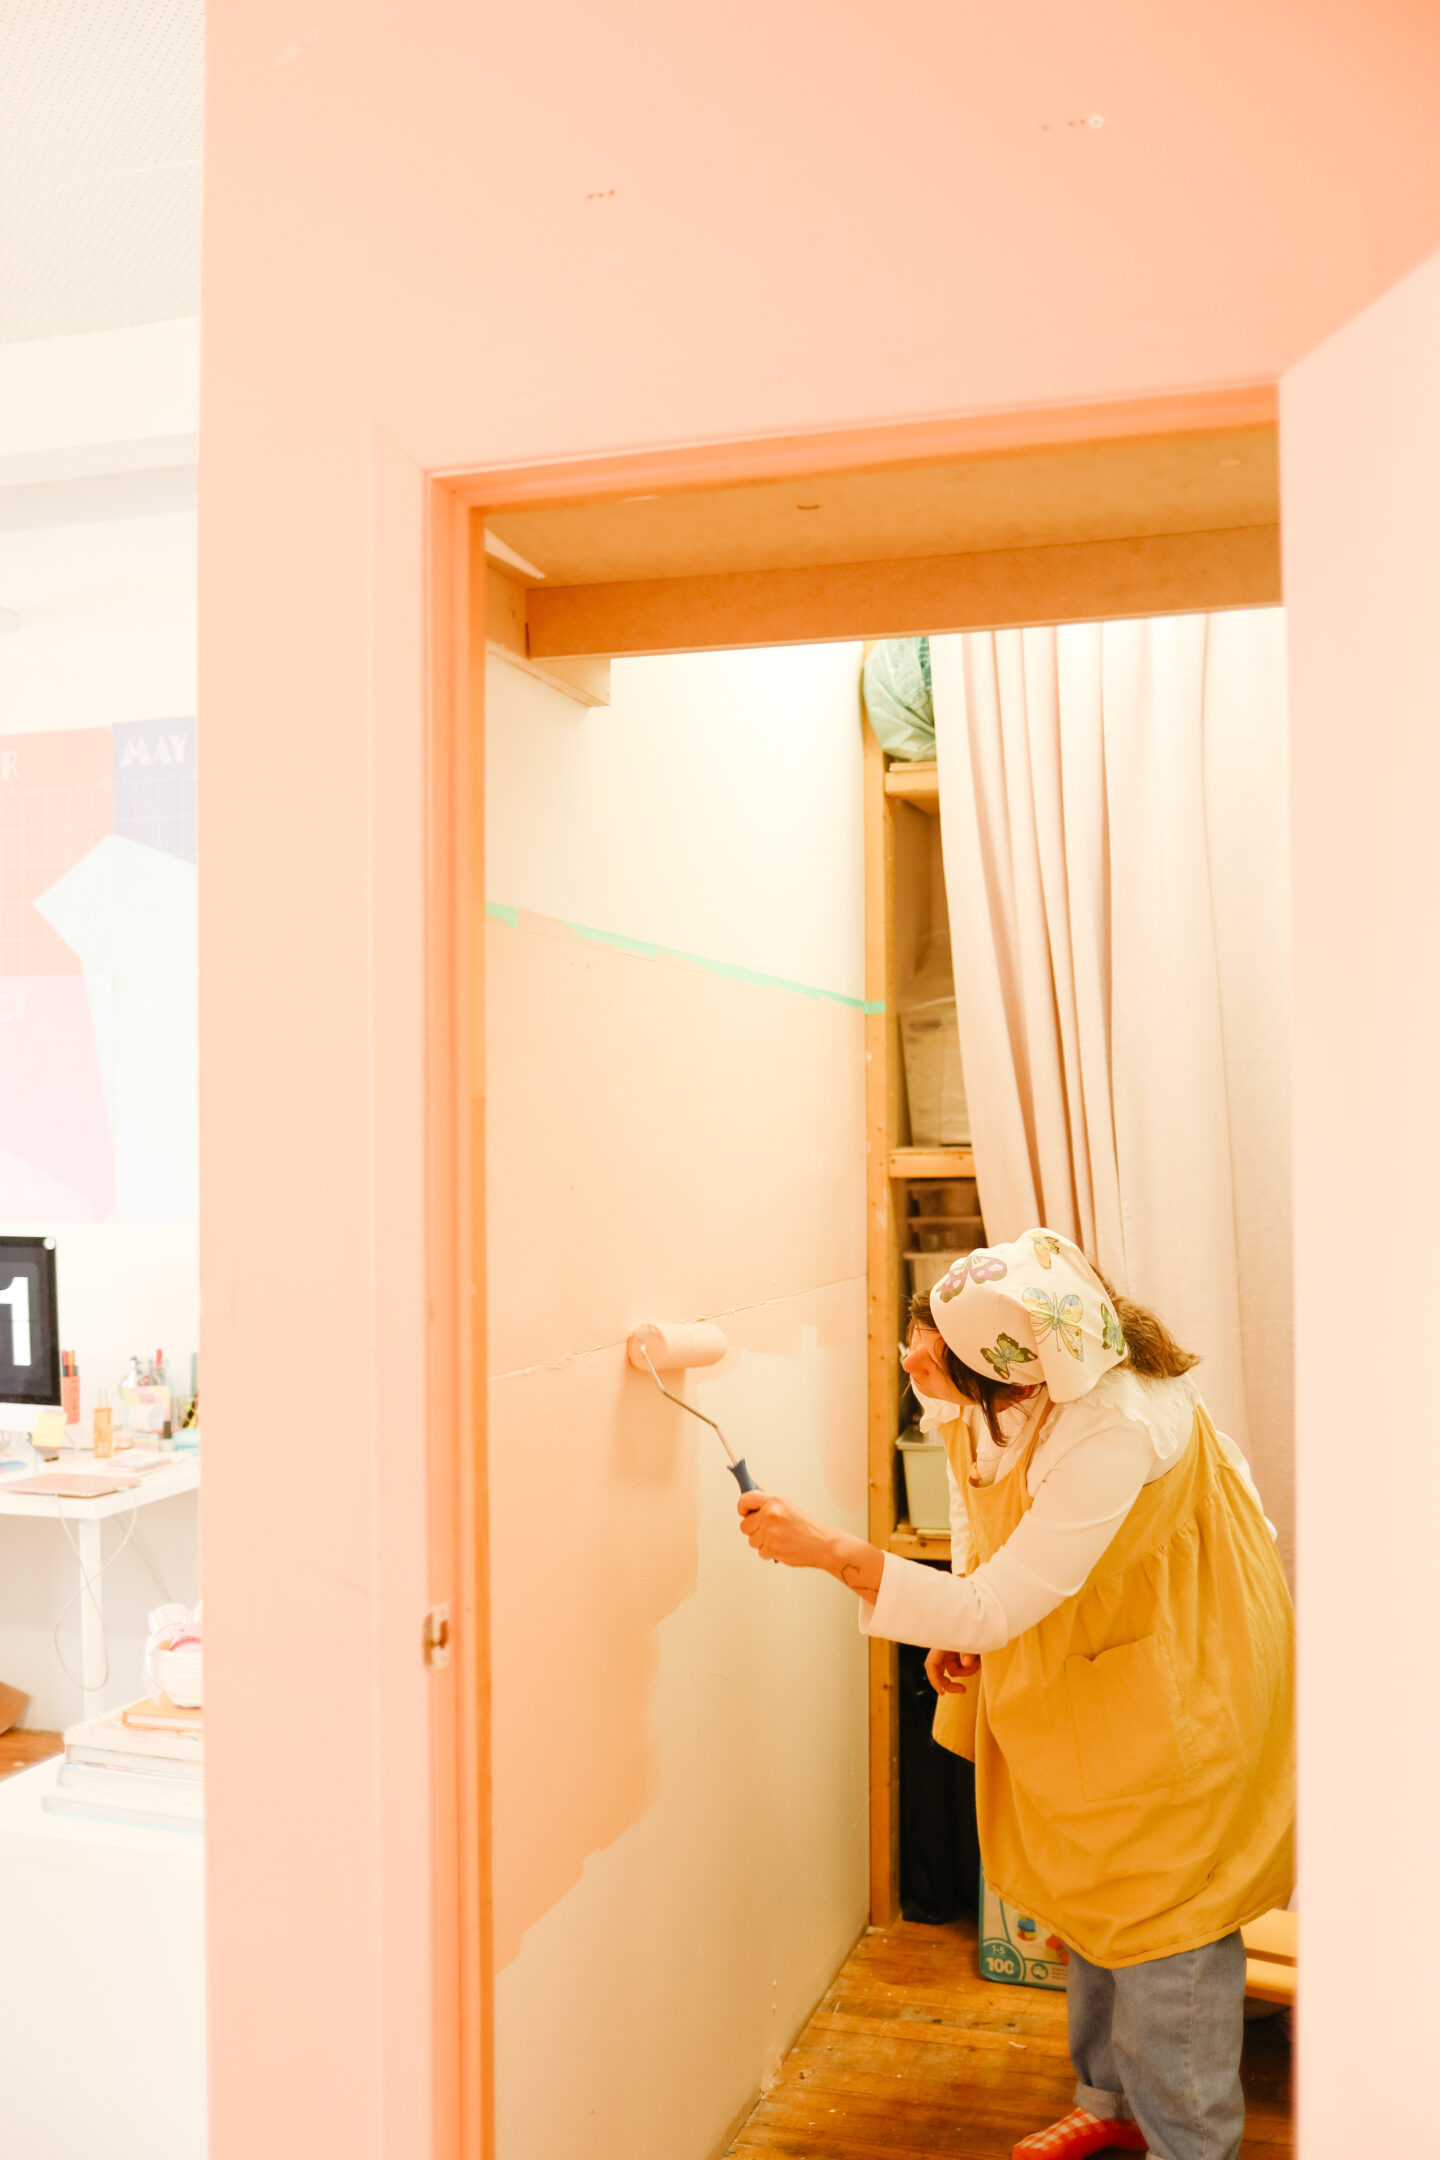
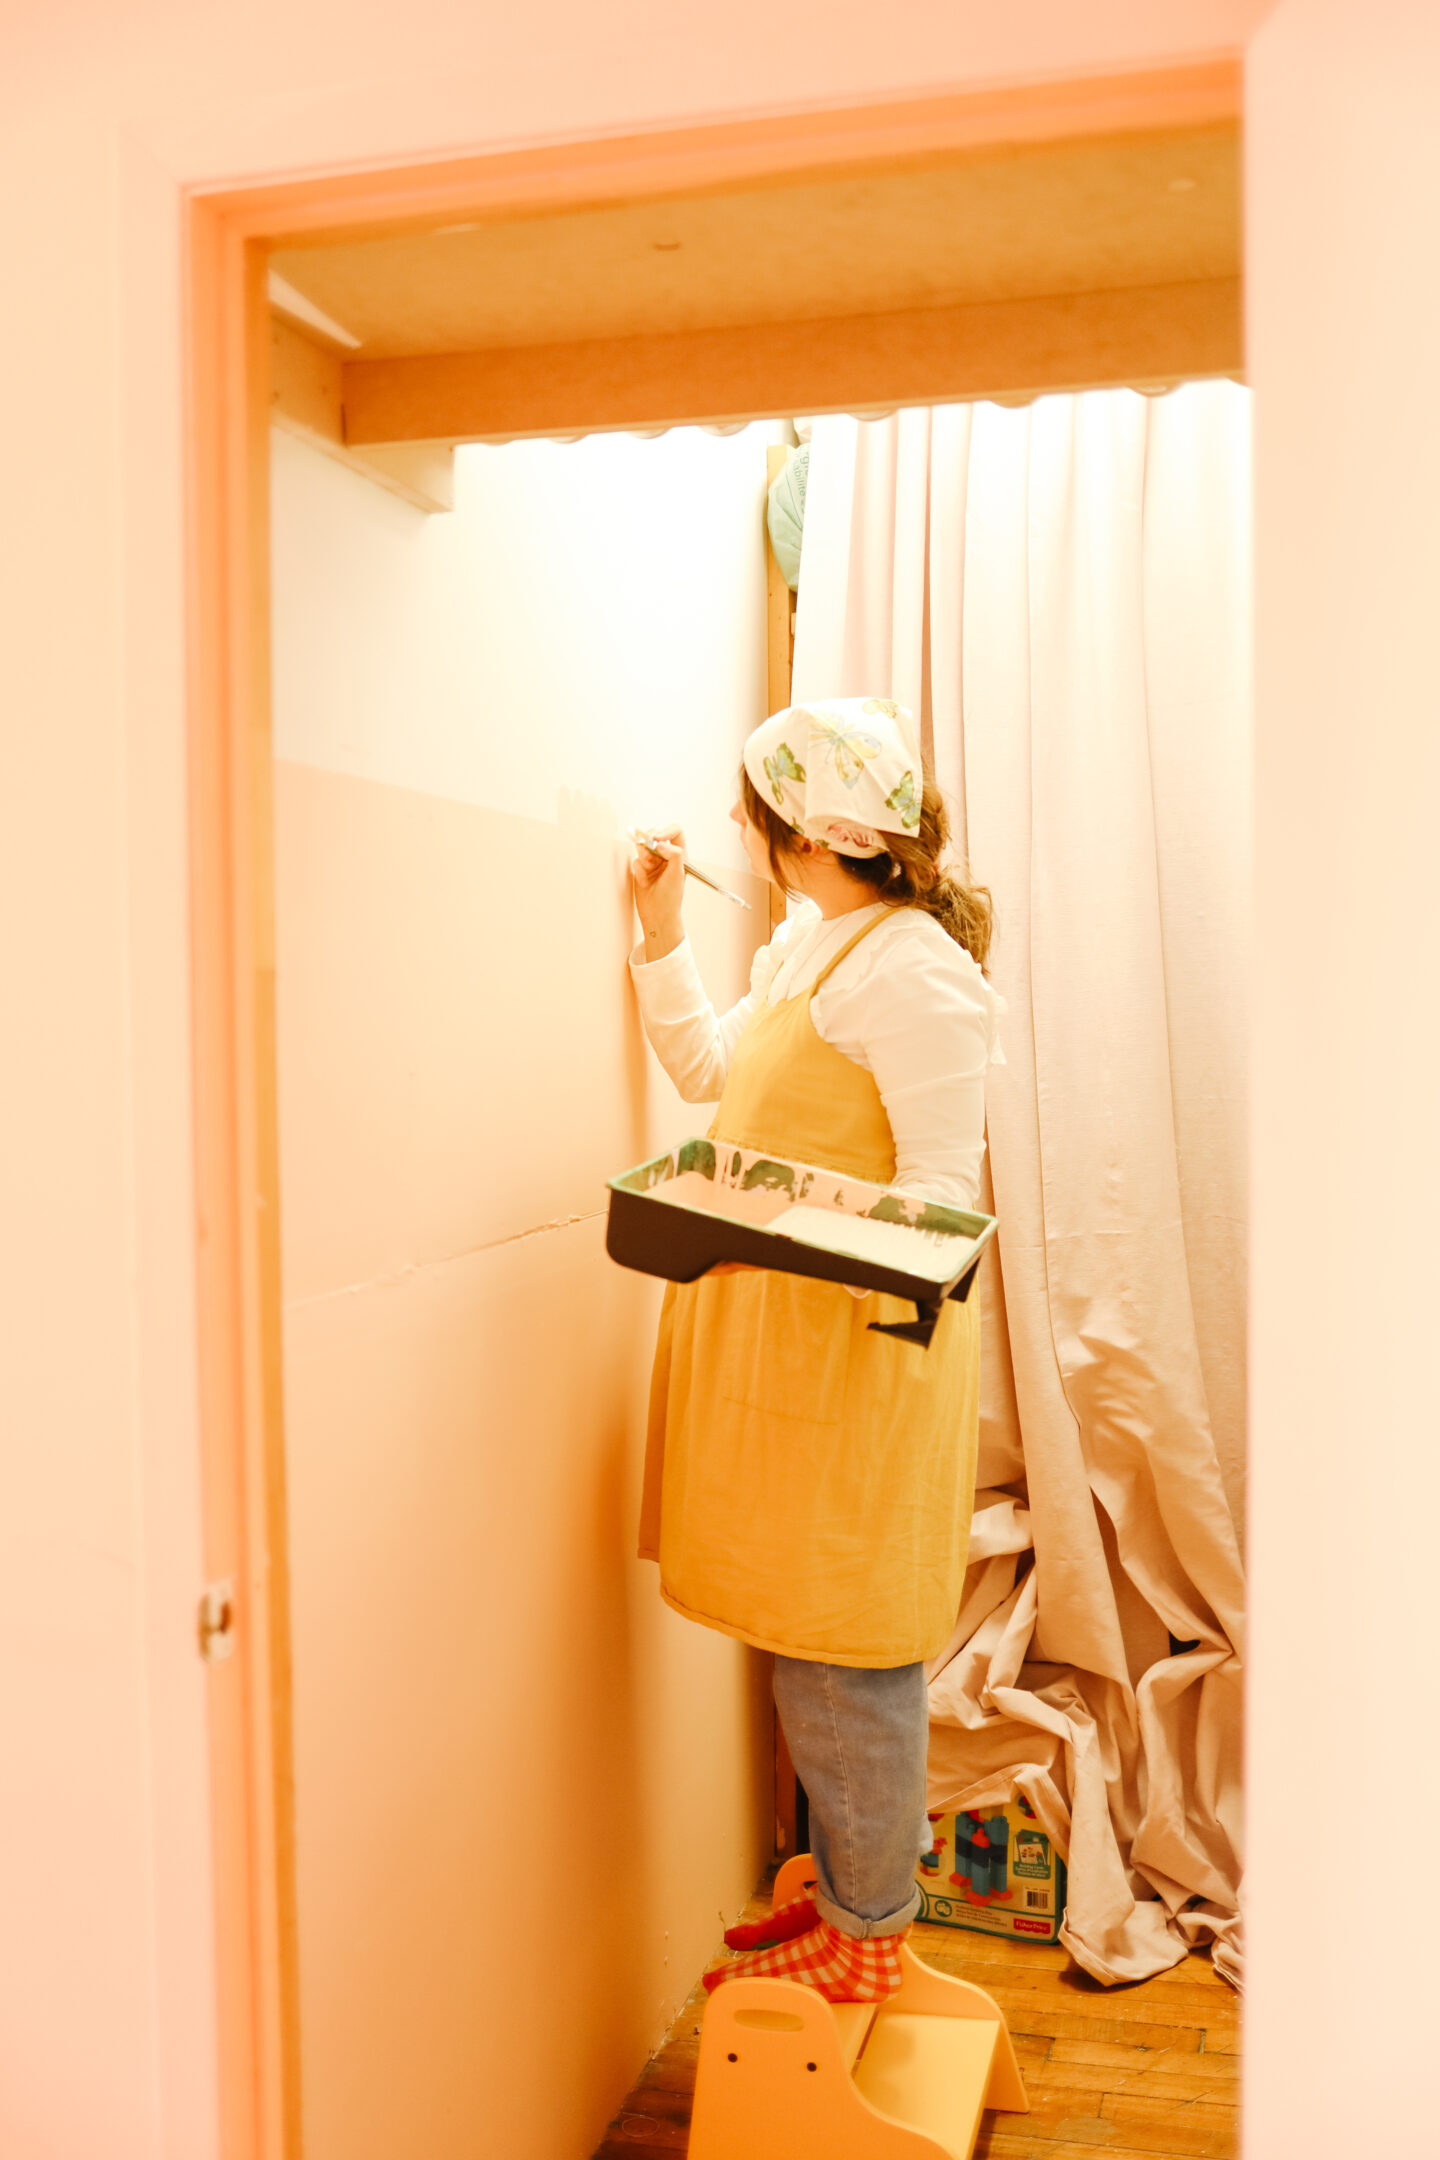
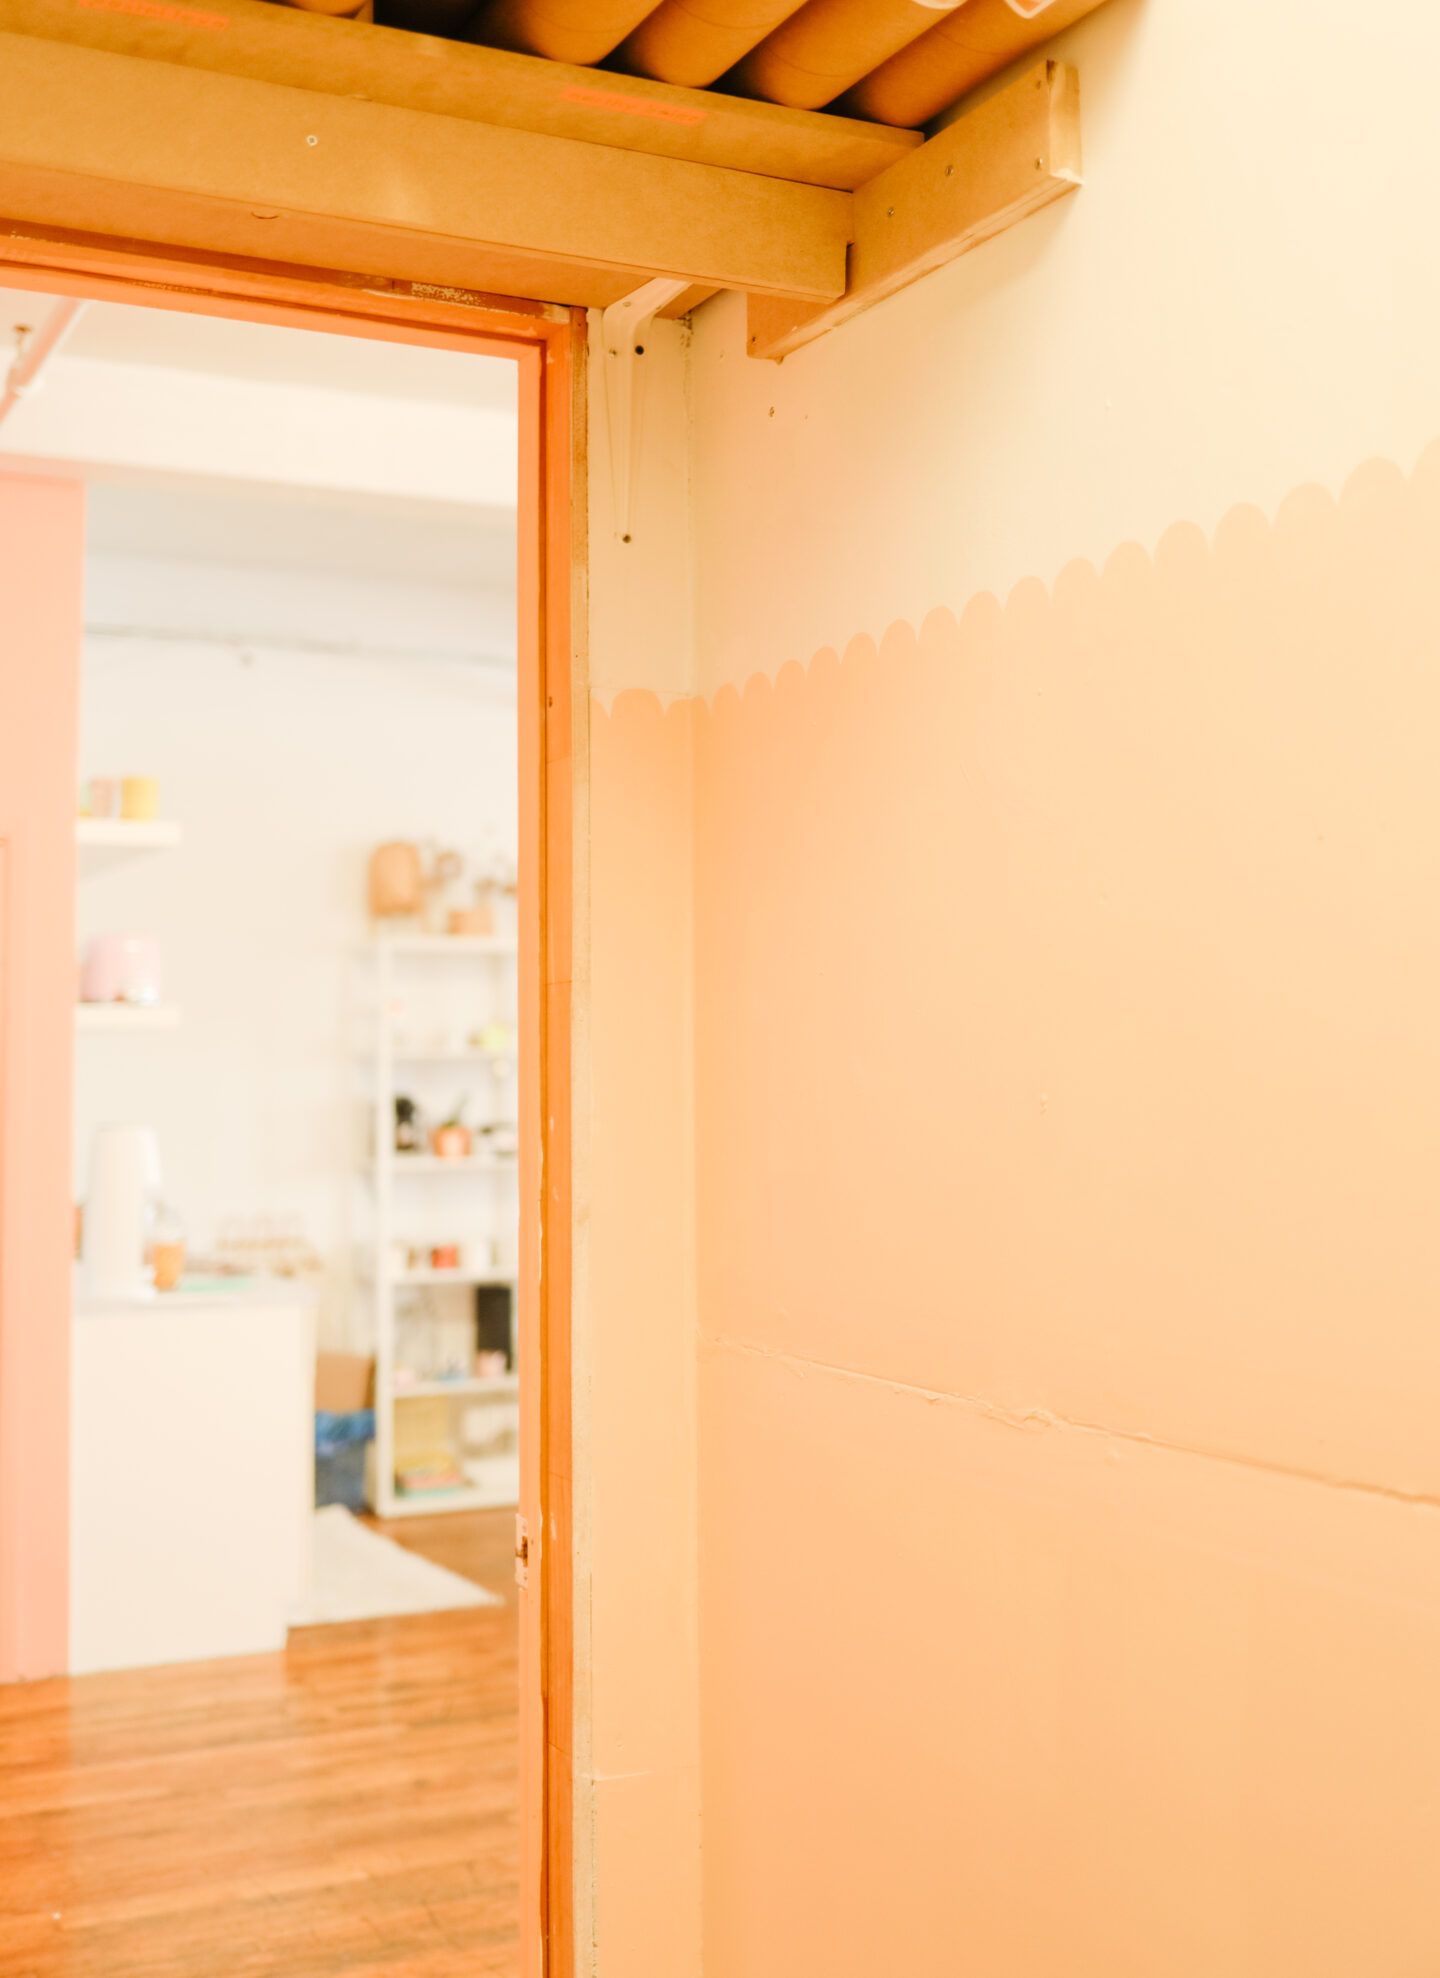
I decided to paint just one wall, 2/3 of the way up to lighten up a bit the space. Start by using a level and draw a straight line across your wall (decide how up you want it).
Now that your perfect line is done, apply your painters tape just above the line. Using your favourite paint colour, have fun painting just over the bottom of the painters tape. See the photos above how I did it.
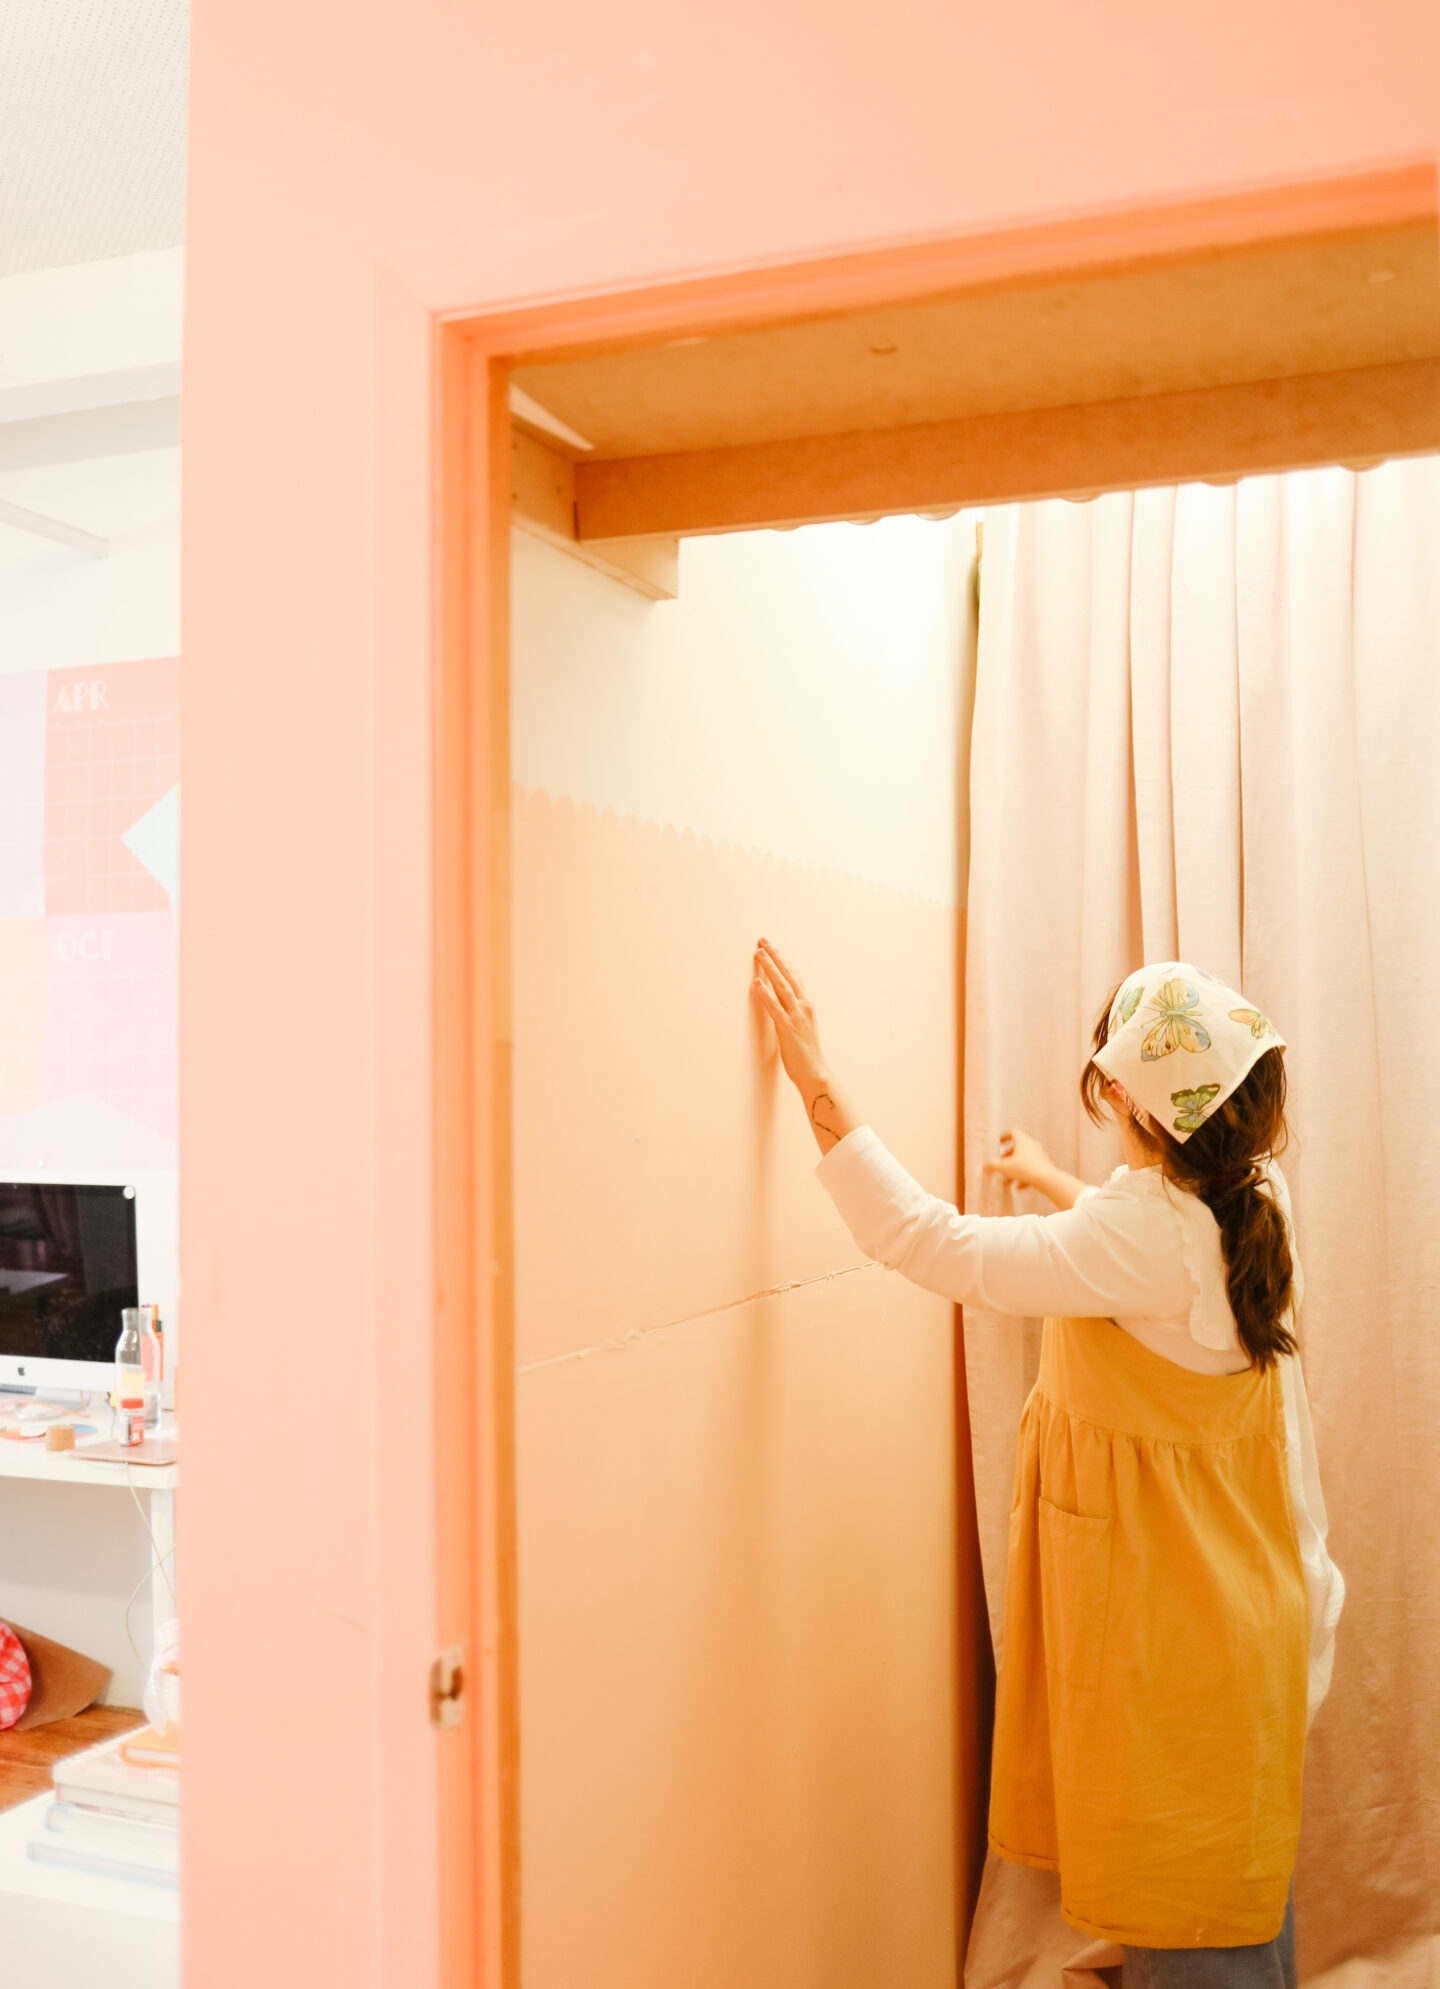
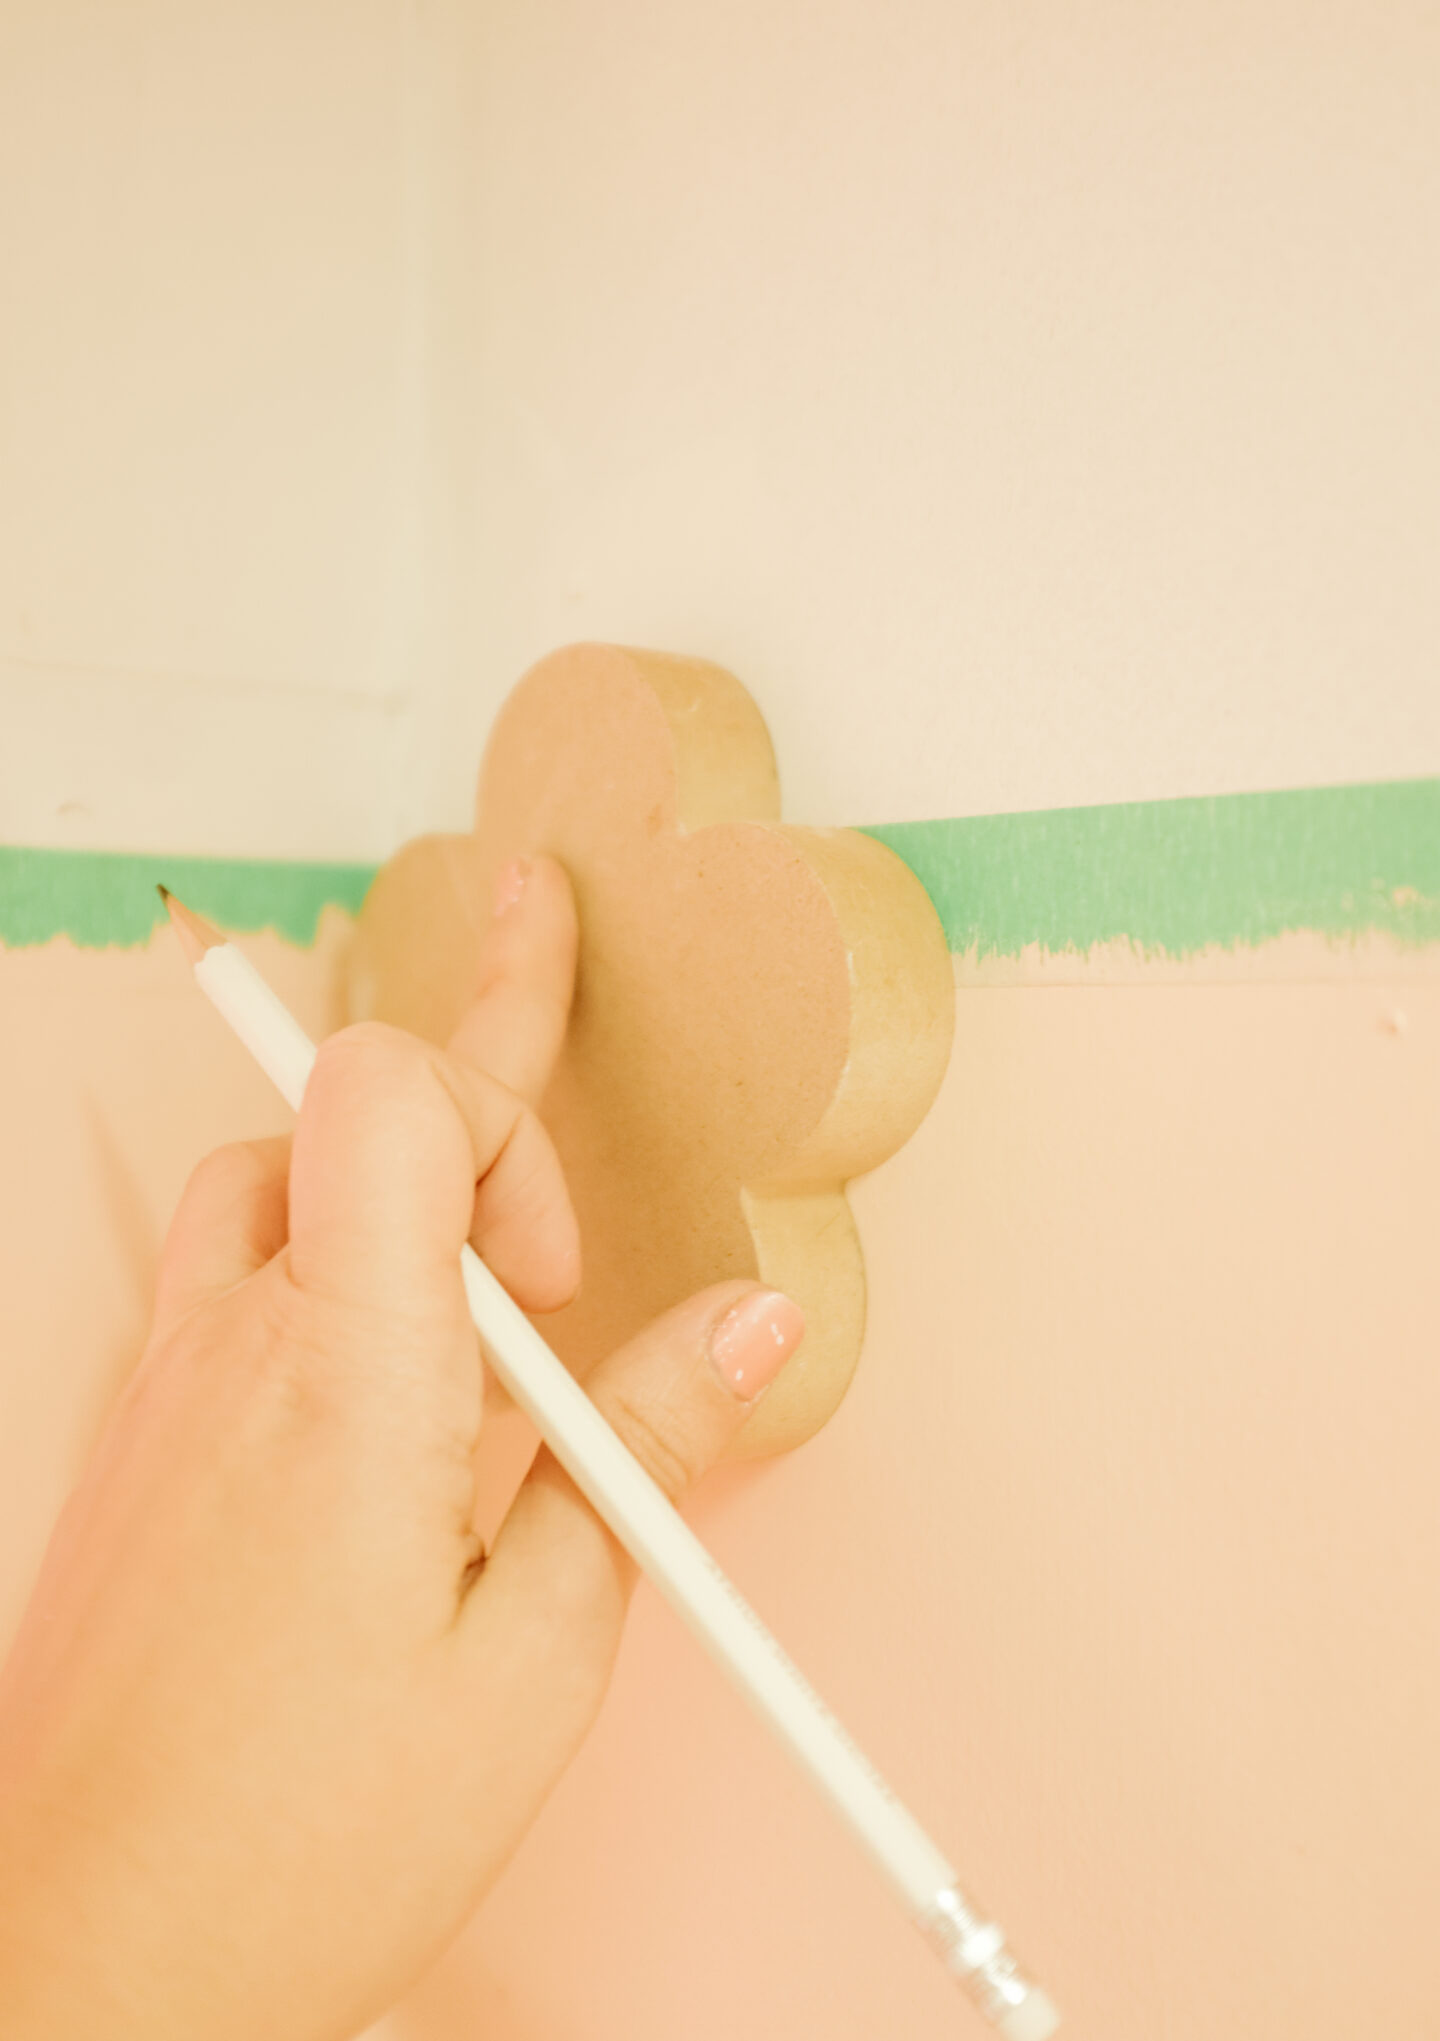
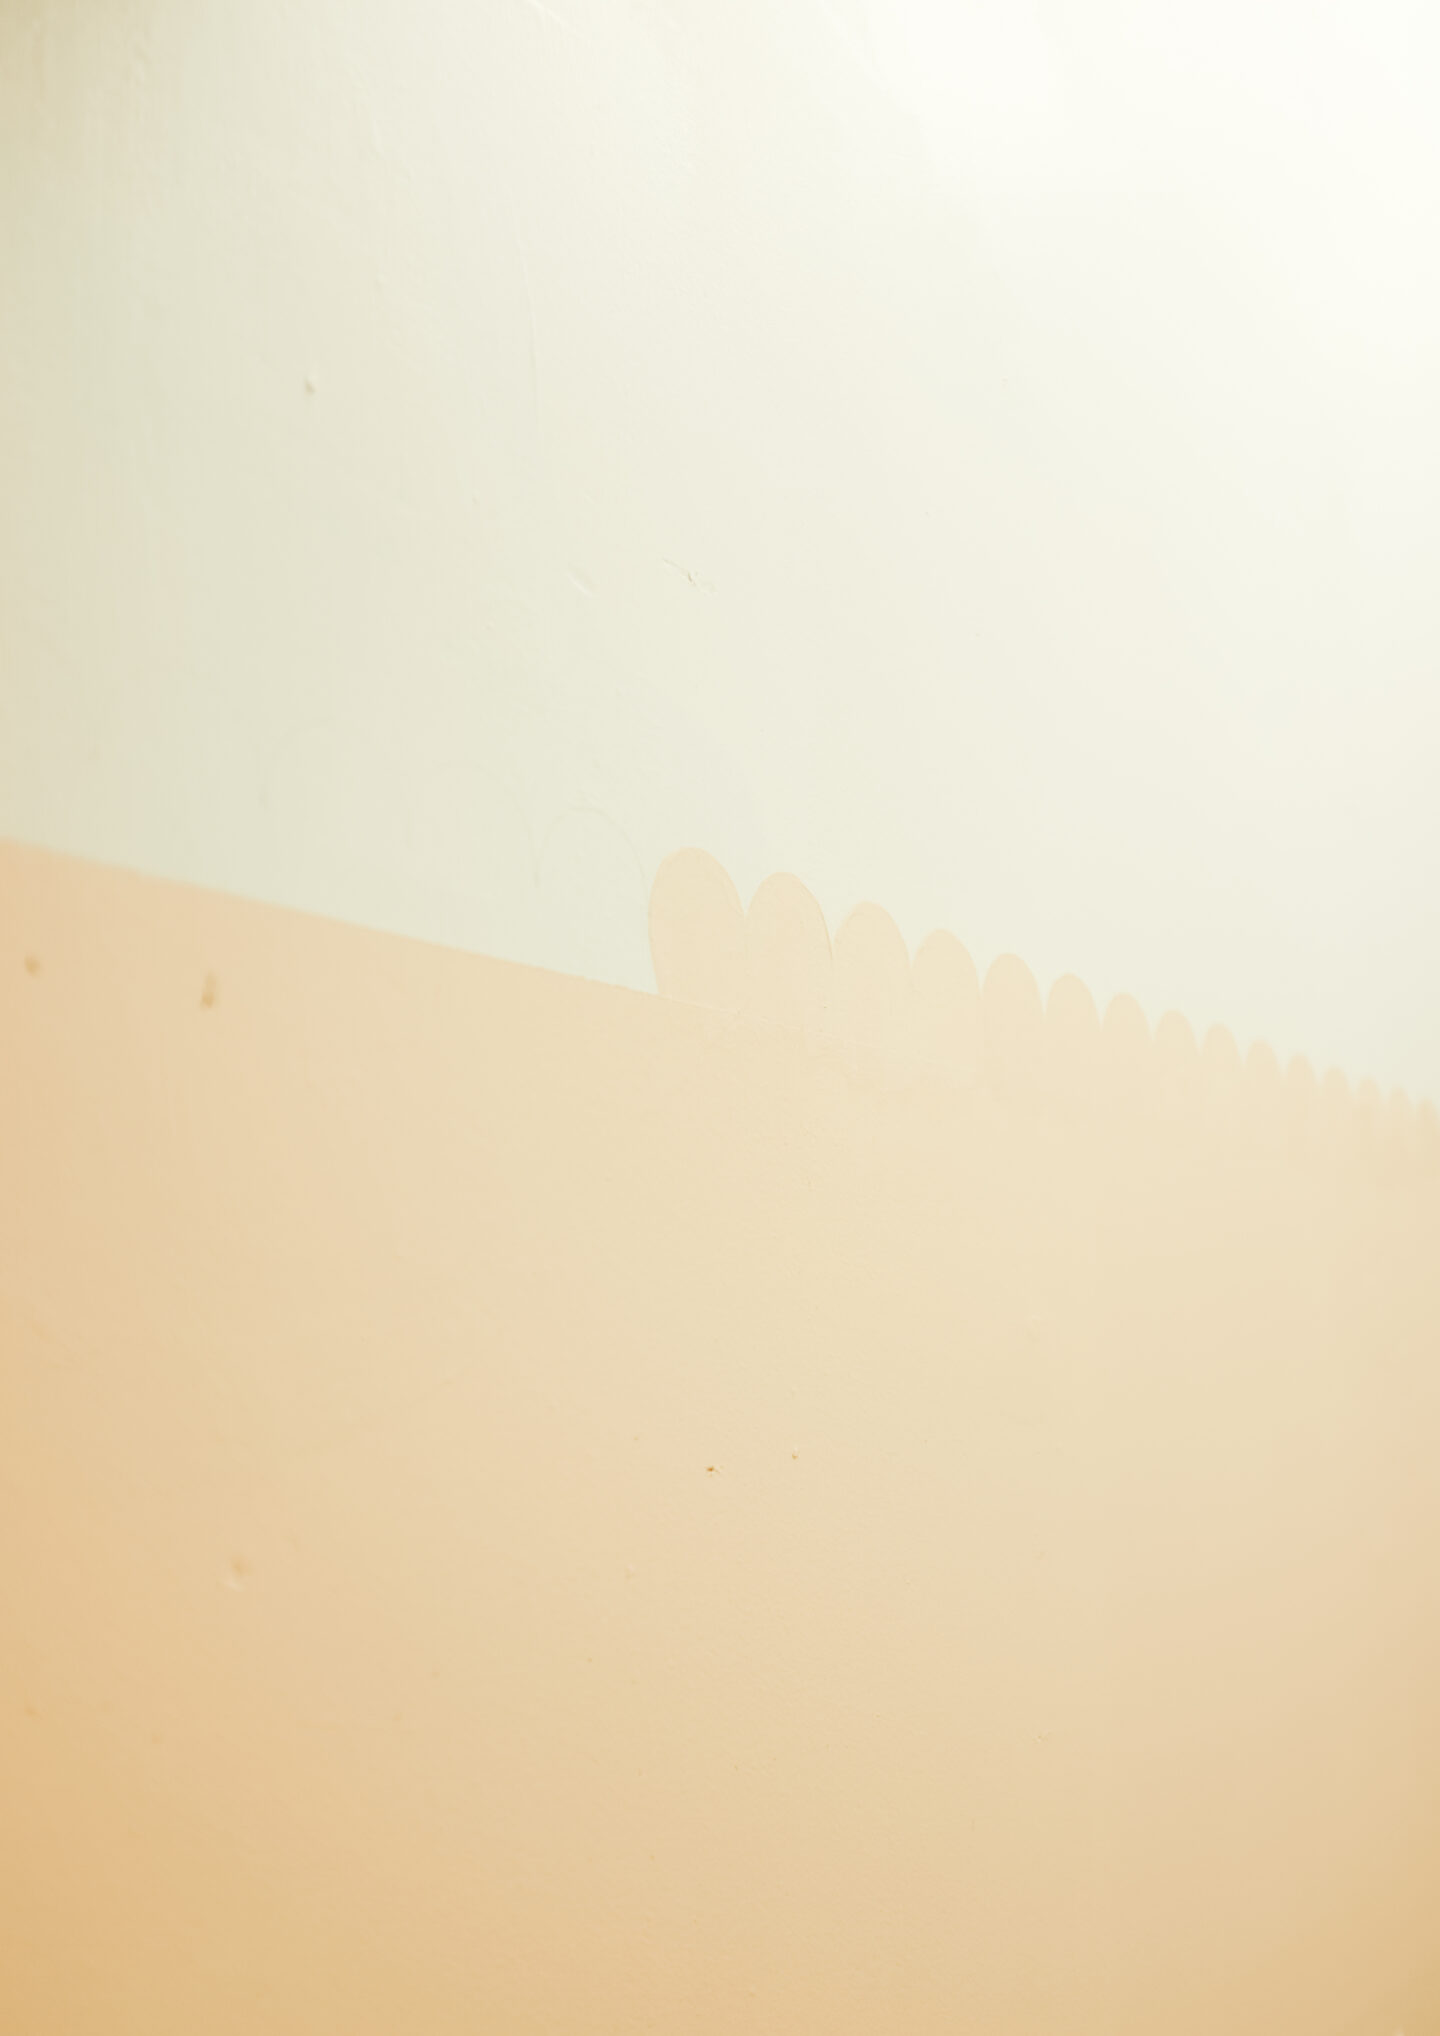
As soon as your paint is set and dry, next up we have to do is to draw our scallops. I used a stencil to have the perfect size of scallops. Using a pencil, draw the scallop shape on the wall. I used the painters tape to guide me where I had to center the stencil.
STEP FOUr: PAINTING THE SCALLOPS
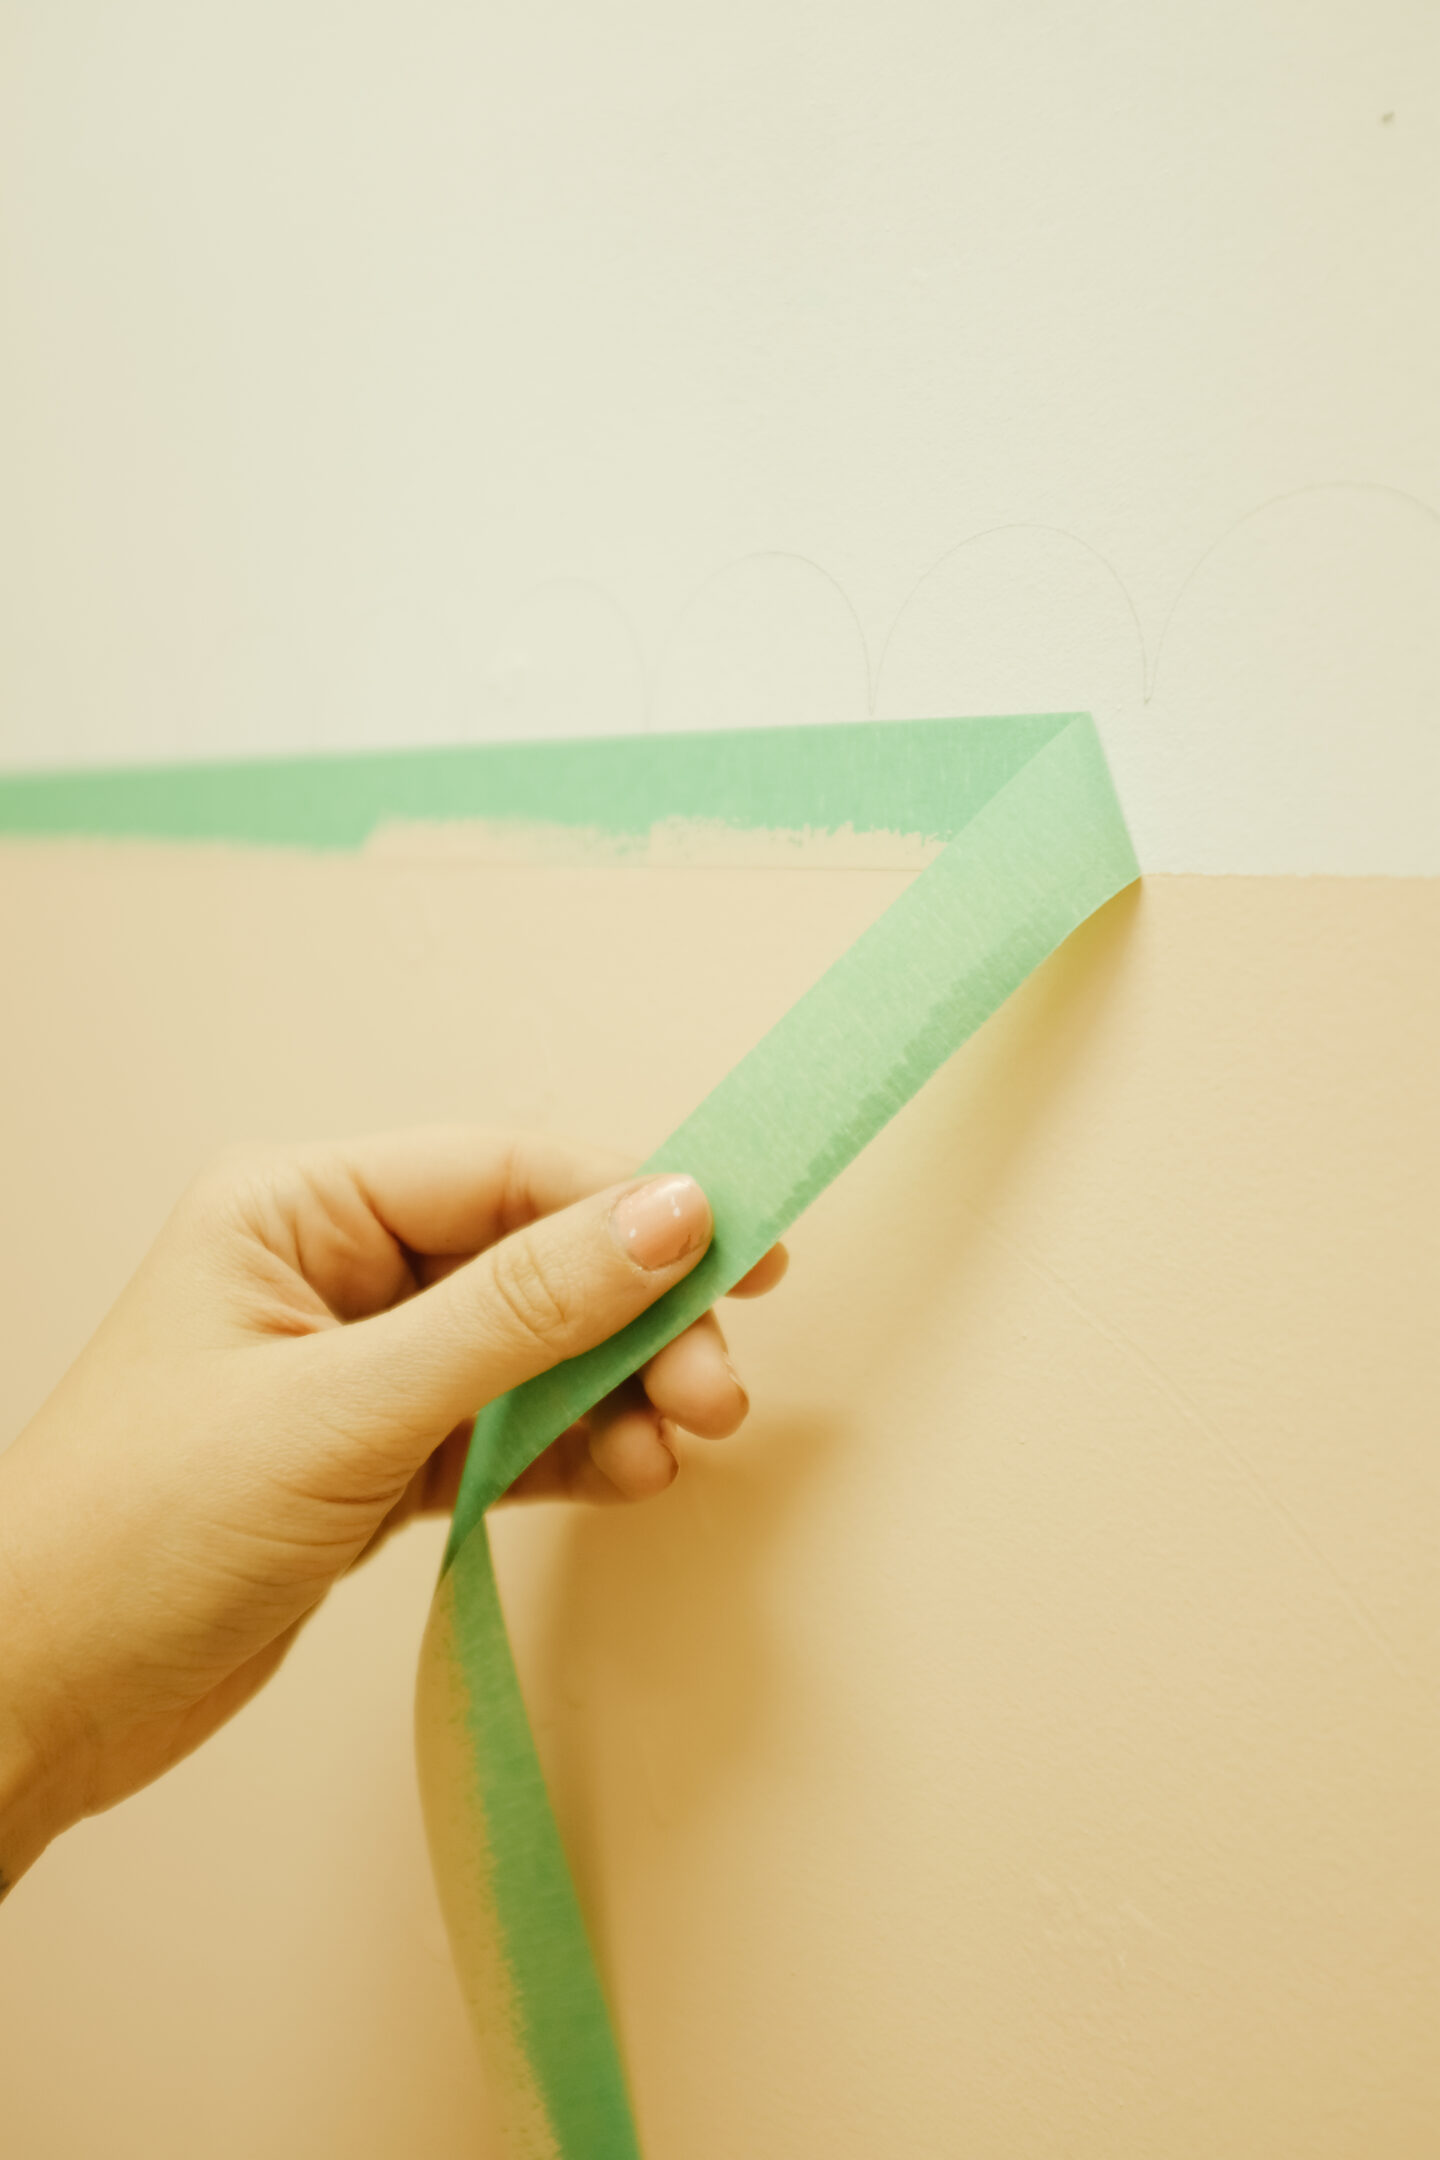
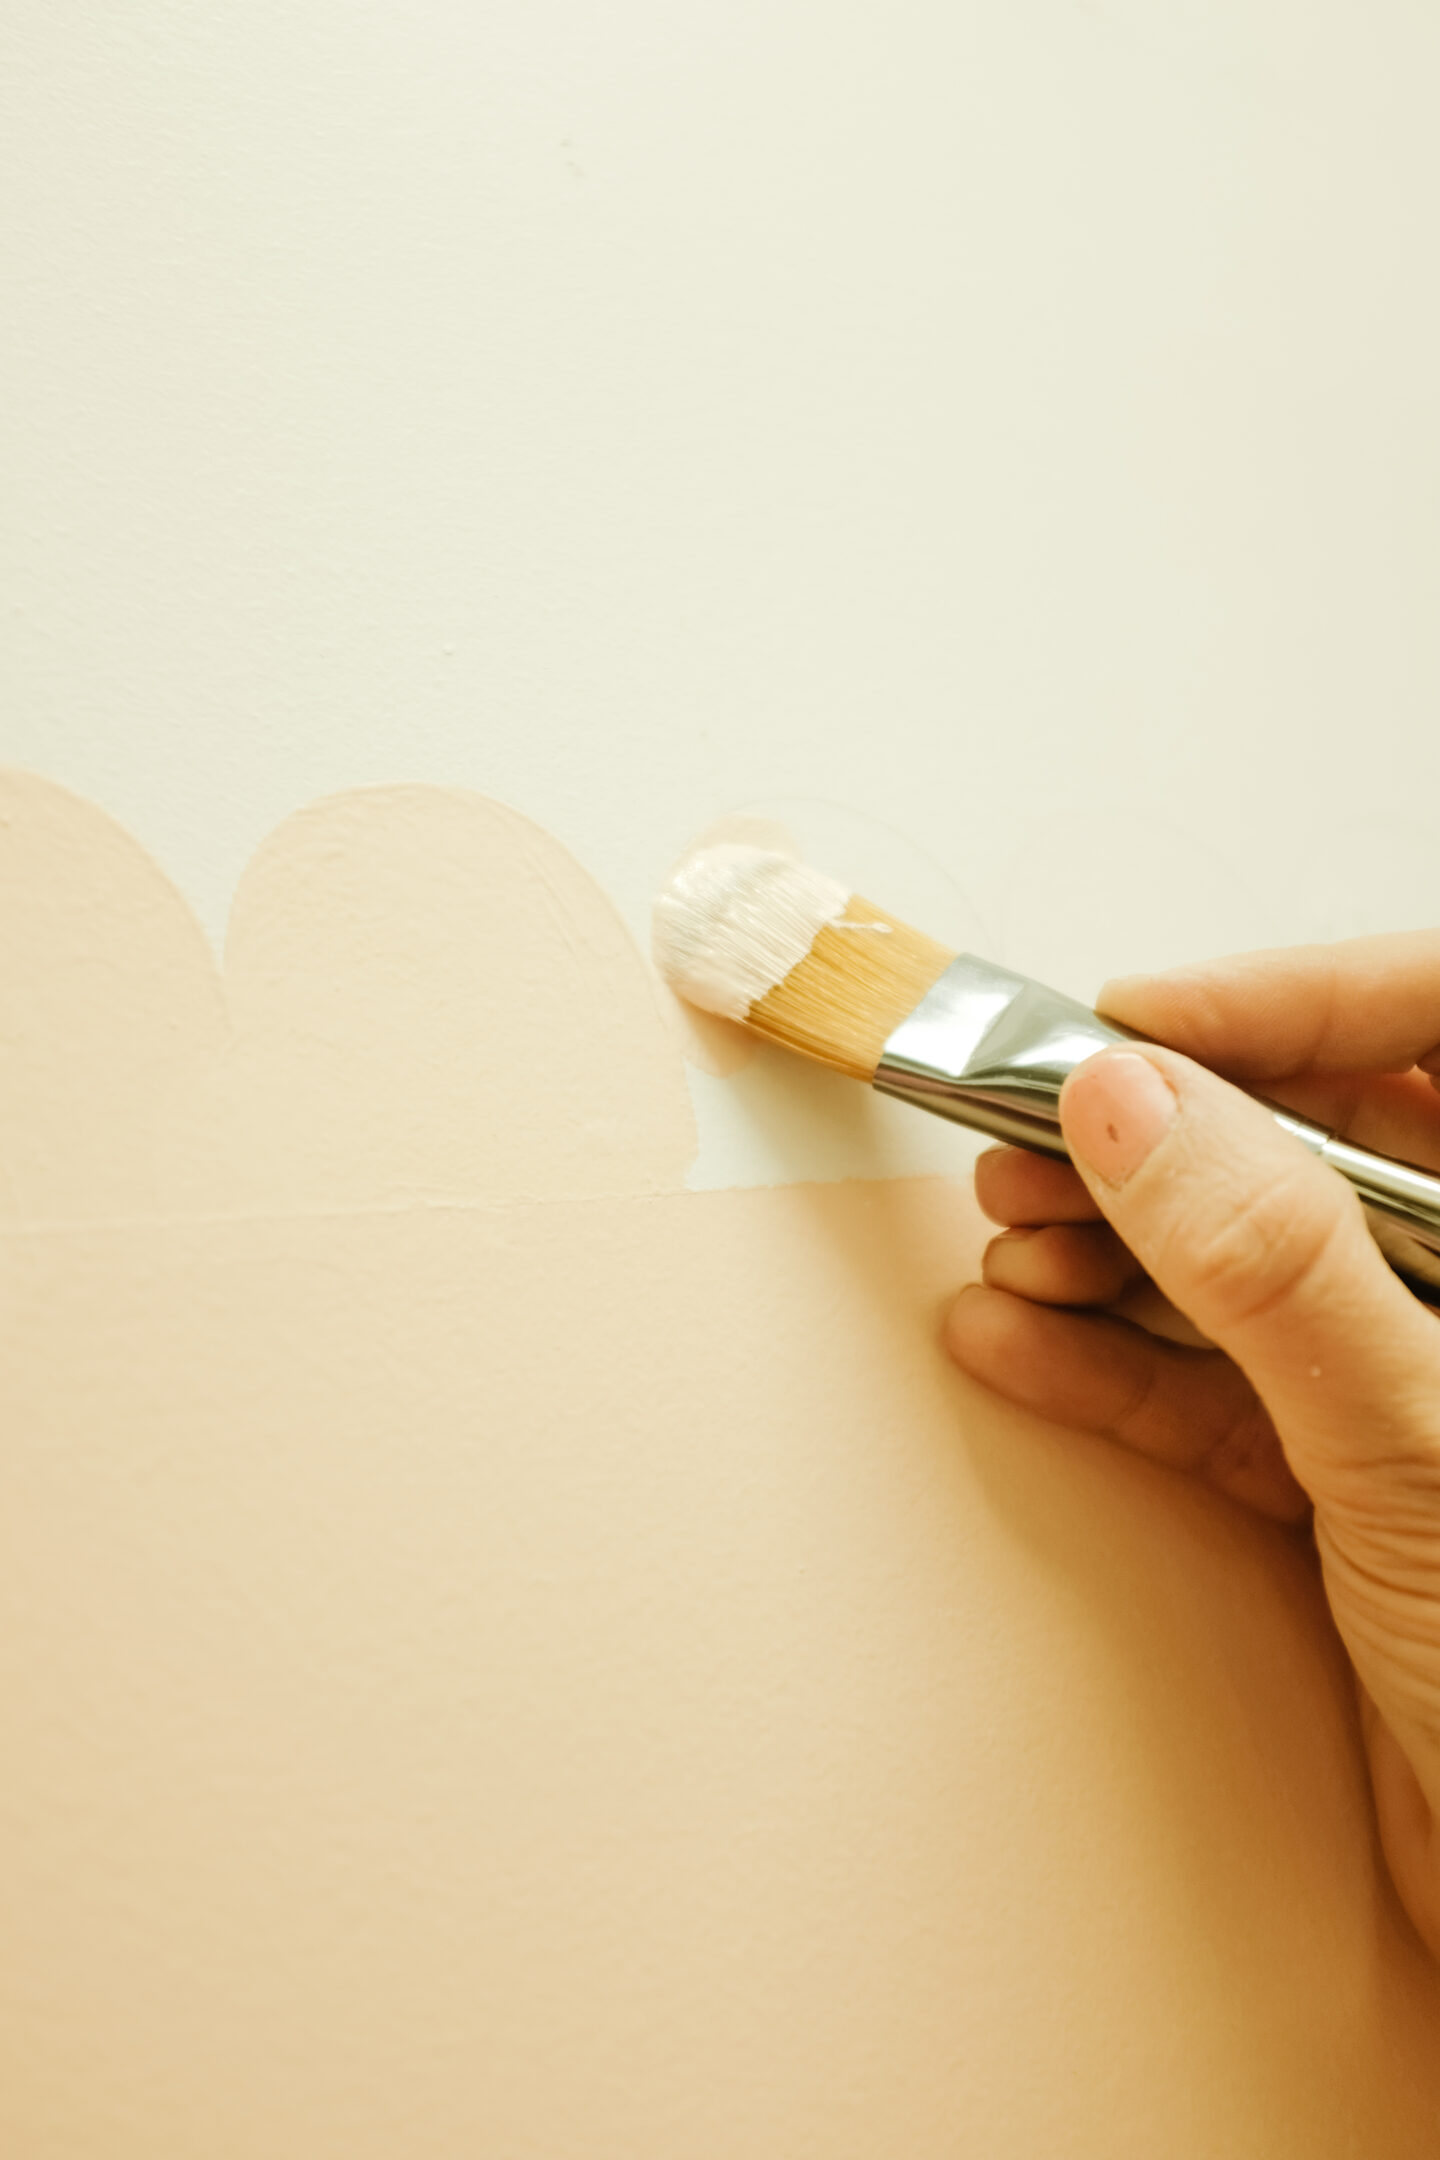
After you finish drawing all your scallops, remove the painters tape and using a small brush, start painting your scallops. It is way easier than it looks and with a smaller brush, you’ll be precise where you paint.
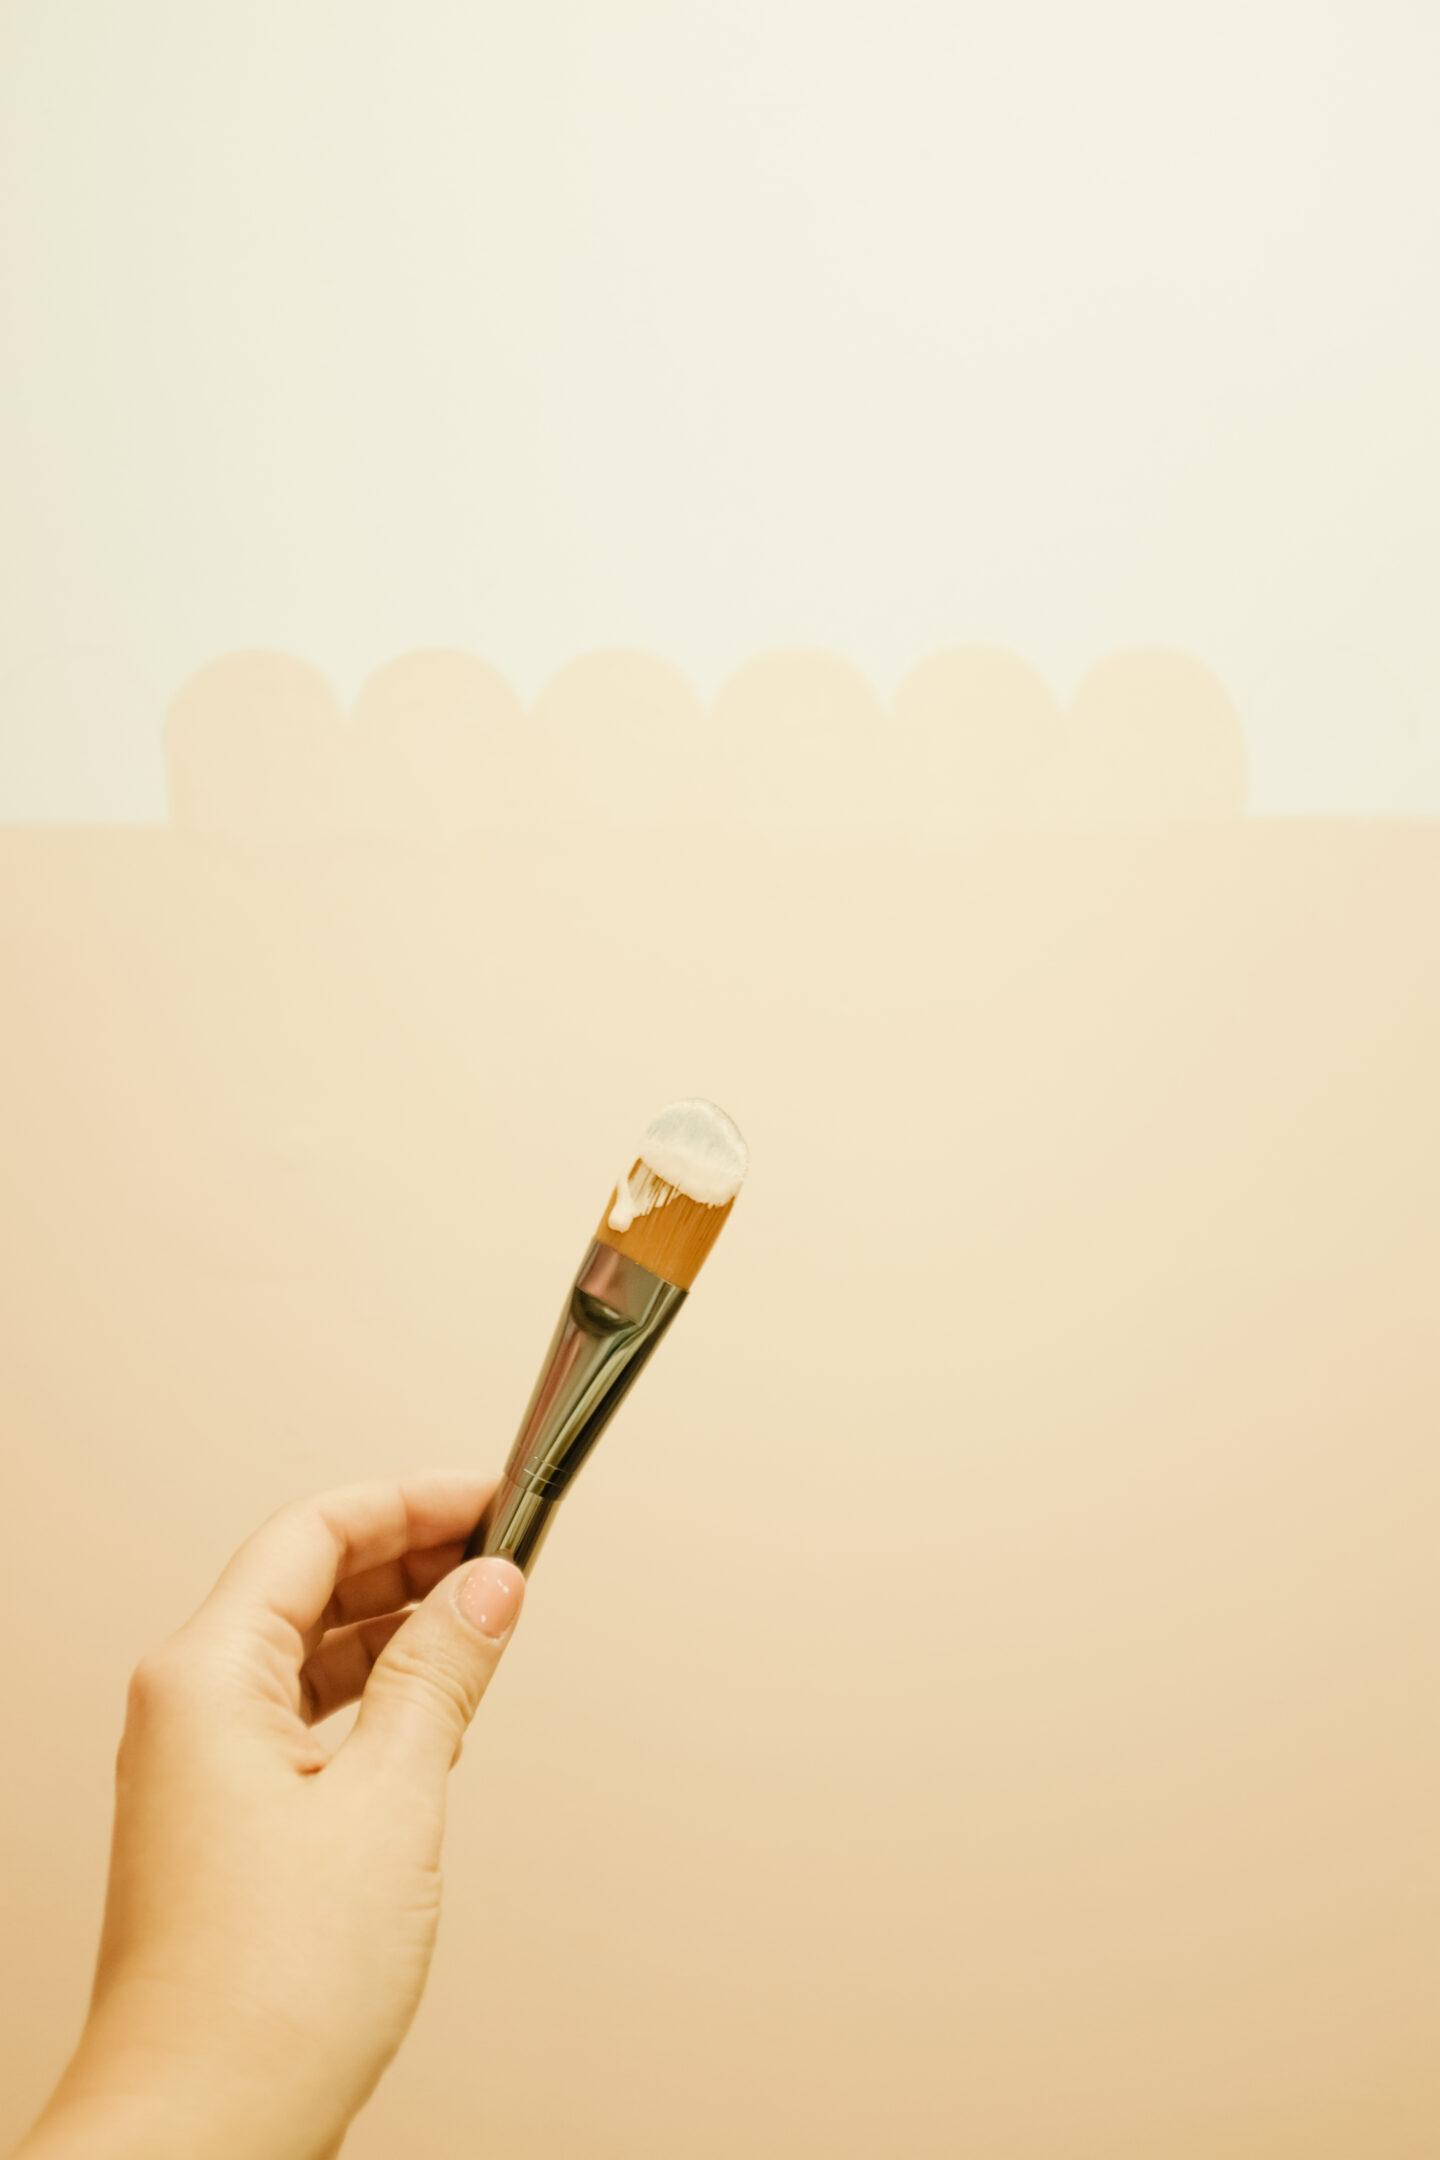
I only did two coats of paint and you can actually do as many as you need, depending on the finish you want to achieve.
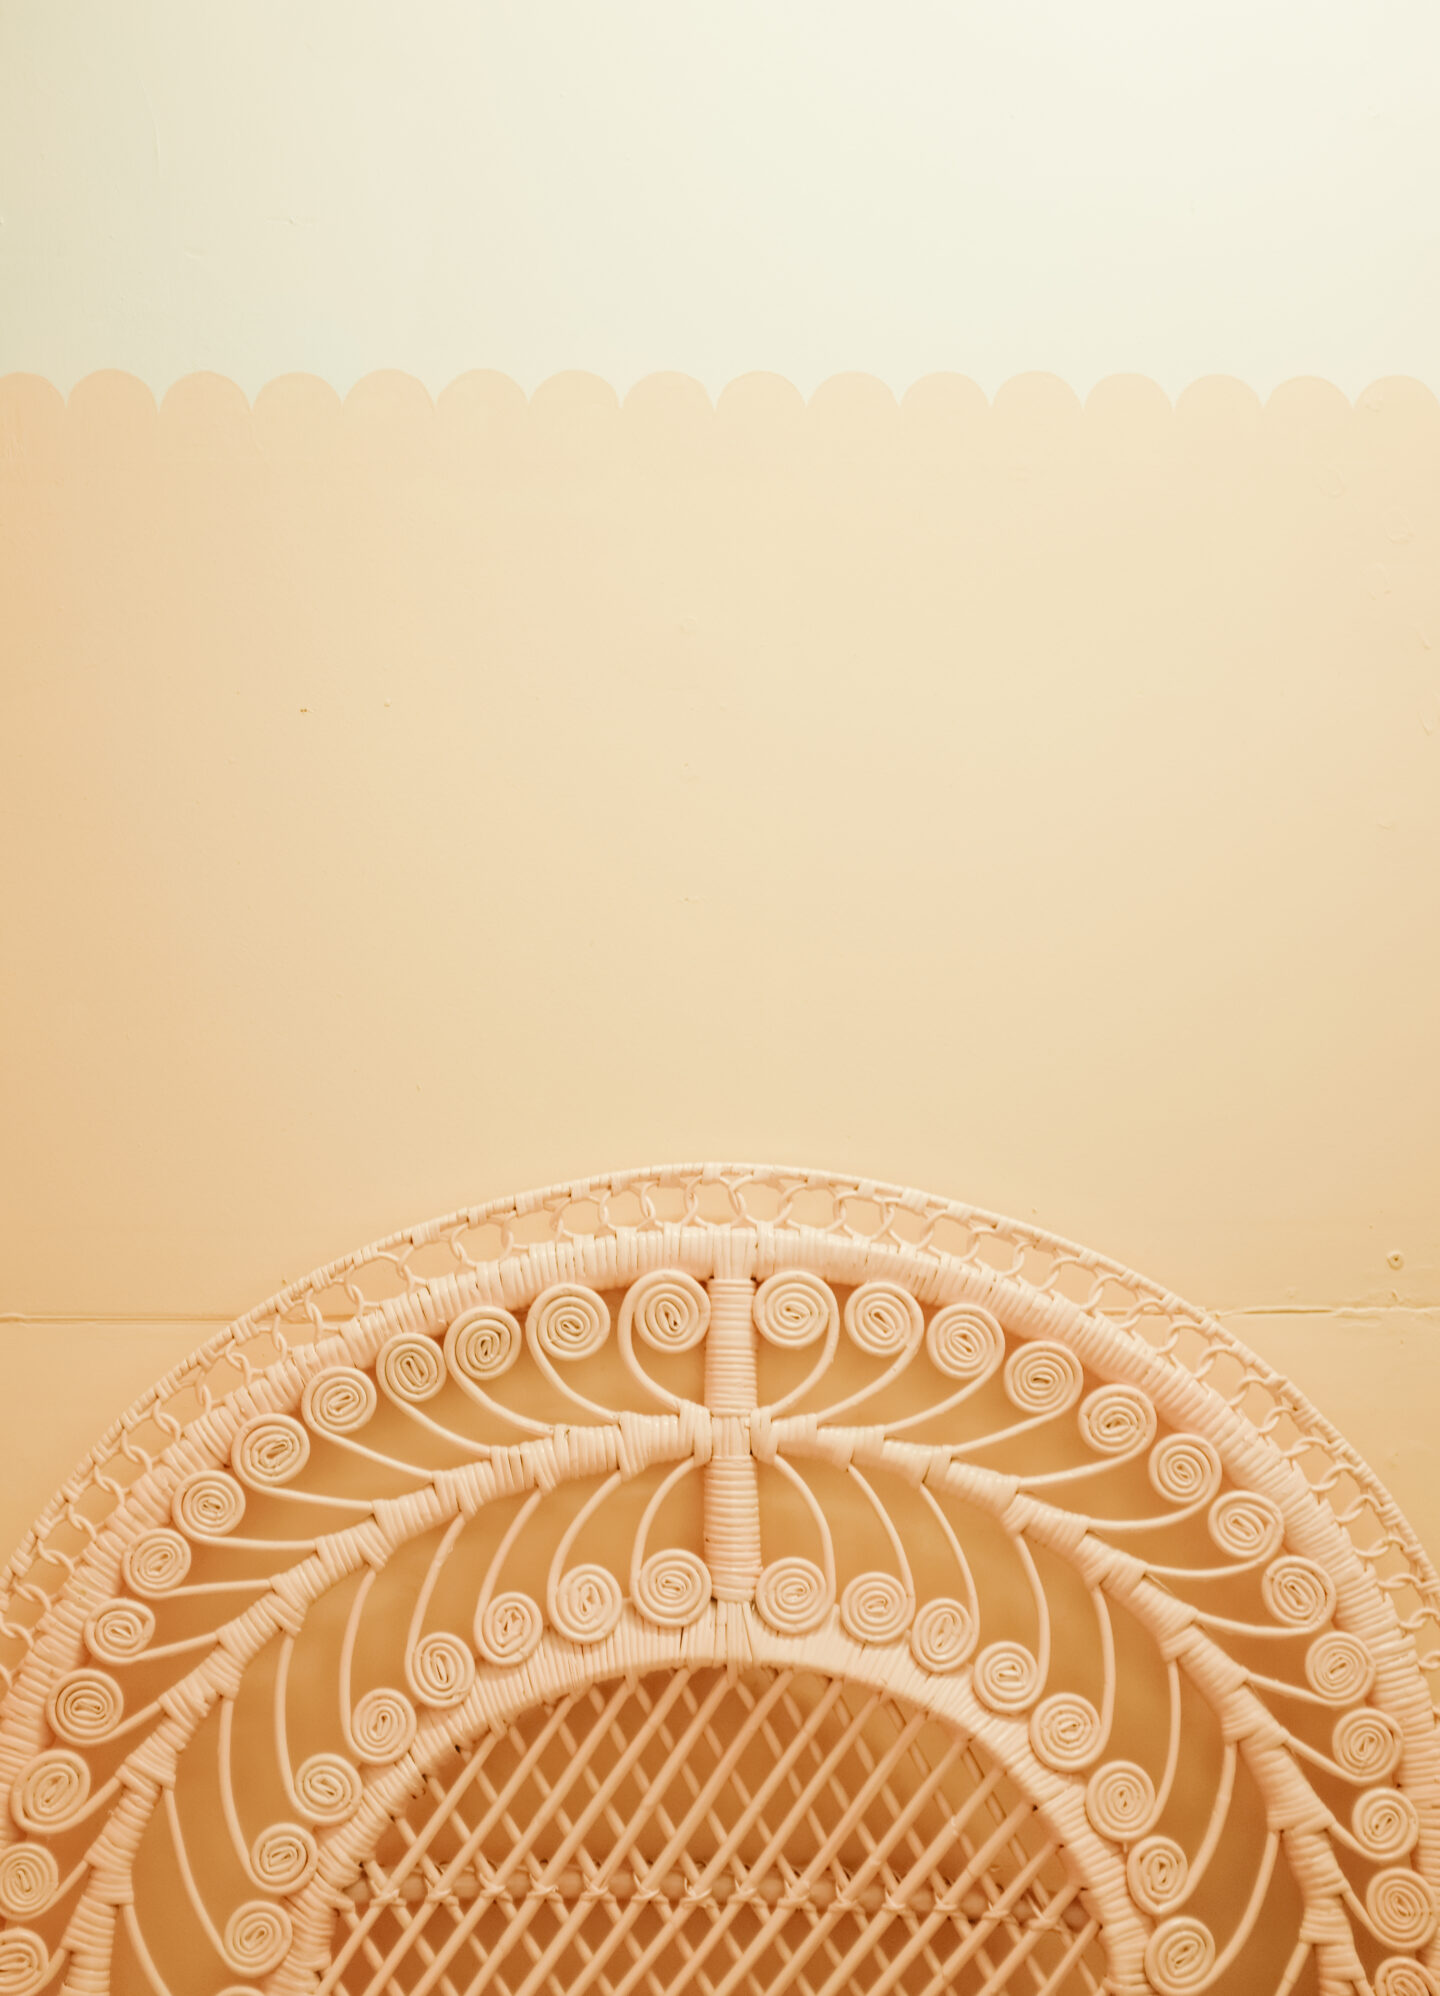
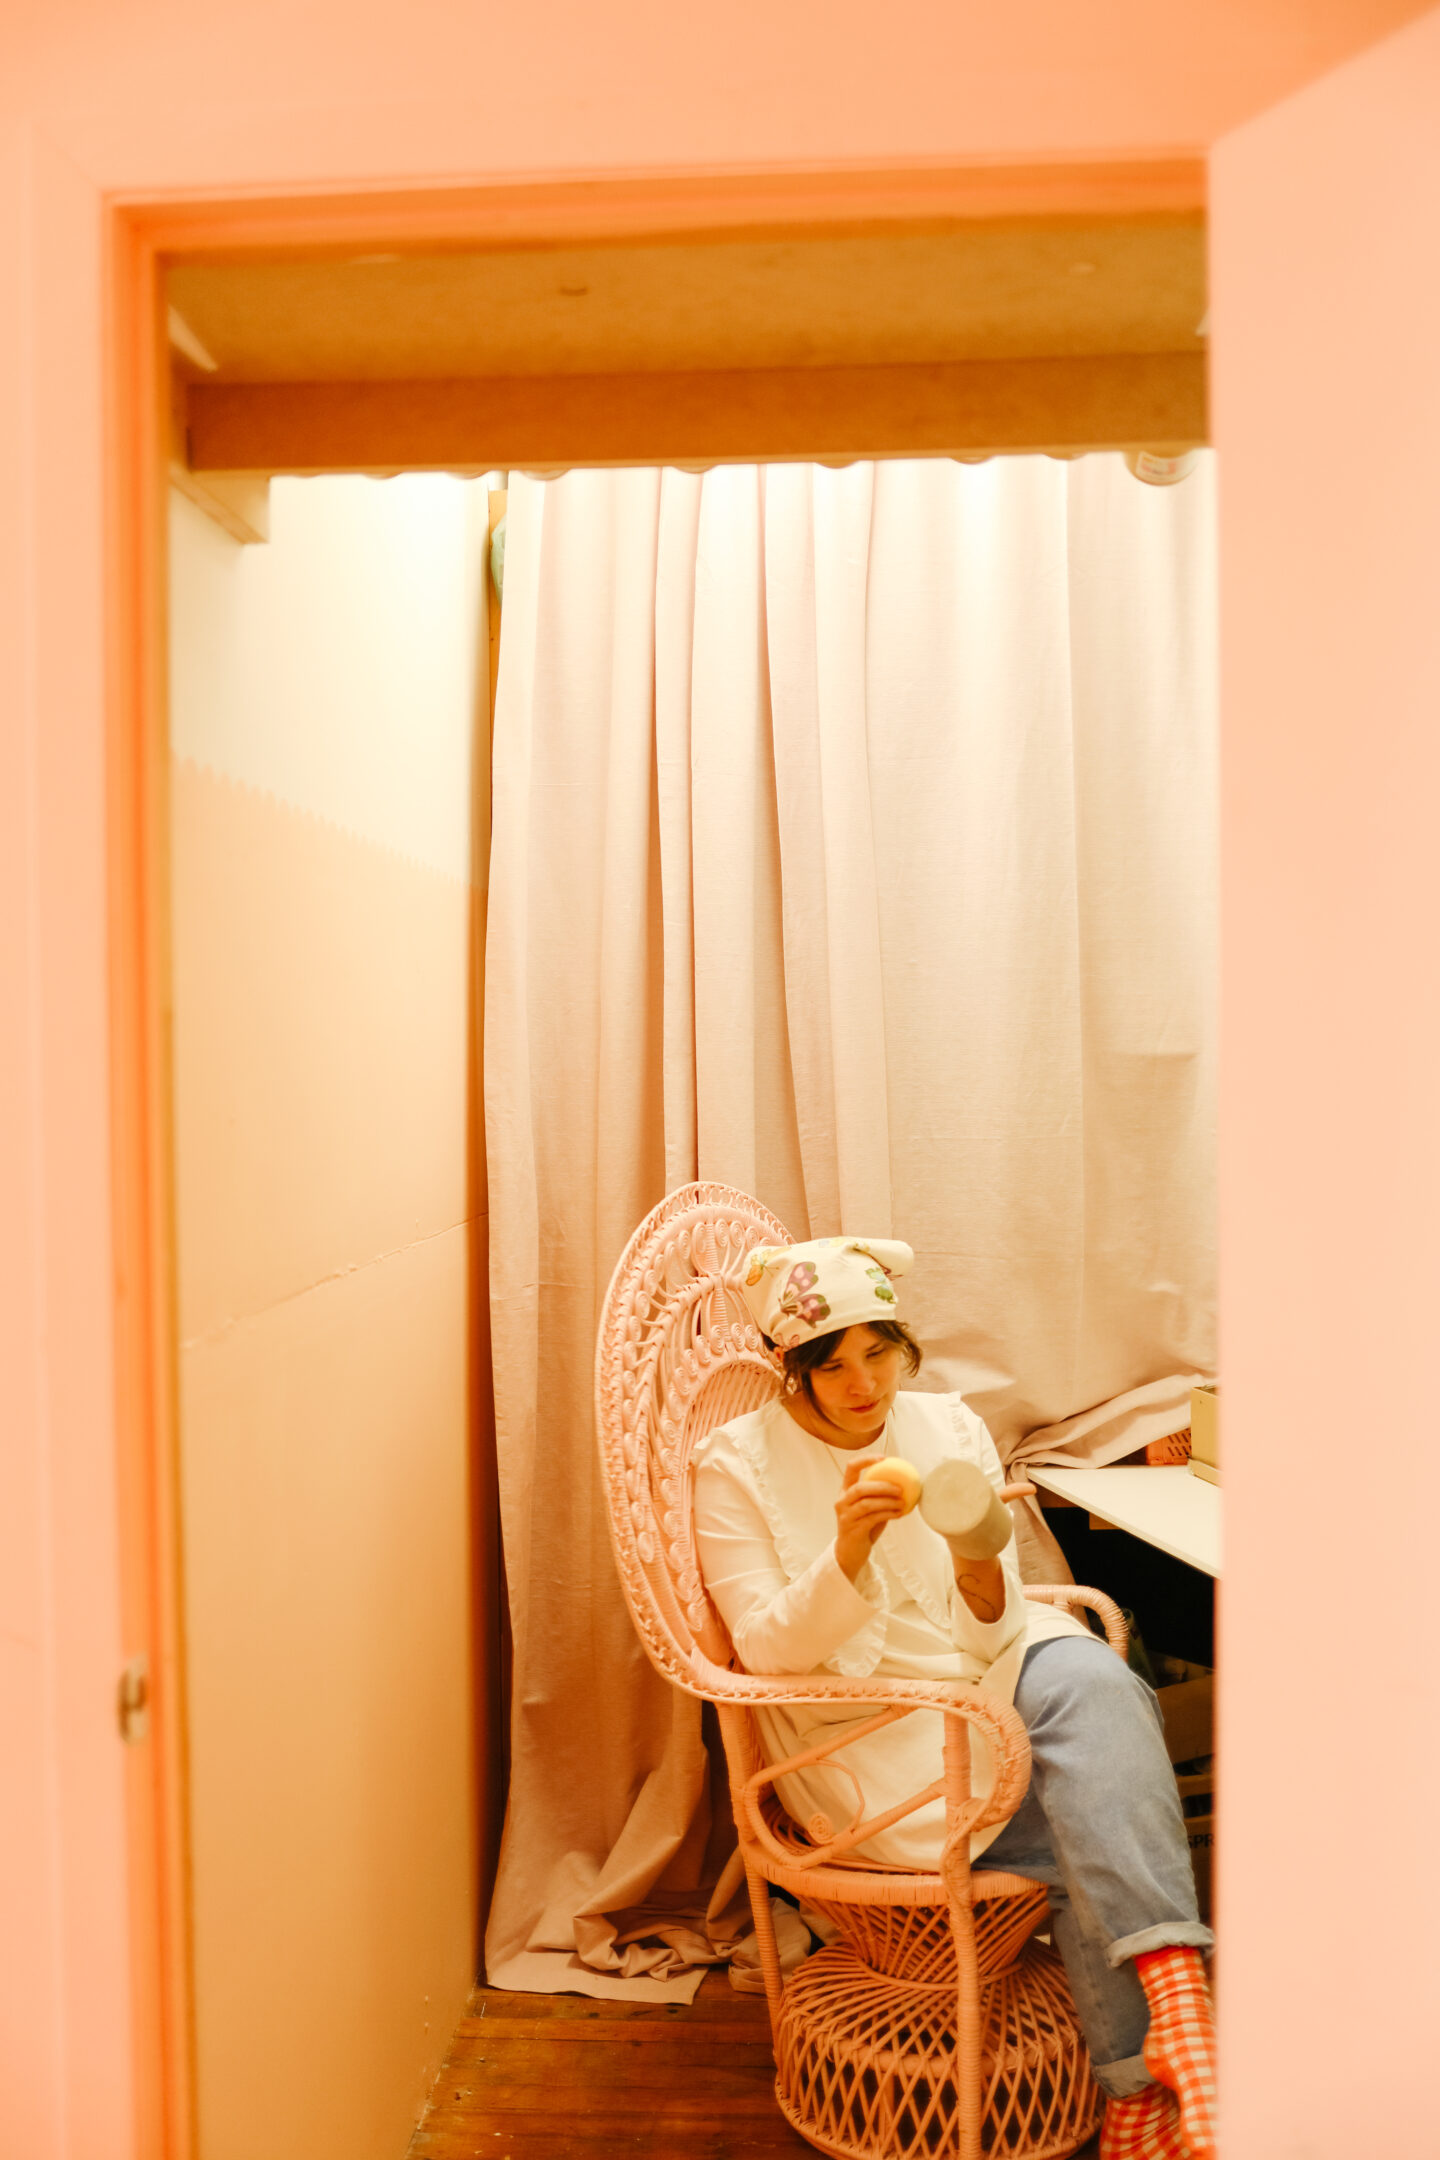
I’m SO happy with the results and now I can have a happy DIY room in the studio (yay!).
I hope this tutorial of how to DIY the cutest scalloped wall was useful for you, and if you decide to do it at home, tag us using the hashtag #heymacaDIY on Instagram.
Want to follow our DIY and Decor adventures? Run here