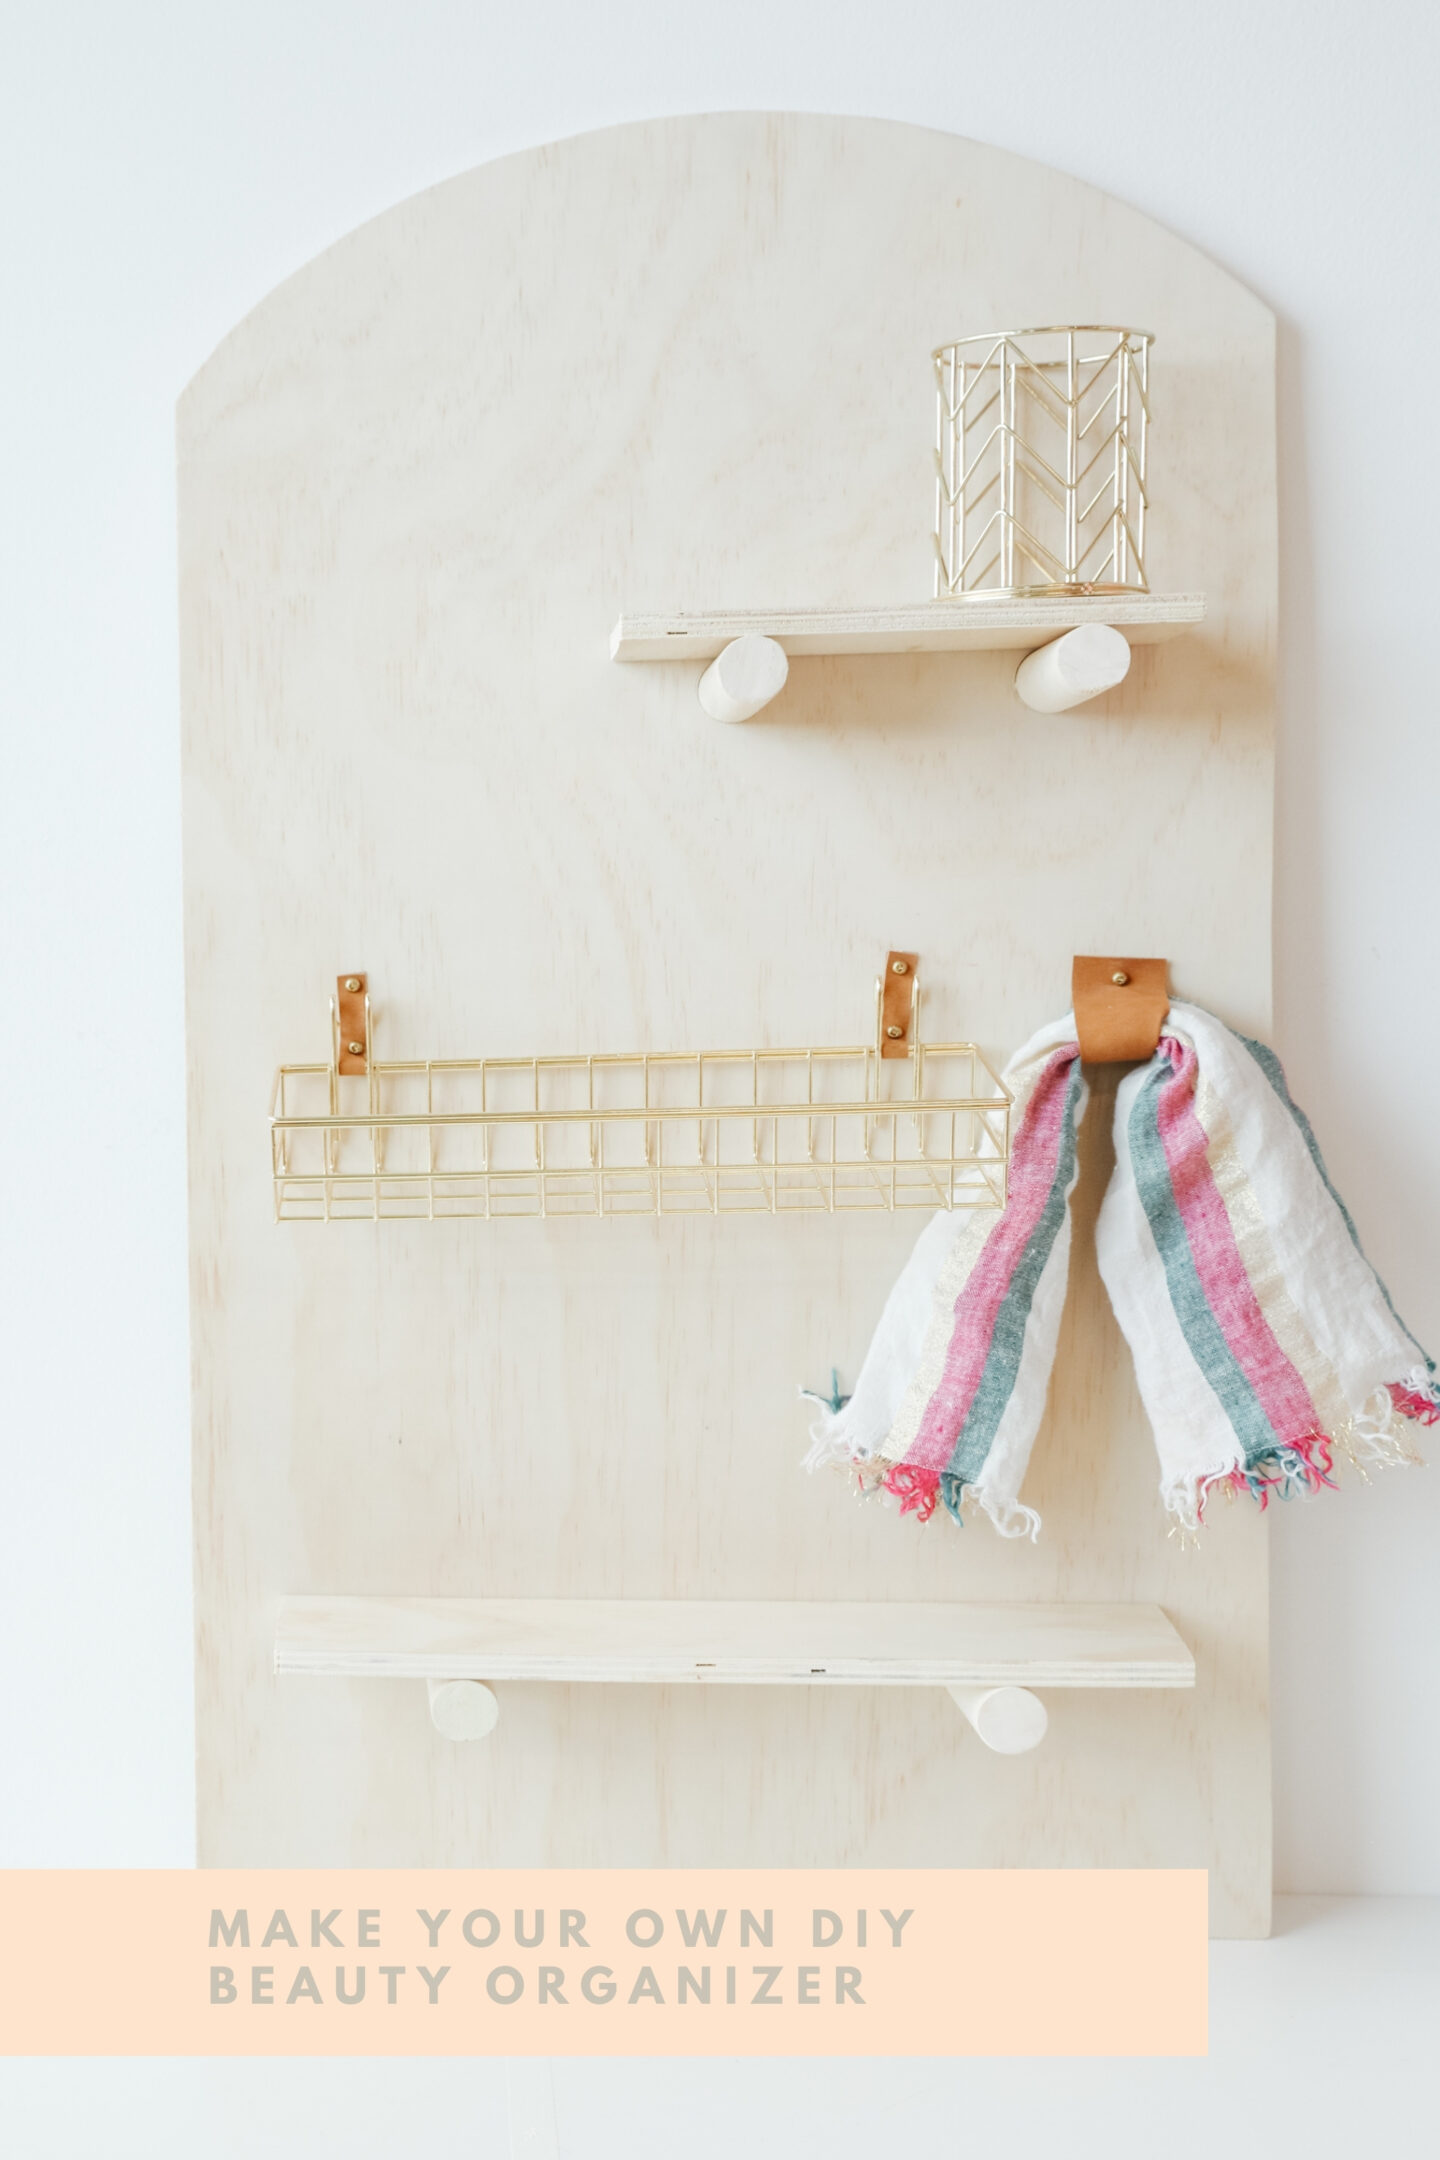
How to Make Your Own Beauty Organizer!
Raise your hands all my beauty lovers!
This holiday season, I’m all about gifting meaningful, handmade gifts that I’ve been doing lately that mean a lot to me (have you seen my pottery adventures yet?), and today, in partnership with my Yves Rocher Canada friends, we have a super easy, unique and adorable project: make your own beauty organizer DIY that you can make and gift it to someone or yourself (just like I did) and place all your Yves Rocher favourite products!
Creating a beauty organizer that represents the love for sustainability and natural materials that is completely aligned with Yves Rocher’s mission was my goal creating this design, representing our mutual love for plants, the environment, and botanical beauty. They have committed to reducing the amount of plastic used in their packaging and to have 100% recyclable and recycled plastic by 2025, see now why they are my favourite?
In this post, I’ll show you how easy it is to work with wood, creating a unique piece you can use in your bathroom or room, to feel and act beautiful!
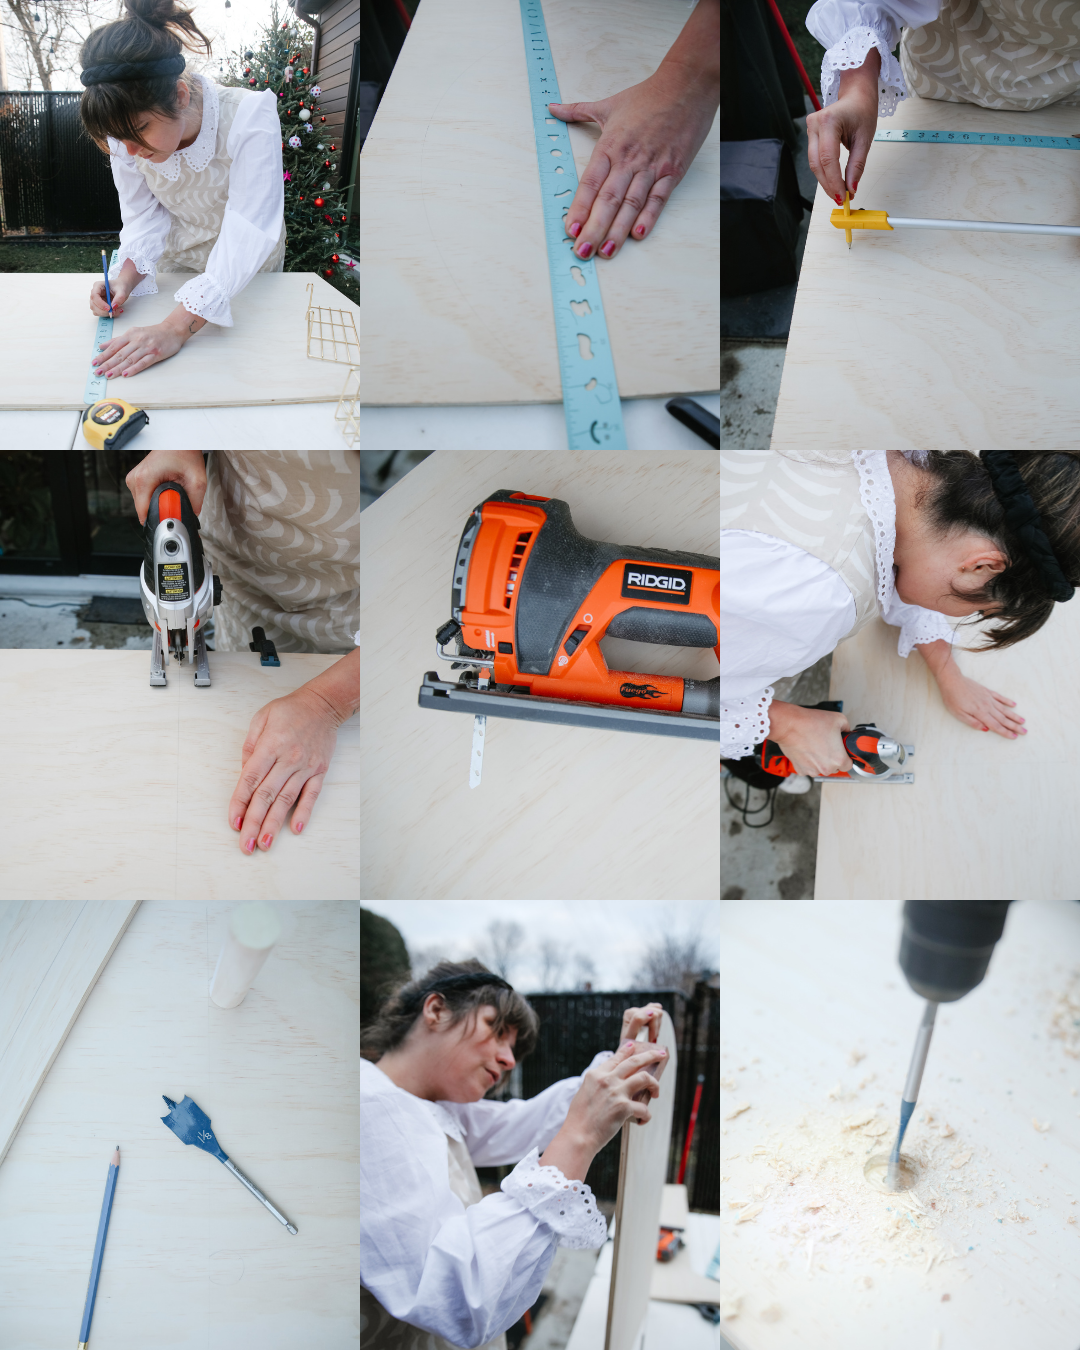
1. I created the layout of the beauty organizer designing where I wanted the shelves and measuring the total area of my pine plywood.
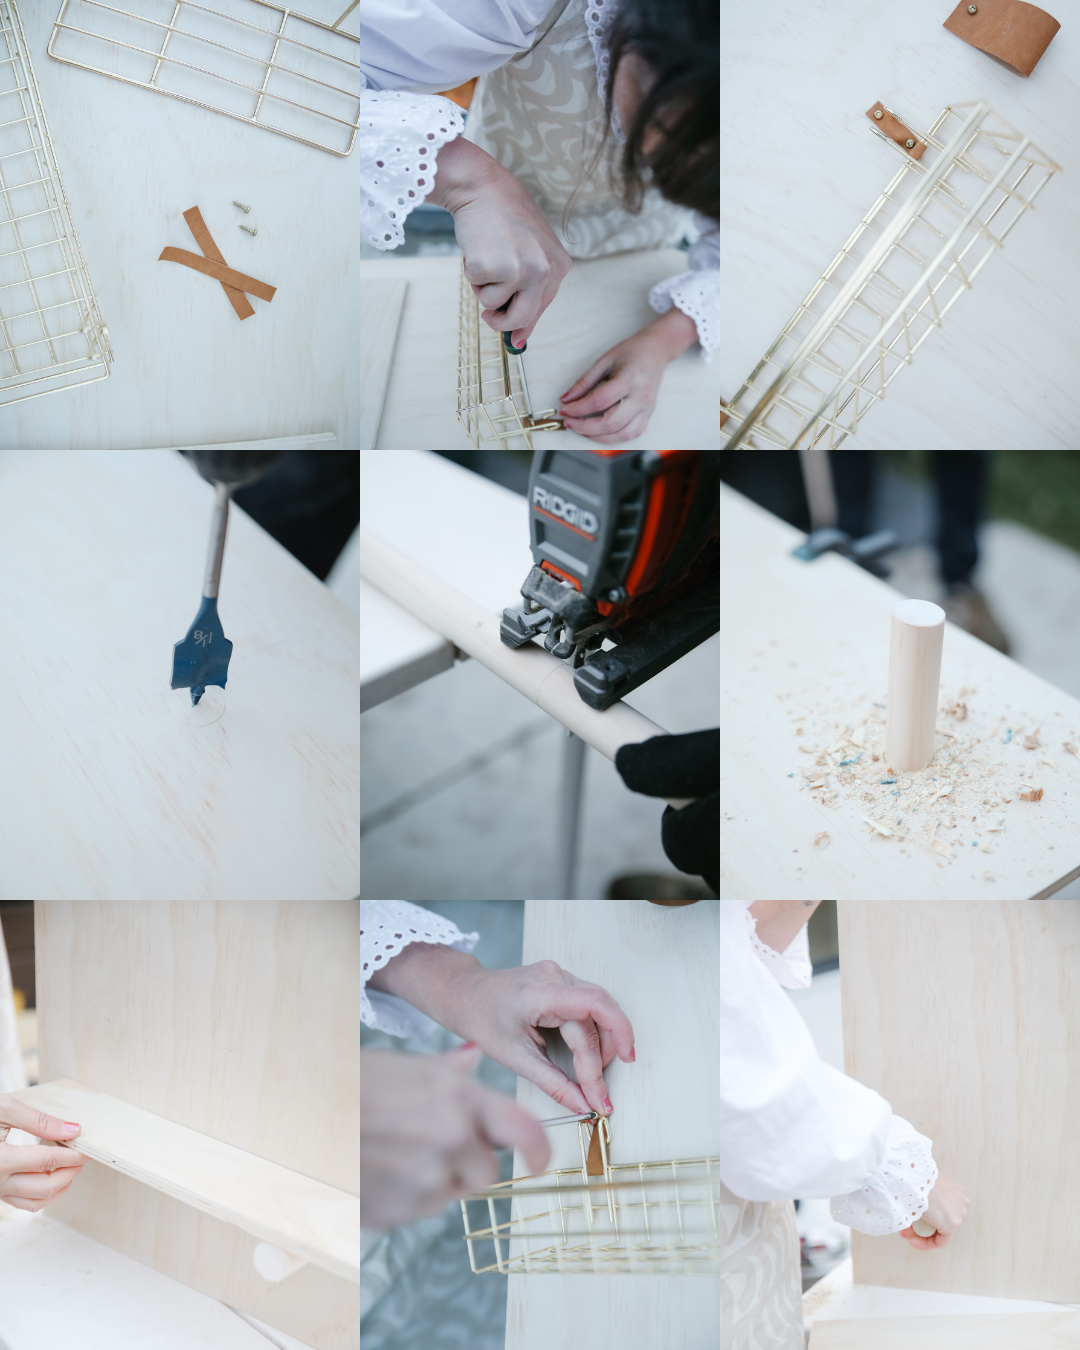
2. After having your layout ready, using your big compass and placing it in the middle of your plywood, draw a half moon. Using your ruler, mark the left, right and bottom remaining sides.
3. With your jig saw, start cutting your half moon and continue right after with right/left straight sides.
4. After you have your base ready, grab your sander and work all the edges. Don’t be scared and sand well.
5. Start cutting the wood dowels with your jig saw. I designed the shelves 3 1/2 inches wide and gave the dowels 4 inches long each. To make sure your shelf support holds heavy items, you need to add two dowels.
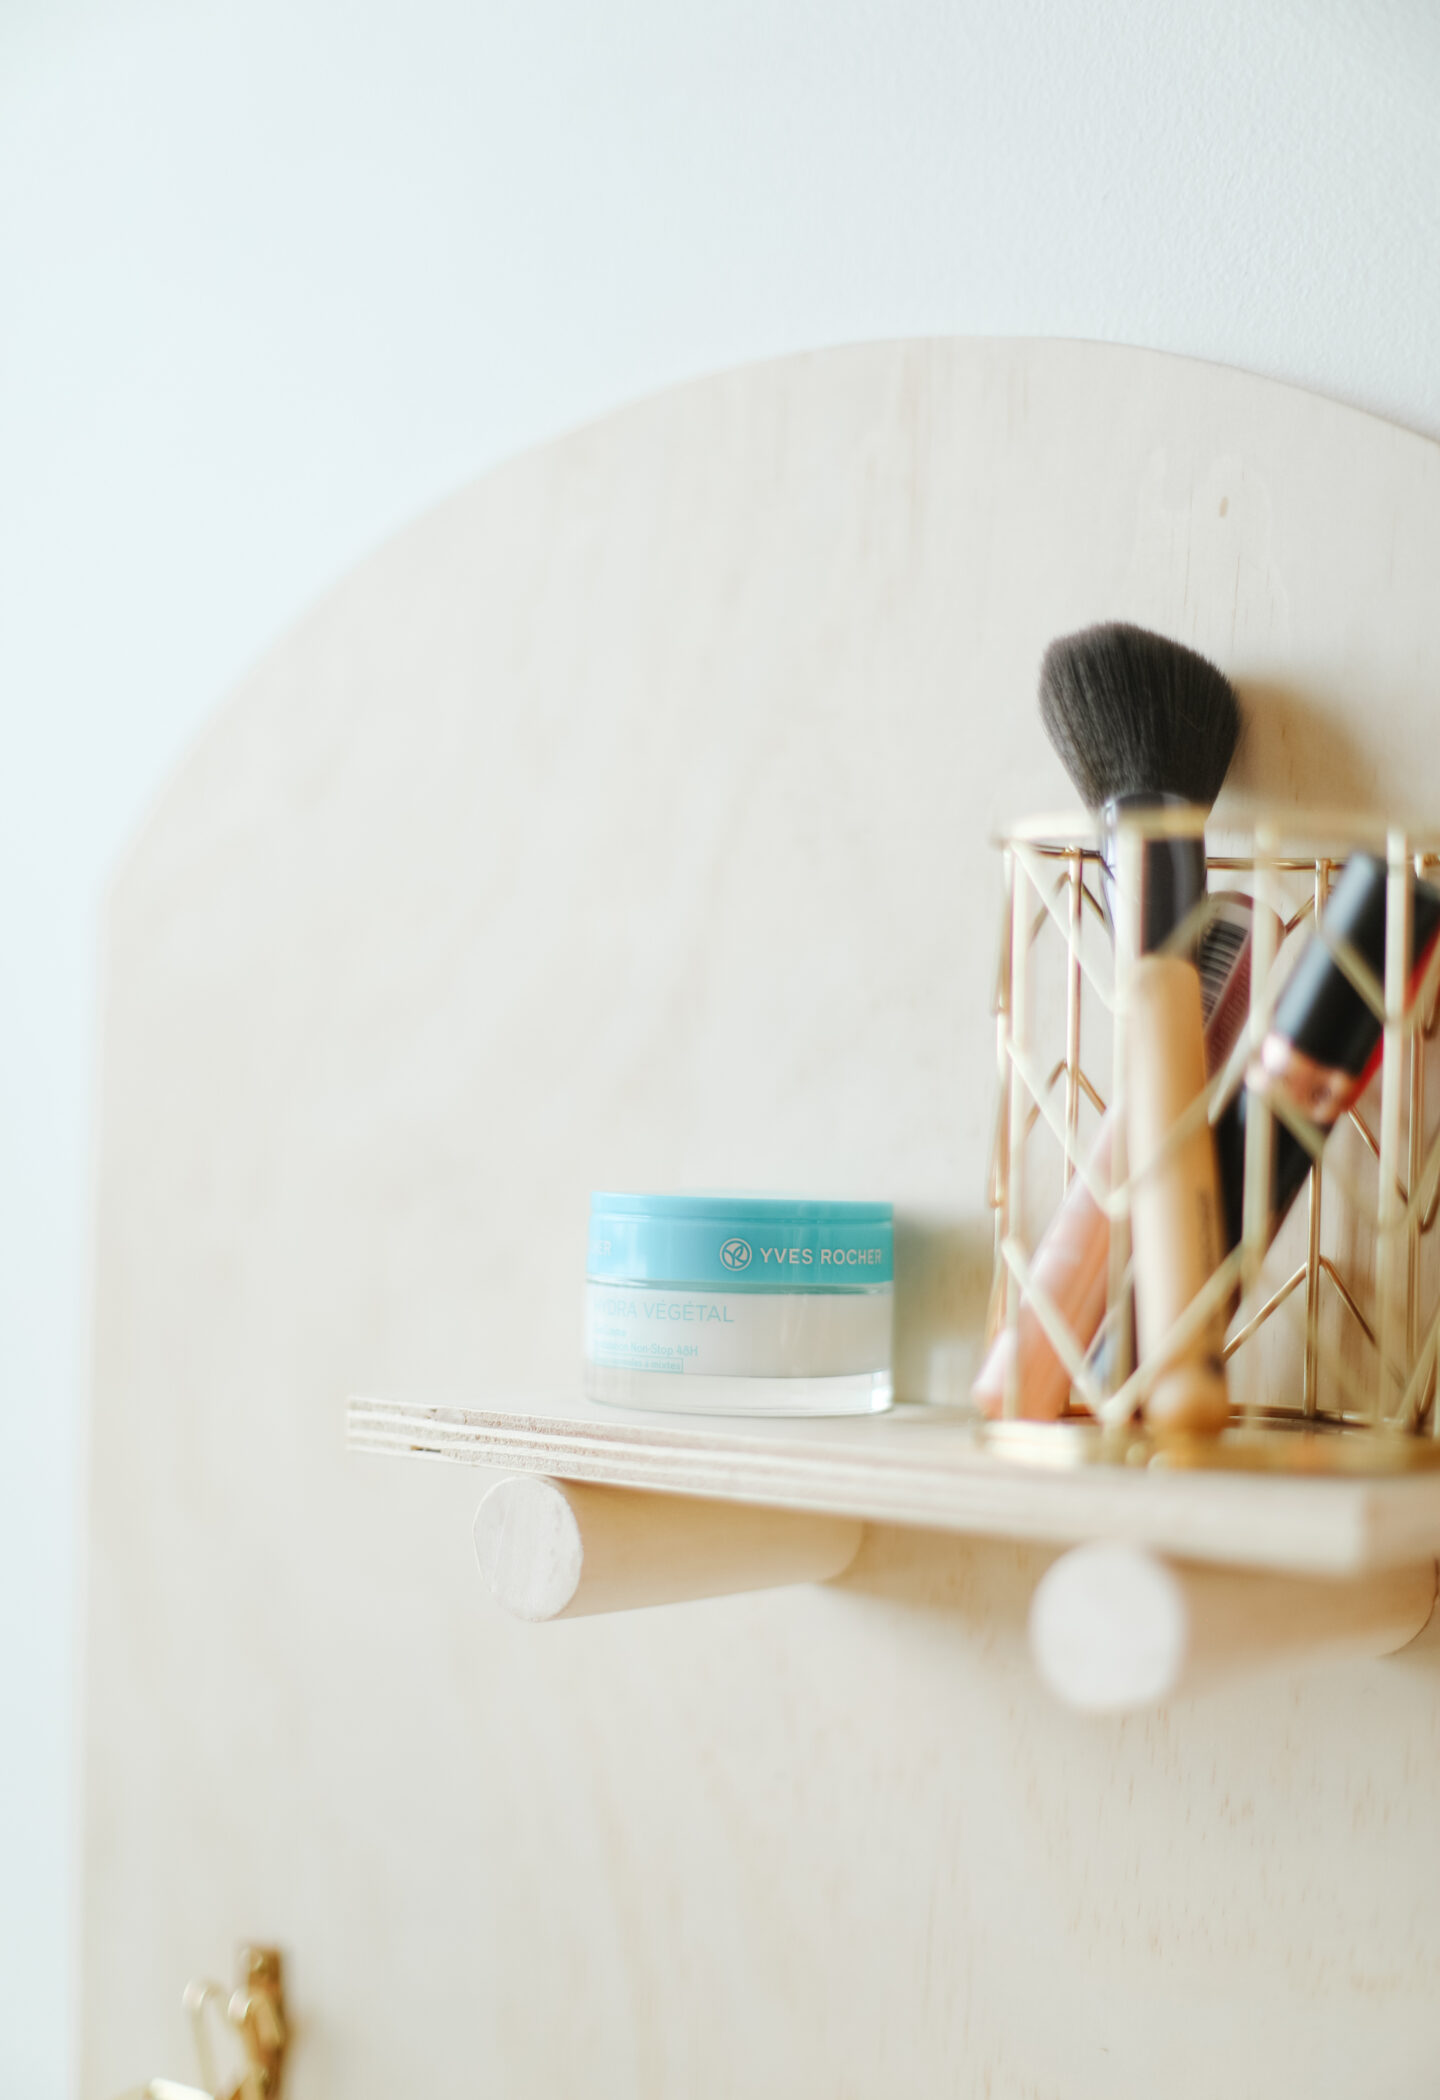
6. With your drill and hole round cutters, drill two holes where you’ll place the dowels. I had the same cutter size as my dowels. Press both dowels inside the holes and make sure they are stable.
7. I created a big long shelf and a small one, with two dowels each.
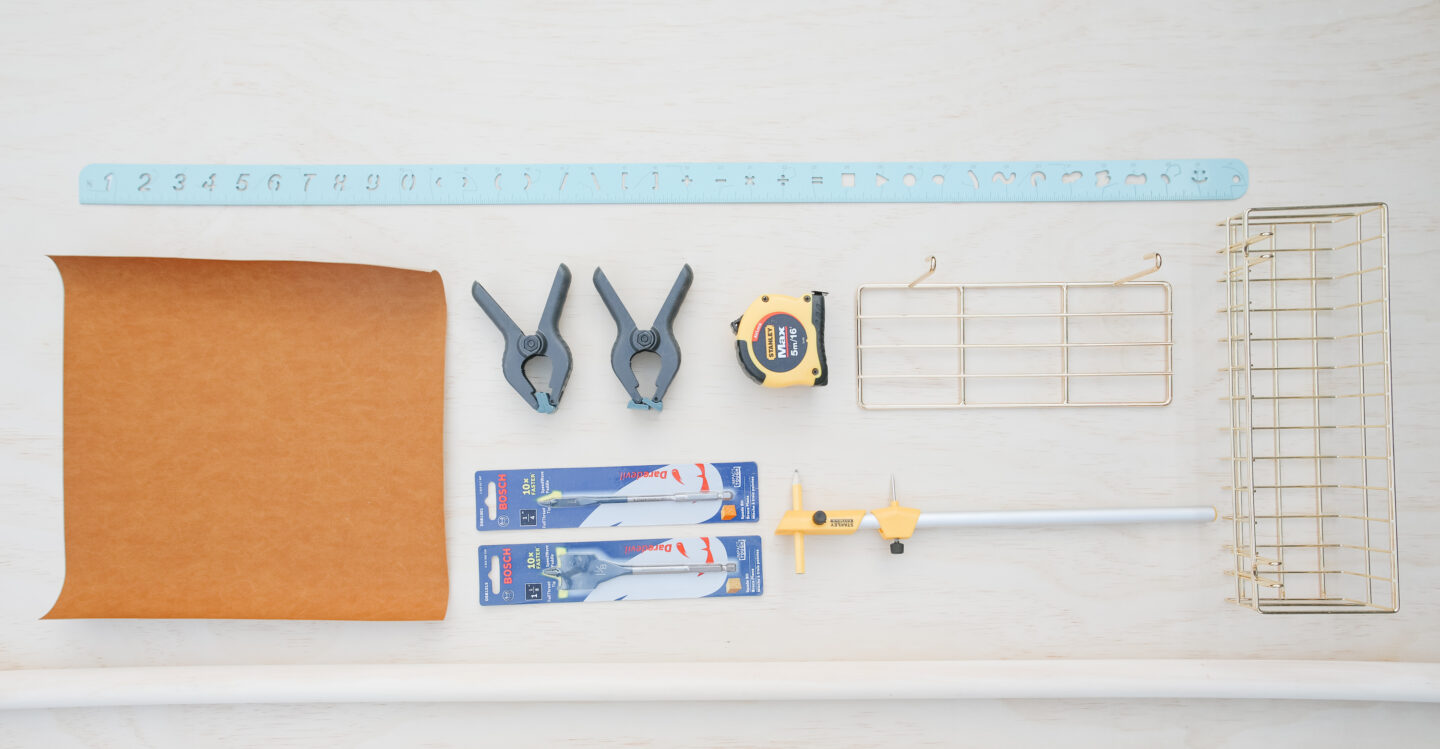
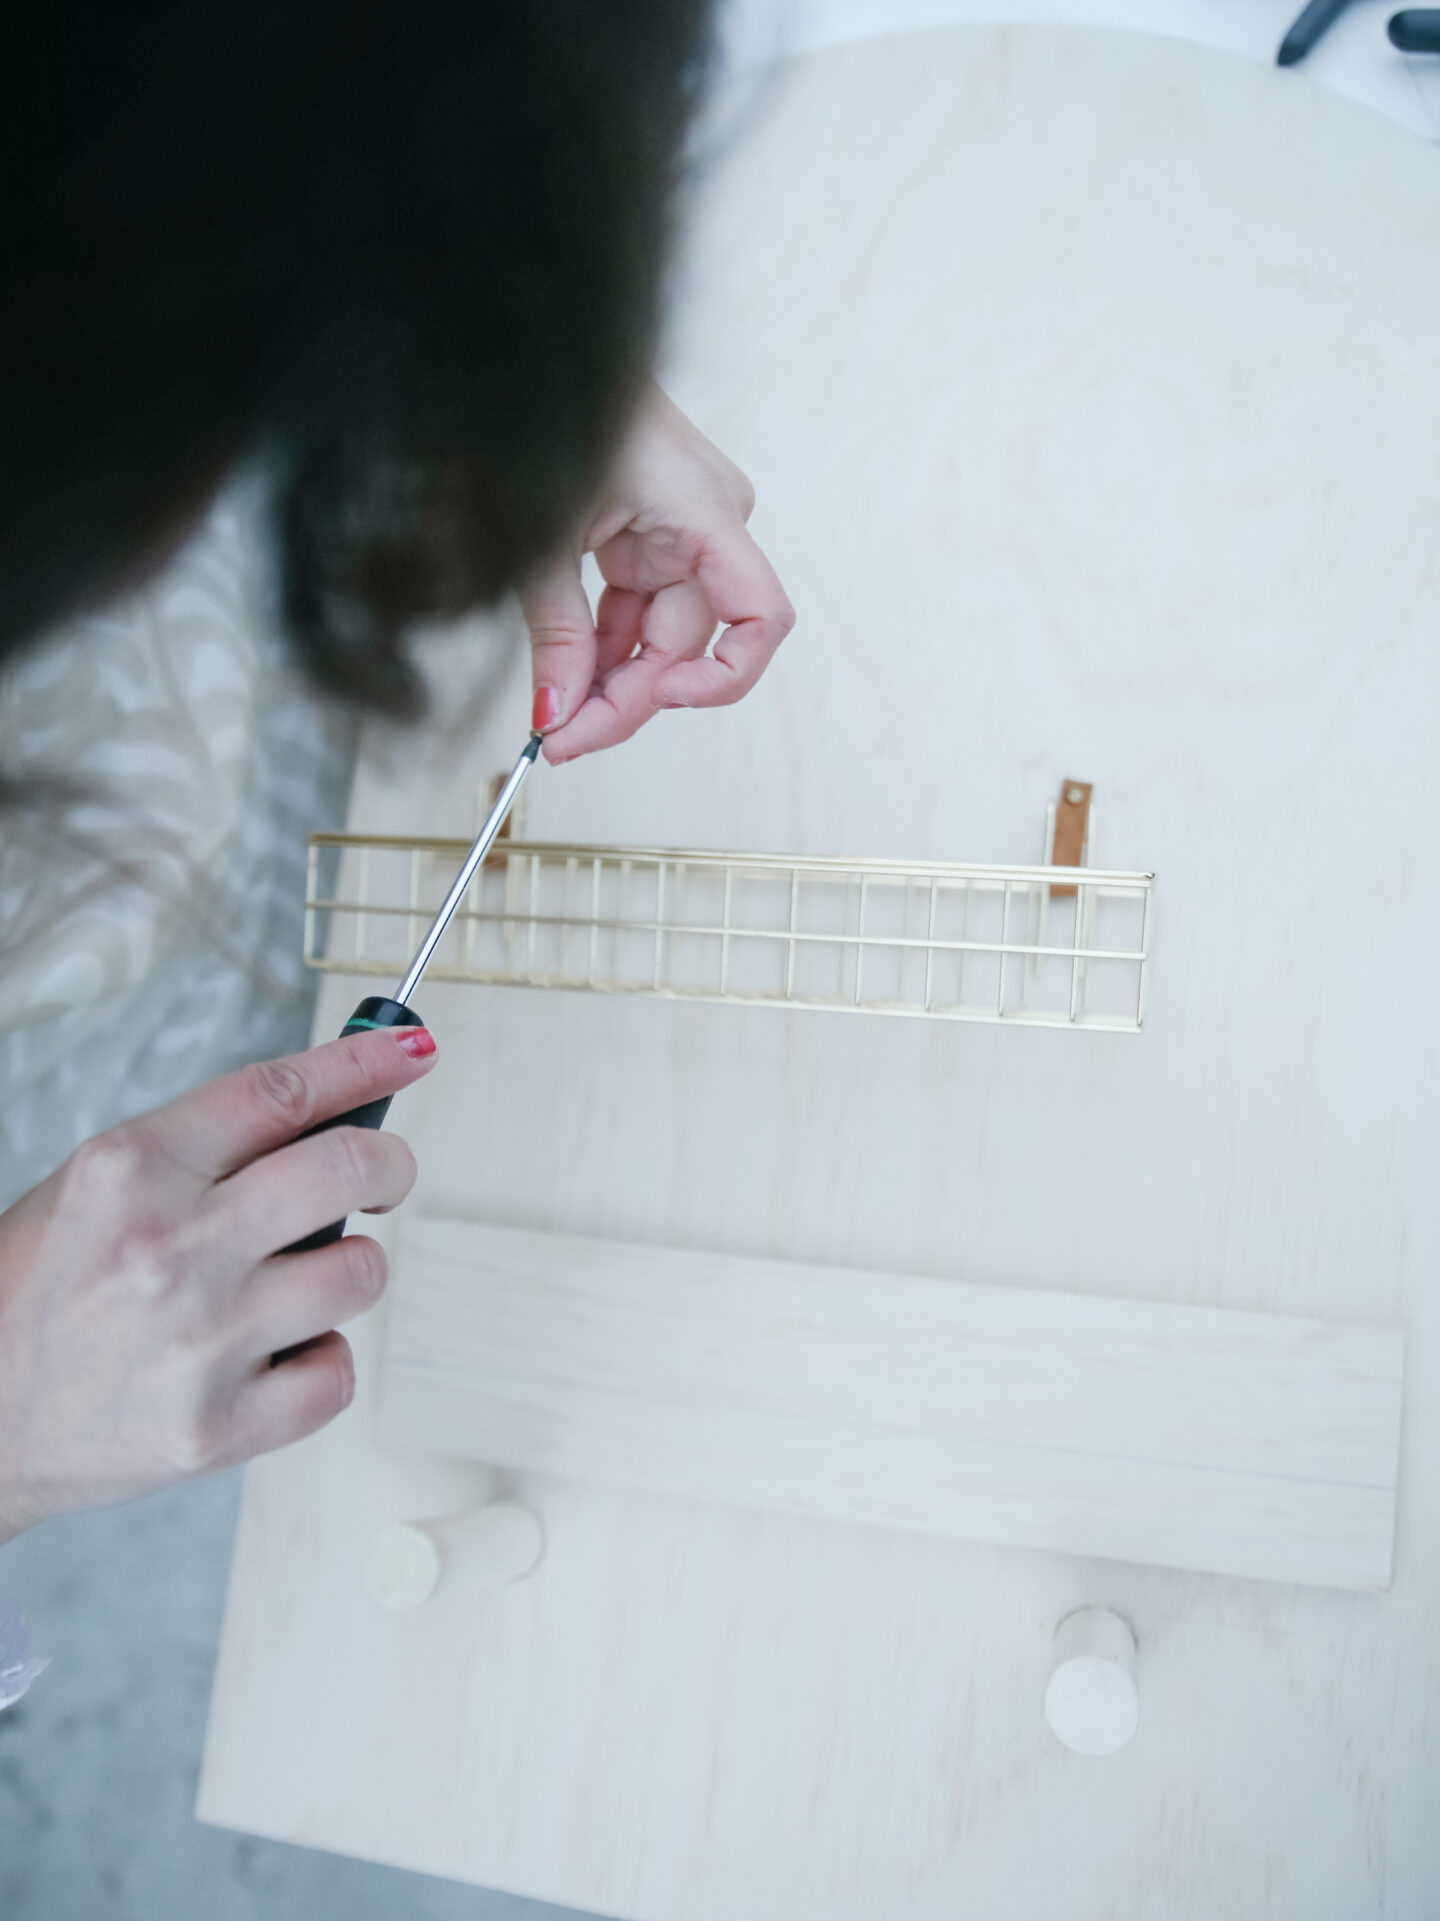
8. To install your gold grid wall shelves, I used two small leather straps I cut using my scissors. Grabbing your screwdriver, create a leather loop and screw the screws (I added two to add more stability to my basket).
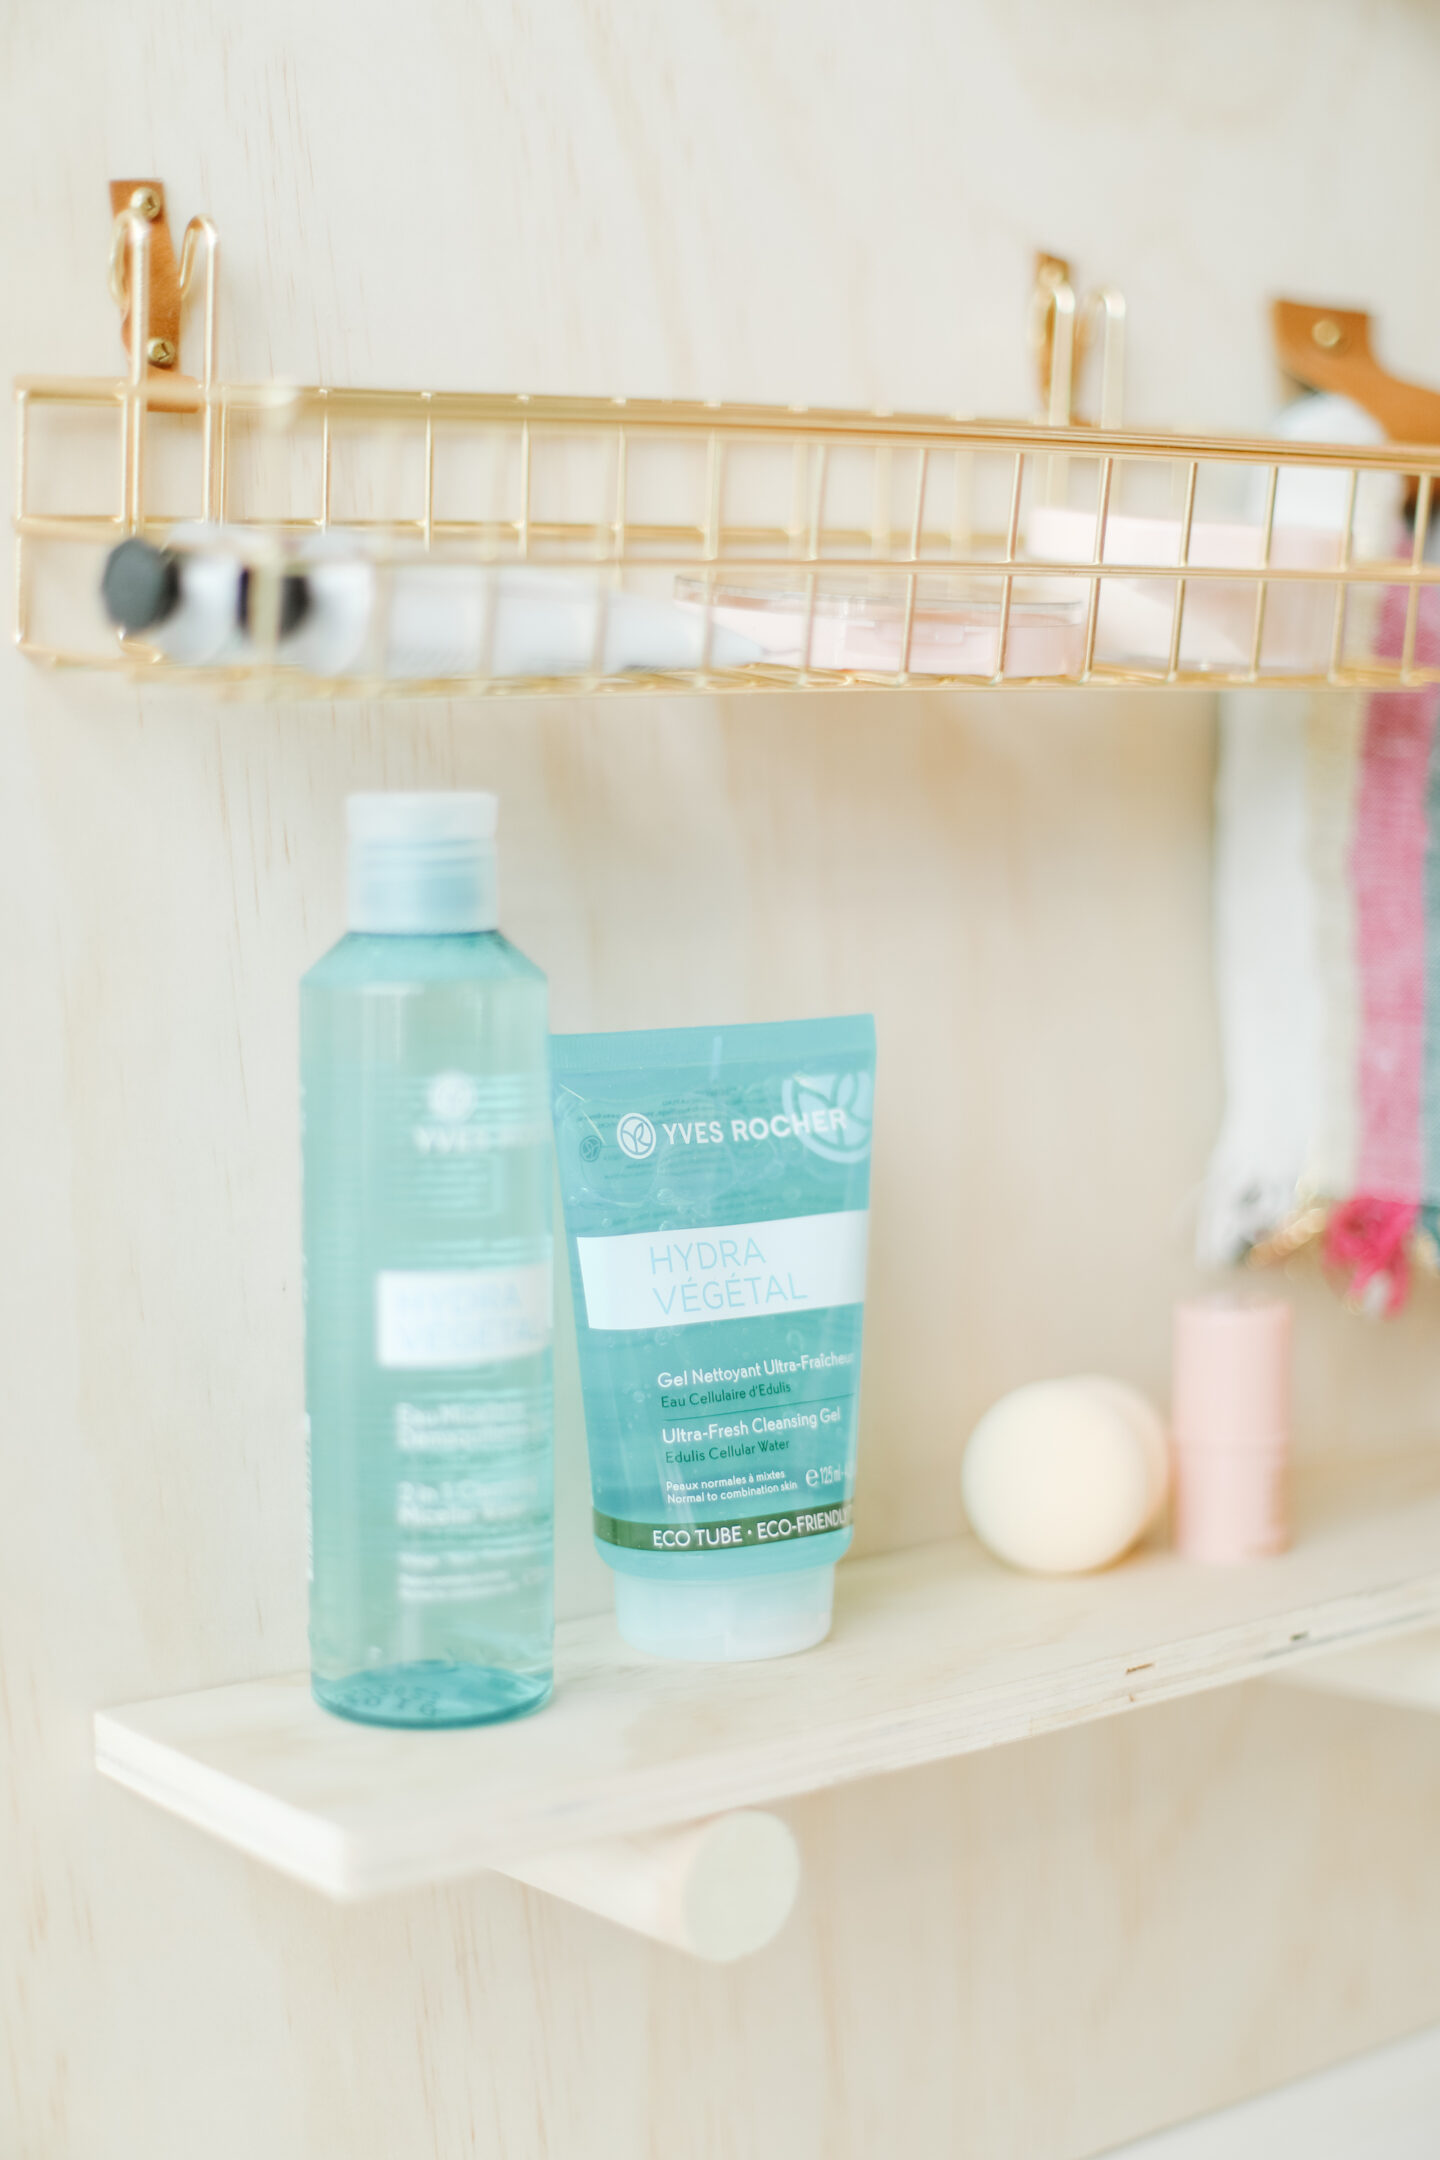
9. Next to my gold basket, I added a thicker leather loop with one screw to add a small towel (totally needed!).
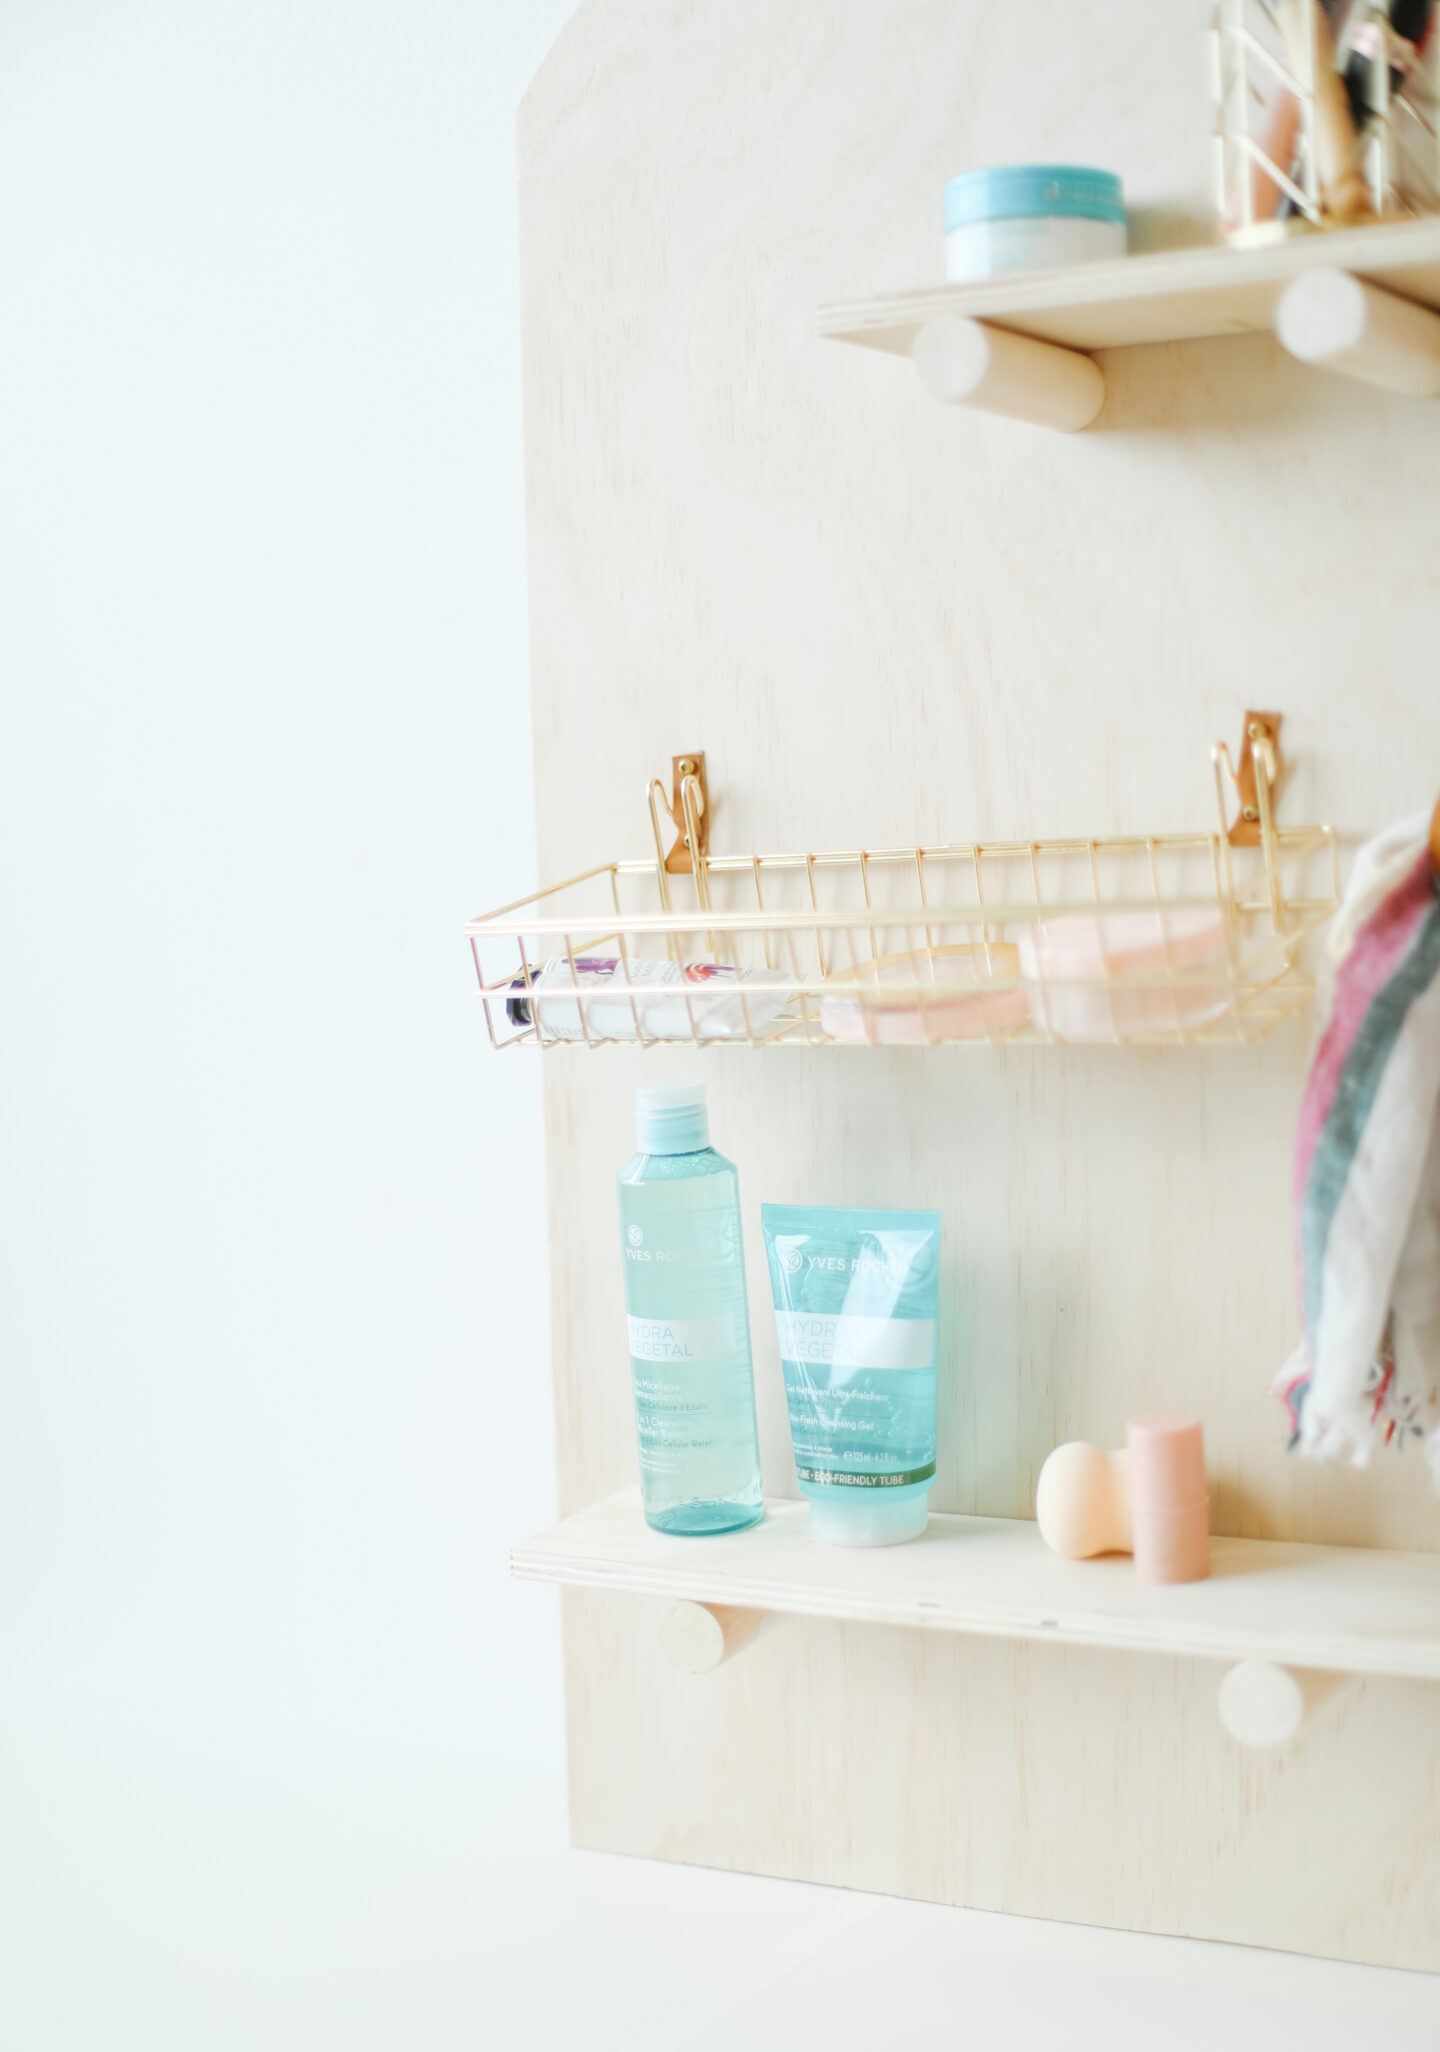
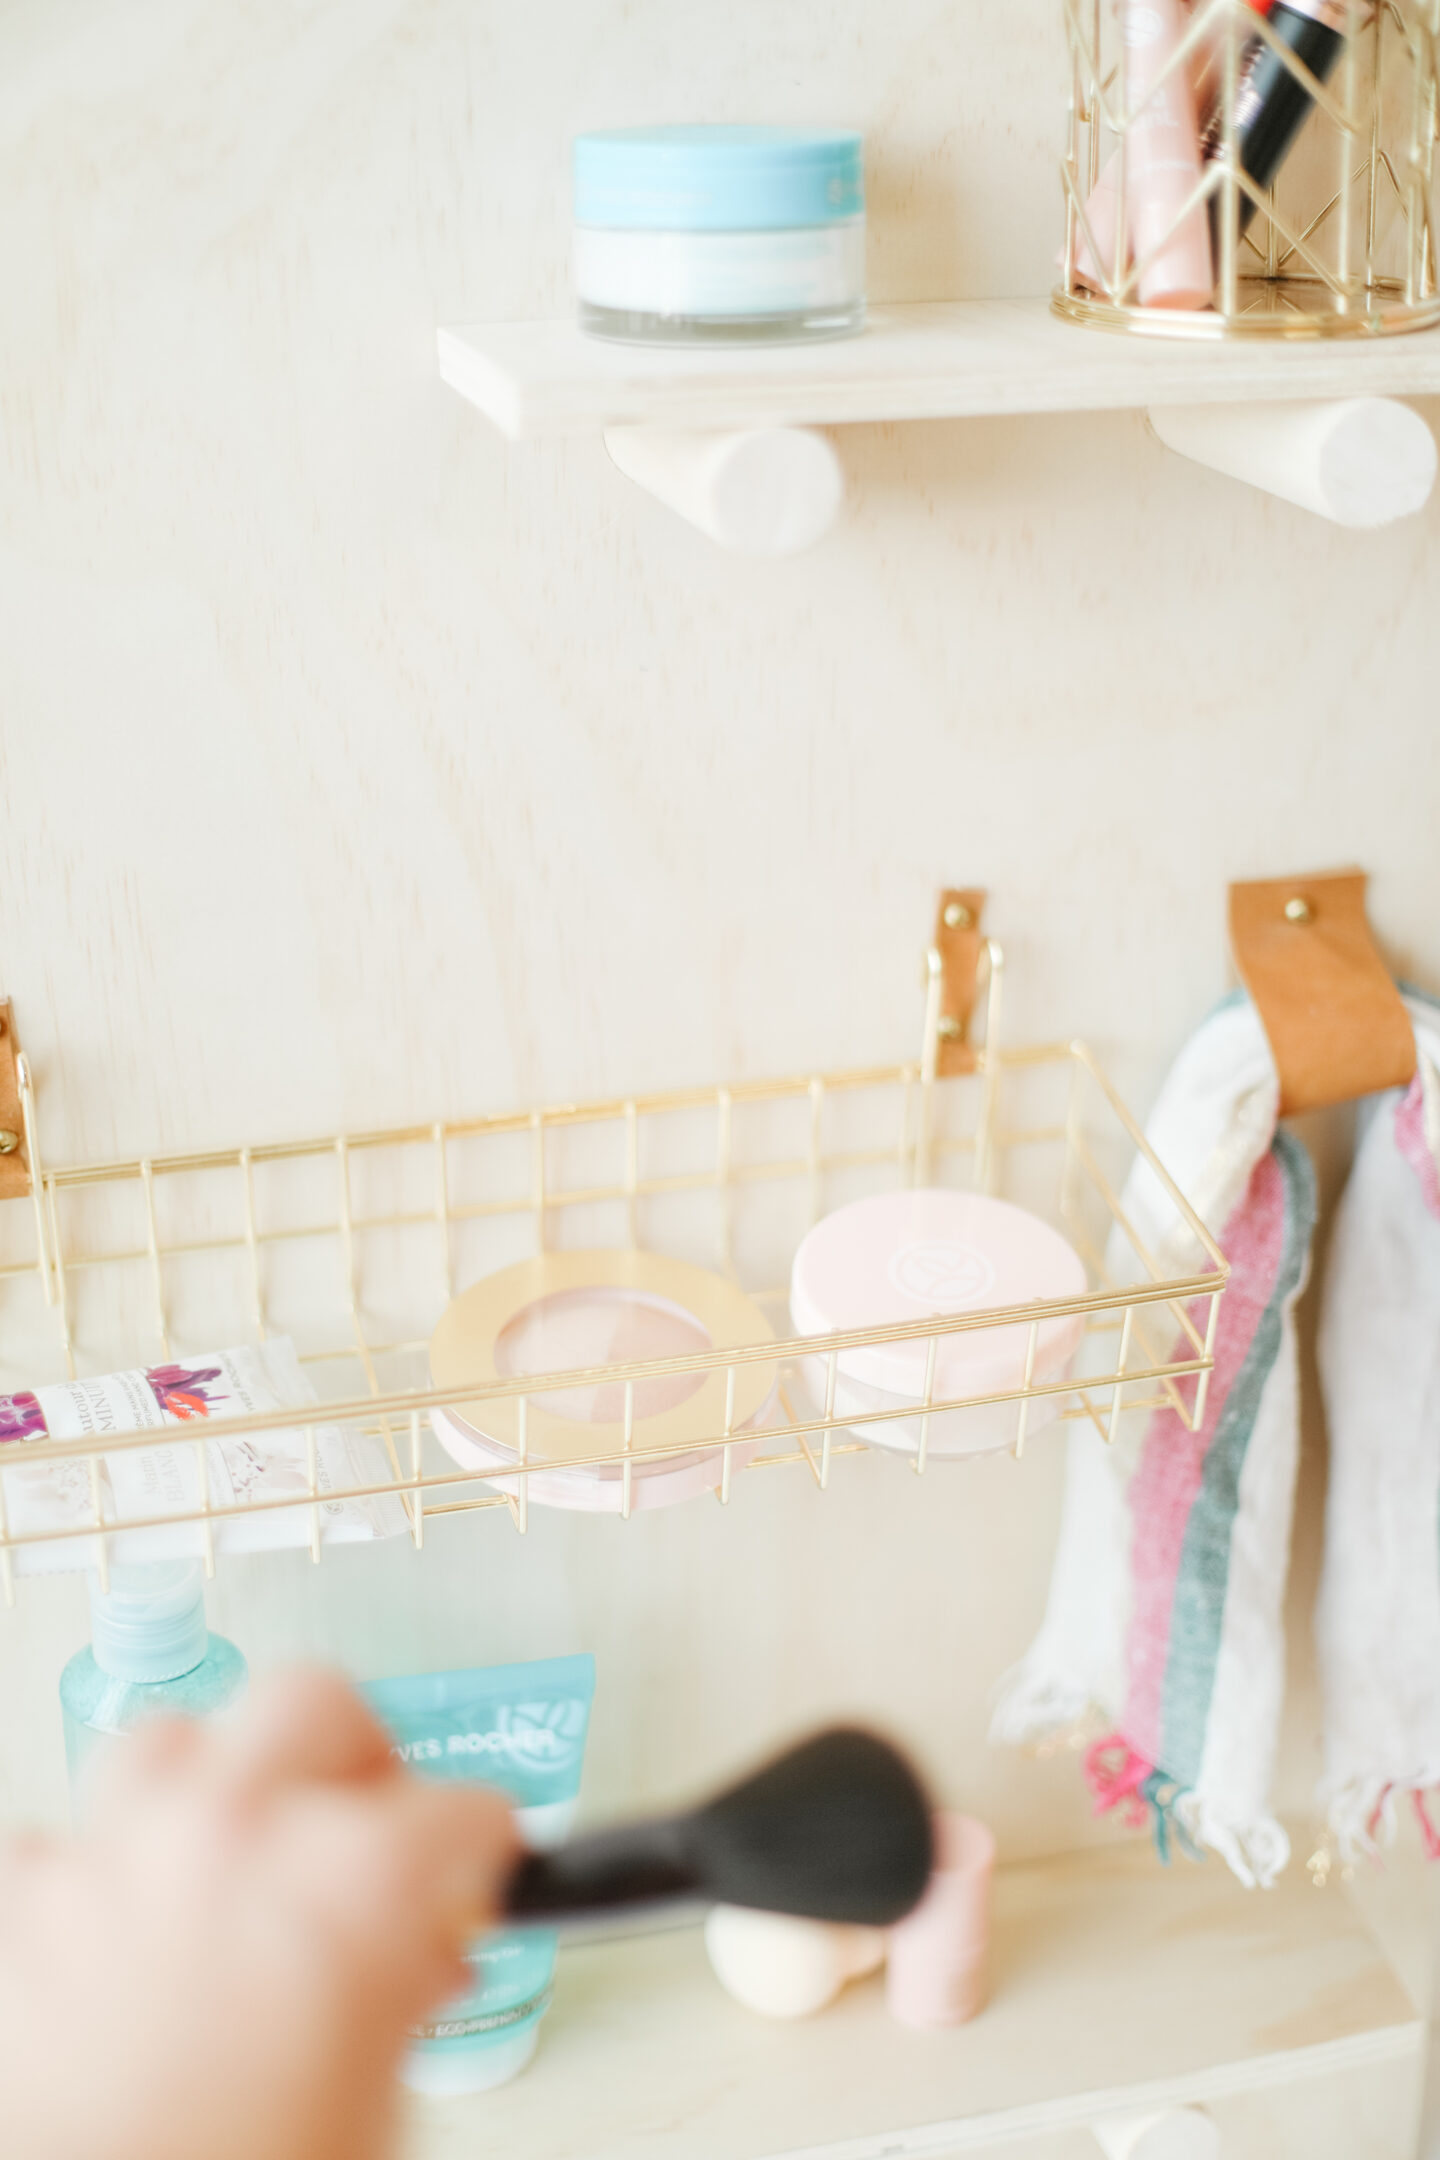
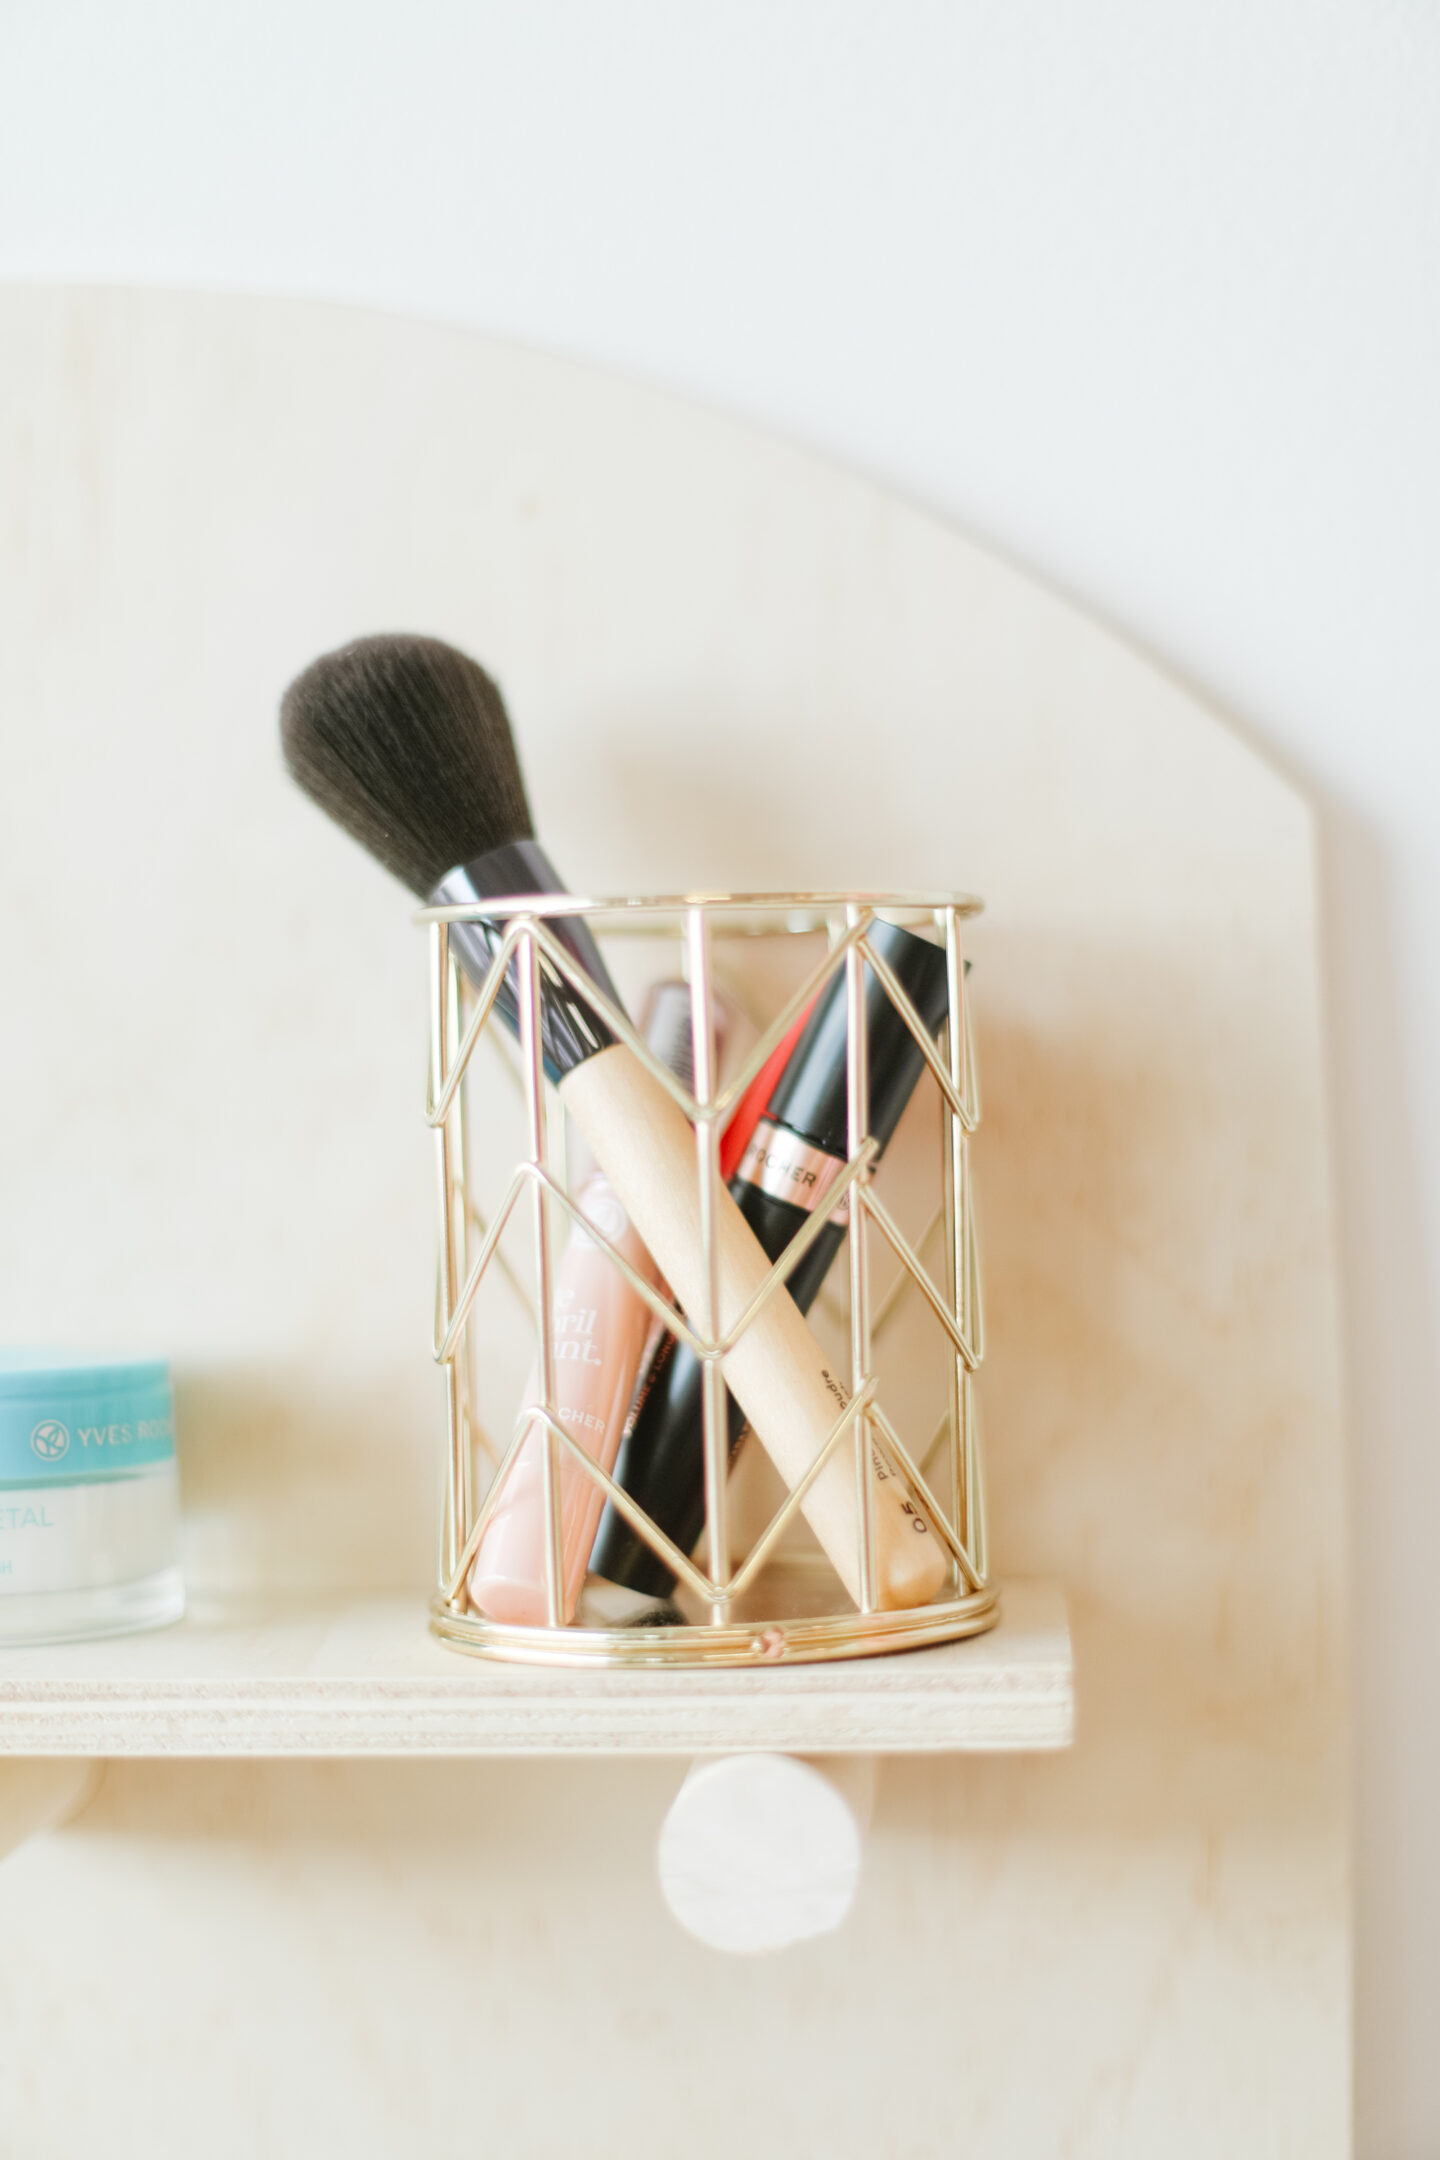
Your brand new beauty organizer is now ready to hang and add beautiful Yves Rocher products! I used my big shelf to add my essential cleansing products, the gold basket to add small items like lotions and makeup, and the small top shelf for all my makeup brushes, lipsticks and mascara.
What do you think? So far, this DIY project is my top 1 and a great solution for any room!
Endless thanks to Yves Rocher for sponsoring this DIY project. All opinions expressed in this post are entirely mine.
Want to follow our DIY and Decor adventures? Run here