The Easiest DIY Scalloped Mini Bags!
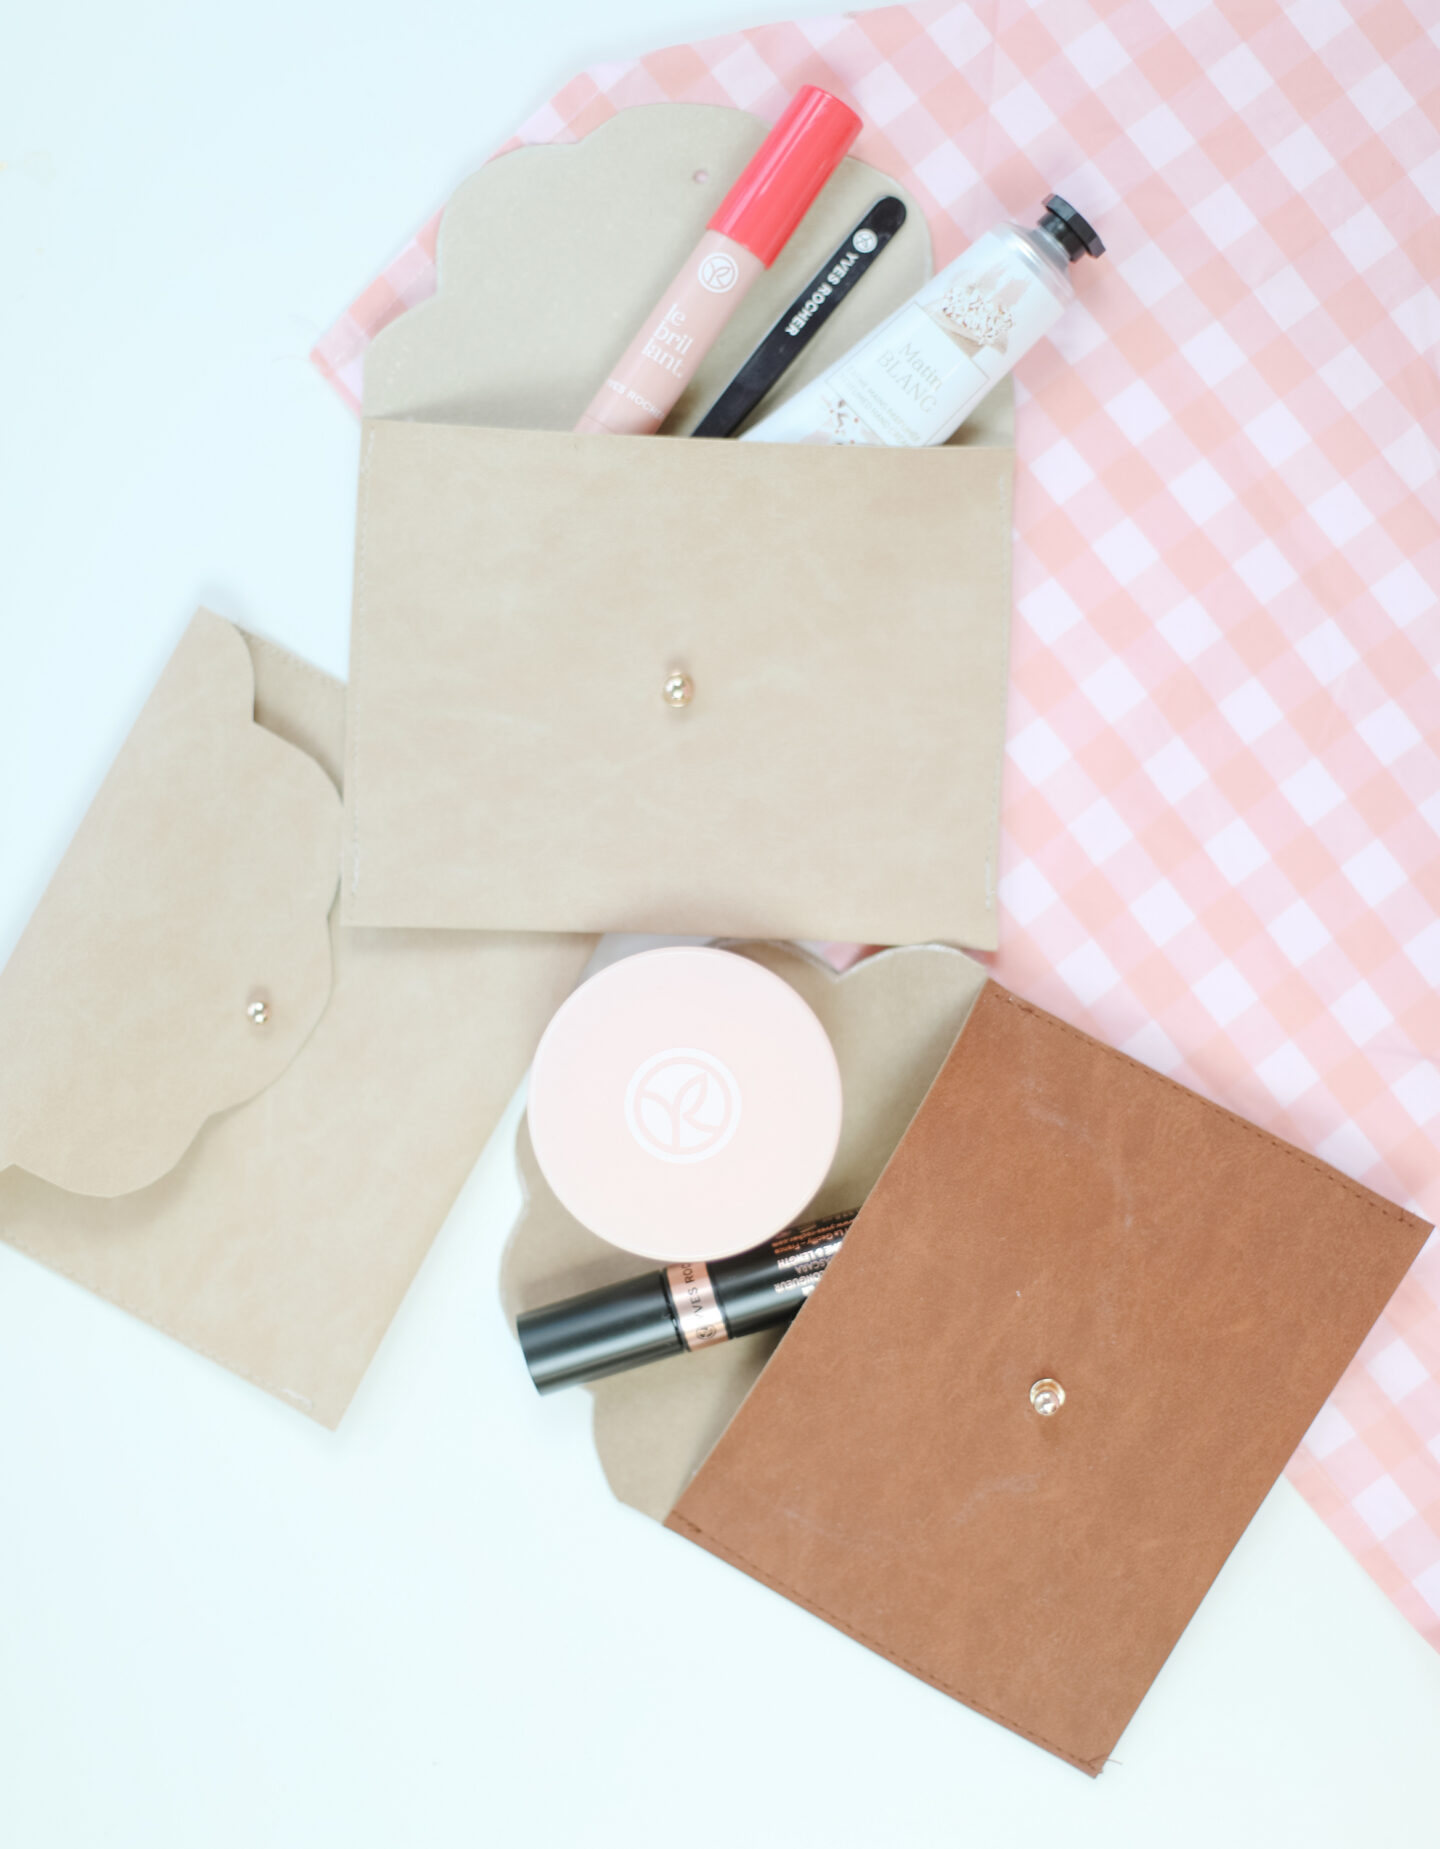

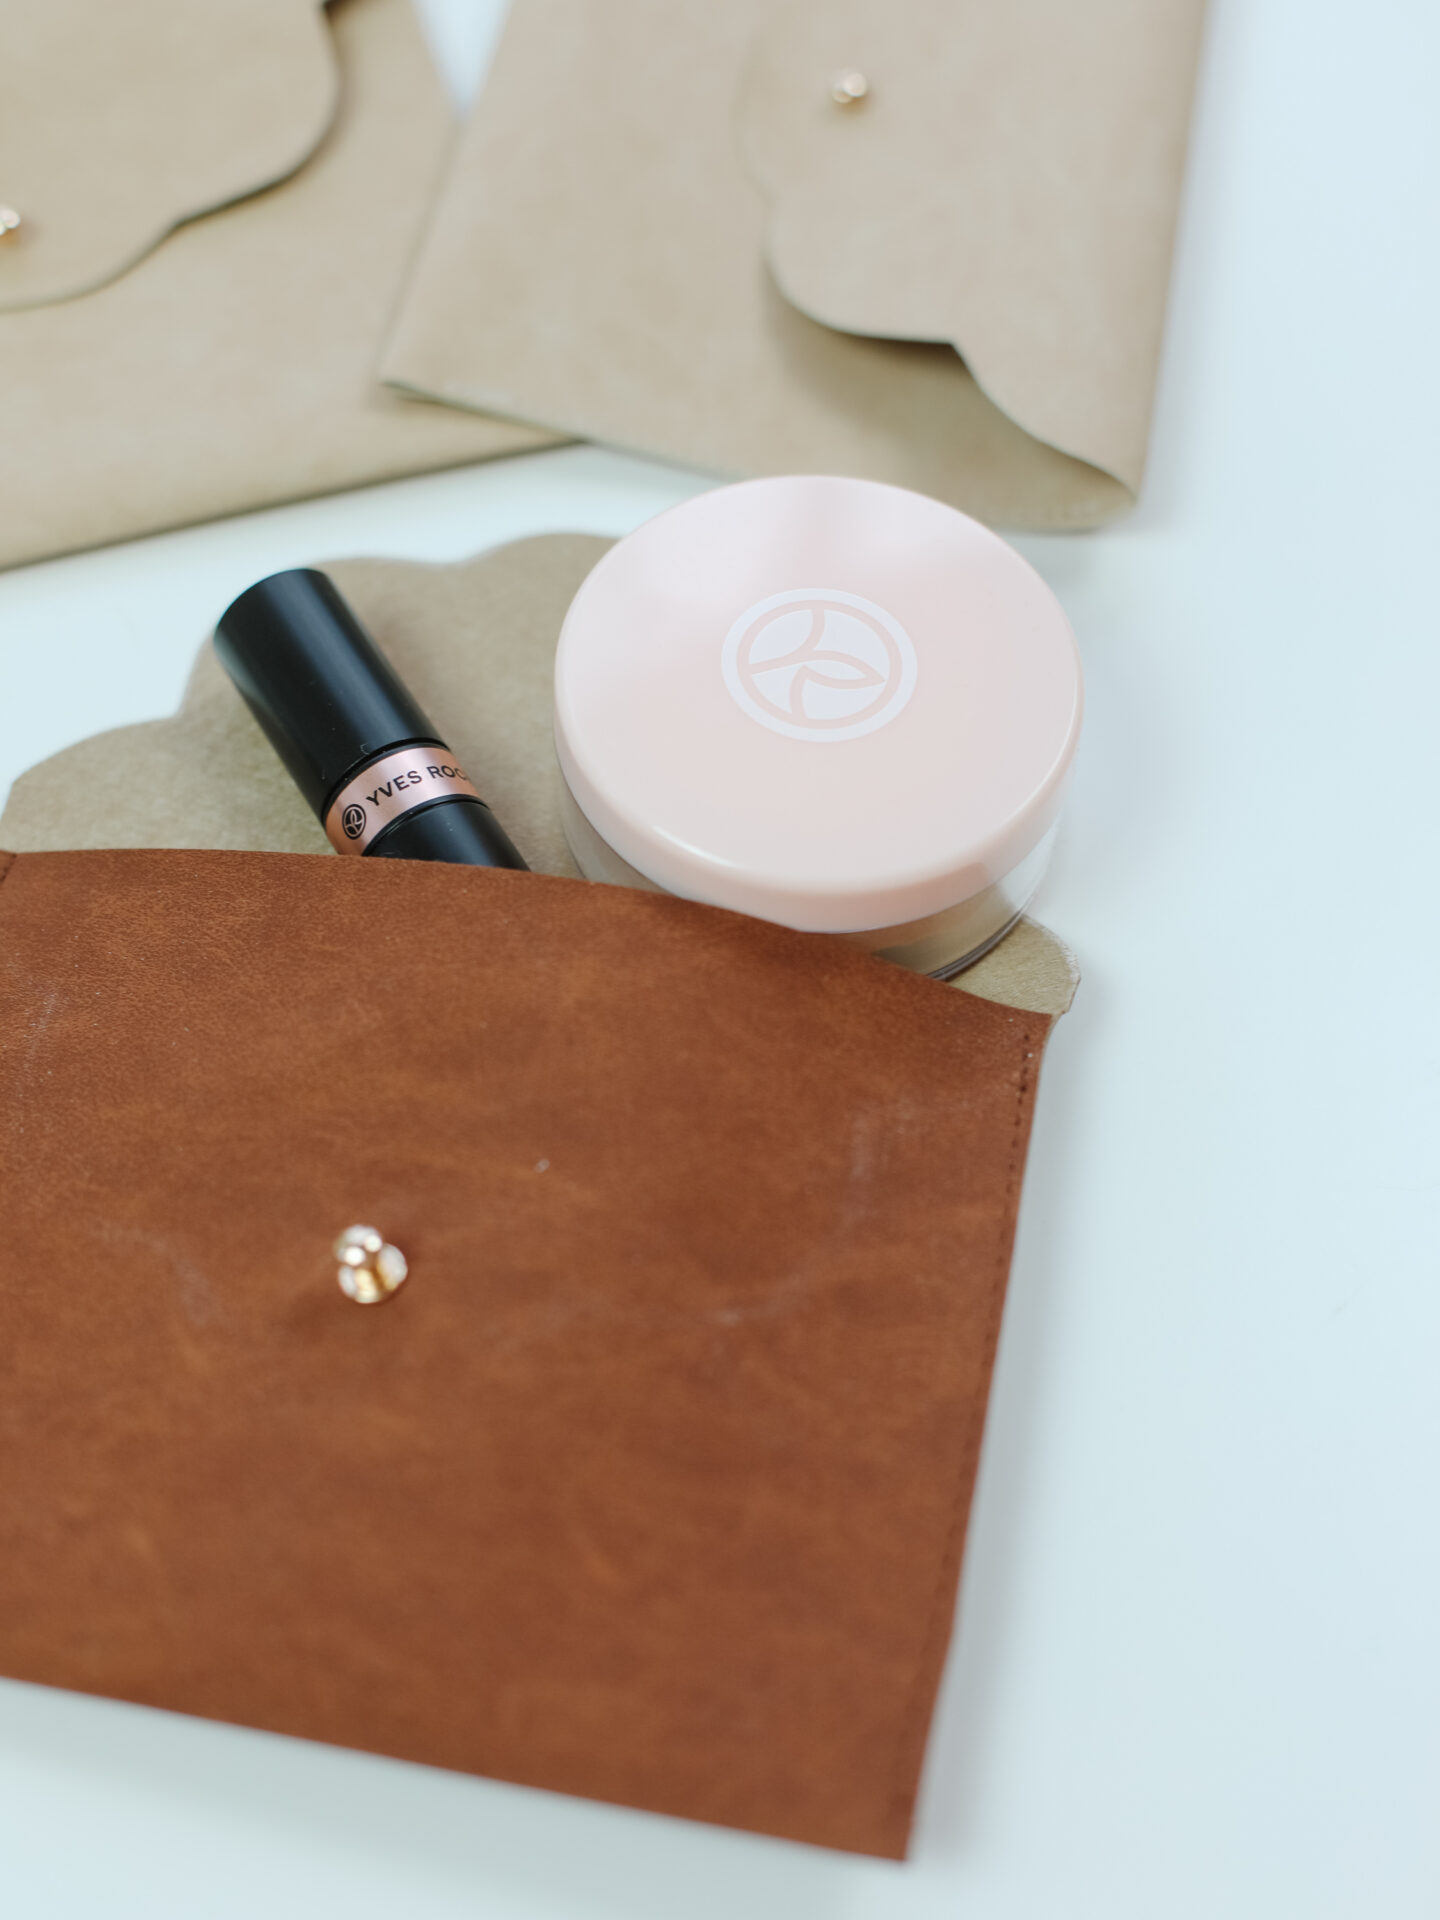
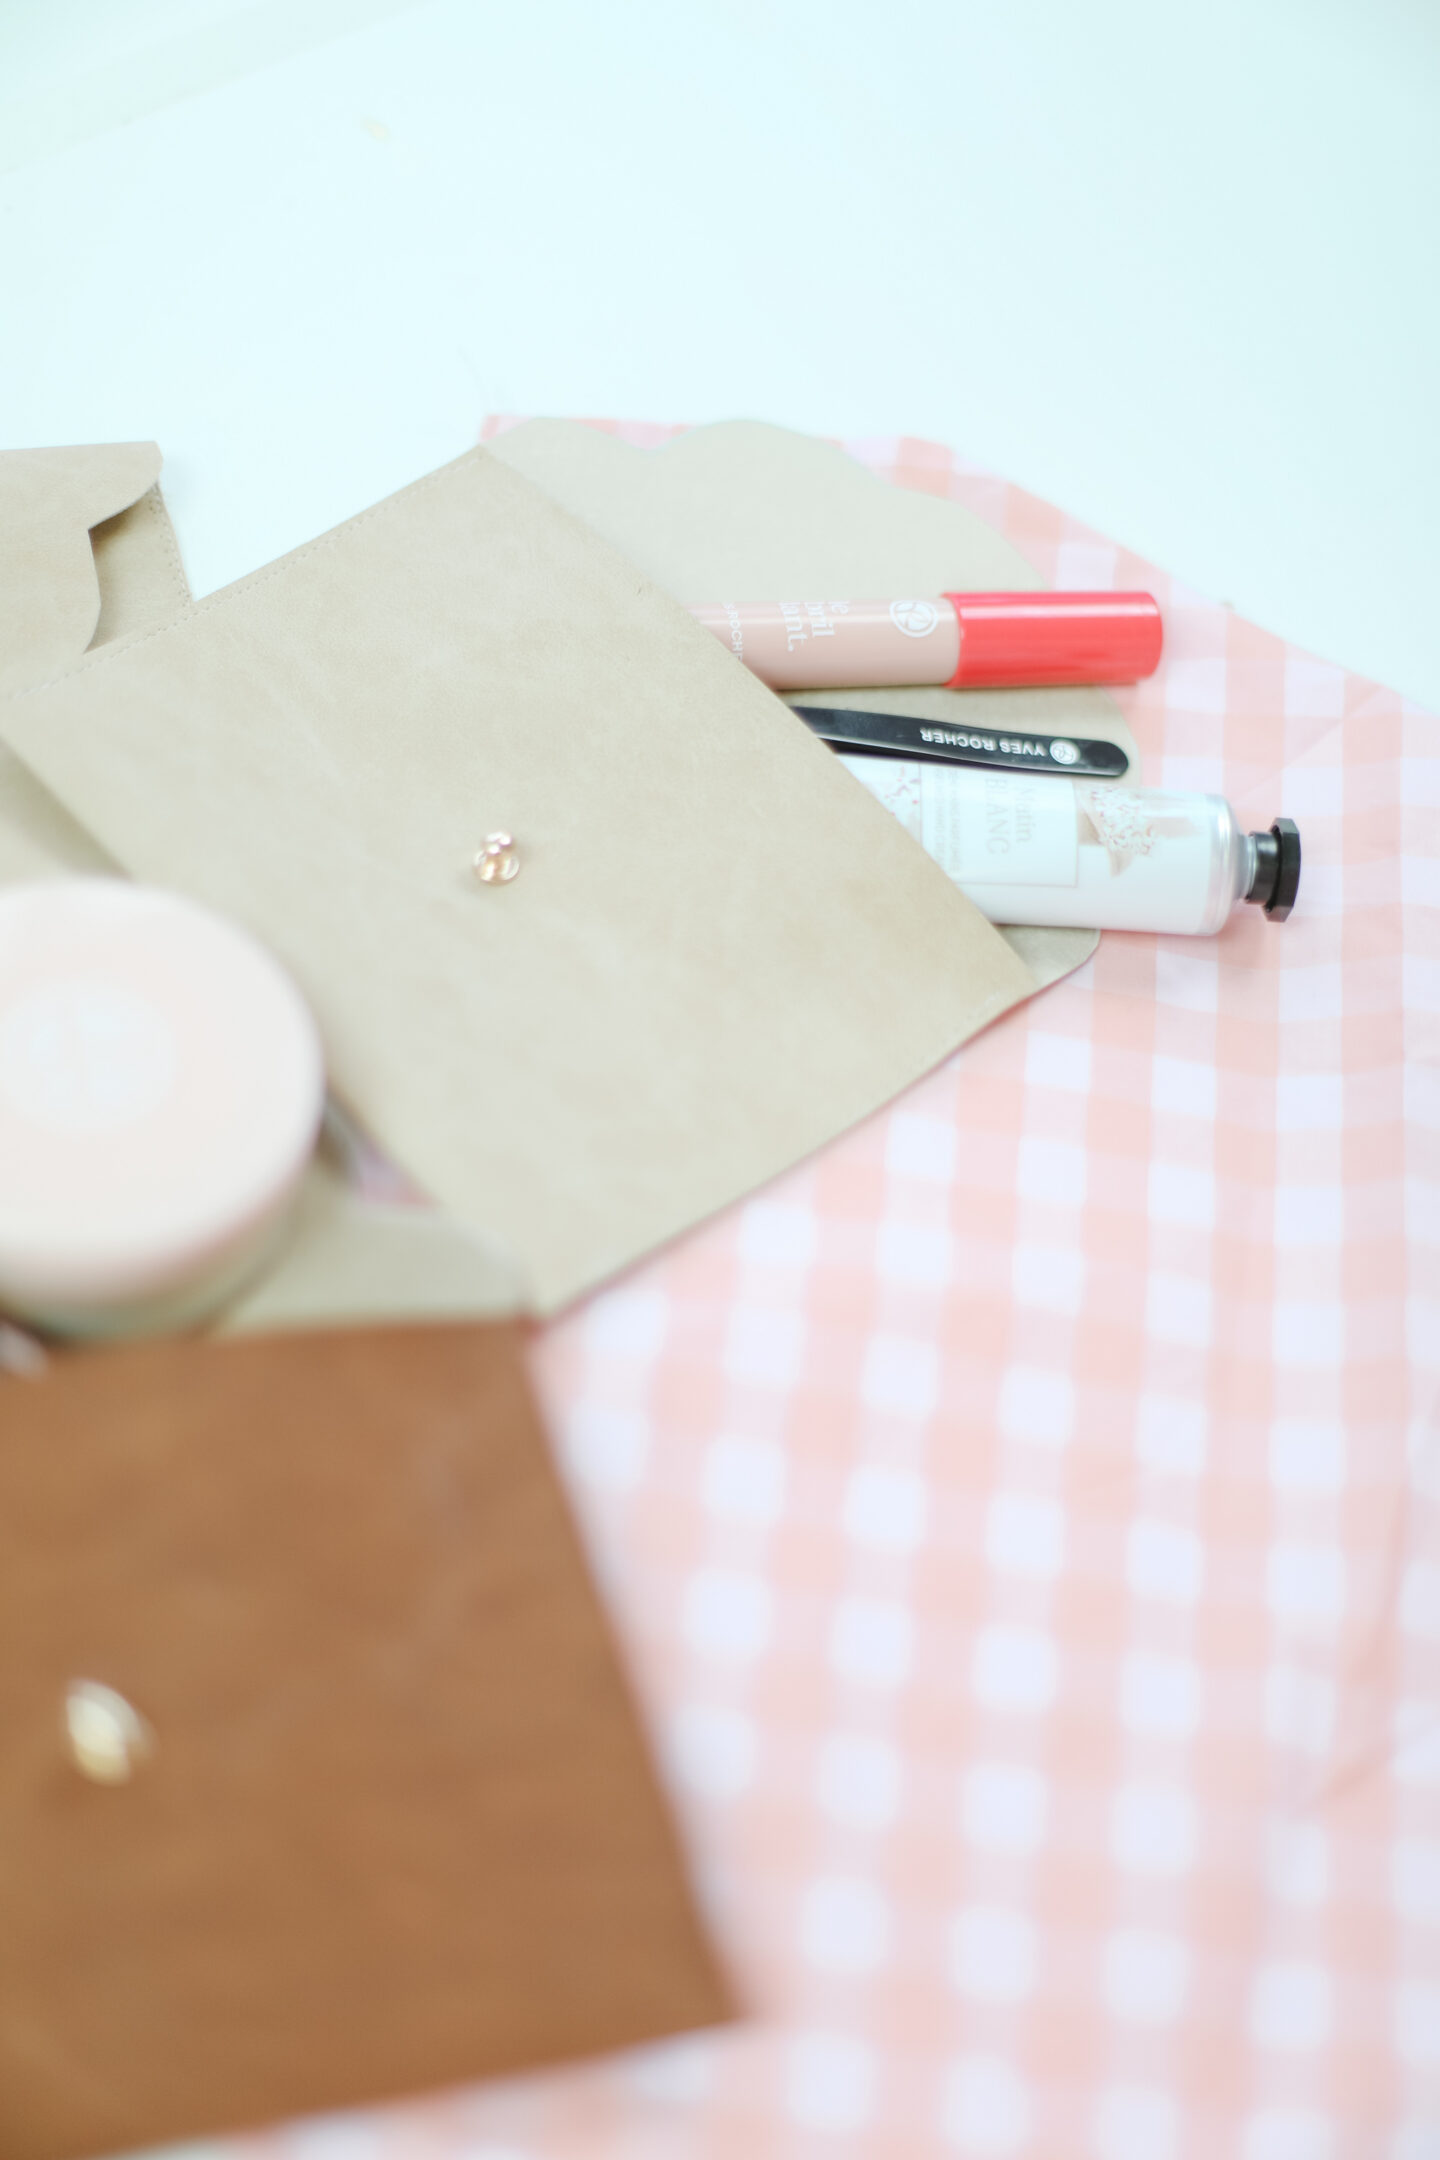
When we talk about makeup organization, are you like me who’s a fan of mini bags? I find them so useful on the go when you travel or to carry in your purse everyday! When I thought about making these, I knew I had to do a cute design: scalloped mini bags! This project is the easiest DIY where I’ll show you step-by-step how you can sew your very own!
In partnership with Yves Rocher Canada, these DIY projects we planned together are such a perfect compliment of their sustainable development, where protecting nature is a family value for their brand and for our family as well. When I visited La Gacilly and learned about Yves Rocher’s history, knowing that from the formulation of their products up to the time it is used, Yves Rocher’s goal is to constantly reduce its environmental impact, it meant the world to me.
Reducing our plastic consumption was my number one inspiration to design these mini bags, and guess what? They are also a super easy sewing DIY project and a perfect gift idea for the holidays!
Let’s start, shall we?
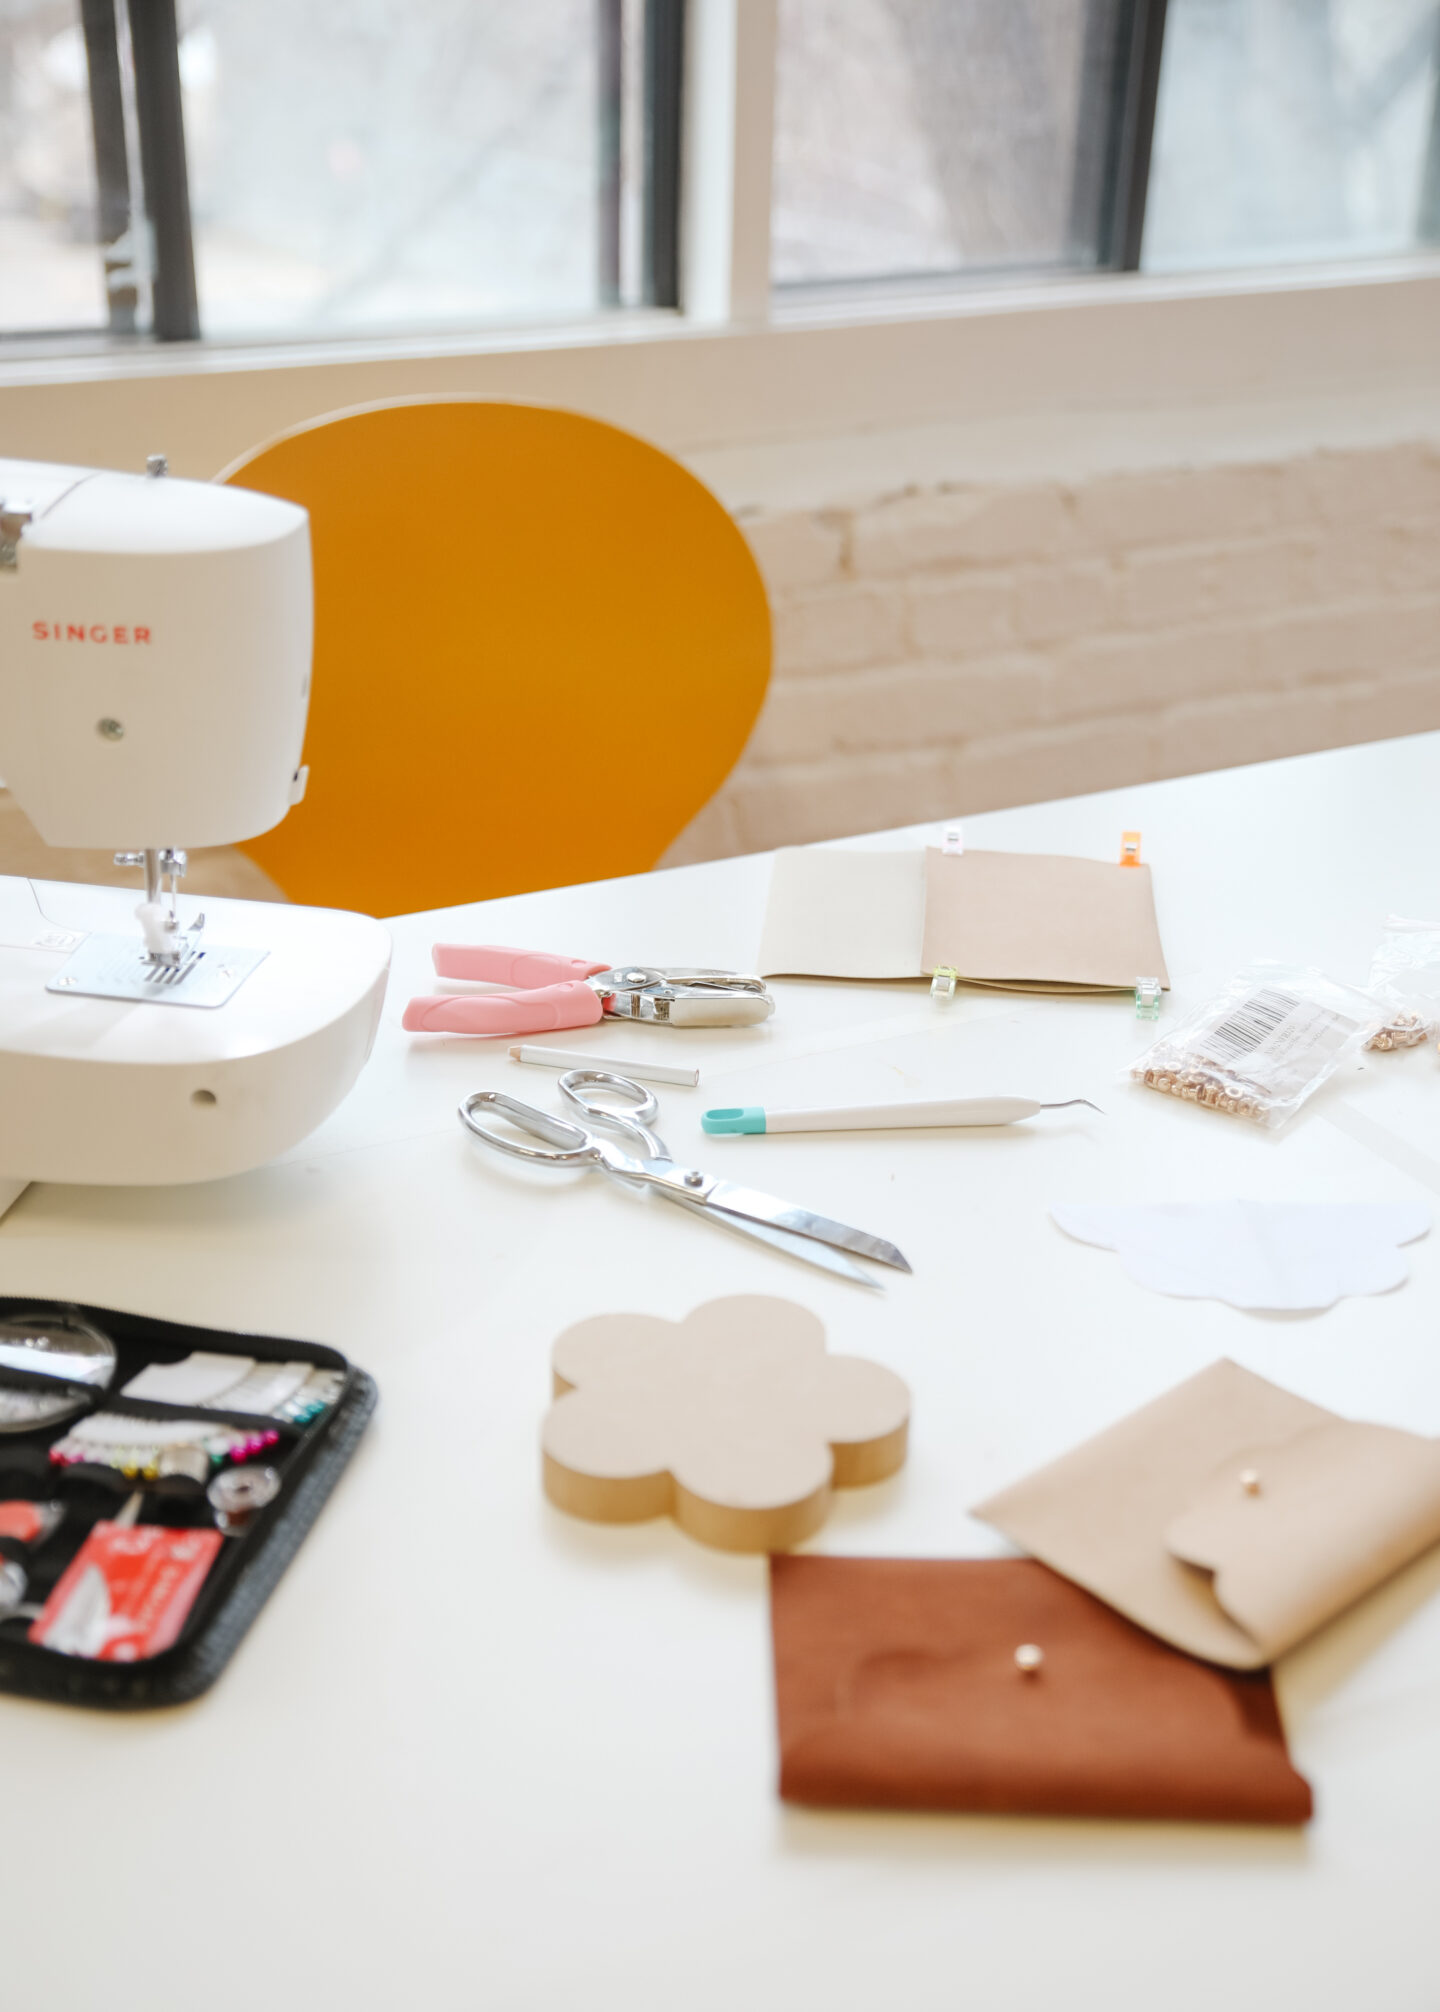
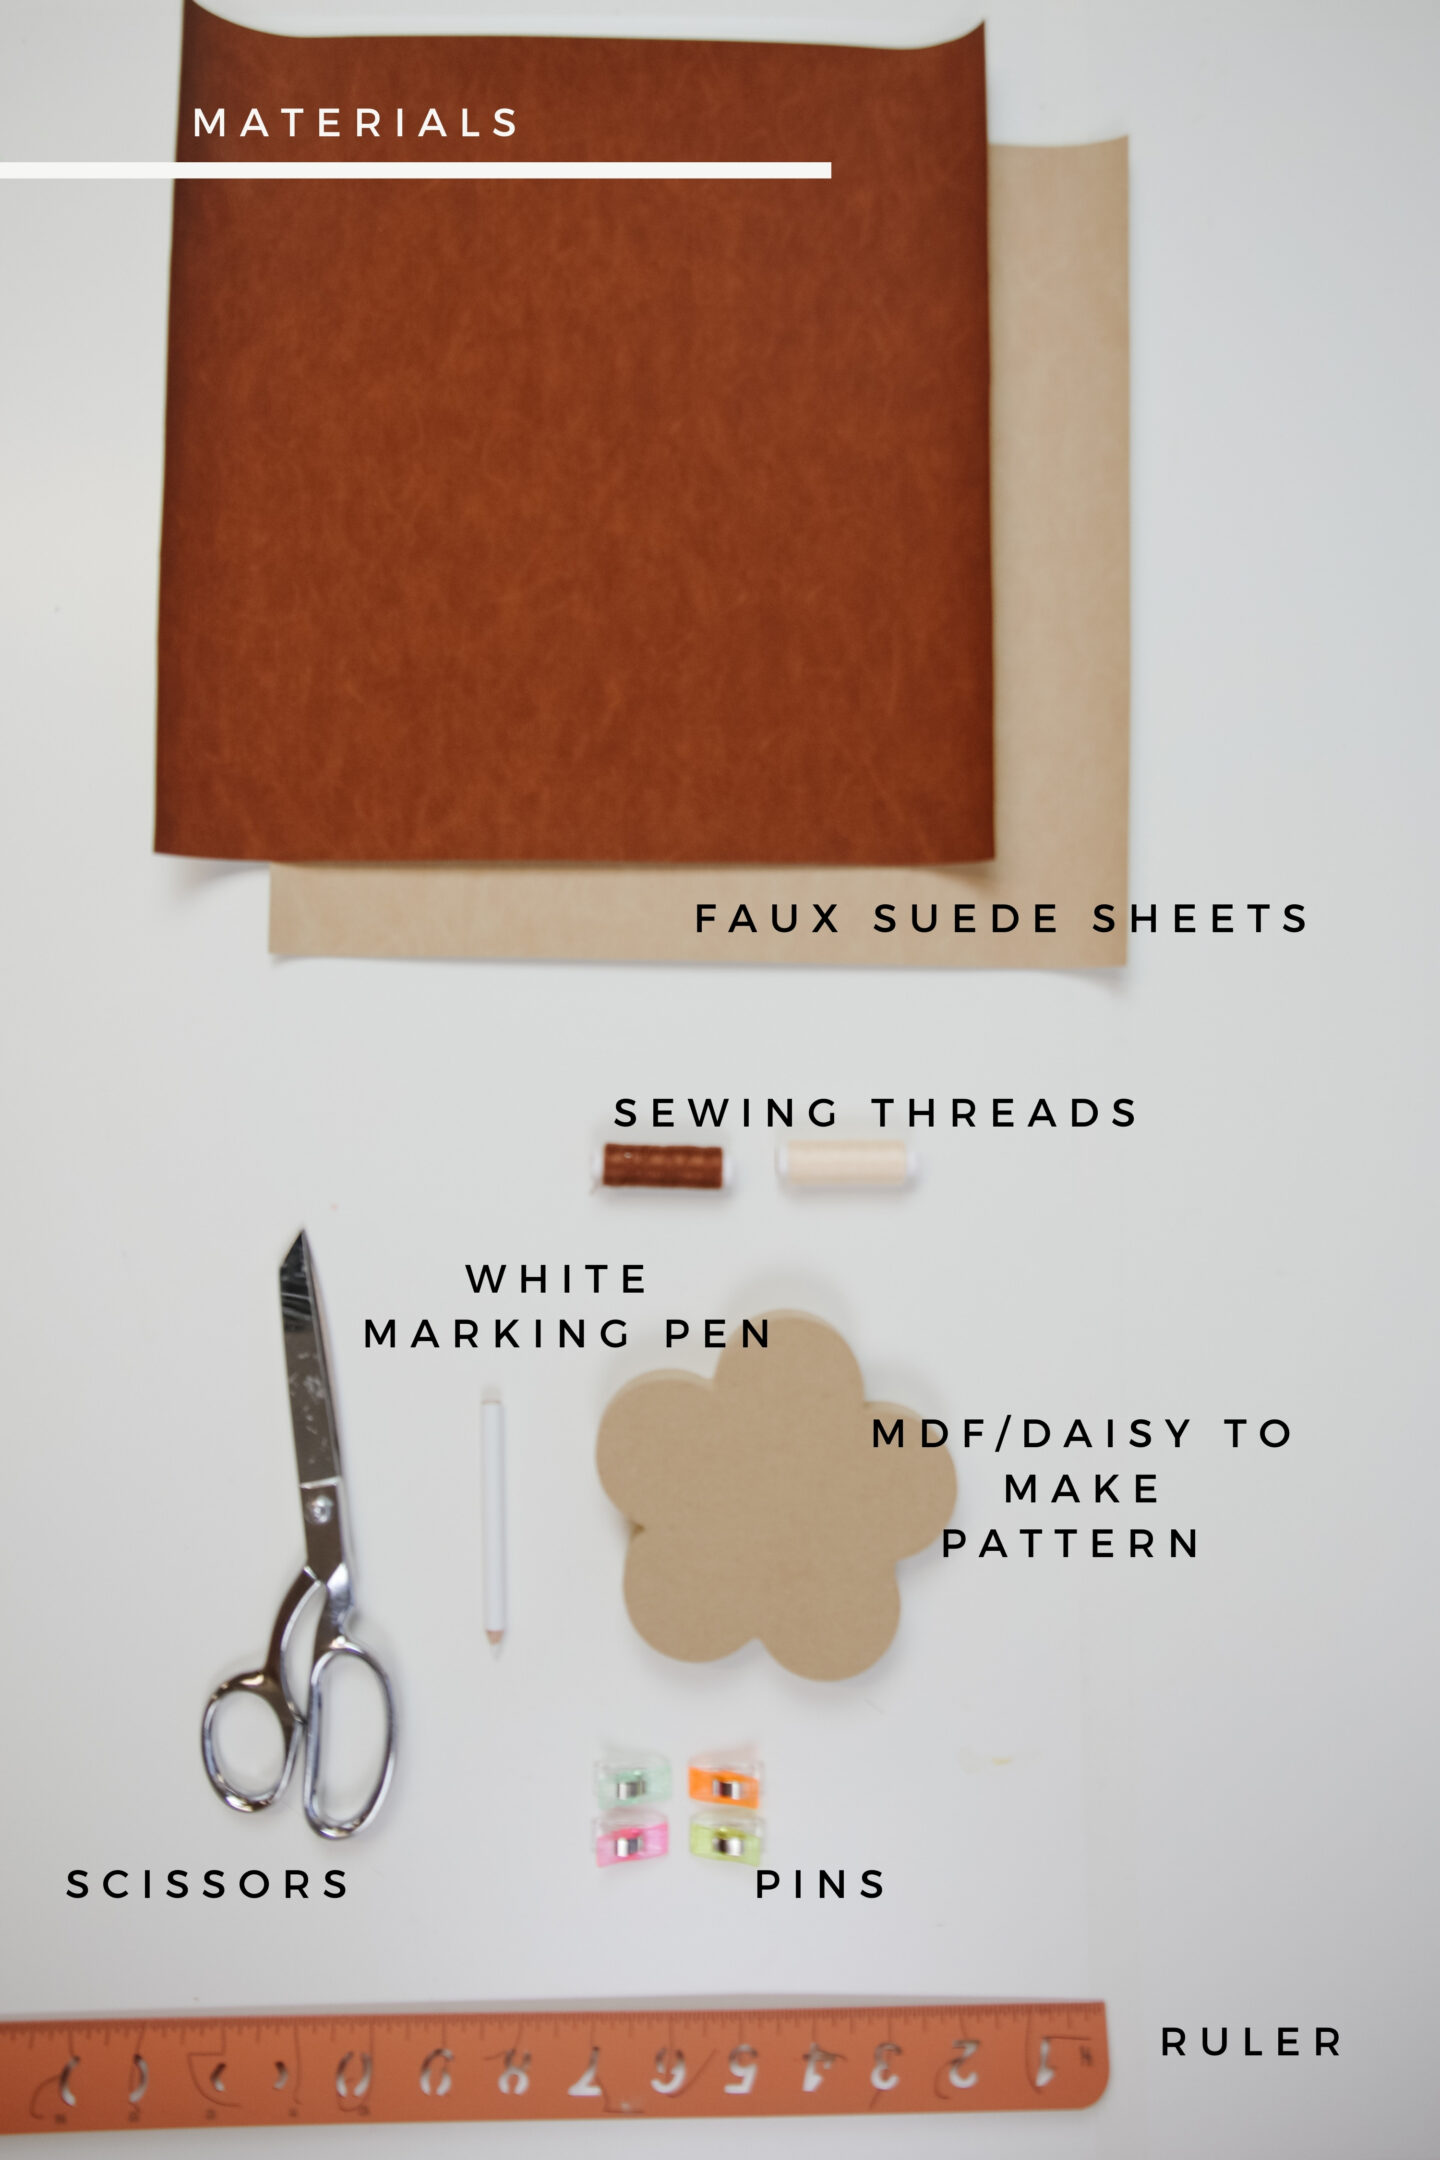
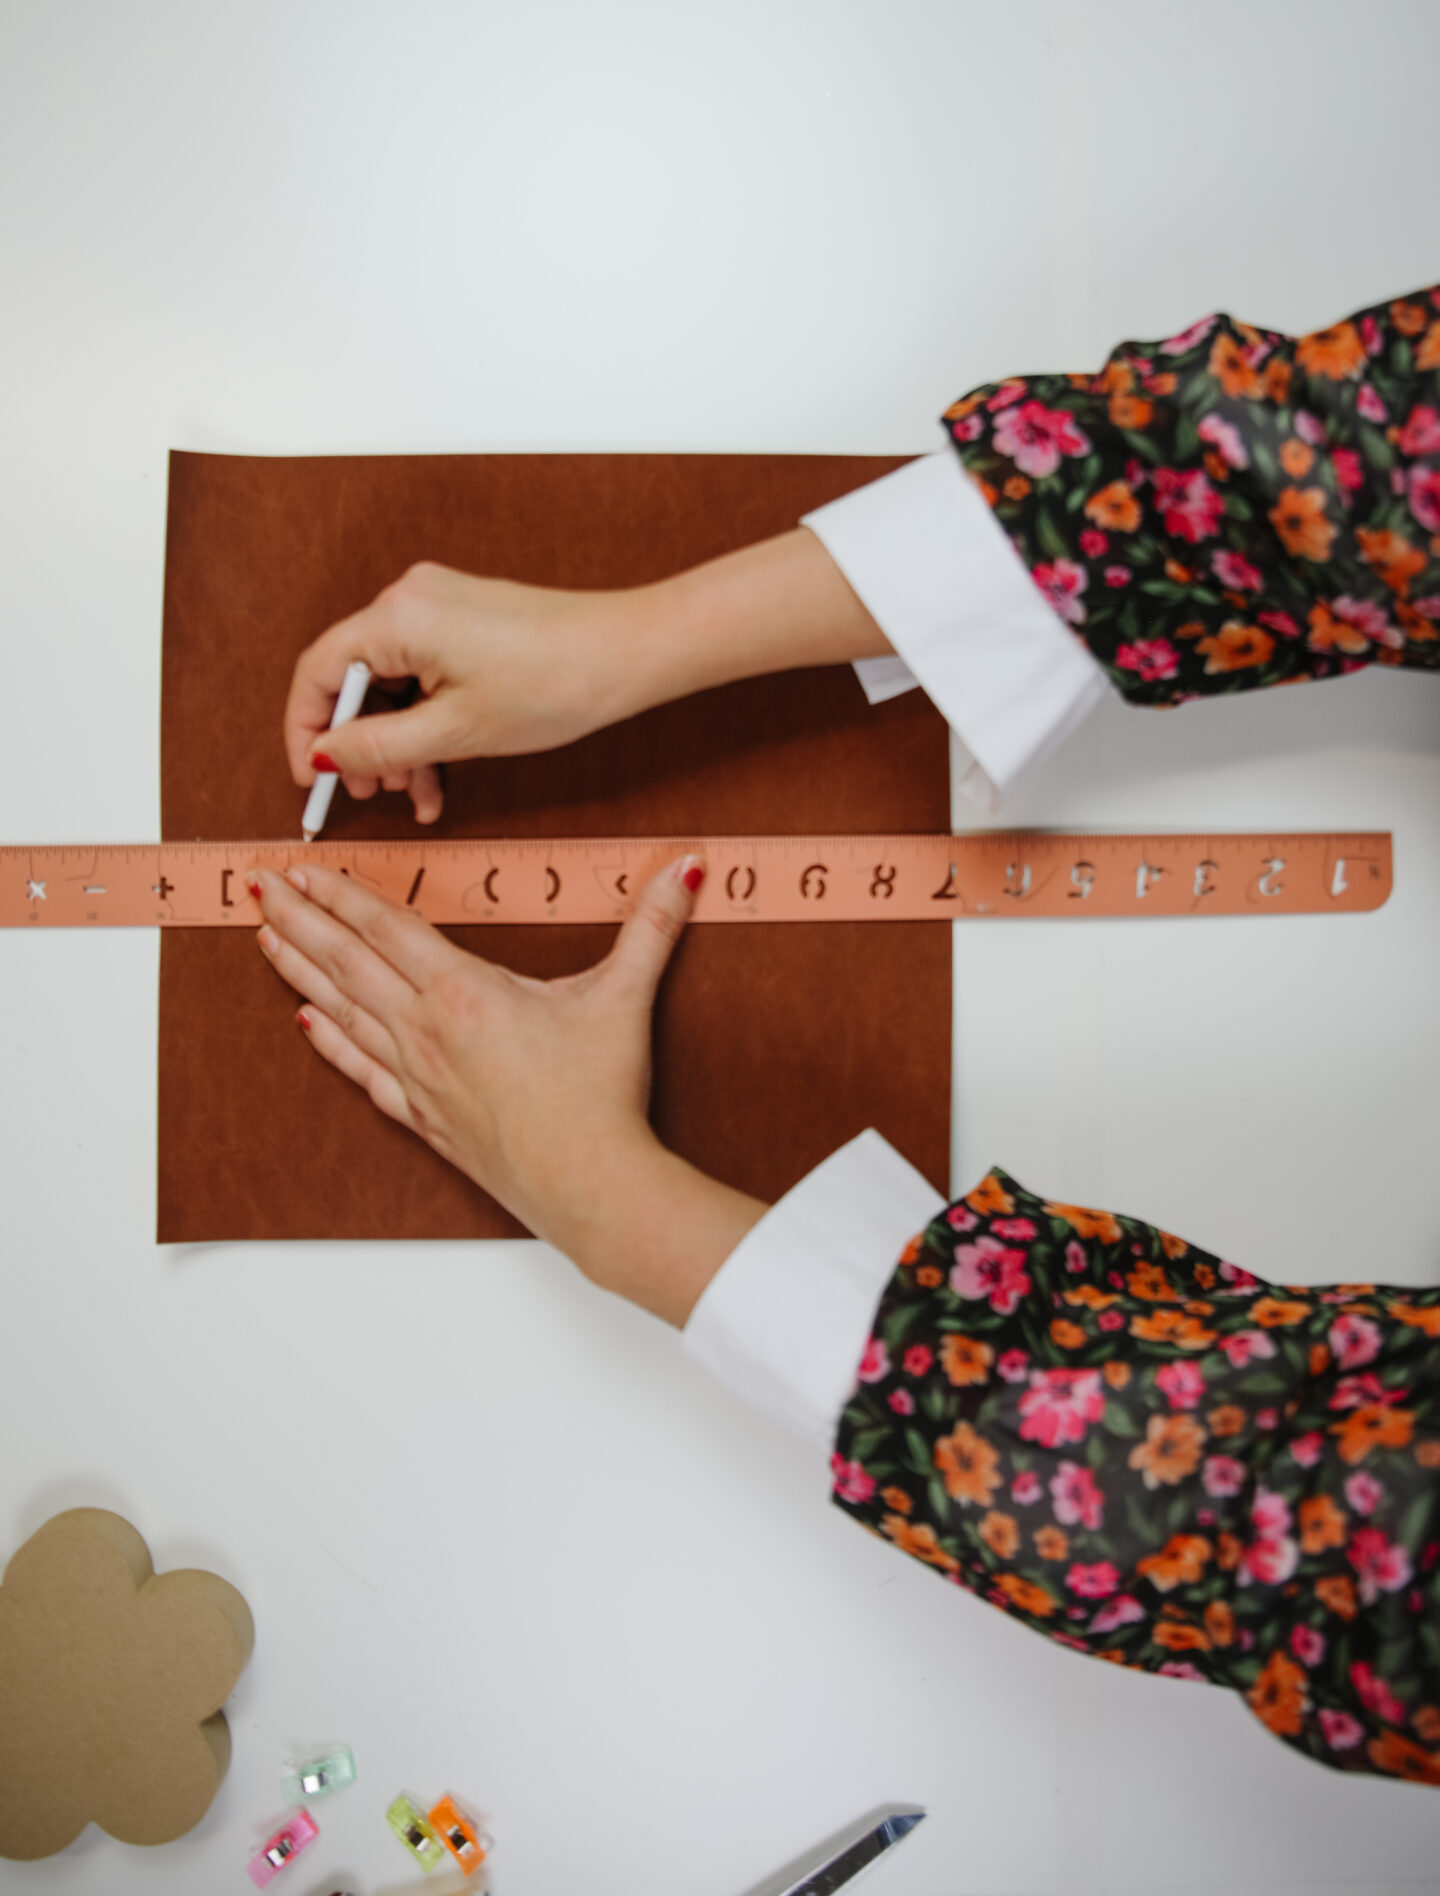
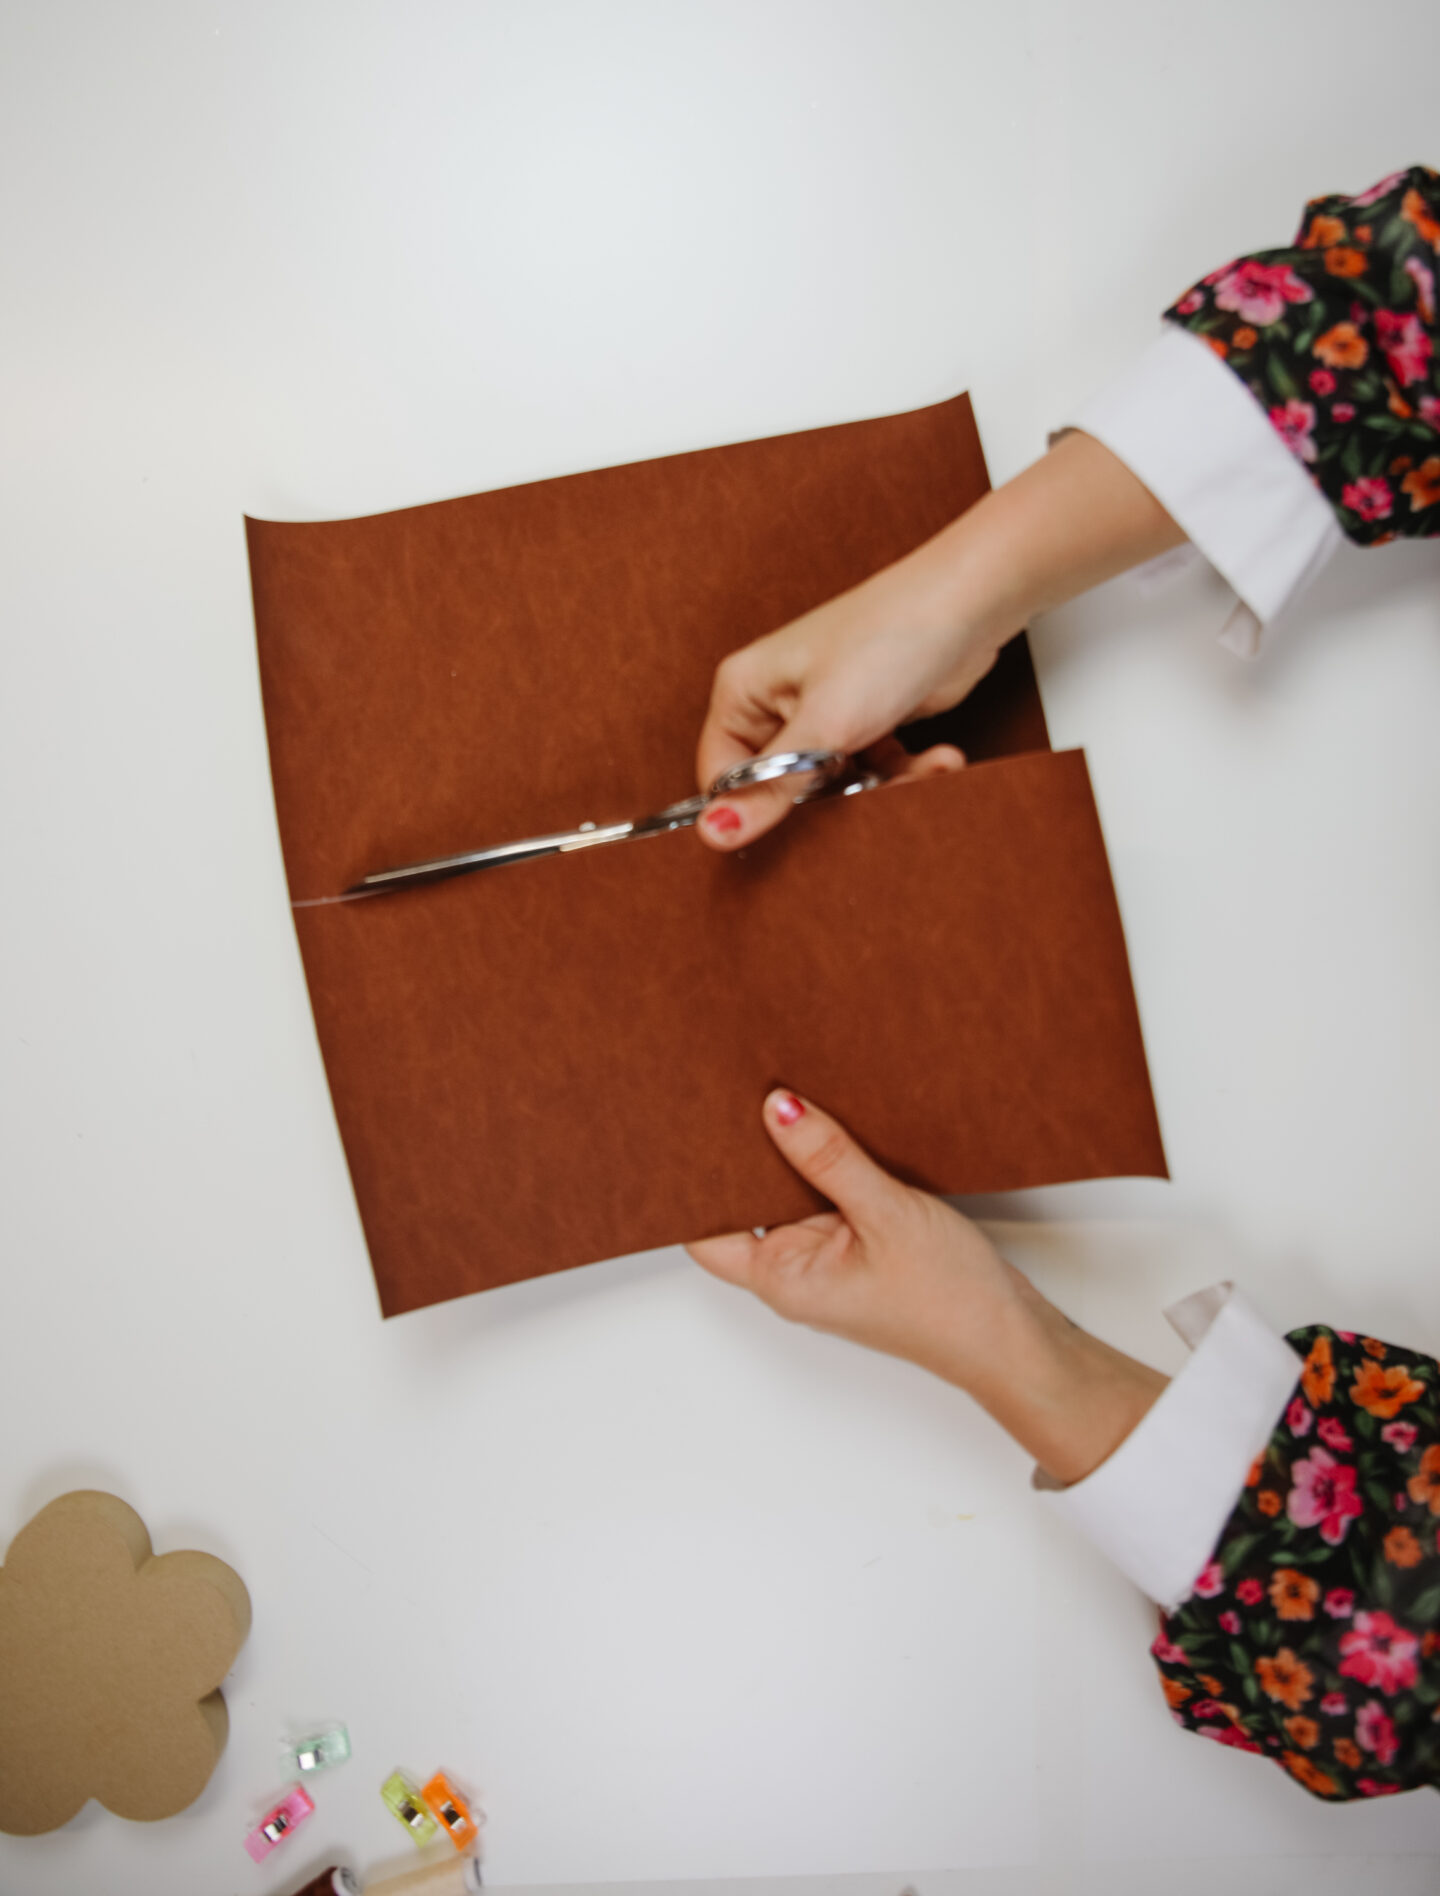
– Faux suede sheets (I found these ones at Michael’s and they’re Cricut – similar here)
– Sewing threads
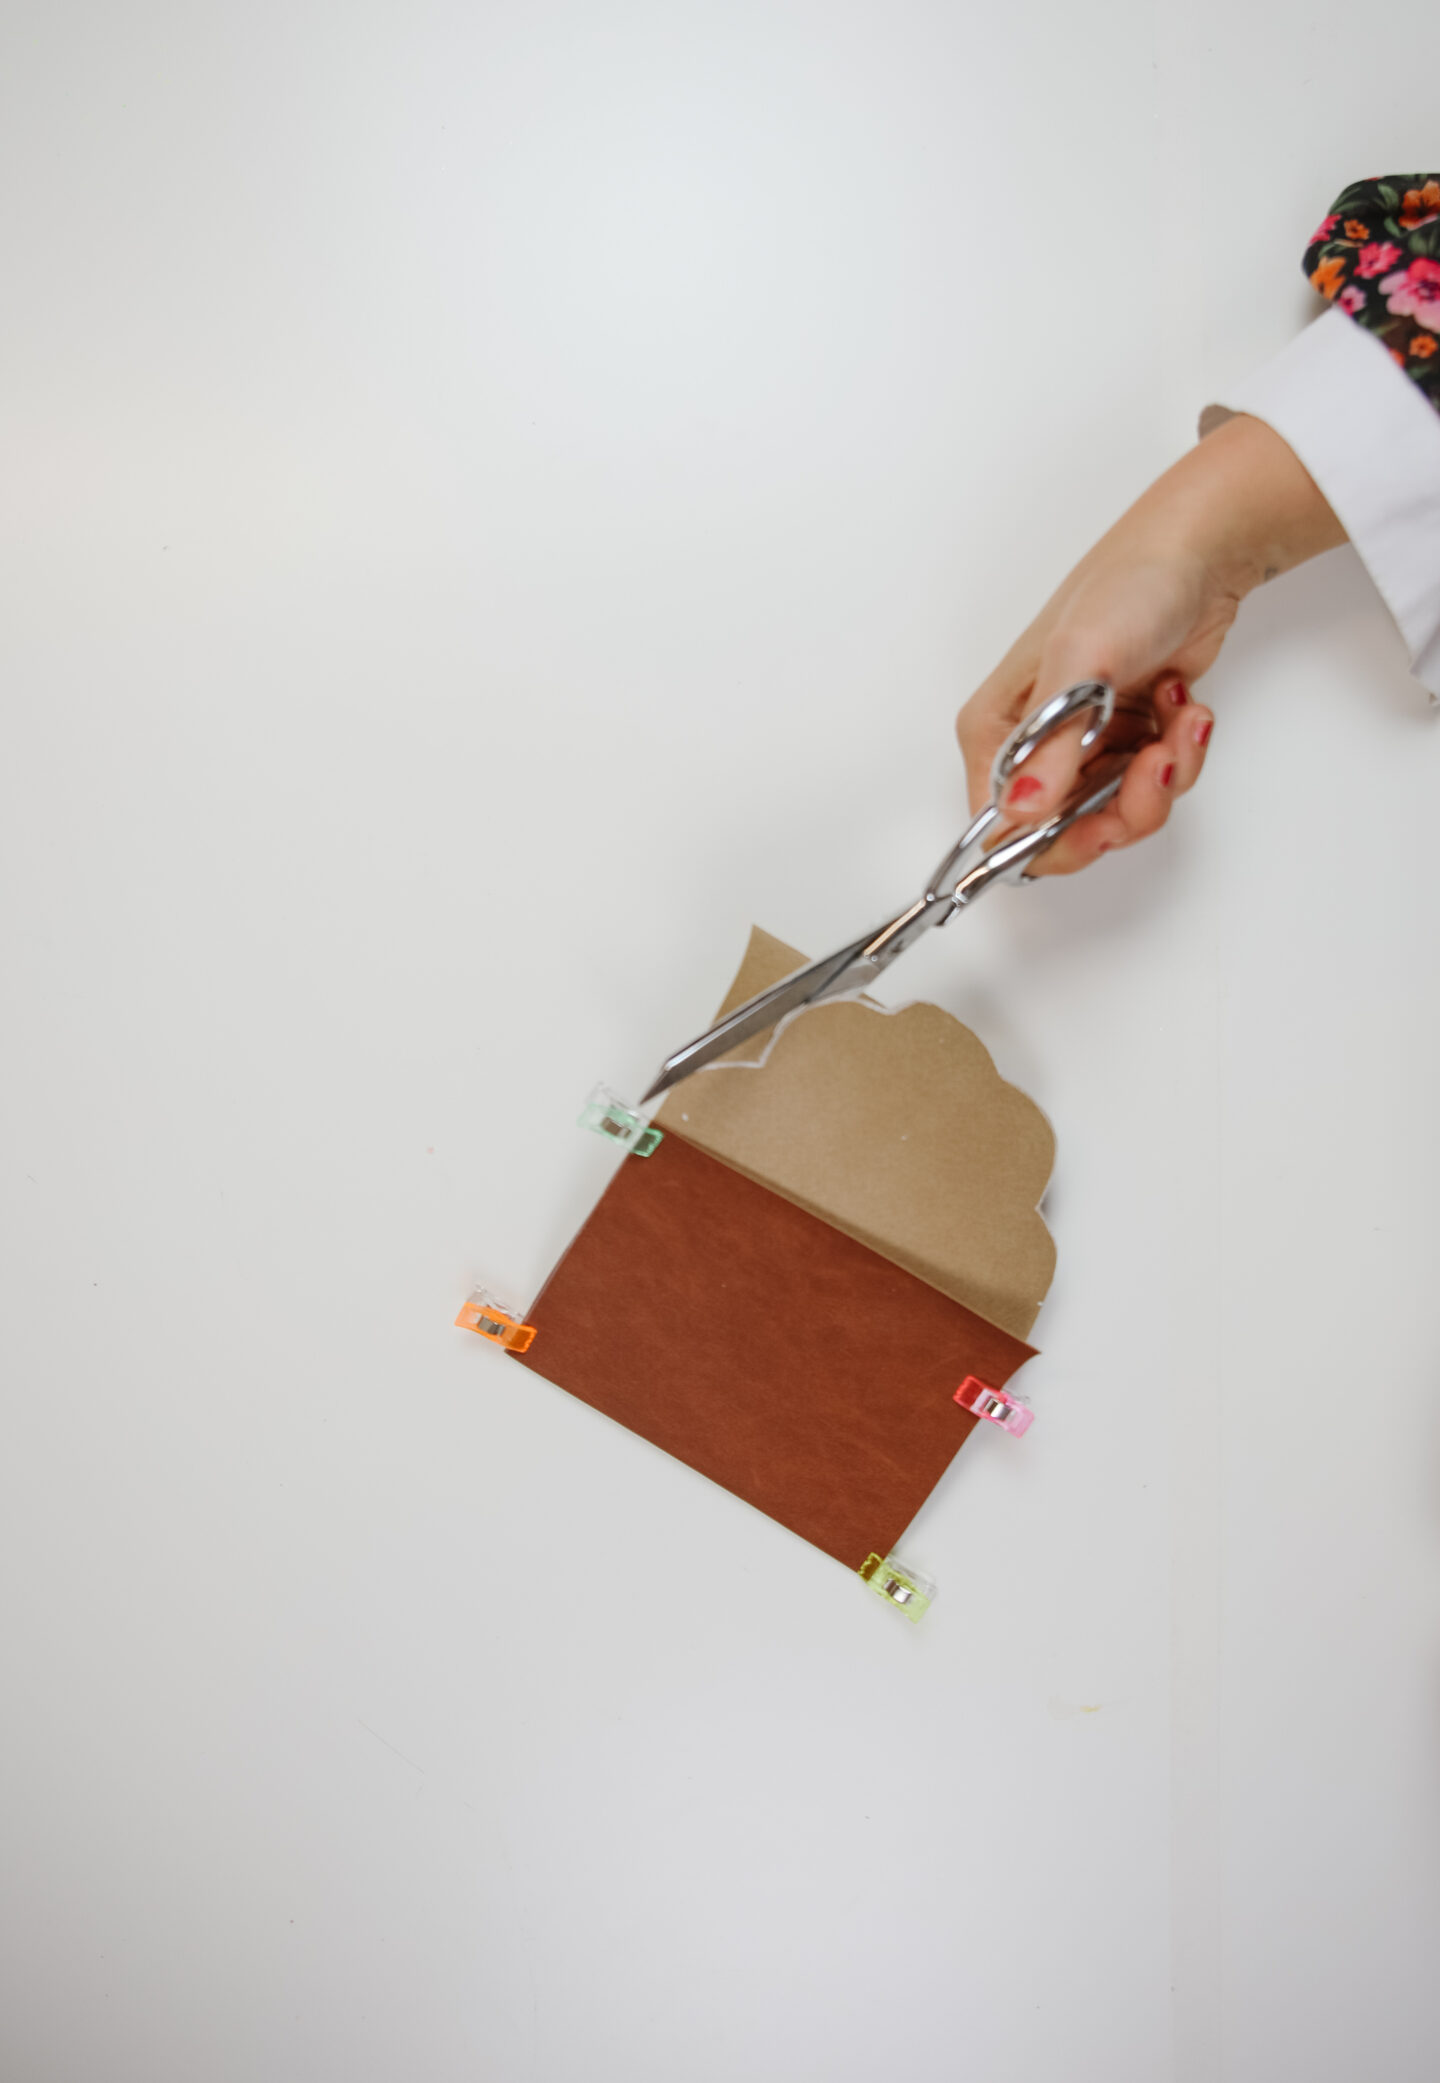
– Scissors
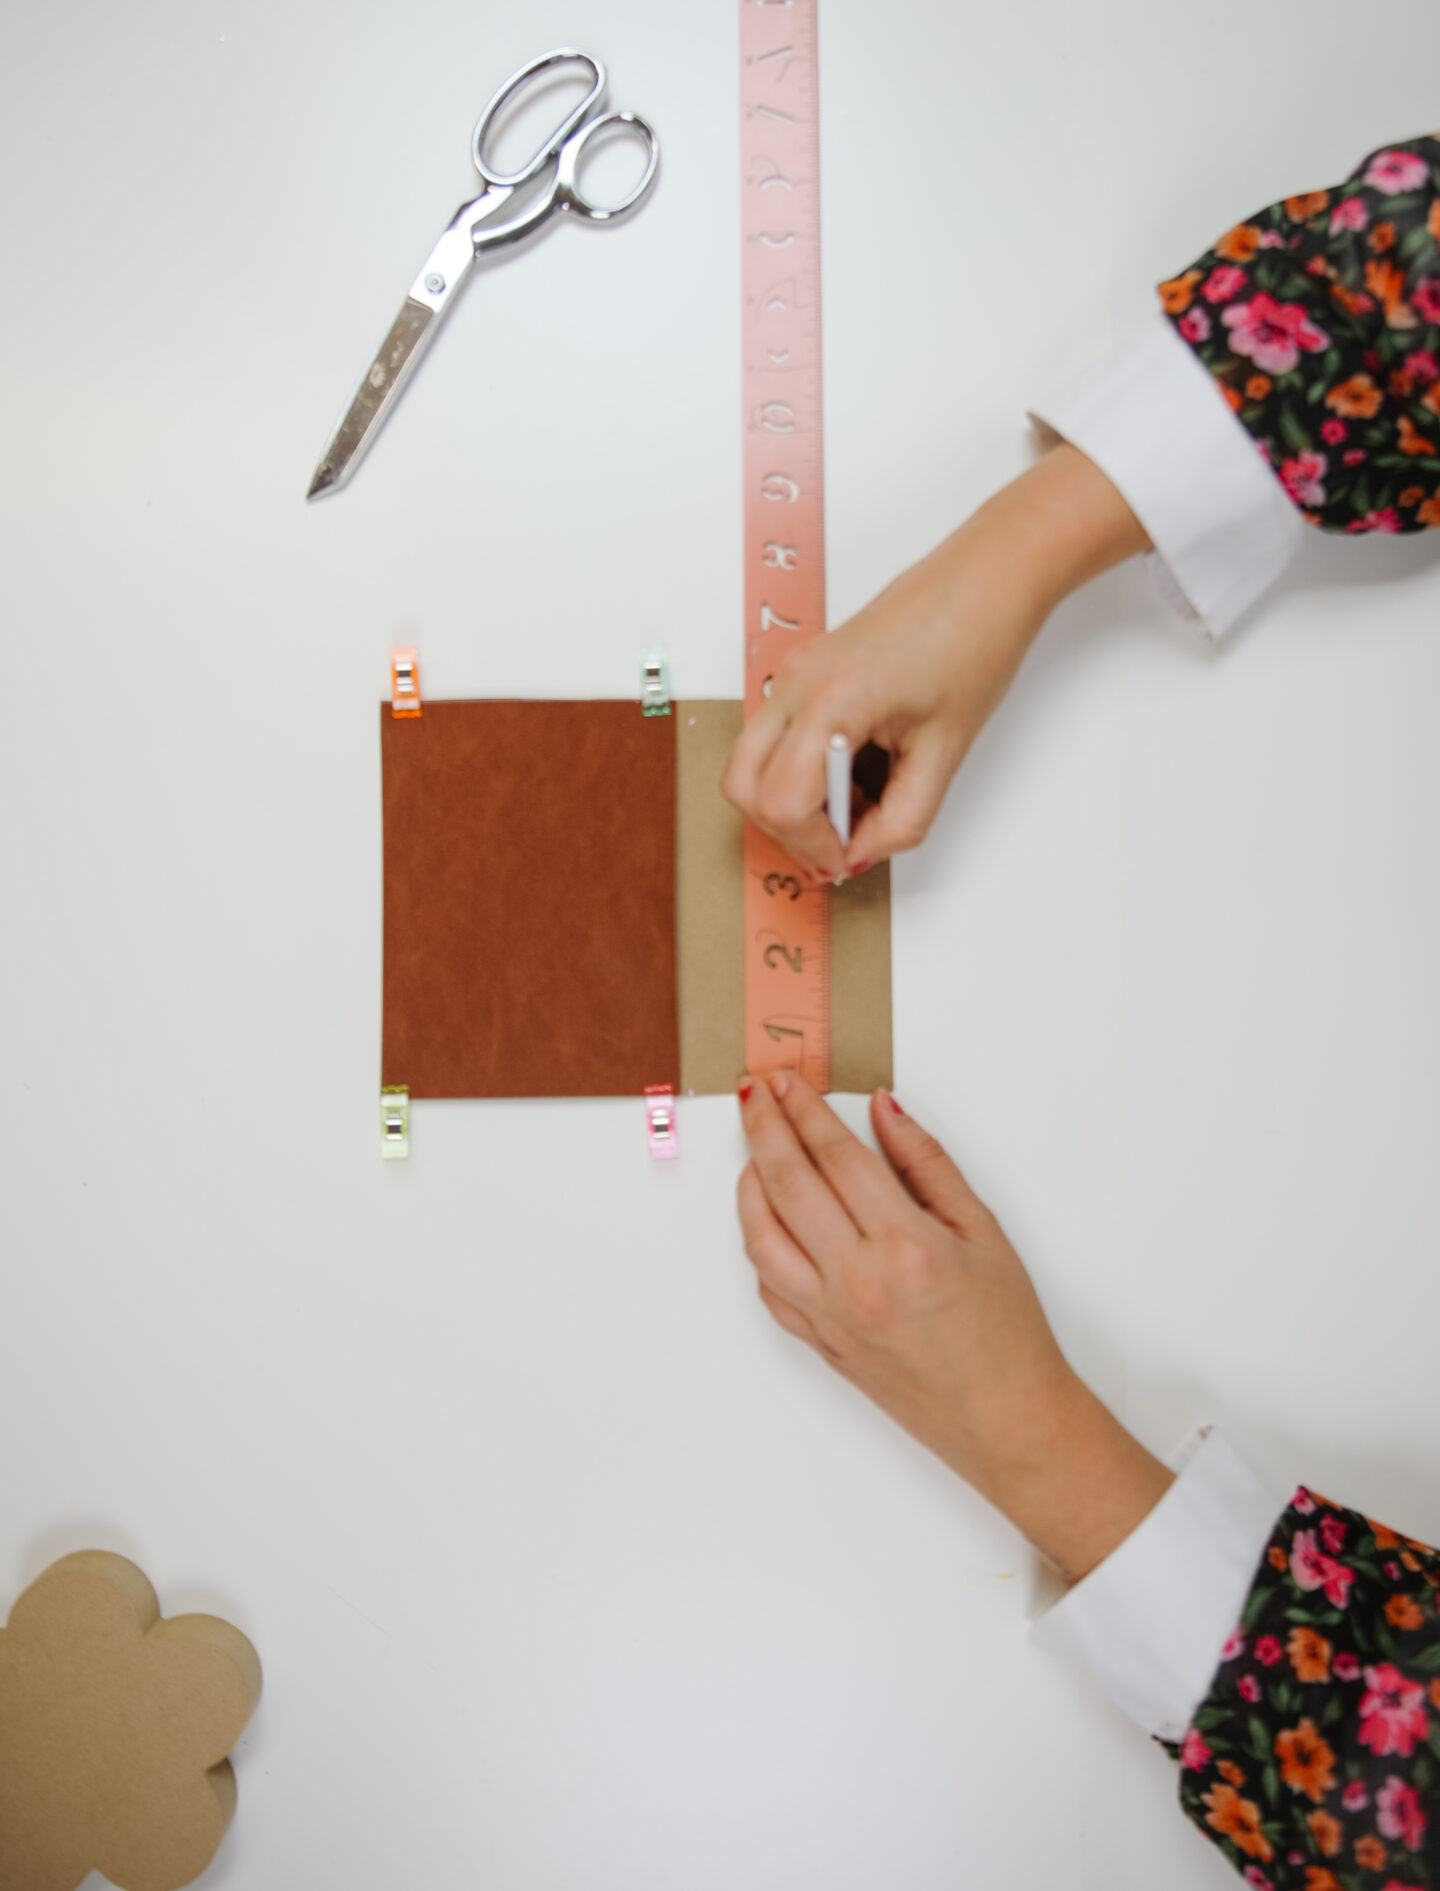
– White marking pen
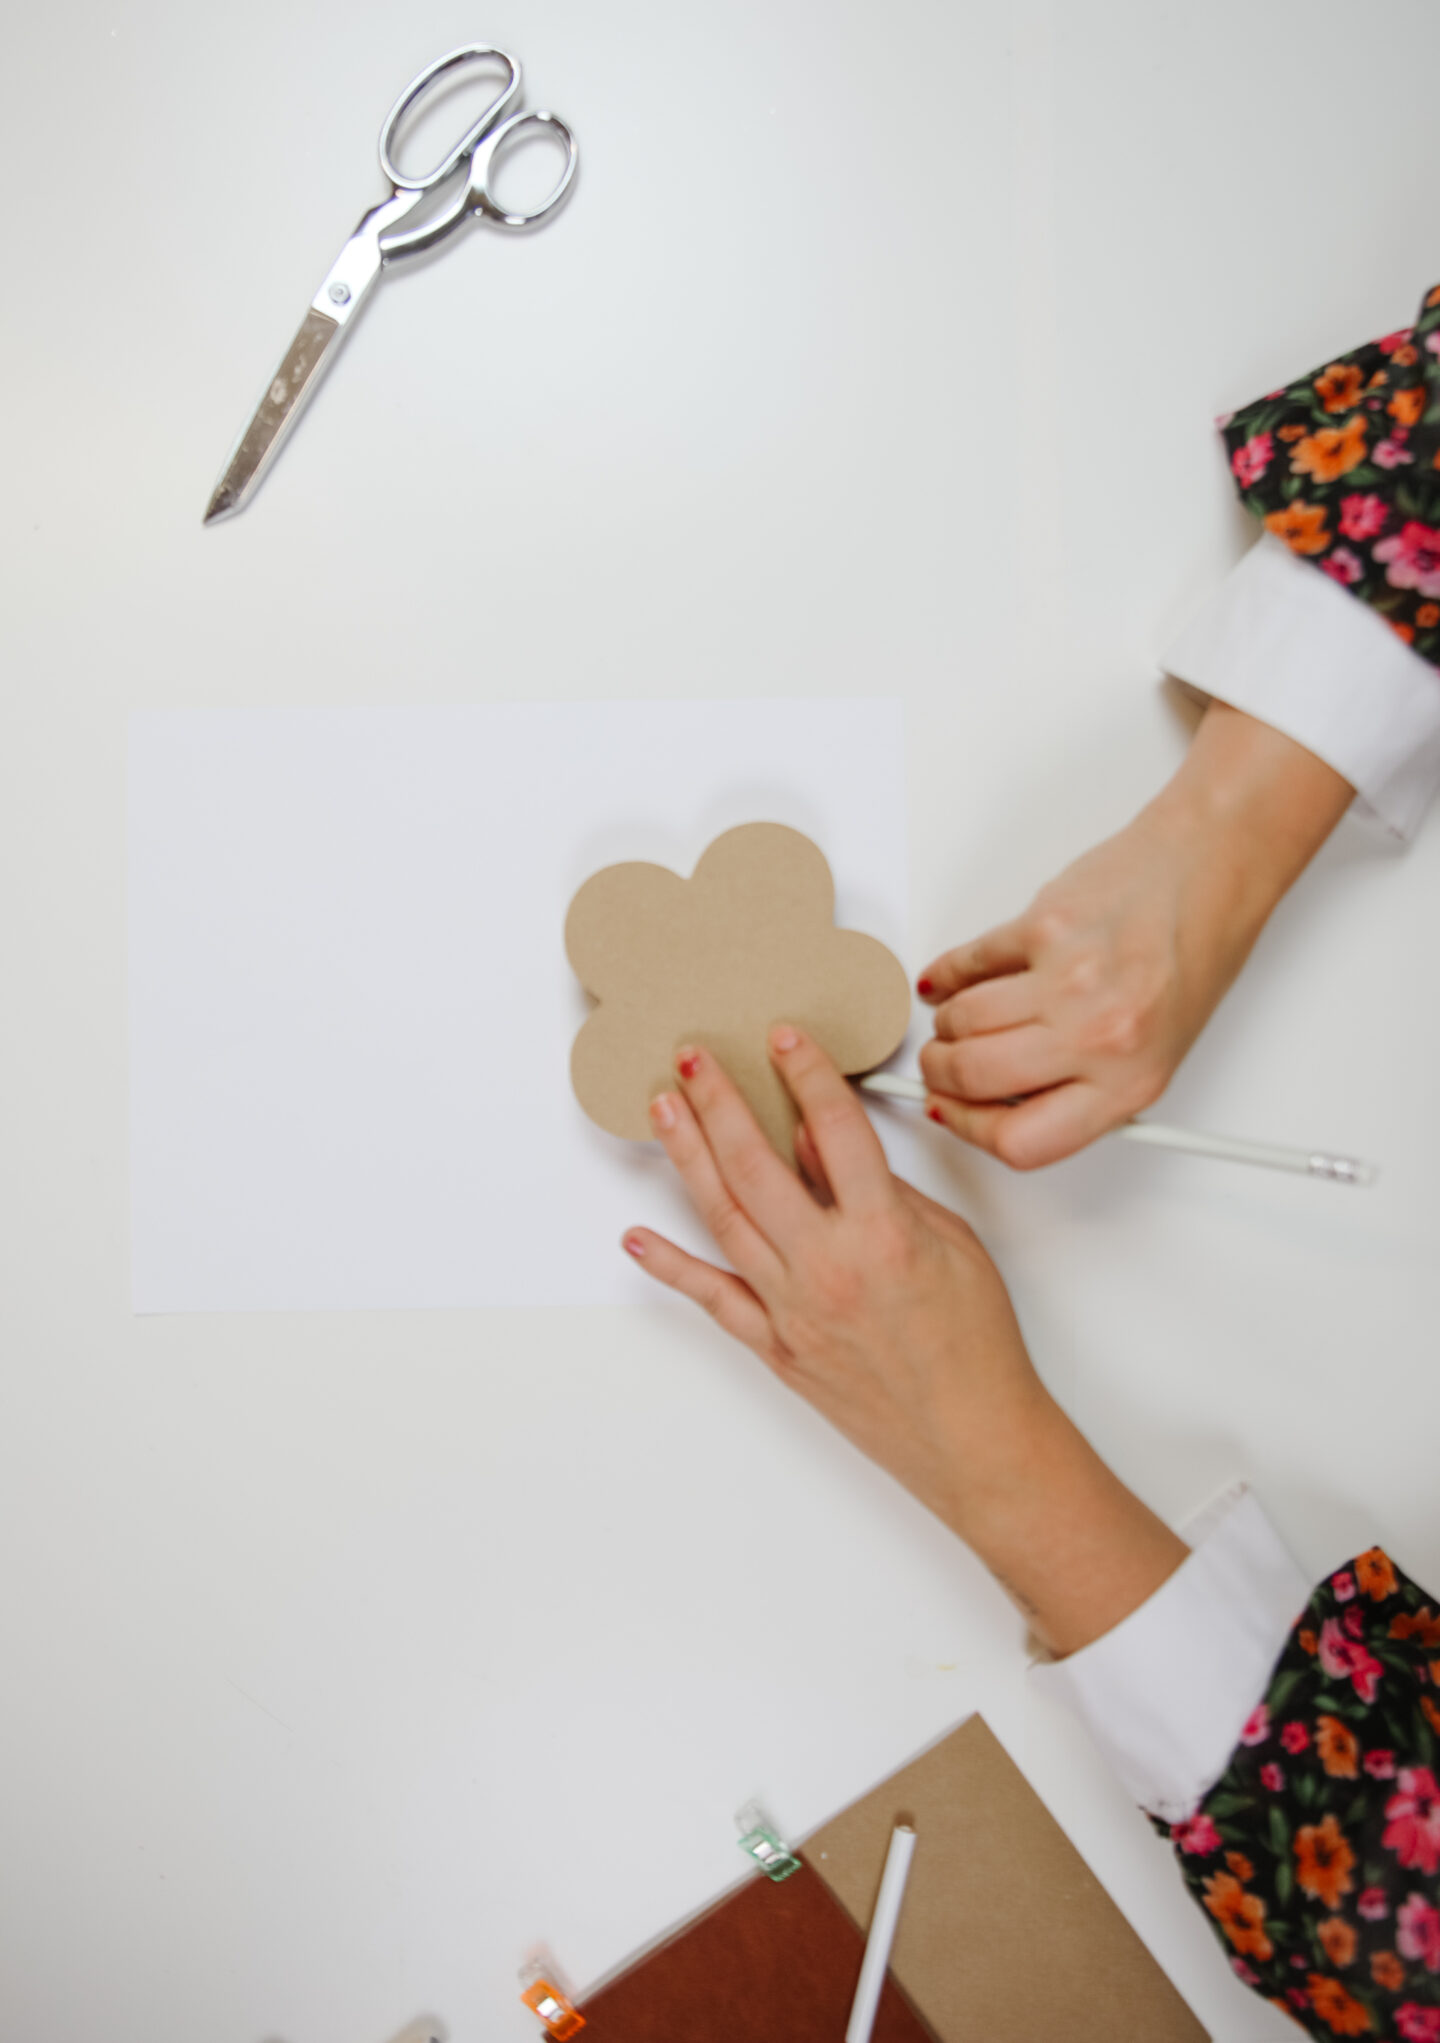
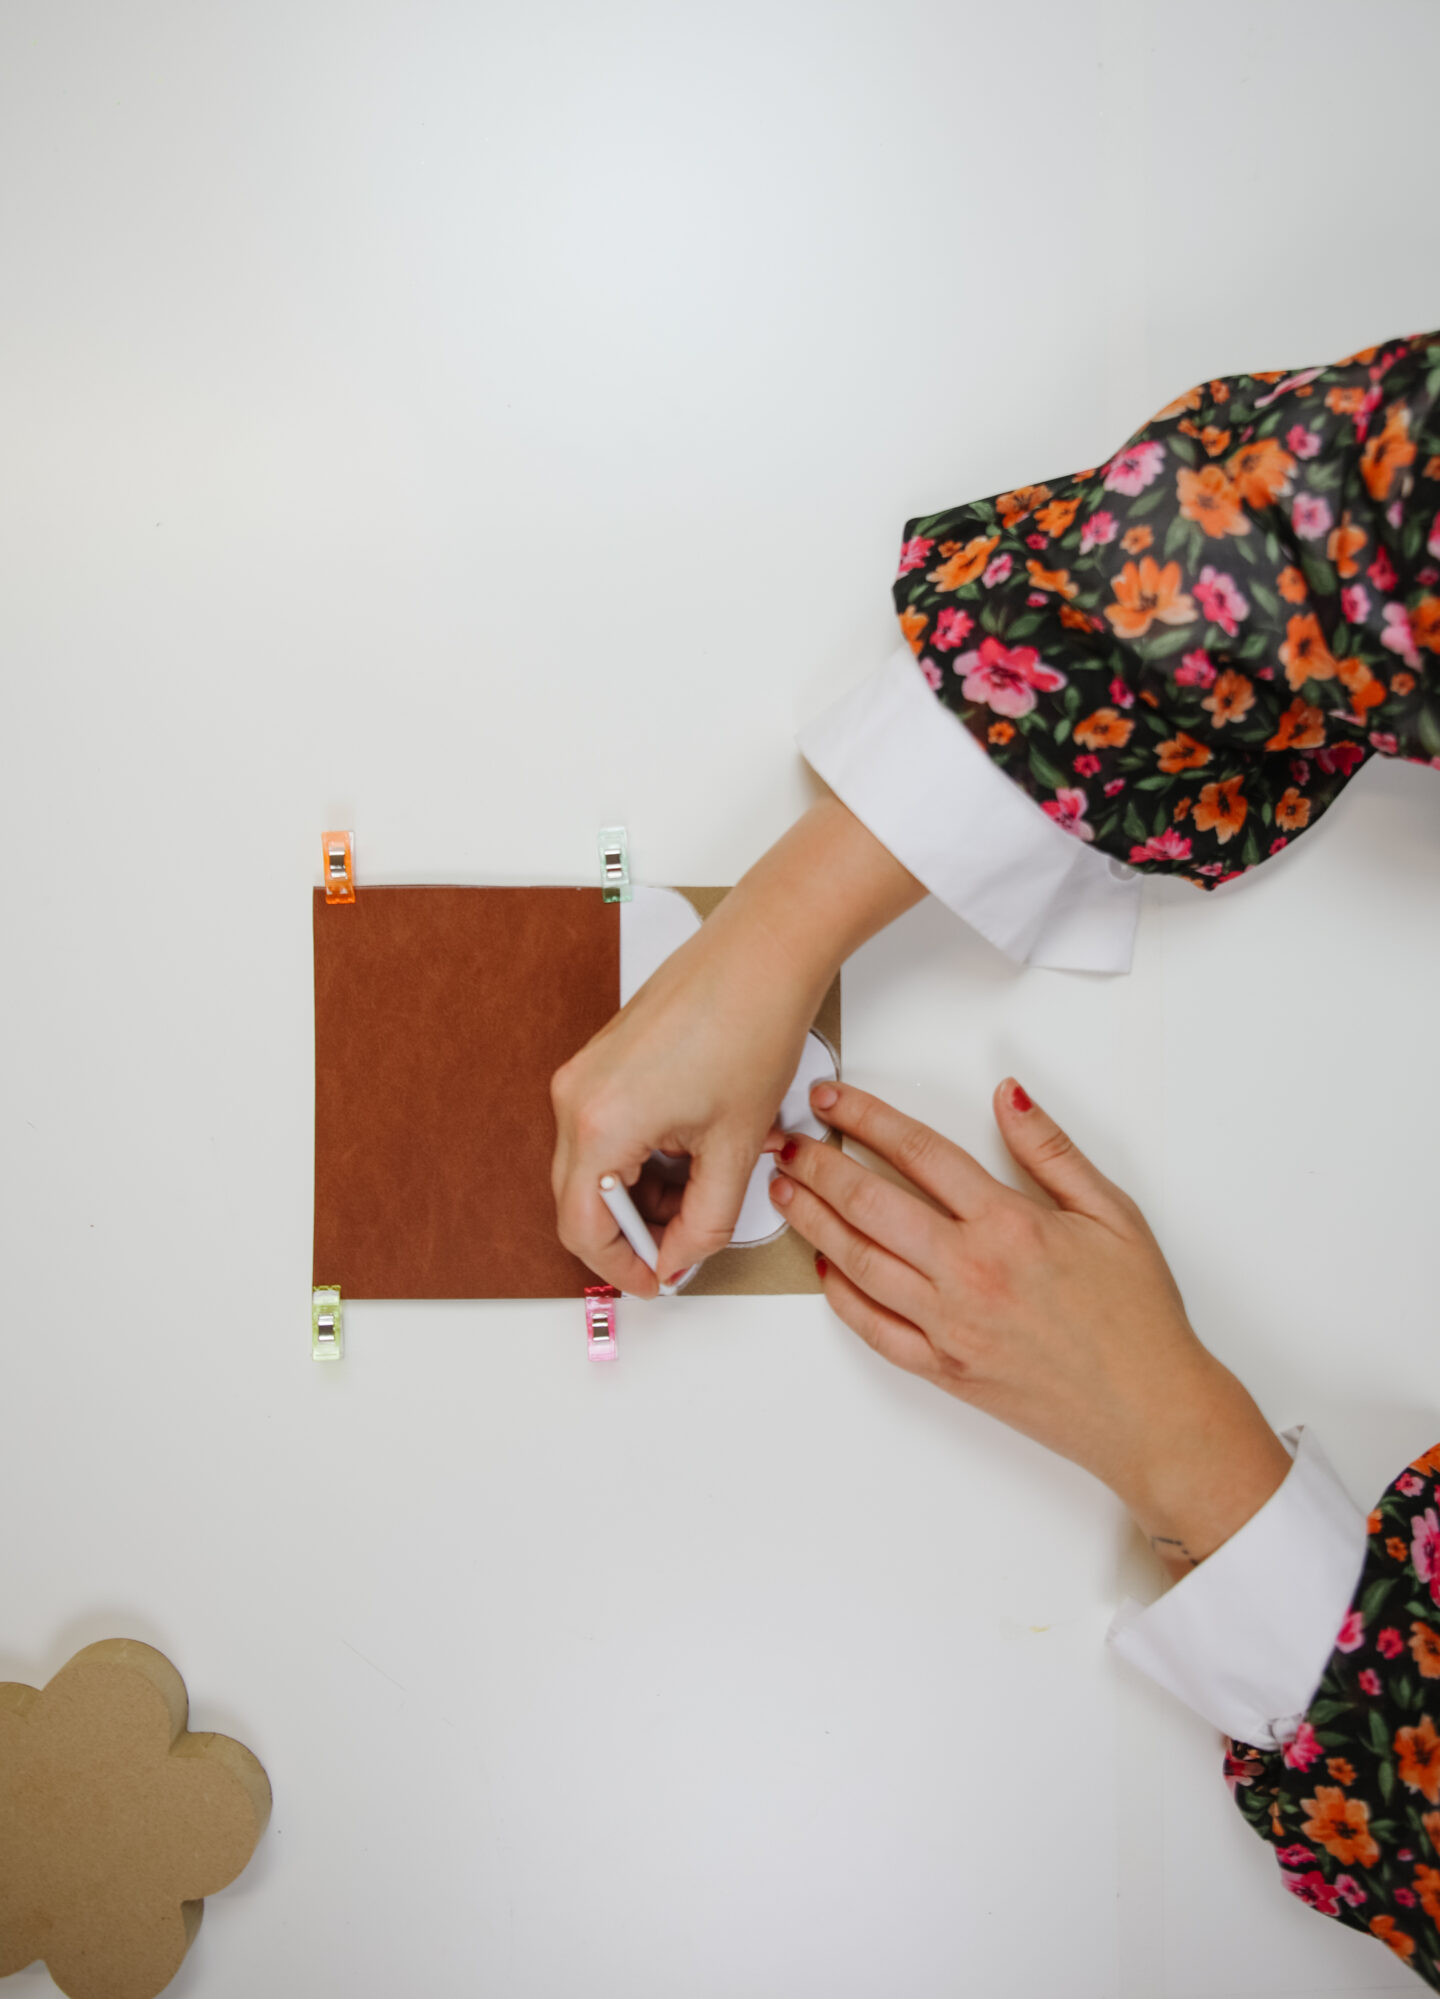
– Daisy MDF mold – to make your pattern
– White sheet and pencil
– Pins
– Ruler
– Hole puncher
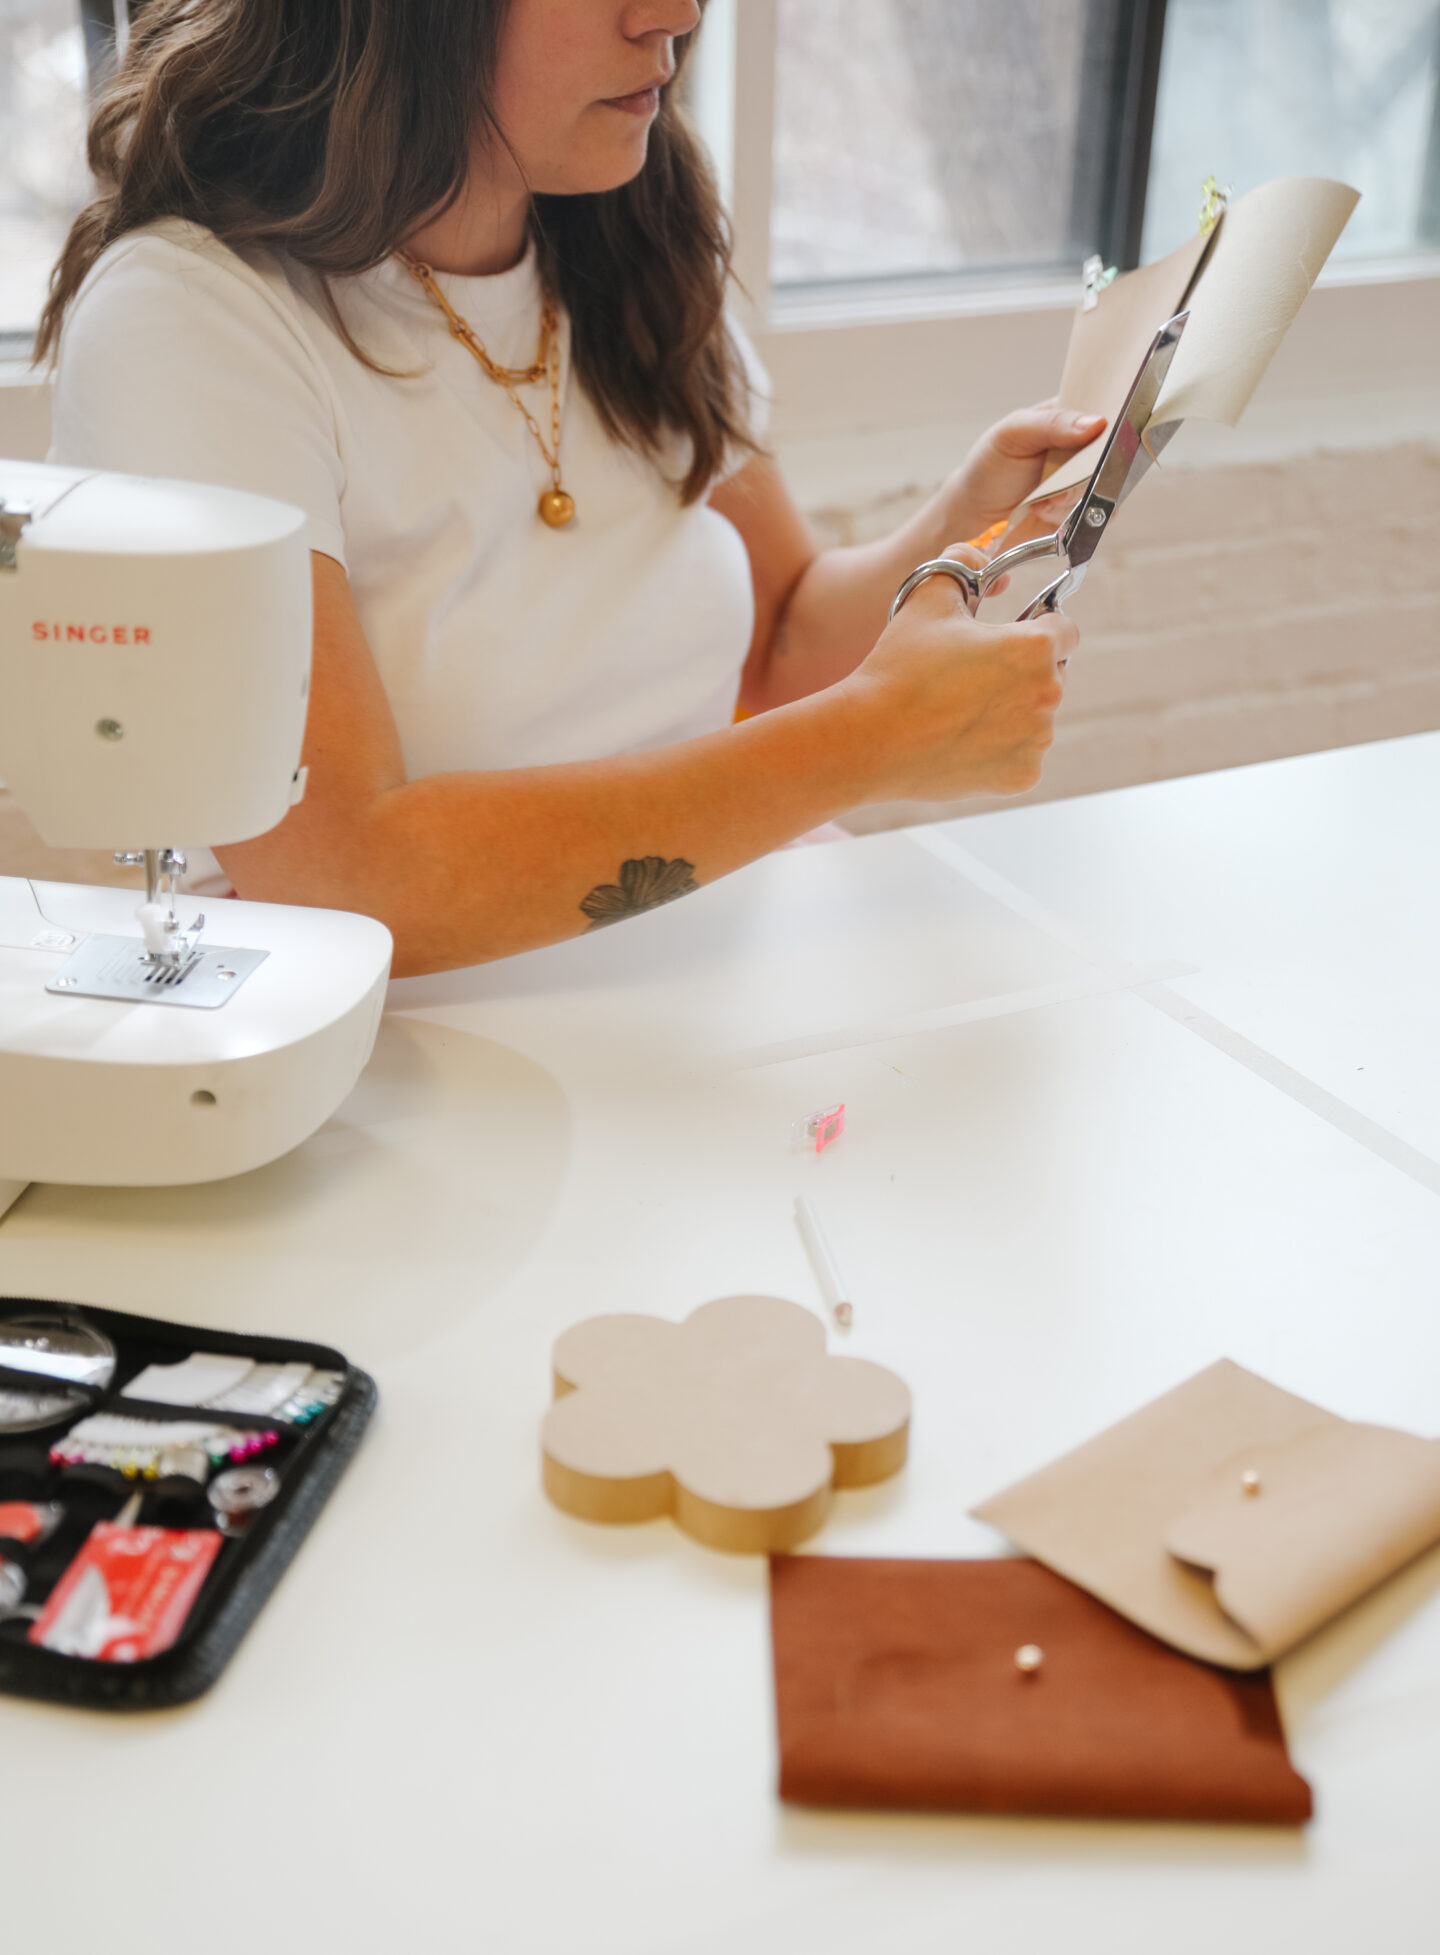
– Sewing machine
Aren’t they amazing? Will you be making them anytime soon as well?