I DIYed An Artsy Gallery Wall For My Bedroom & You Can Do it As Well!


If you know me, you know how much I adore a good gallery wall.
They are just timeless, they never go out of style and are a perfect way to bring character to any wall collecting photos, art, statement pieces, plants and much more. When I updated my bedroom a few weeks ago (remember how cute?) I kinda knew I was missing something: a new accent wall decor idea!
… and as a good DIYer, I removed all the decor that I just installed like a minute ago, lol *slow clap* to get this bedroom a real and complete new look, at last! (for now).
In this post, I’ll show you the basics of gallery walls, how to start and even create your own original artwork just like I did.
Just before we jump into this DIY tutorial, let’s start by diving the gallery wall world (beware: there are no rules over here!) and you’ve got to come with an open mind, alrighty?.
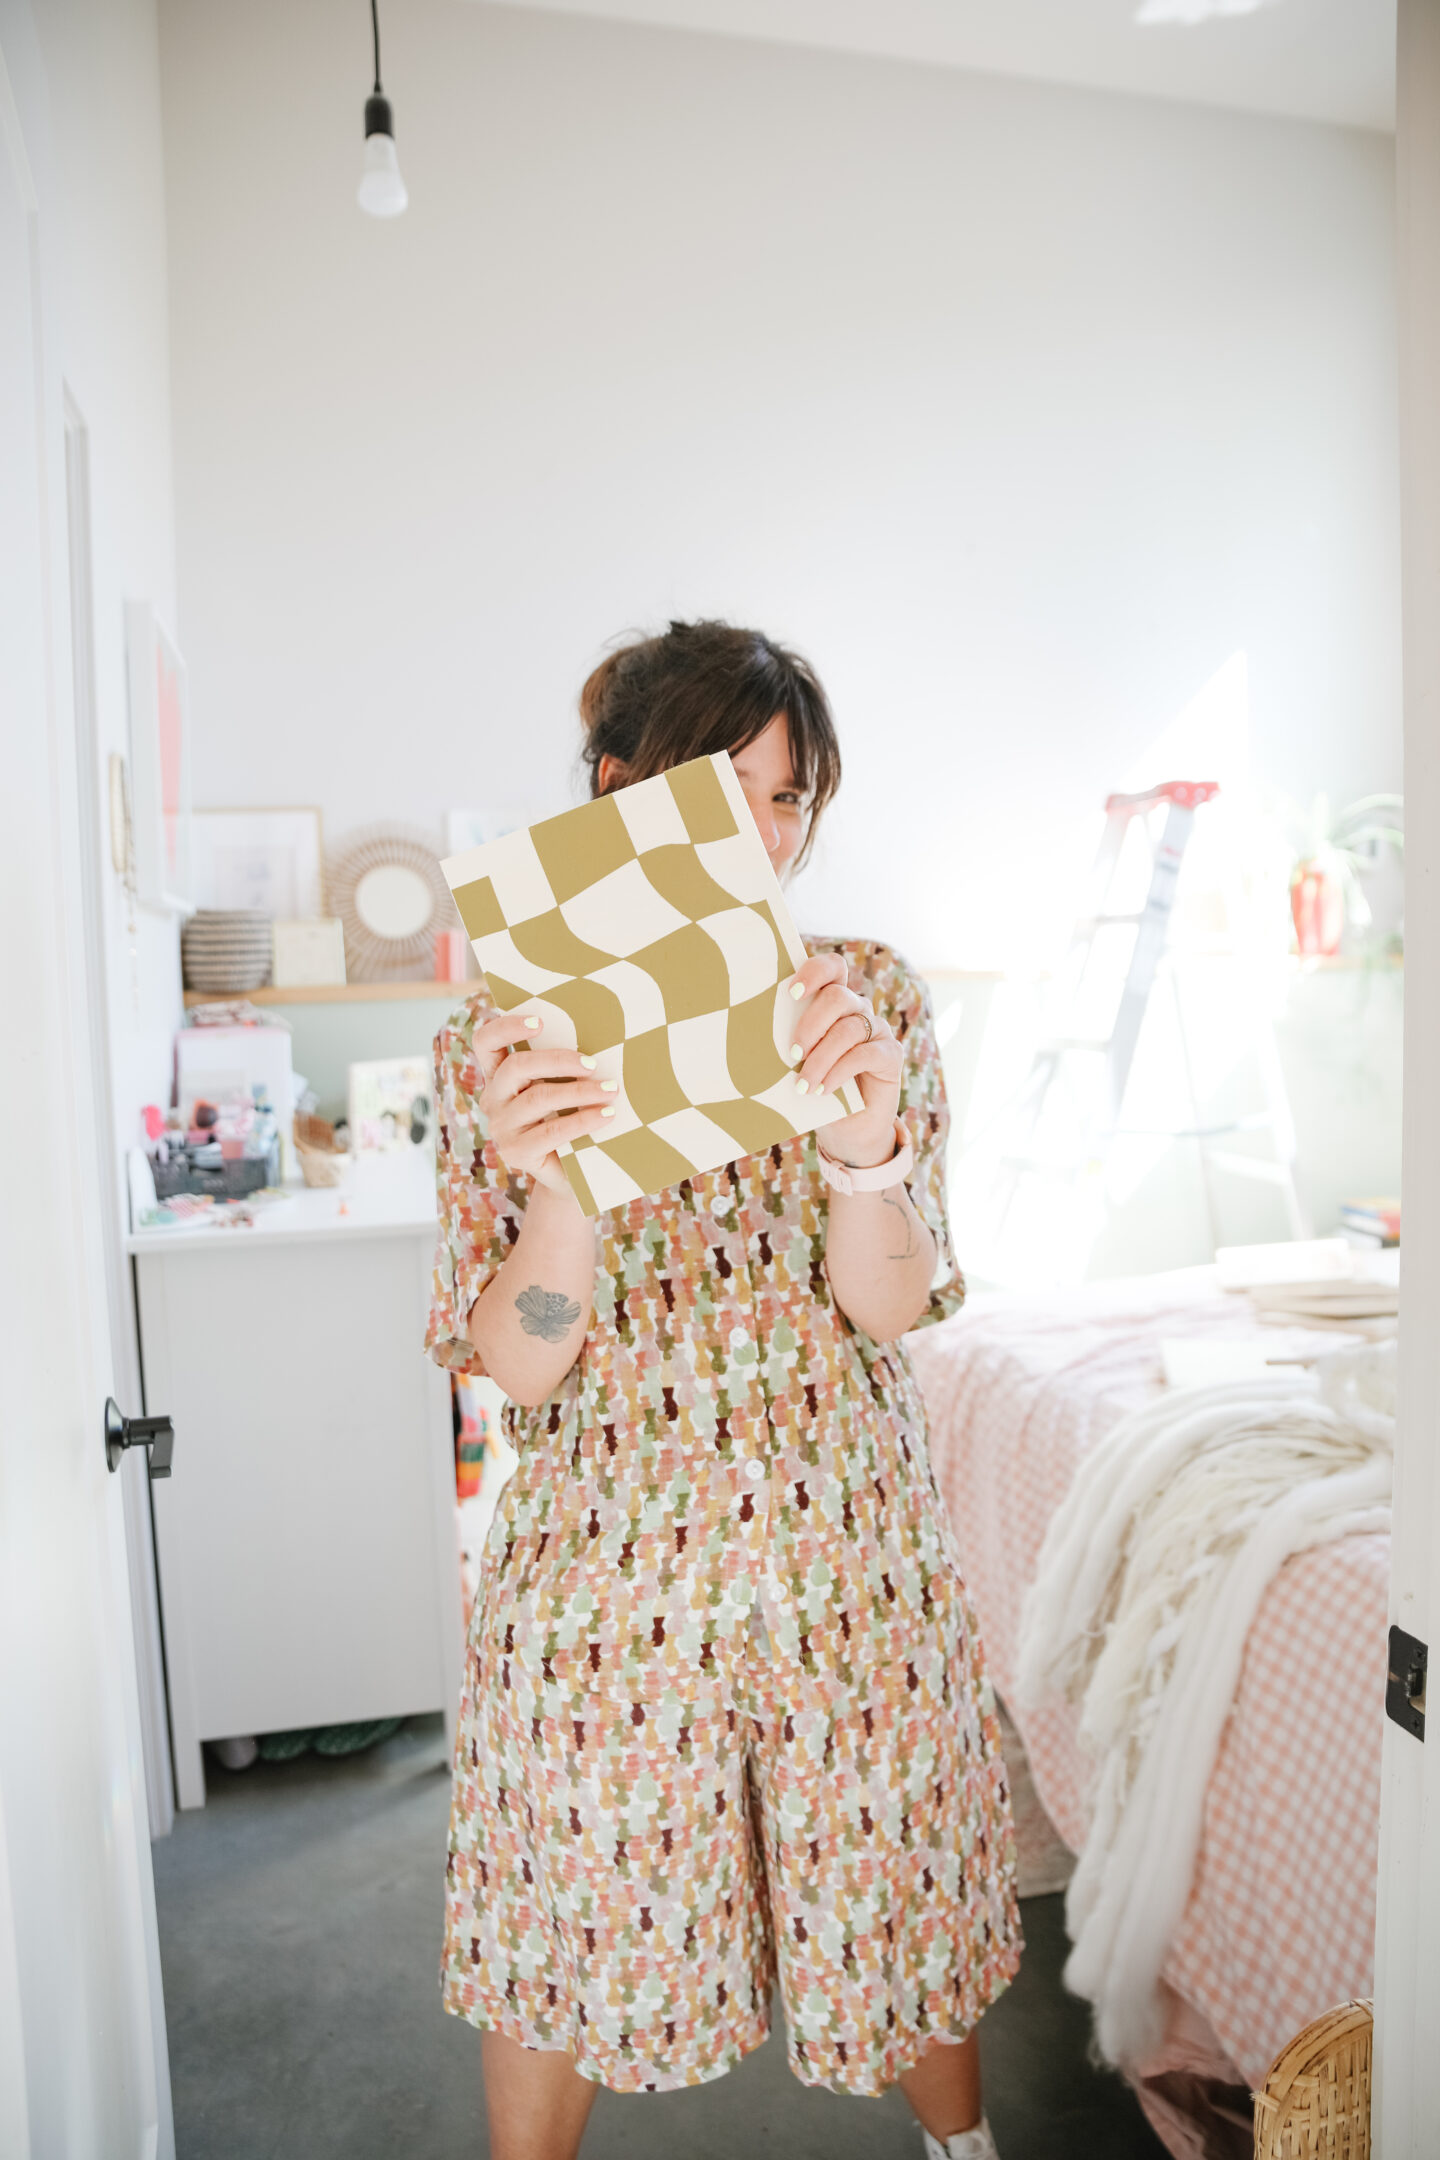
I’m sure you’ve seen many different layouts out there: non-symmetrical, minimal, maximalist or symmetrical gallery walls using frames in different sizes, colours, finishes. For this particular project, I’m going to show you how to style a minimal setup with custom artwork – you can pick any style and it’ll look great, trust me. So, as soon as you are clear with the layout you want to do, let’s…
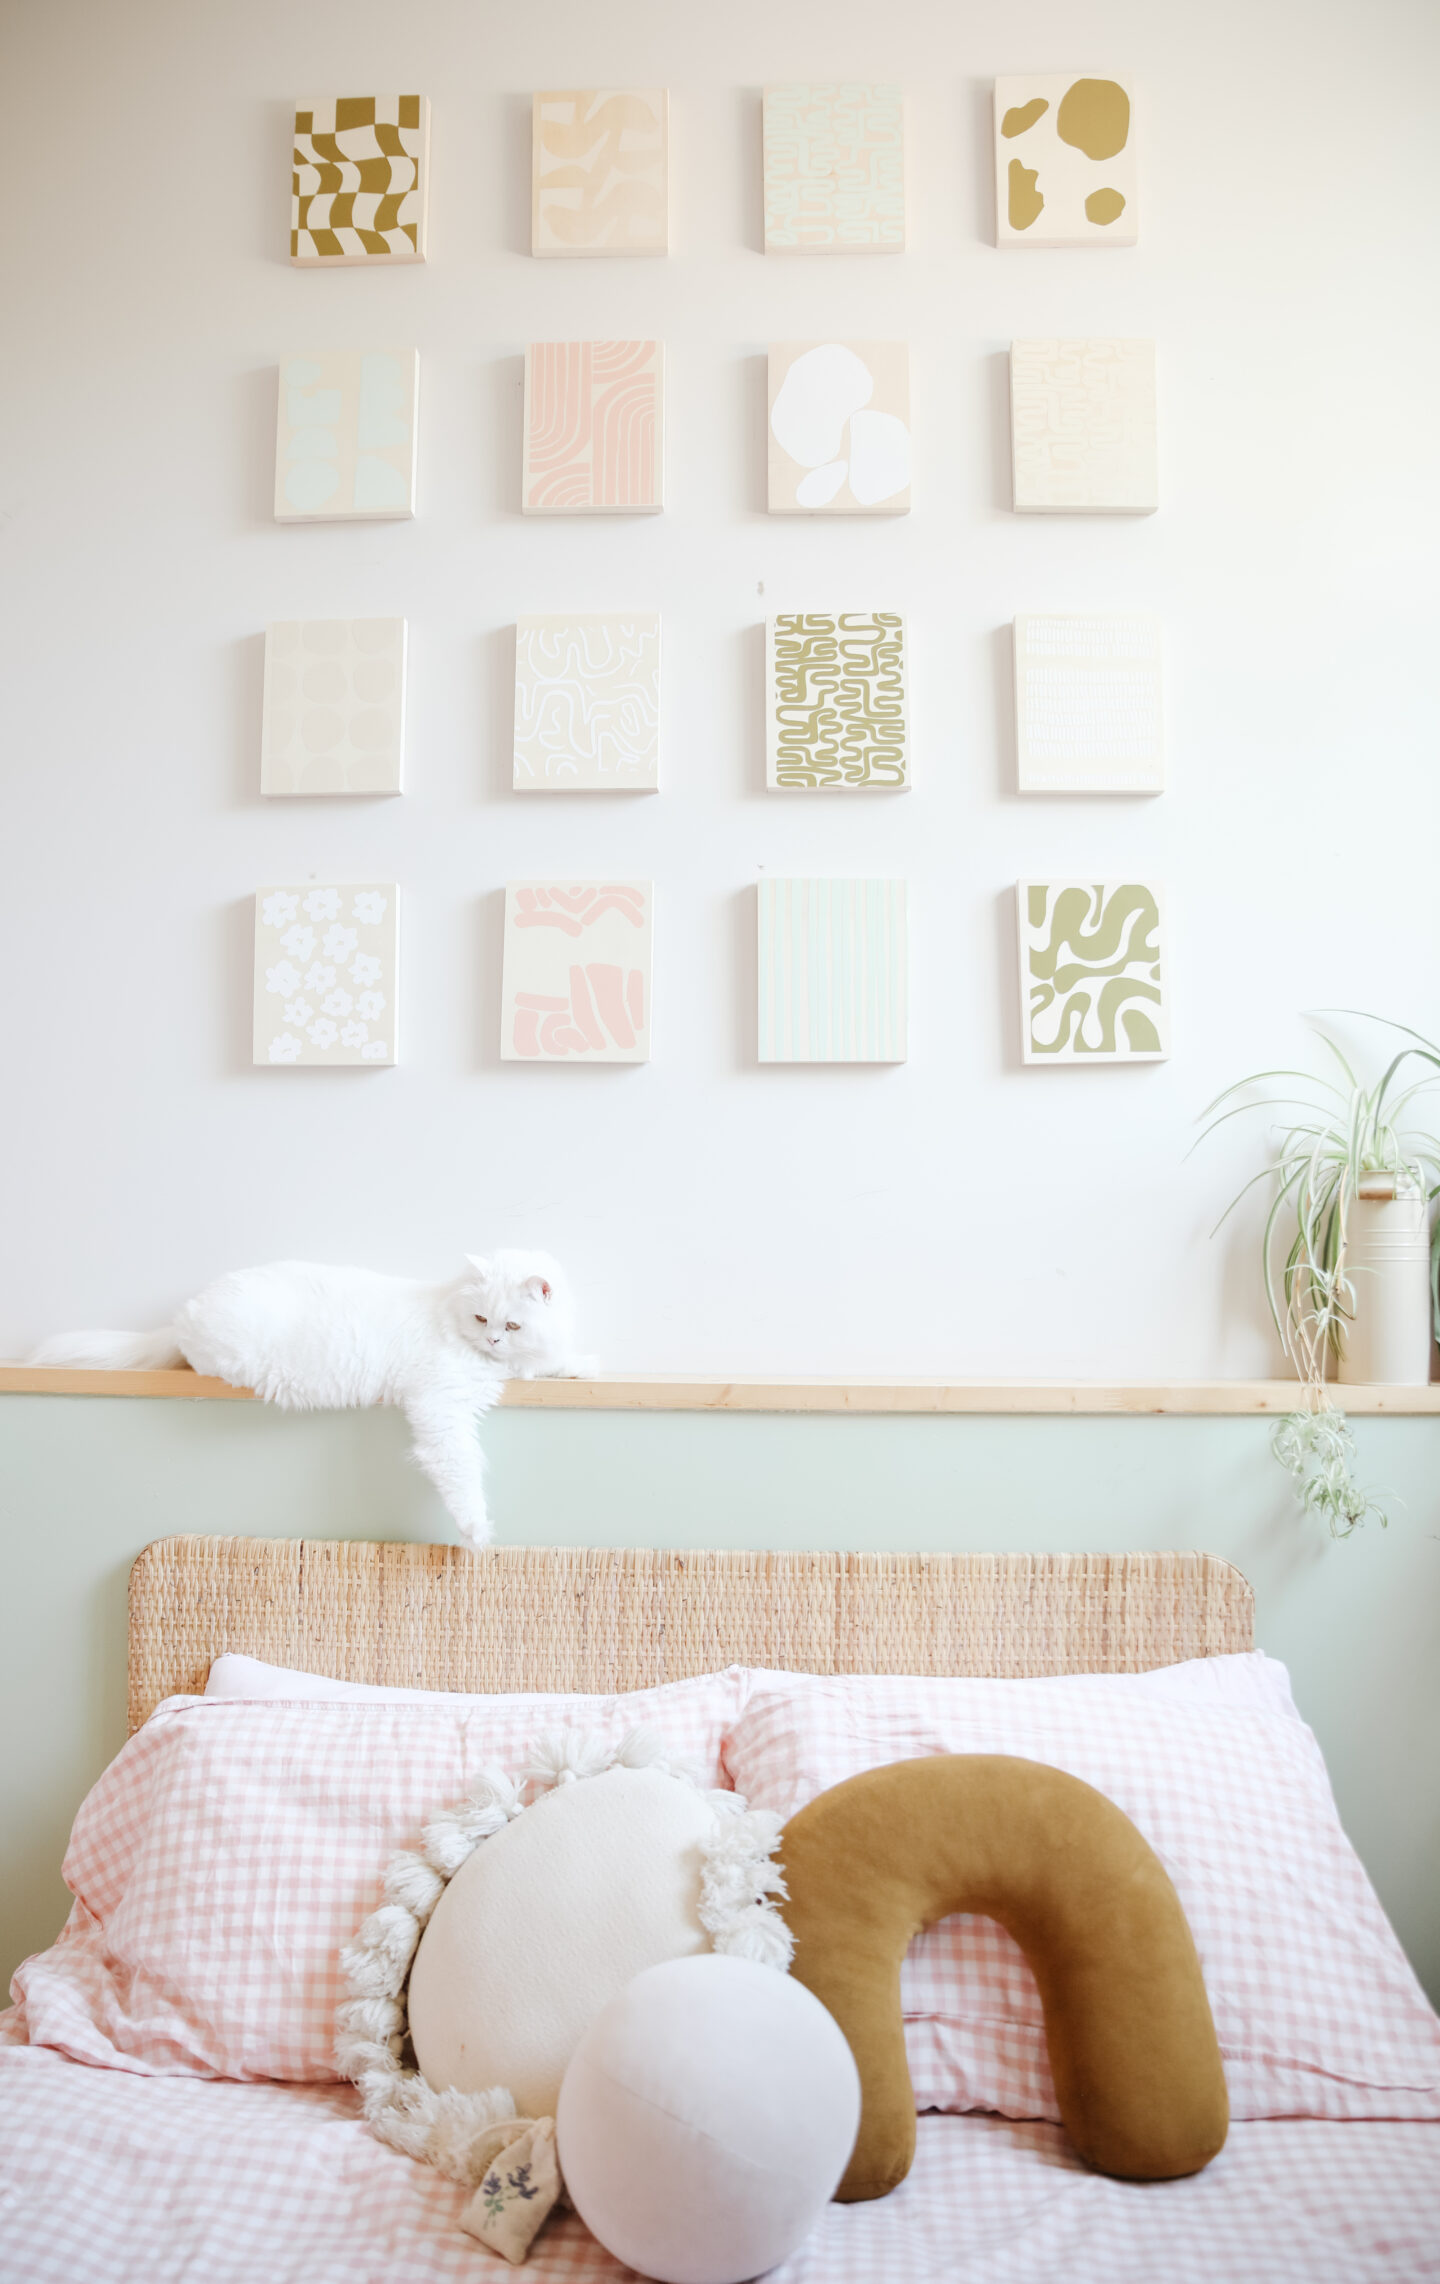
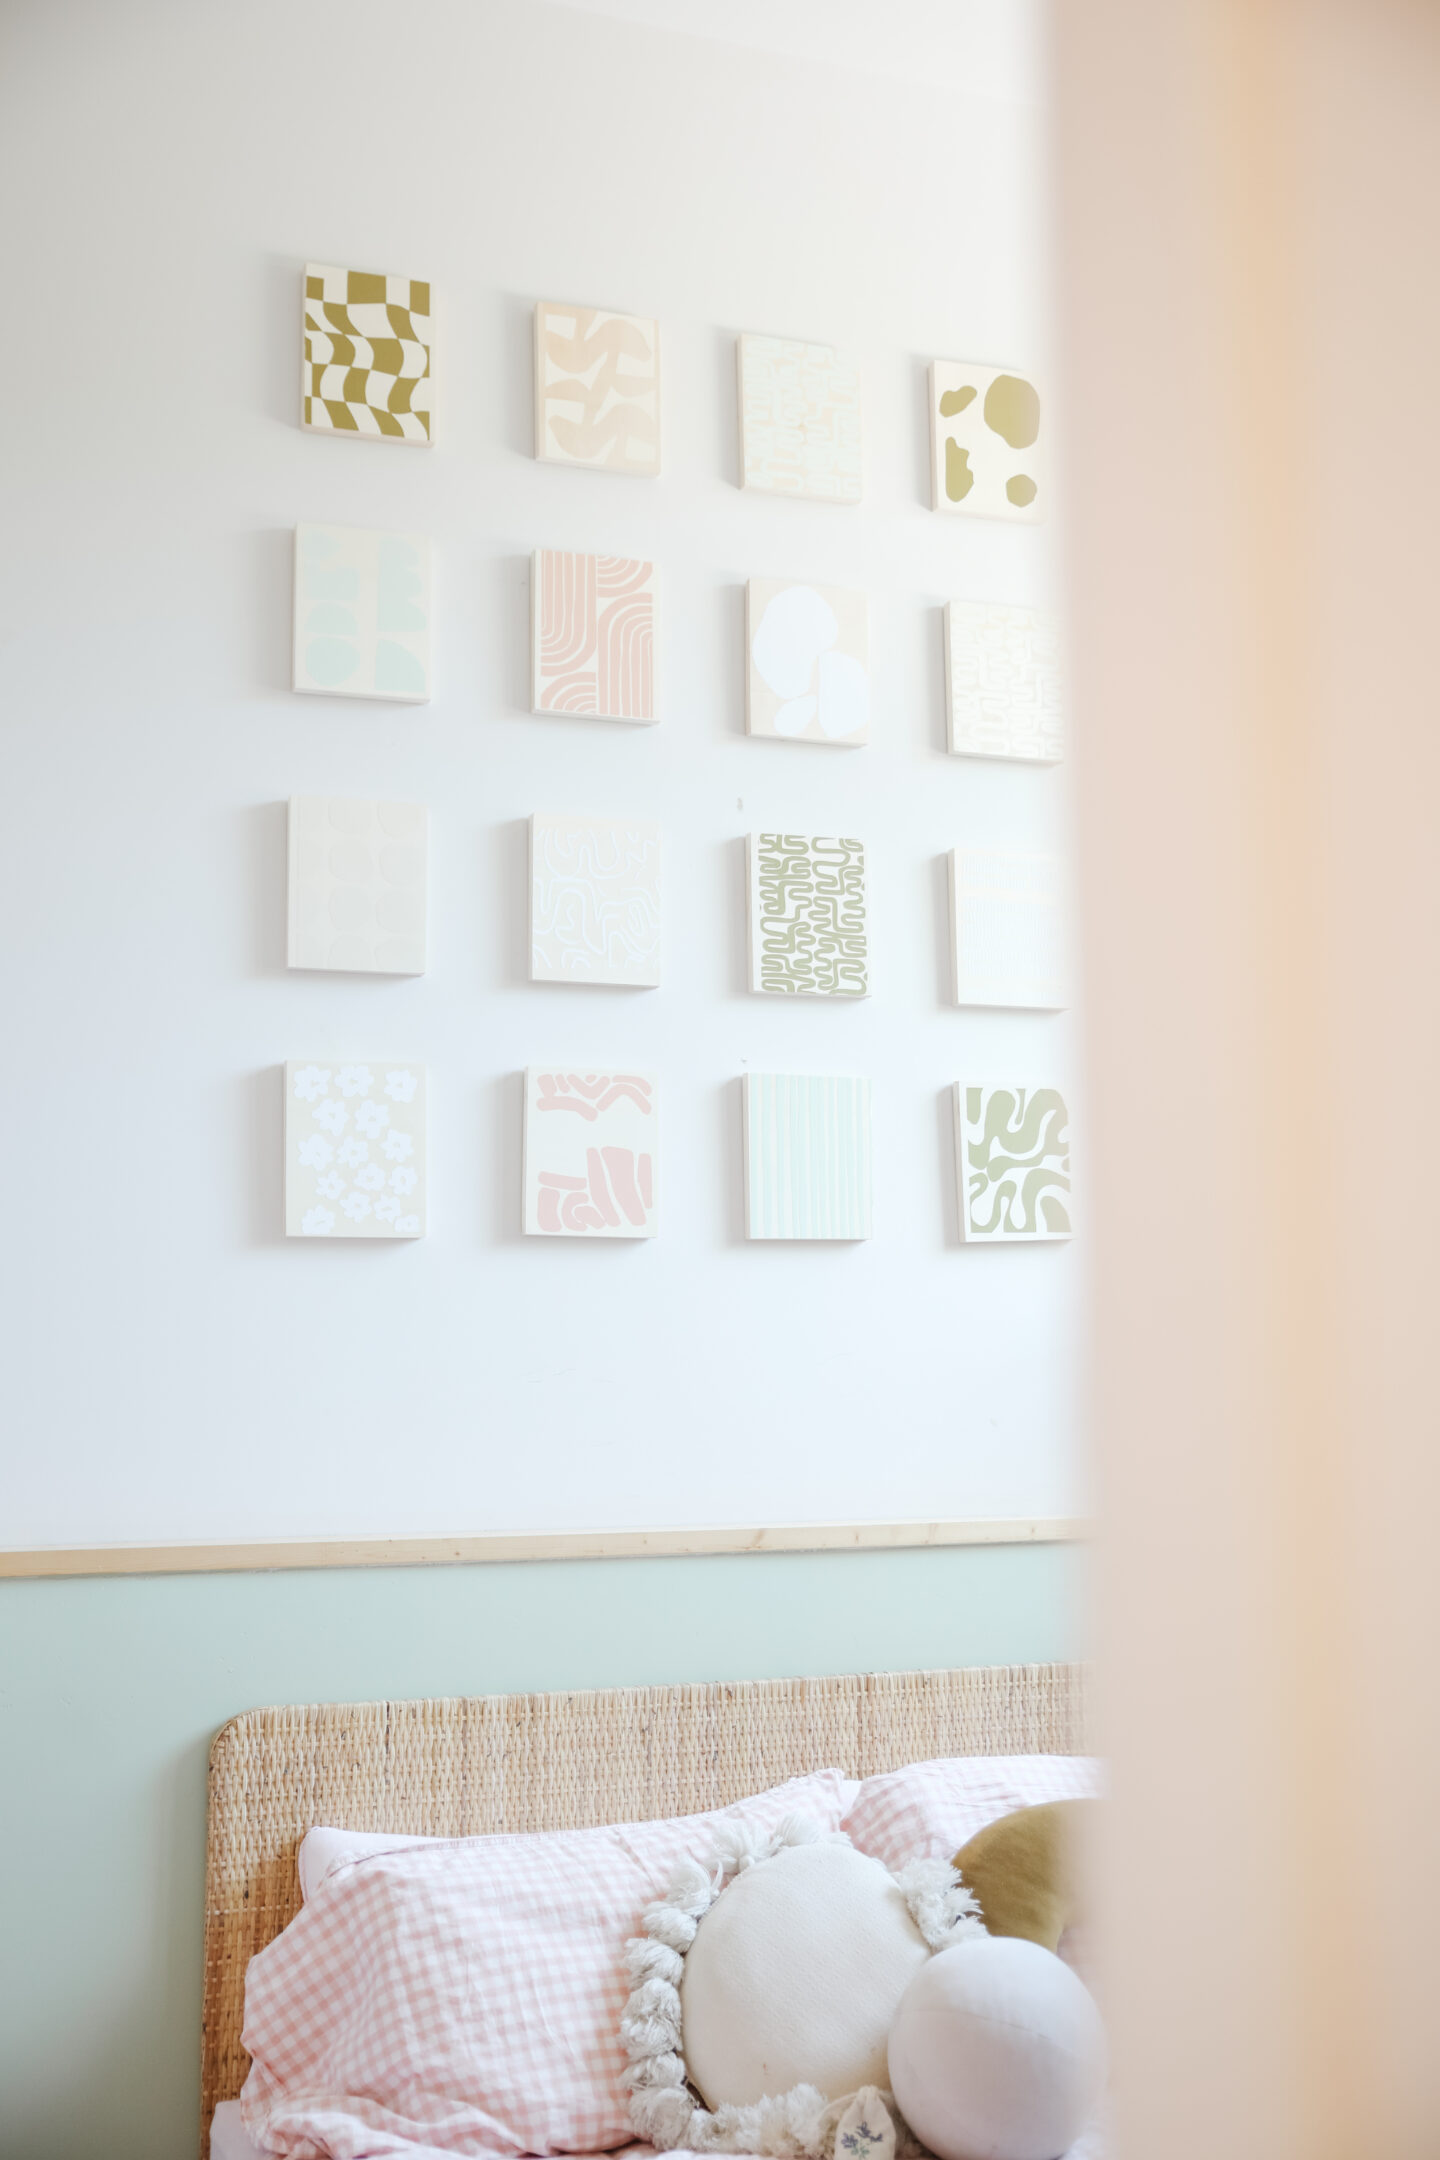
Easy, right? As a proud owner of a non-symmetrical gallery wall in my living area already, this time around I needed to create a symmetrical one filled with unique, colourful and fun art for the bedroom different from the first one, adding unique designs that putting them together would make sense as a whole.
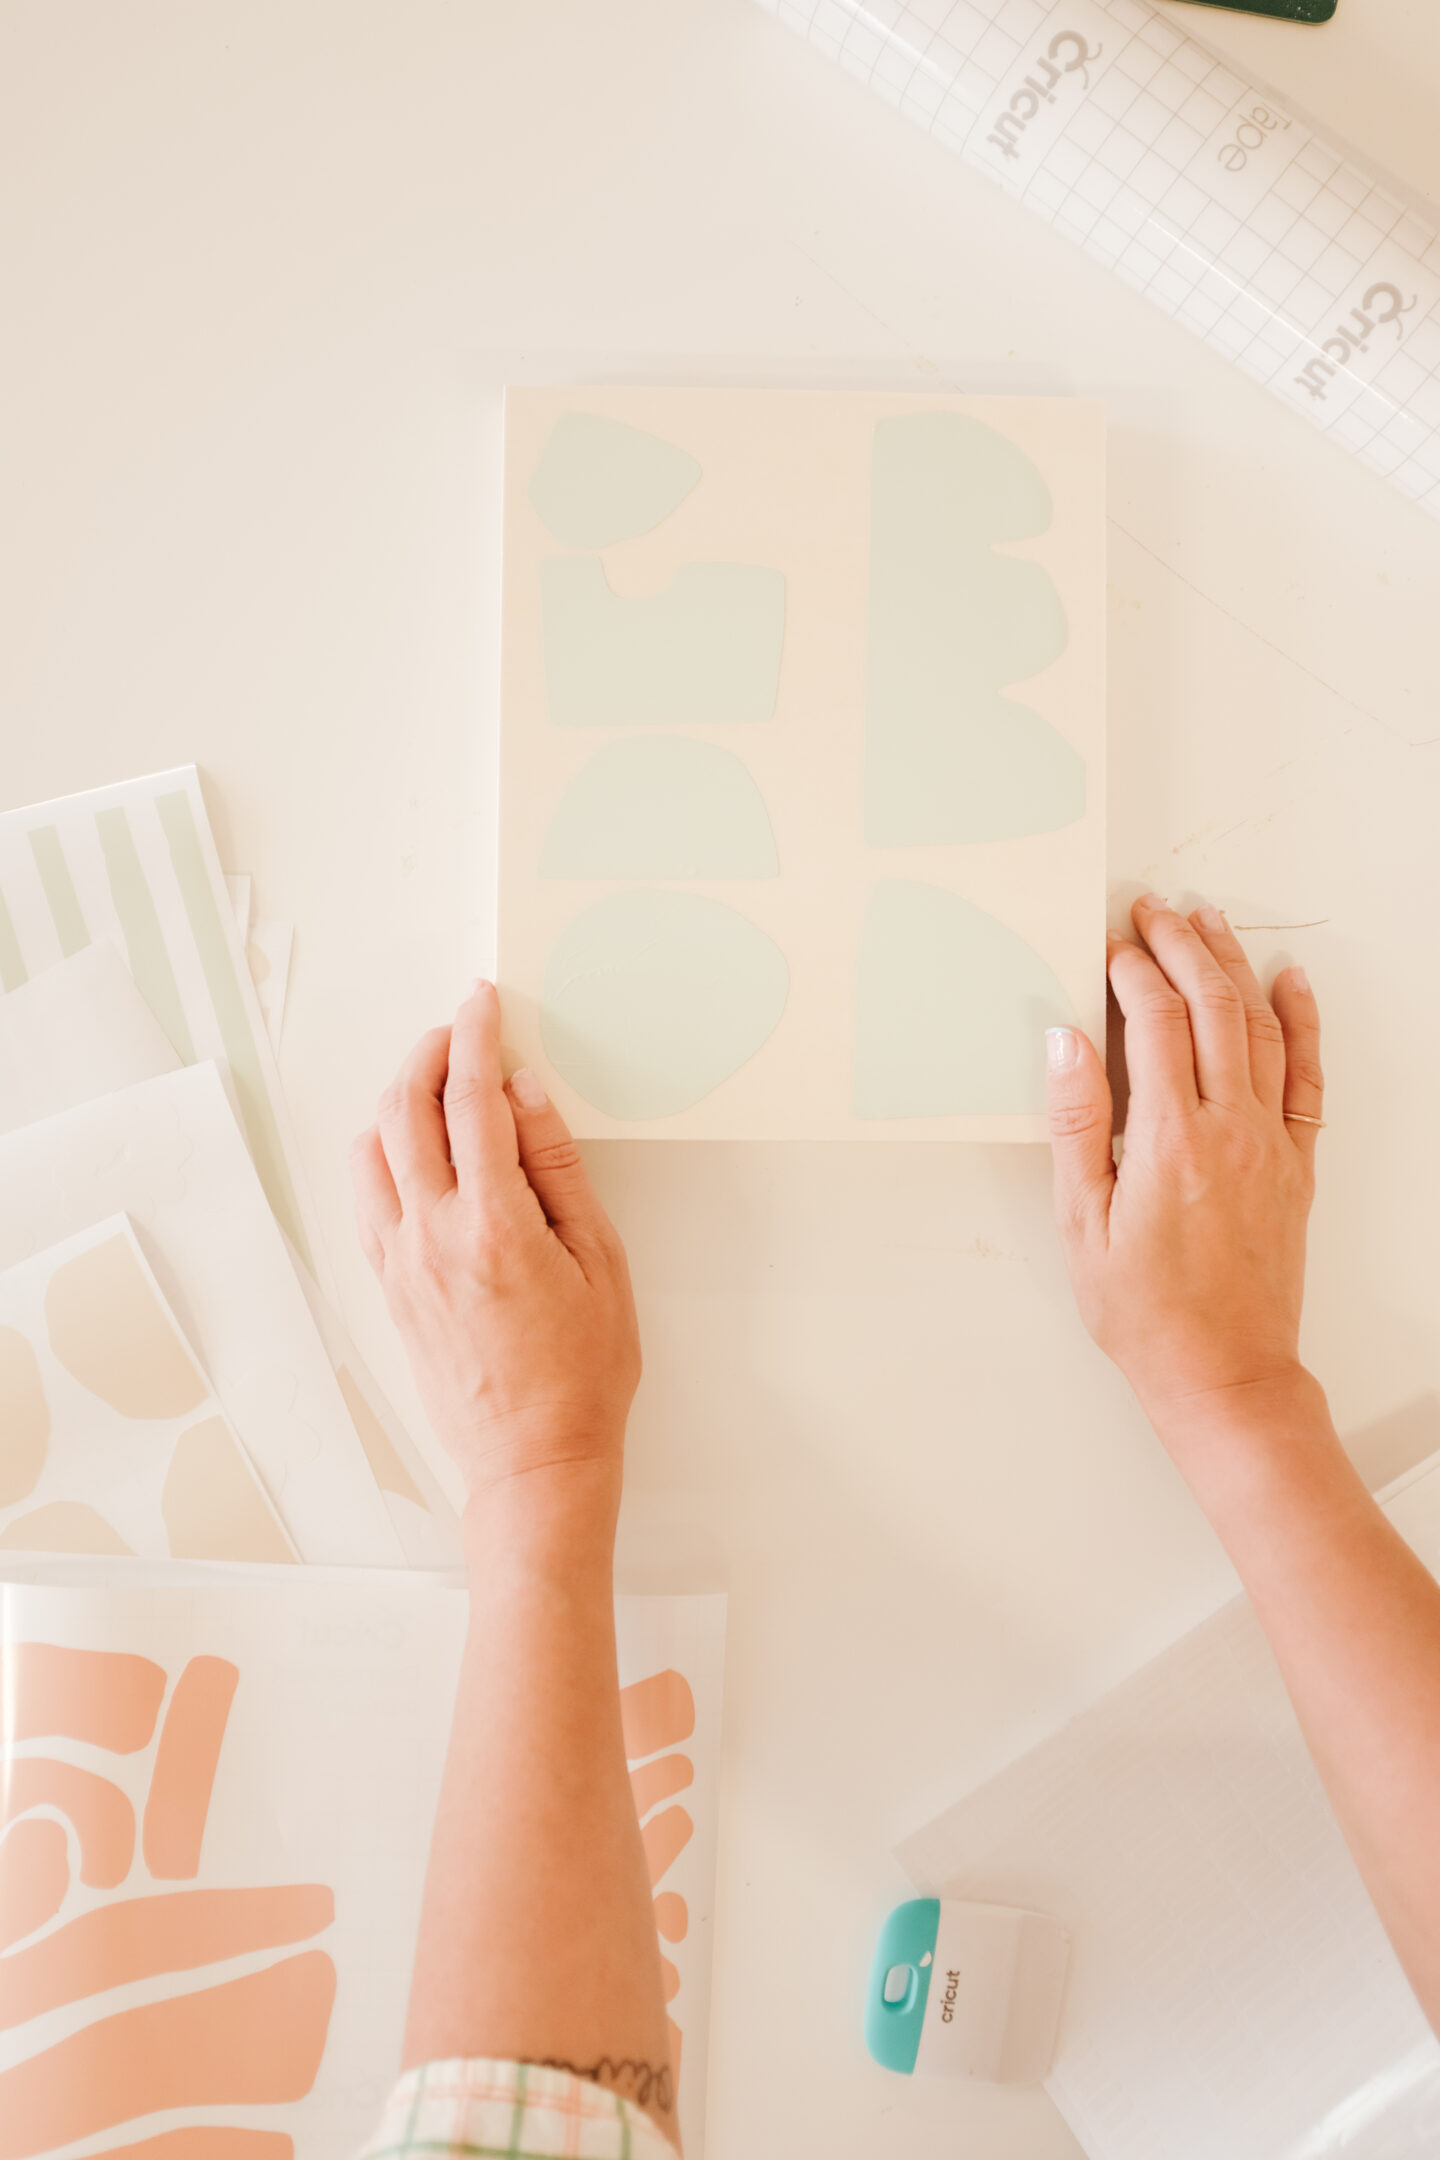
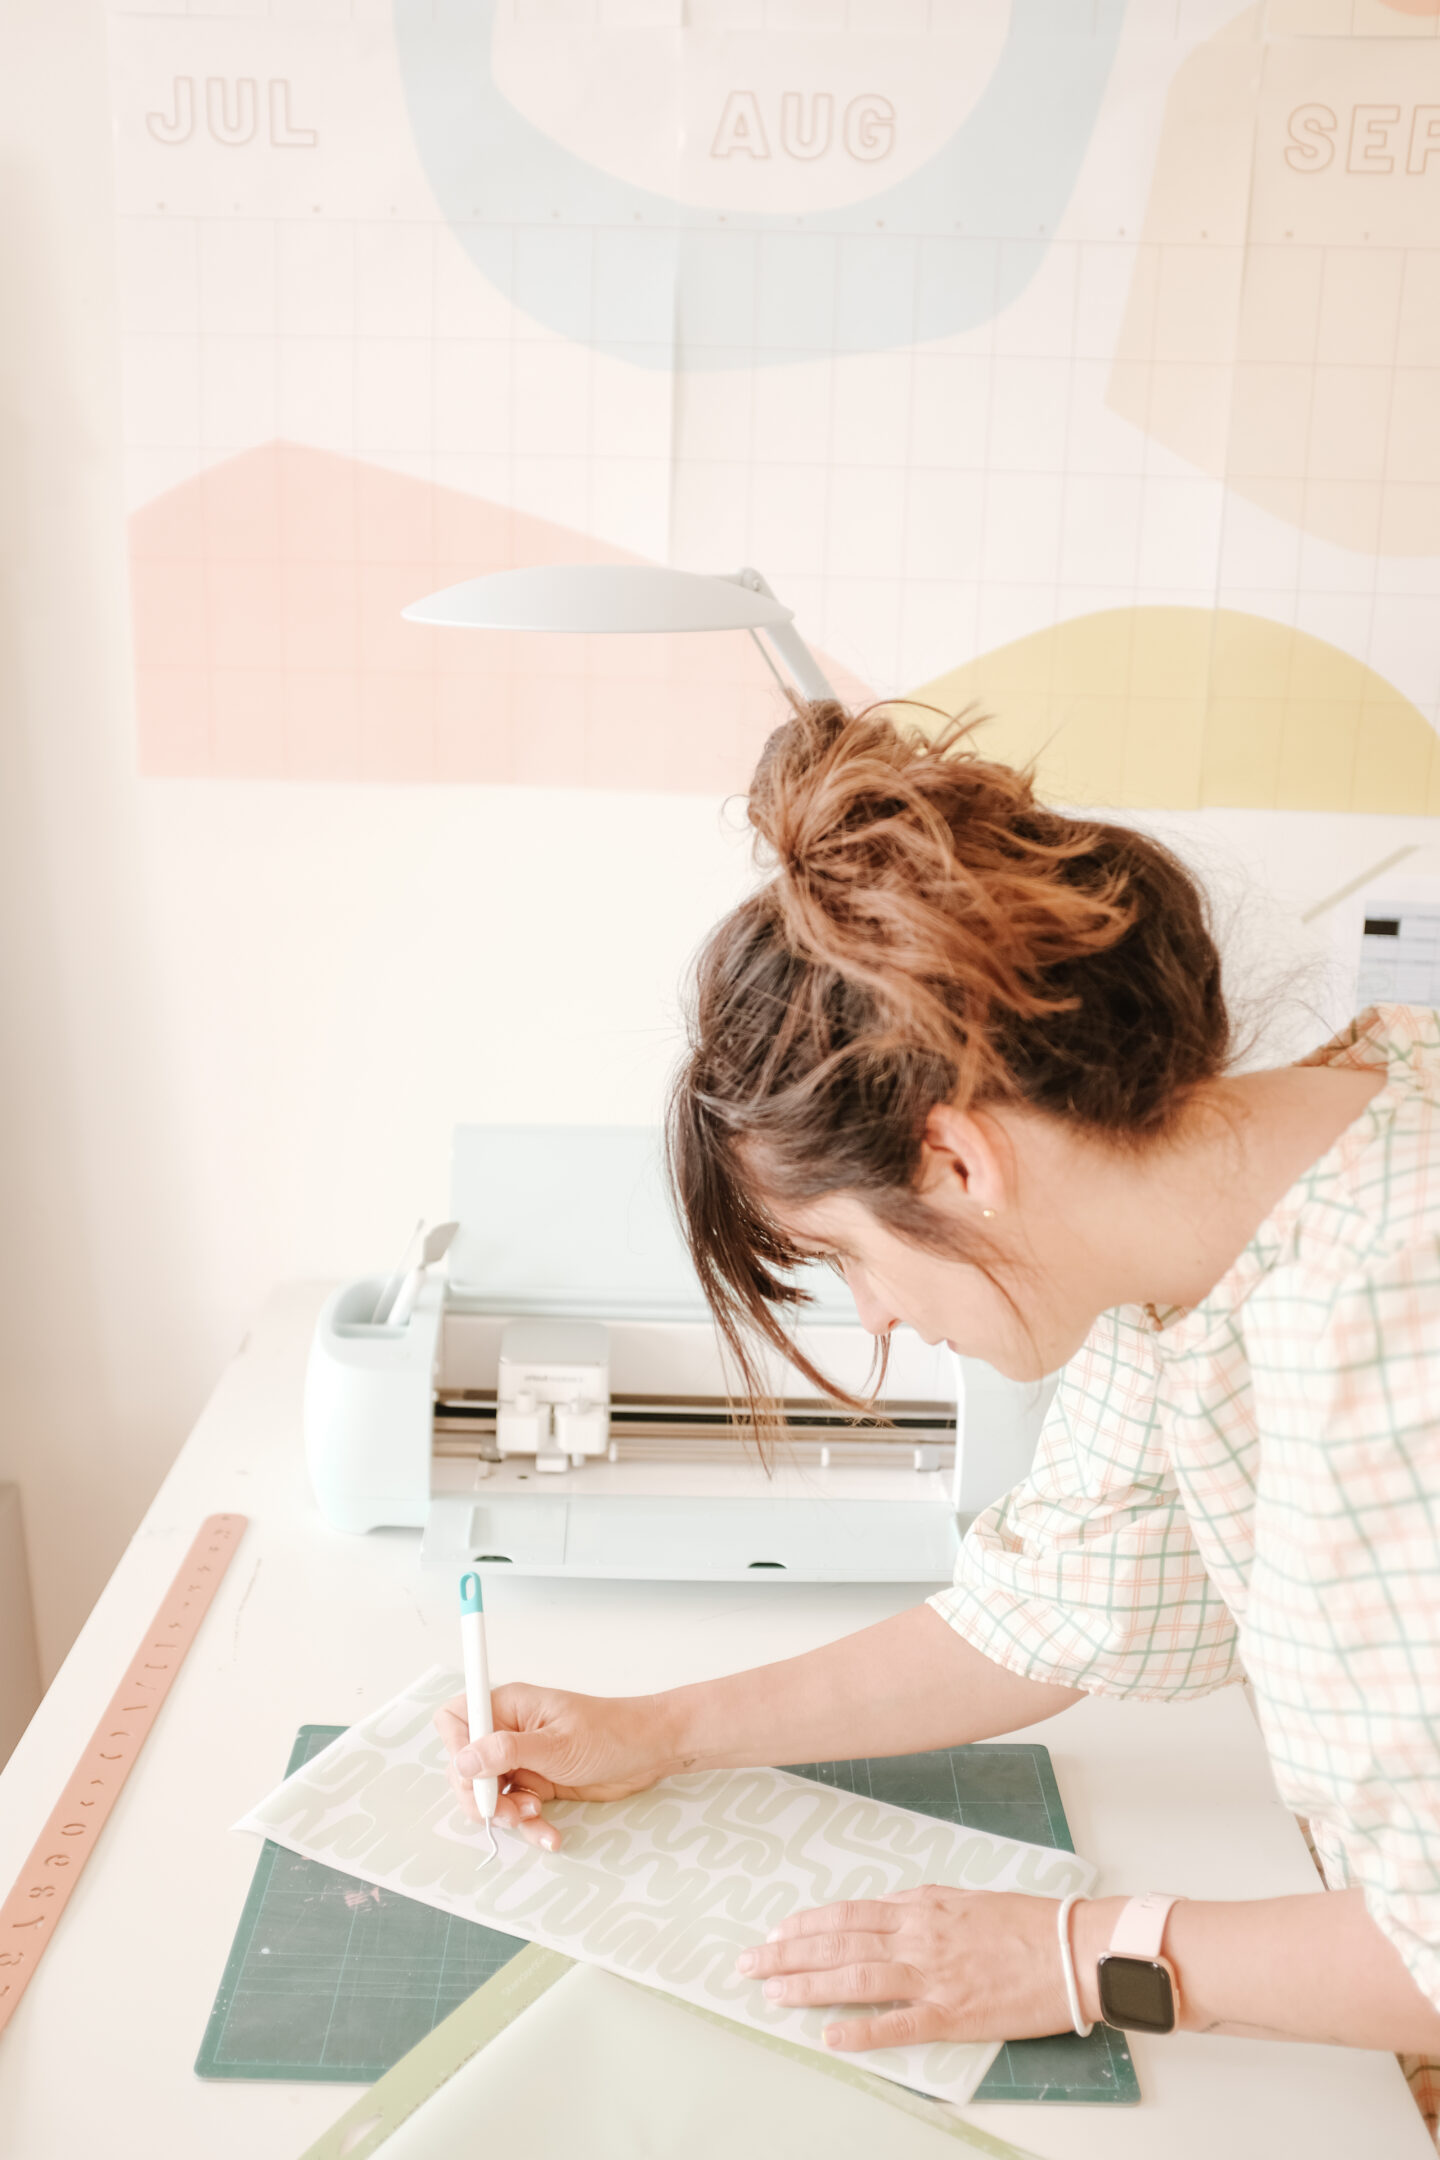
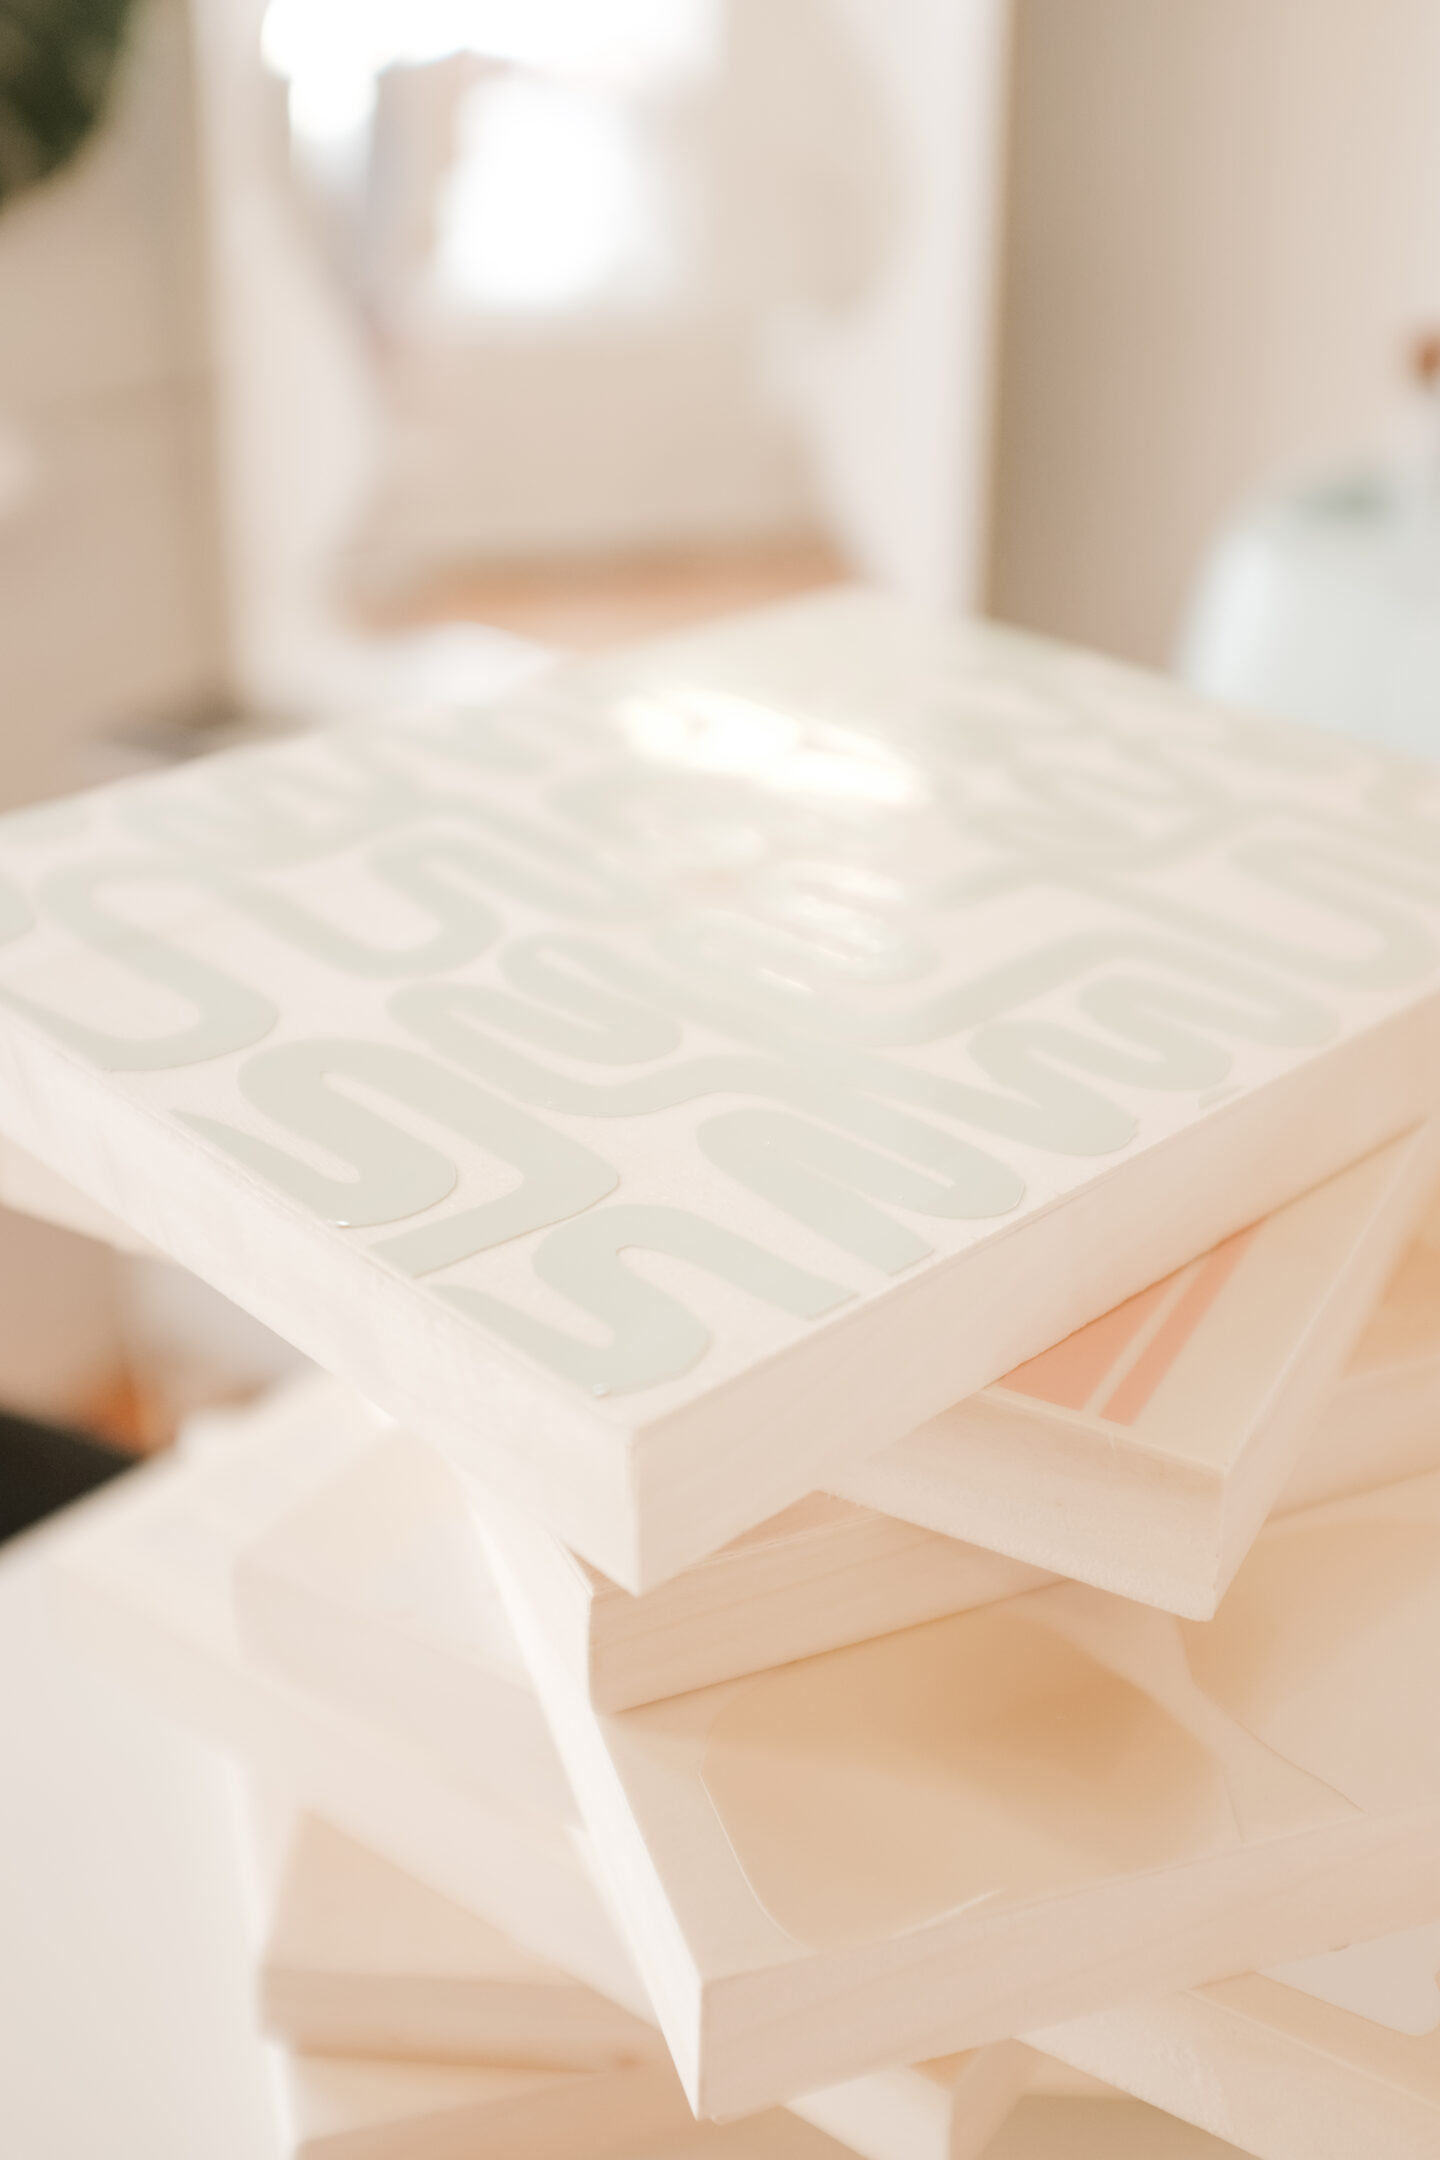
Now, colour palette business: I picked 4 colours to create my art keeping the gallery wall design similar in tones and finishes. You can easily replicate this process fitting your unique aesthetic using a Cricut machine and vinyl (as I did) or painting some on your own.
Now, let me show you how to do this project at home step-by-step, yay!
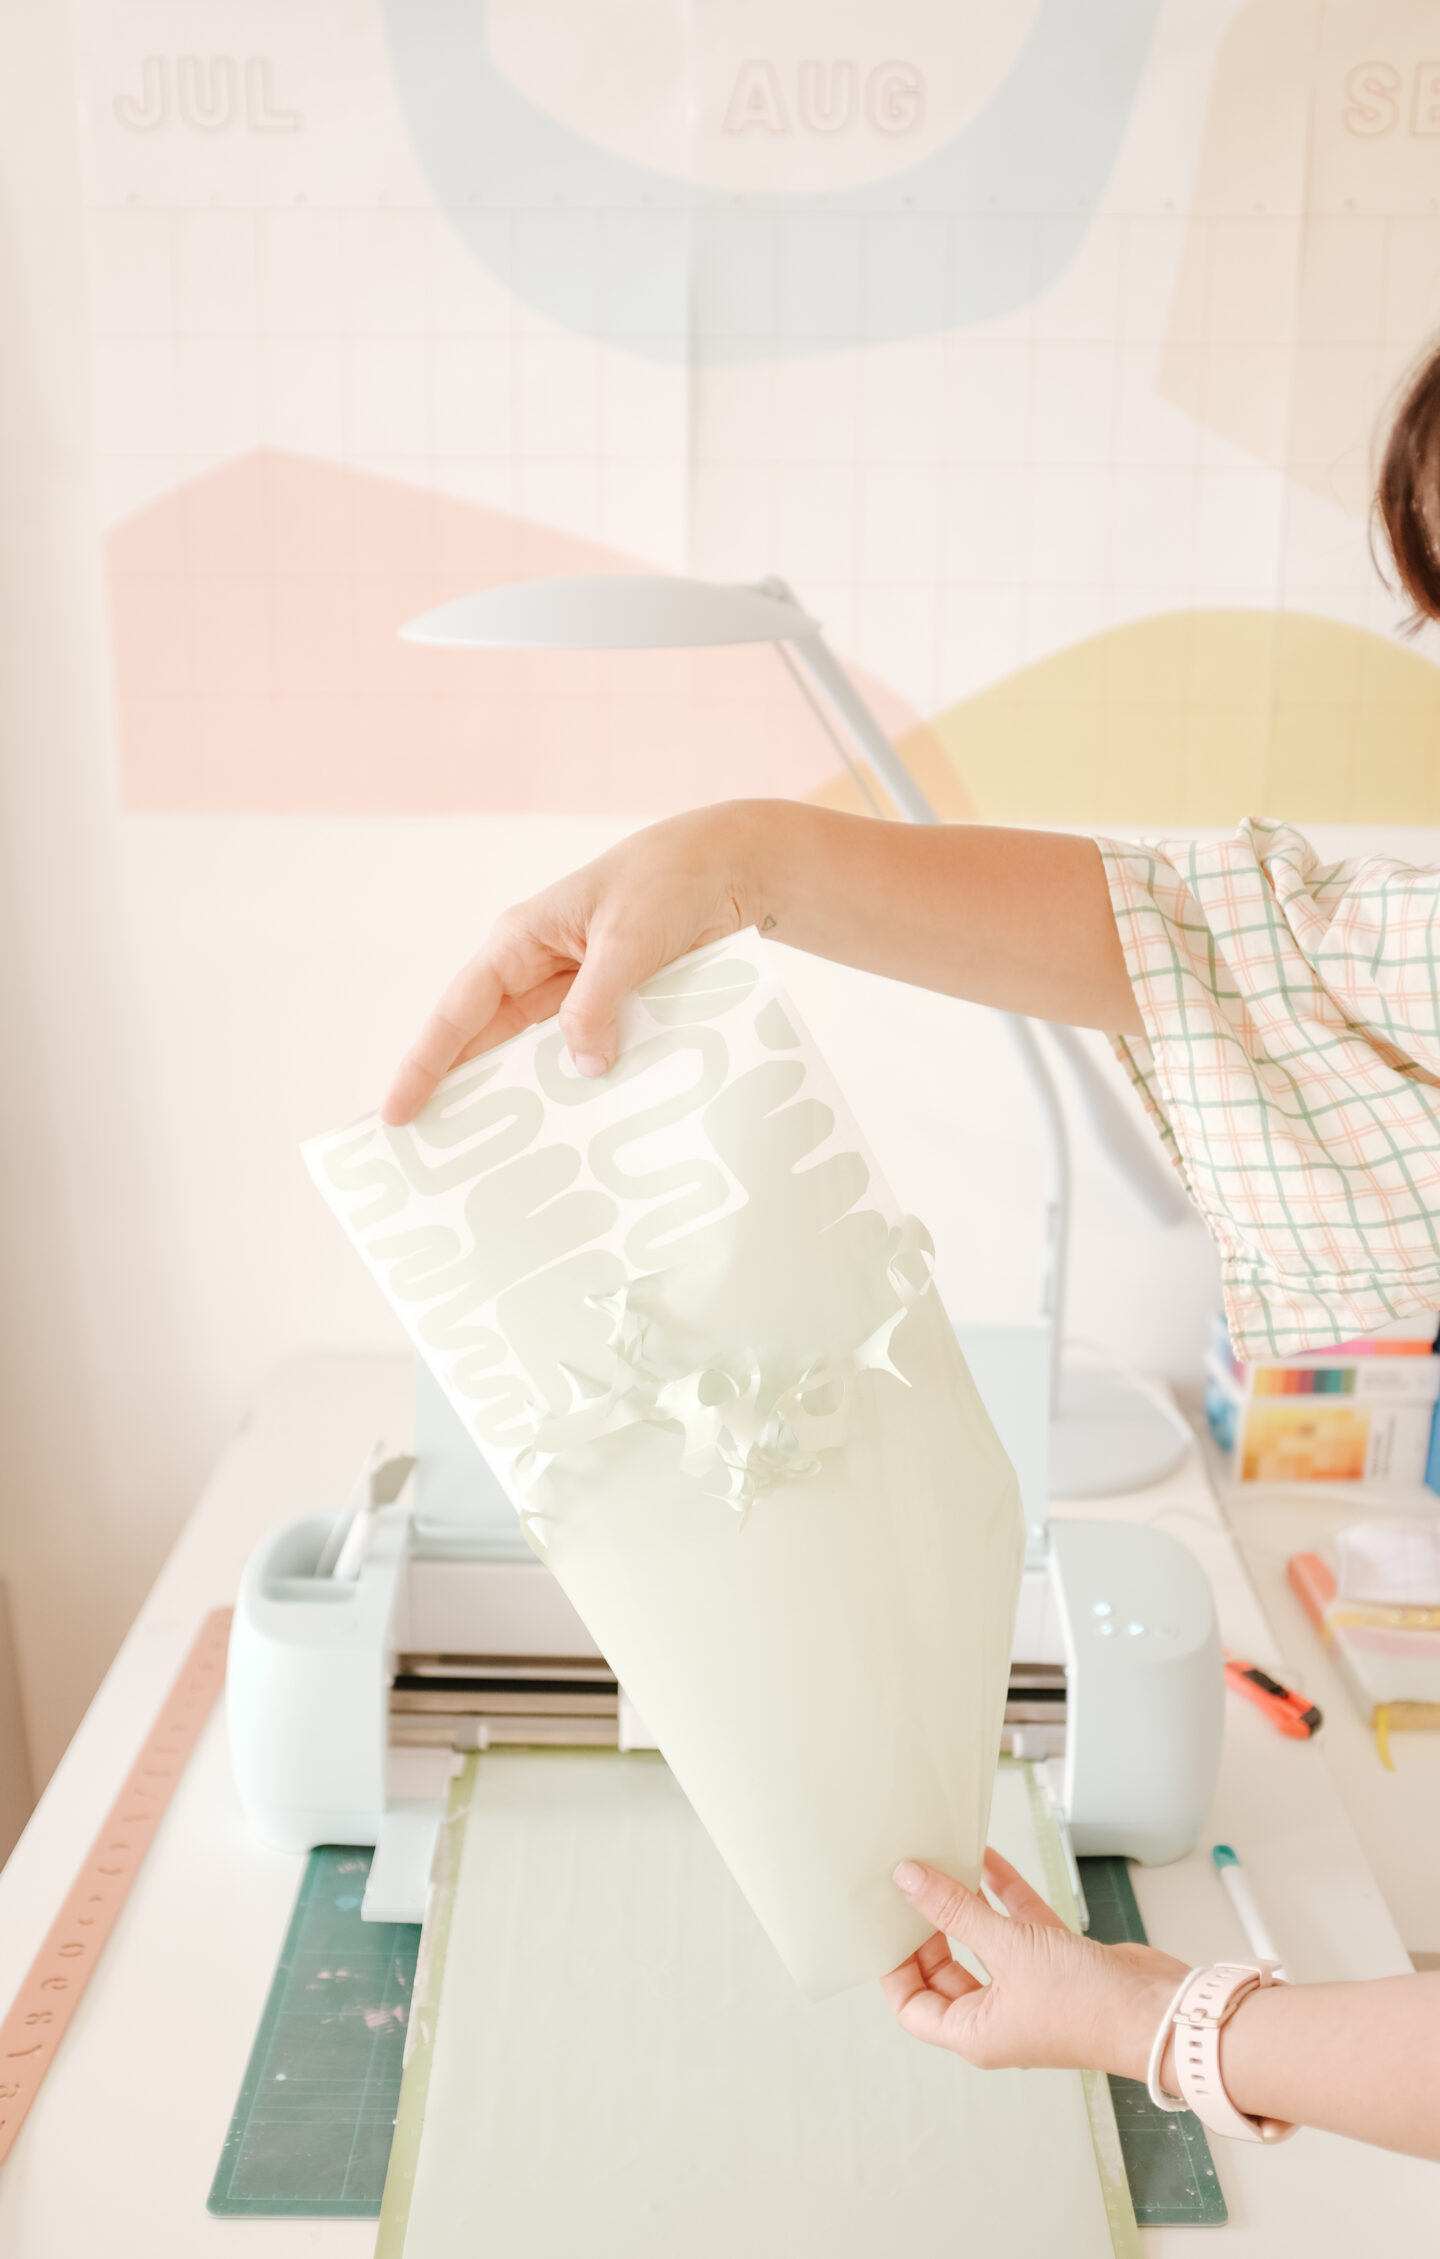
If you don’t own a Cricut machine, no sweat! You can get the vinyl and draw with a pencil the shapes and cut them with scissors.
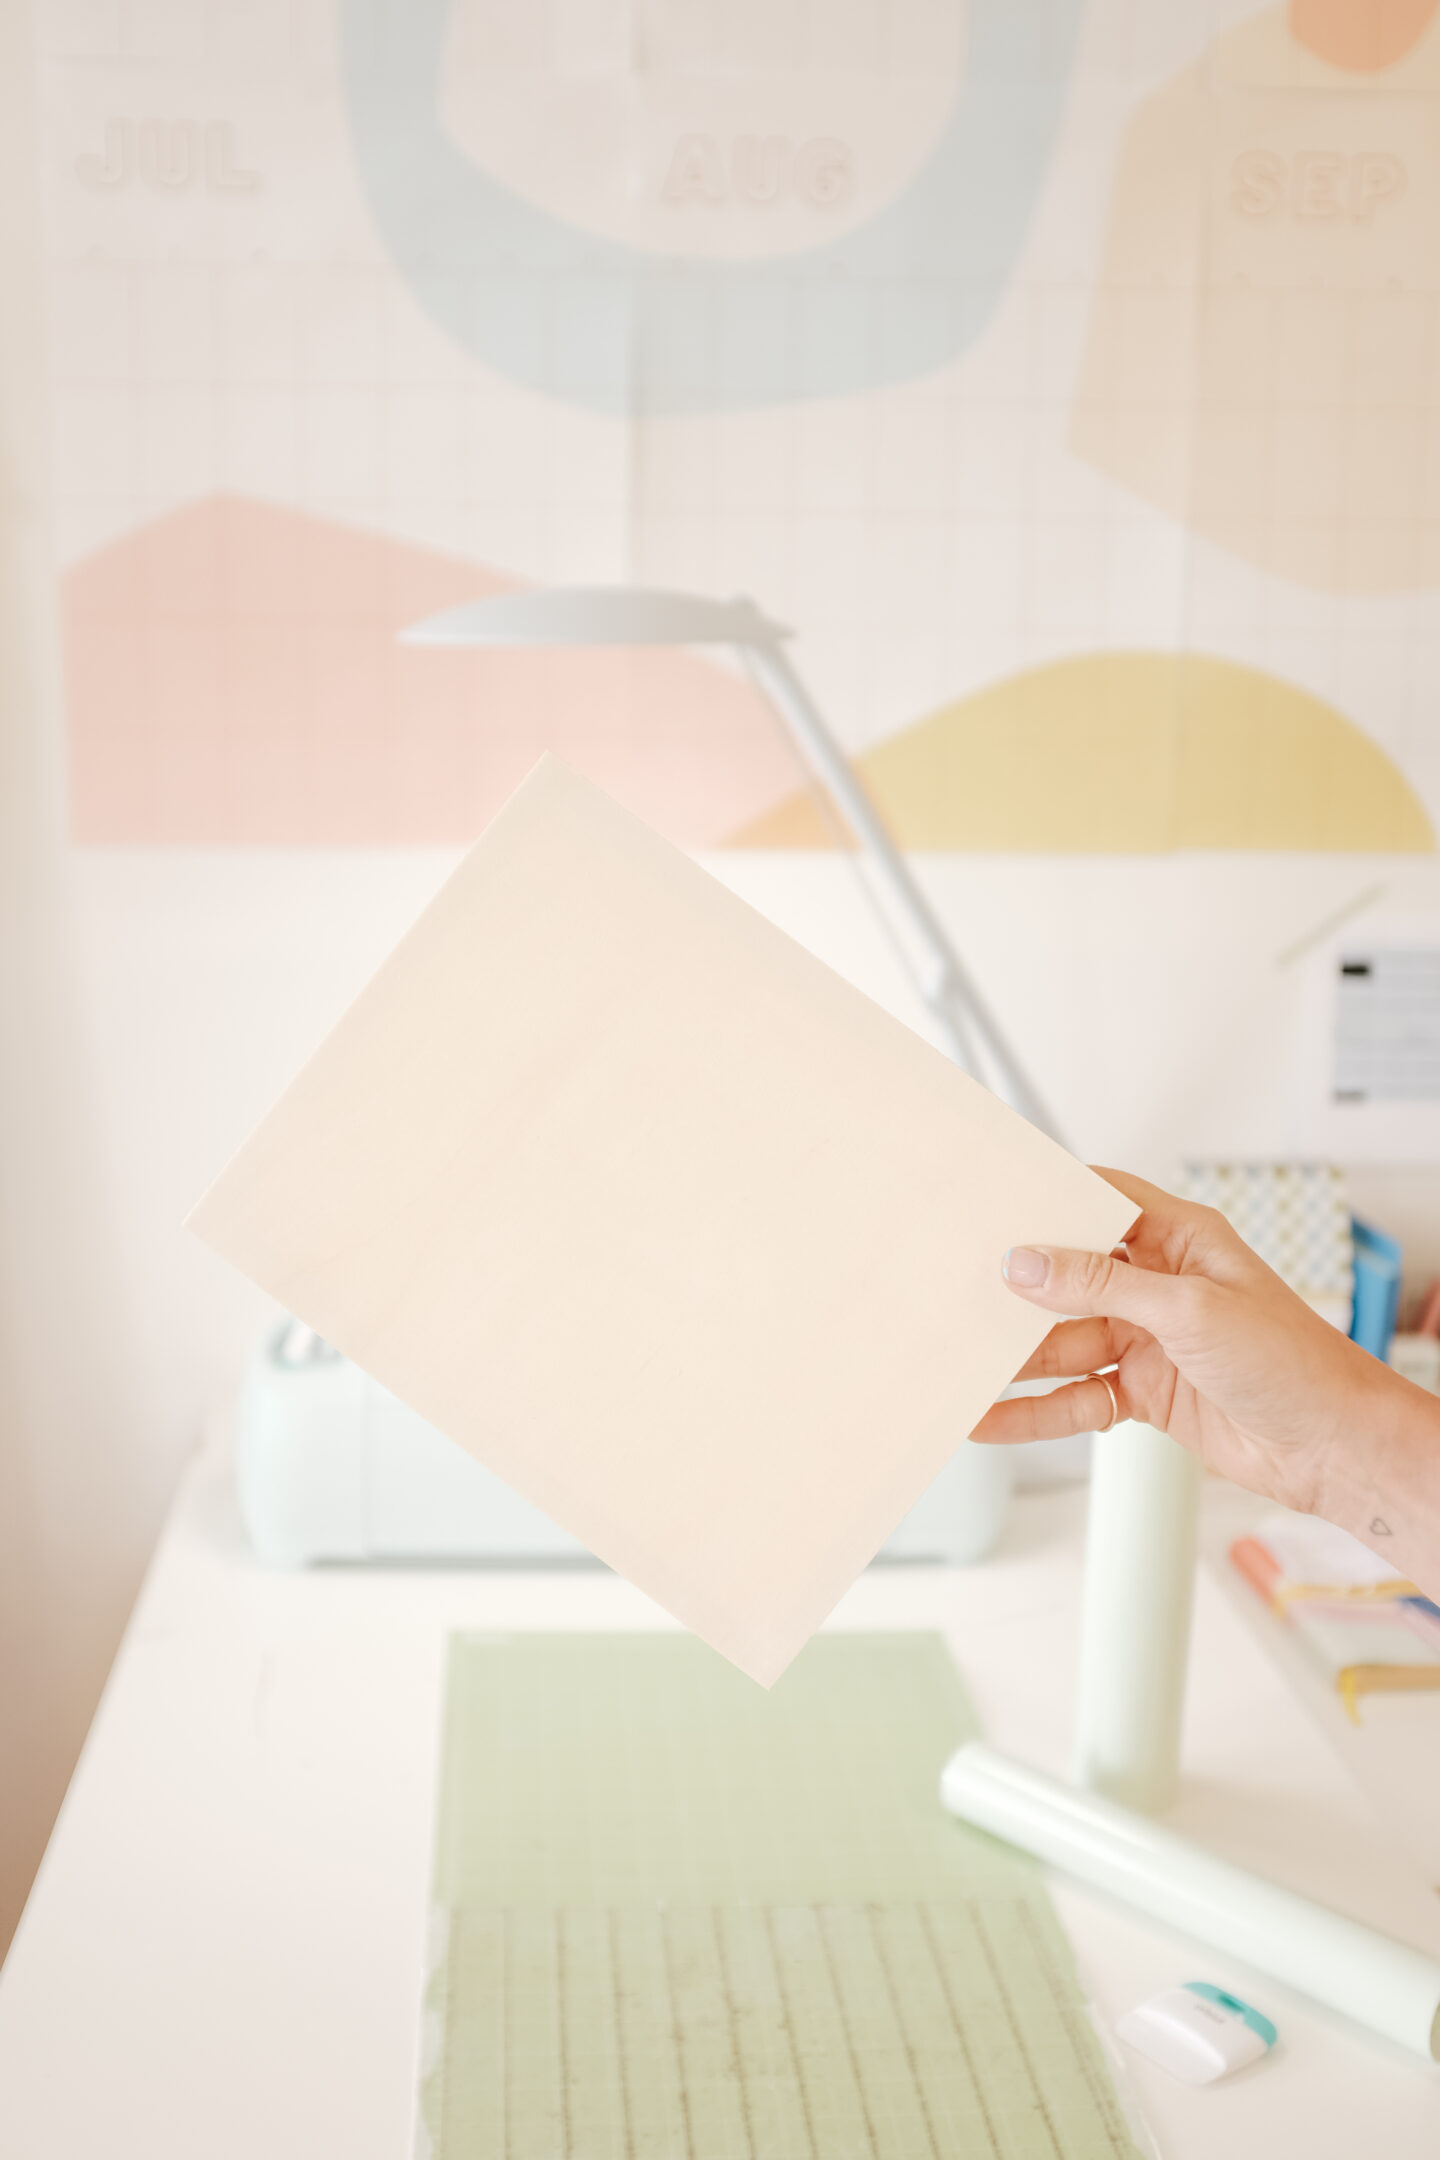
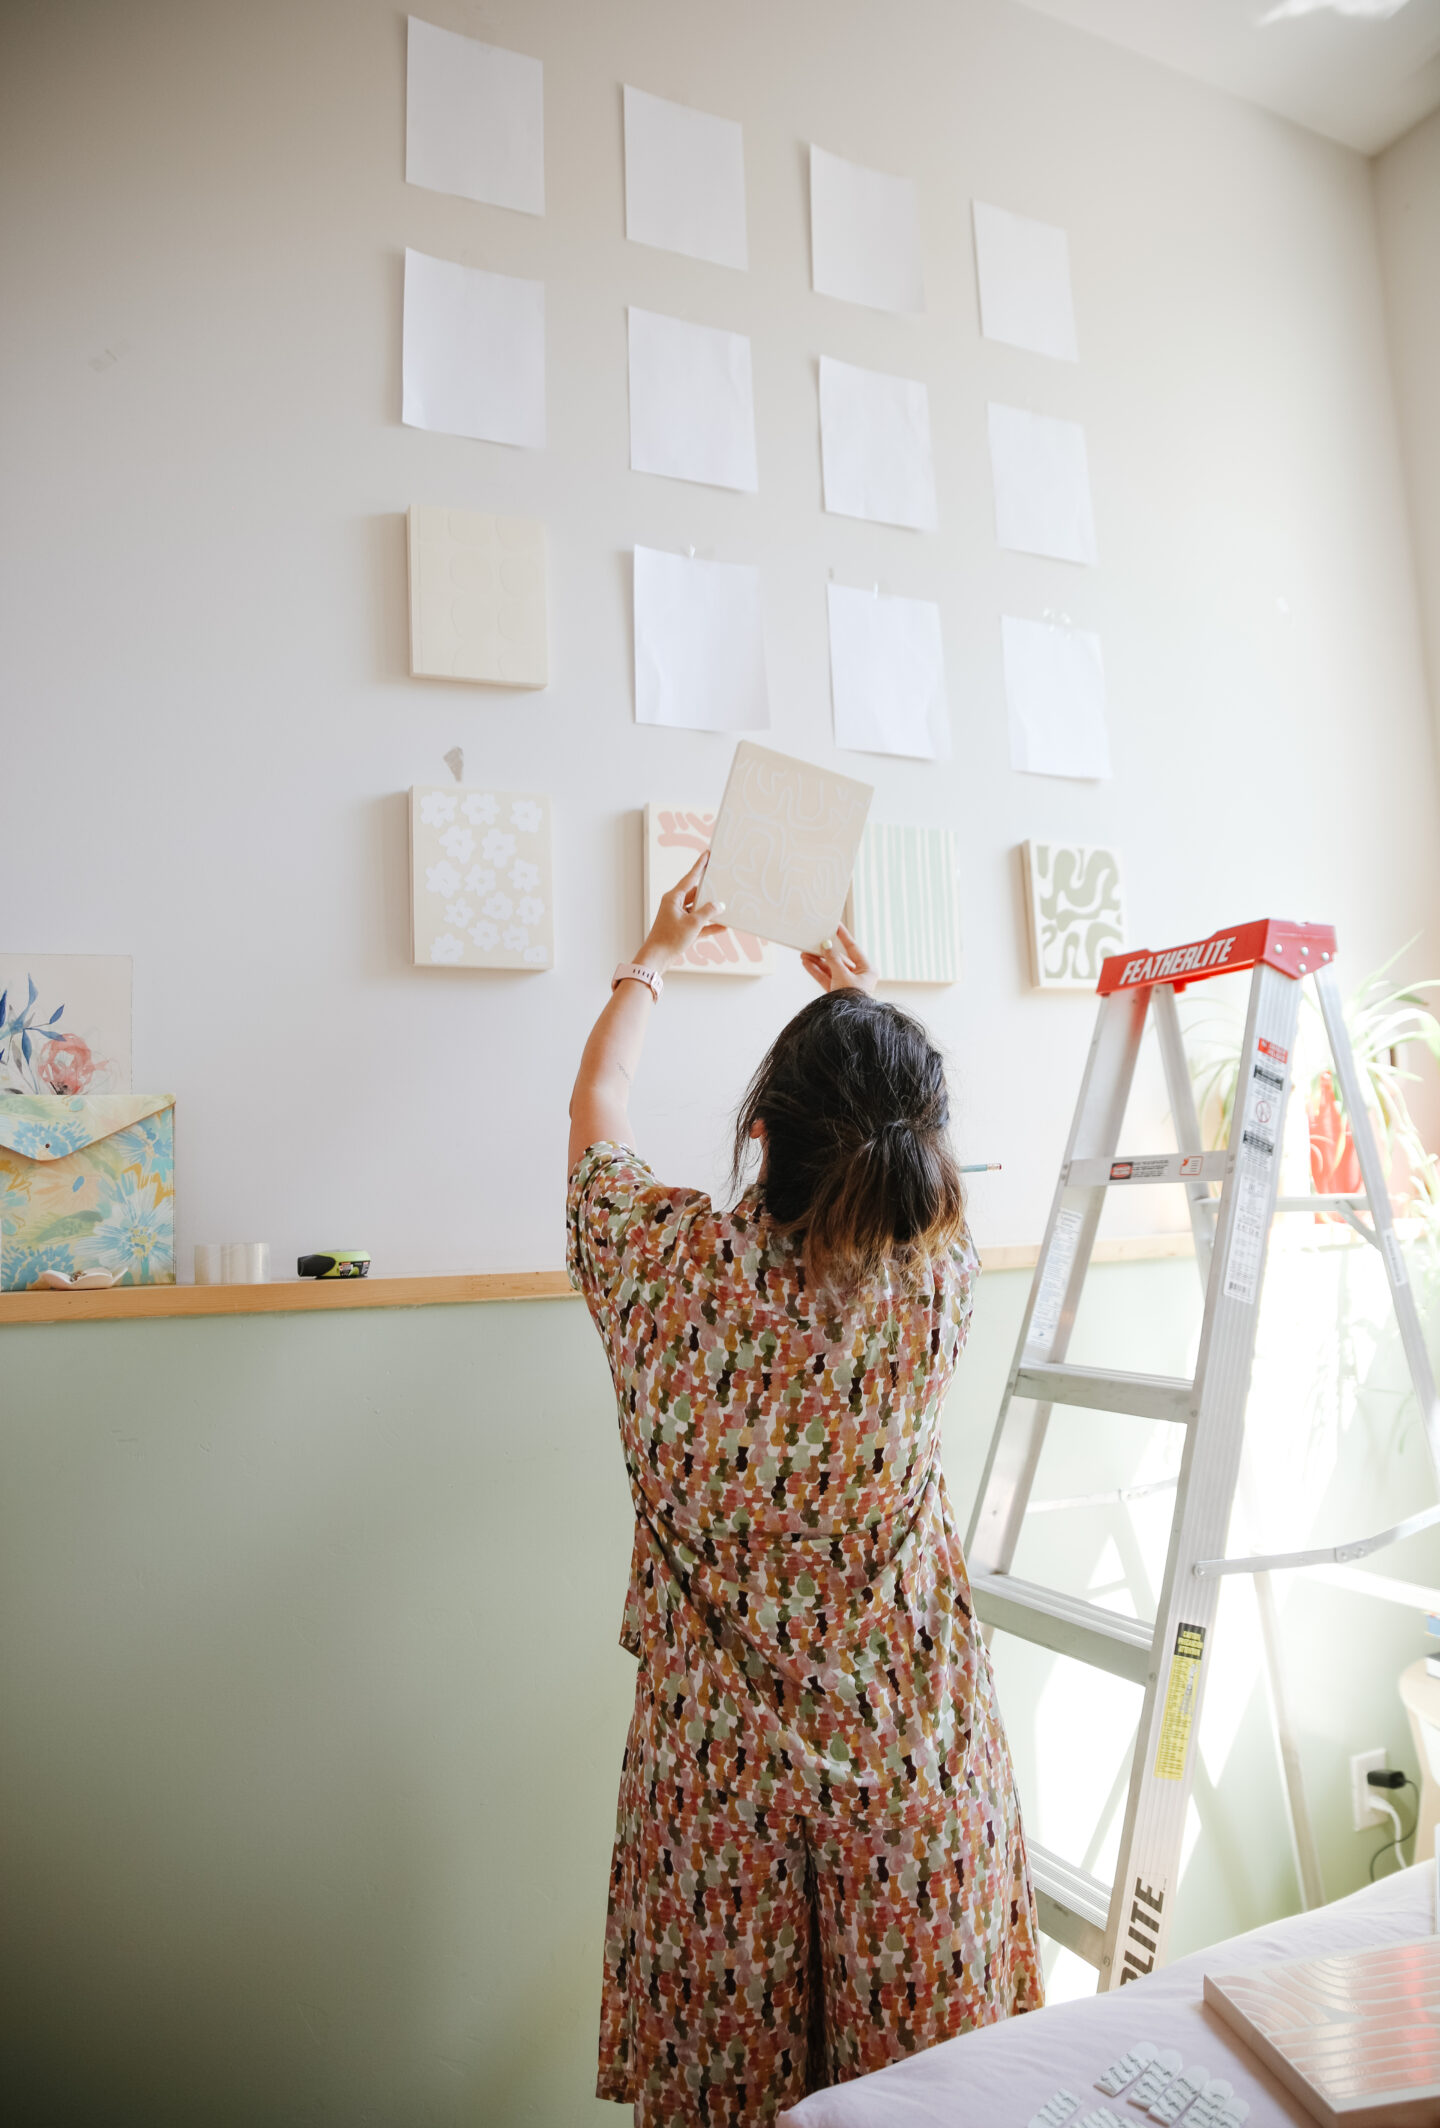
Cut each artwork and using a scraper attach the vinyl to the wooden frames. To avoid any bubbles when transferring, you can use transfer tape, a safe way to install vinyl in any surface. I made 16 different designs to achieve a 4 row gallery wall, alternating colours and designs.
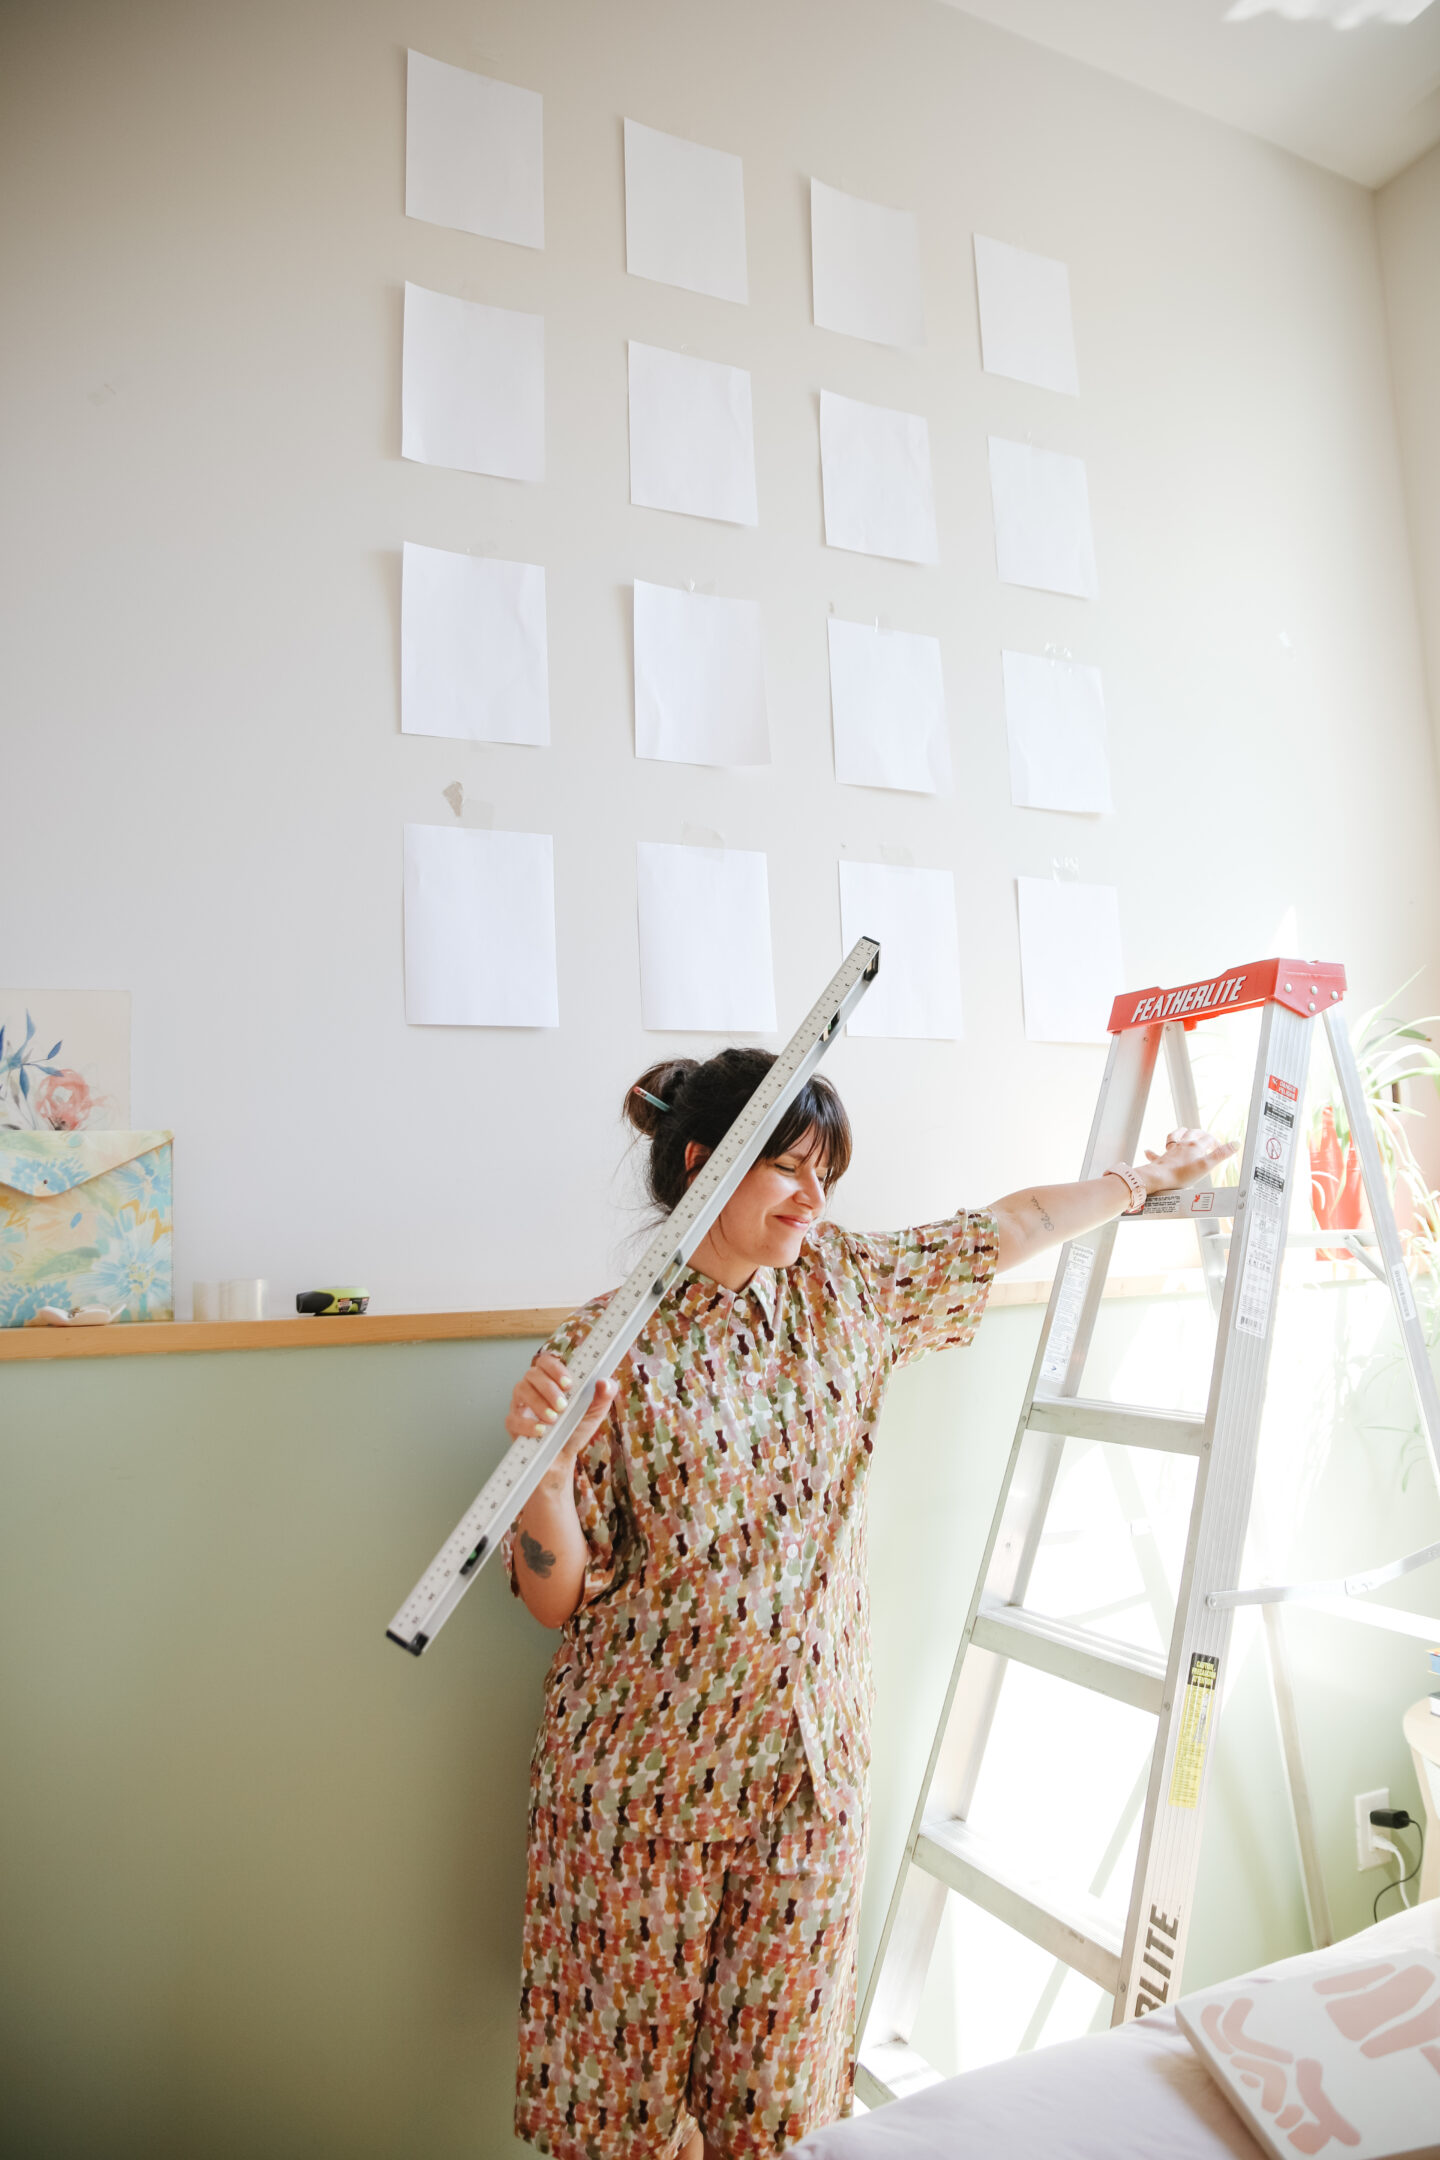
We finished the artwork (high-five!) now, let’s jump into the hanging situation (the tricky part, I know, I know). Before you go and hang everything, the best strategy to make any gallery wall is to lay out the final design on the wall using paper and some tape. I measured the space I wanted between the frame (5 inches on each side) and taped 8 x 10 sheets of paper – the exact size of my frames.
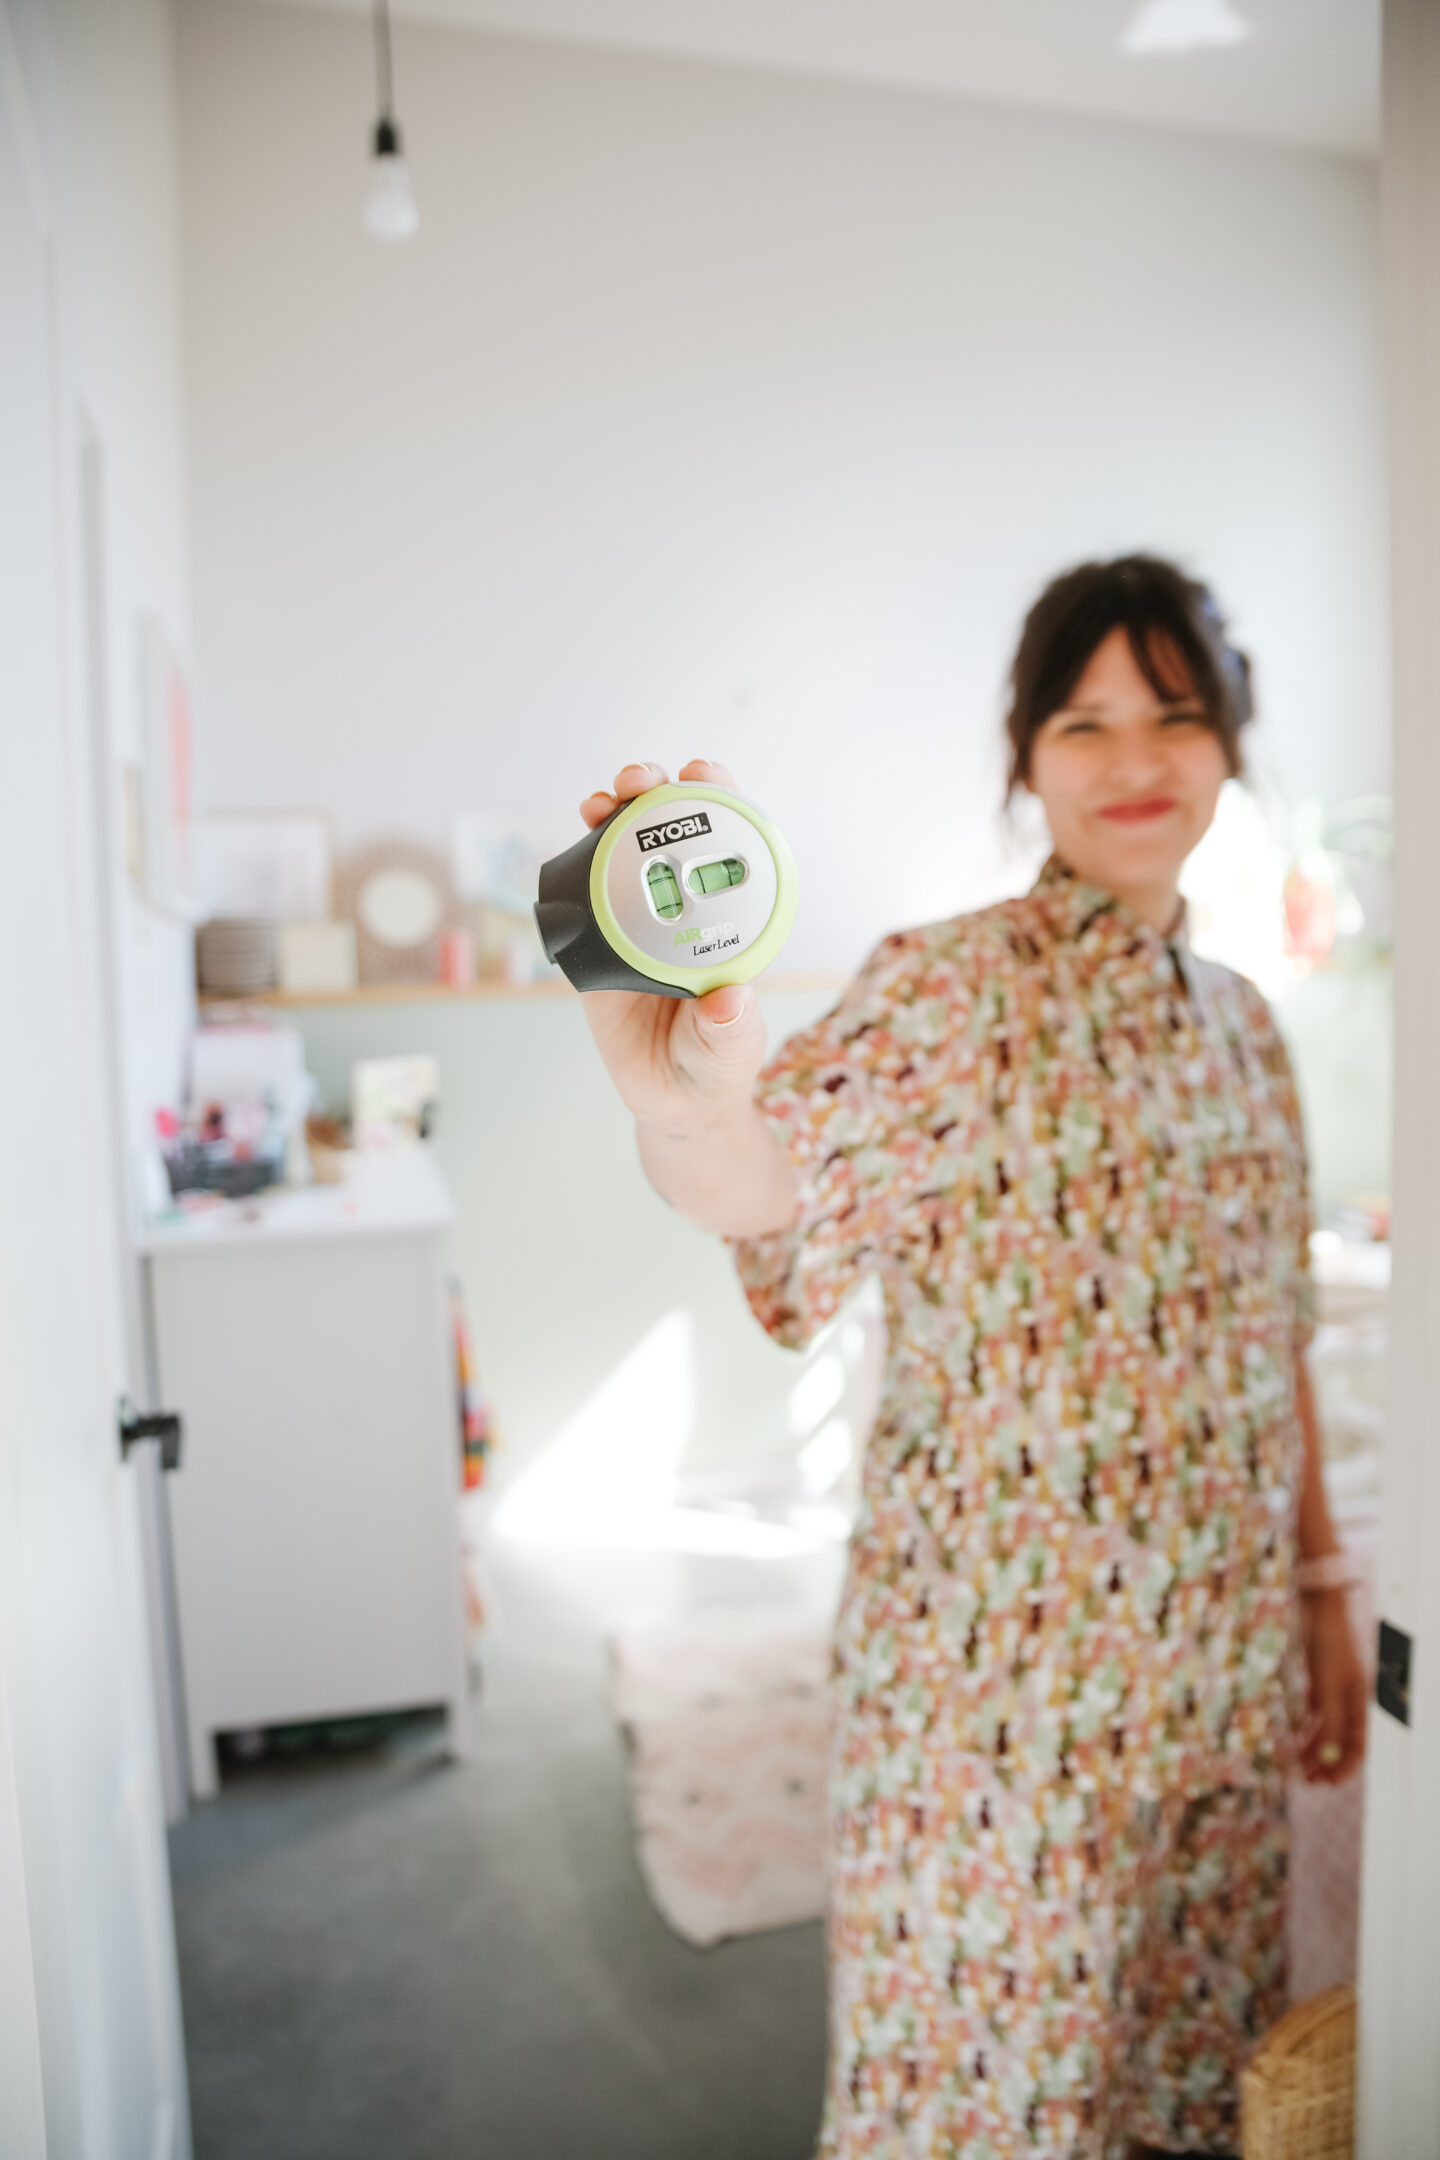
A few things you’ll need: a good level, measuring tape, a pencil and picture hanging strips. I used two levels (one with a laser and one with a measuring tape guide) making sure my frames were aligned and straight. Using a pencil, make tiny guide lines that will help you hang your frames without a sweat when removing the lay out paper.
If you are renting or trying to avoid any wall damage this no-nail method is THE one! Command strips are the most common way of hanging frames leaving zero traces and messes so let’s start by cleaning the wall, sticking the strip to the back of the frame and placing the frame into the wall following your guide lines. Do not forget to apply a bit of pressure and repeat this process with each frame until you complete your adorable gallery wall.
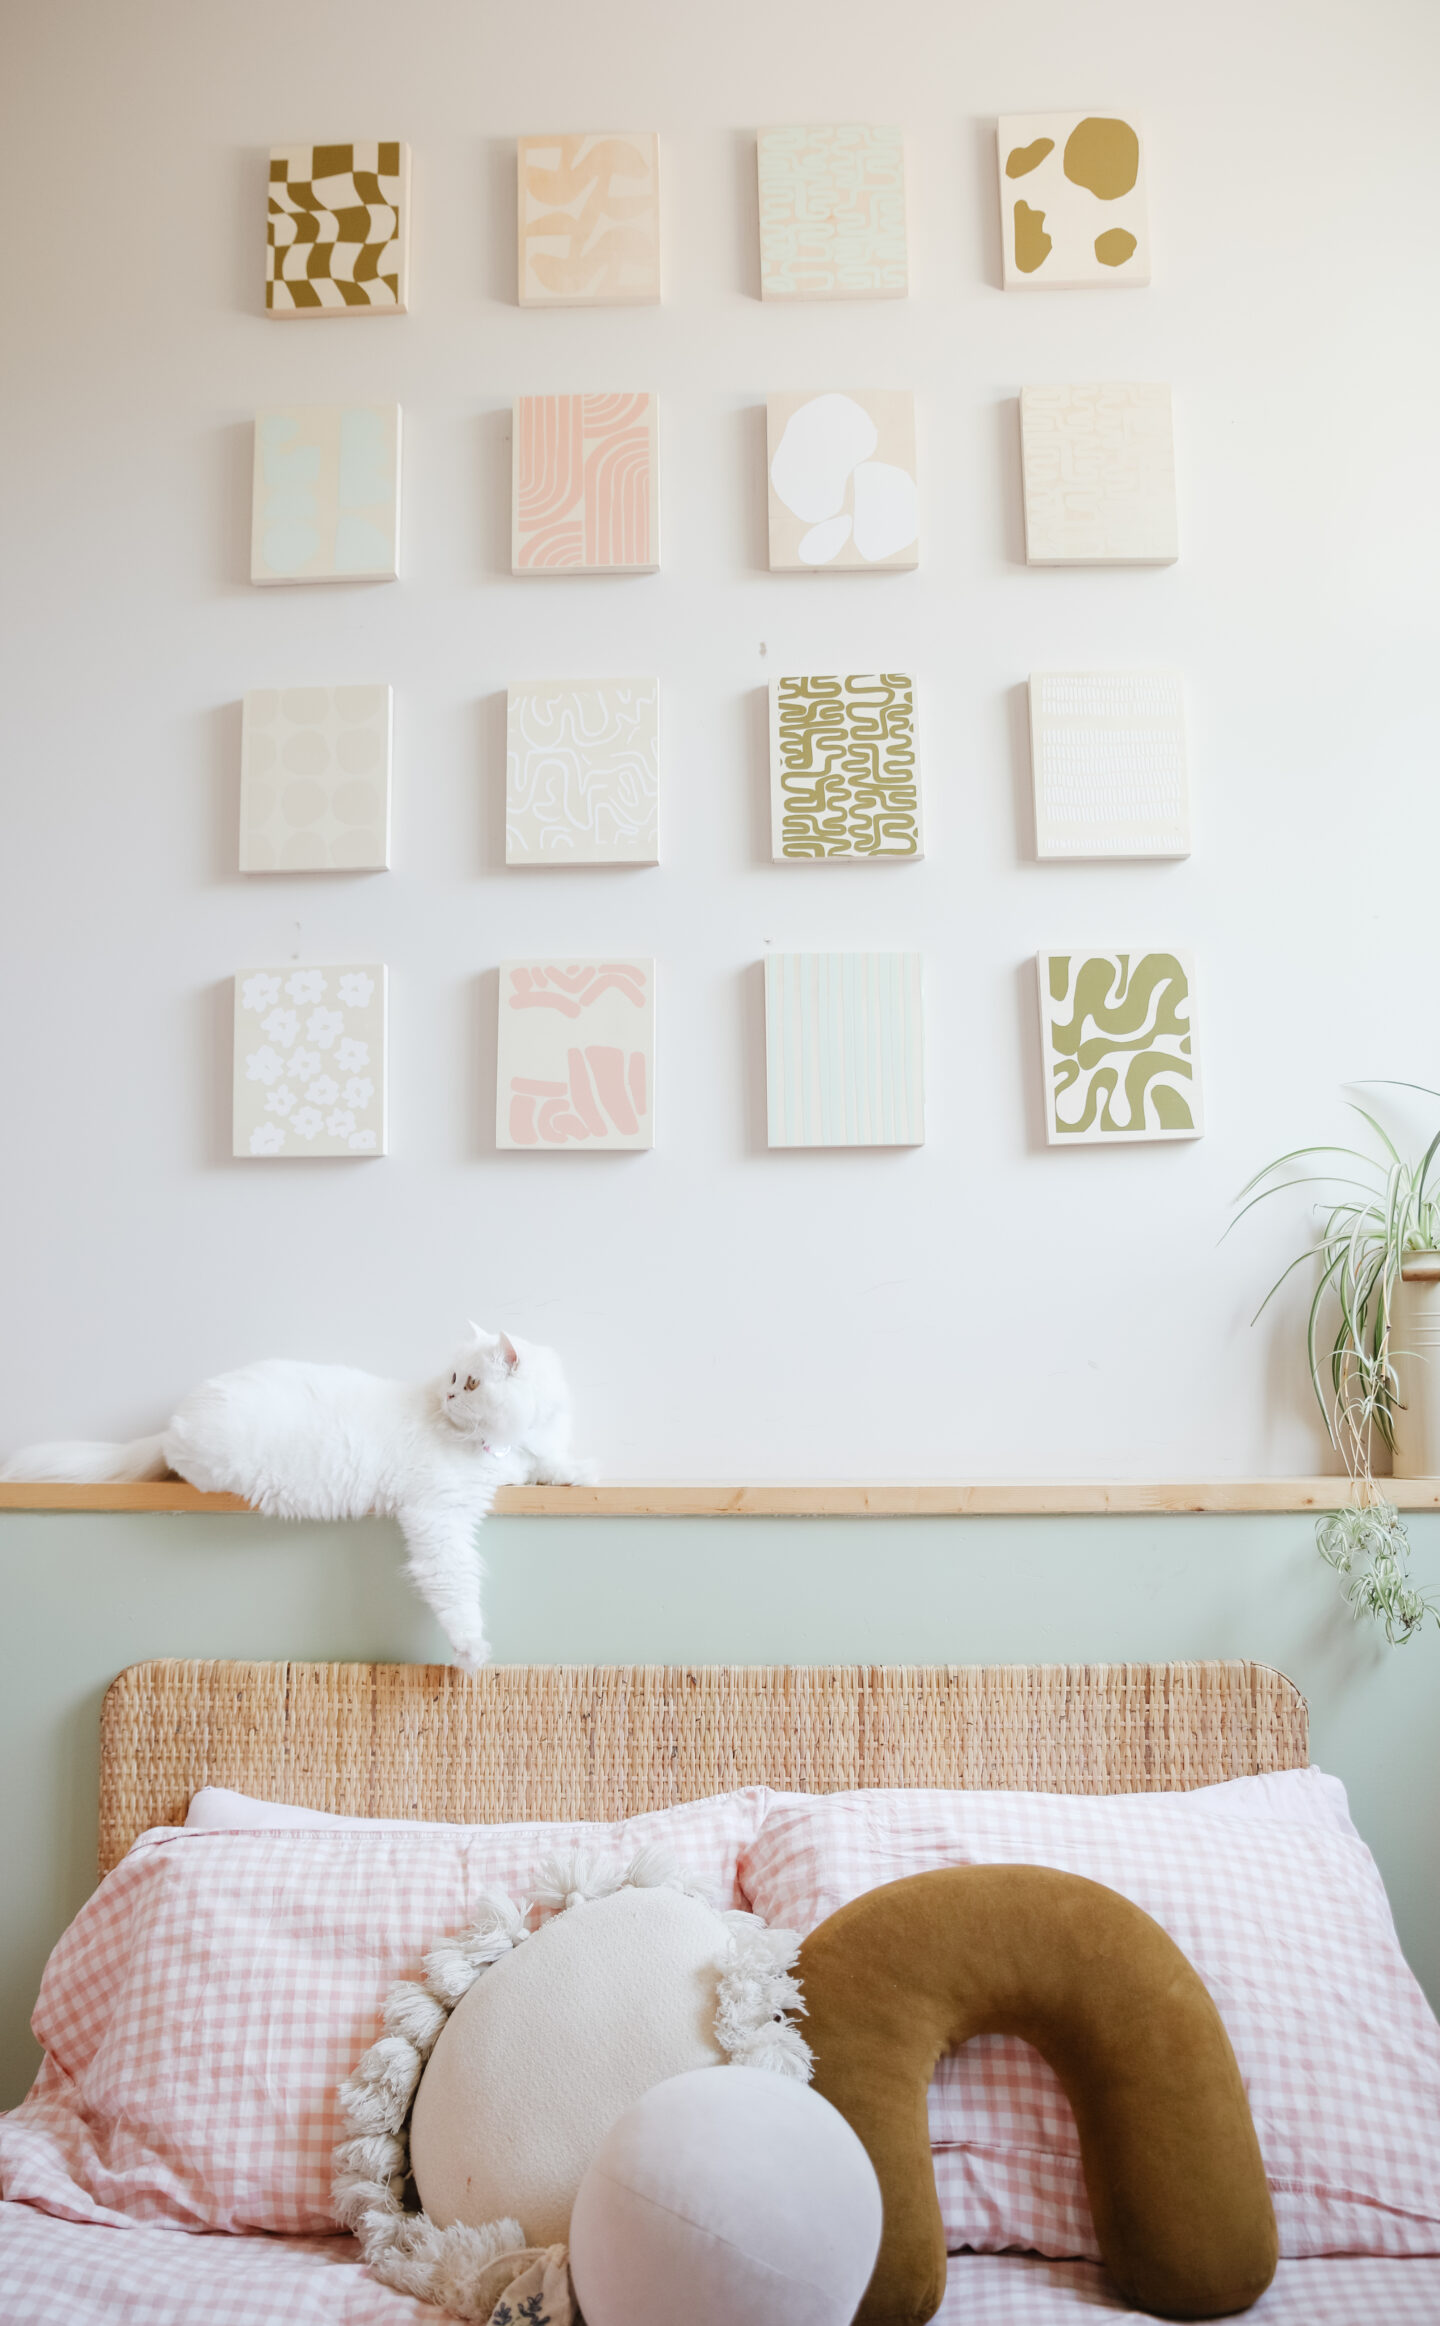
We did it! Are you ready to create your unique gallery wall soon?
Excuse me sir, is this your new favourite spot? Moshi approved the new design!