DIY Wooden Letter Board – A Thrifty Wall Decor Idea

wooden and black vinyl letters in a rail on a wall

Elevating your wall decor doesn’t have to come with a hefty price tag, right?

With a bit of creativity and resourcefulness, you can create stunning pieces that not only add personality to your space but also save you a significant amount of money – just like I did in this DIY project, more specifically how I saved $600!

 In this step-by-step tutorial, I’ll guide you through the process of crafting your own stylish wooden letter board using upcycled materials and basic tools. 

Get ready to unleash your inner DIY enthusiast and transform your walls with this thrifty wall decor idea.

wooden letters with black vinyl

Materials Required:

 
  • Upcycled wood (that I had from my home renovation and enough for four rails)
  • Vinyl scraps or sheets
  • Cricut maker 3 machine or similar for creating vinyl letters
  • Acrylic paint (black)
  • Black screws
  • Sandpaper
  • Wood glue
  • Measuring tape
  • Pencil
  • Table saw
  • Miter saw
  • Drill
a girl using a mitre saw cutting wood
a girl using a table saw cutting wood

Step One: Measure and Cut the Wood

 
  • Begin by gathering the upcycled wood or buy new one if you don’t have any leftovers. Ensure that you have enough material to create four equal-length rails for your letter board of about 60 cm each.
  • Using a table saw, carefully measure and cut the wood into four uniform pieces. The dimensions will depend on the size of the letter board you desire.
  • In addition to the wooden rails, you’ll also need wooden pieces to serve as the individual slots for each letter on your board – Using a miter saw, measure and cut small pieces of wood to the desired length. These wooden letters will provide depth and dimension to your letter board, enhancing its visual appeal.
  • Once the wood is cut, use sandpaper to smooth out any rough edges and surfaces, creating a clean and polished look.
bottle of black acrylic paint
painting a wooden rail in black with a brush paint

Step Two: Paint the Wood Rail

 
  • To achieve a sleek and cohesive finish, apply a coat of black acrylic paint to all four wooden rails. Be sure to use even strokes and cover the surfaces thoroughly.
  • Allow the paint to dry completely before moving on to the next steps. This will ensure that the paint adheres properly and prevents any smudges or streaks.
using cricut maker 3 and cricut design space

Step Three: Create Vinyl Letters

 
  • Now it’s time to add the personalized touch to your letter board with custom vinyl letters. Using a Cricut machine or similar device, design and cut out the letters and characters you wish to display.
  • Experiment with different fonts, sizes, and styles to achieve the desired look for your letter board. This is where you can let your creativity shine and tailor the design to suit your aesthetic preferences.
cutting vinyl letters with a scissor
attaching vinyl letters to wooden squares

Step Four: Attach Vinyl Letters to Wood

 
  • Once the vinyl letters are cut, carefully peel them from the backing and apply them to the wooden pieces you just cut.
  • Take your time to ensure that the letters are positioned accurately and evenly spaced along the length of 4 cm x 4 cm wooden pieces. This will create a professional-looking finish and enhance the overall appearance of your letter board.
drilling a wooden rail to a wall
adding vinyl wooden letters to a wall board

Step Five: Assemble the Letter Board

With the vinyl and wooden letters in place, it’s time to assemble the frame of your letter board.

  • Choose a prominent location where it will be easily visible and make a bold statement in your space.
  • Using a drill, attach the wooden rails of your letter board securely to the wall using black screws. Be sure to use anchors or wall plugs if necessary to provide additional support.
  • Now that your DIY wooden letter board is securely mounted, it’s time to get creative! 
  • Arrange the vinyl letters on the board to display your favorite quotes, messages, or reminders.
  • Experiment with different layouts and compositions to find the perfect arrangement that complements your space and reflects your personality.
wall board with letters
wooden letter board on a wall

Creating your own wooden letter board is not only a fun and rewarding DIY project but also a budget-friendly way to add a personalized touch to your wall decor. 

By repurposing upcycled materials and using basic tools, you can easily transform ordinary wood into a stylish, aesthetic and functional piece of wall art. 

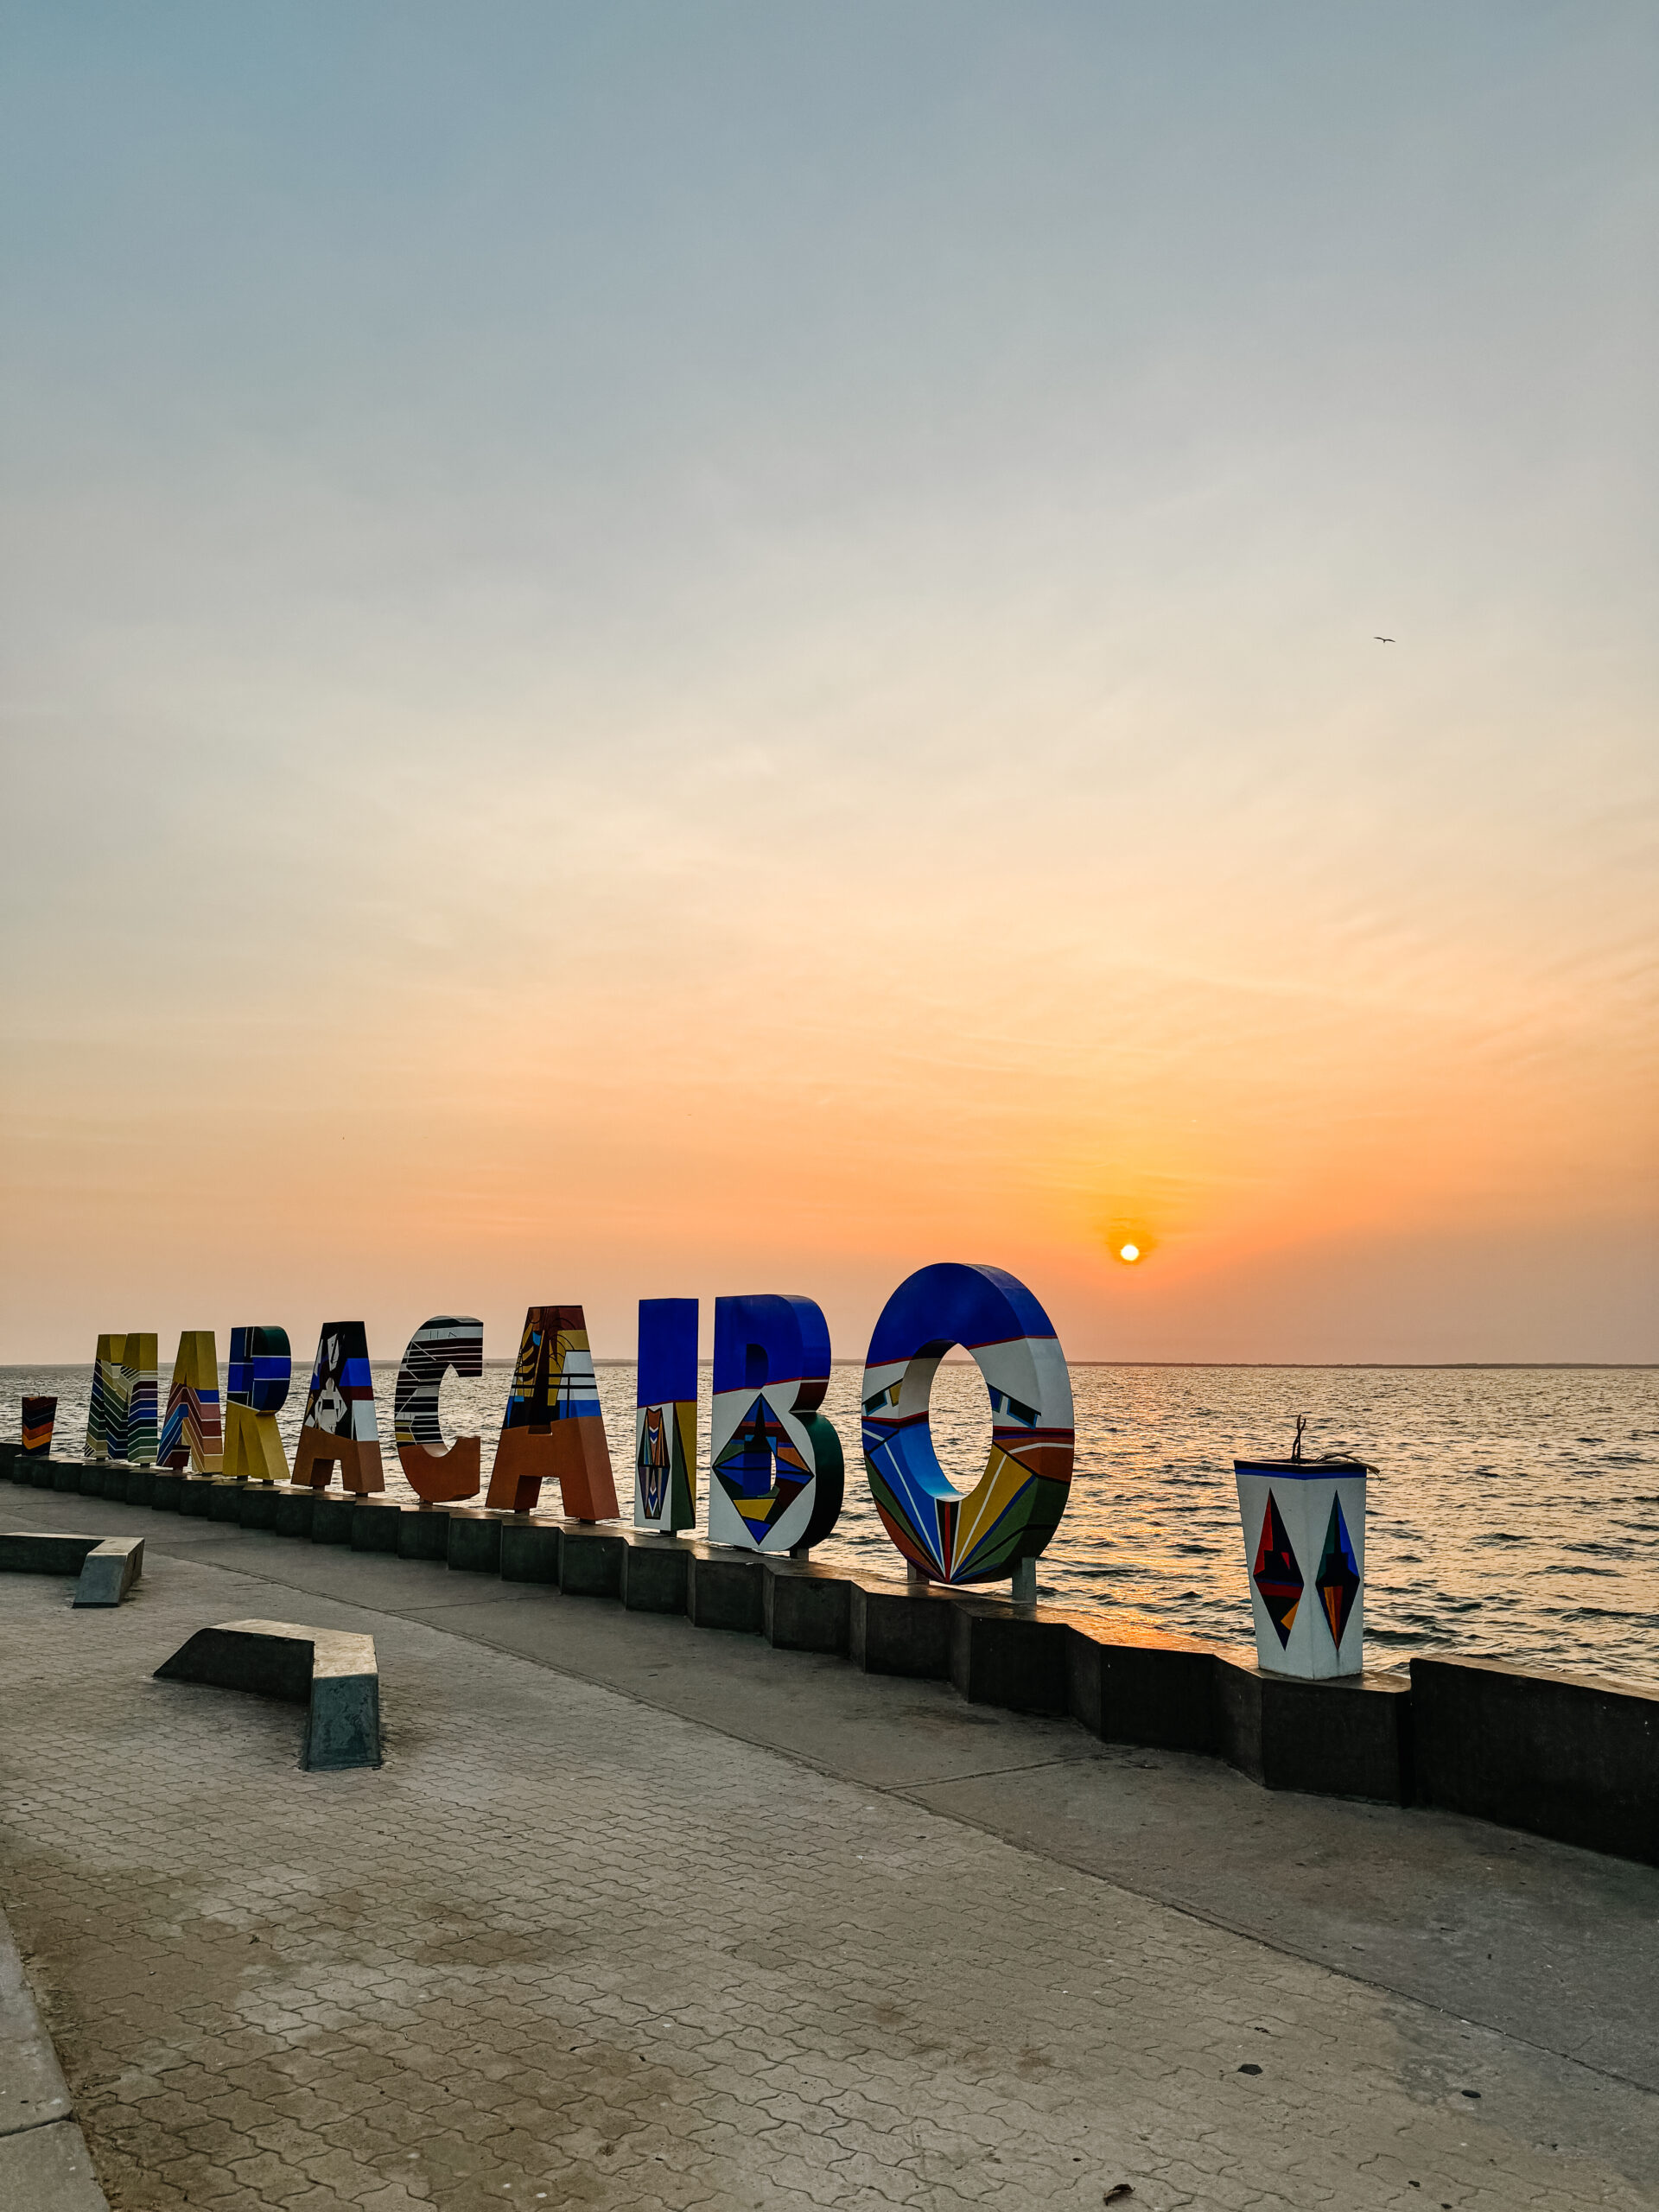
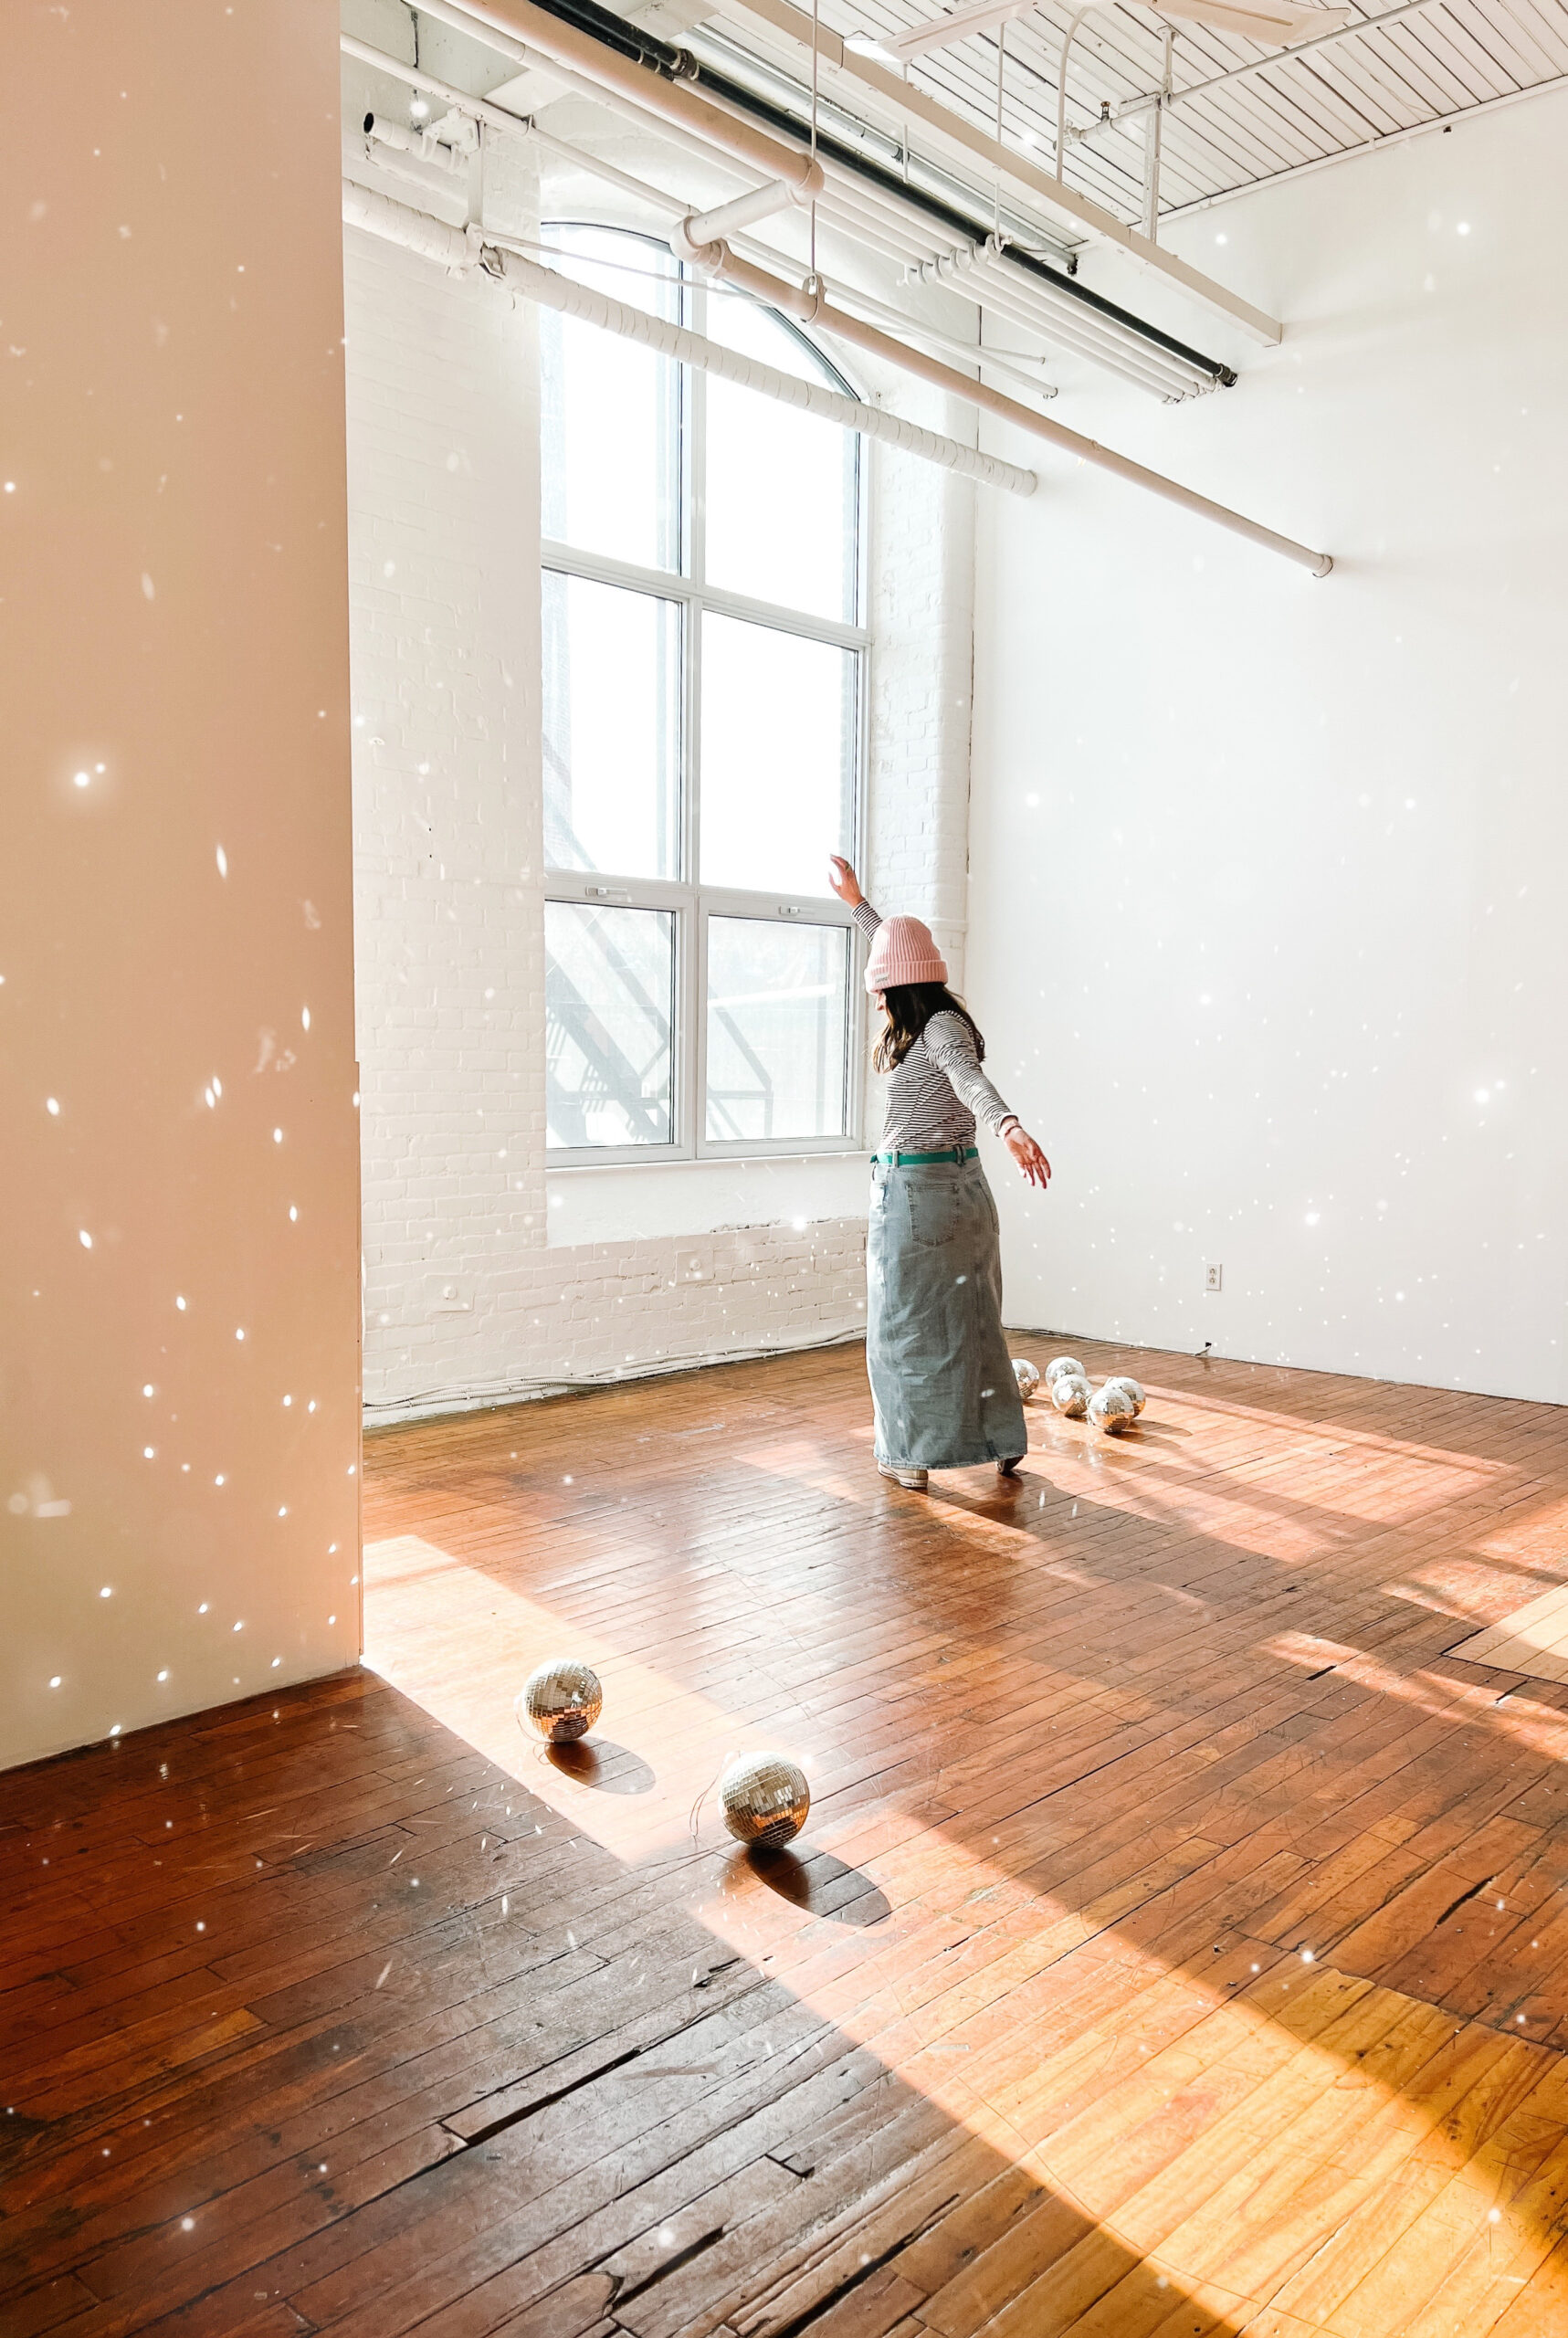
Whether you’re displaying inspirational quotes, weekly menus, or playful messages, your letter board is sure to become a conversation starter and focal point in any room just like I did at my Hey Maca Studio. 

 So roll up your sleeves, gather your materials, and let your creativity run wild as you embark on this thrifty wall decor idea!

Want to follow our DIY and Decor adventures? Run here 

 Follow me also on Instagram | Facebook | Pinterest HGTV DIY

Shop our products here | Visit our studio here

Follow:
Share: