Easy DIY Pastel Coat Rack!
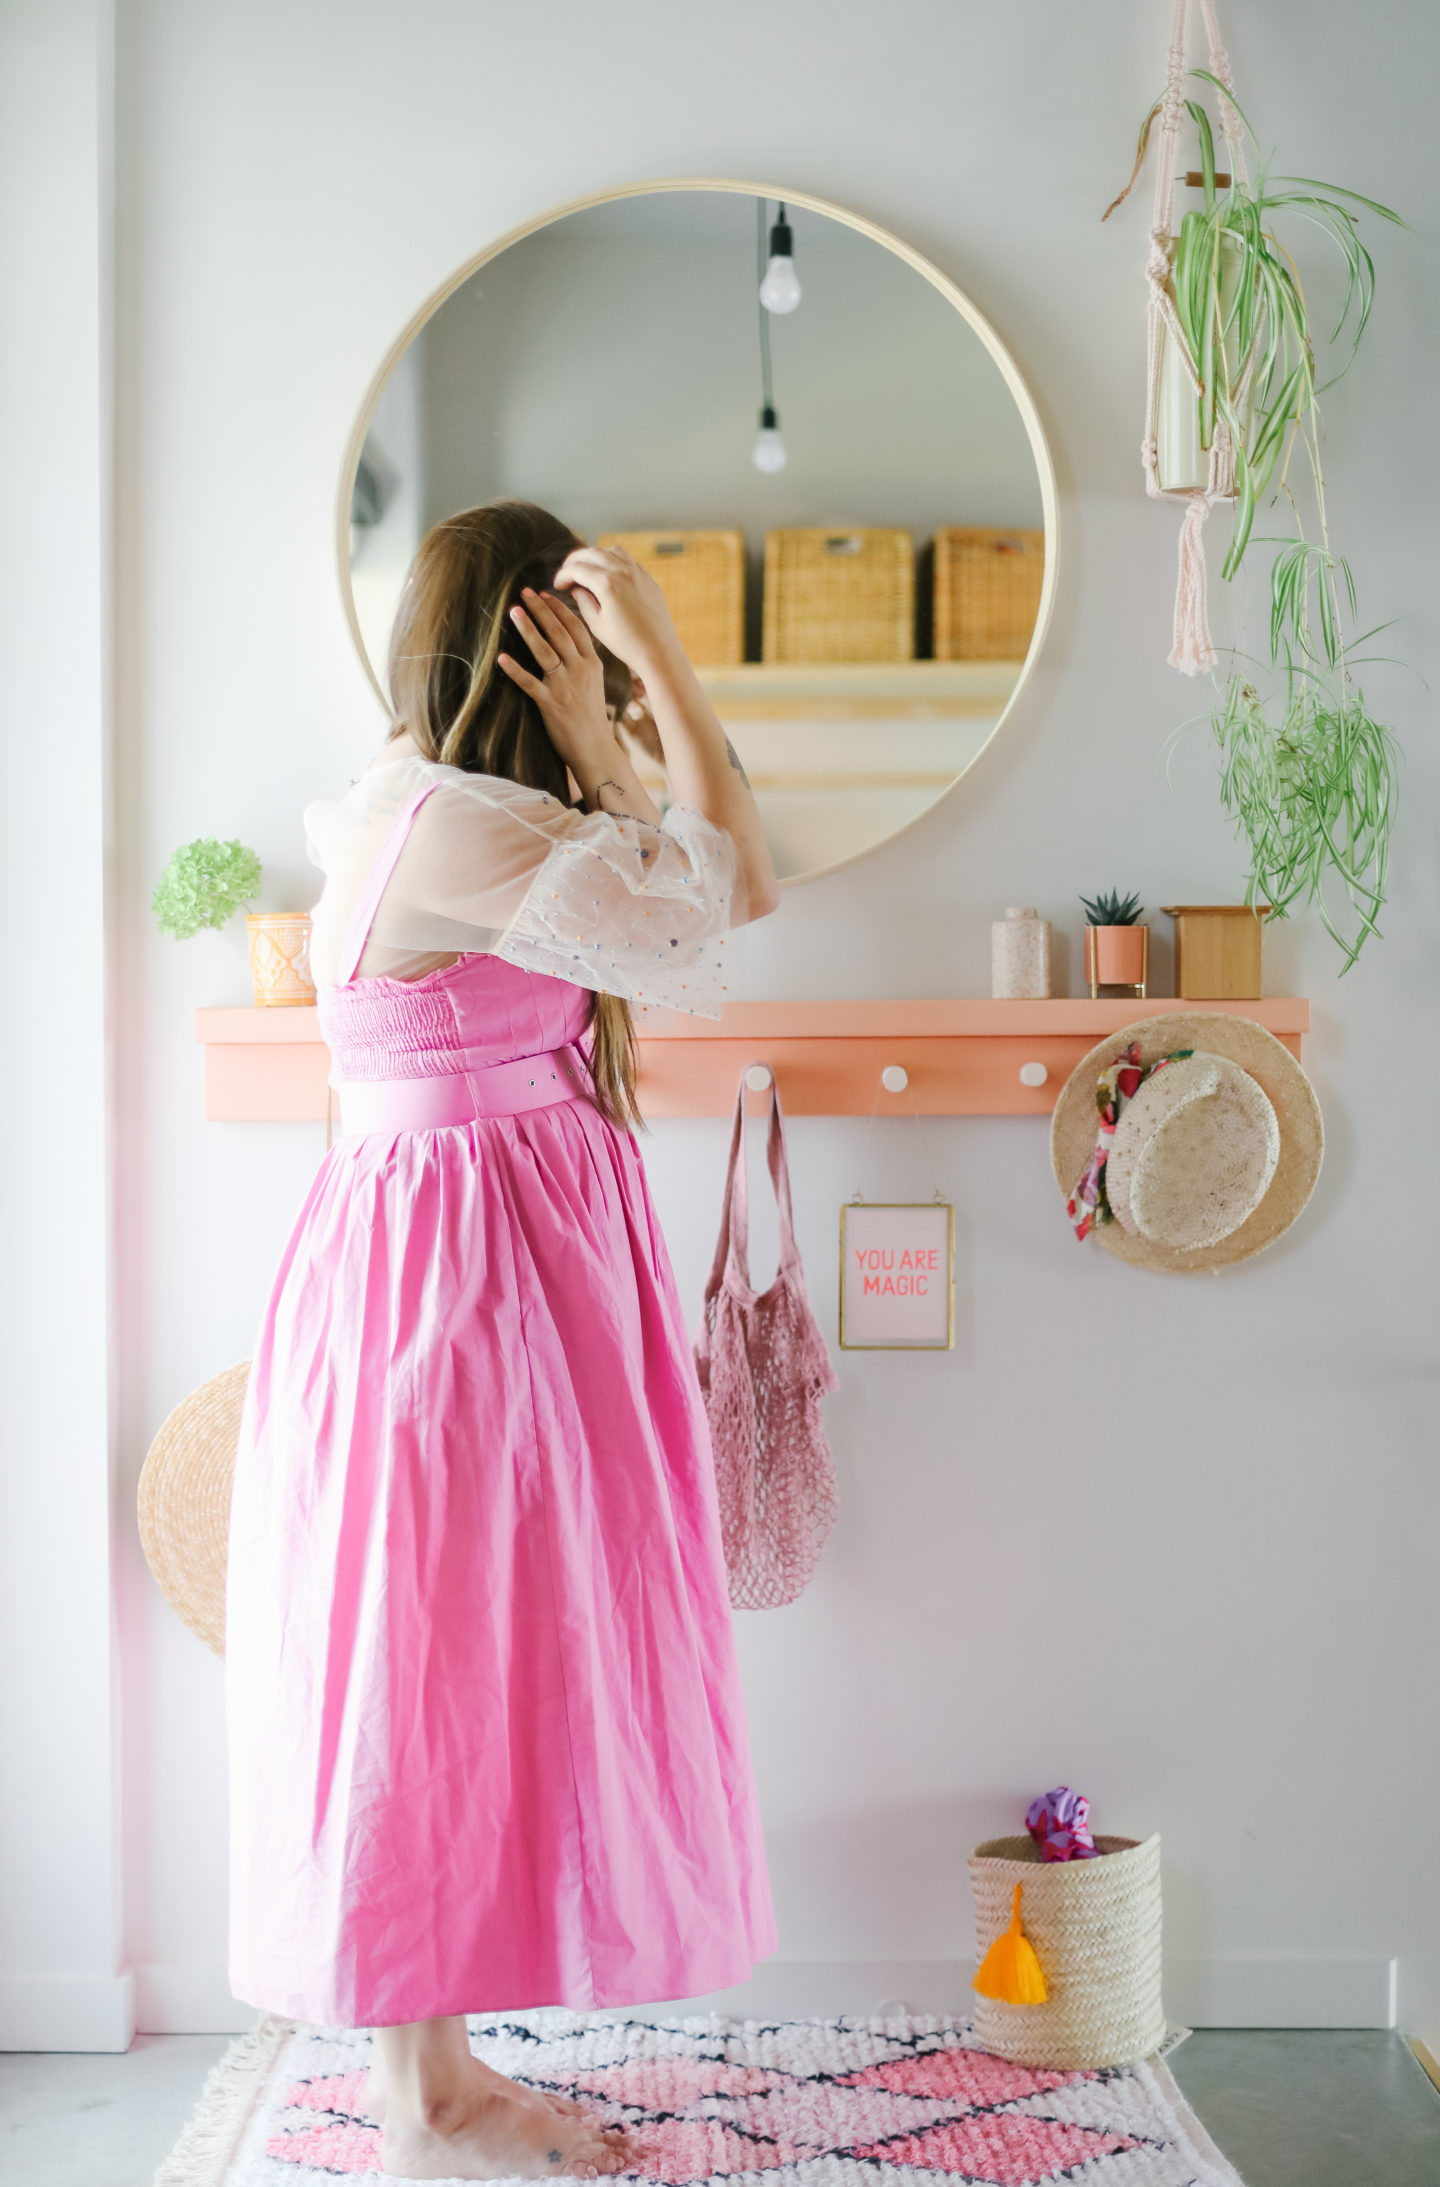
It’s been two years since we found our little home and guess what? We didn’t have our entryway ready until… yesterday. This project, a super easy DIY pastel coat rack was our number one priority to finish, since I really wanted to create a cozy, homie space to welcome you to our world.
Our space was somehow tiny and narrow, with absolute zero options of finding something already made, we knew we had to plan a custom-made project we could fit (yayyyy, right?). The key? using clever styling tricks that can help you drop your essentials and have a functional & beautiful space (my hubby is all about functional rather than over-decorated spaces).
If you’re looking for an easy (and not expensive) DIY project this week, this DIY pastel hook is all you need!
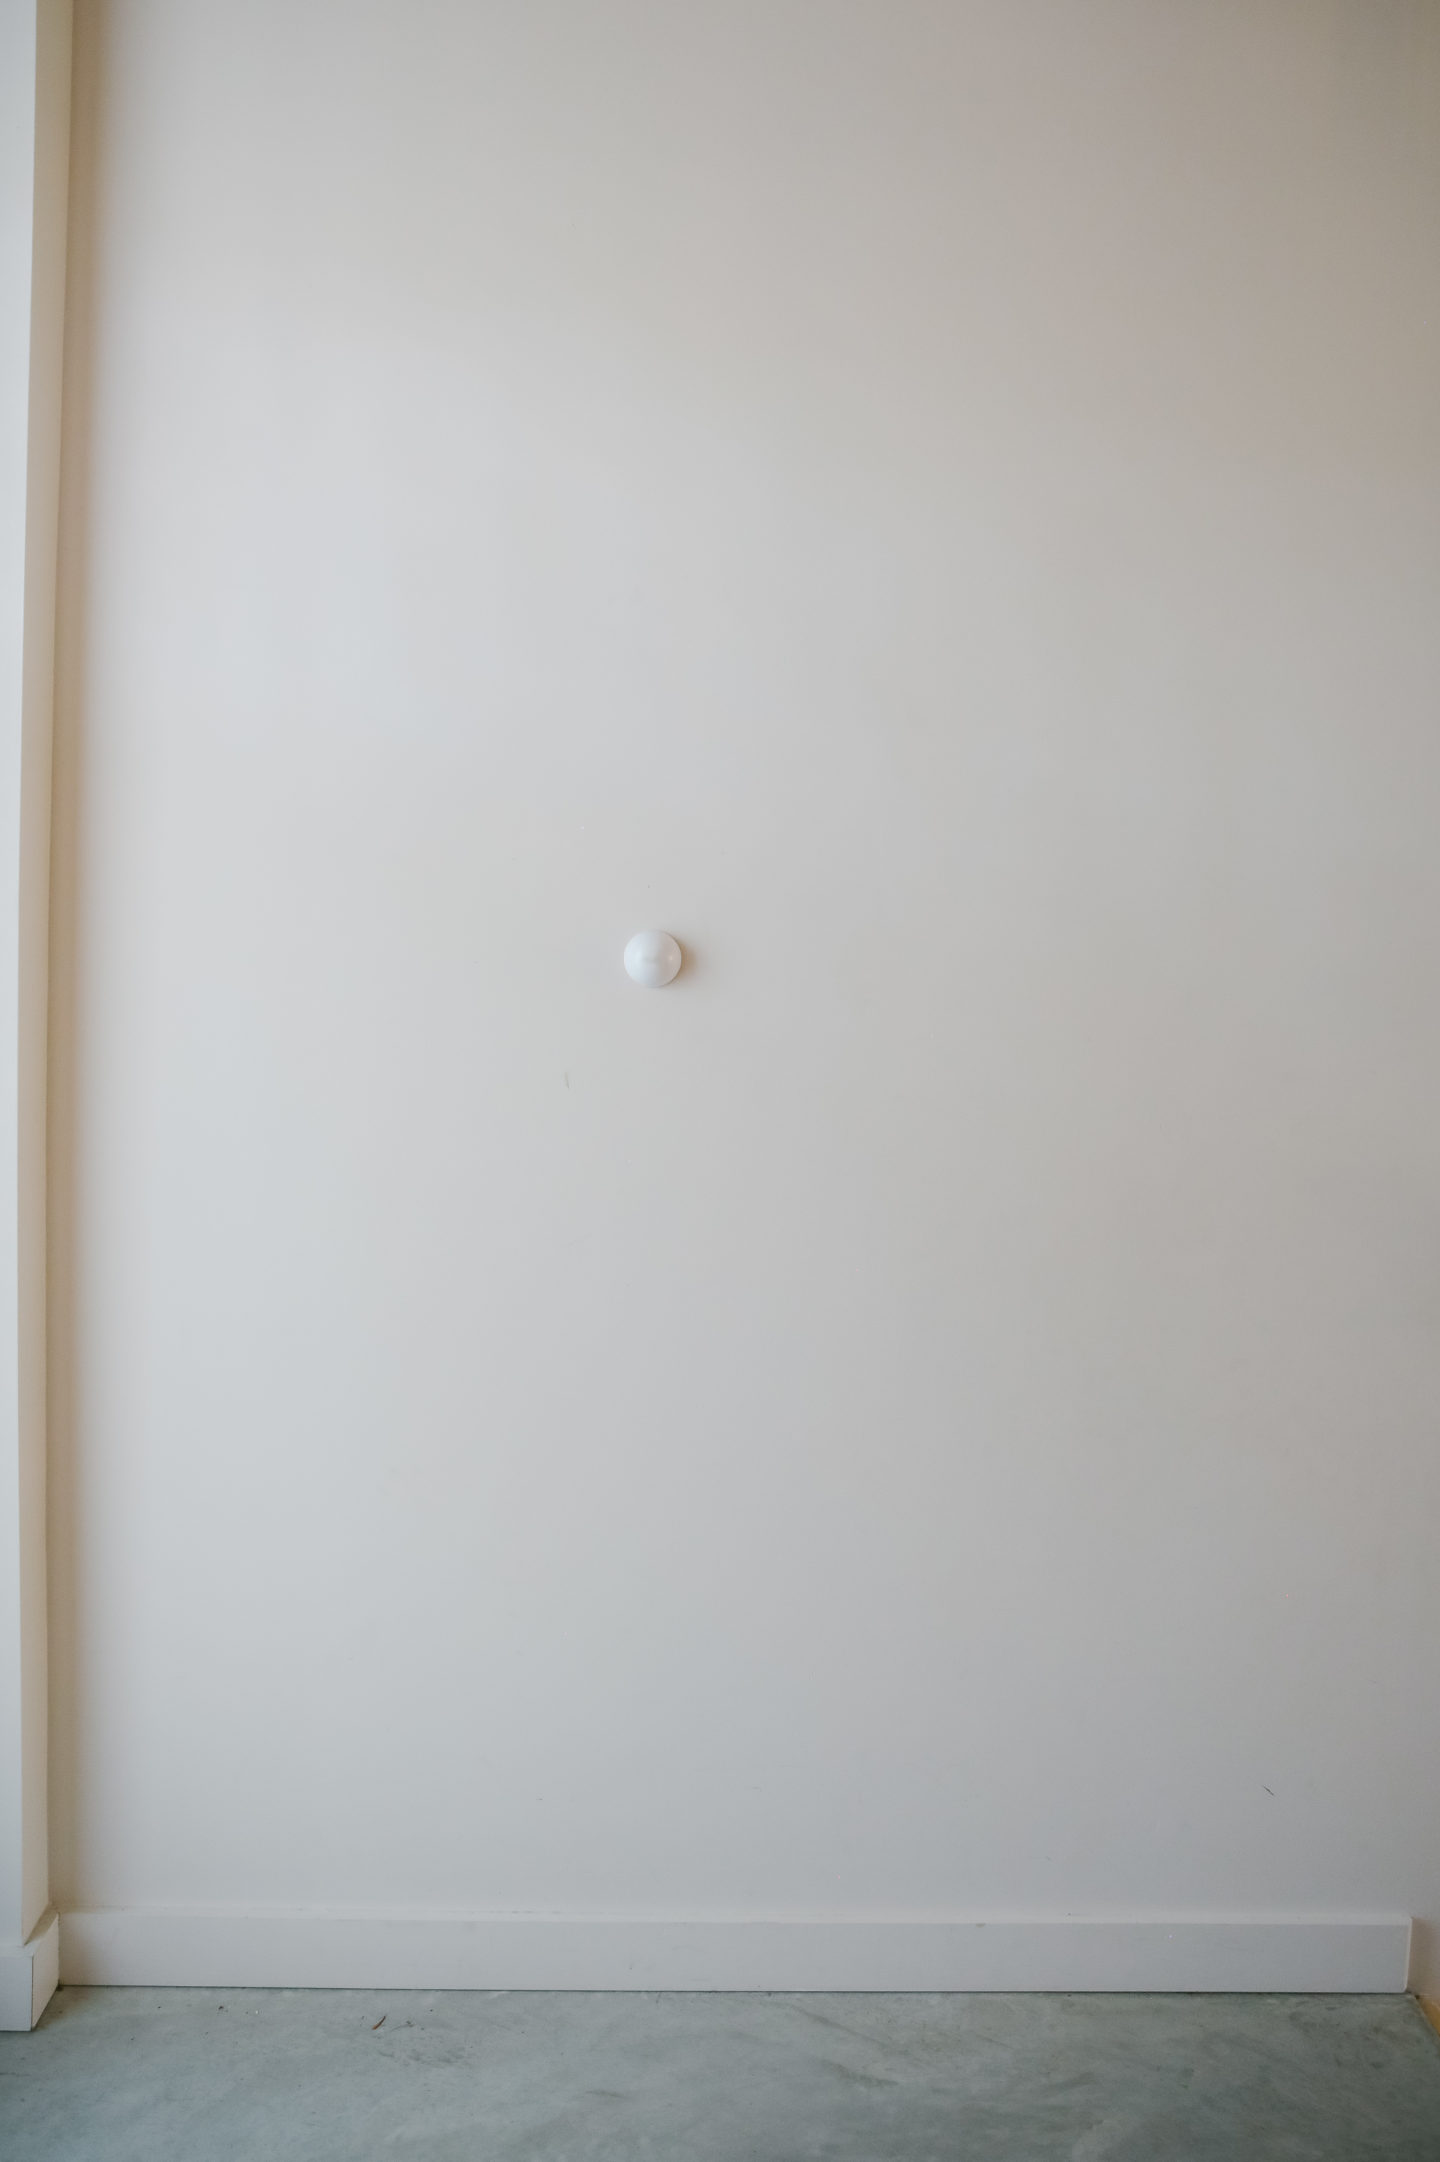
this was the before, our sad, empty entryway.
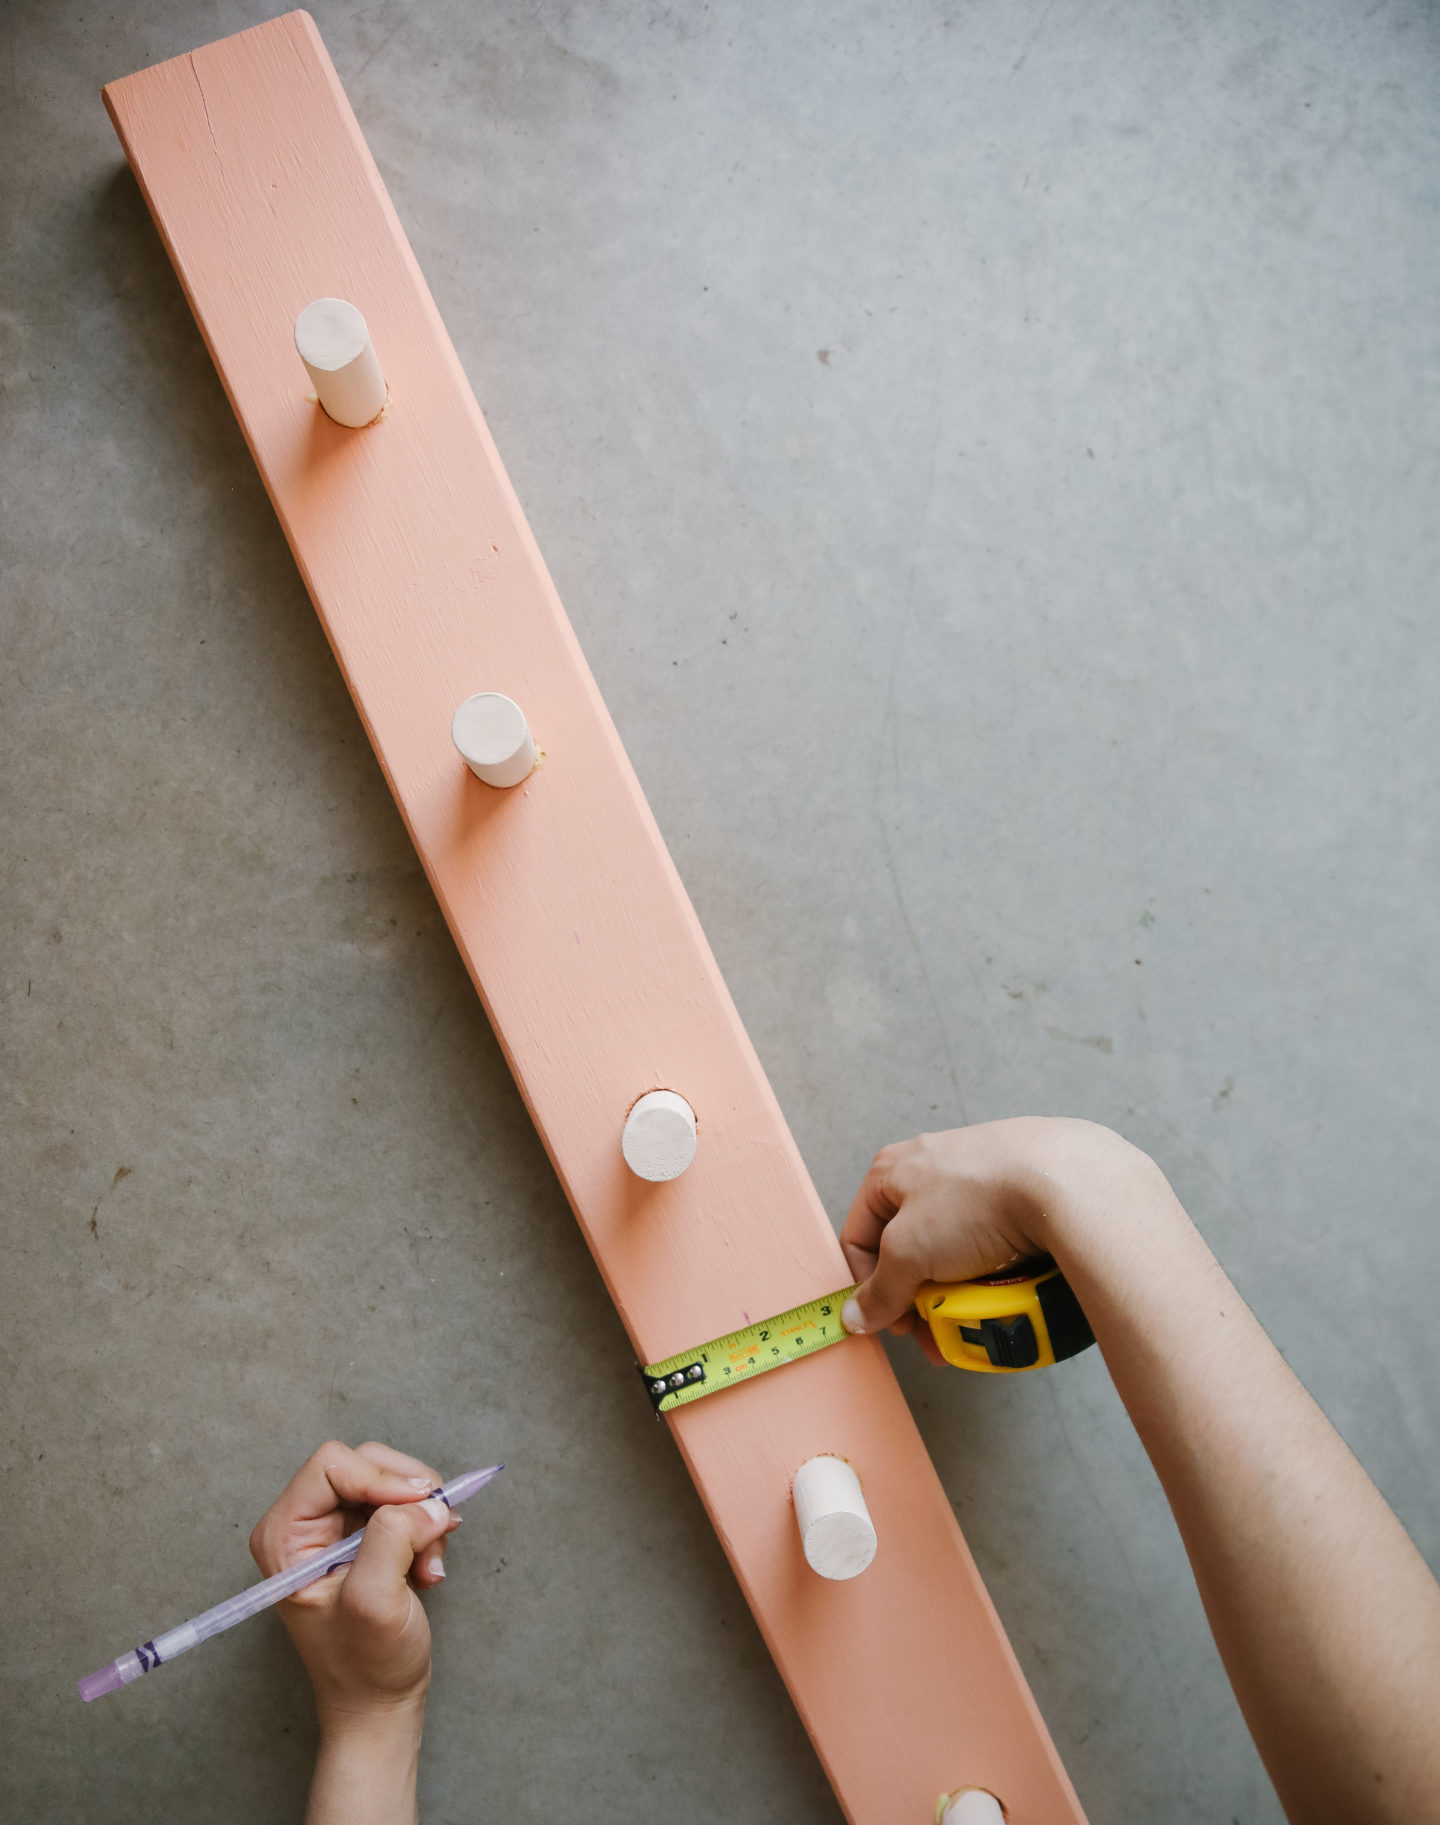
First Step
- We measured the total area we had available in this space, and calculated the length and width of the shelf (centered)
- We went with a 7” primed pine (it’s less than $10) raw, no paint at Home Depot (have fun here)
- Next step: cut it in half and attach it together to form the shelf.
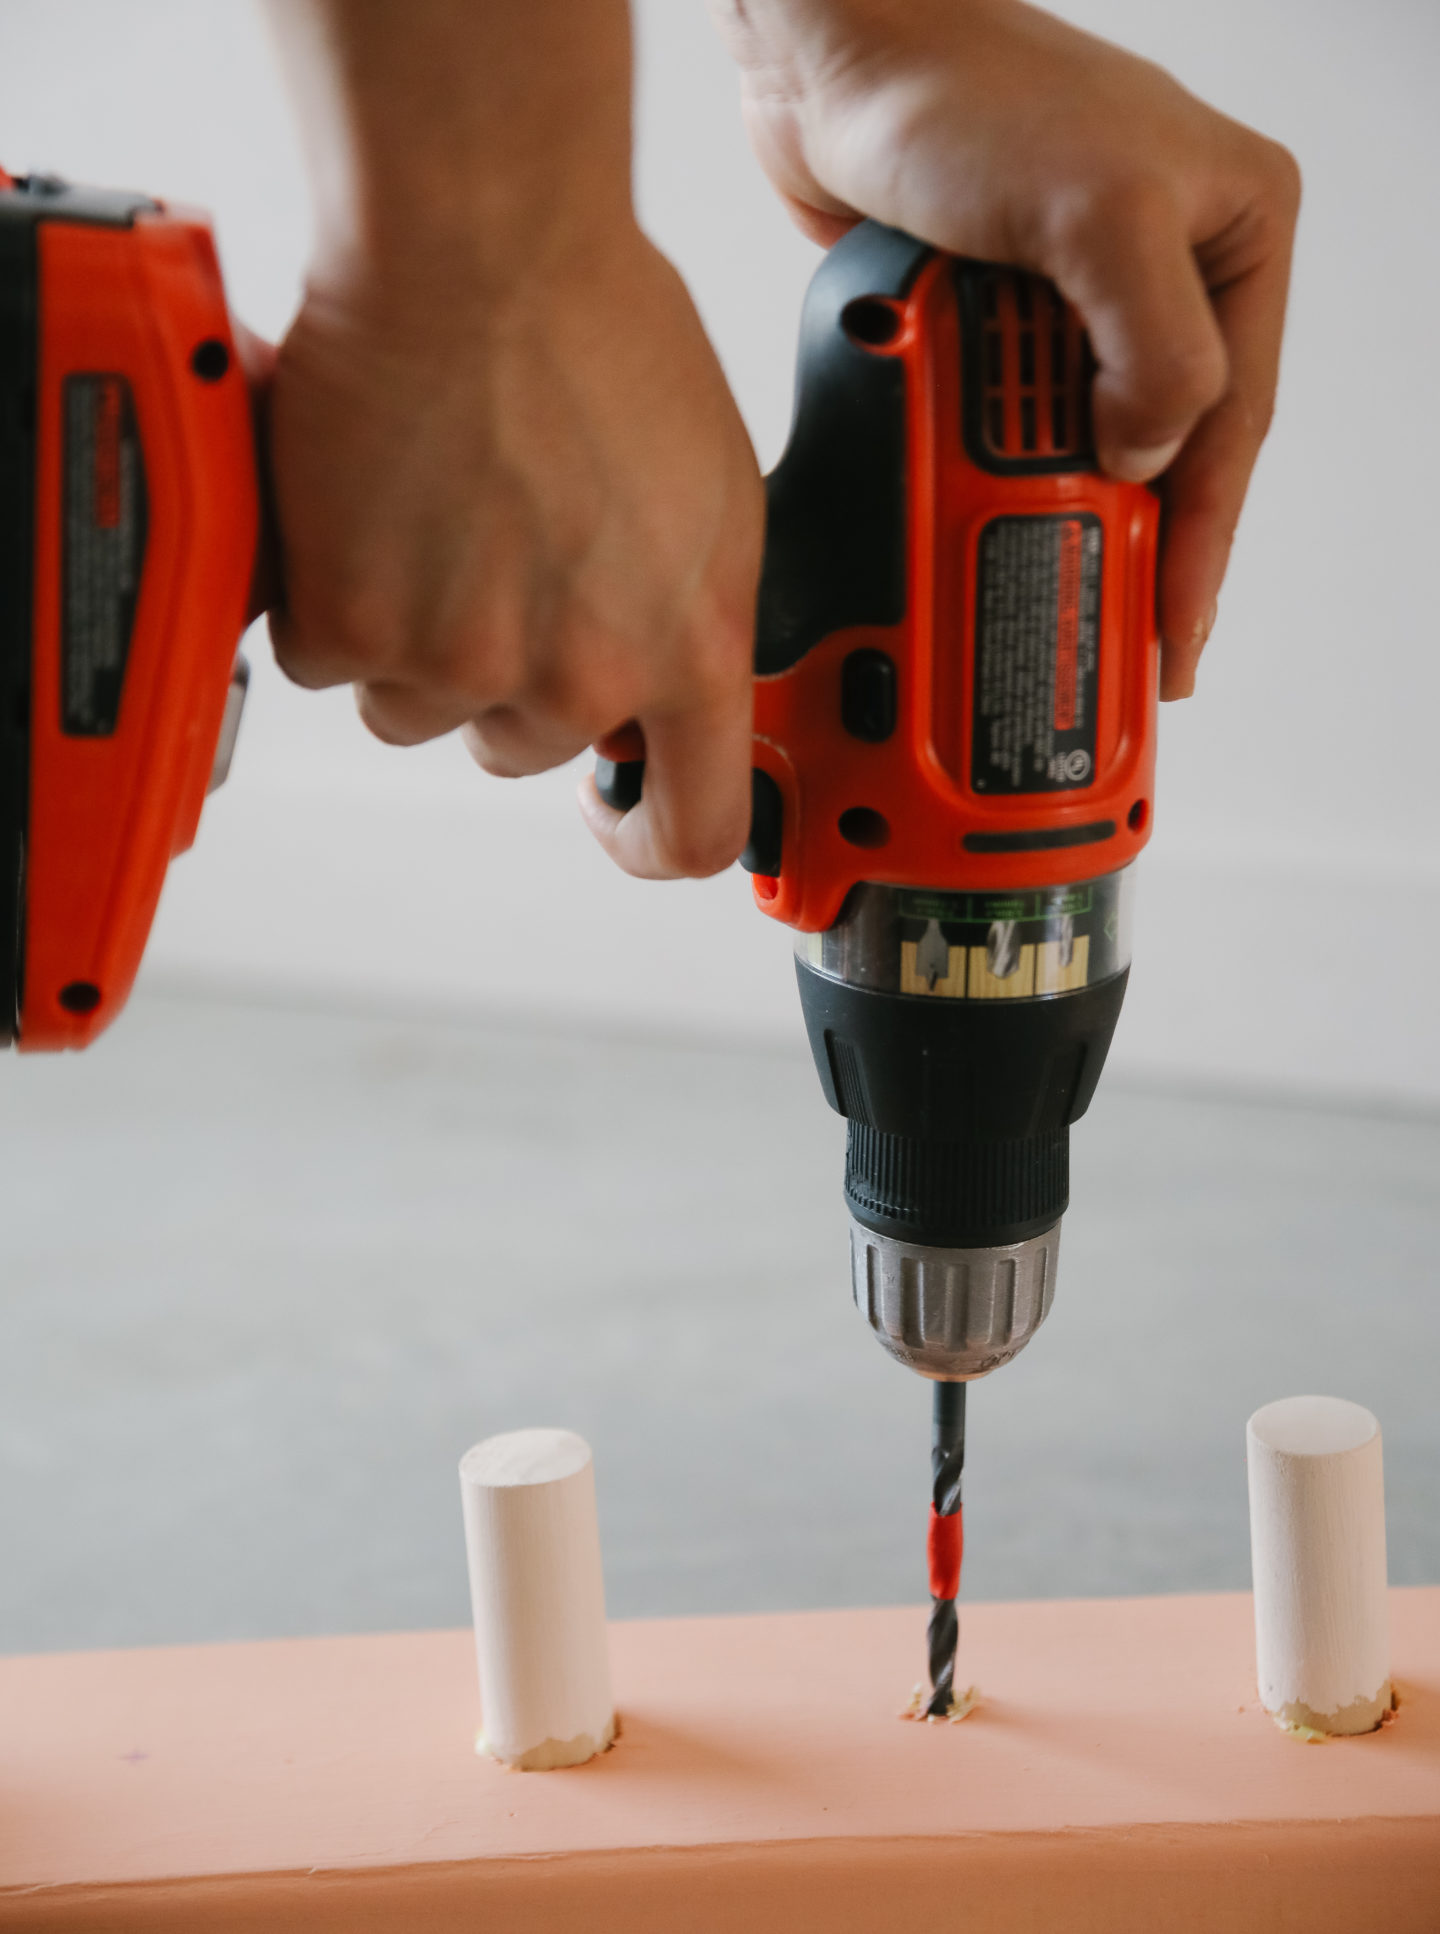
- After we had our shelf ready, we drilled wide holes and installed the hooks, (also in wood) 5-6″ apart with wood glue (Did you know my dad, is a professional carpenter and contractor? Imagine how proud we has I actually bought wood glue for the first time!)
Second step
- We added the first coat of paint and right after as soon as it dried, sand all the rough edges. We picked two different coral tones, one for the hooks and a darker one for the board (remember the colours of our ombre dresser DIY? used the same ones!)
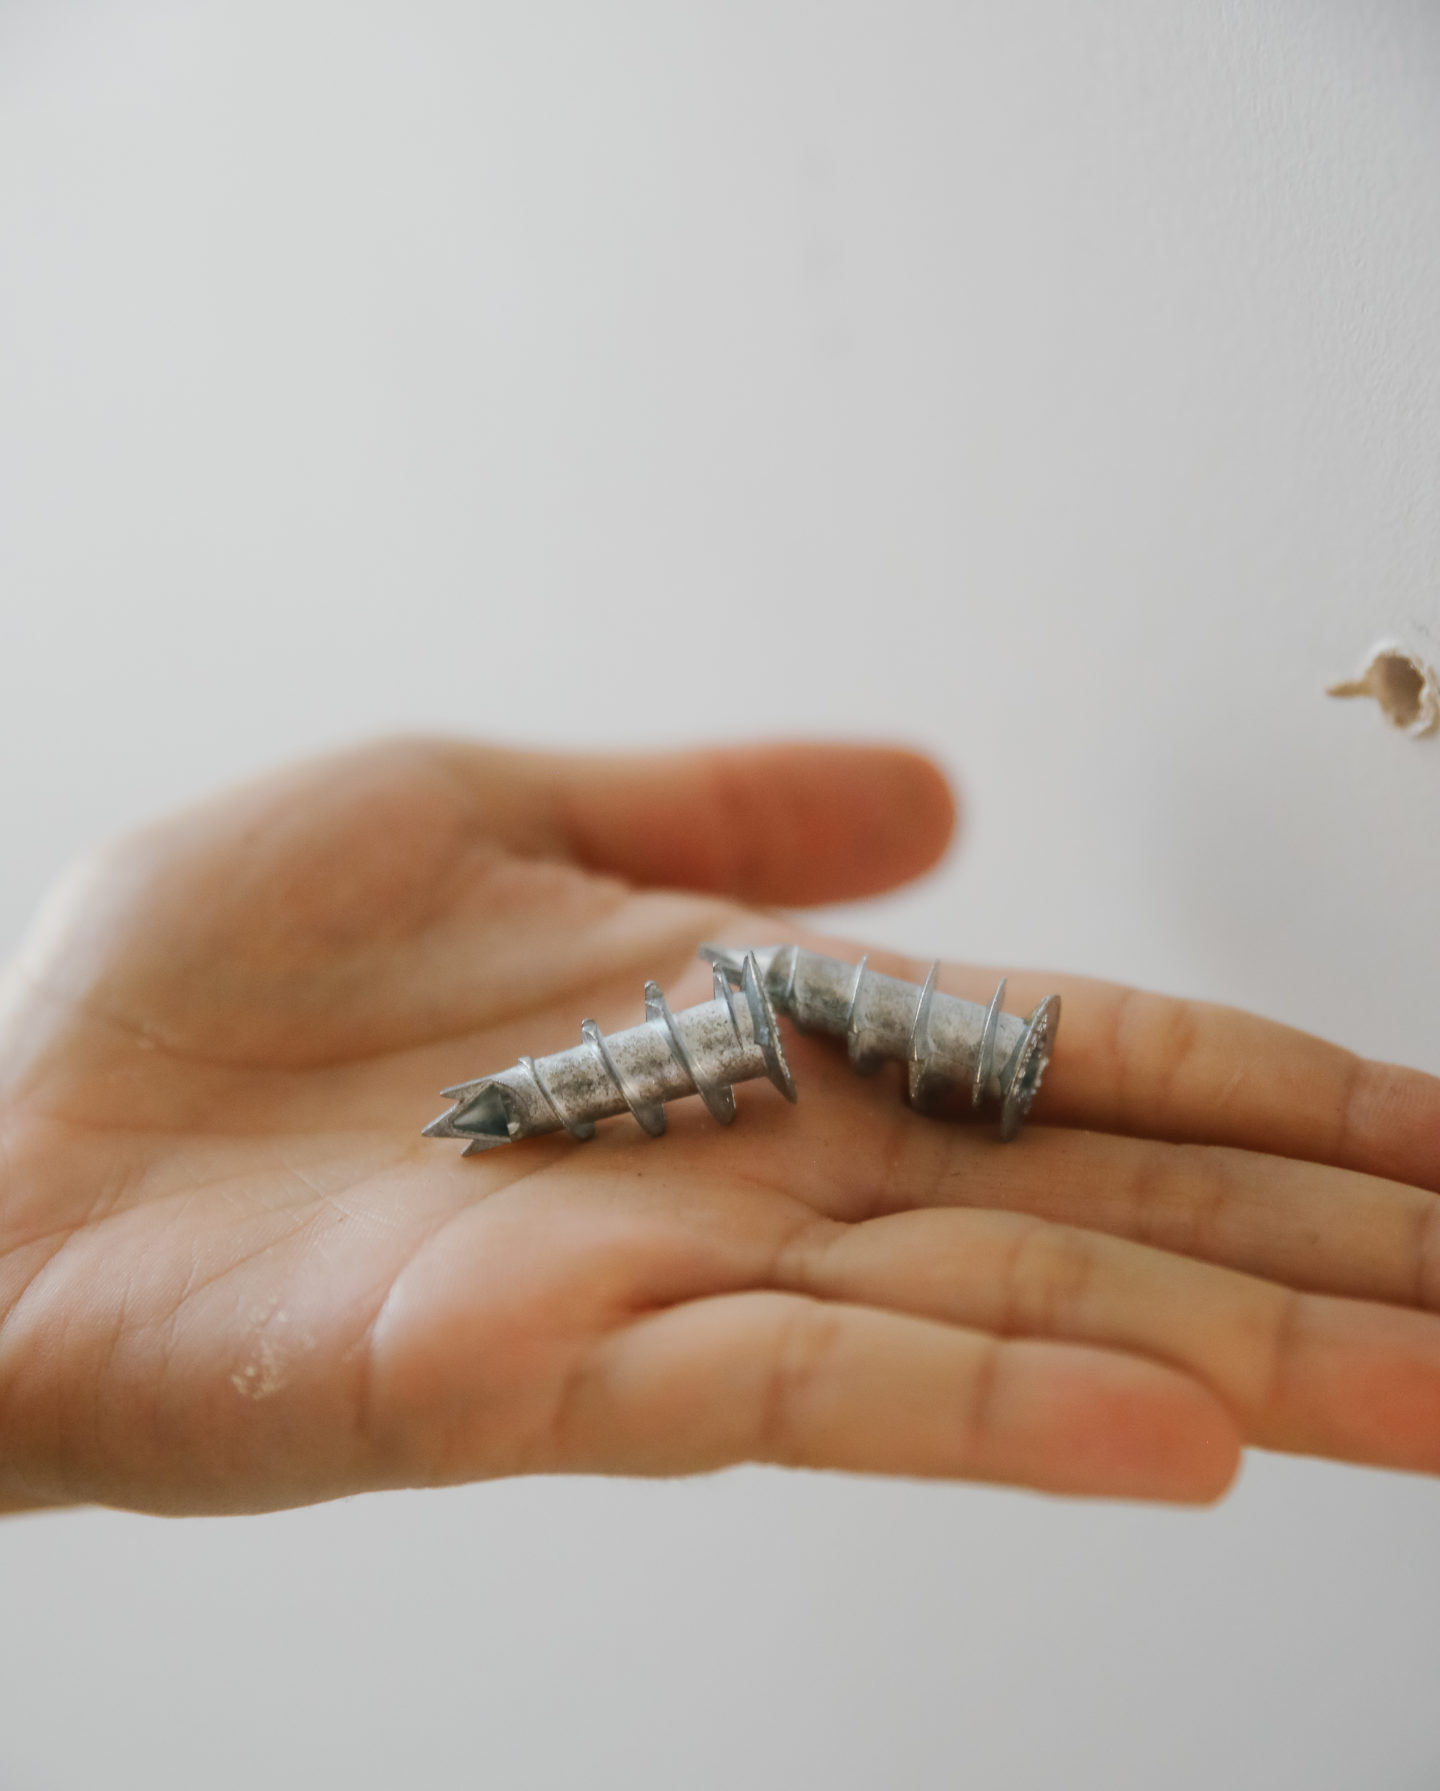
- With a pencil, we marked our screw holes and drilled pilot holes (so you can be sure it resist heavy items in the hooks)
- As soon as it’s fixed in the wall, measure you really nailed the dimensions correctly (phewwww!)
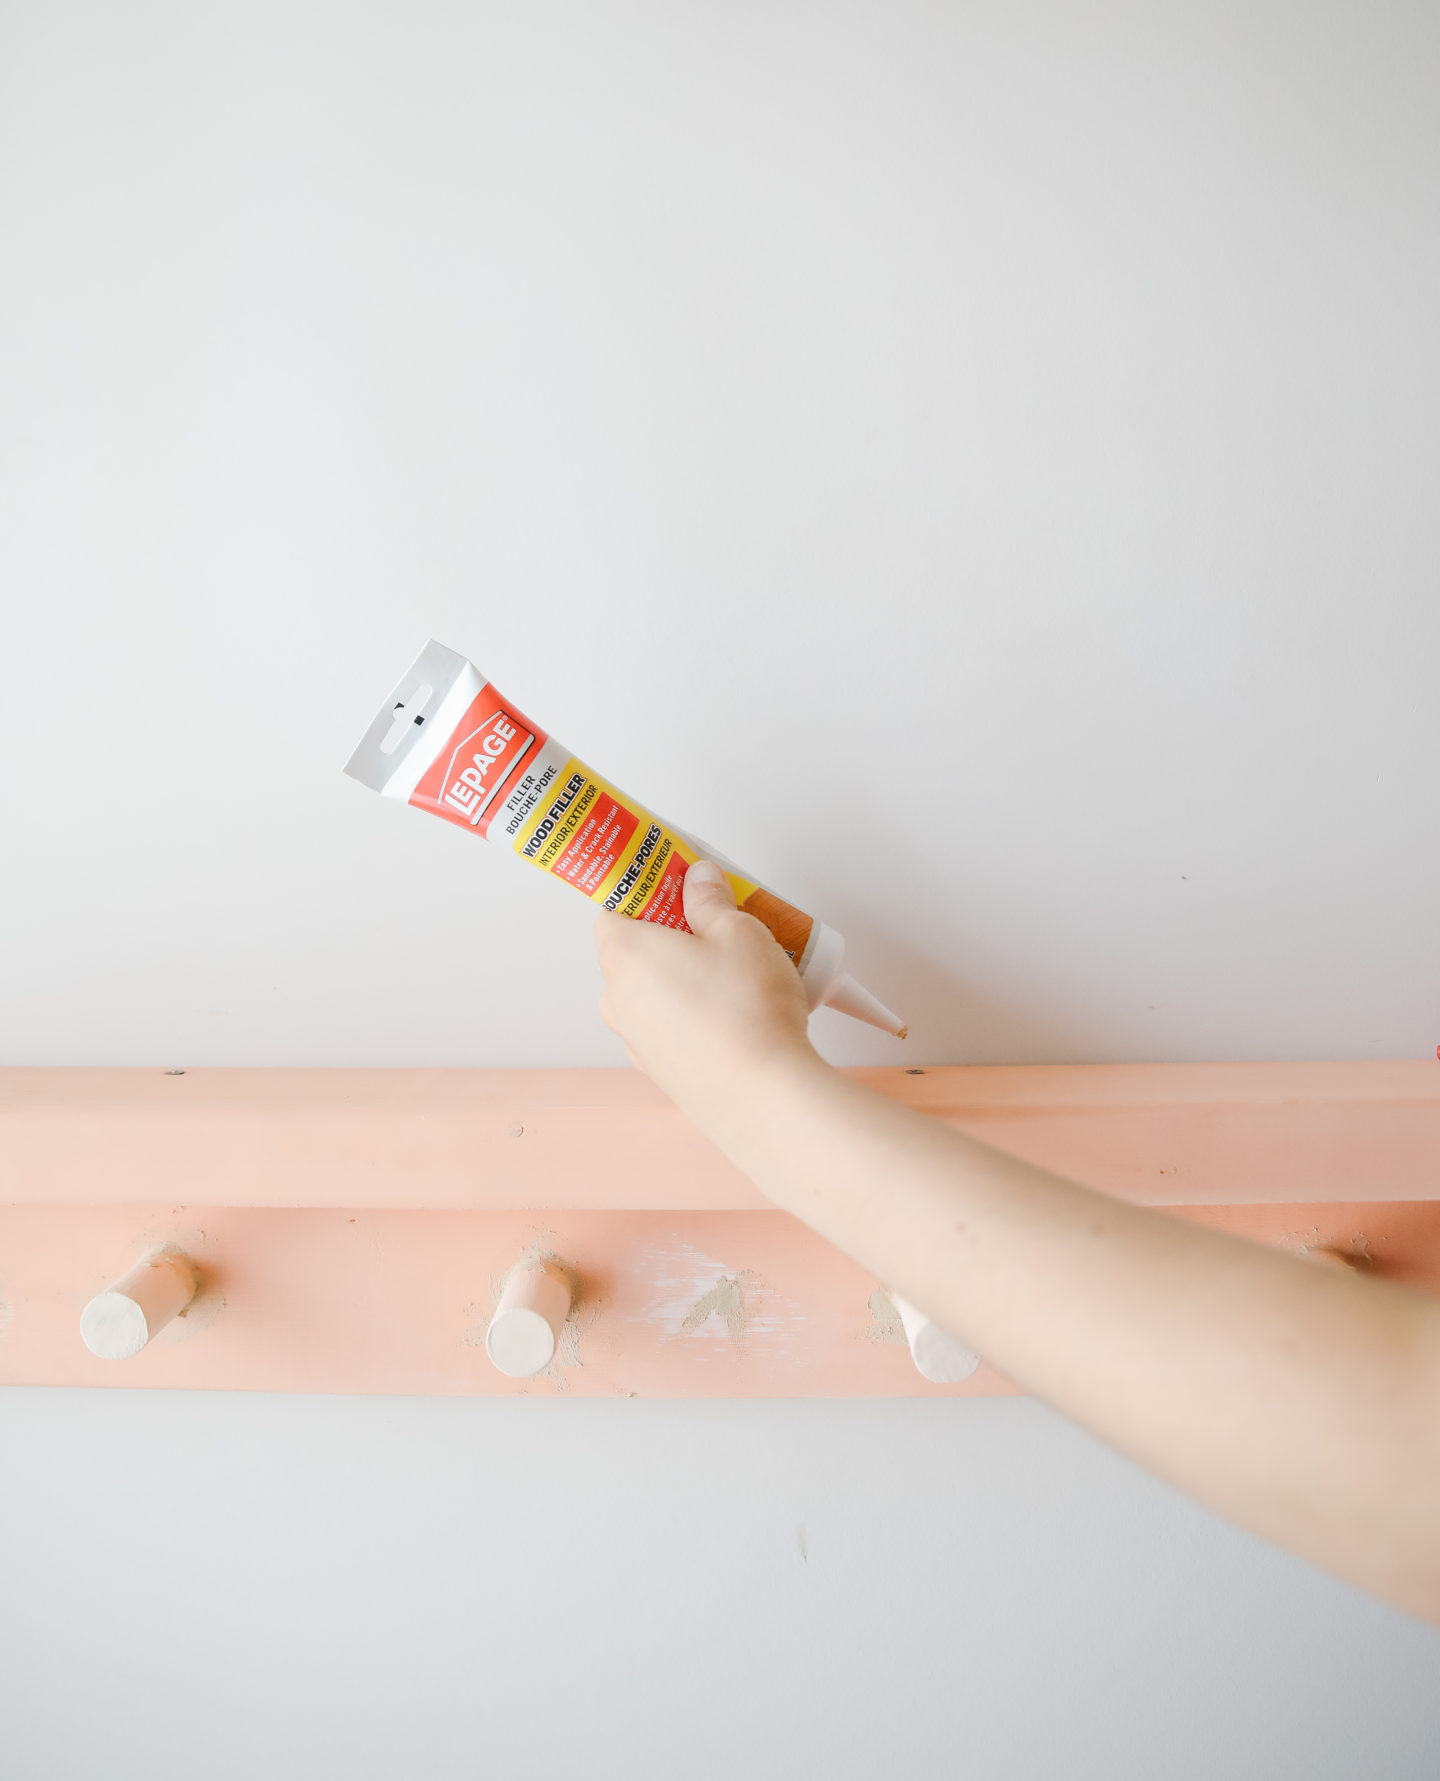
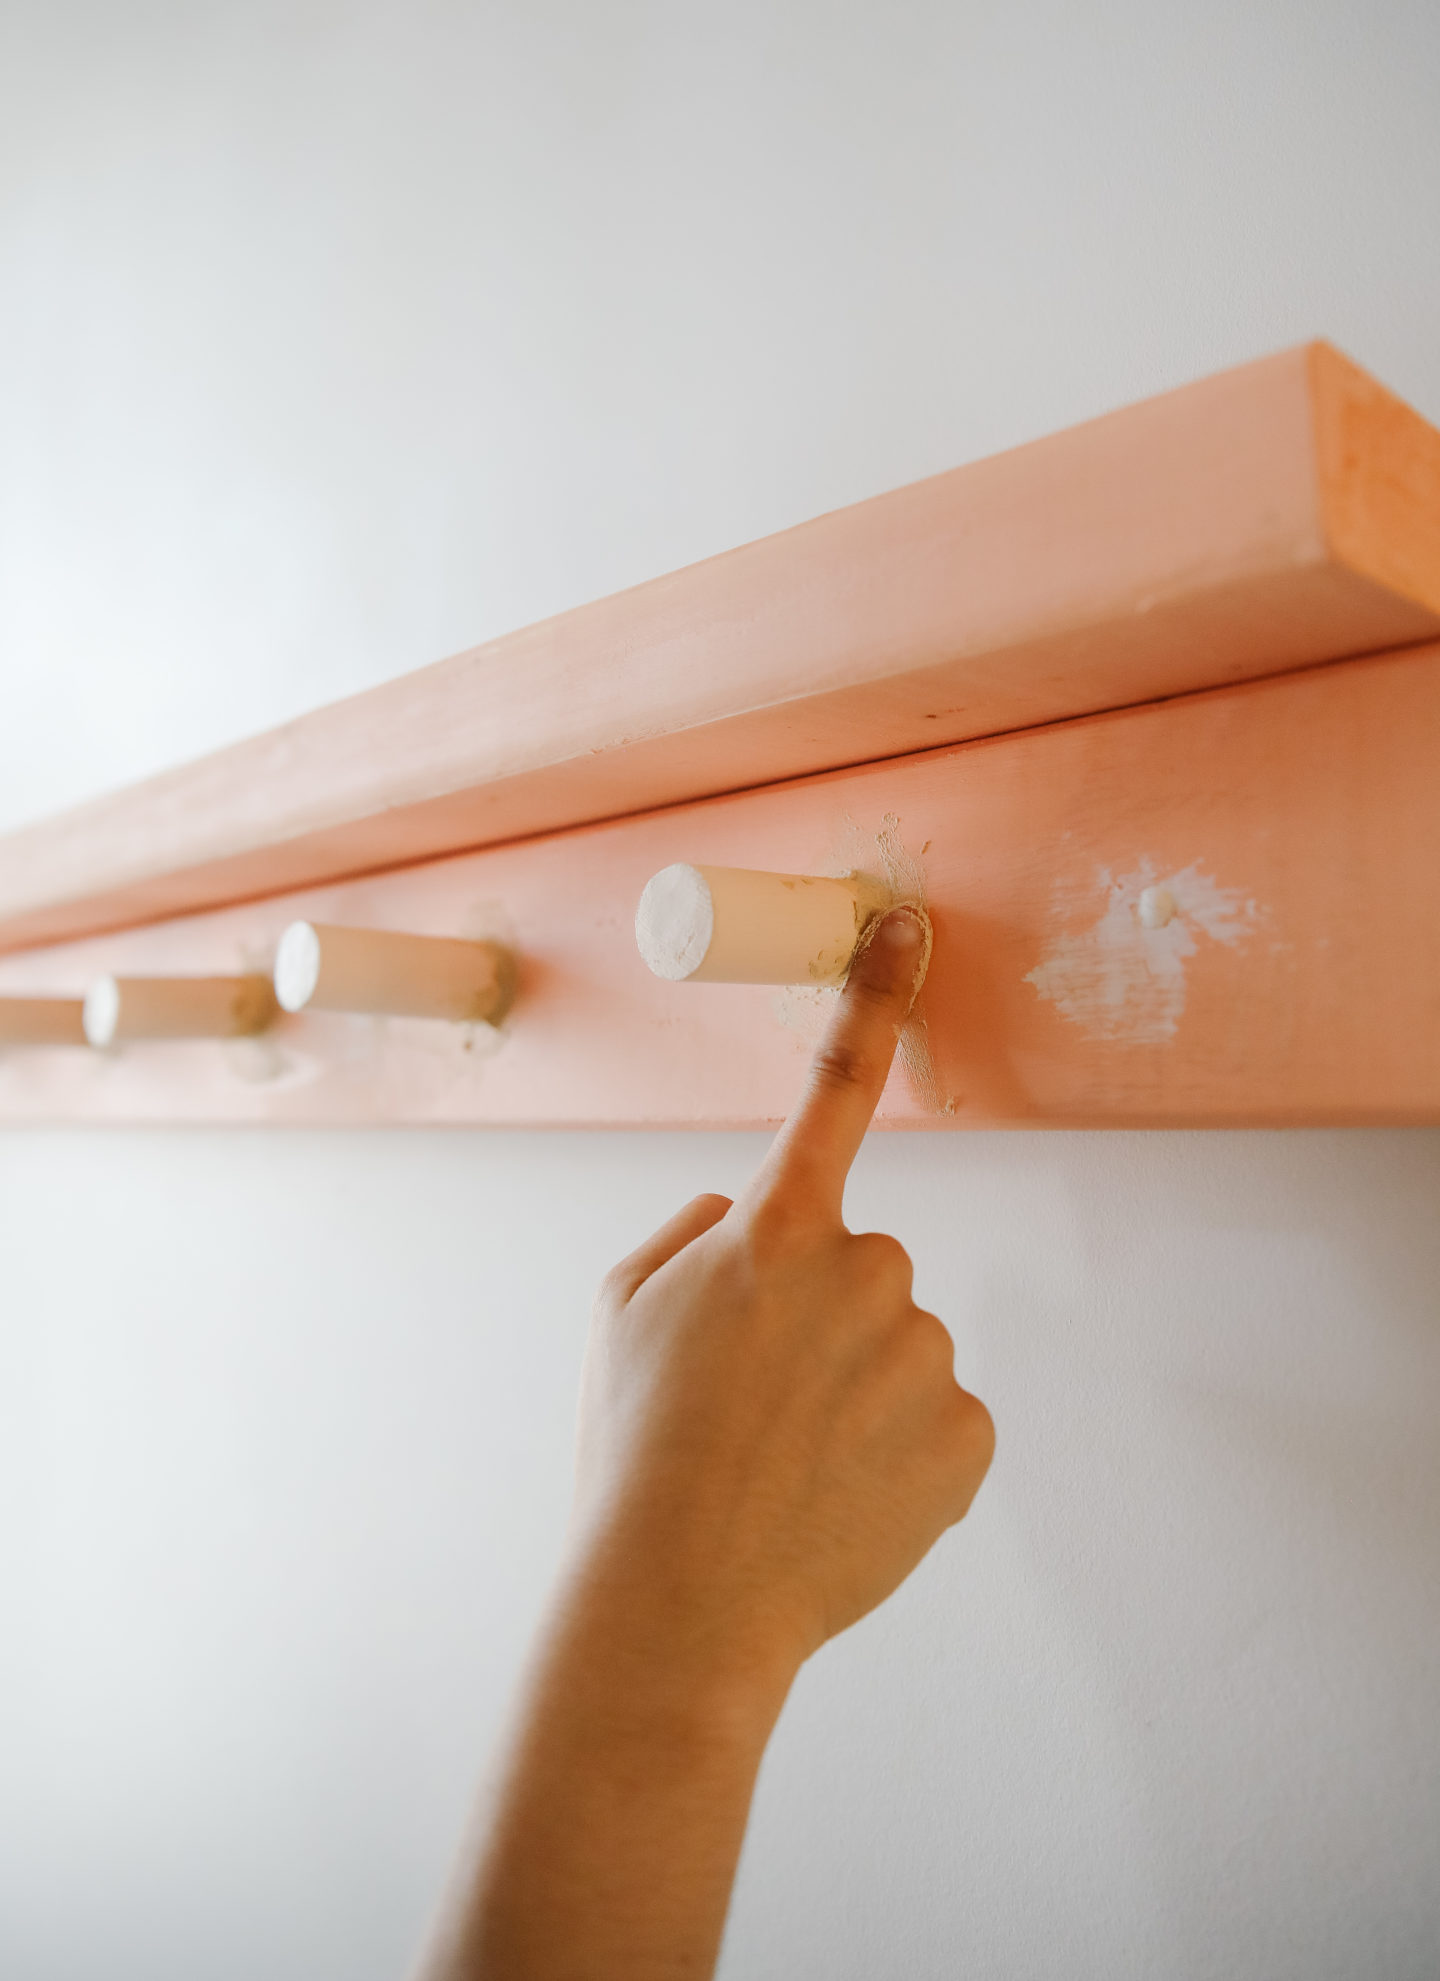
To cover all the imperfections and screws, we used a heavy wood filler, including corners around the hooks, and holes we drilled.
Let the filler dry a couple of hours, sand all over again and add an extra layer of paint.
Voila! brand new shelf like nothing happened!
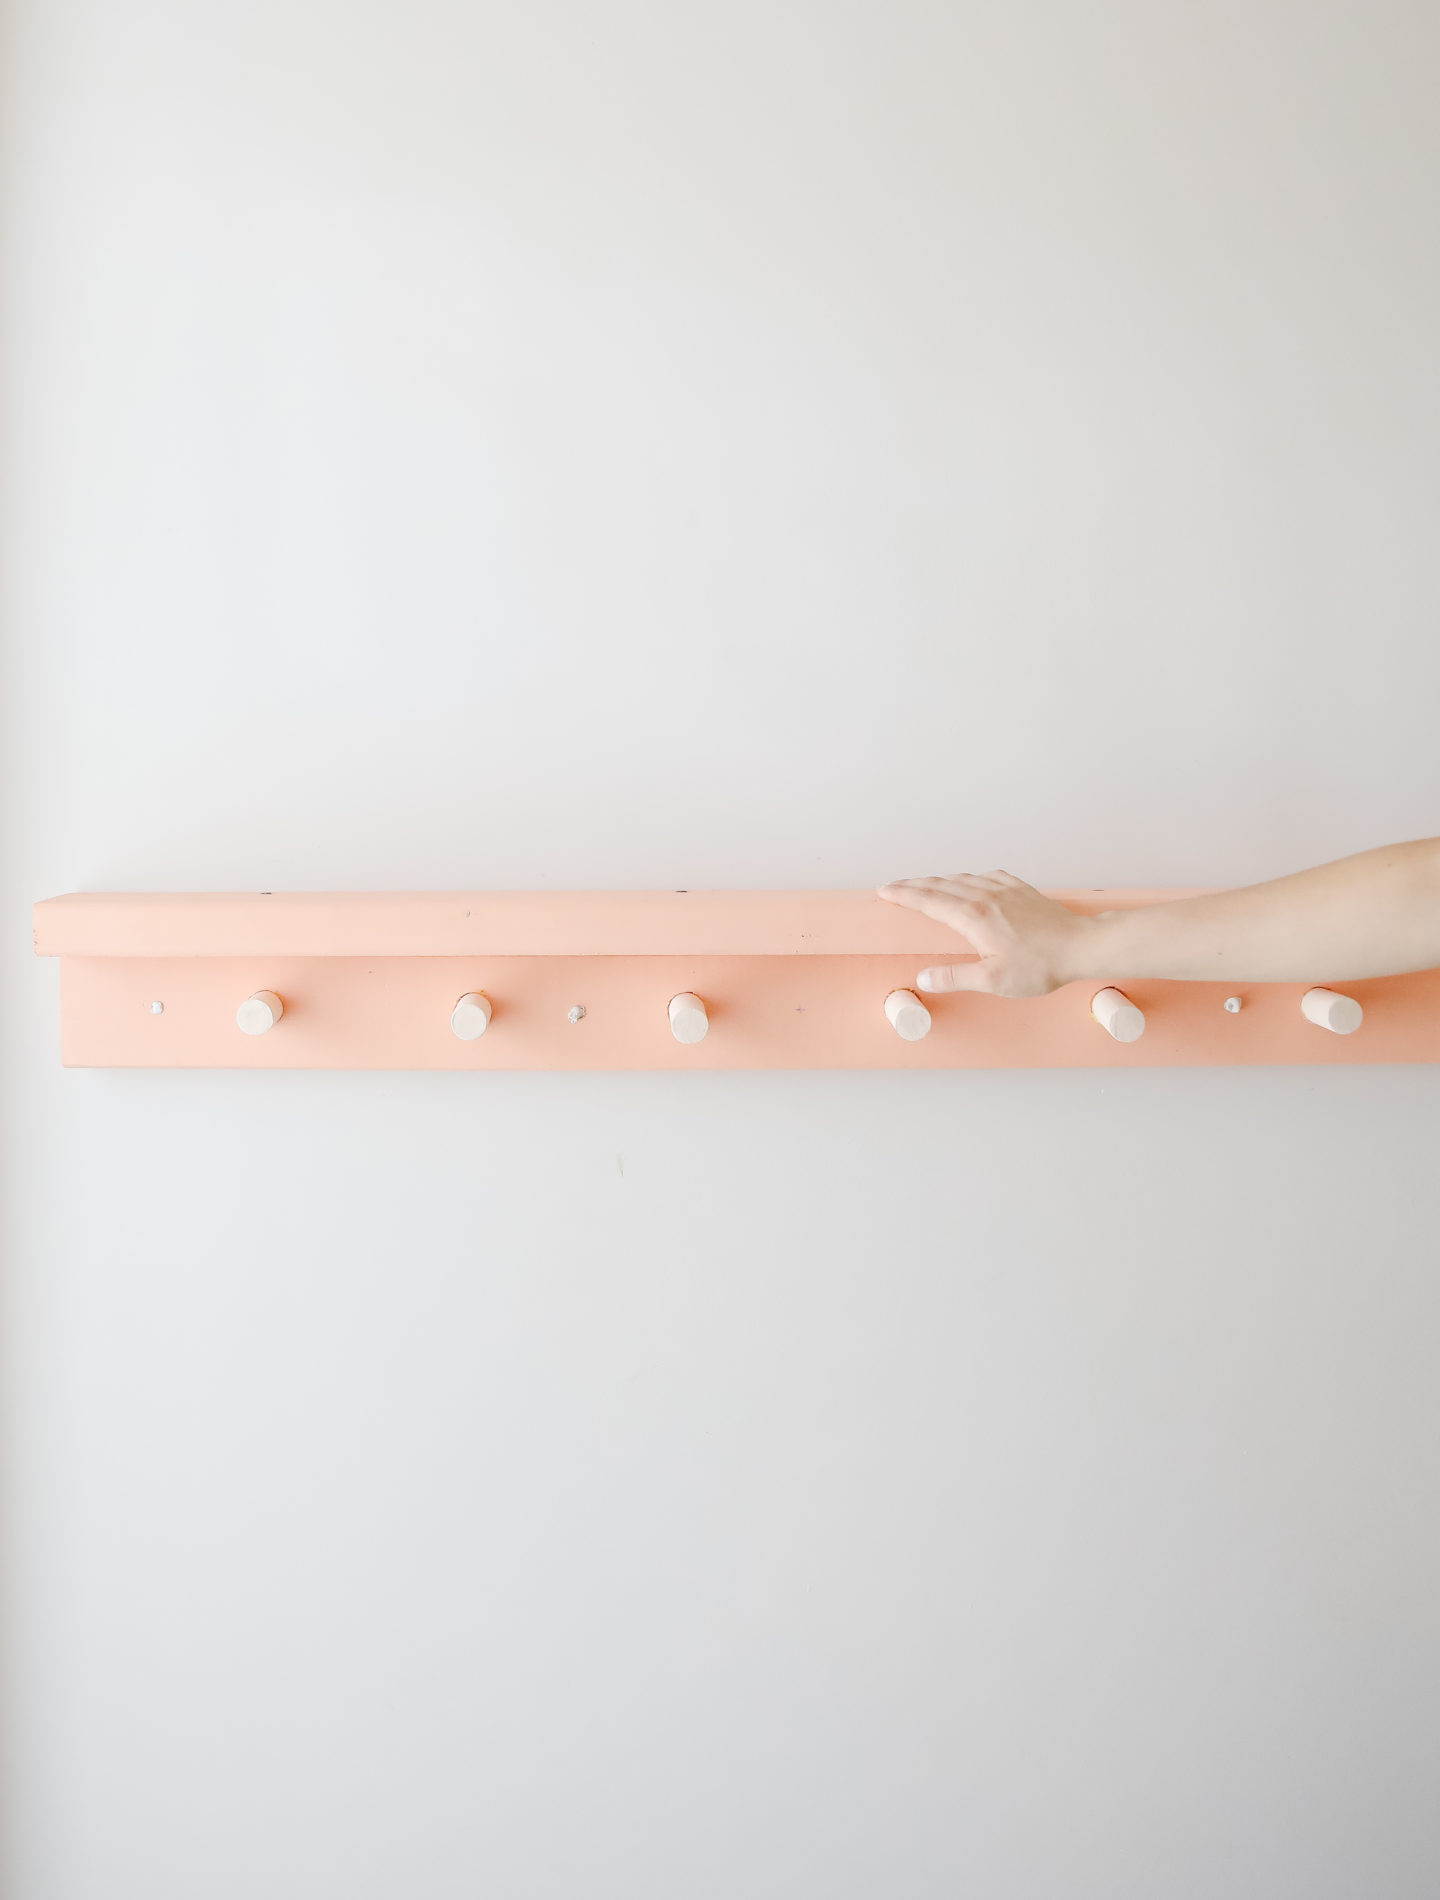
We spent around $35-$40 to finish all this project (I re-used the paints we used already in an old project) and had all the tools to cut the wood and assemble it.
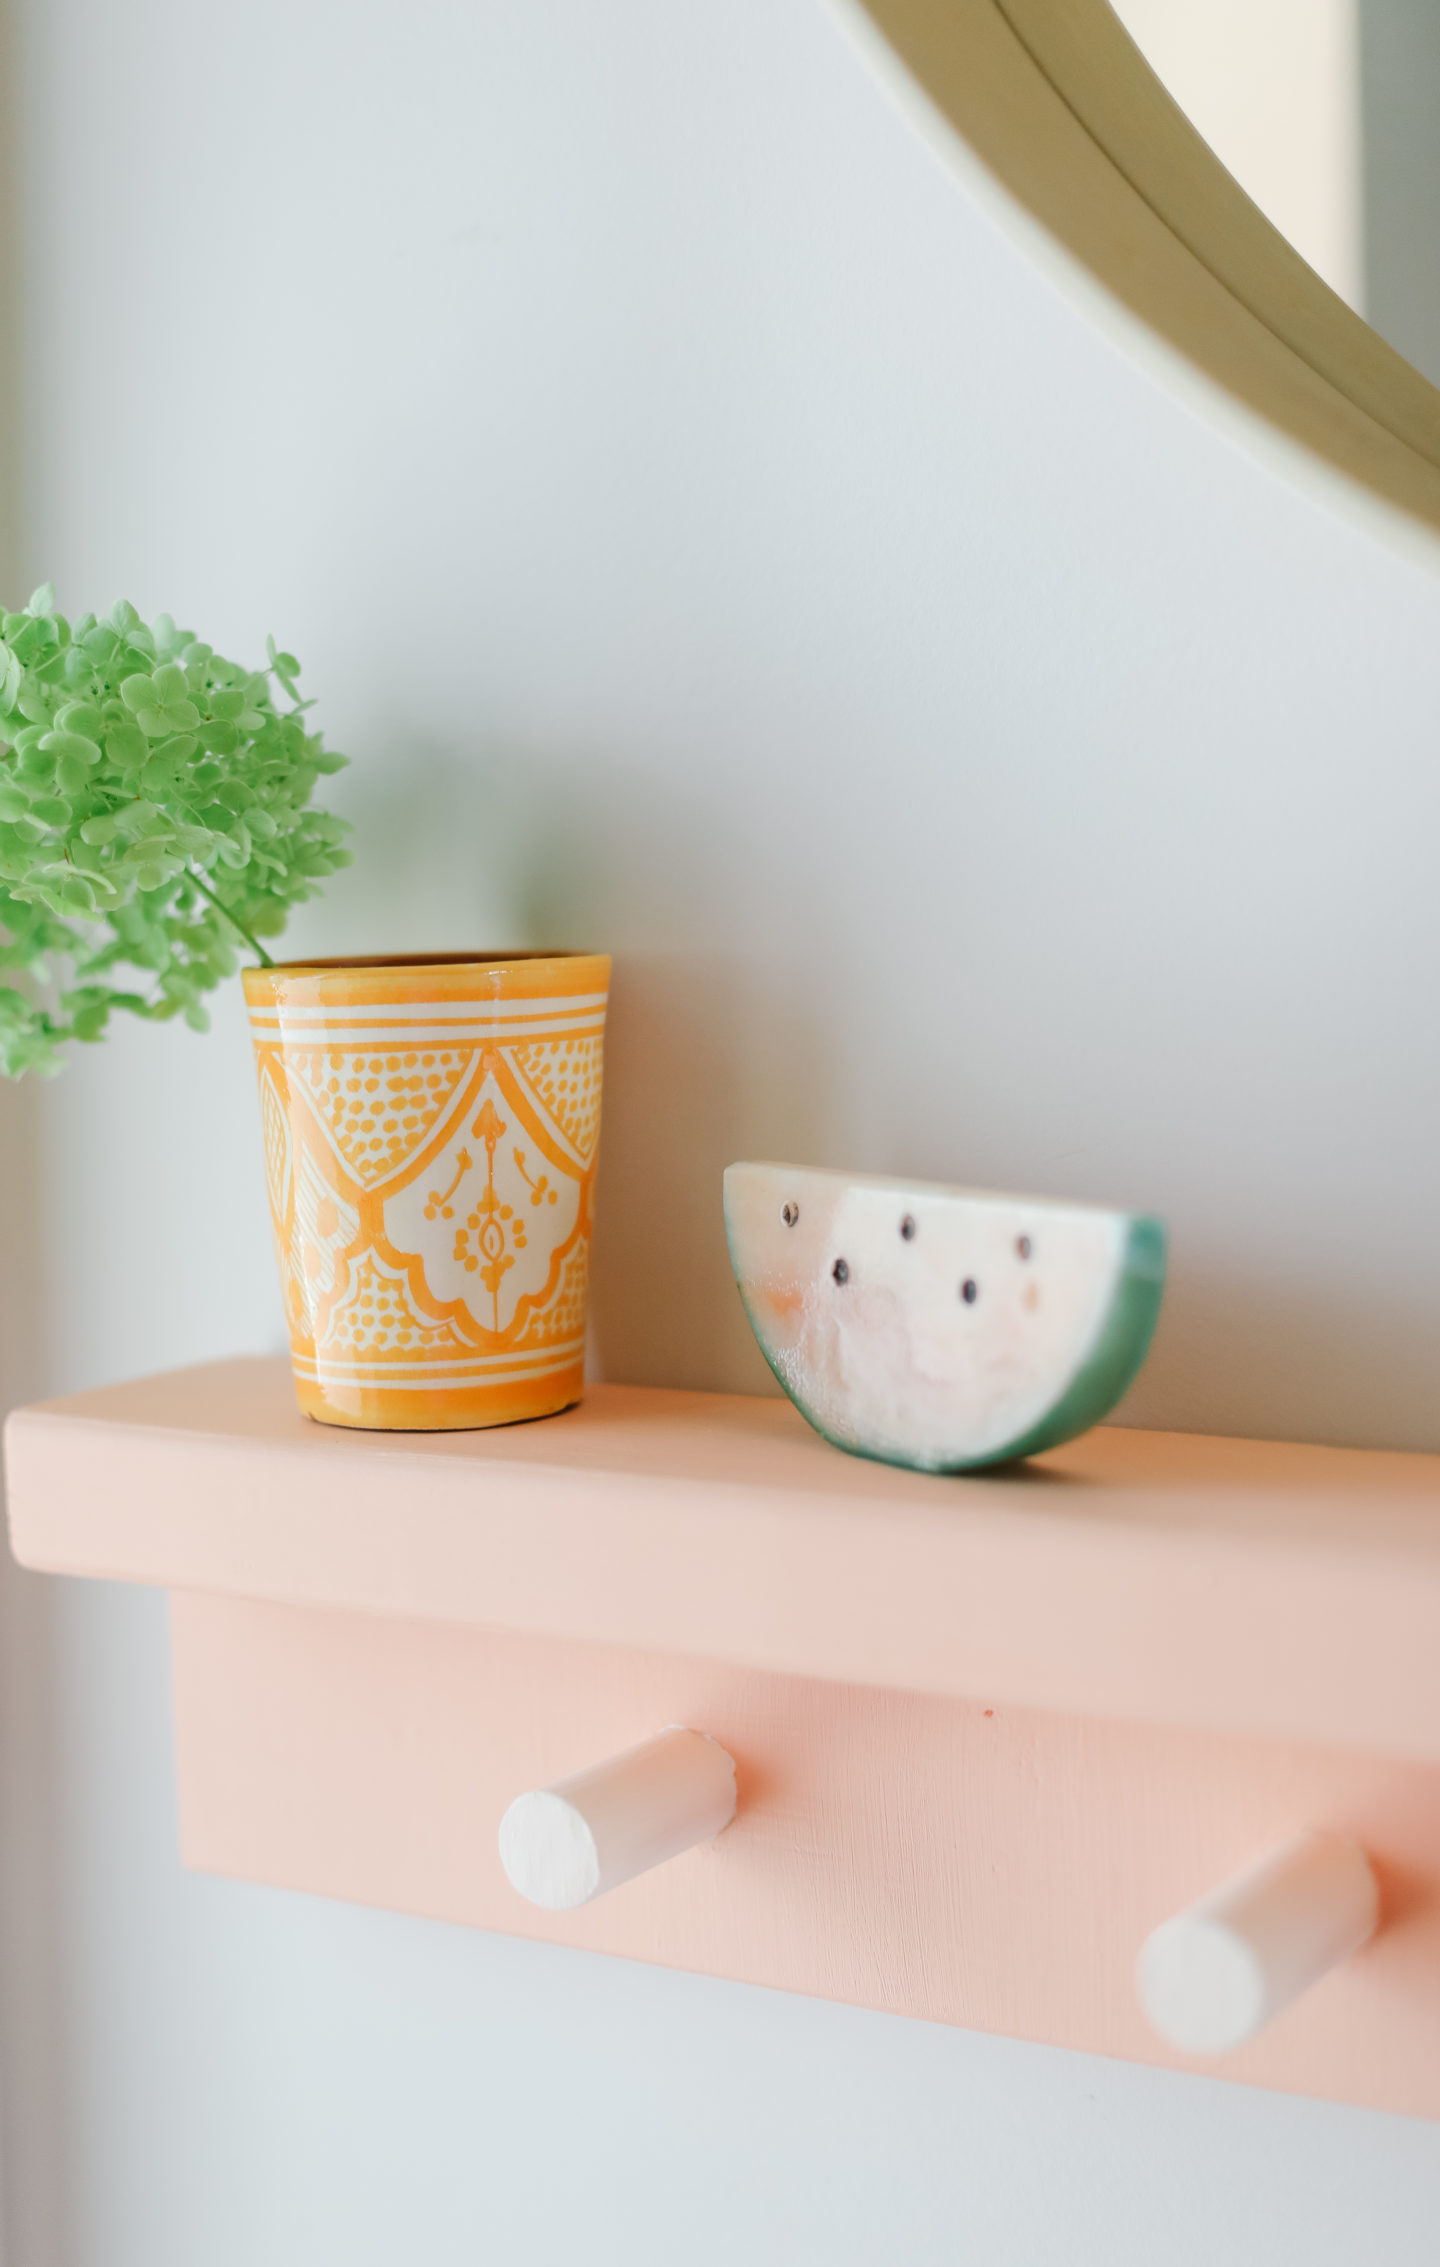
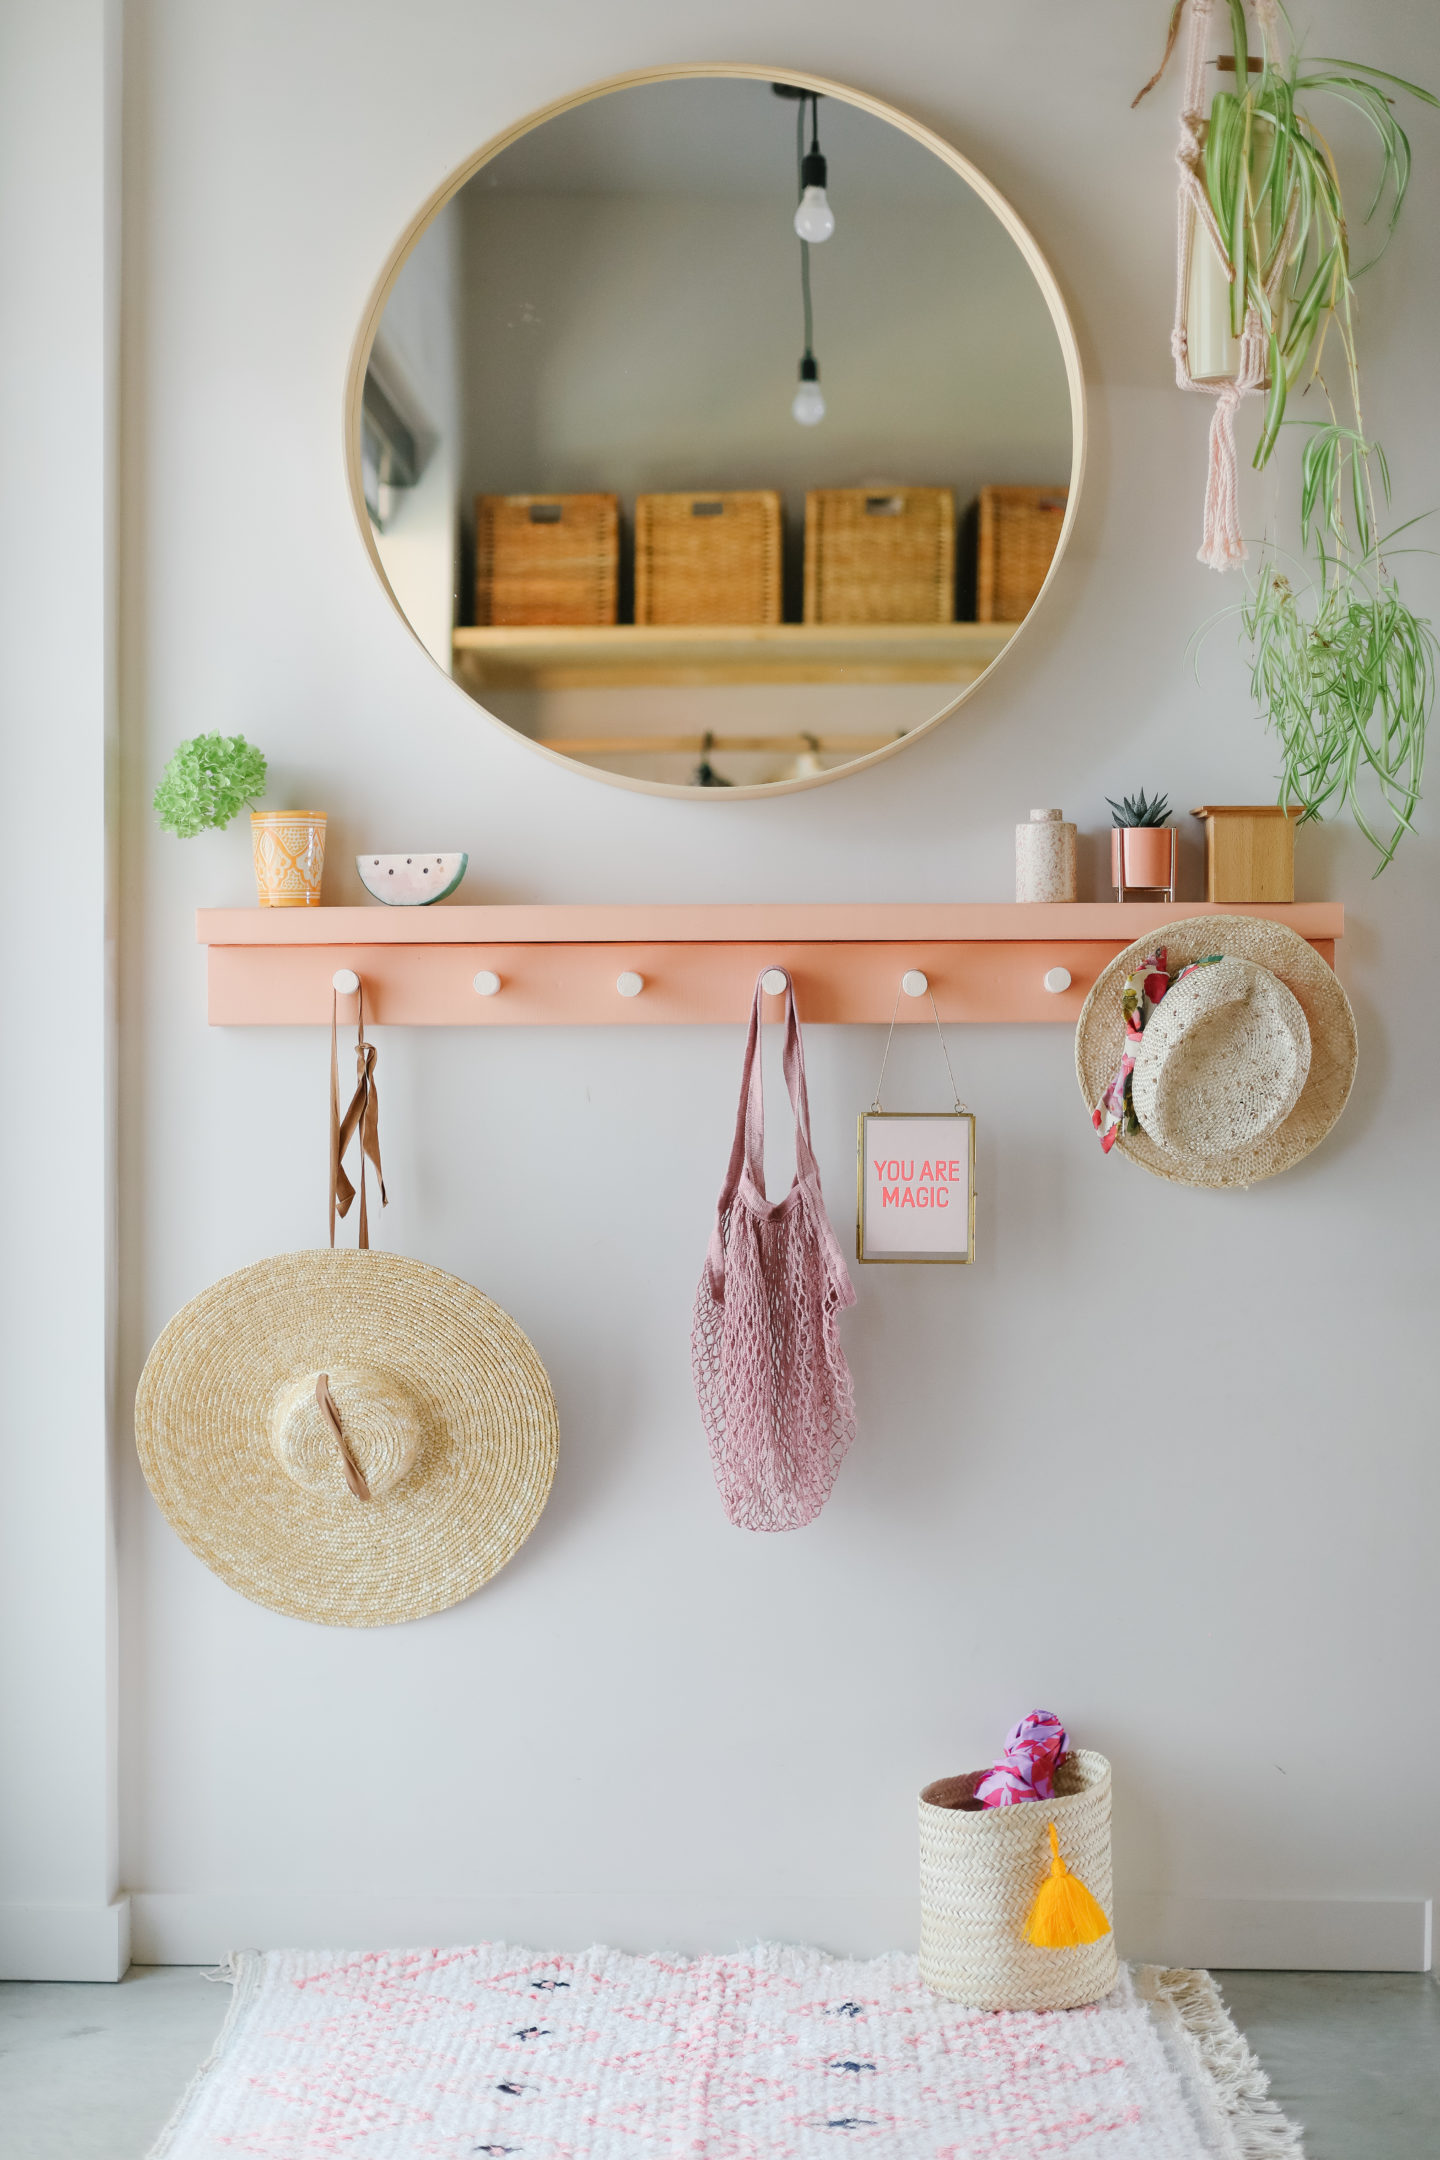
So tell me know, how happy is this new corner?
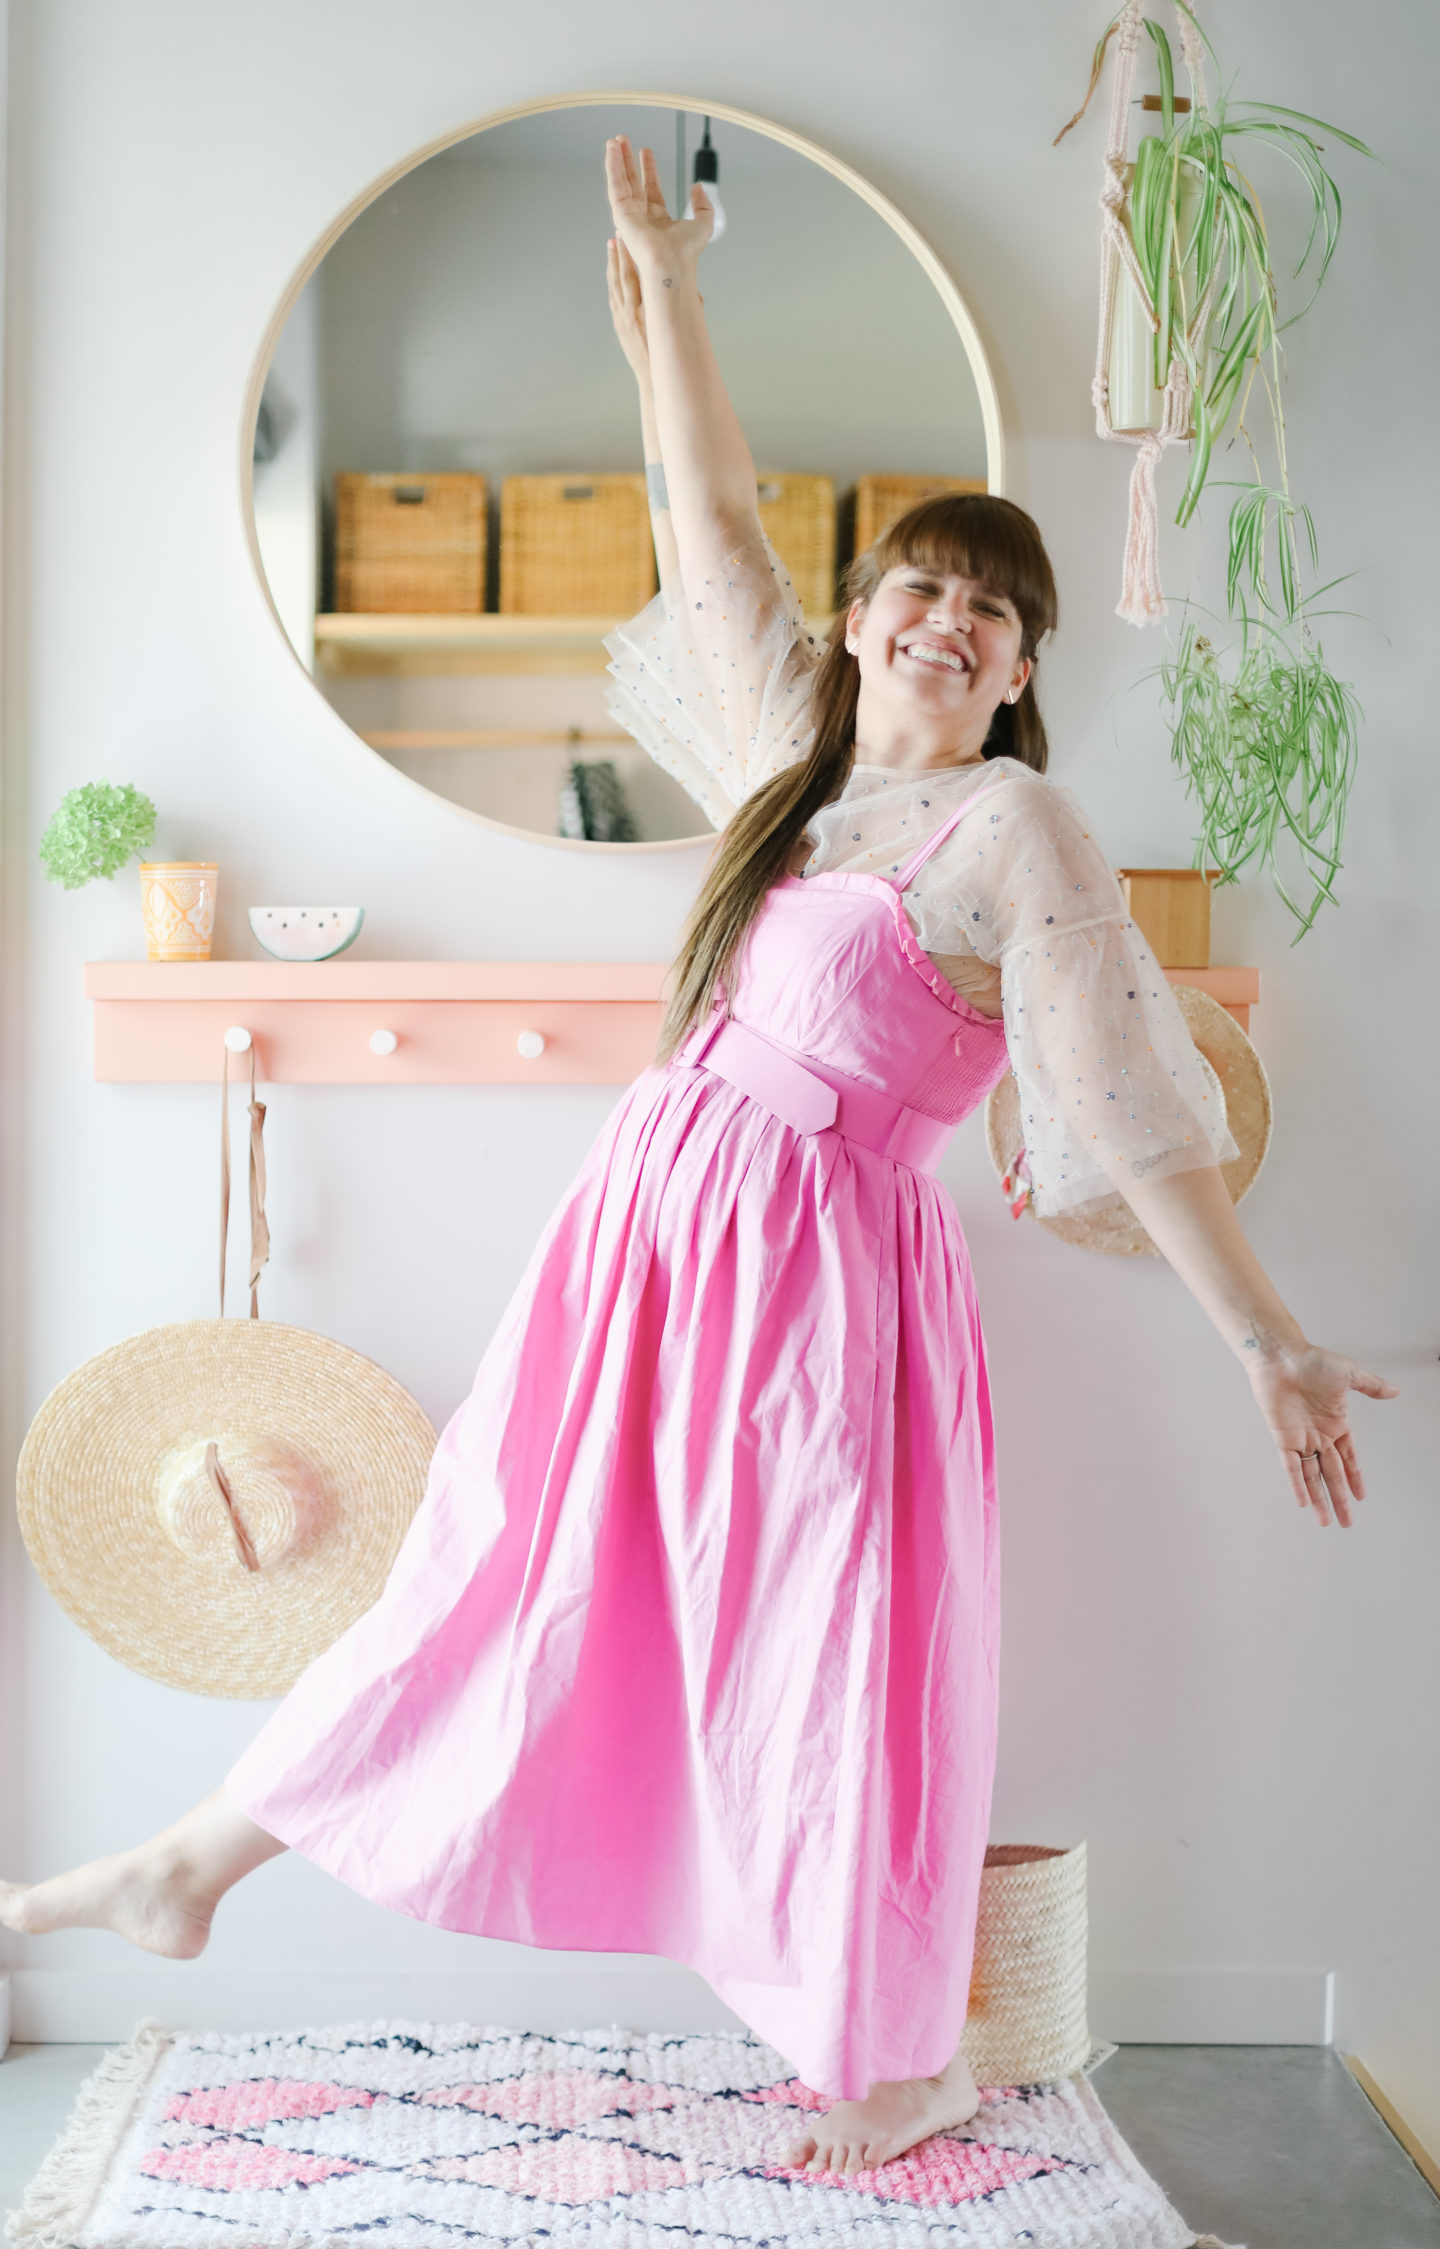
Mi casa, es absolutamente, tu casa!
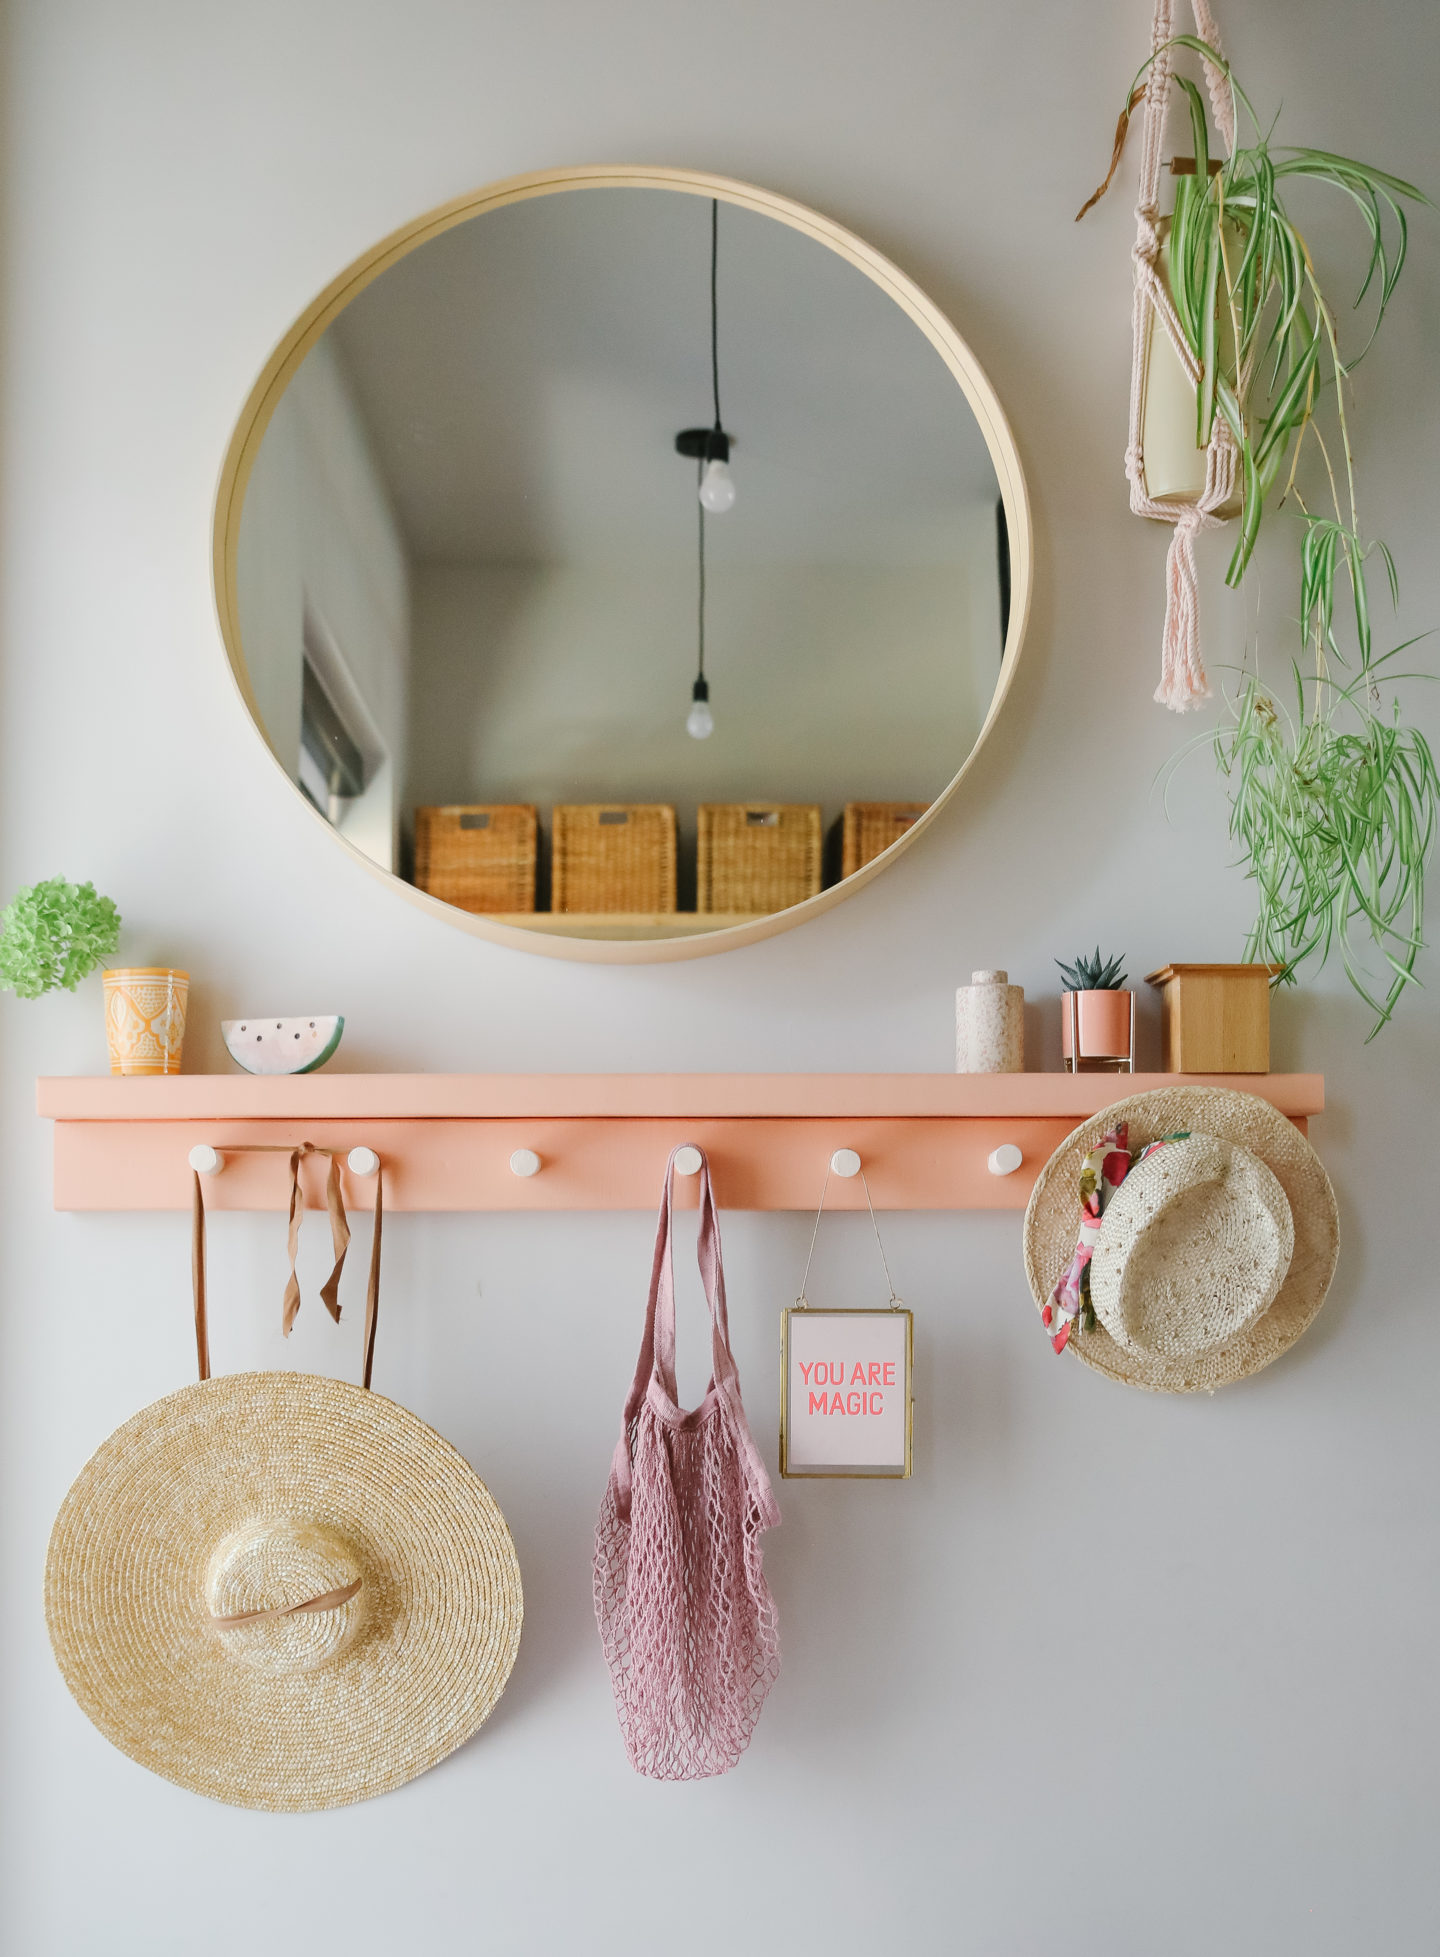
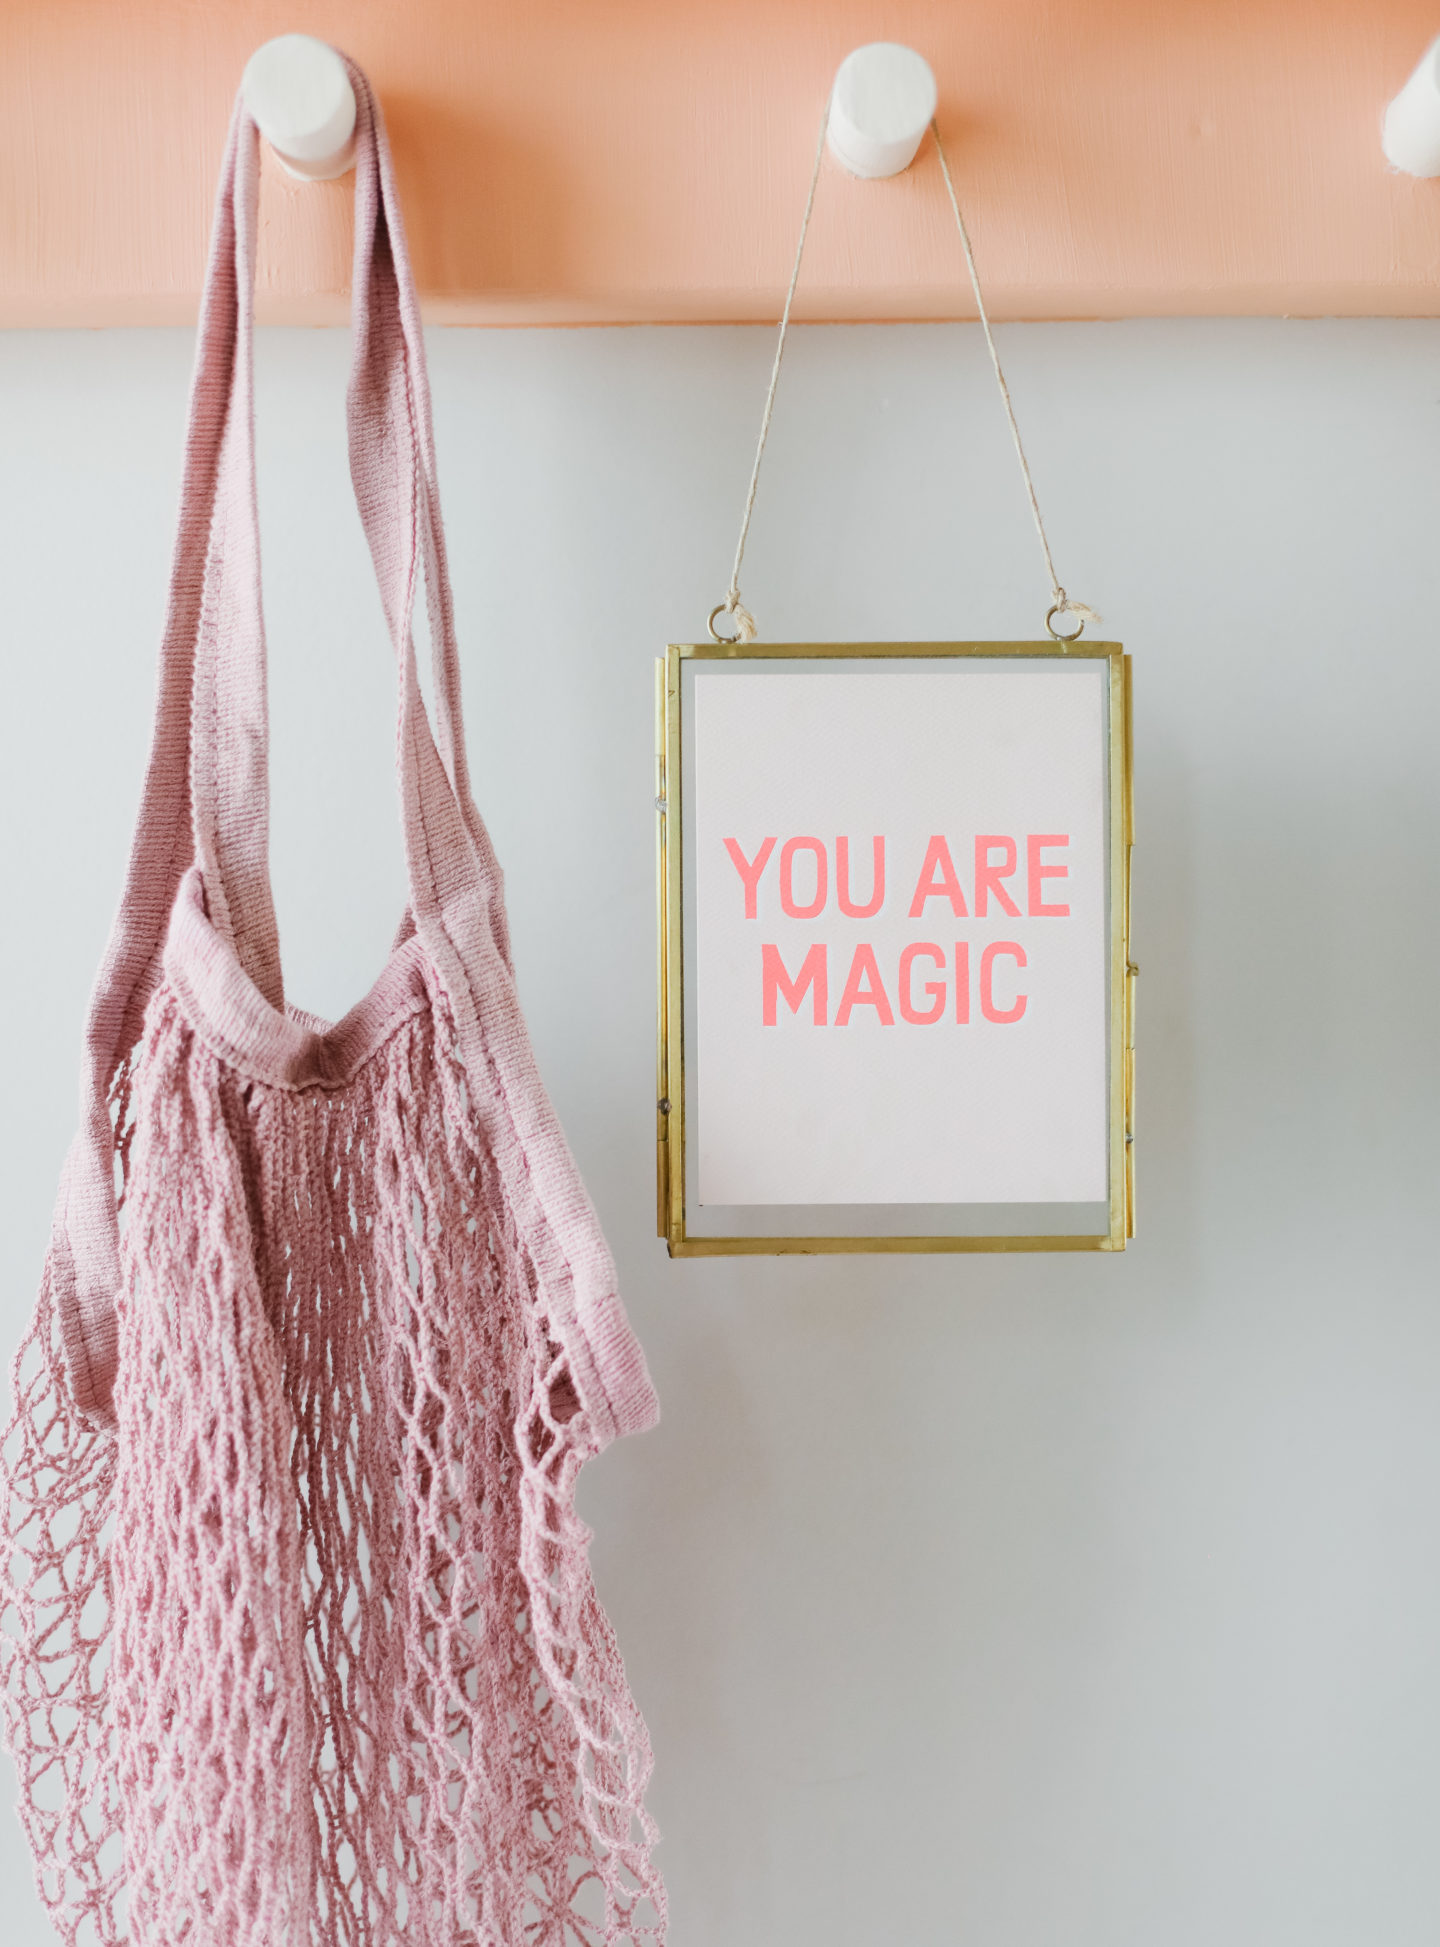
super easy DIY pastel coat rack
Wood – Home Depot
Paint – Para Paints
Mirror – Ikea Canada
Pink zero waste bag – Babasouk
Hats – Zara
You are magic print – Babasouk
Pink Macrame – Babasouk
Gold frame – H&M home
Pink Moroccan Rug – Babasouk
Handmade Ceramic Mug – Babasouk
Outfit (dress & constellation shirt) – Zara

