DIY Your Own Candy Wrappers for Halloween!

Happy Halloween friends, hope your day is filled with candy, chocolate and all the sweeness!
I couldn’t think a better way to celebrate the spookiest month of the year than crafting something cute, very Maca-Halloween-style. If you’re a packaging lover as me, your heart will be happy to follow this tutorial today, where you’ll learn how to DIY your own candy wrappers using old paper scraps.
Let’s do it.
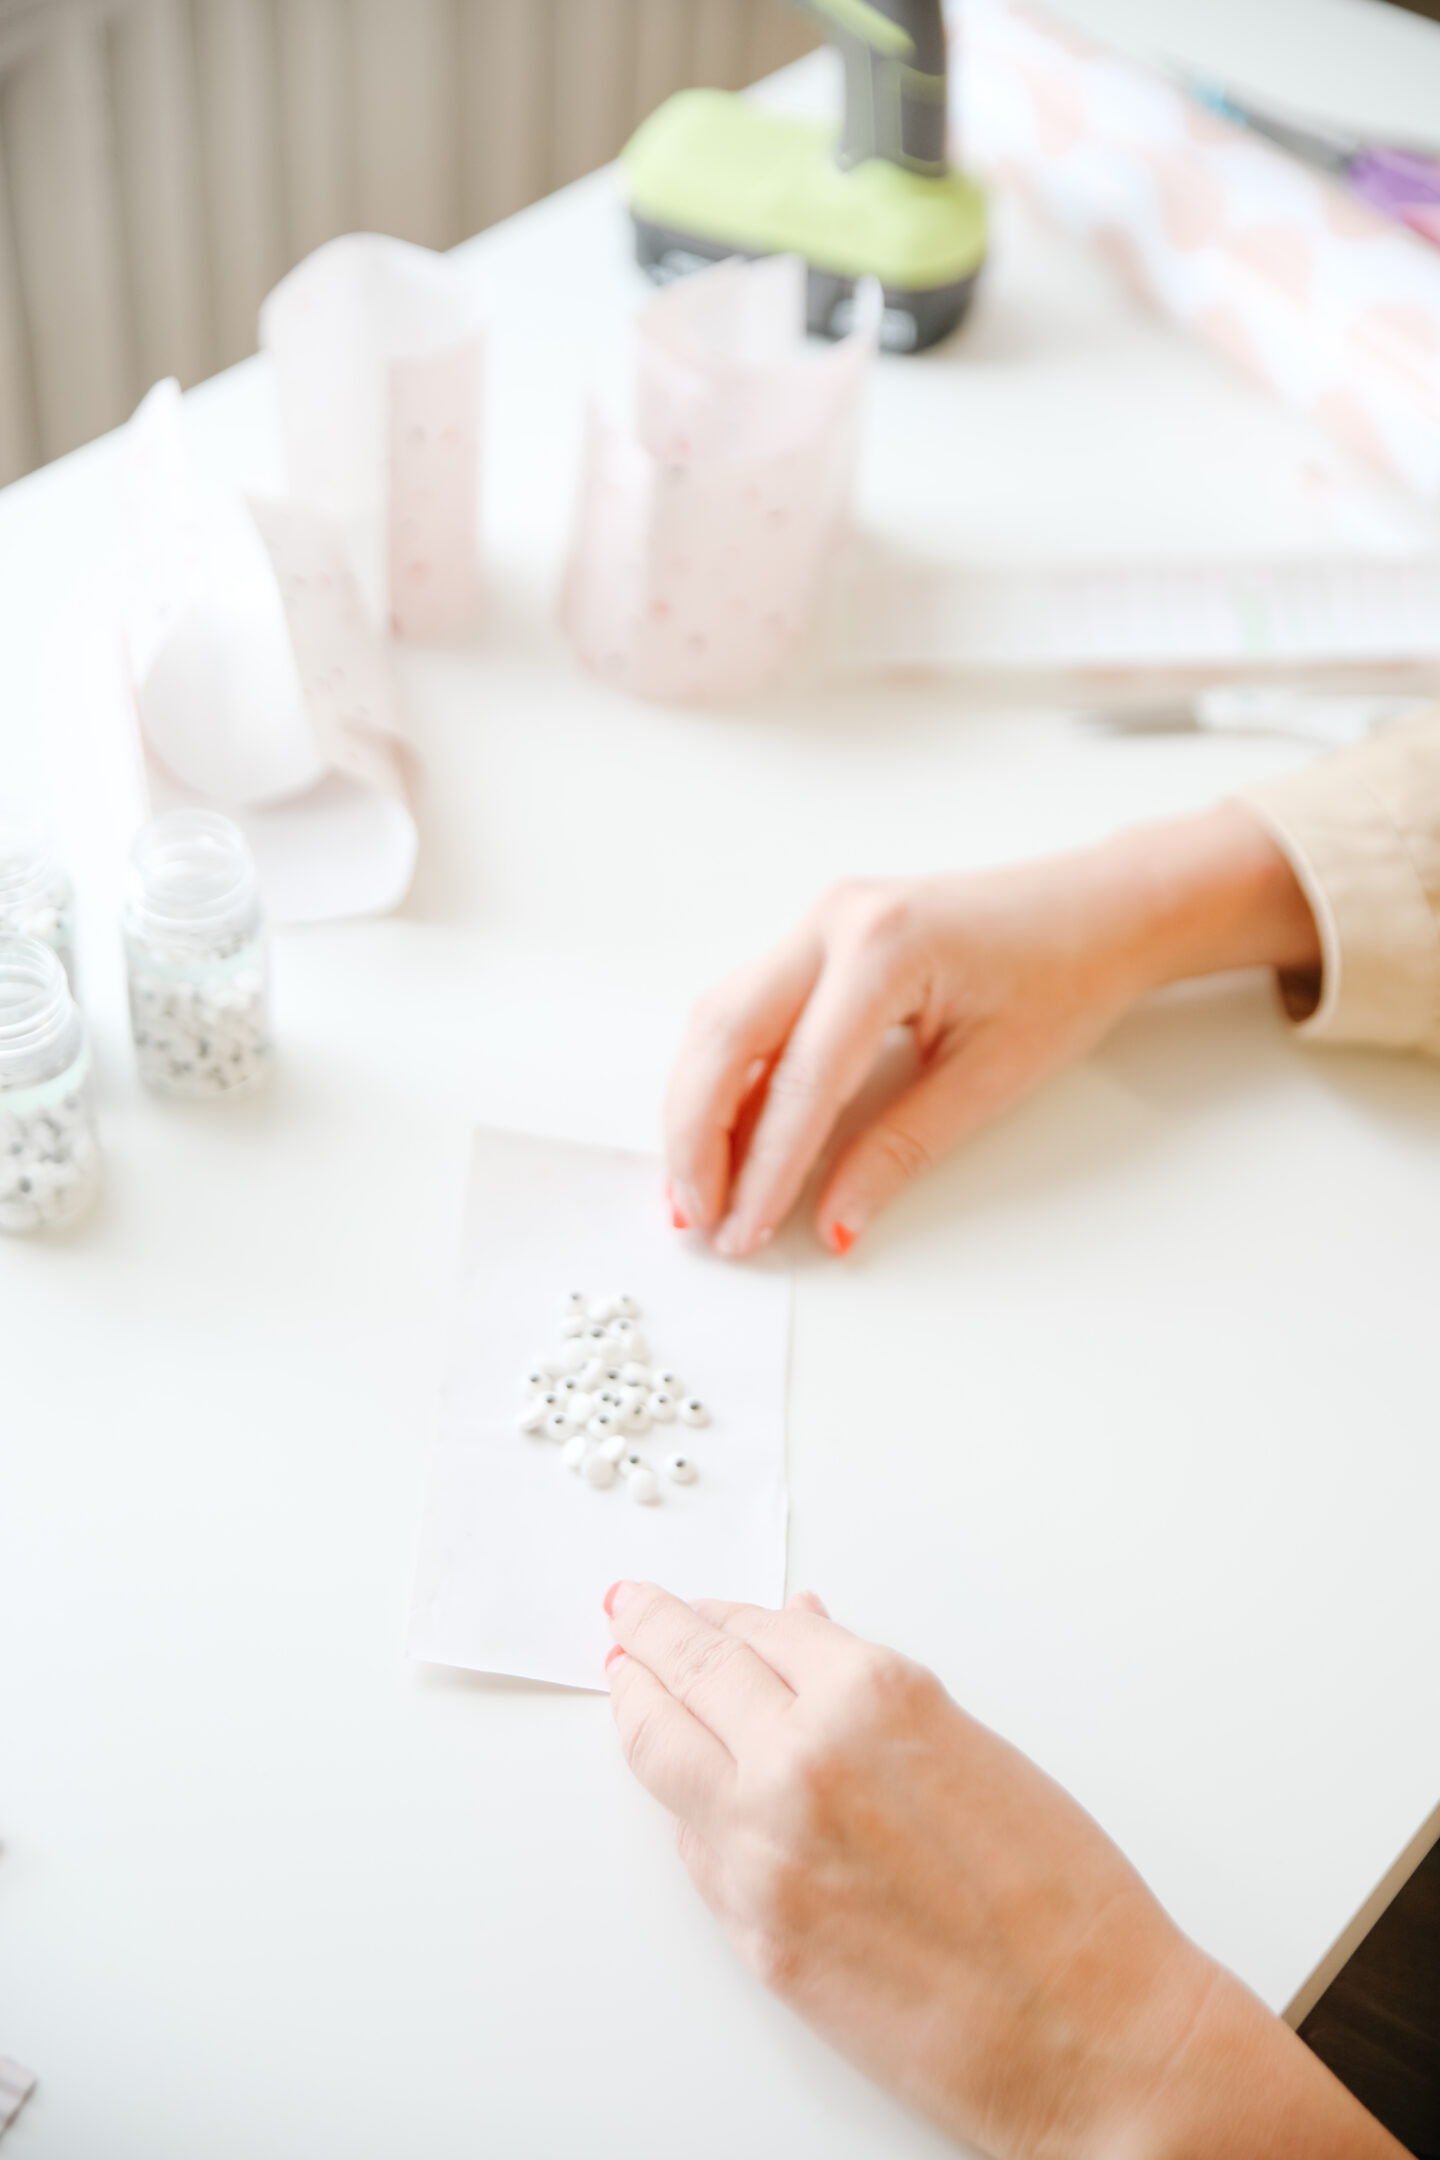
Firstly, measure the length you want your candy wrappers to be and cut small squares using your favourite paper. As soon as you have all your paper squares ready, grab your candy!
Flip the paper down and pour your candy on top in the middle of the square. Fold the paper (like a gift) and add a bit of hot glue to close both ends.
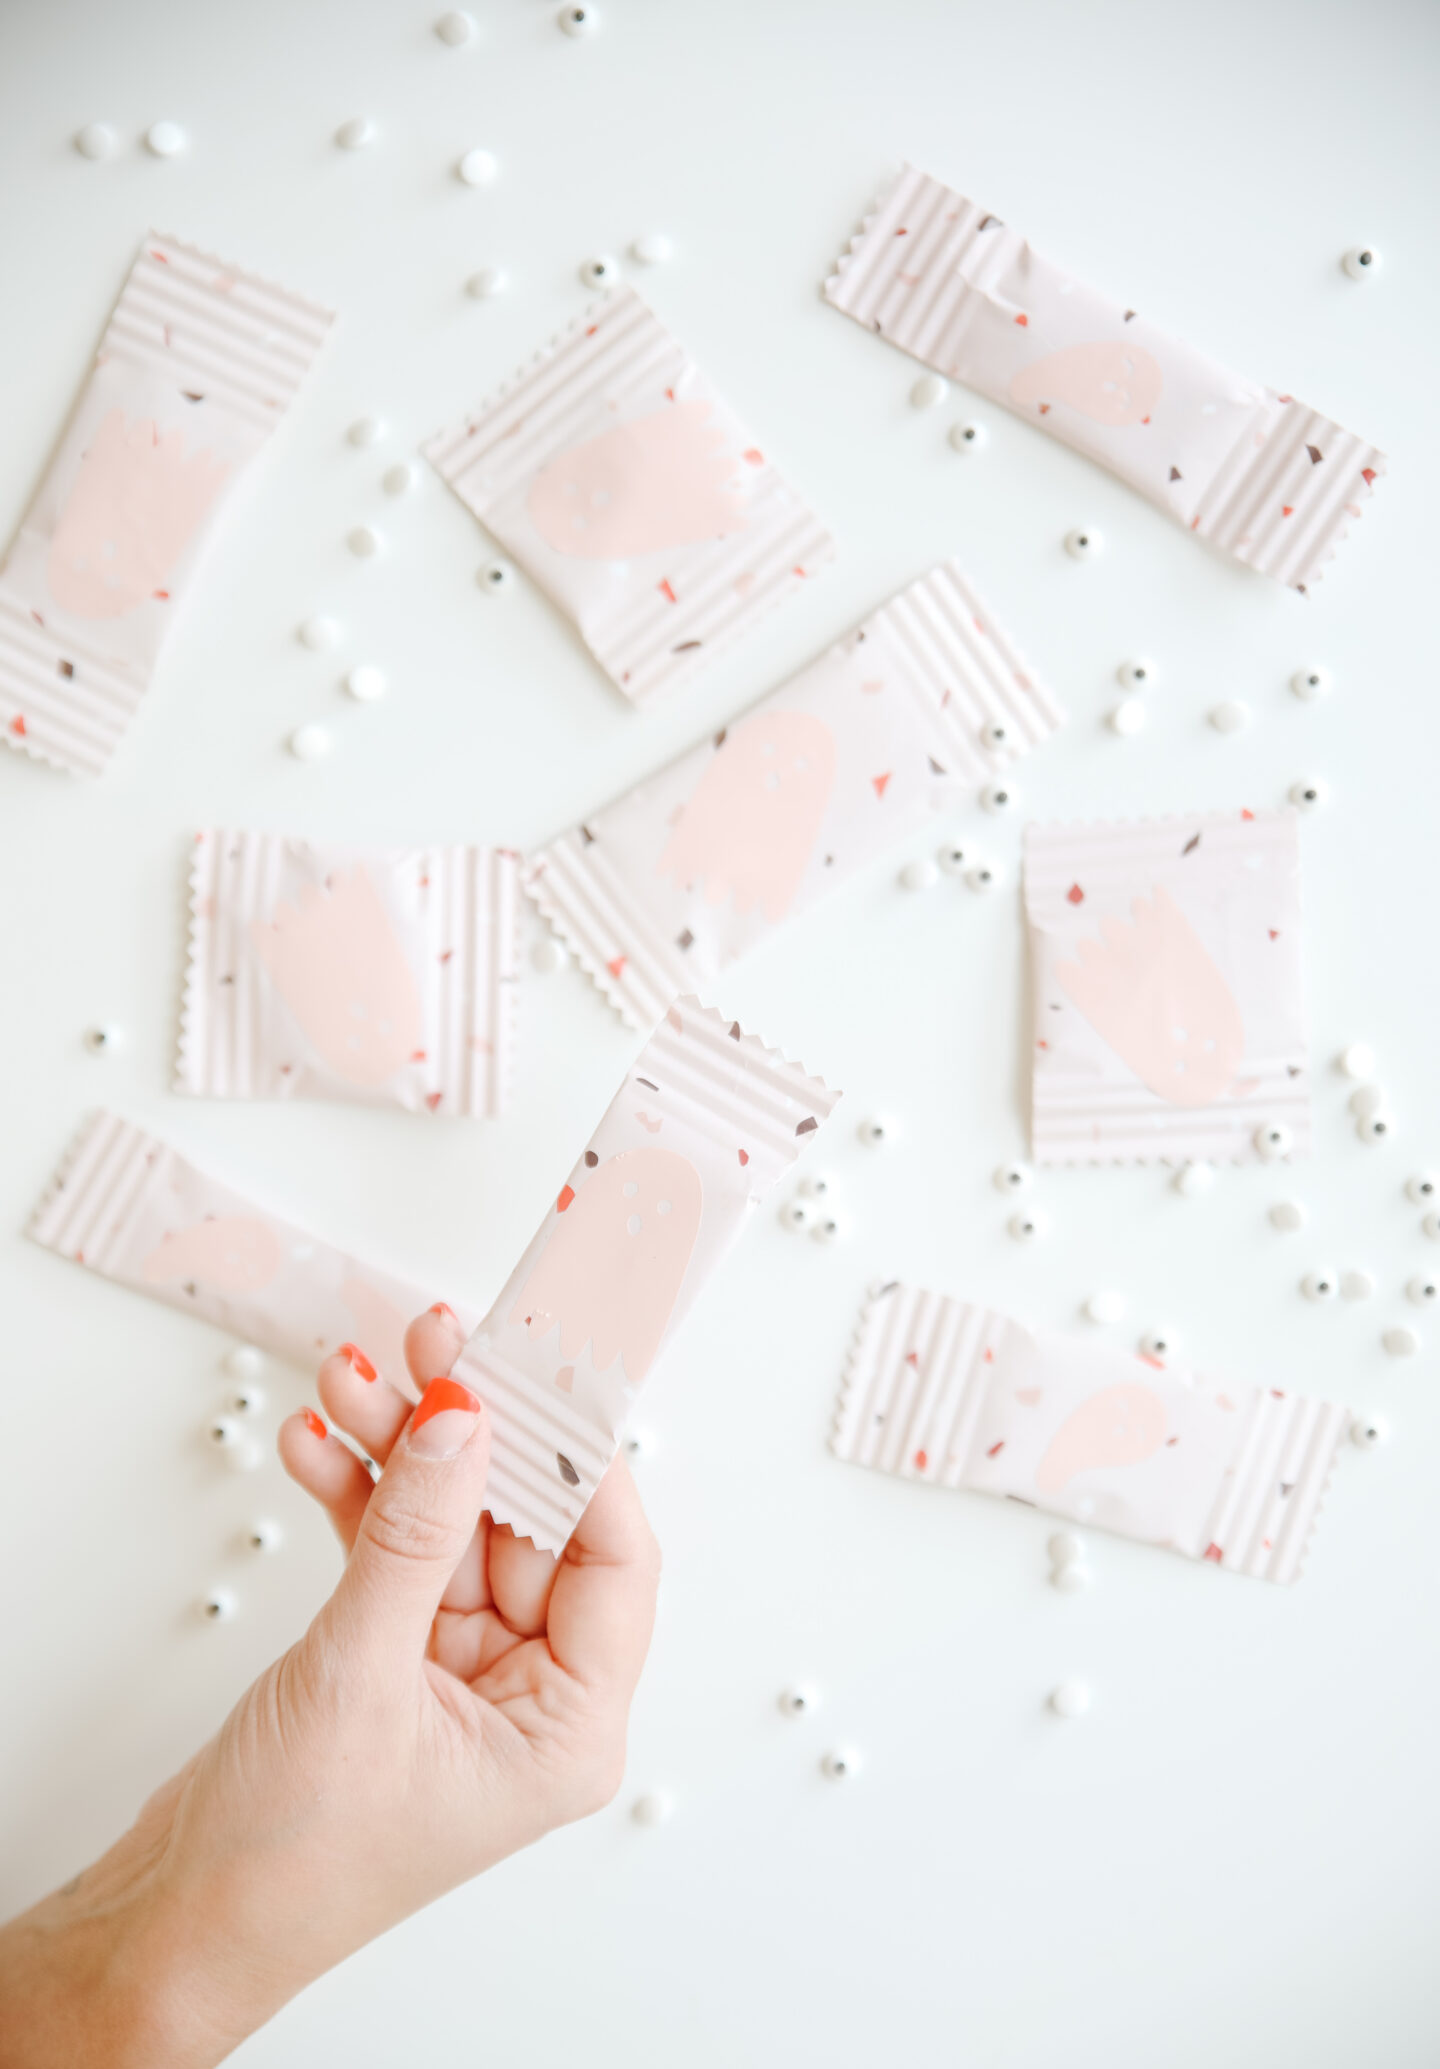
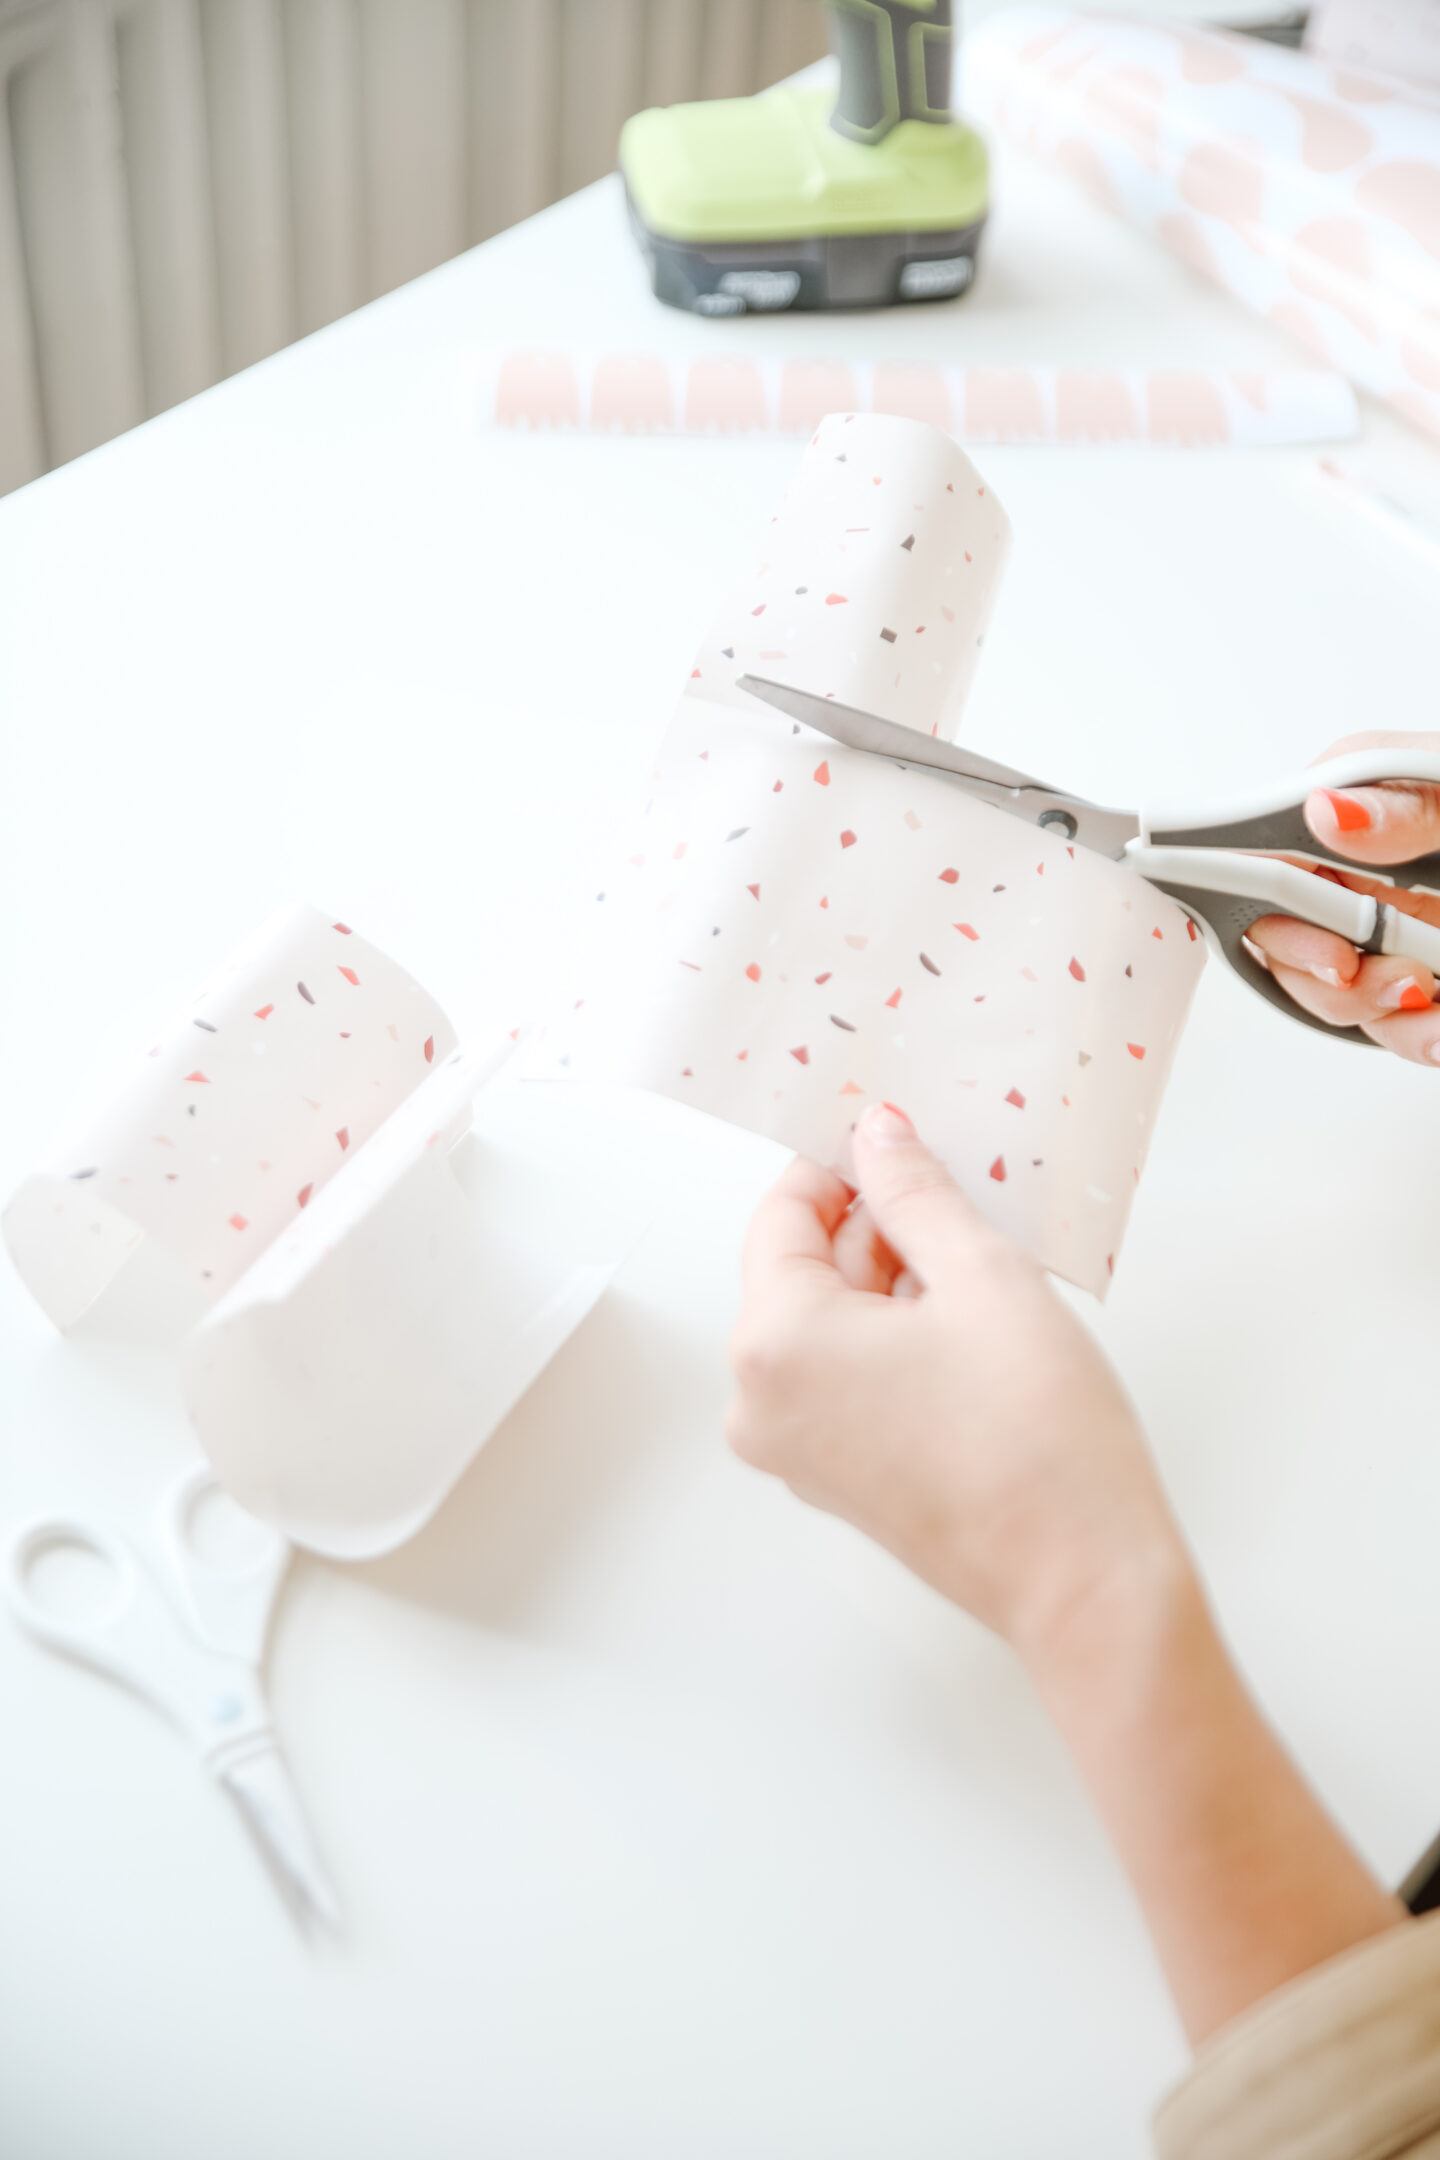
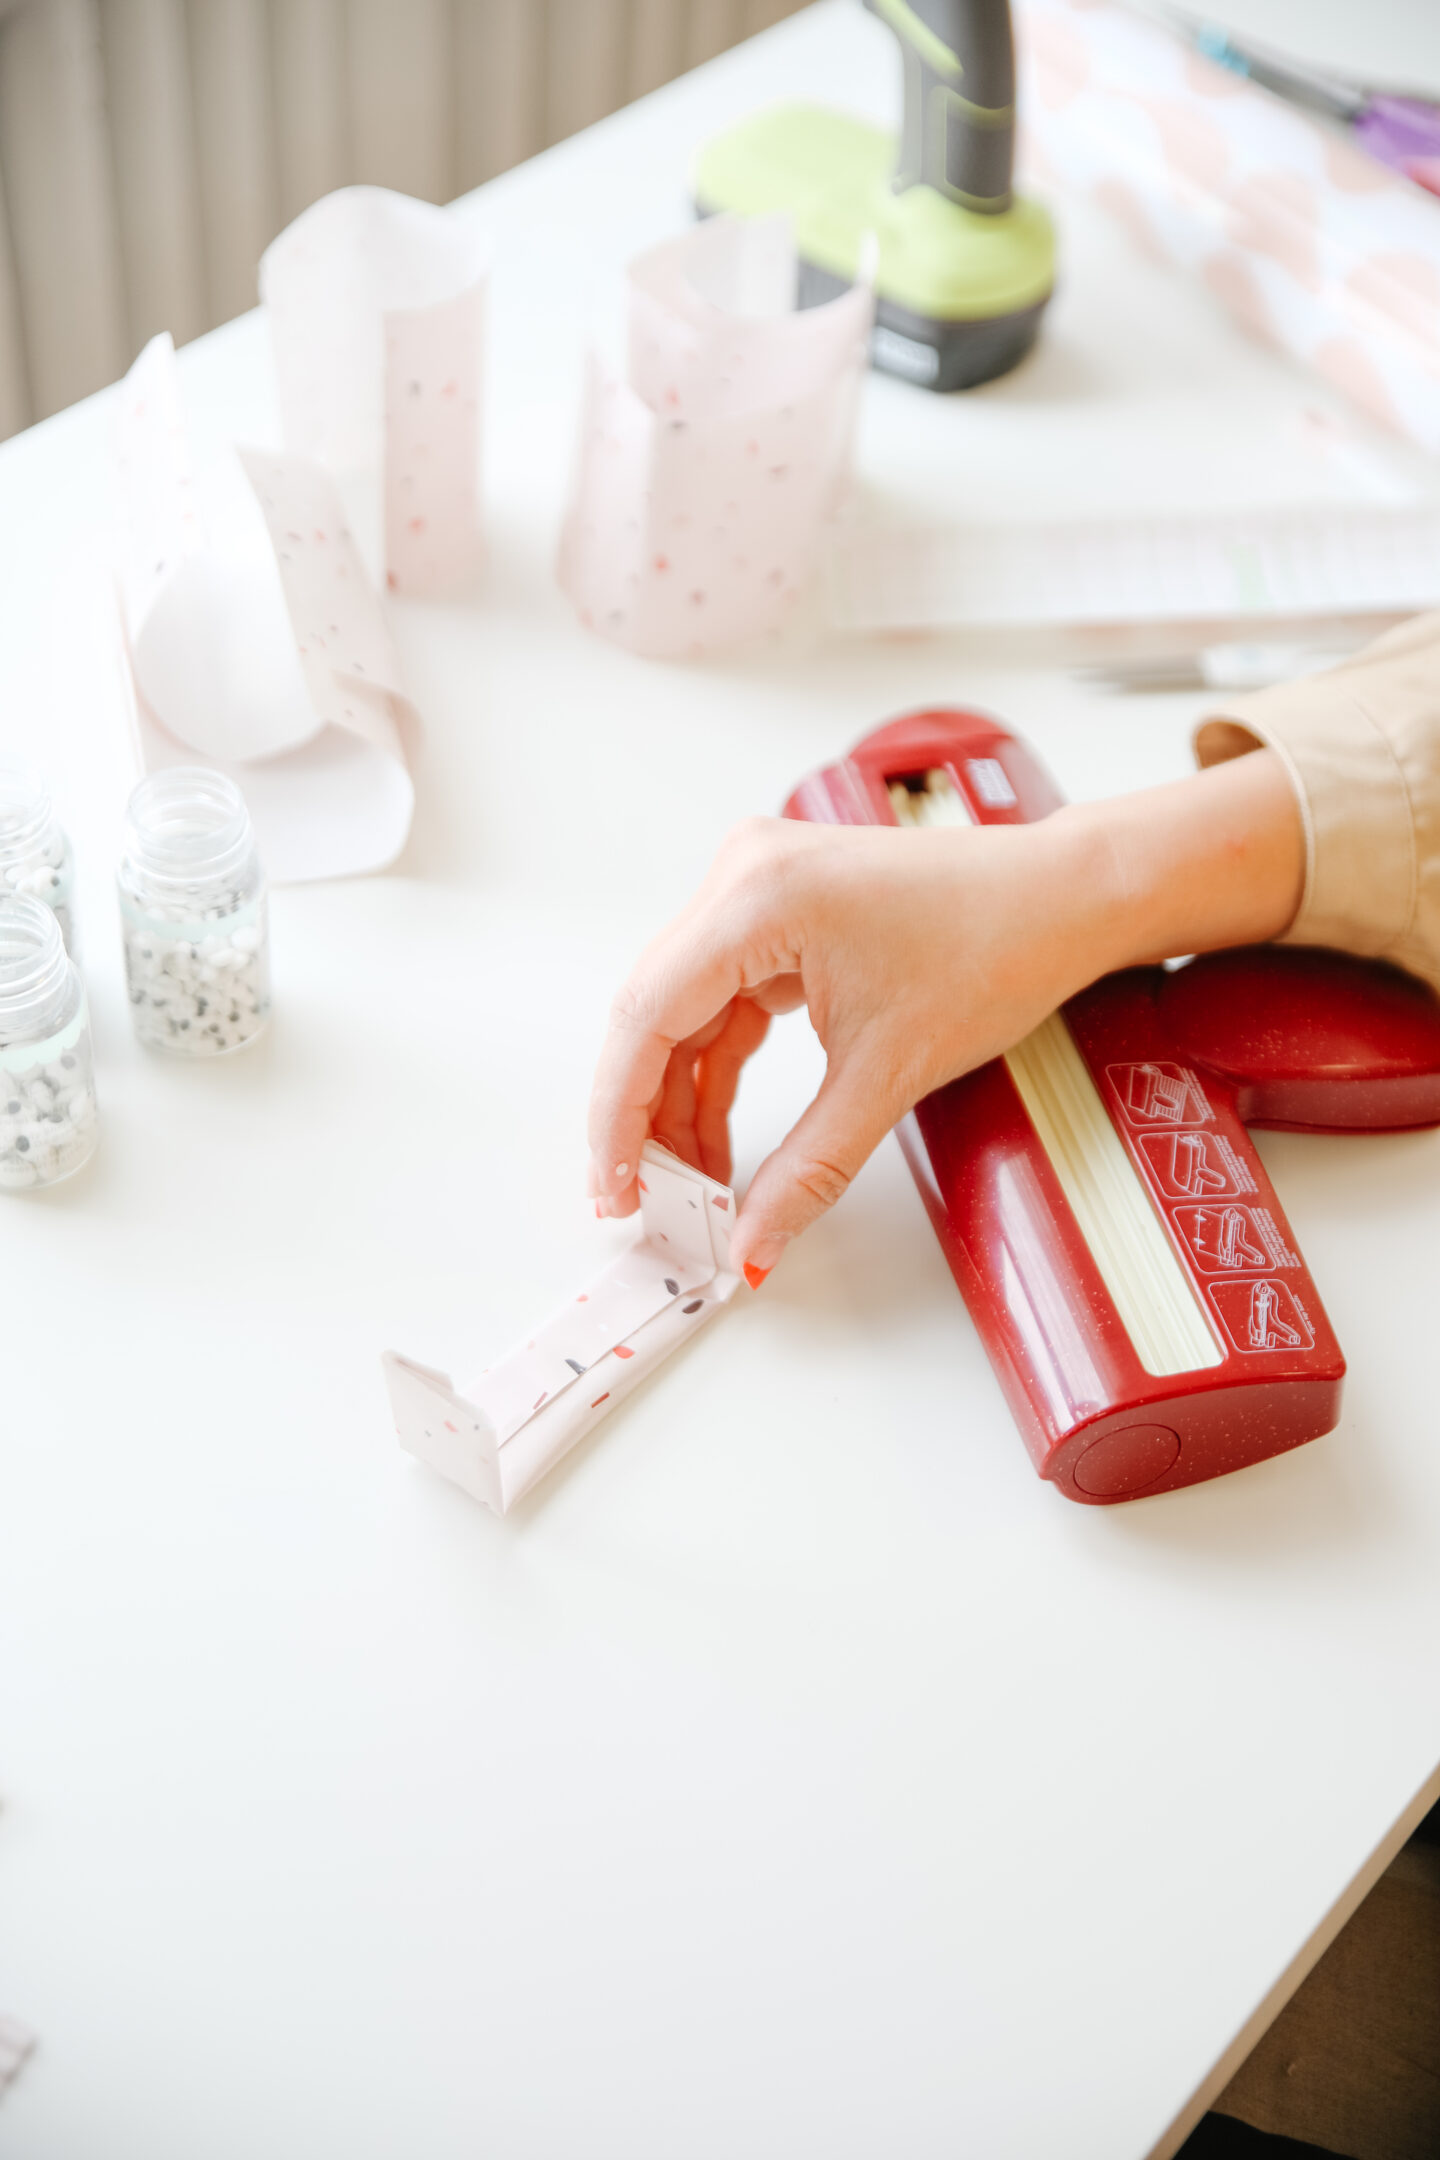
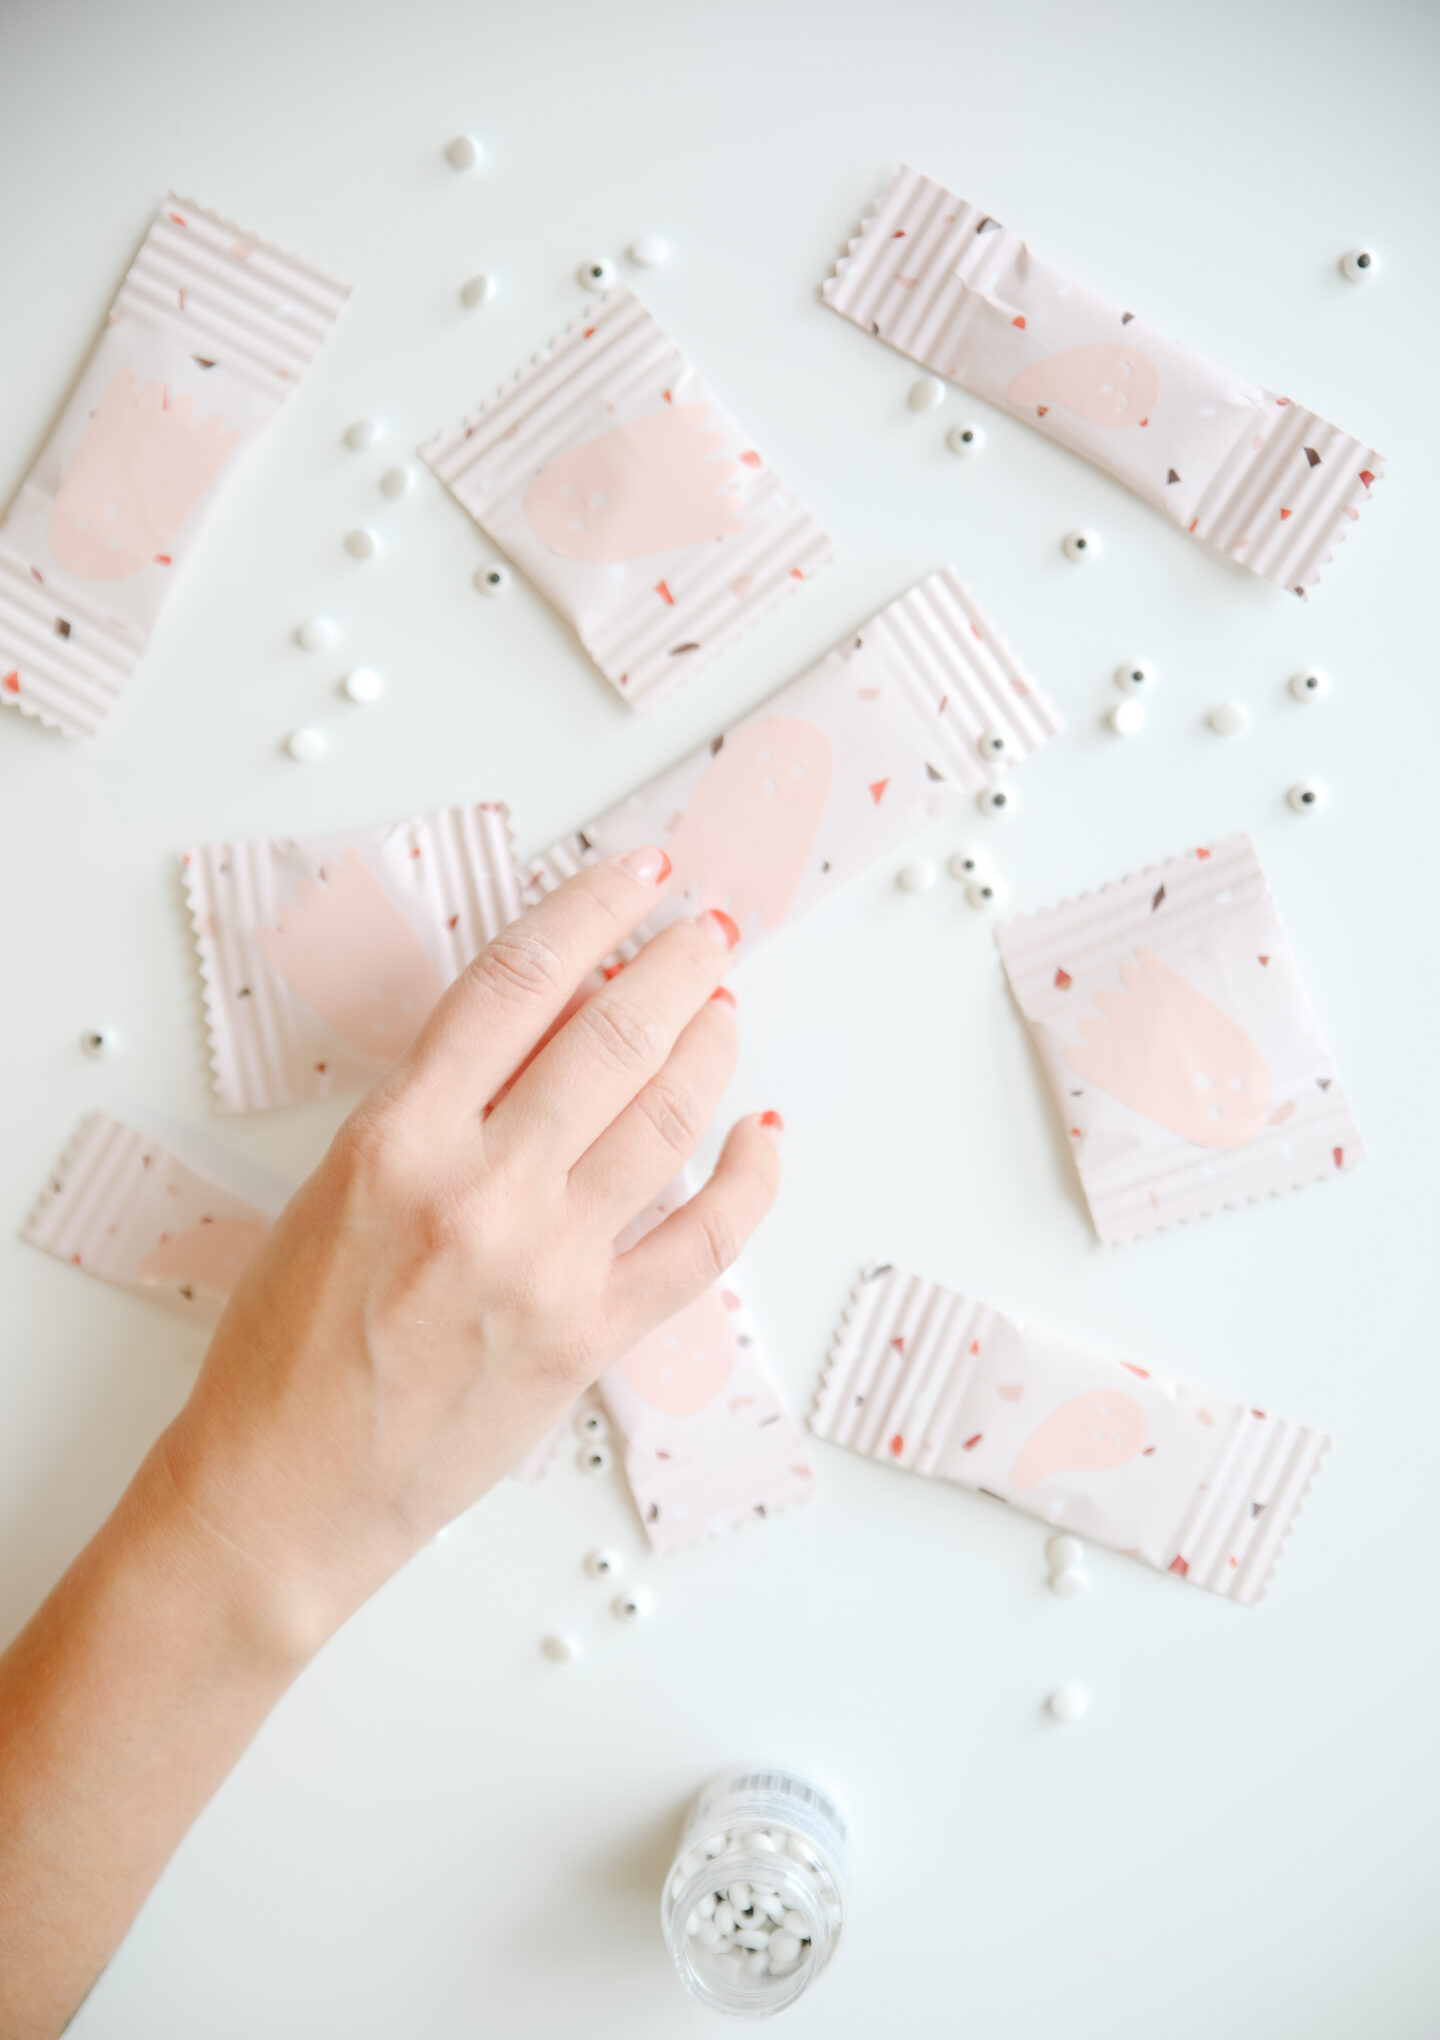
Now, let’s use the paper crimper to add a decorative edge to both flat ends by pressing it like a roller, you will LOVE this step! After you finish, cut the edges with the zig zag scissors.
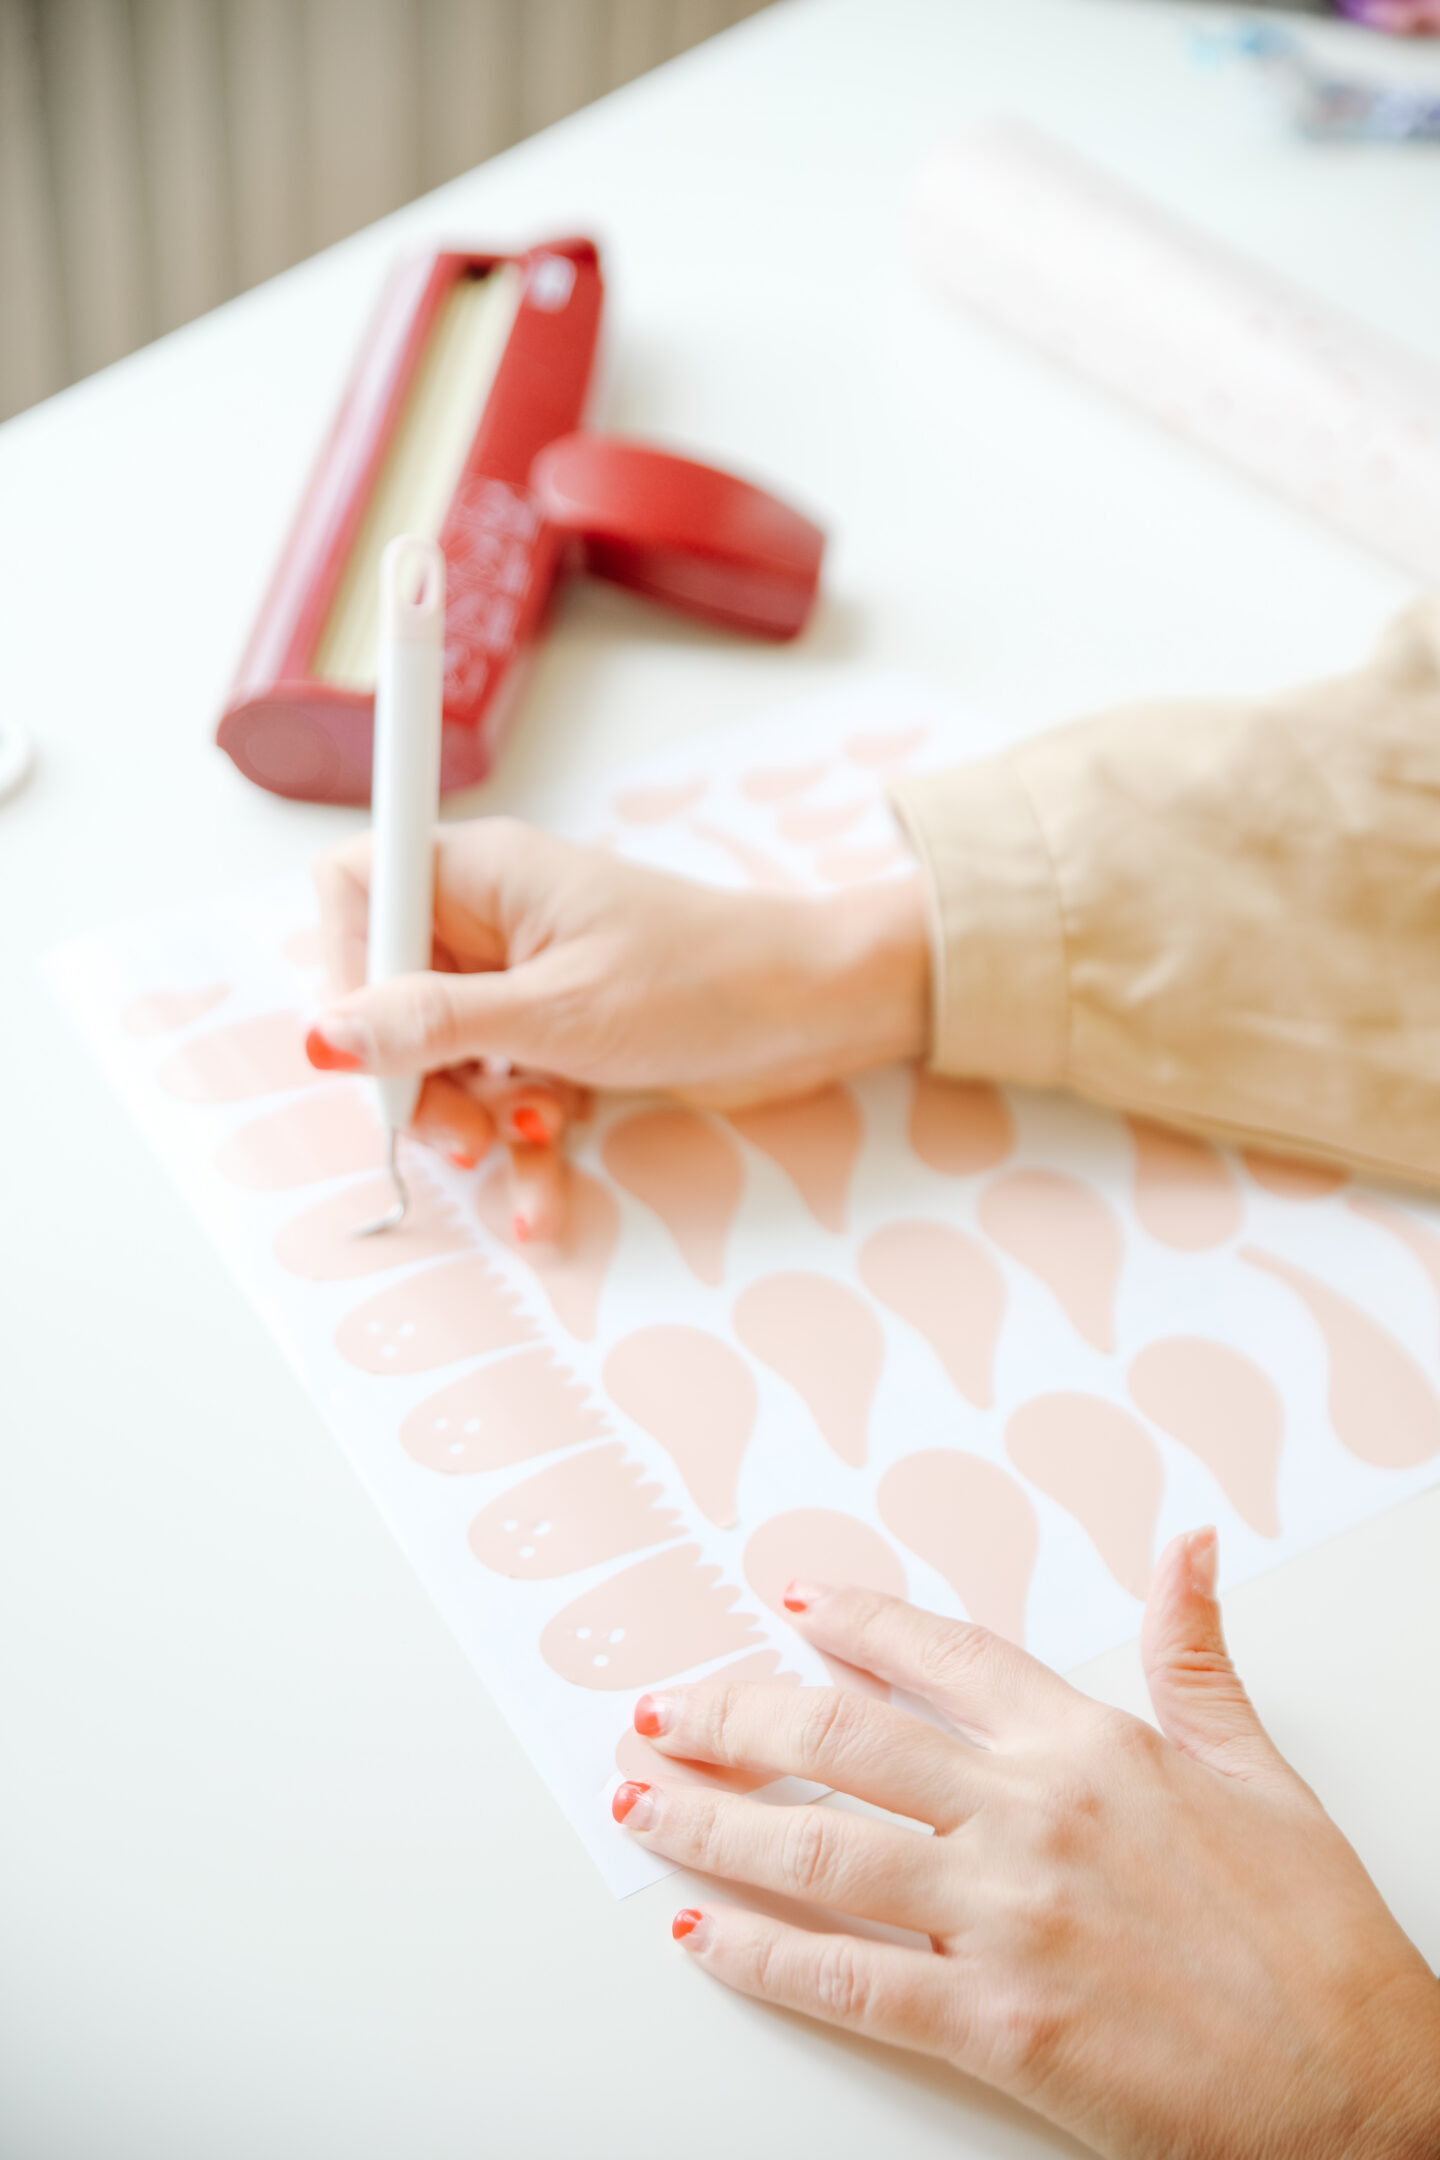
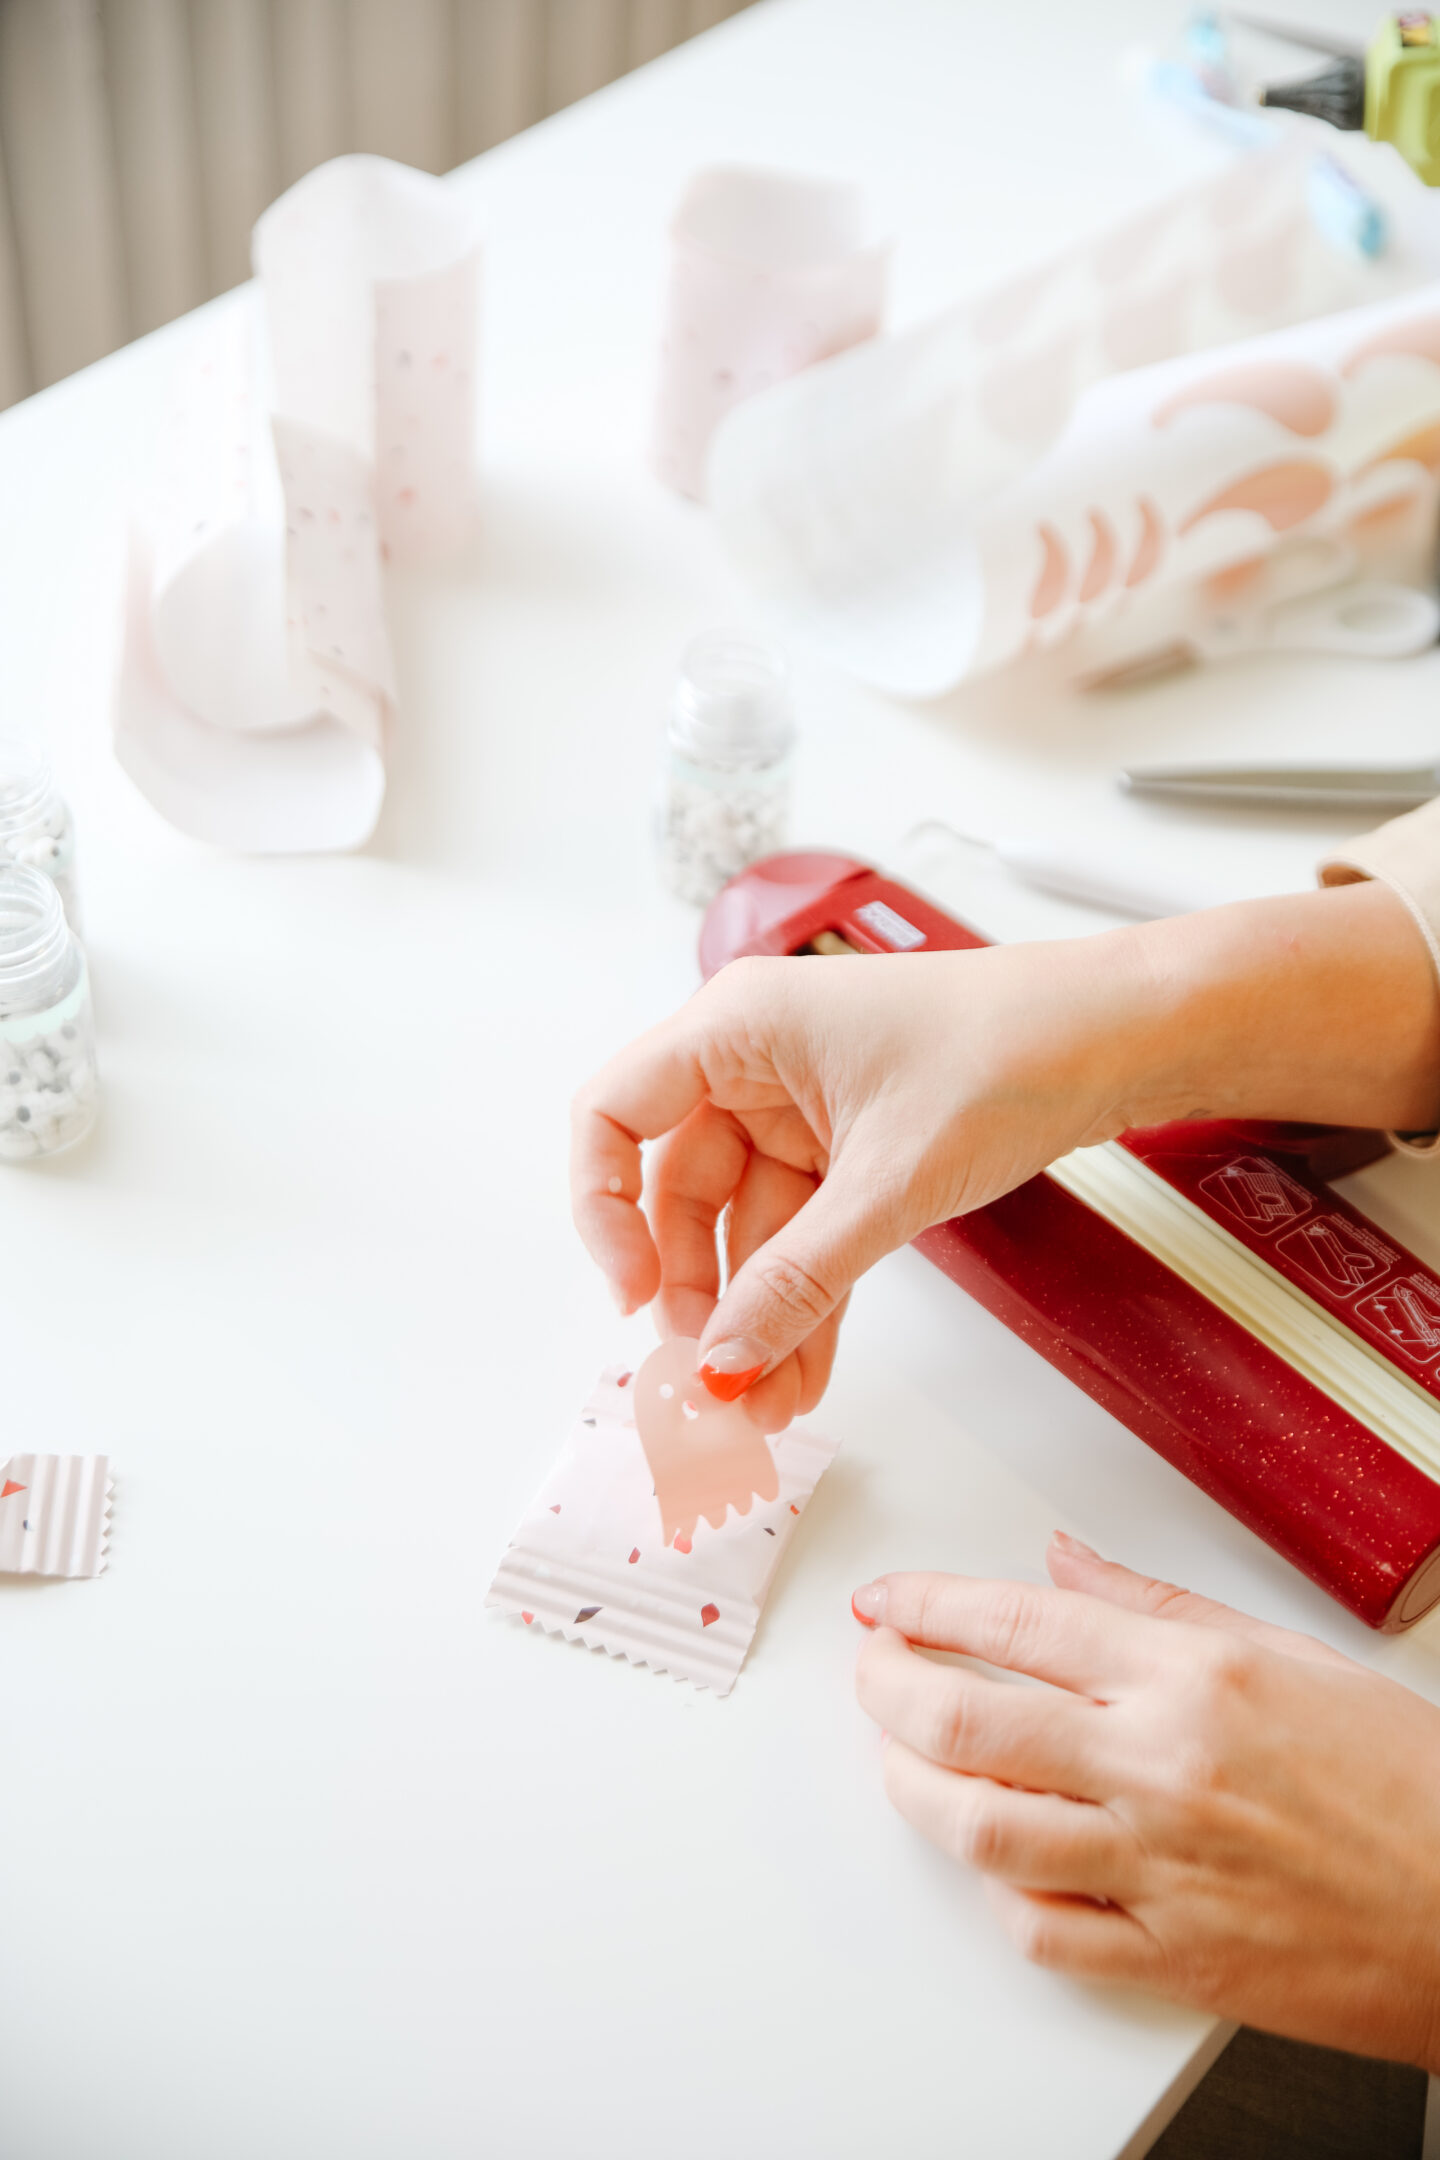
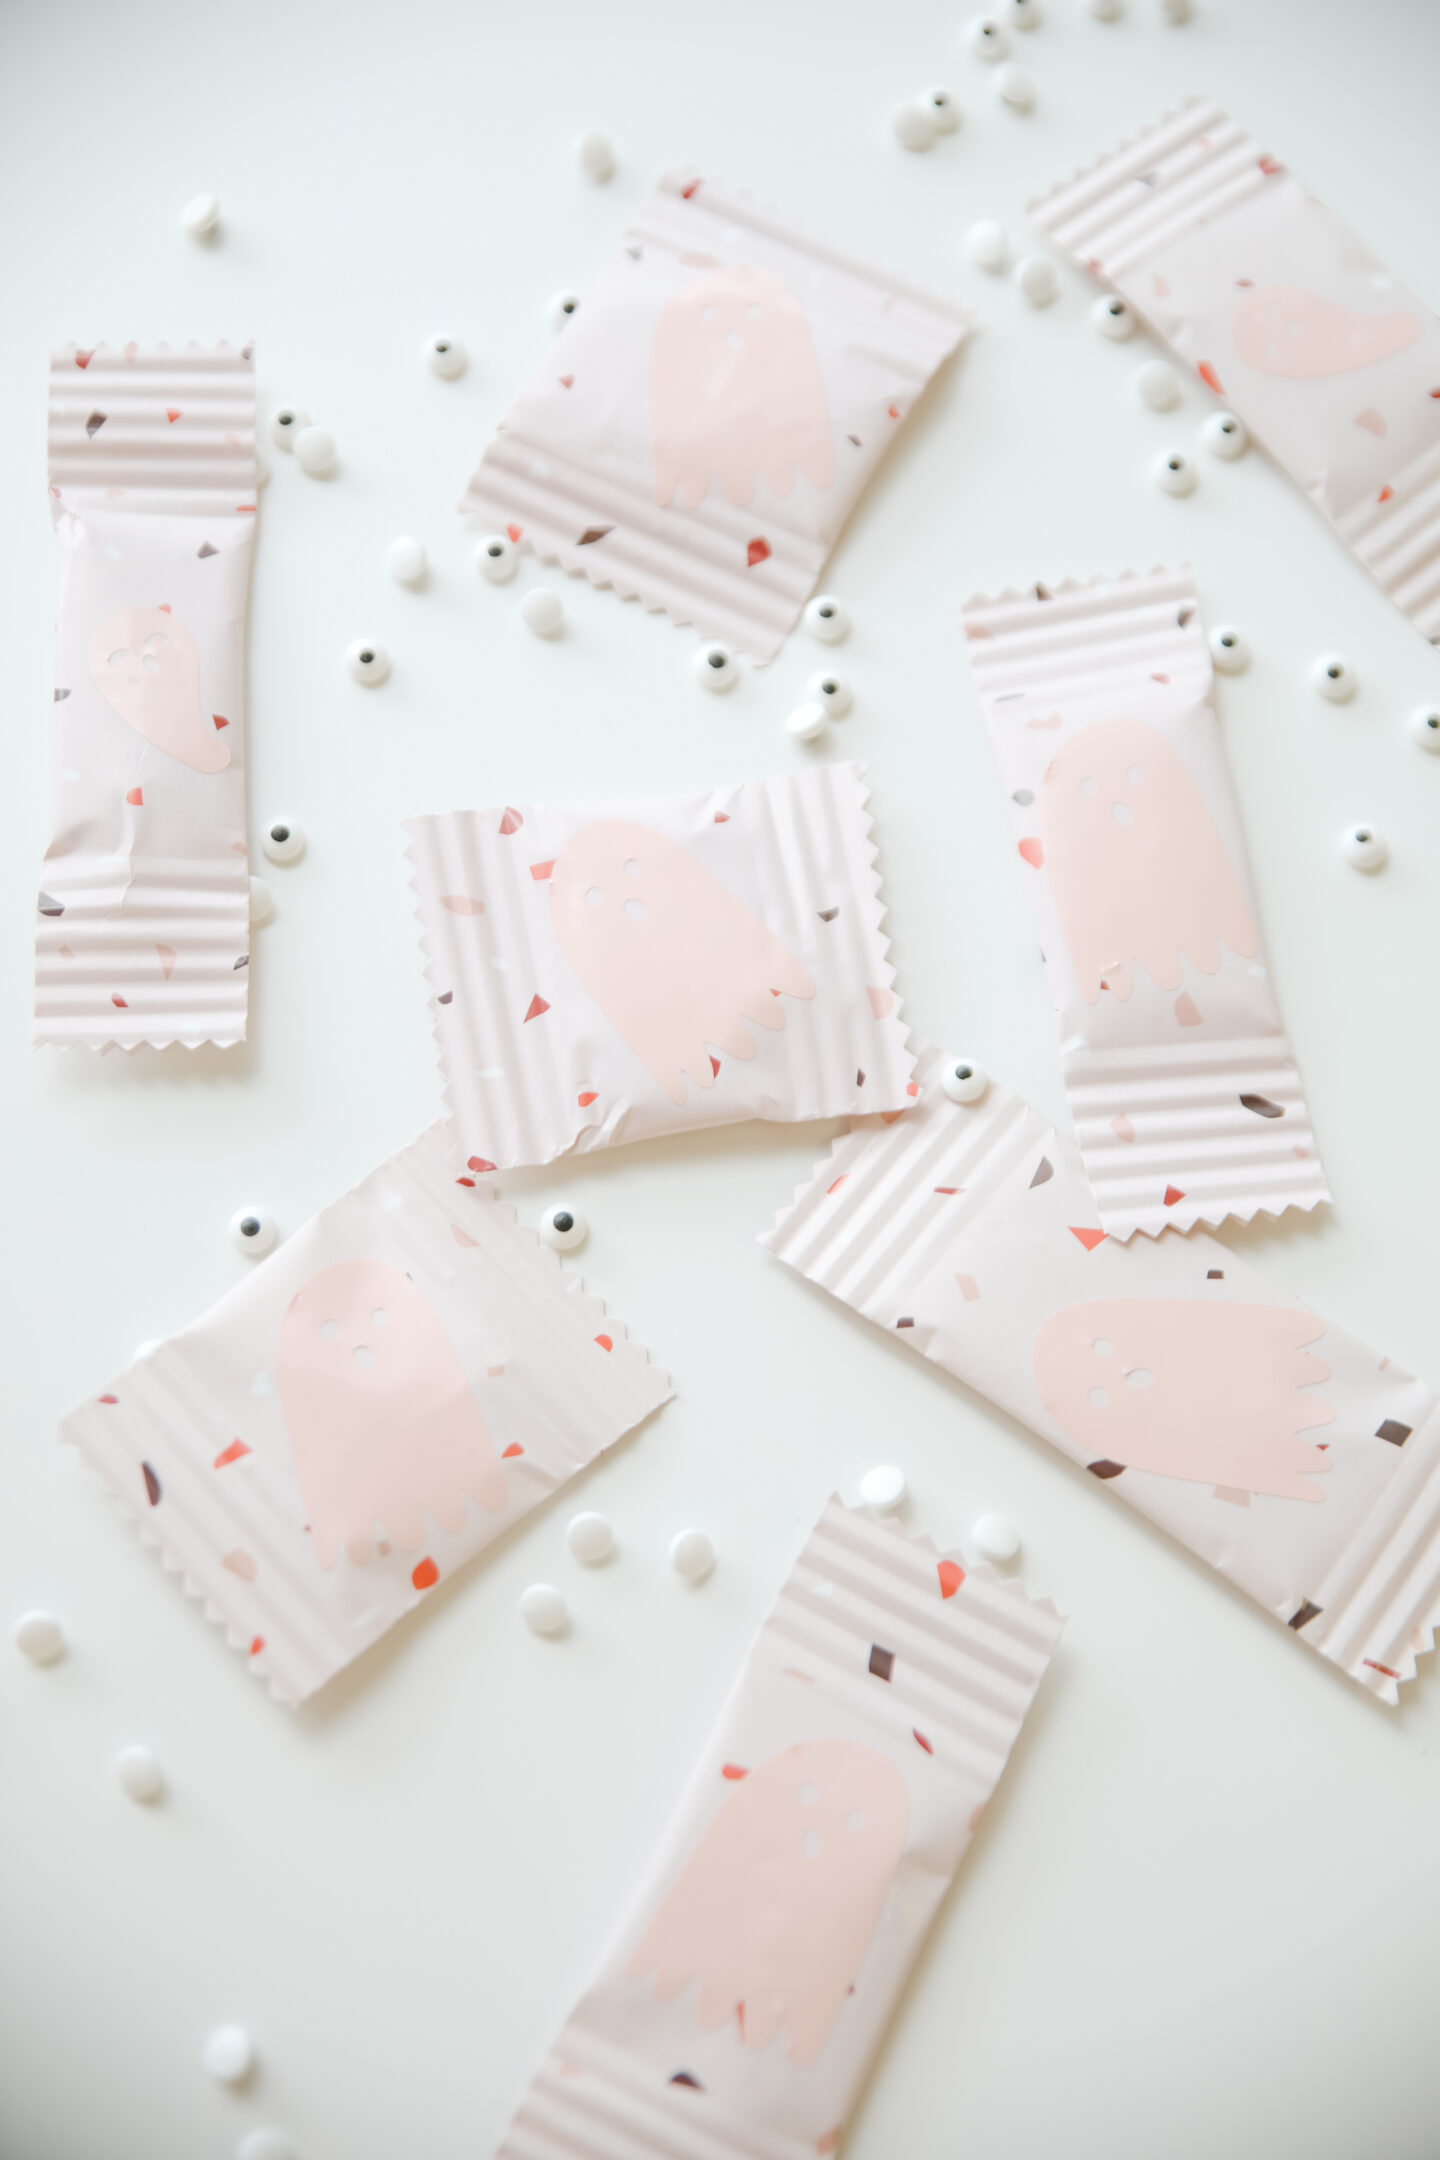
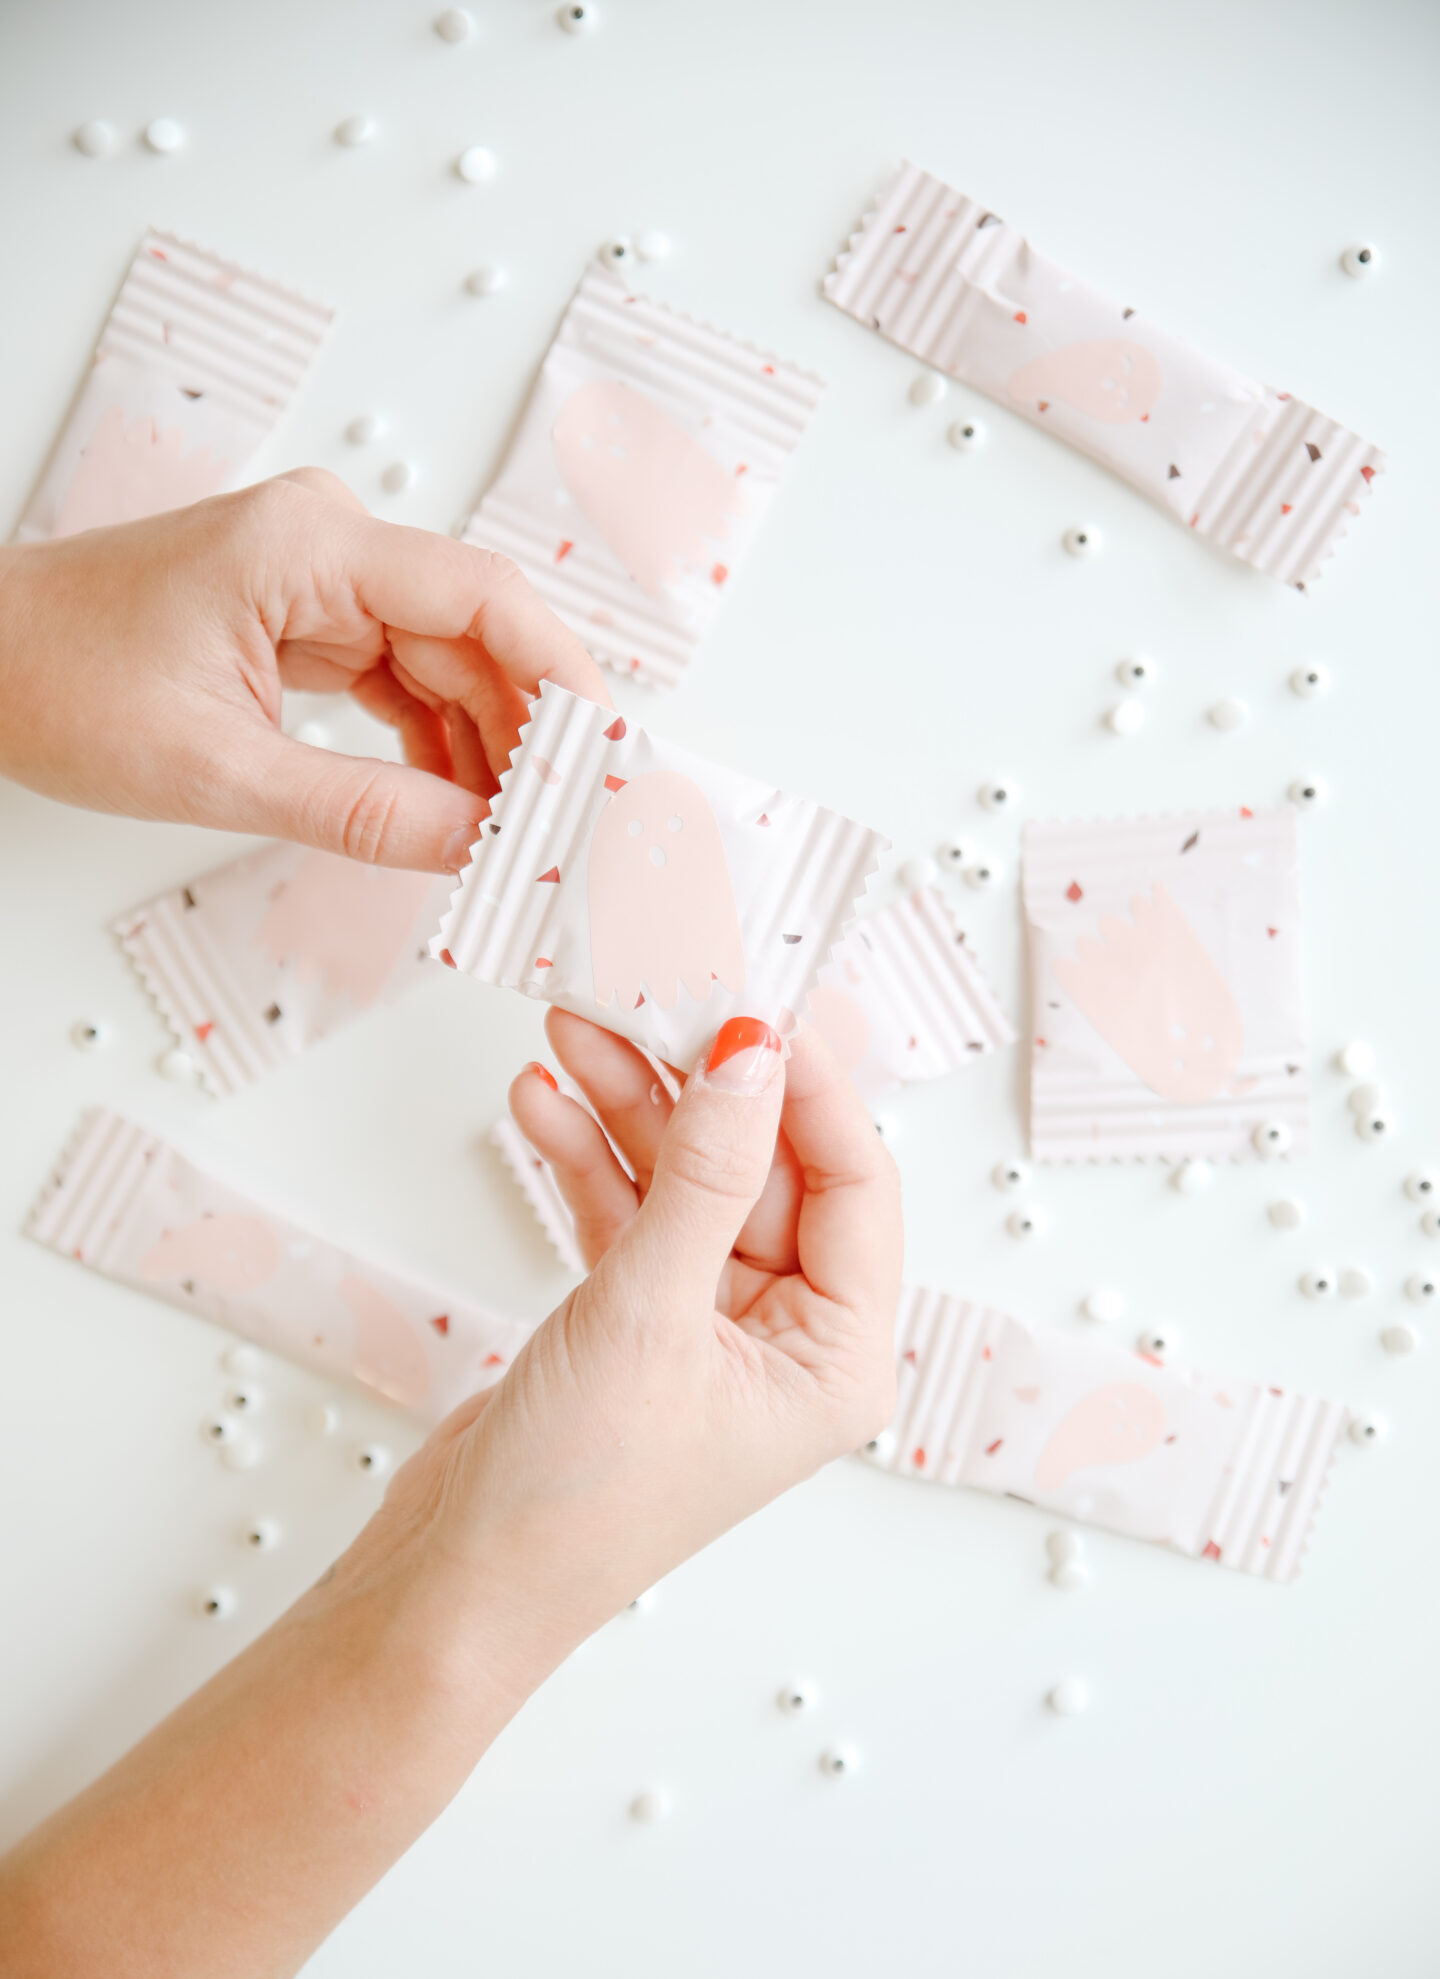
To finish off this project, I used my Cricut machine to make these adorable pink ghosts in vinyl. Just place them in front side and voila! we did it!