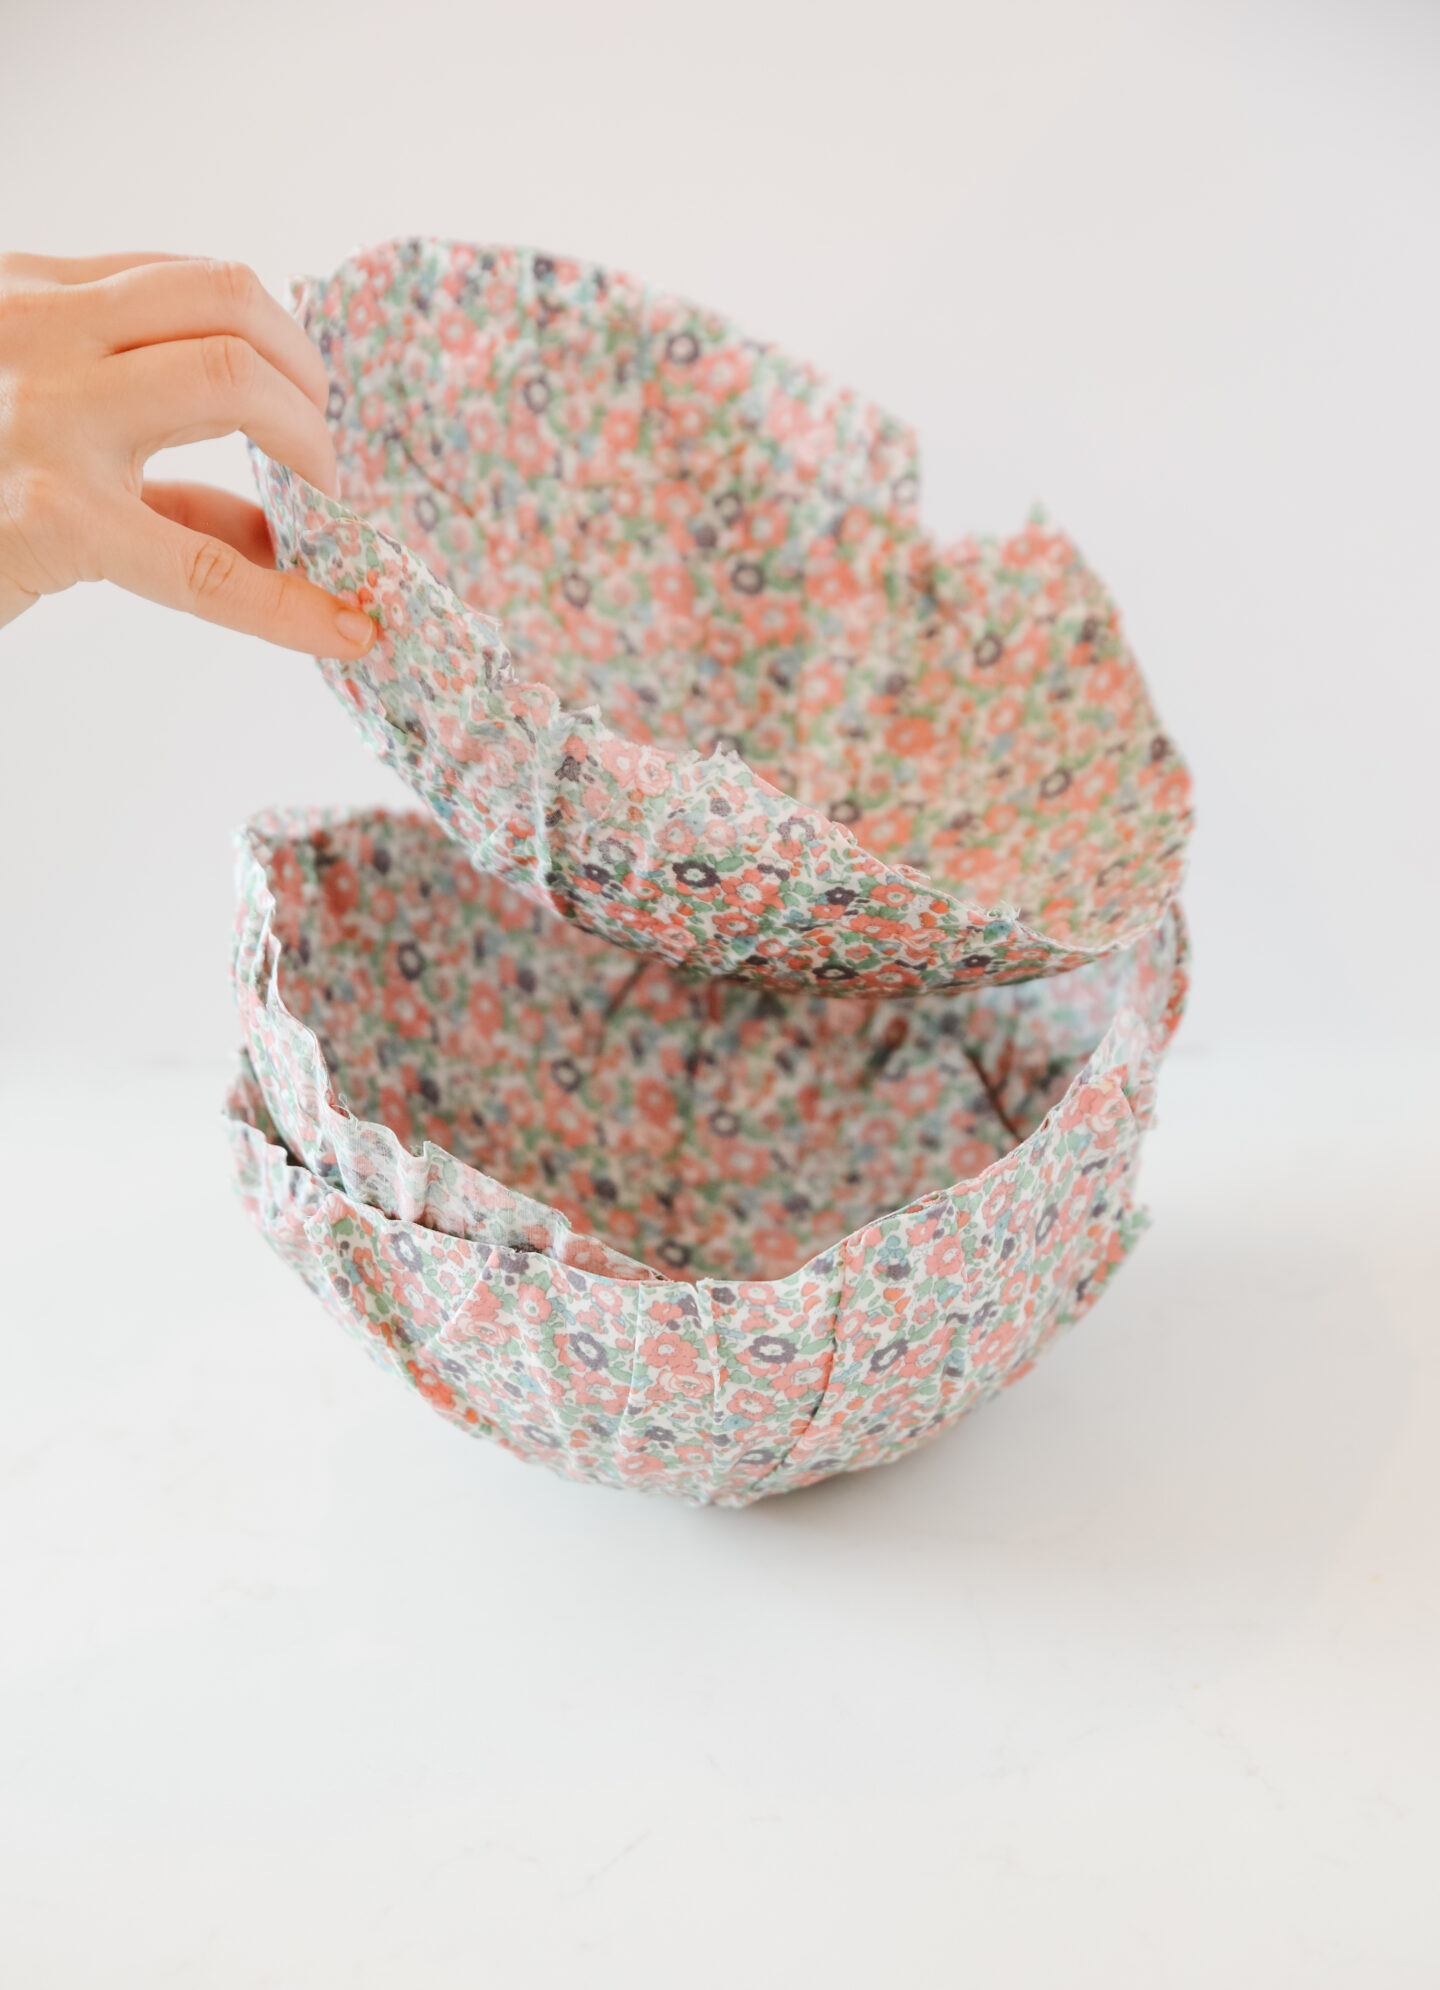
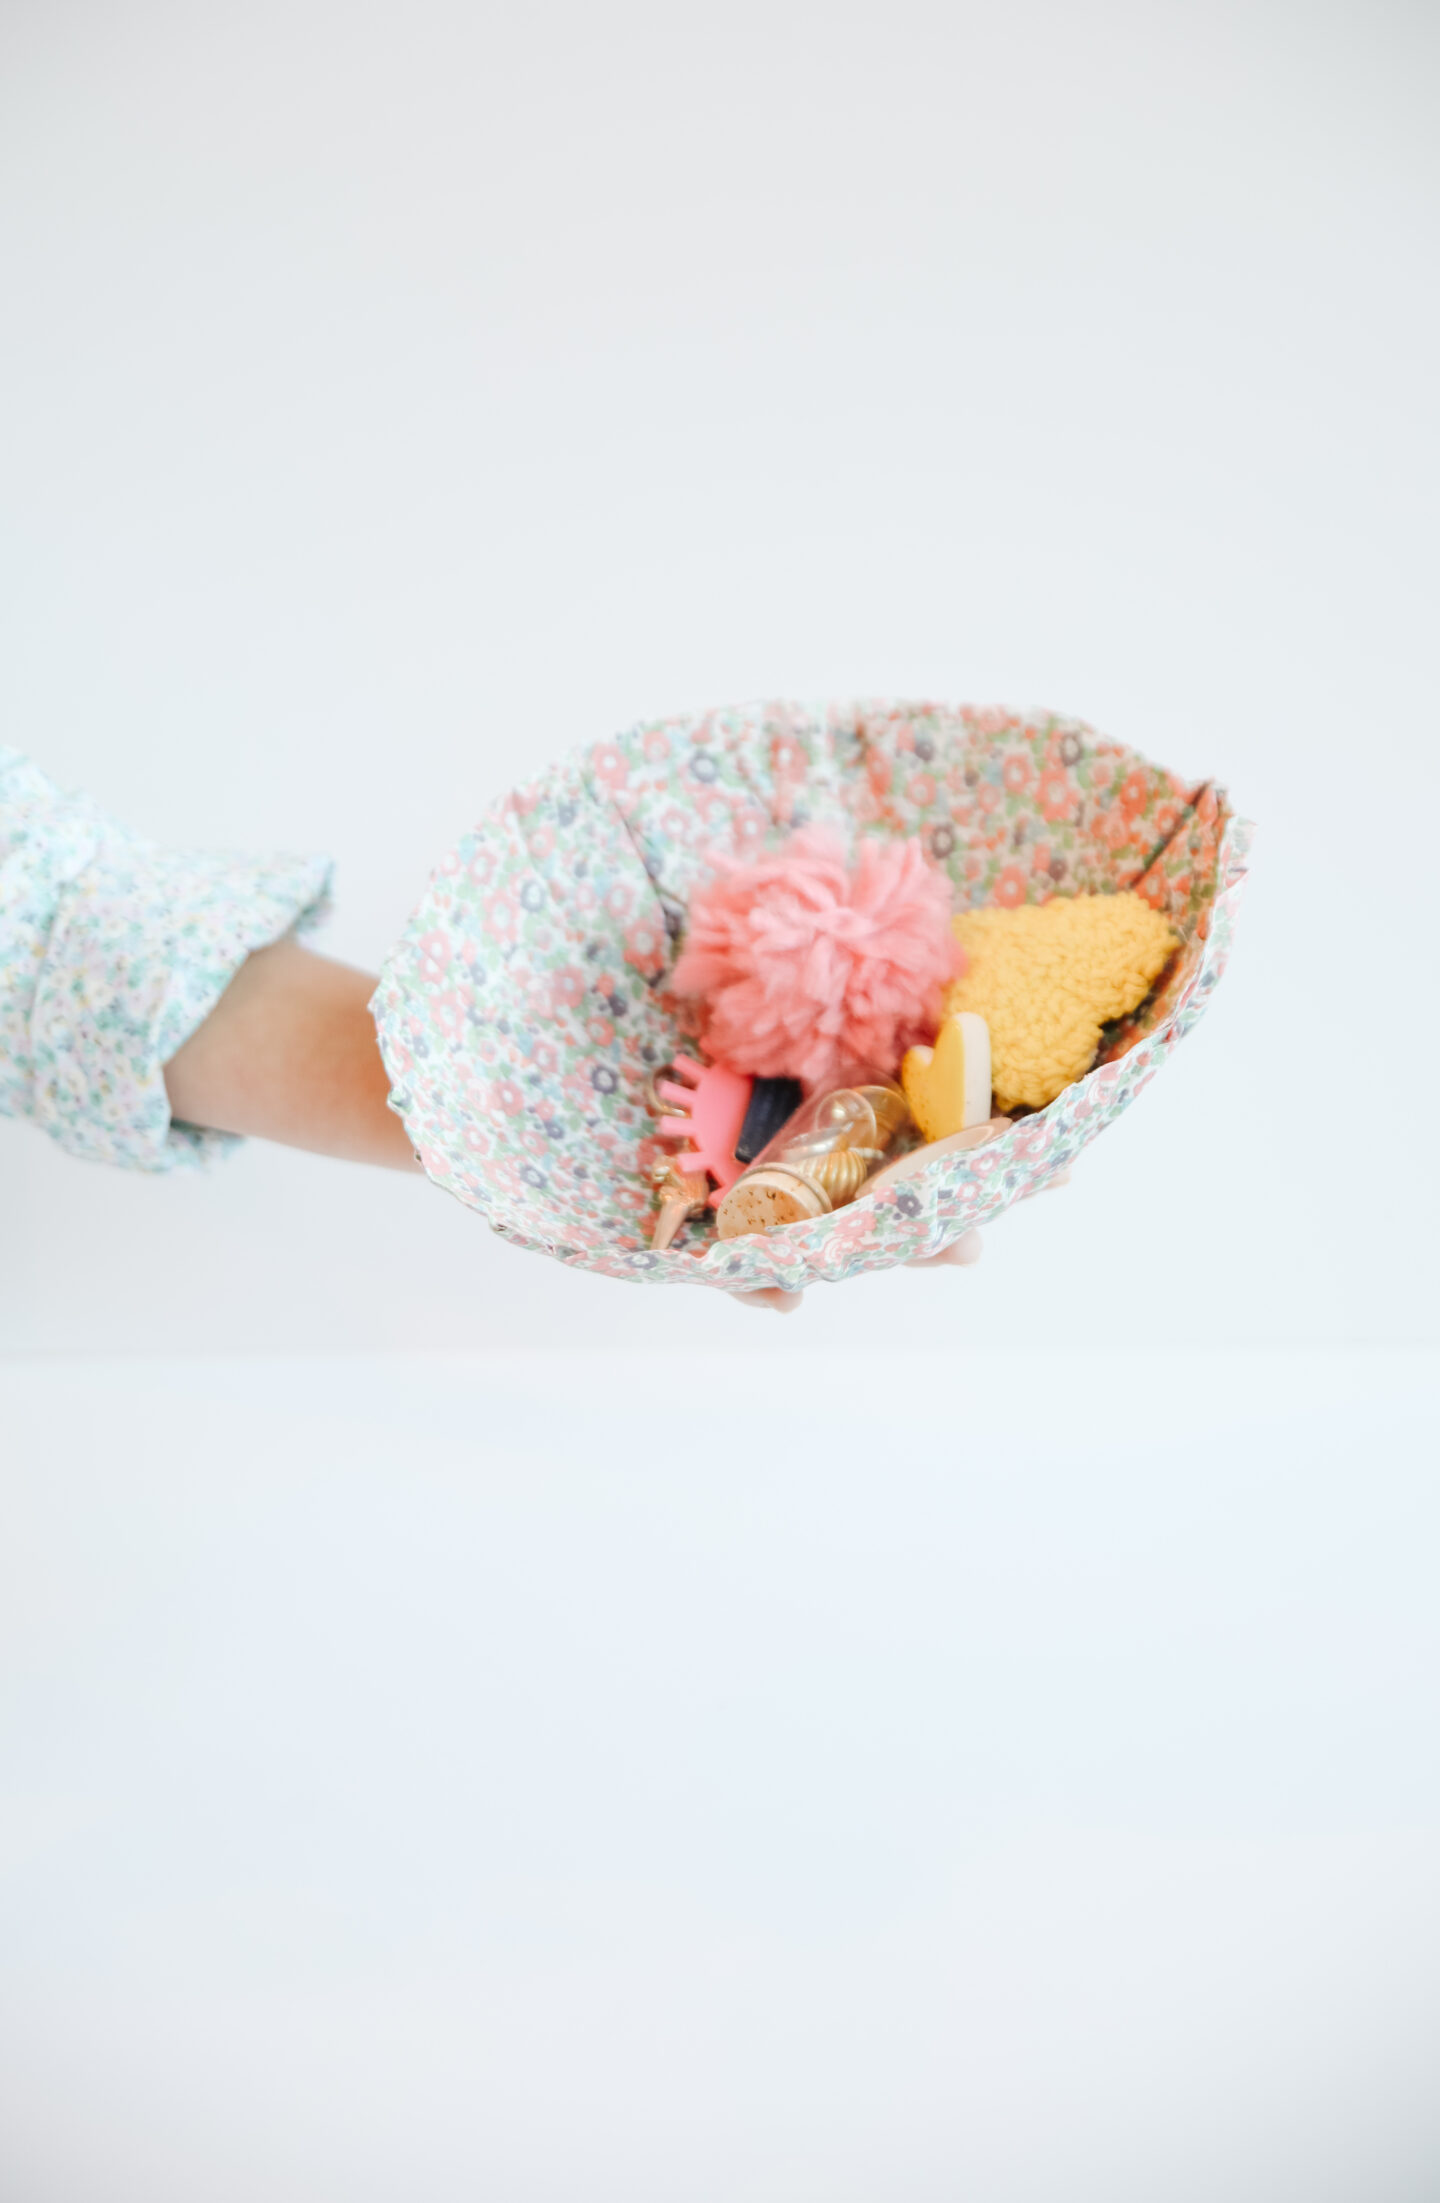
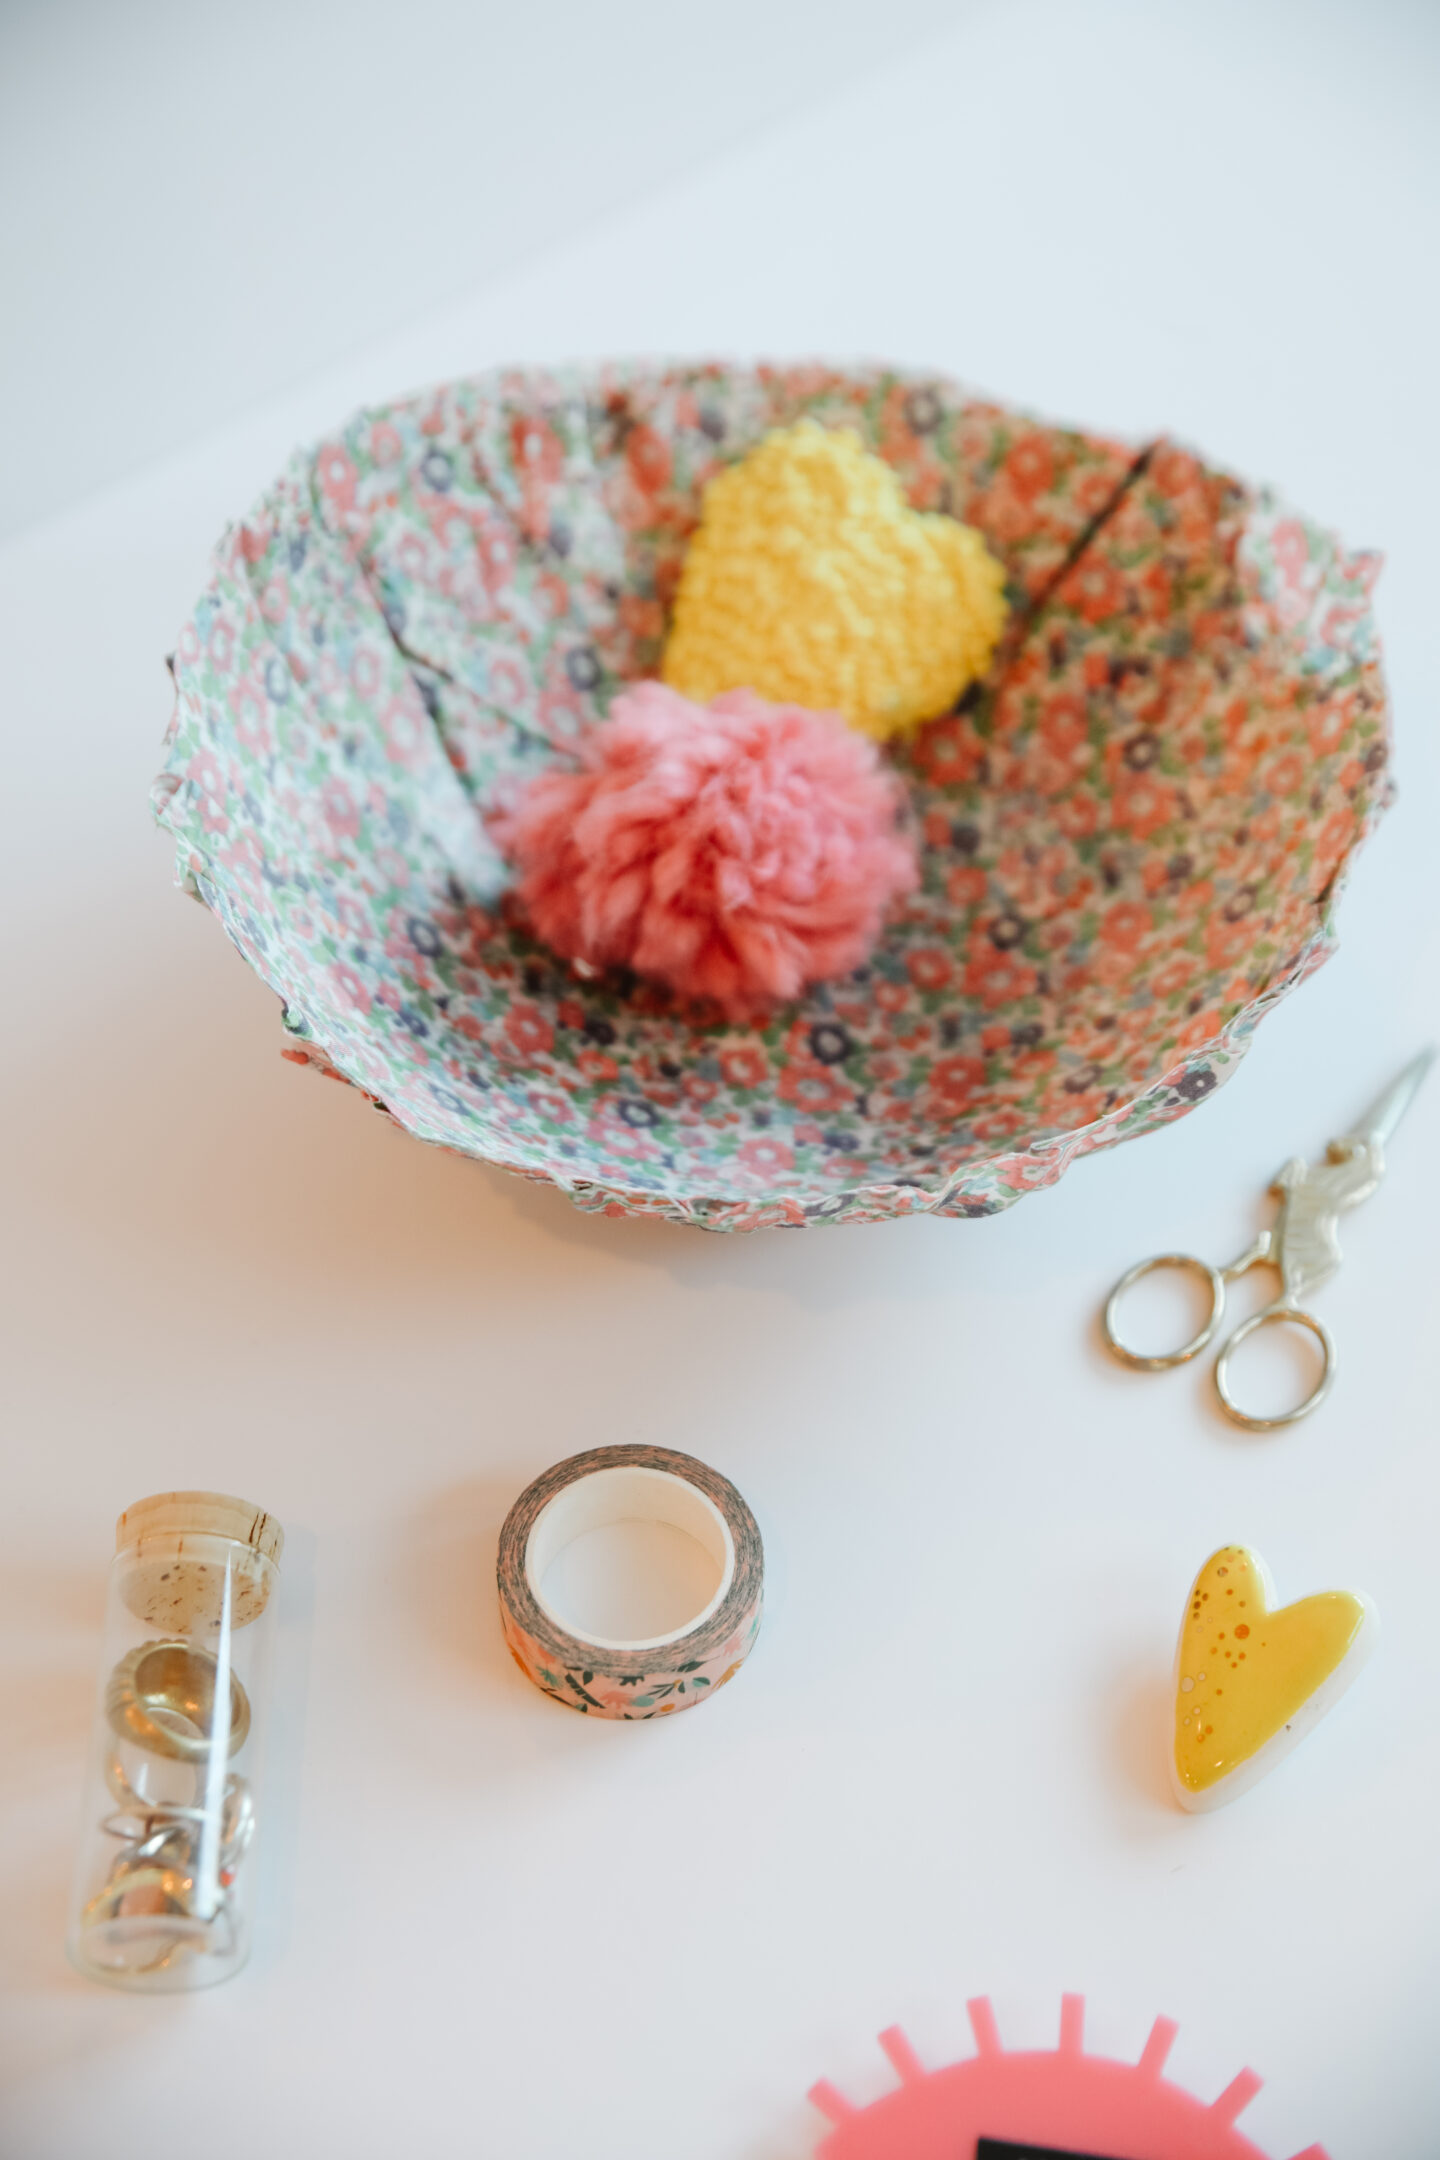
Let’s Learn How to Papier-Mâché With Fabric & Make The Prettiest Bowls!
I promised you a January filled with magical DIY ideas to help you organize your home, as this epic earring organizer and this perpetual colourful desk calendar (my personal favourite!). During my school years in Venezuela, I used to craft a lot, and papier mâché was always one of my favourite techniques to make.
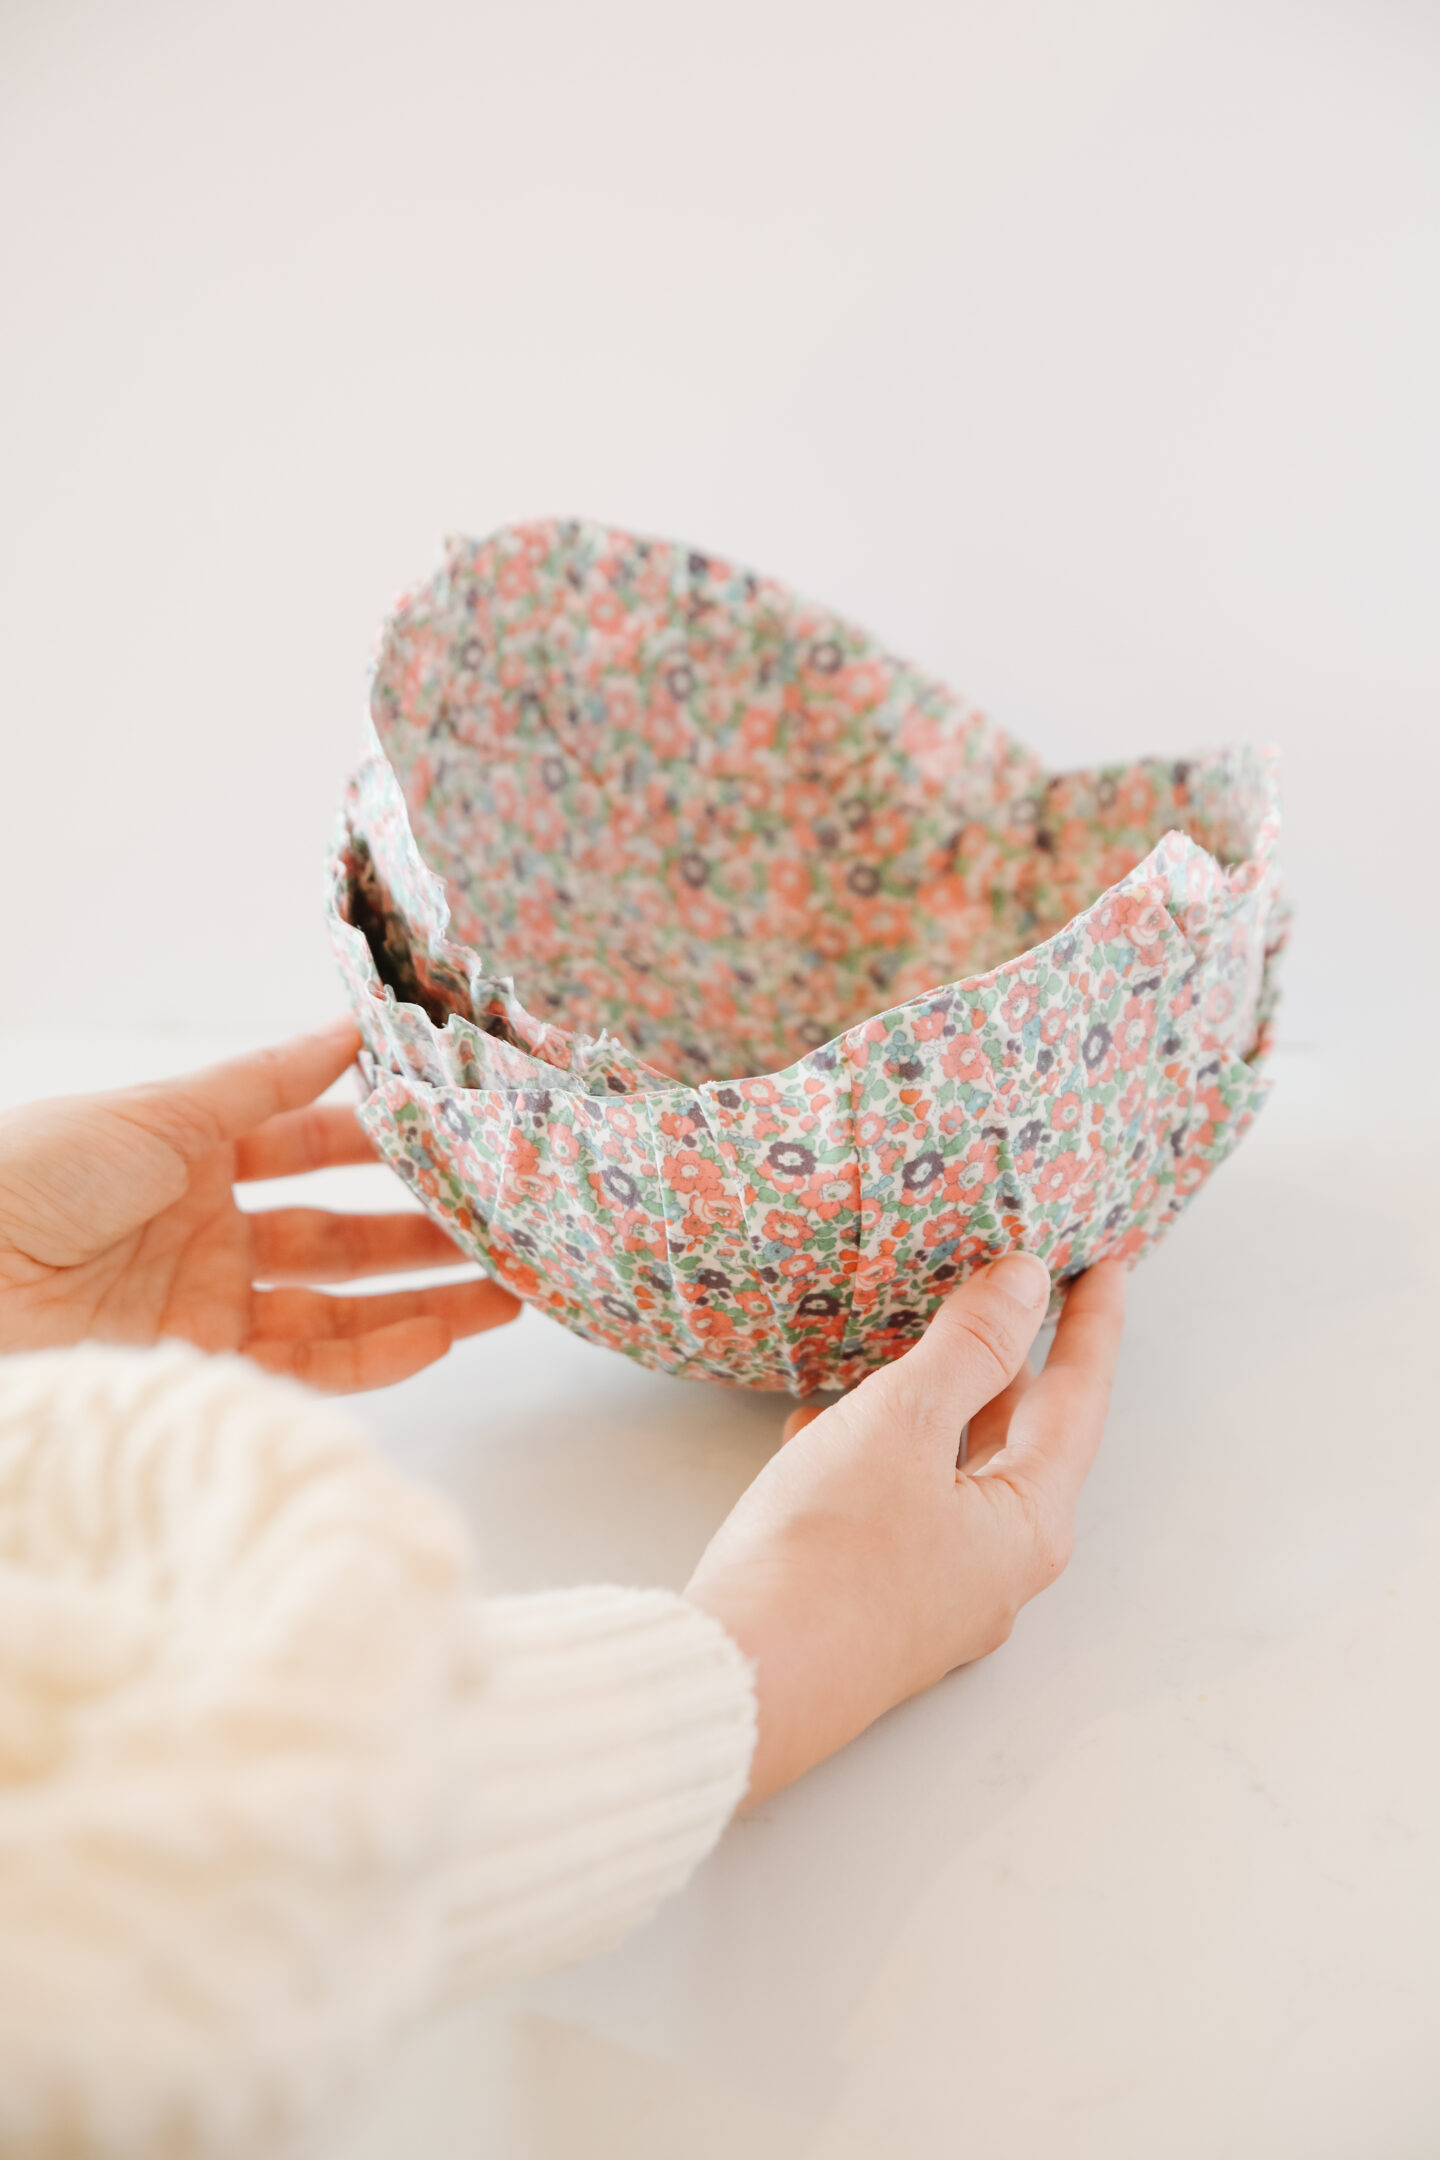
Creating something new (and functional) from old scraps of paper was such a wonderful feeling, and today I’m going to show you a sustainable and clever project using old scarps of fabric, the prettiest bowls, trust me.
Let’s do it!
Materials required:
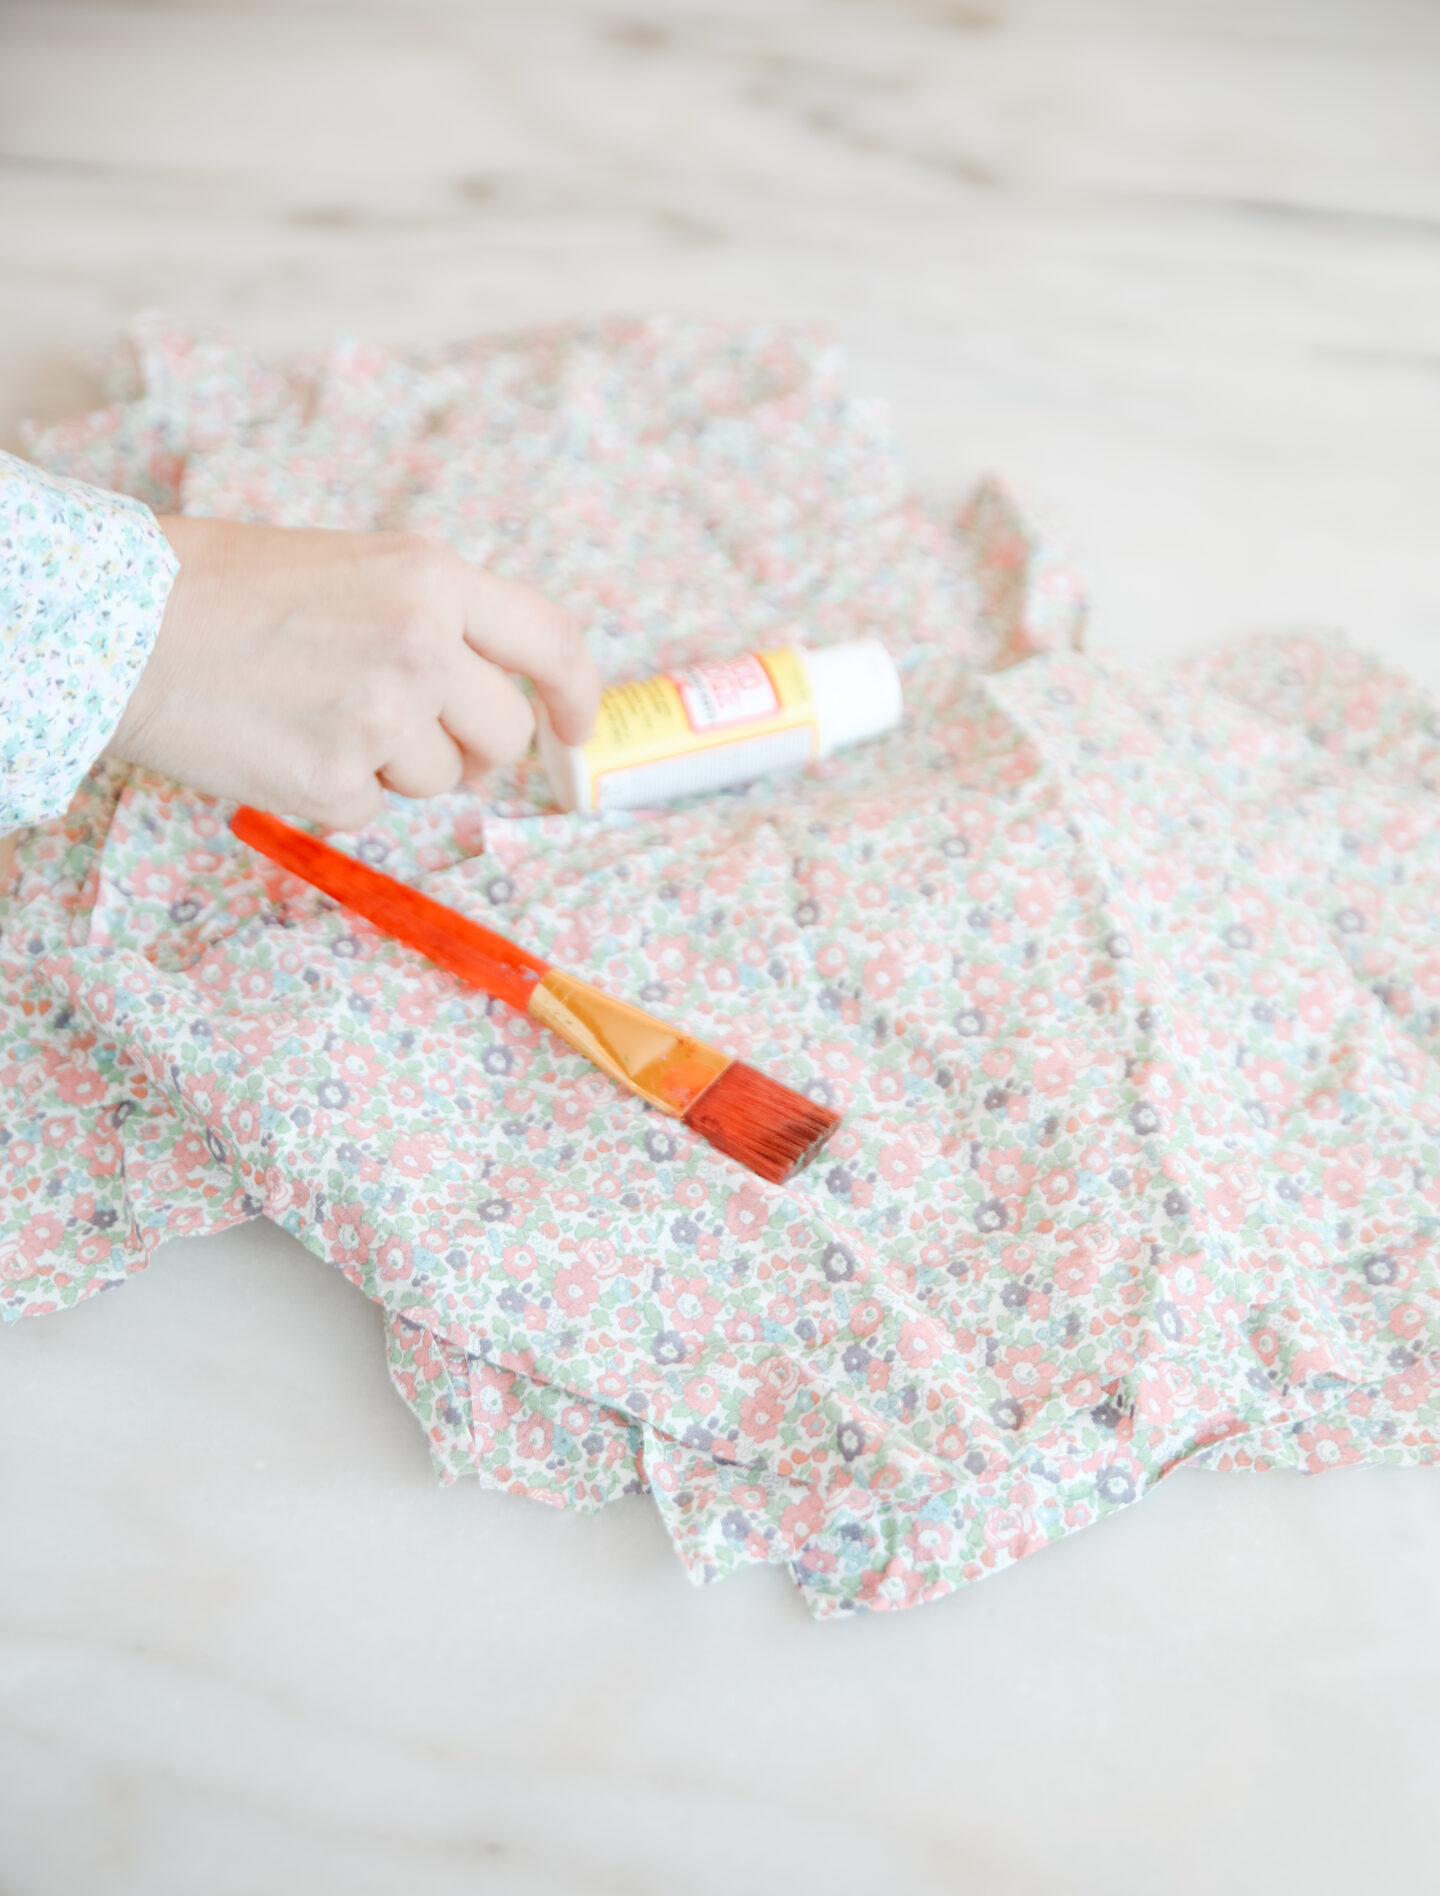
- Old fabric pieces (any size works)
- Mod podge matte finish
- Scissors
- Balloons
- Paint brush
- A bowl
Step one: Organize the Fabric
This project is very similar to make anything with paper, but we will use fabric instead. I used old scraps I had from an old project and cut them in rectangular pieces.
Step two: Let’s set up the base, the balloons
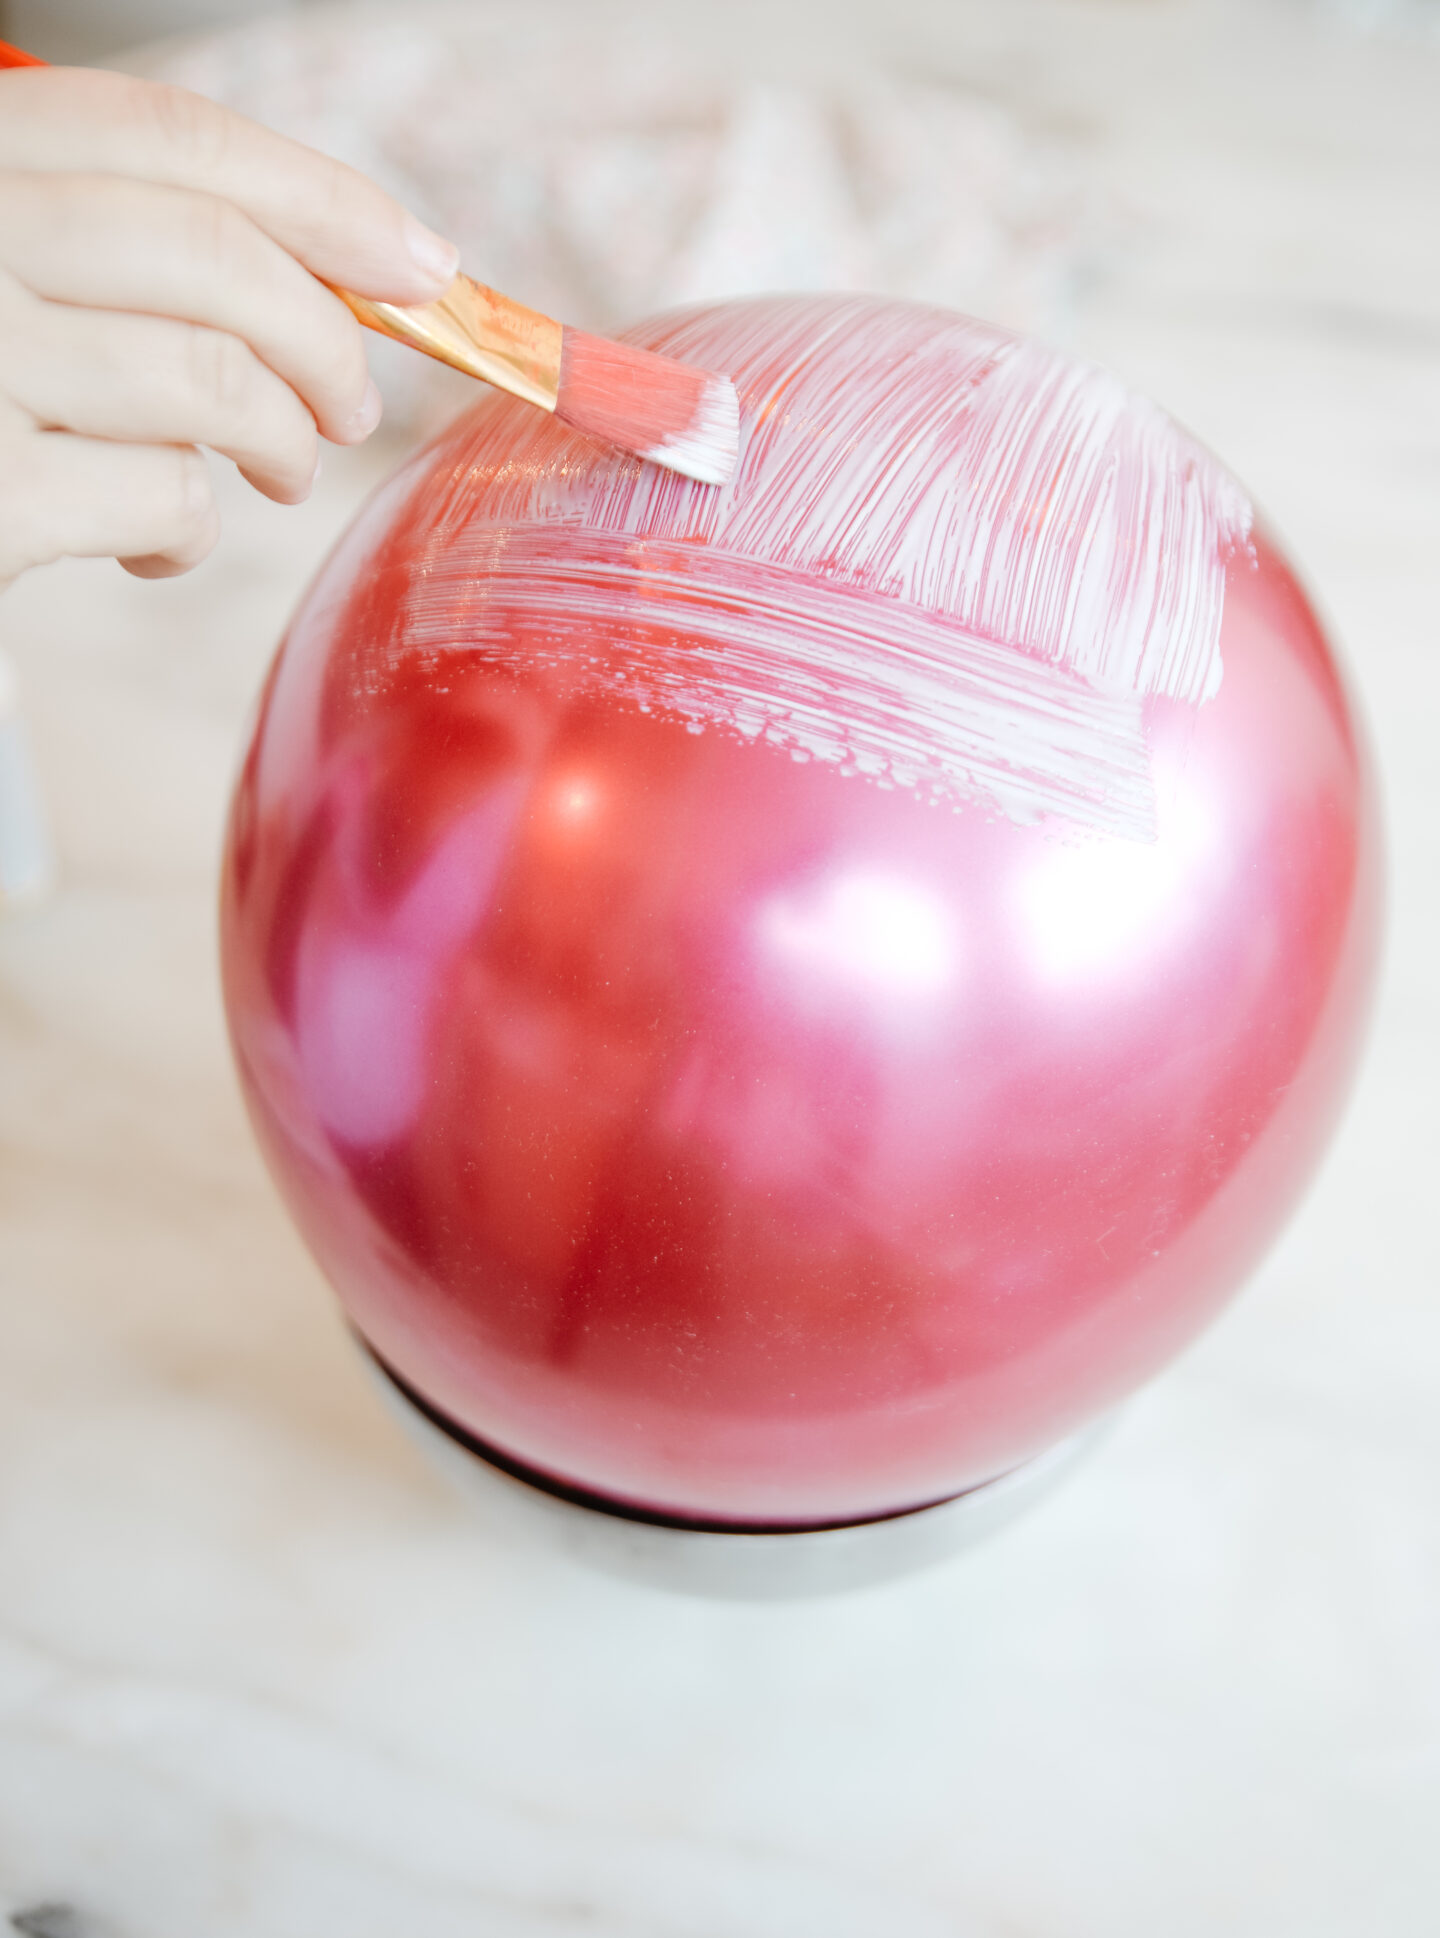
Now, blow up one balloon per bowl, we will use it as our base. The bigger the balloon, the bigger bowl, deal?
Step three: Attaching the fabric and creating the bowls
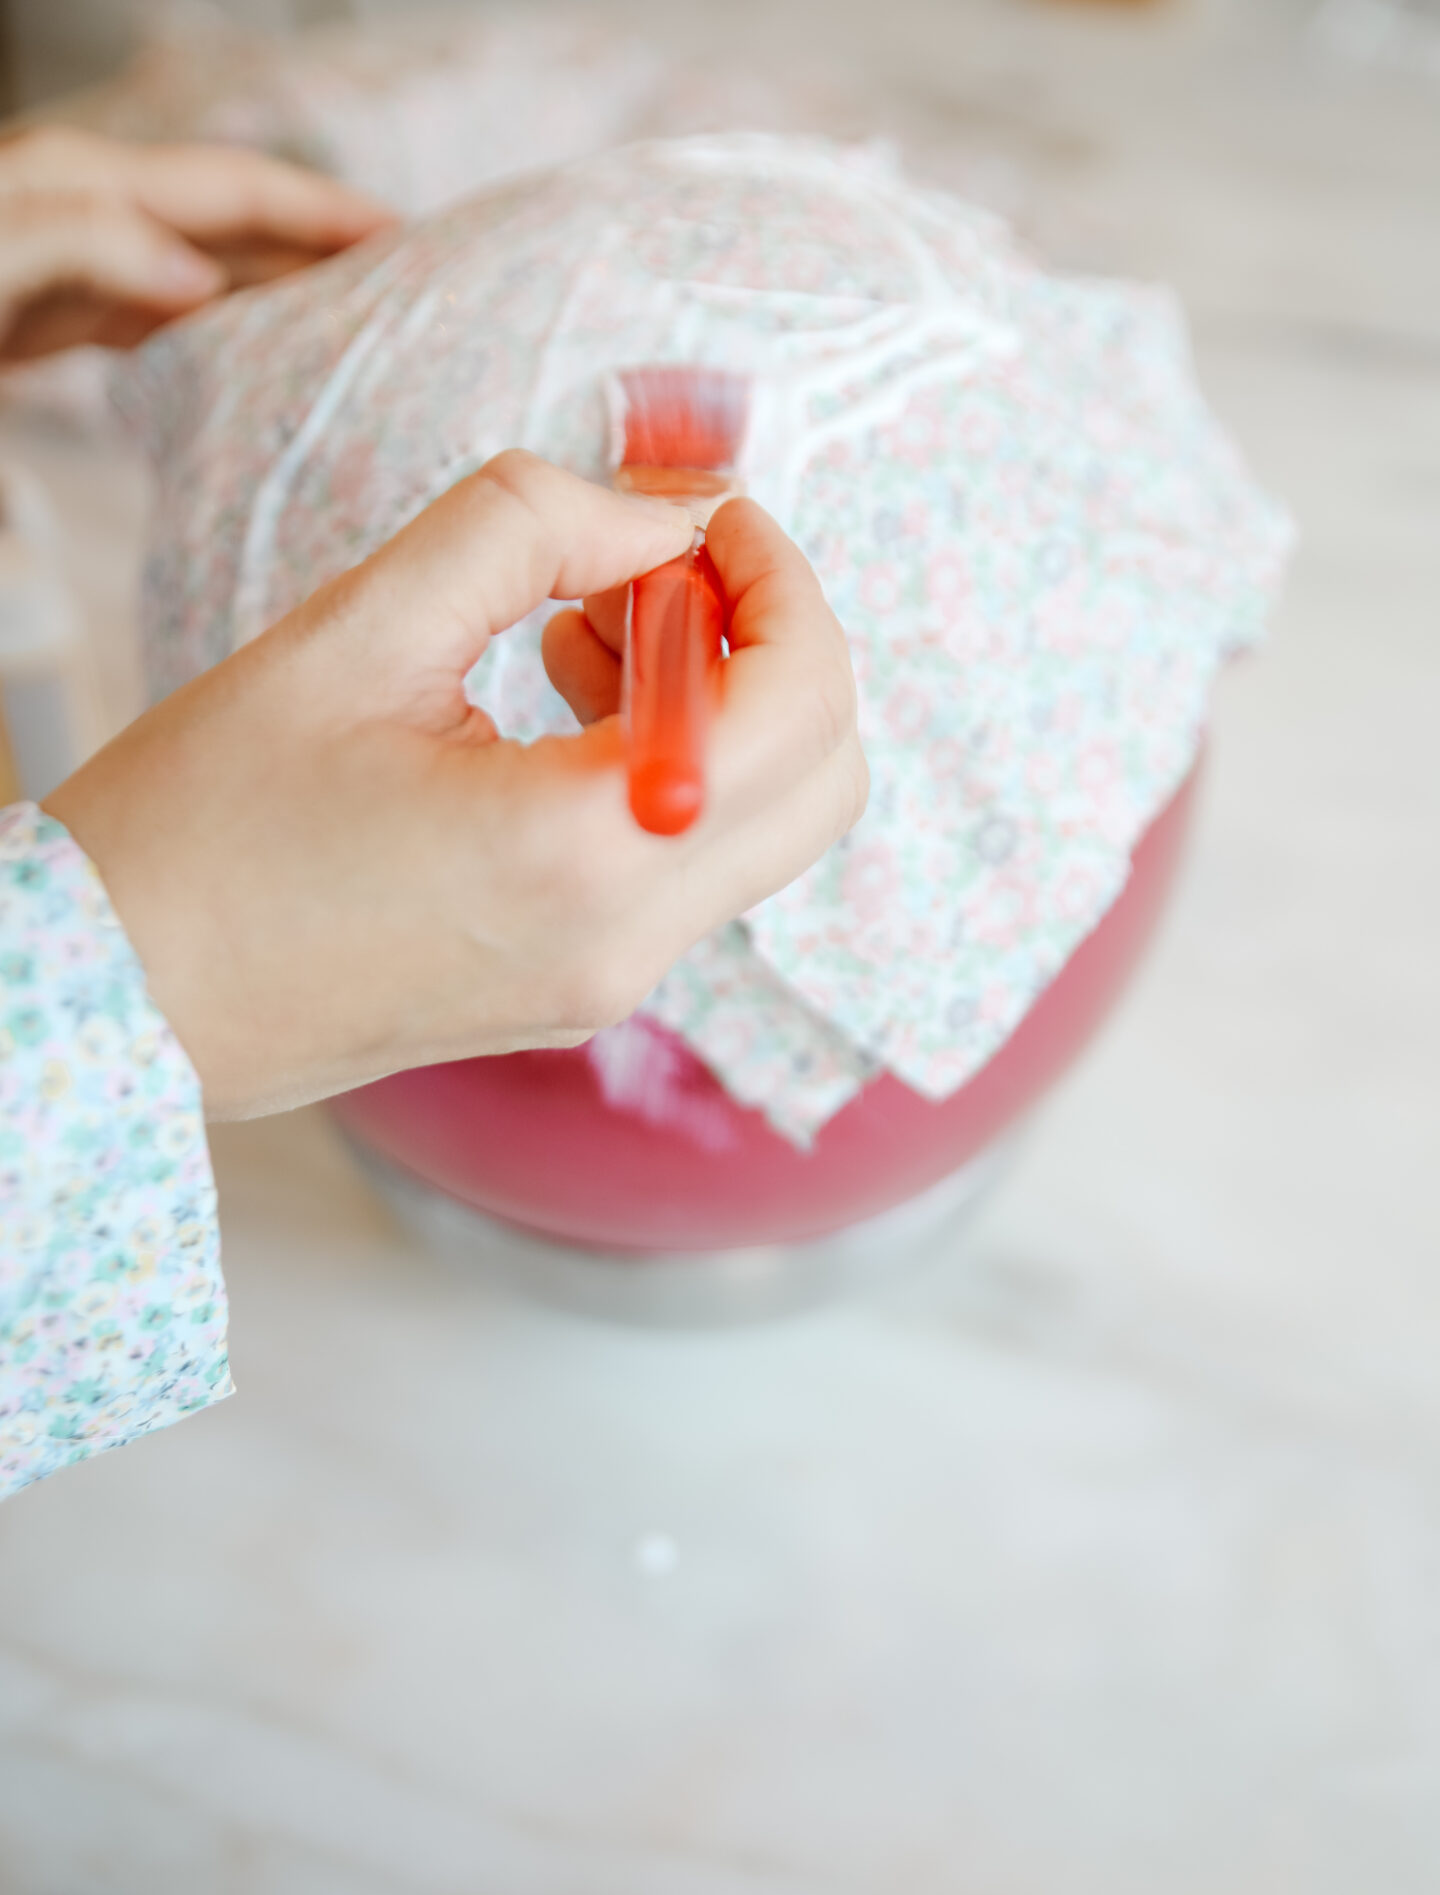
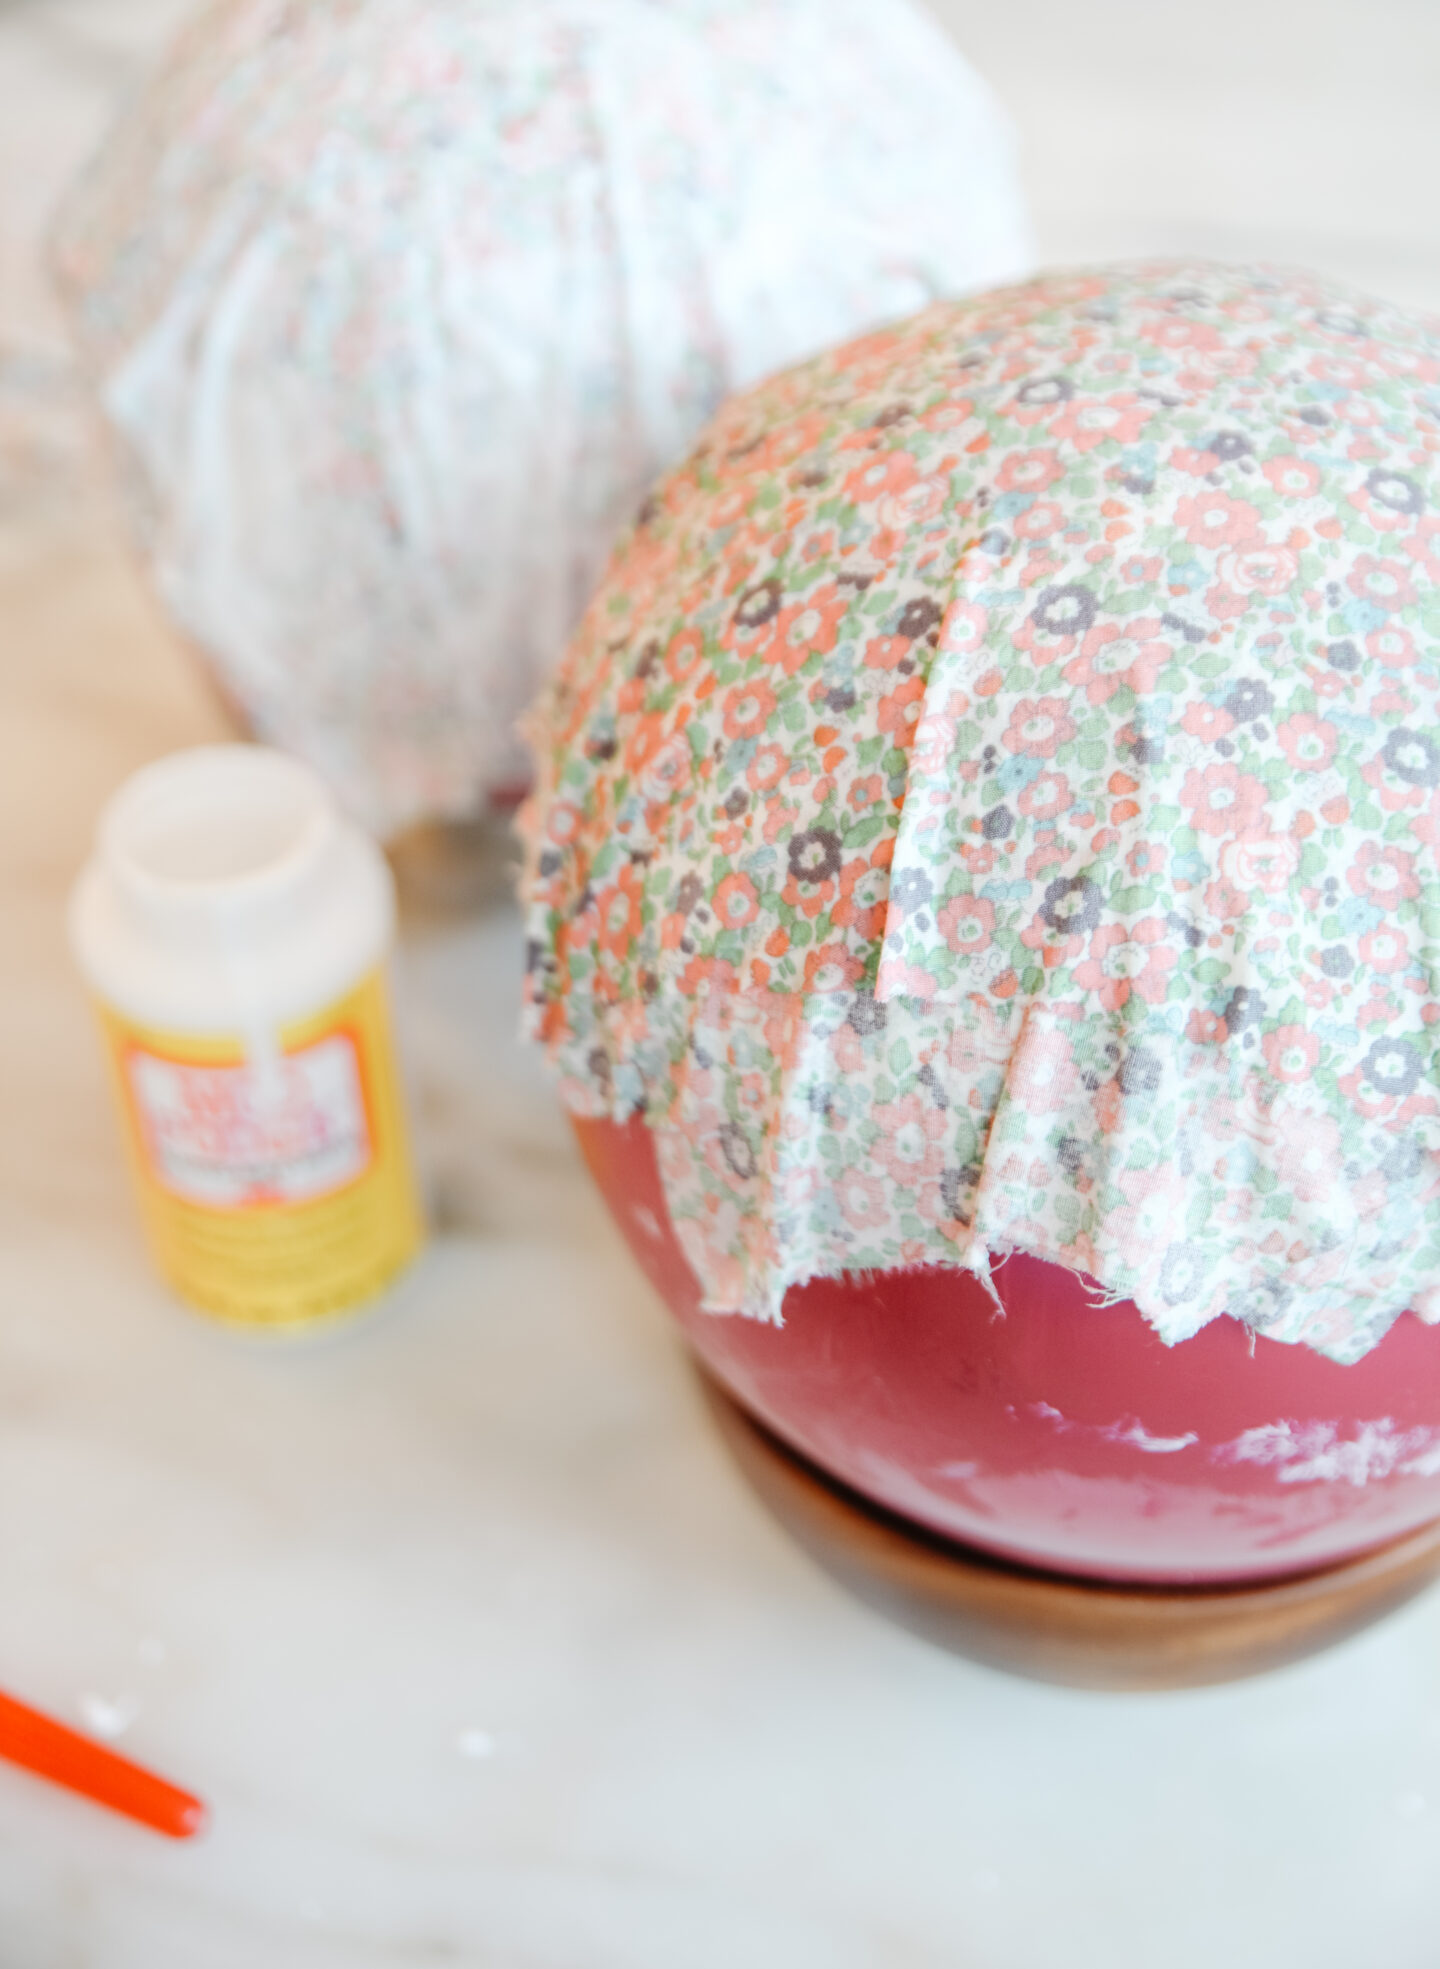
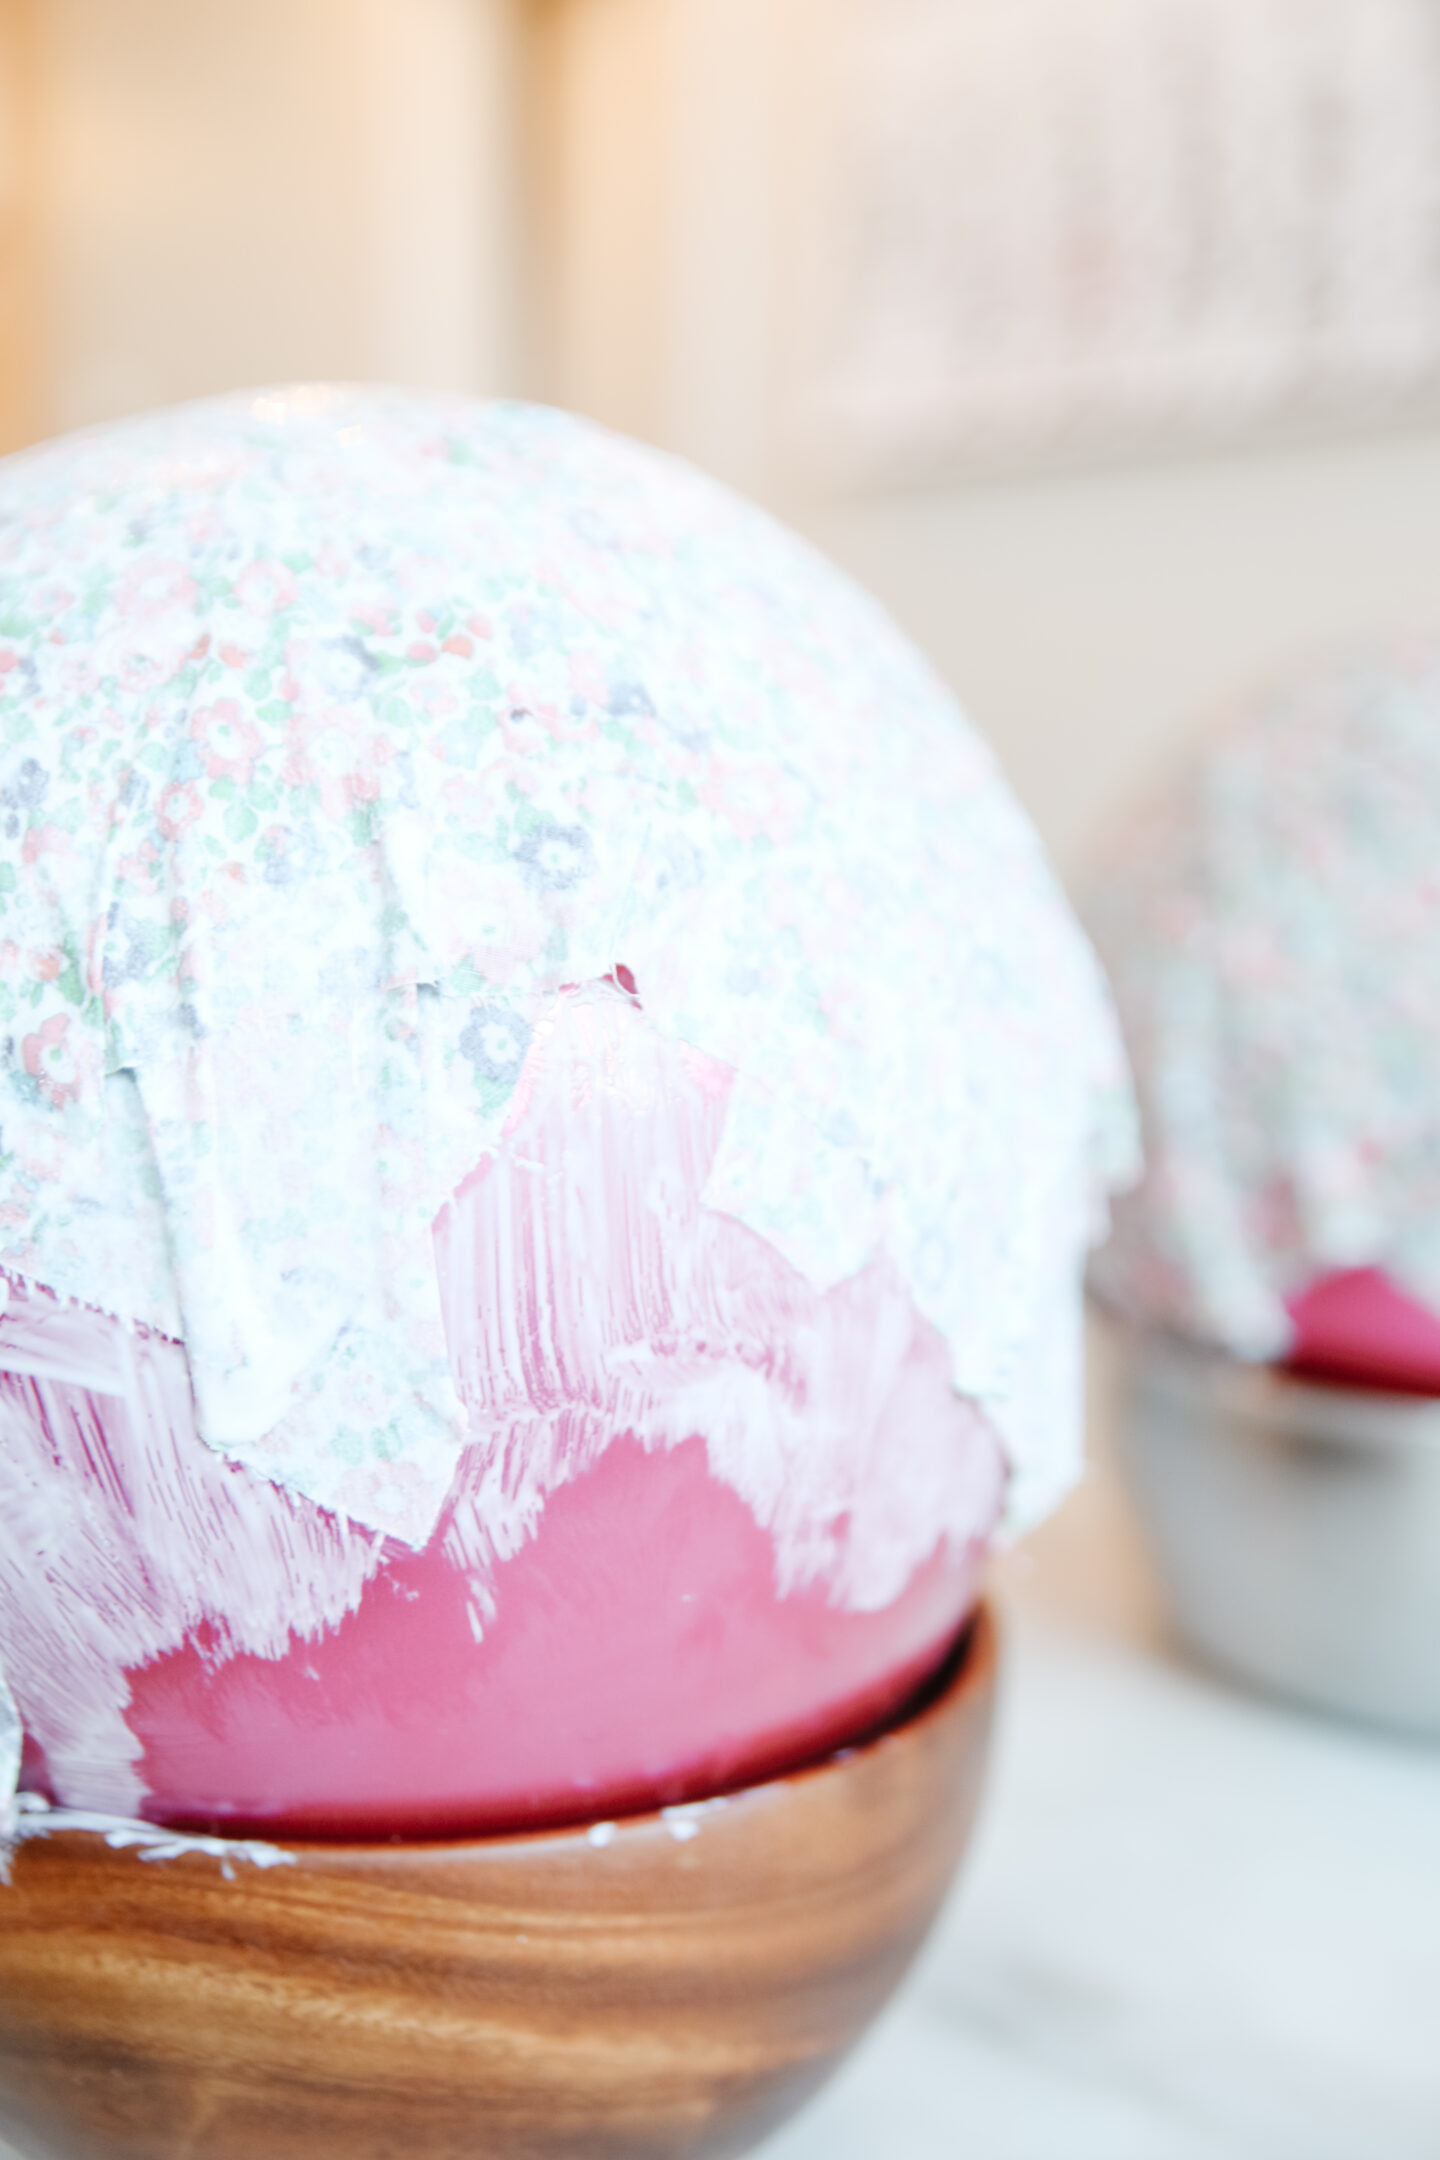
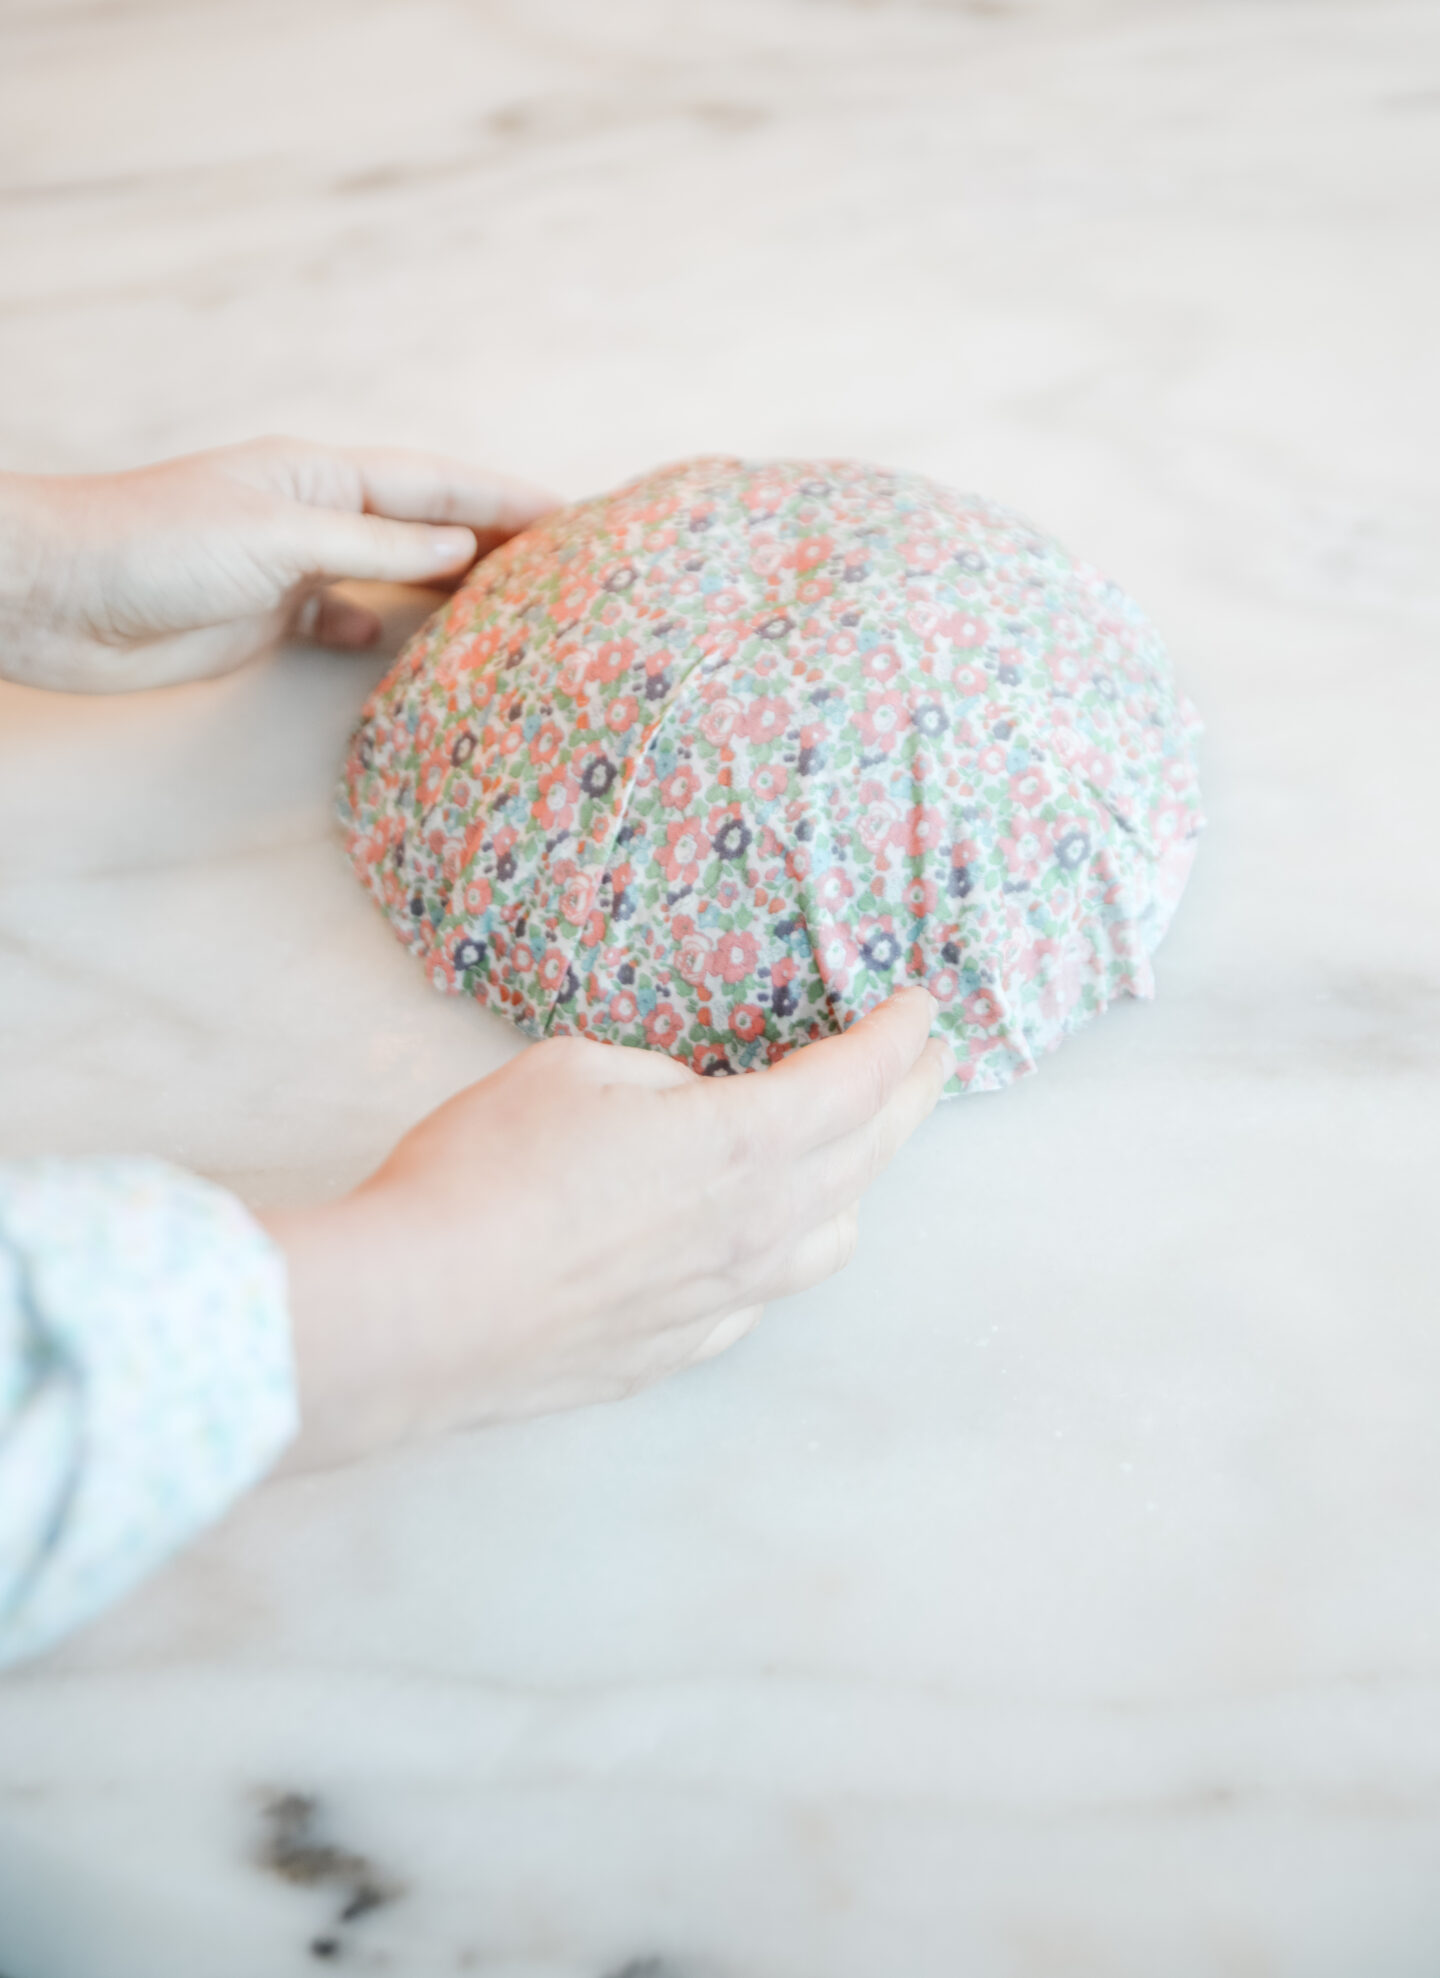
Put the balloon in a big bowl (so it stays up during the glueing process) and cover the top with a thick later of mod podge using your paint brush. Add a piece of fabric pattern facing down (this side will be the inside of your beautiful bowl) and add a thick layer of mod podge on top. Repeat this process and add another piece of fabric (the pattern can face down or up). Layer as many pieces of fabric to create your bowl, I did them using 5 to 6 layers to create the thickness I wanted.
Step four: Dry the bowls and shape them
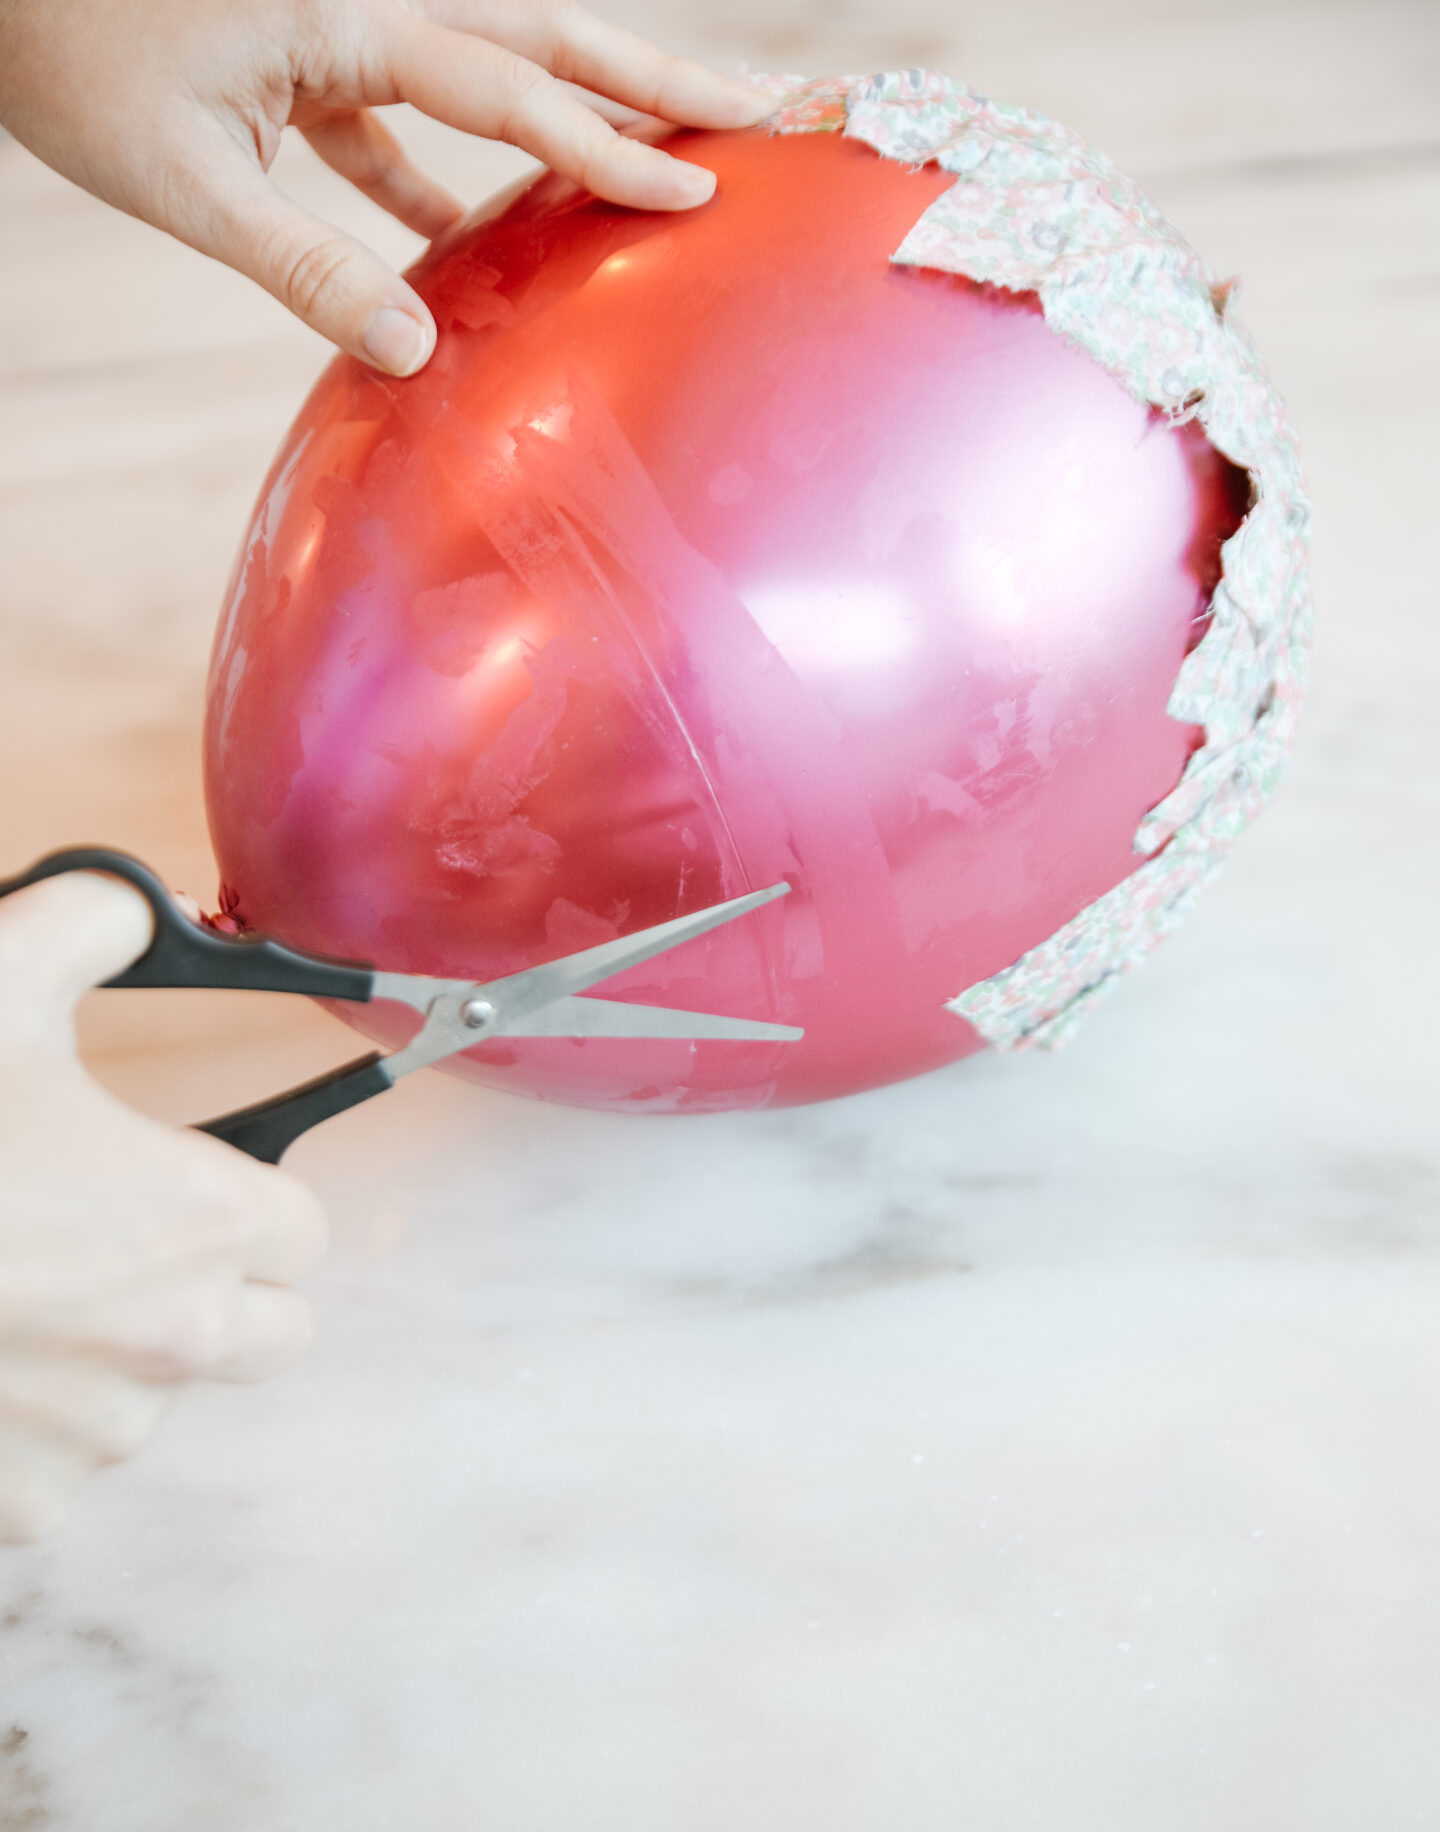
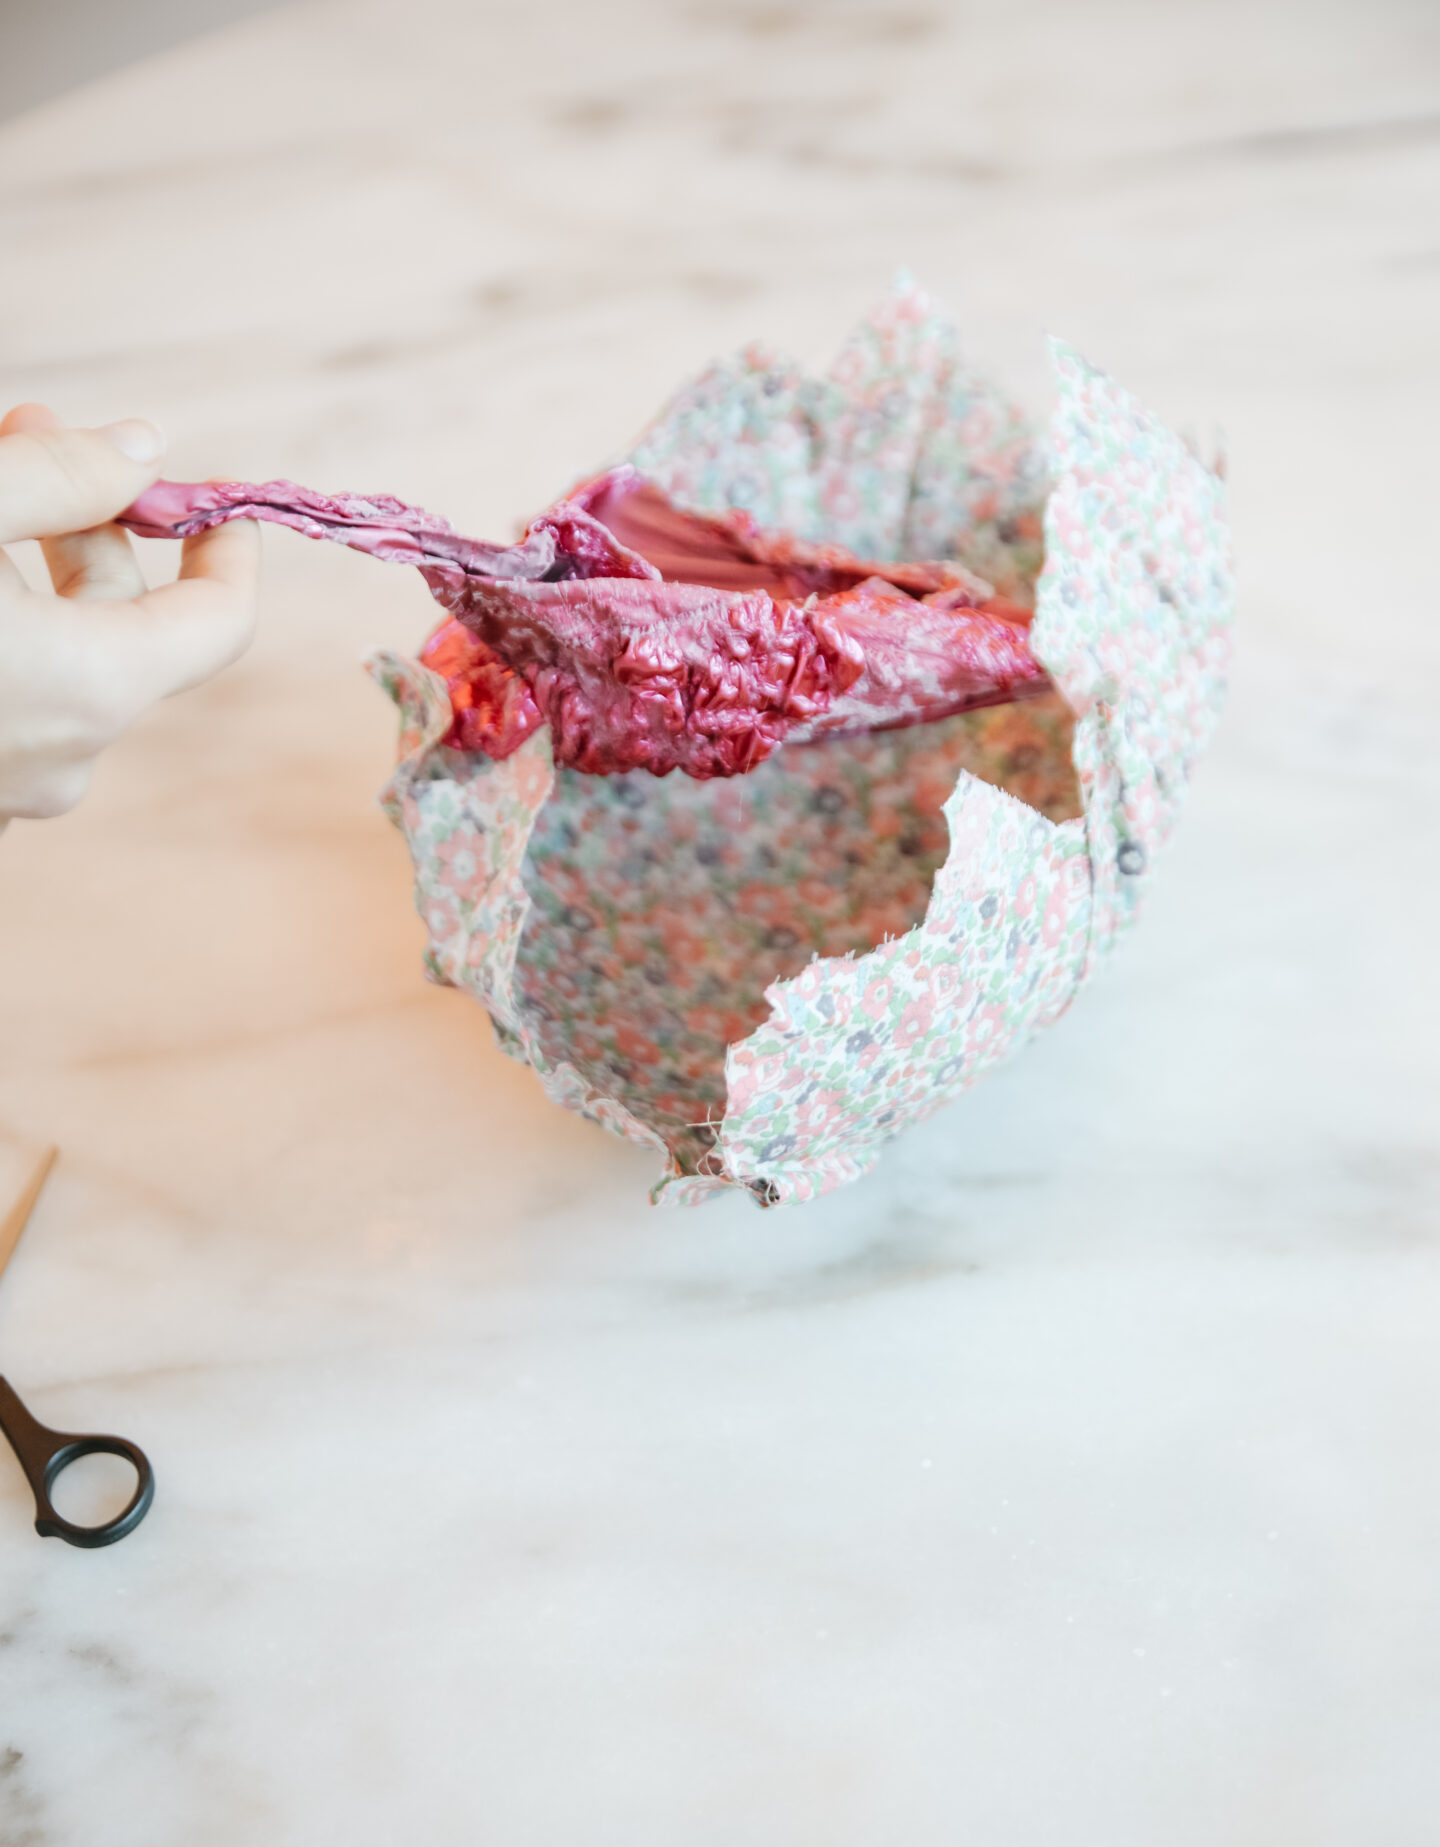
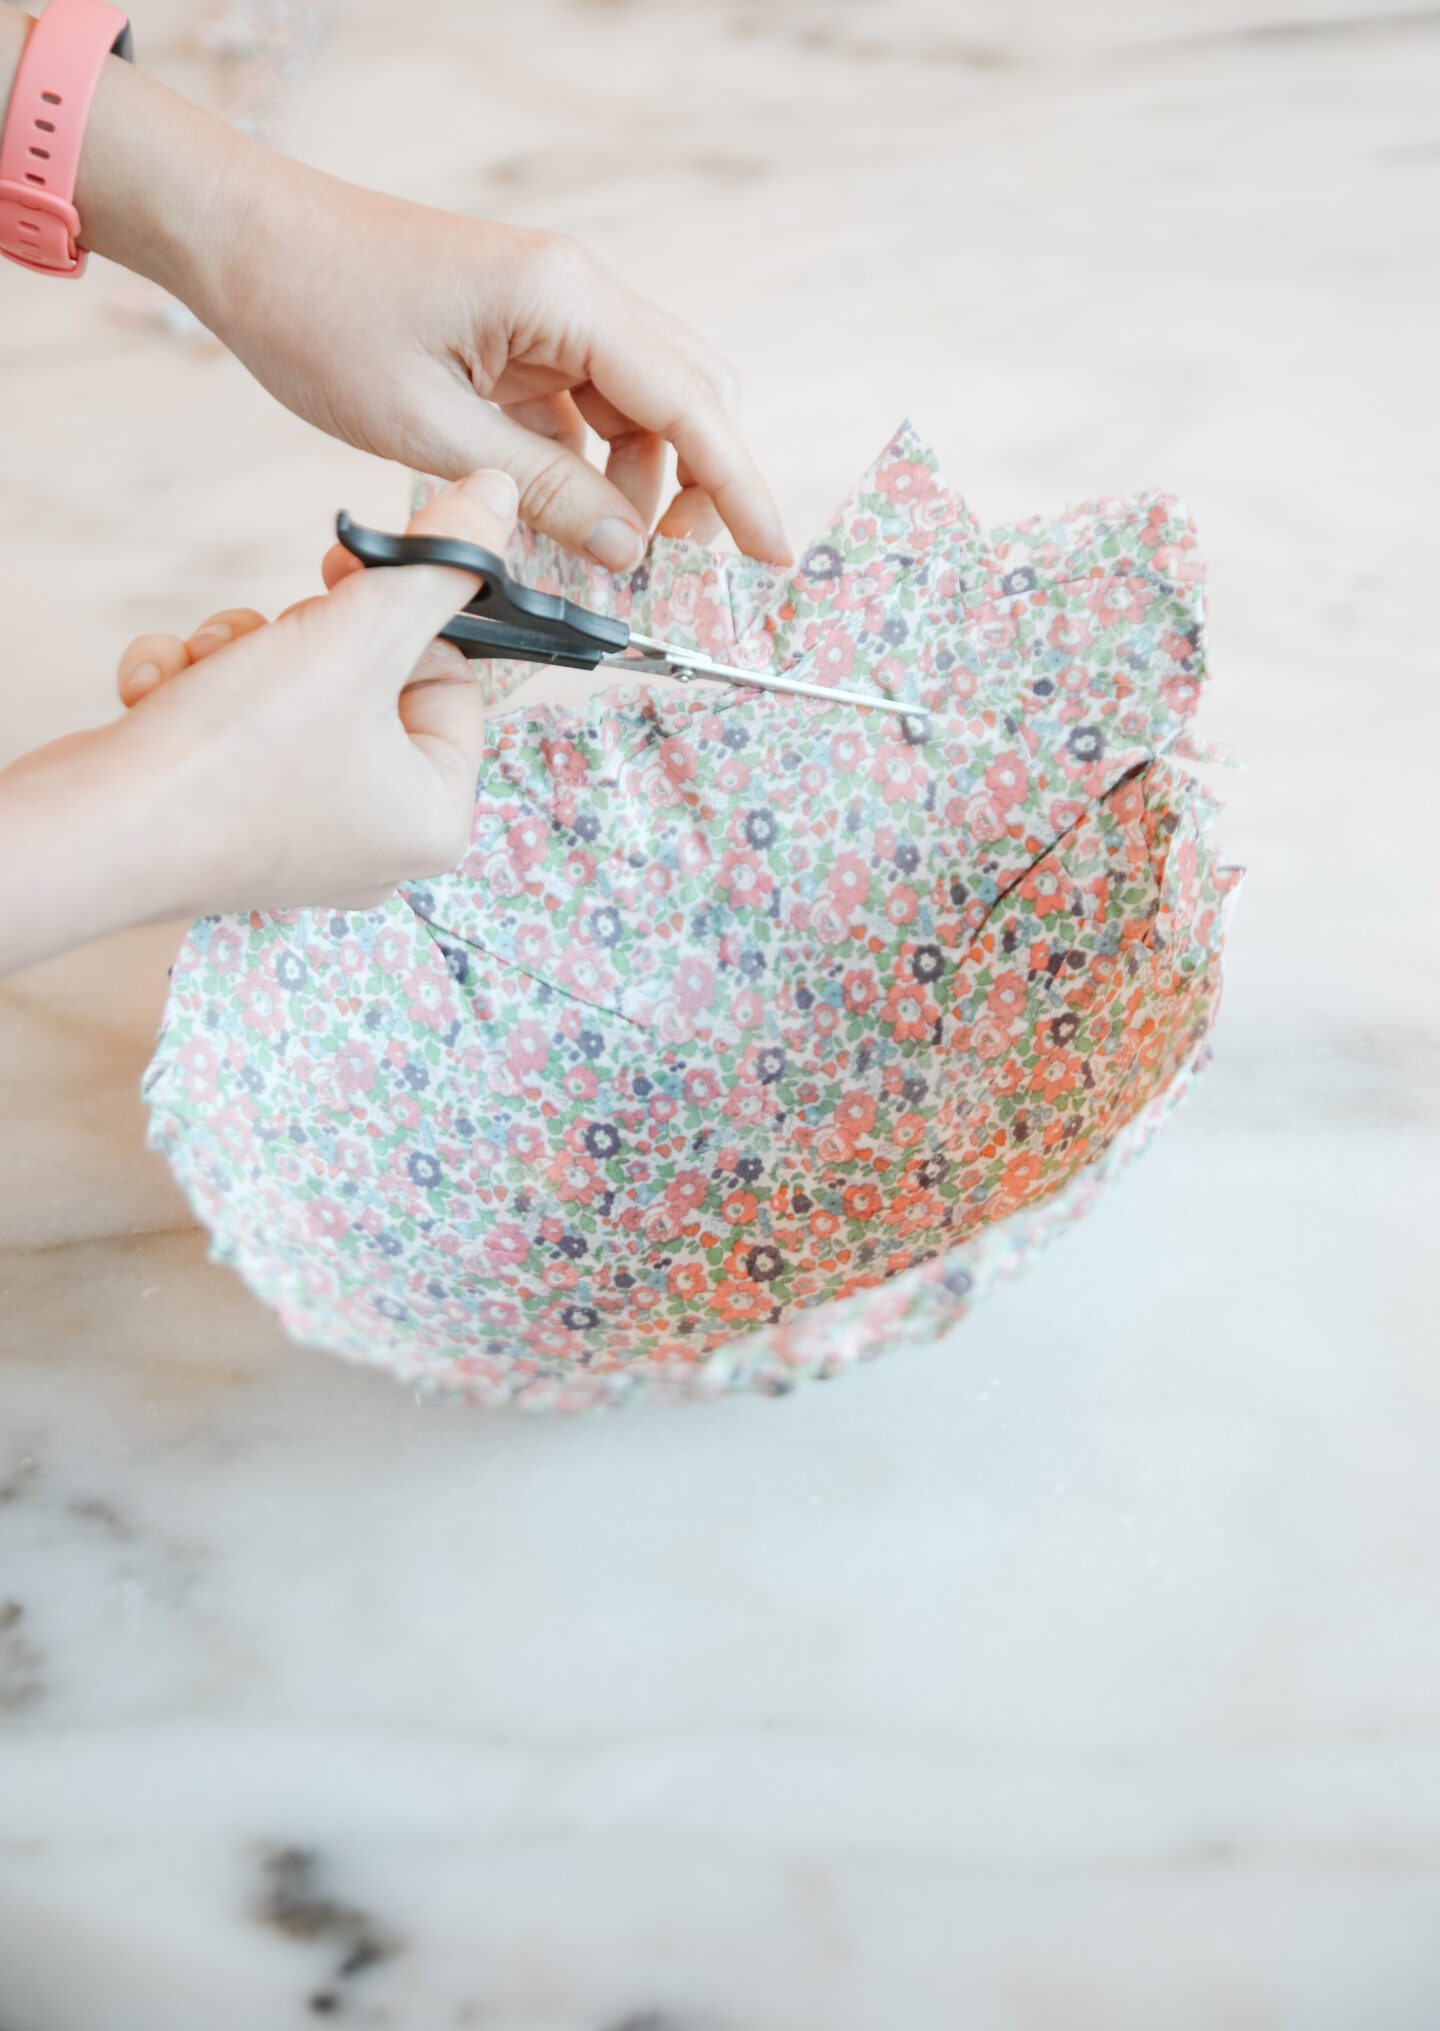
Let the drying process begin leaving the fabric in the balloon for 24 hours until solid. Pop the balloon as soon as you see the bowls harden, with your scissors. Remove the balloon and trim the edges of your bowls cutting the fabric excess. They can look super pretty leaving them a bit “rough” as I did.
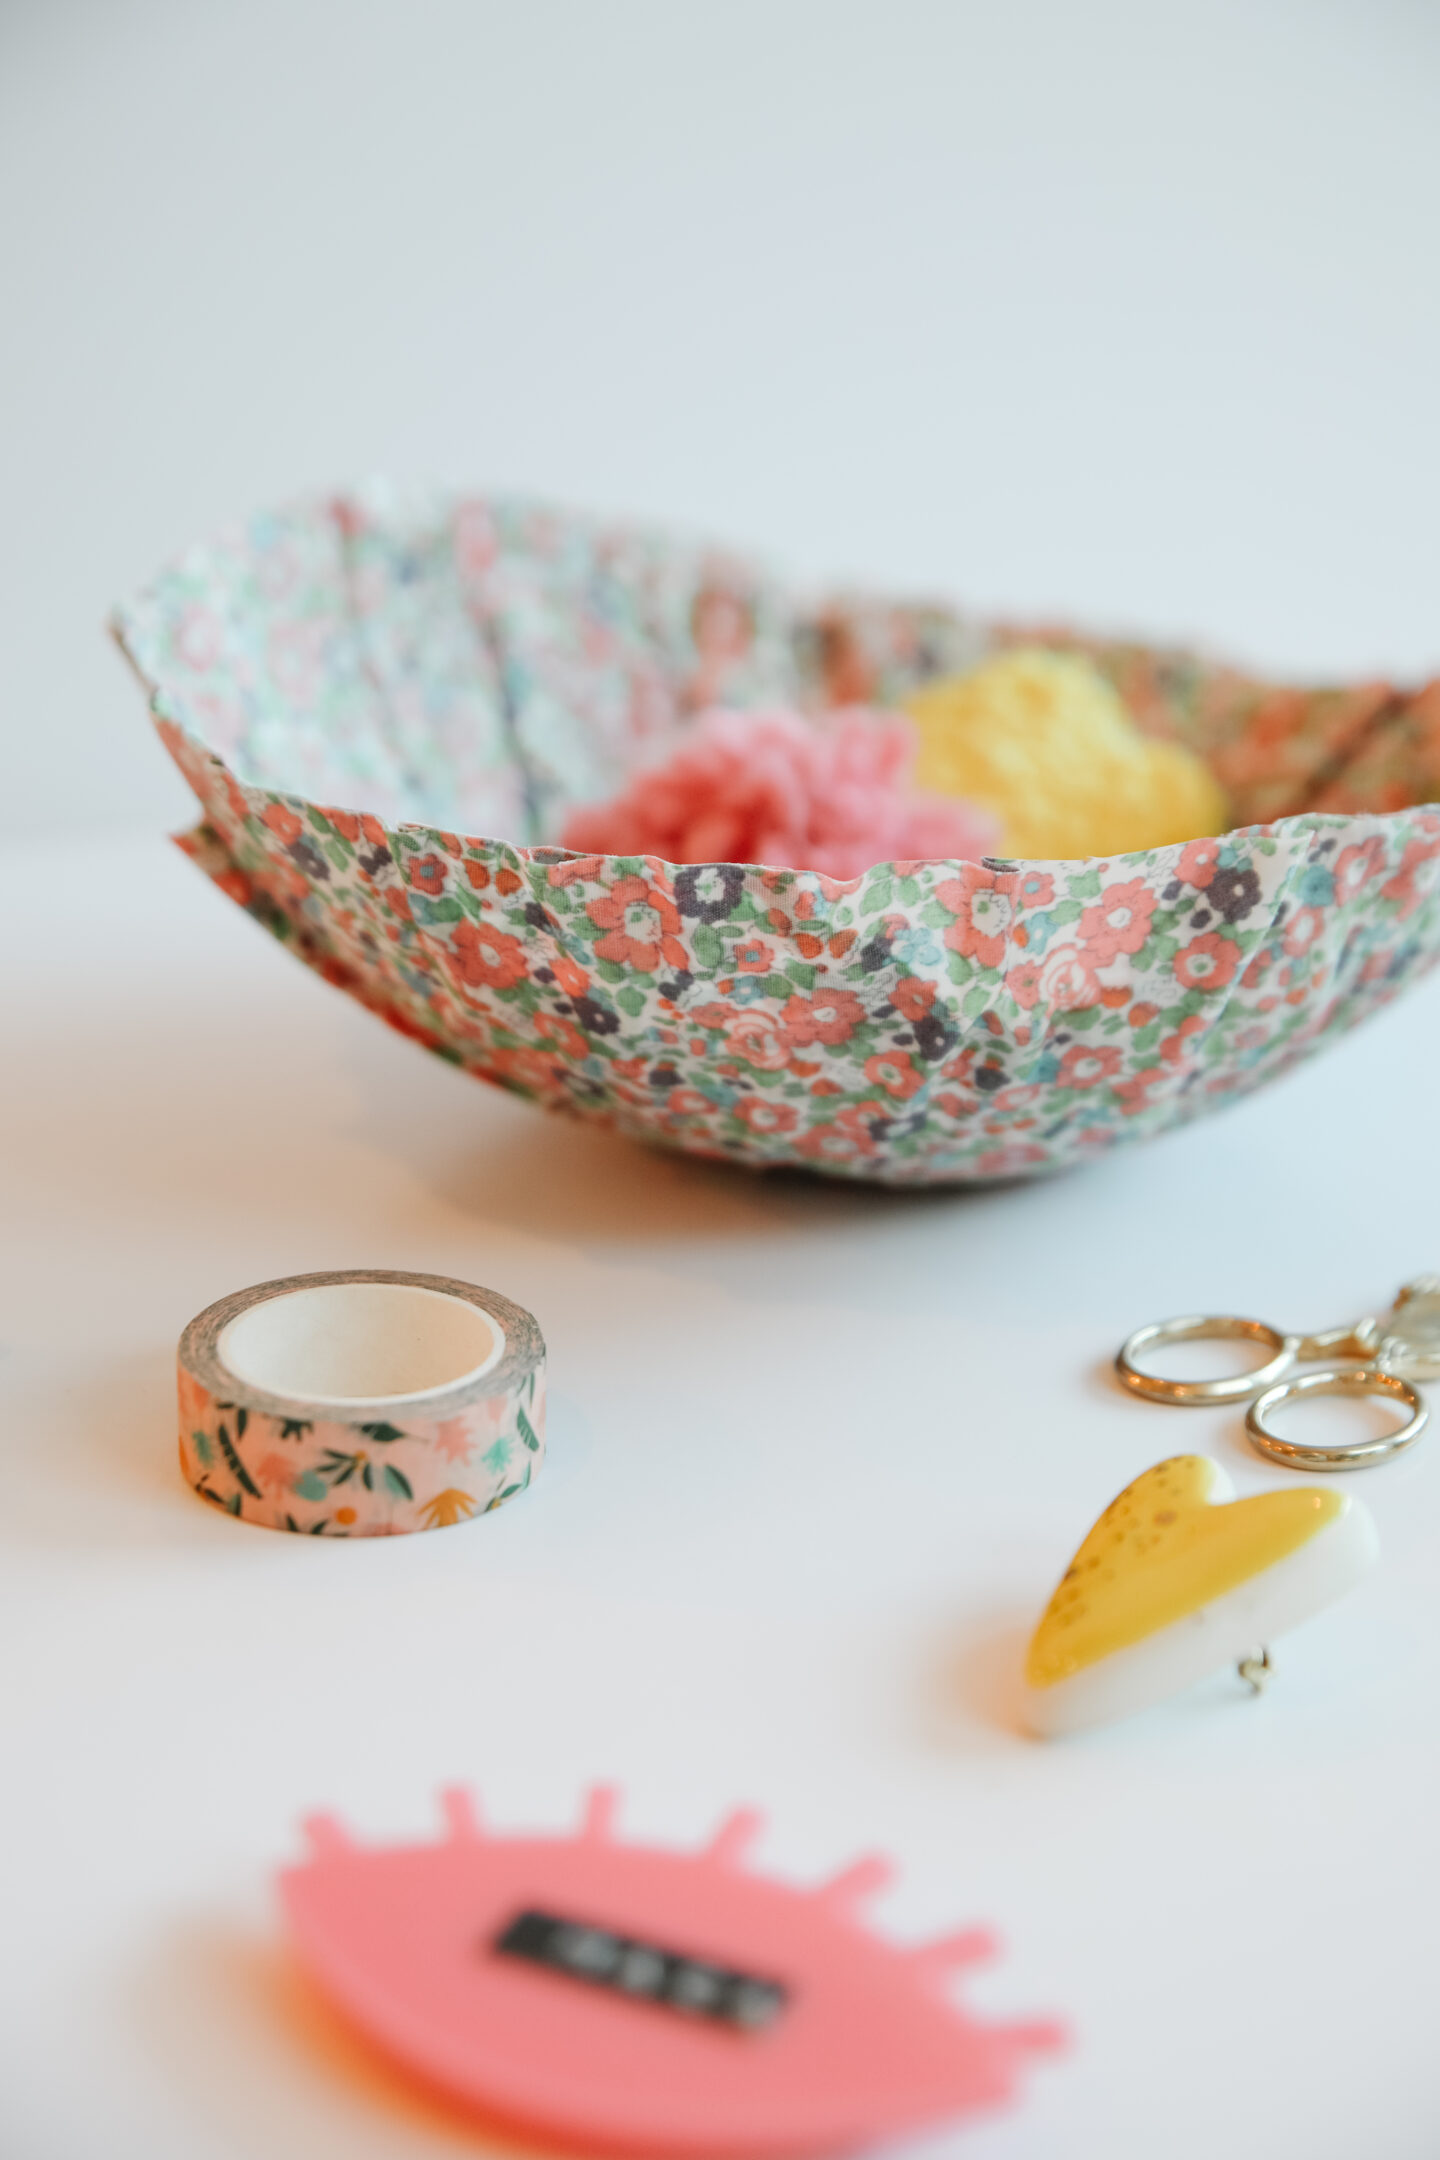
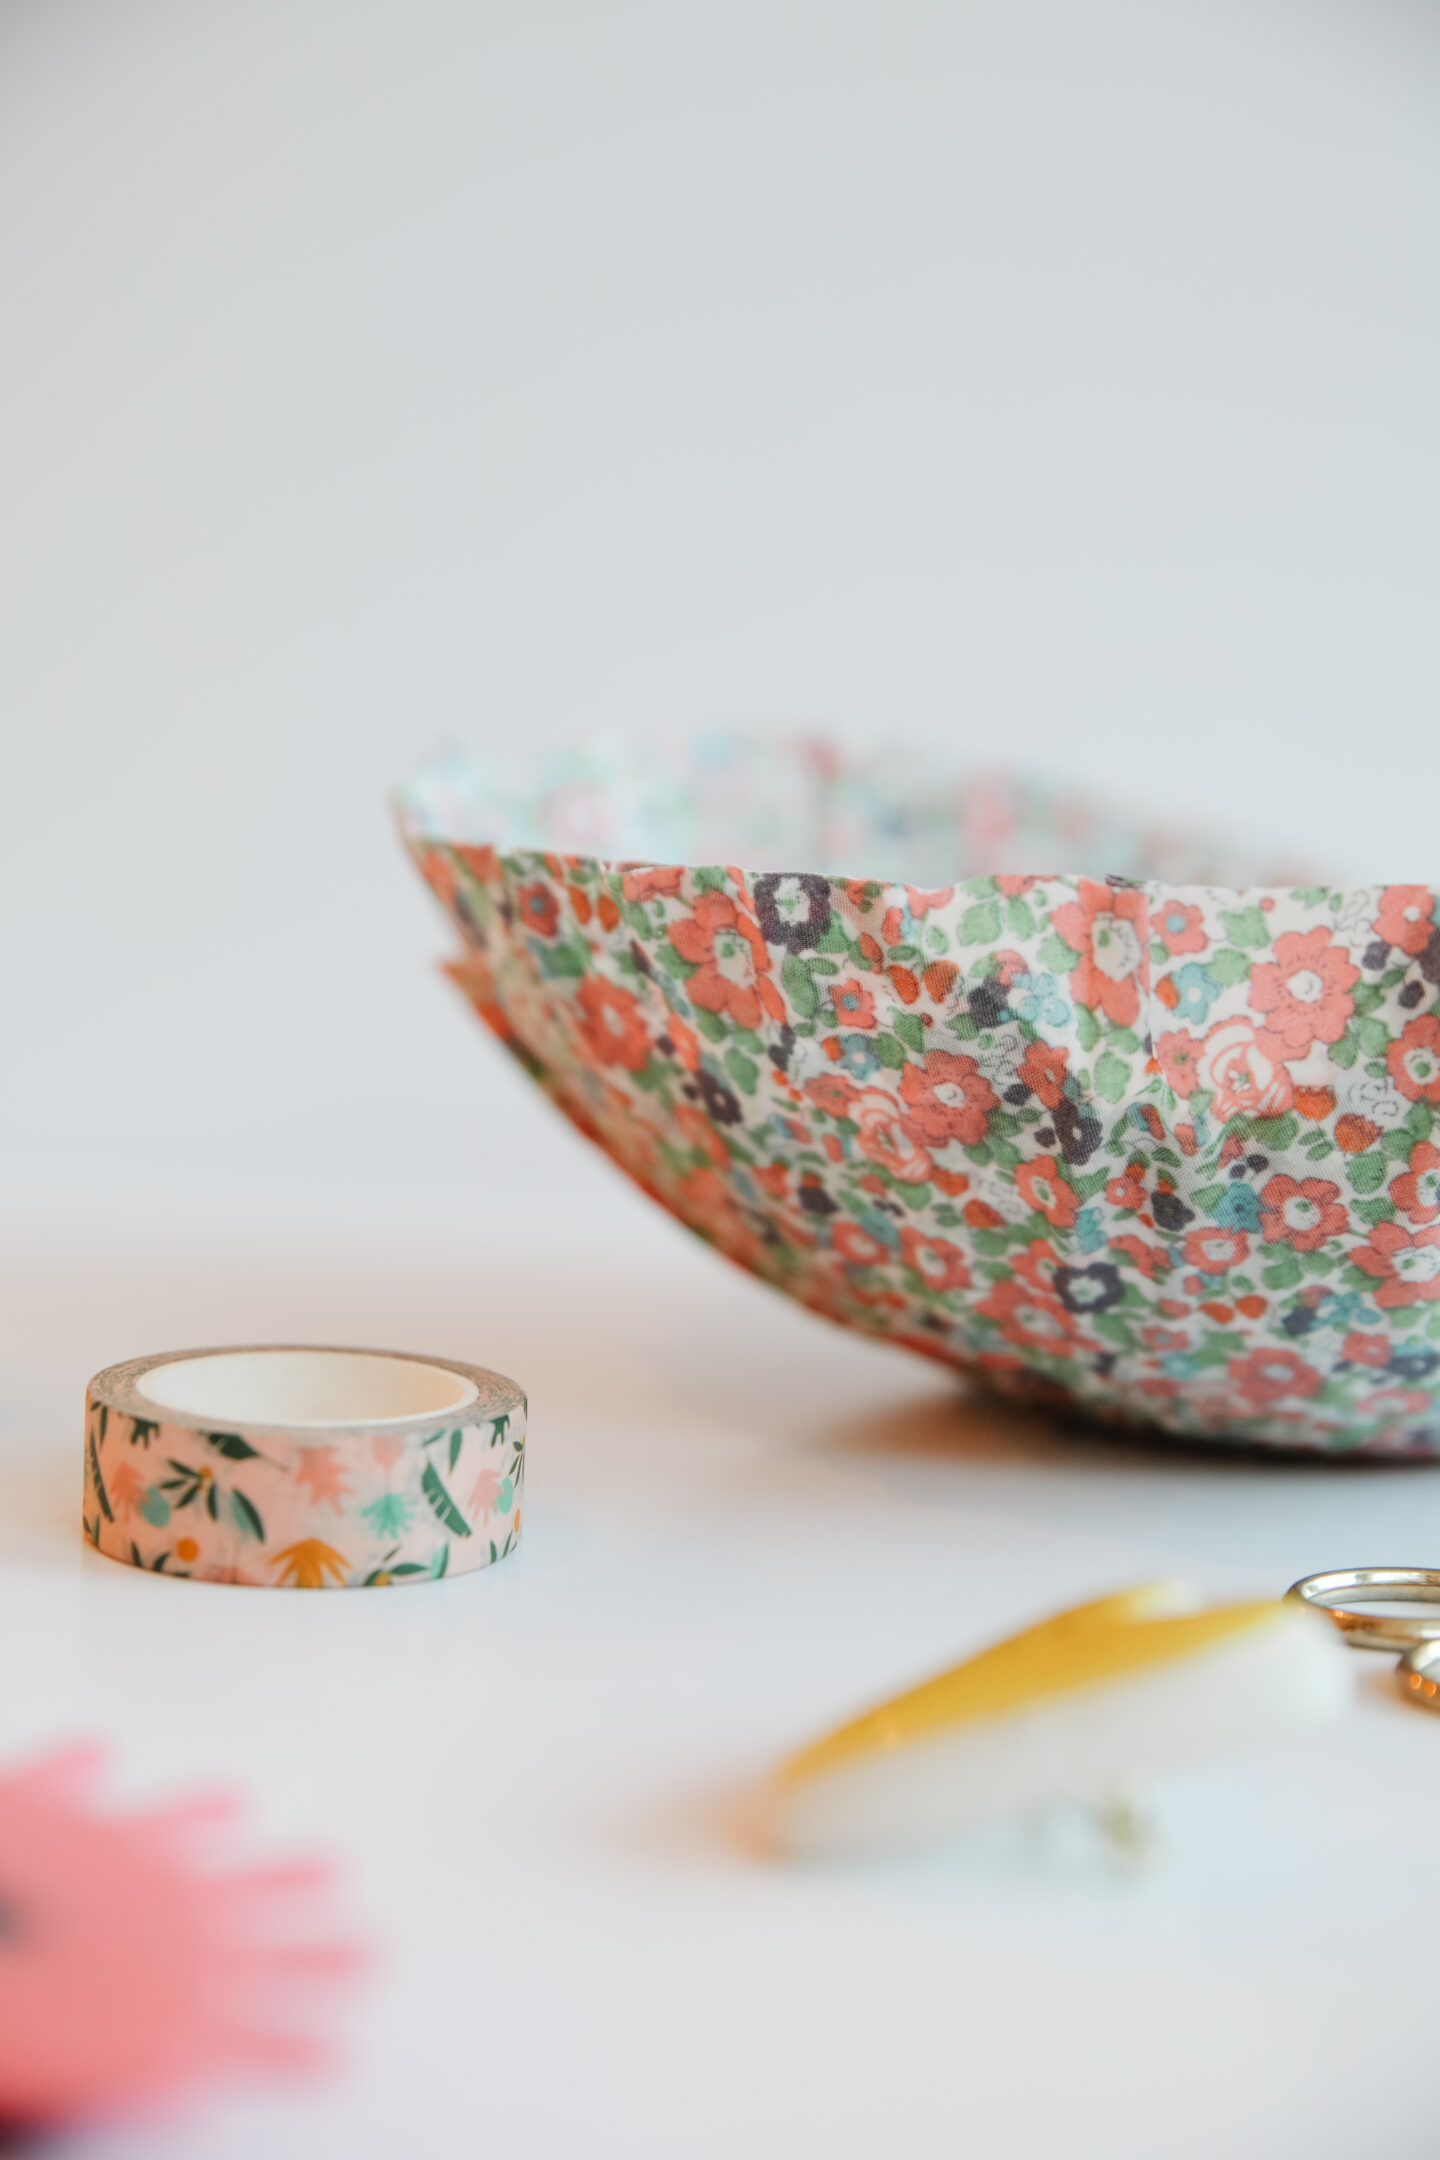
Can you believe how easy and fun this project is?
I can’t wait to see how you DIY them at home soon!
