DIY Stylish Wooden Light Switch Covers With Me!
Have you ever wondered why are all light switch covers and outlets are just so… boring?
I have – all – the – time.
So, in this DIY tutorial, I will show you how you can upgrade your home decor with a touch of cuteness by creating these stylish wooden light switch covers using a Cricut machine and Cricut balsa wood.
Are you reaaaaady?
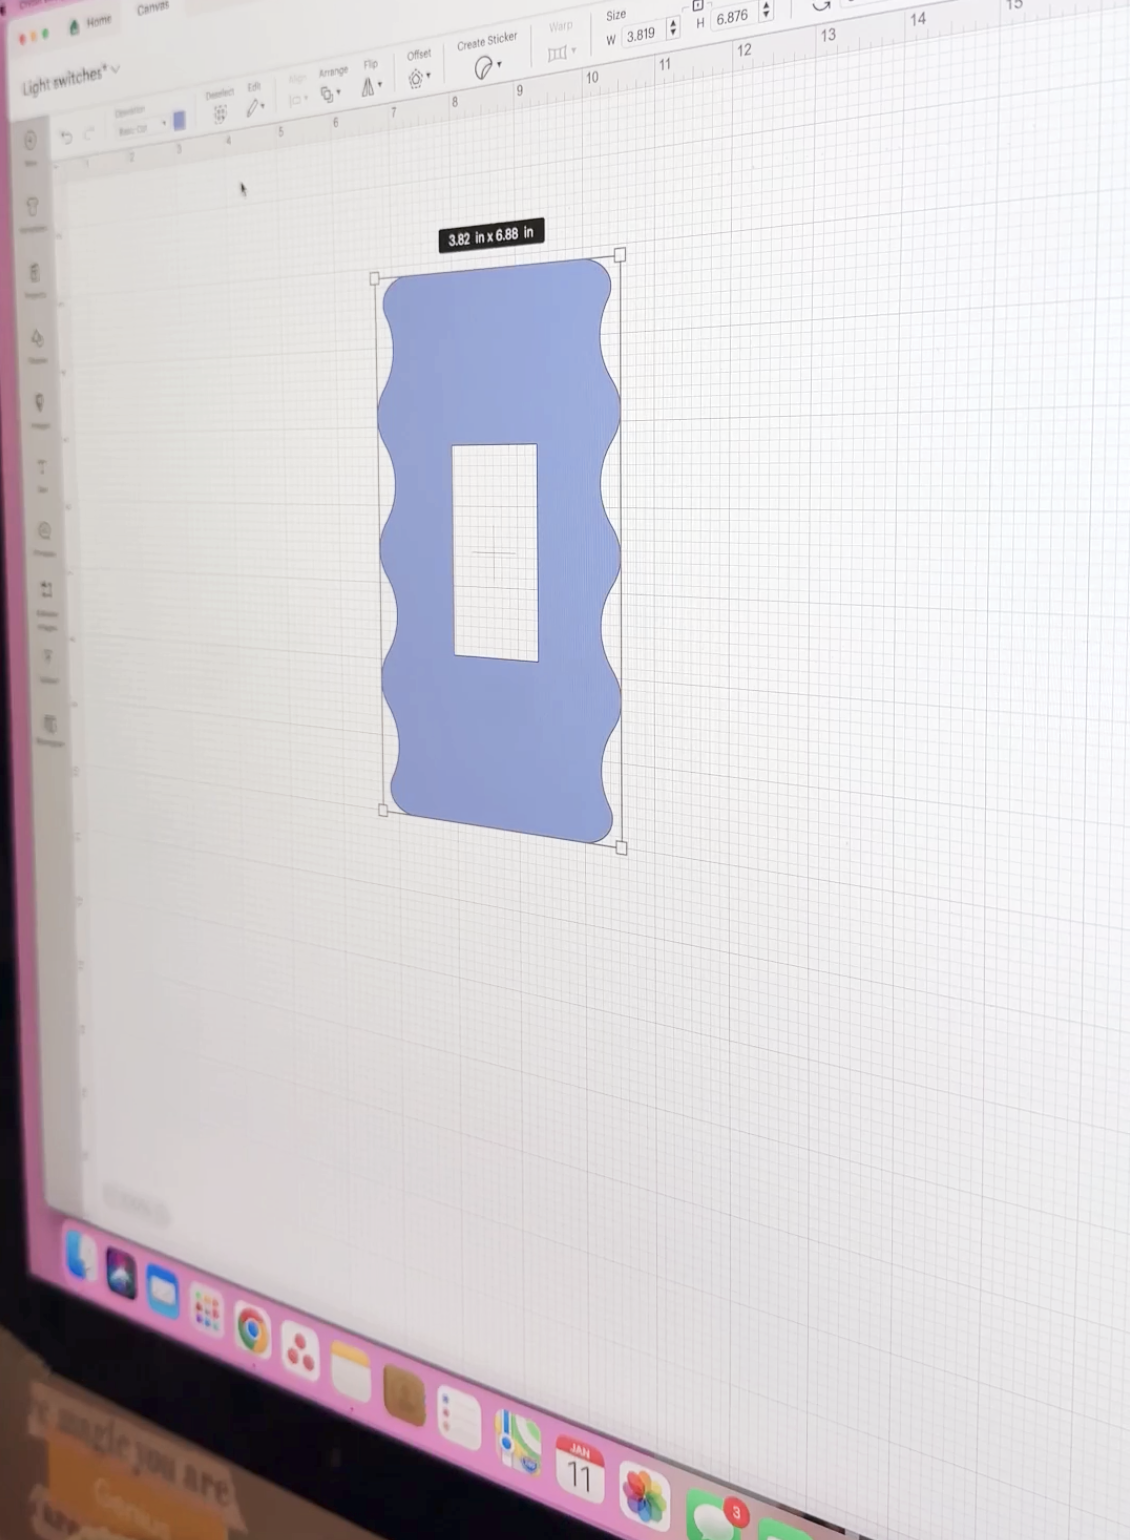
Firstly, you will. need to create an account in Cricut Design Space to access to this template.
You can create a new project or easily click “make it” as soon as you open the project.
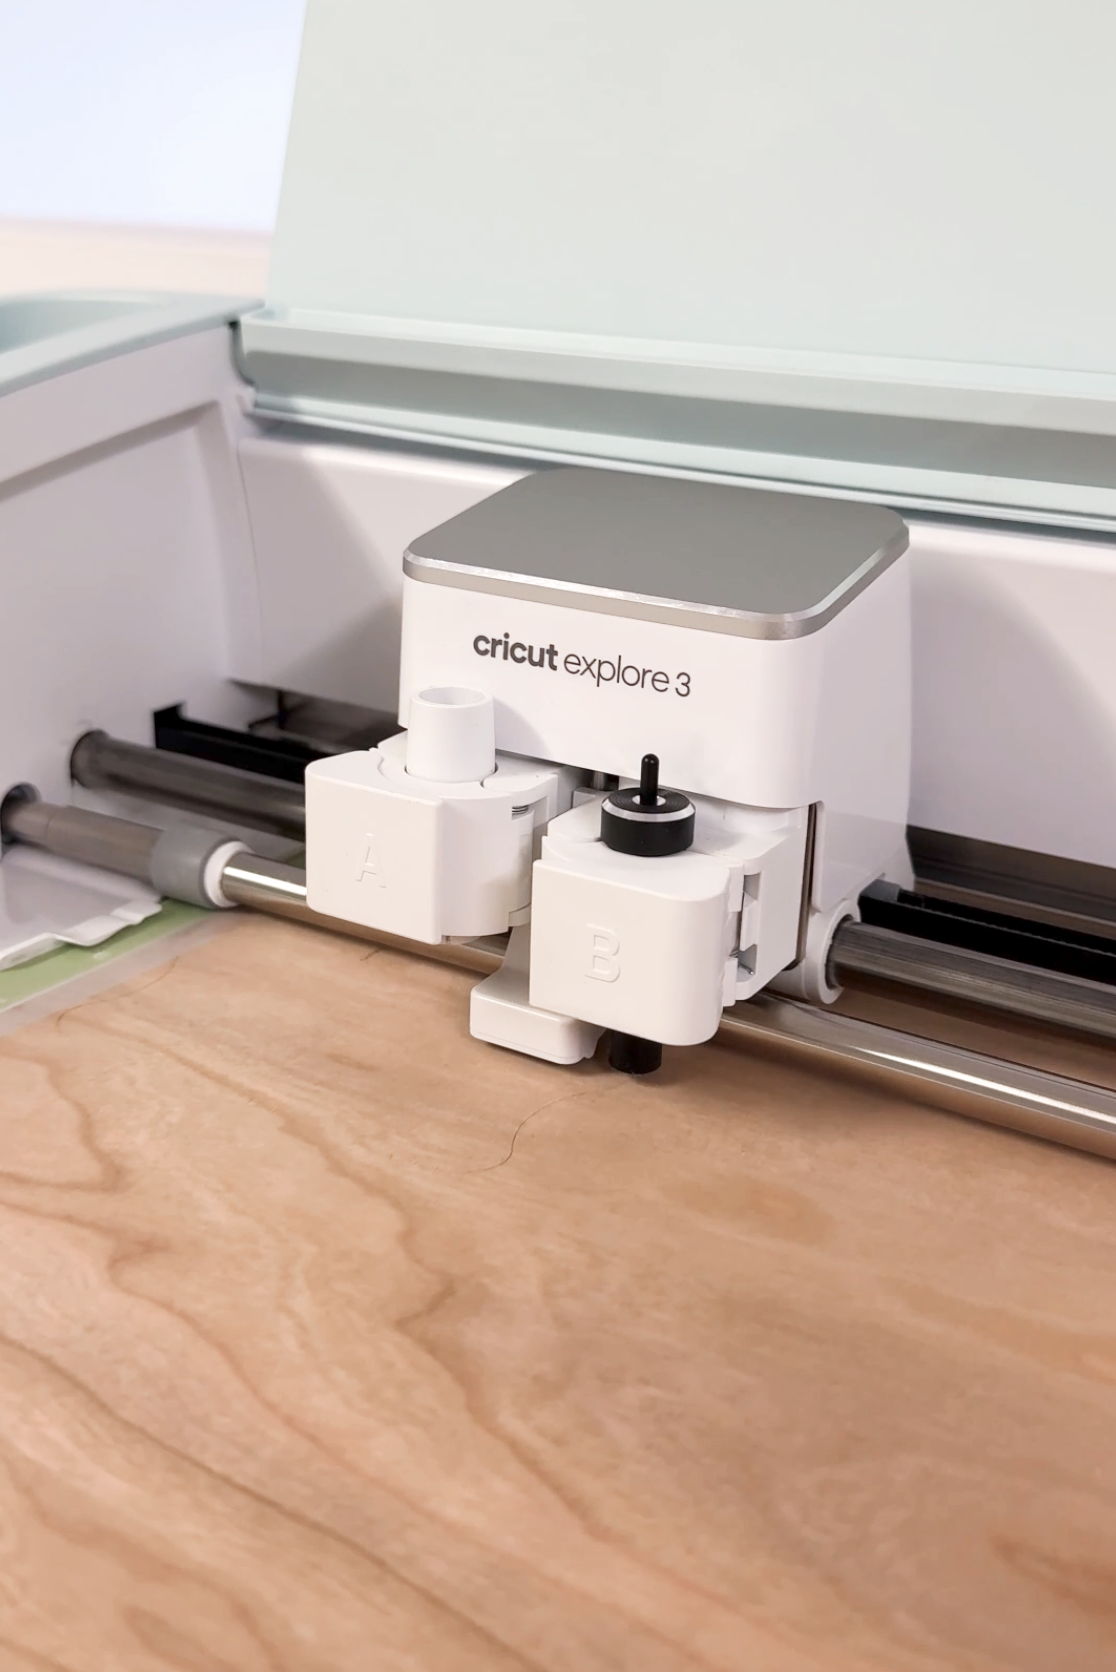
Let’s now secure the balsa wood onto the standard grip mat using tap (otherwise it will move while cutting) making sure it stays in place.
Select the material setting in Cricut Design Space, load the material into your Cricut machine and start cutting.
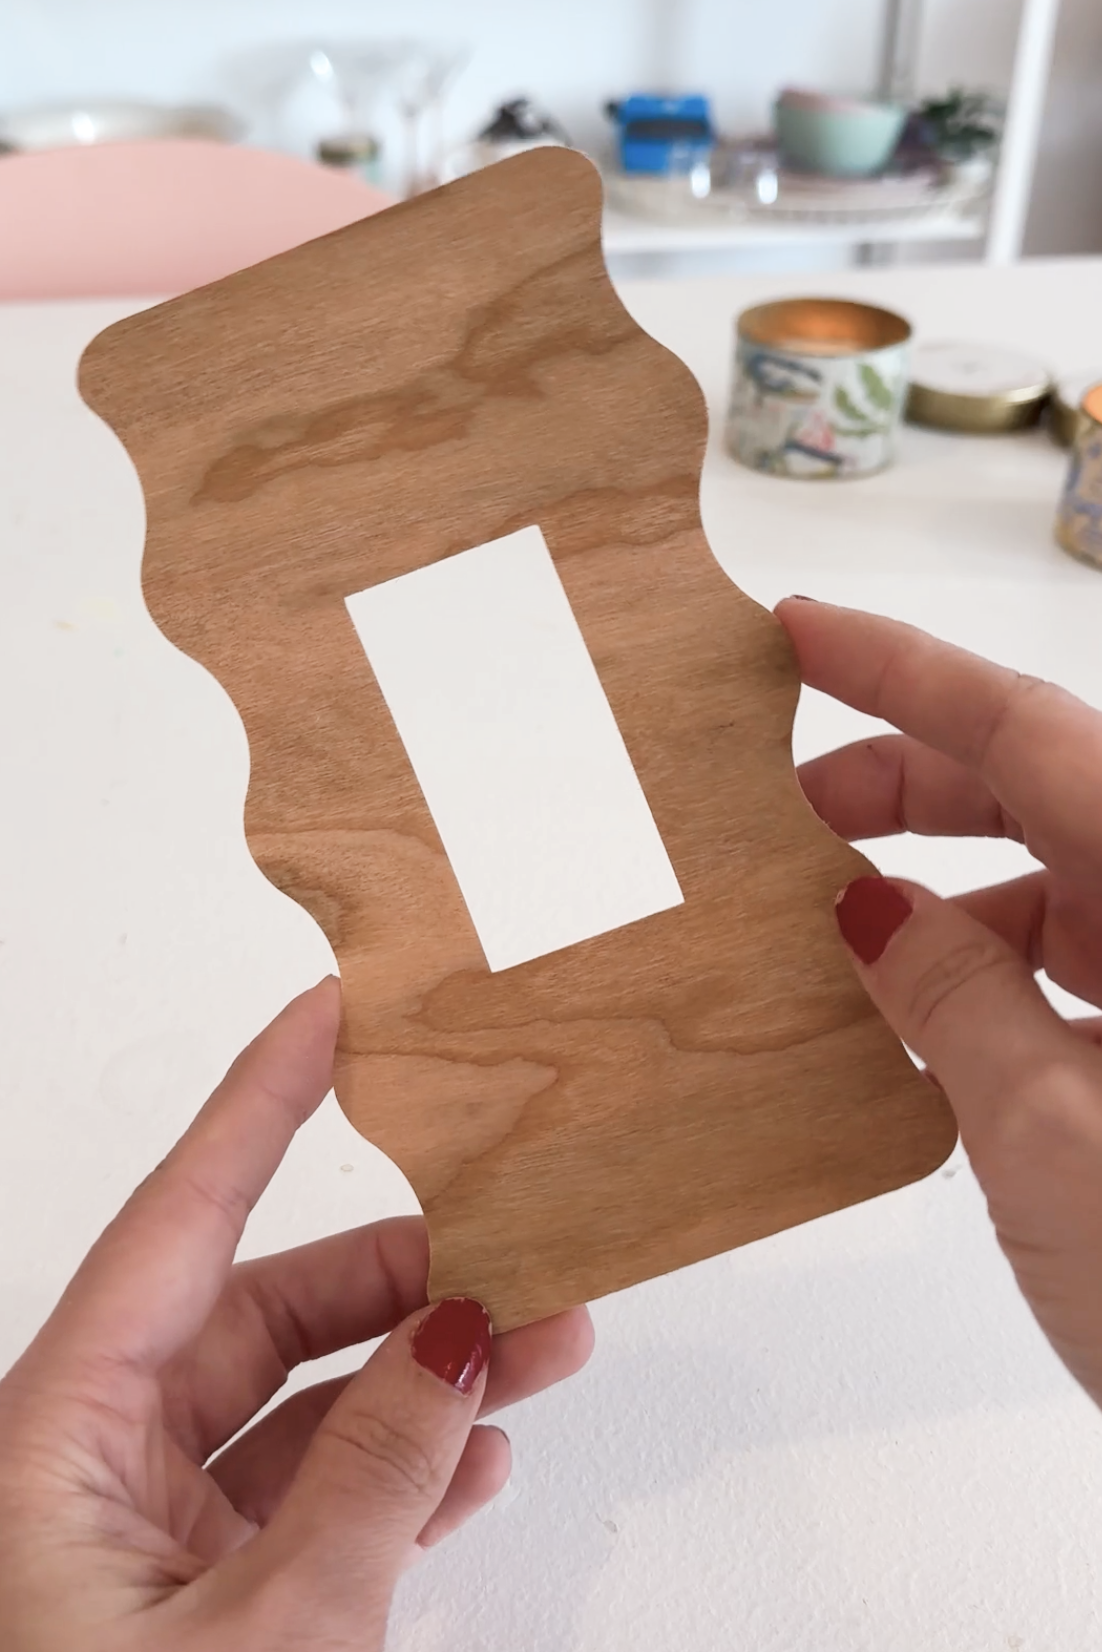
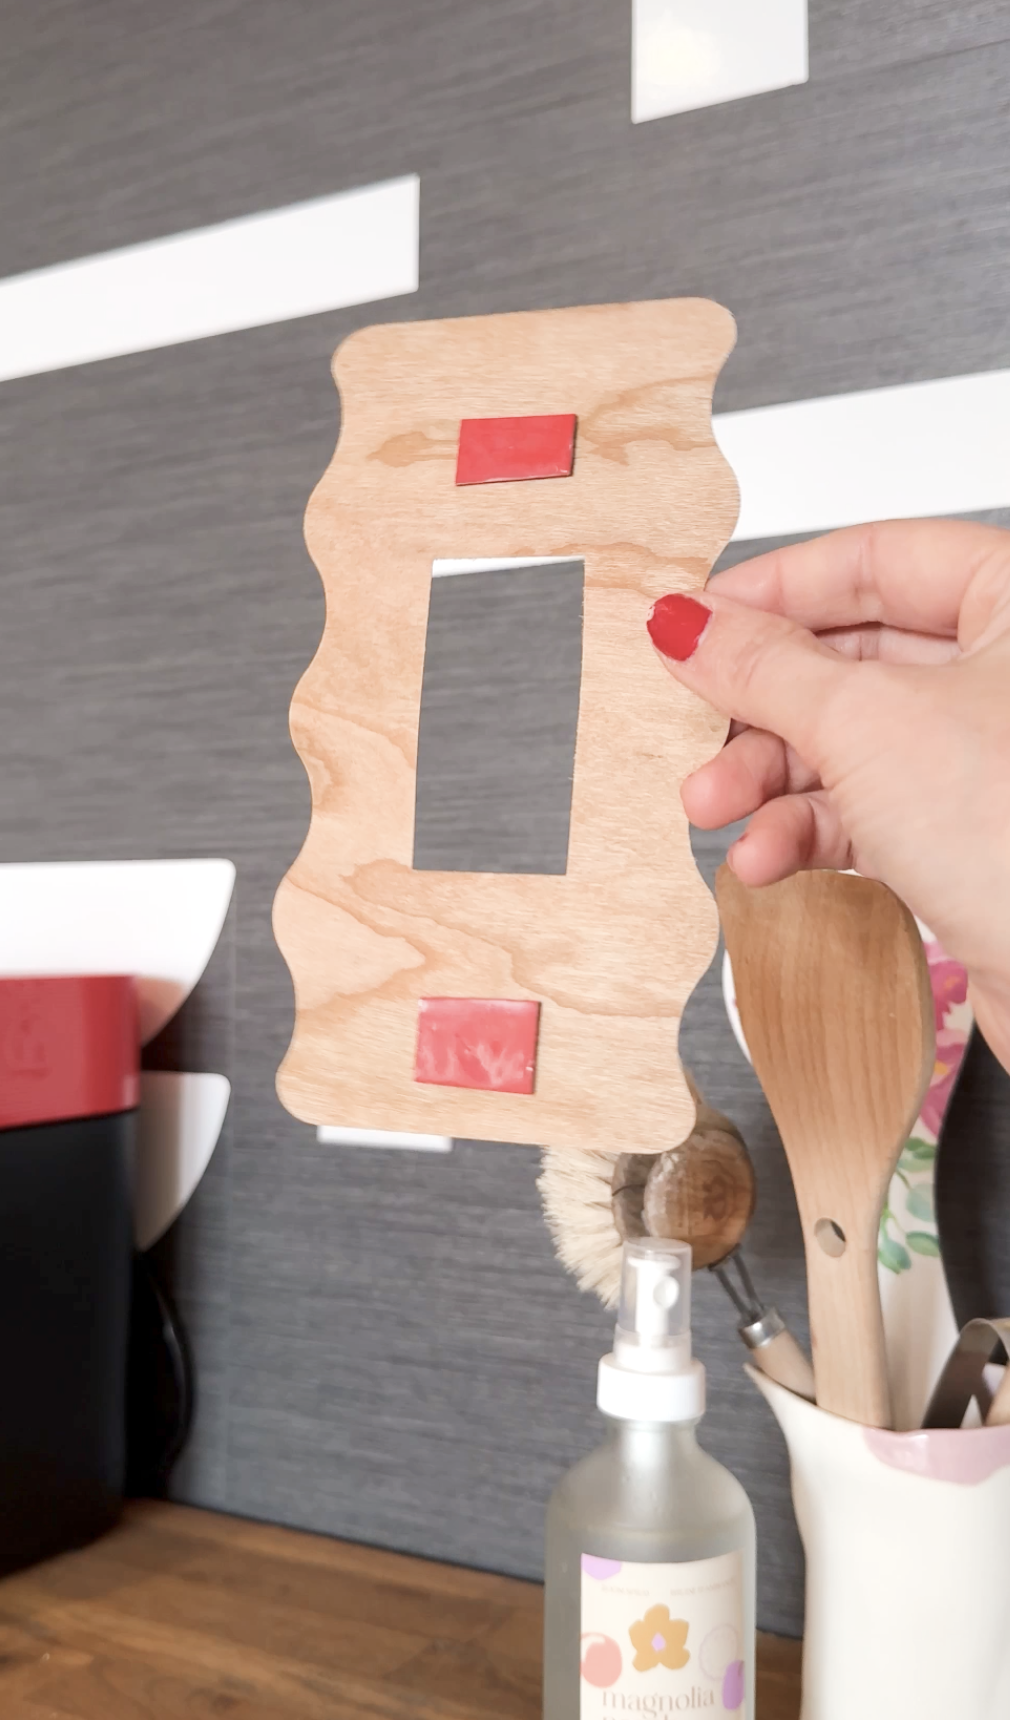
You did it, can you believe it? Carefully, let’s remove the excess balsa wood around the cut from the standard grip mat and voila! let’s get ready to install.
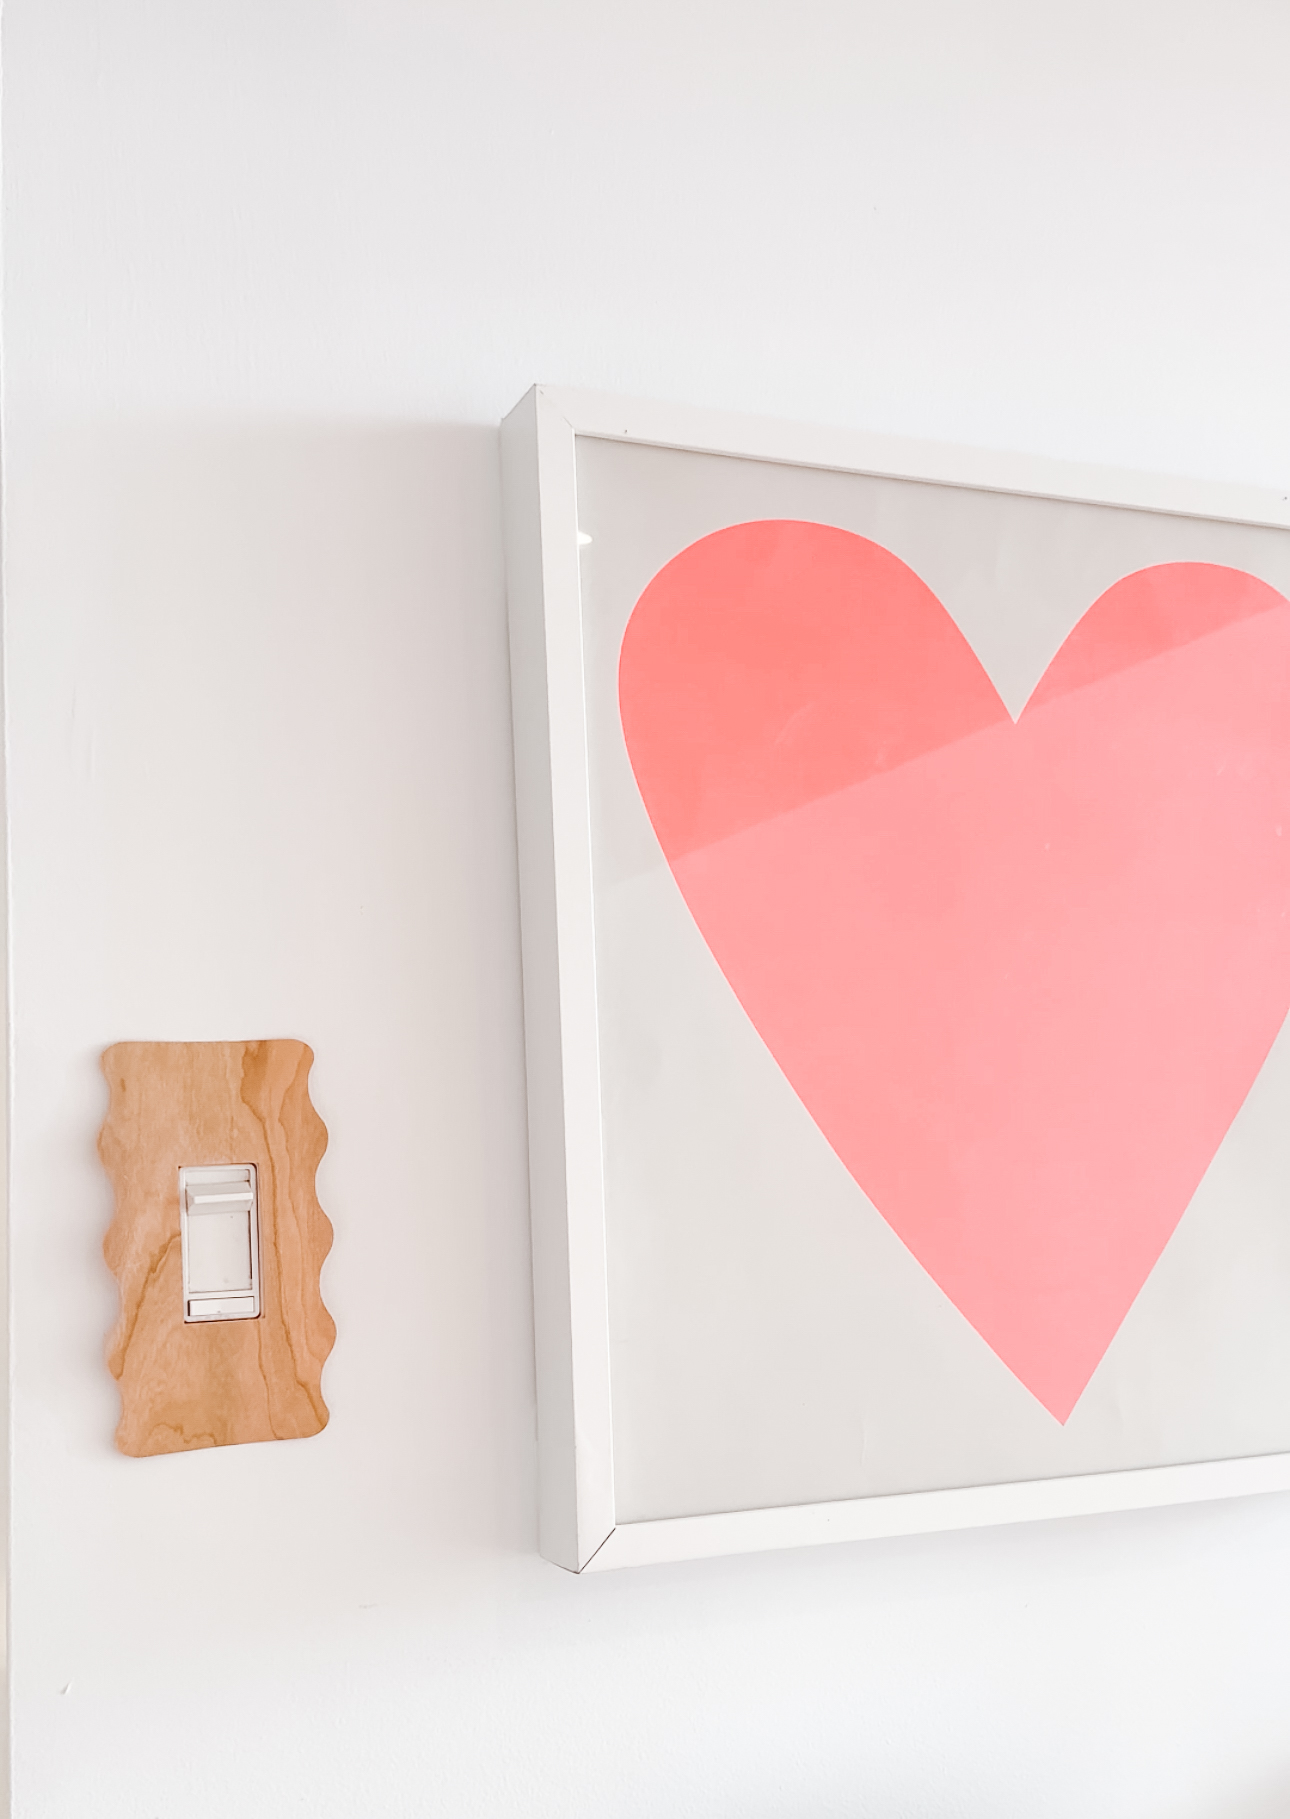
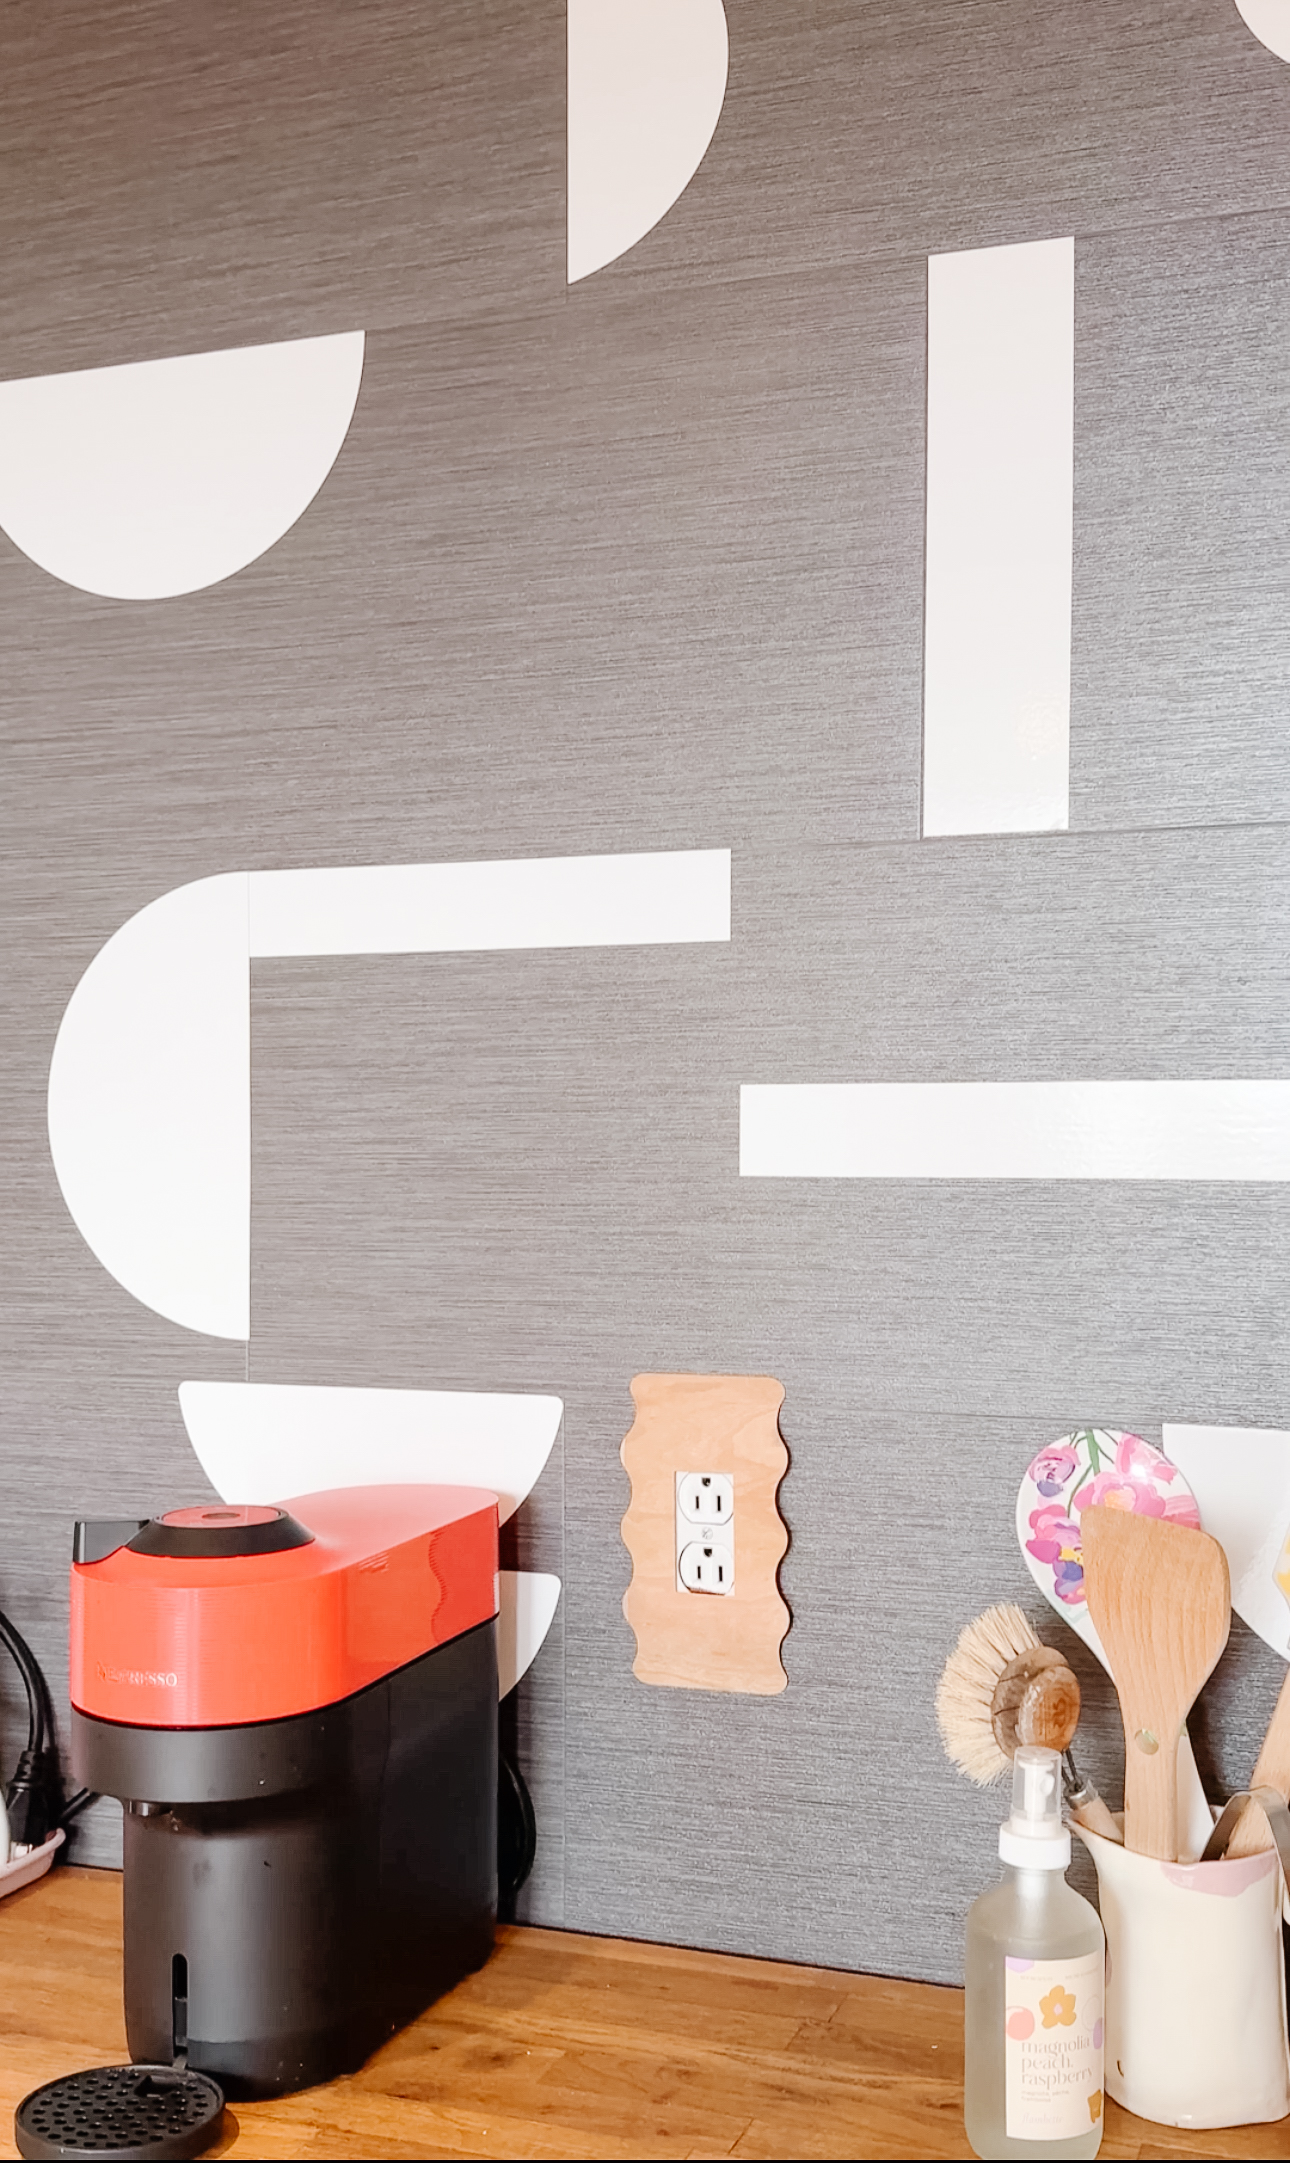
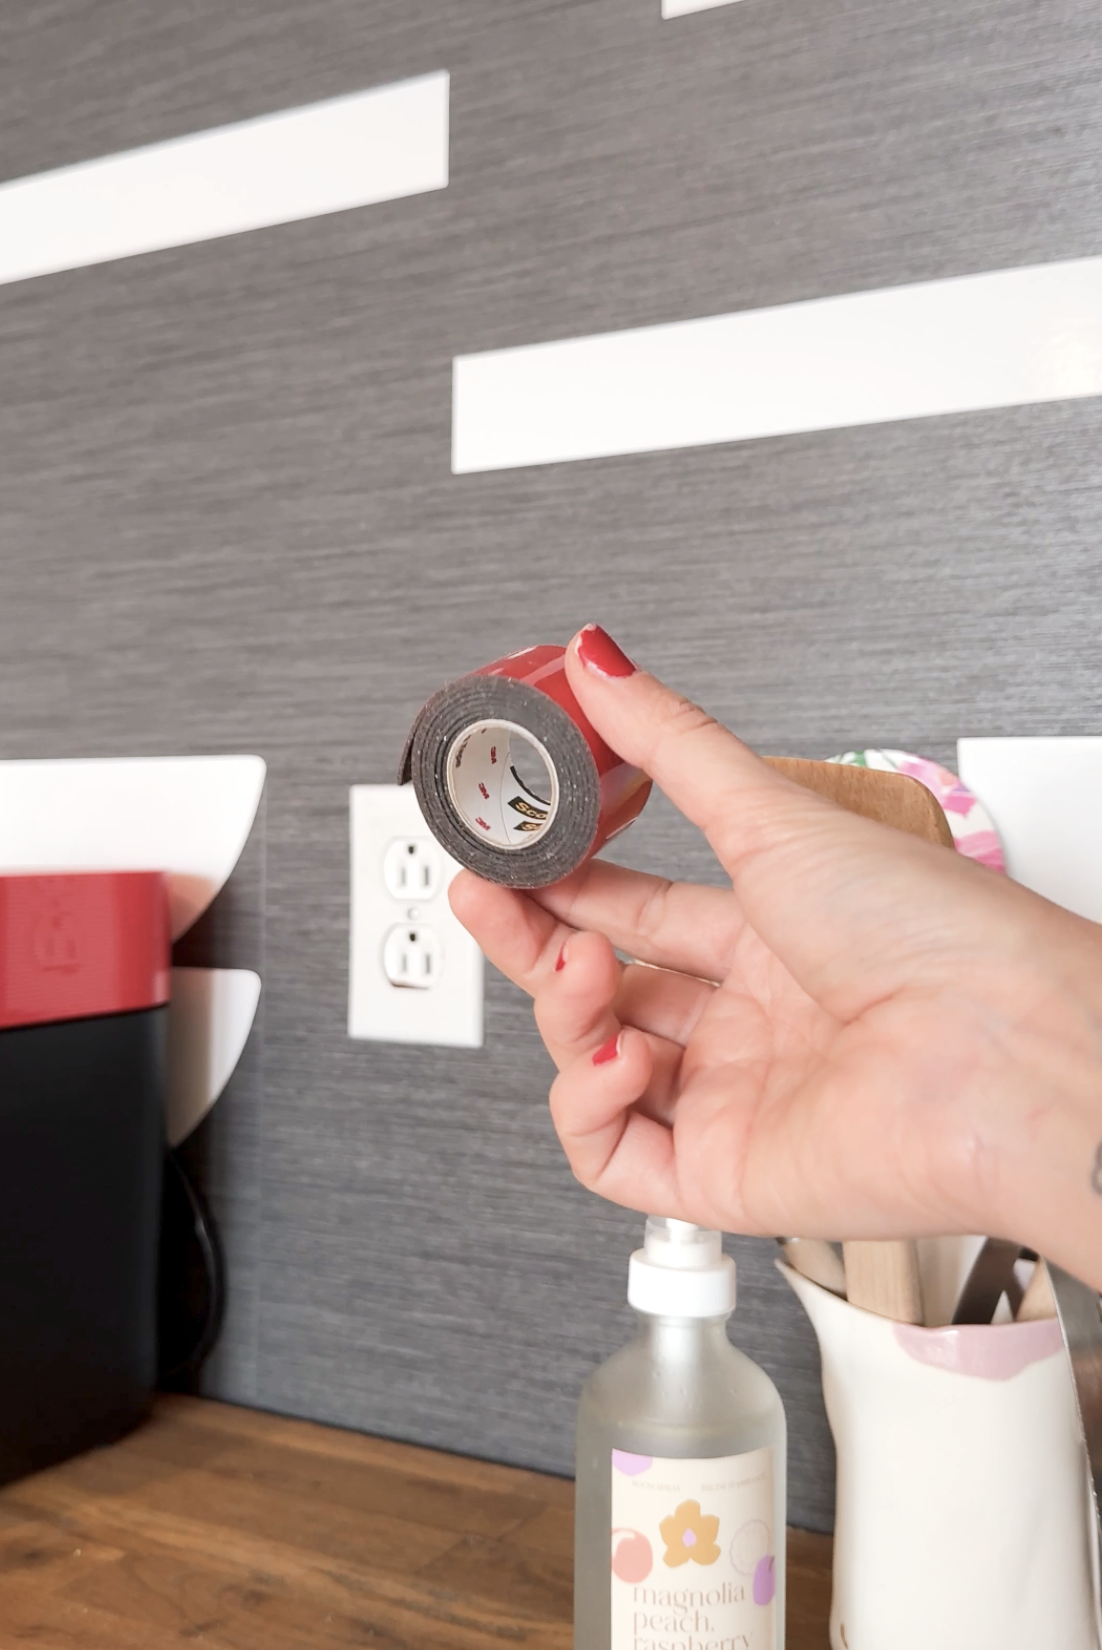
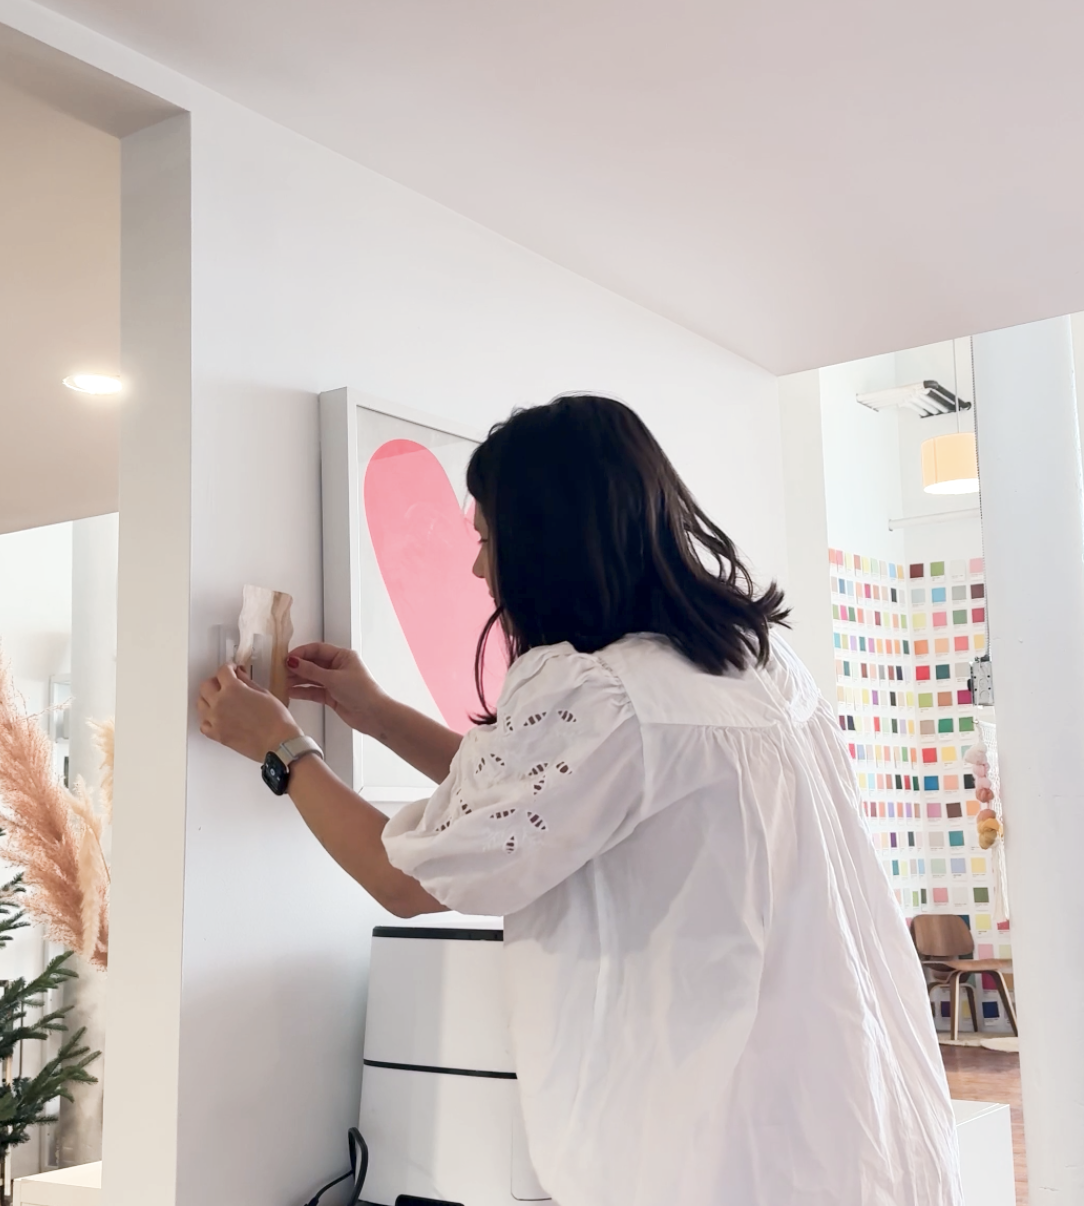
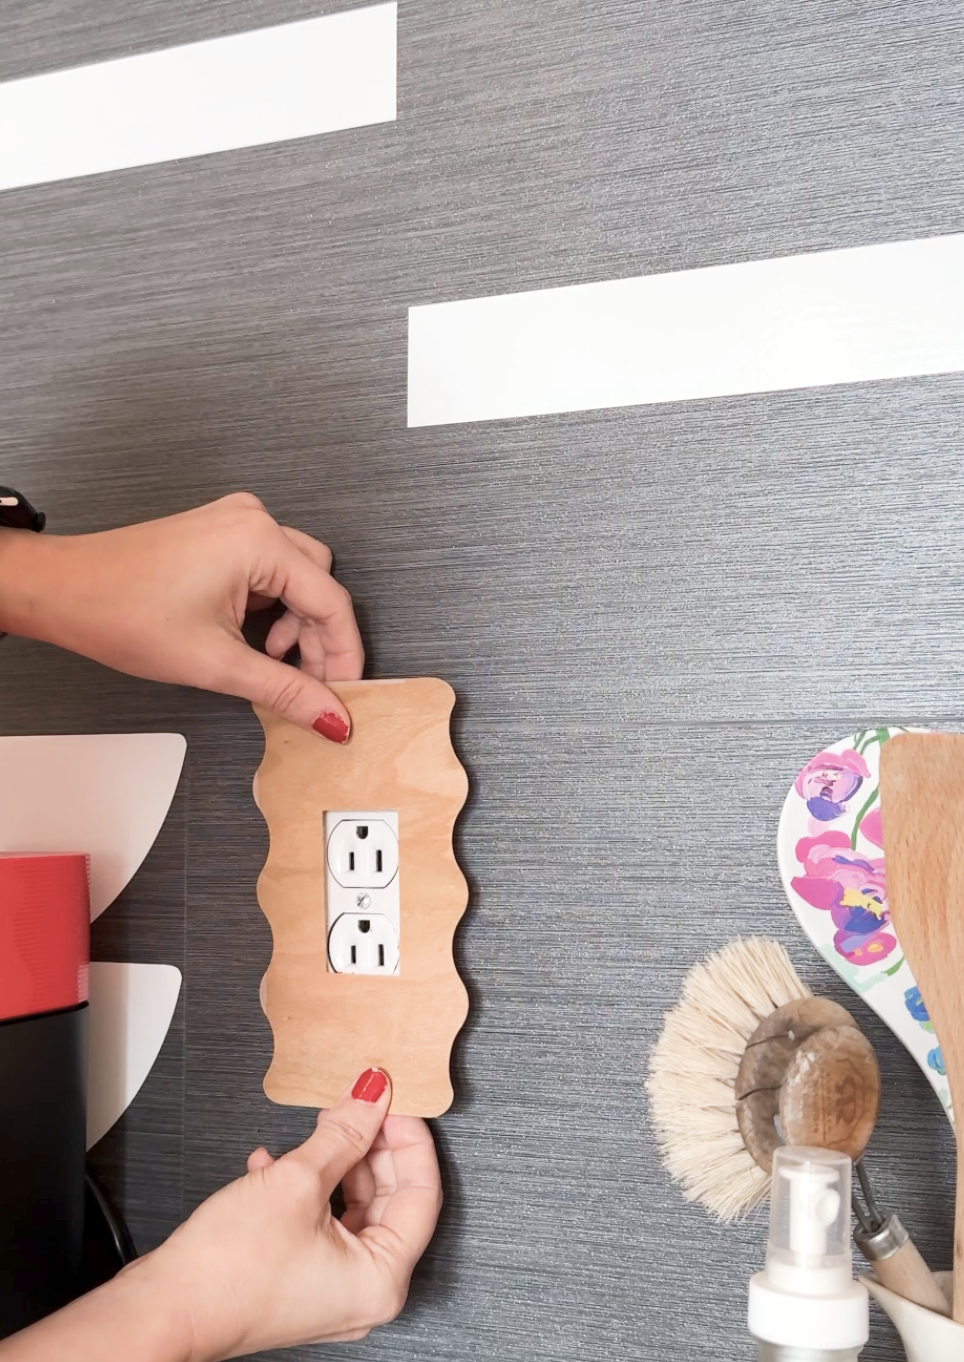
Apply double-sided tape to the back of your new stylish wooden light switch covers and align them with your existing light switch, press firmly and you’re done!
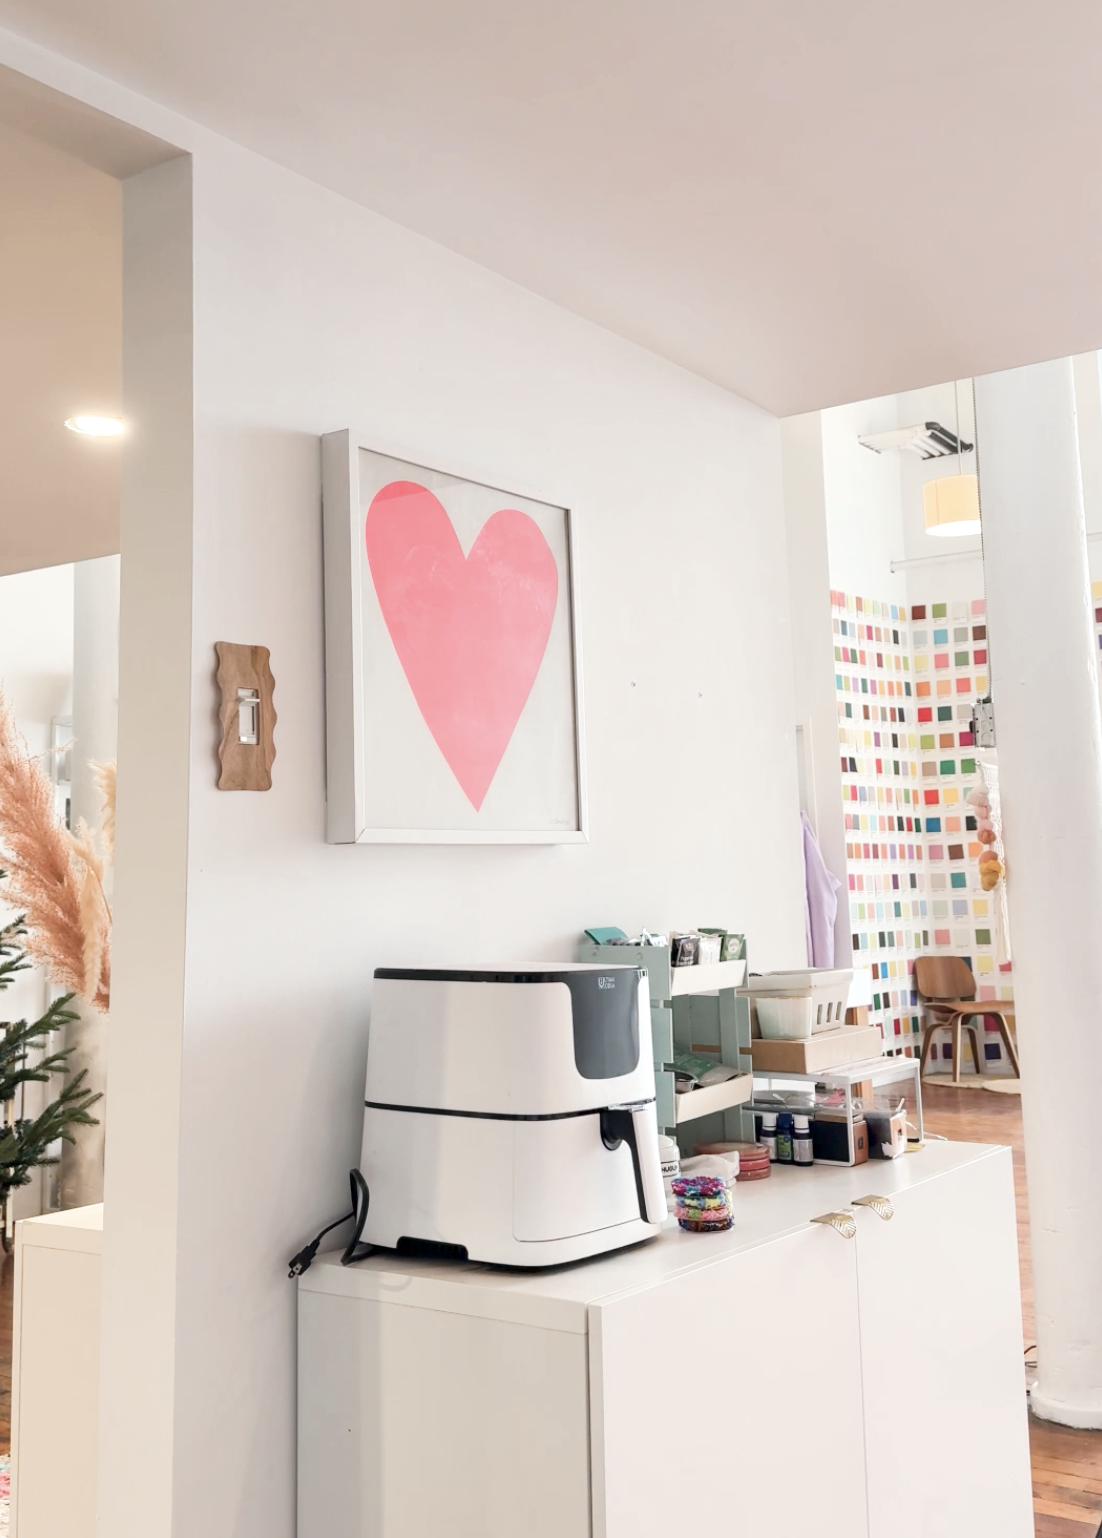
With just a few simple steps you can transform little details personalizing your home decor experimenting with designs, finishes and colours that match your home’s aesthetic.
Hope you have fun making today’s DIY project and I will see you in the next one soon!